
Well hello there friends! I hope you are all having a fantastic week so far. I feel like I’m somewhere in between being super anxious/stressed about our upcoming move and relaxed because I don’t really have any major projects going on right now. It’s a really strange feeling and I’m not quite sure what to do with myself!
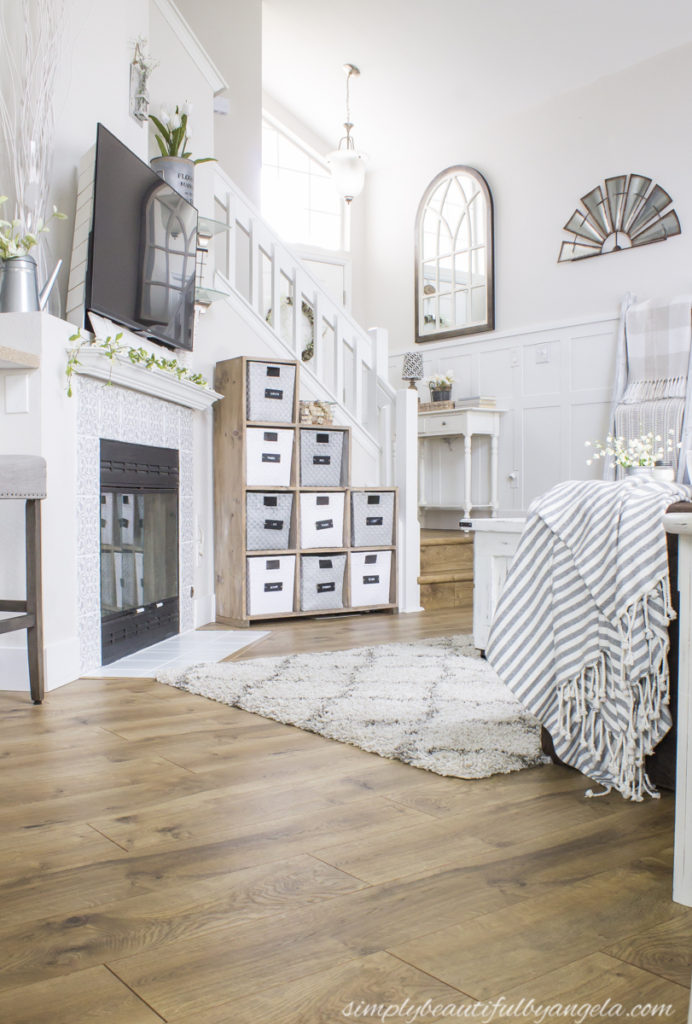
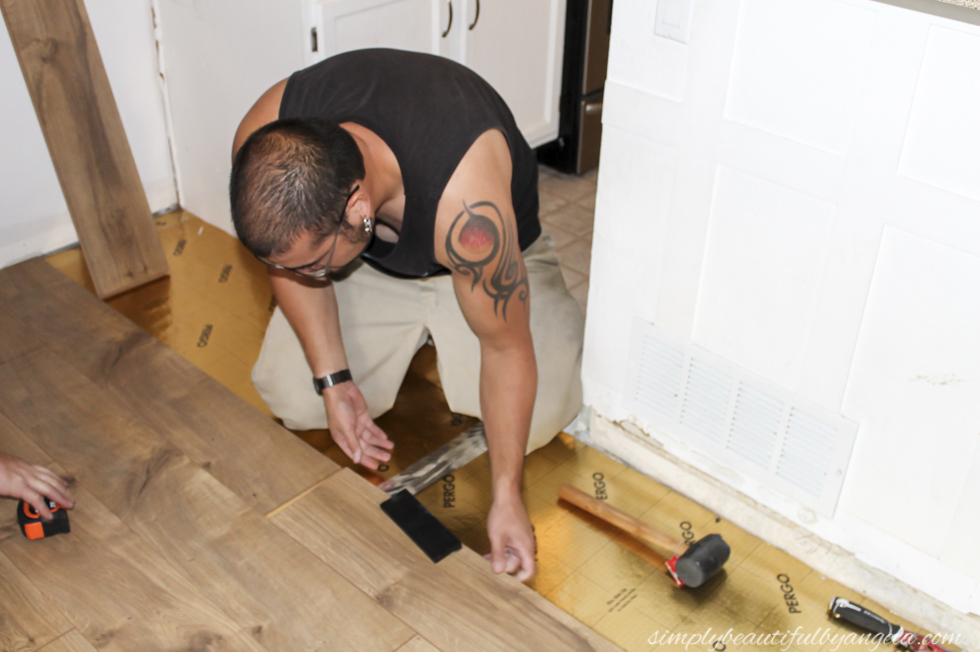
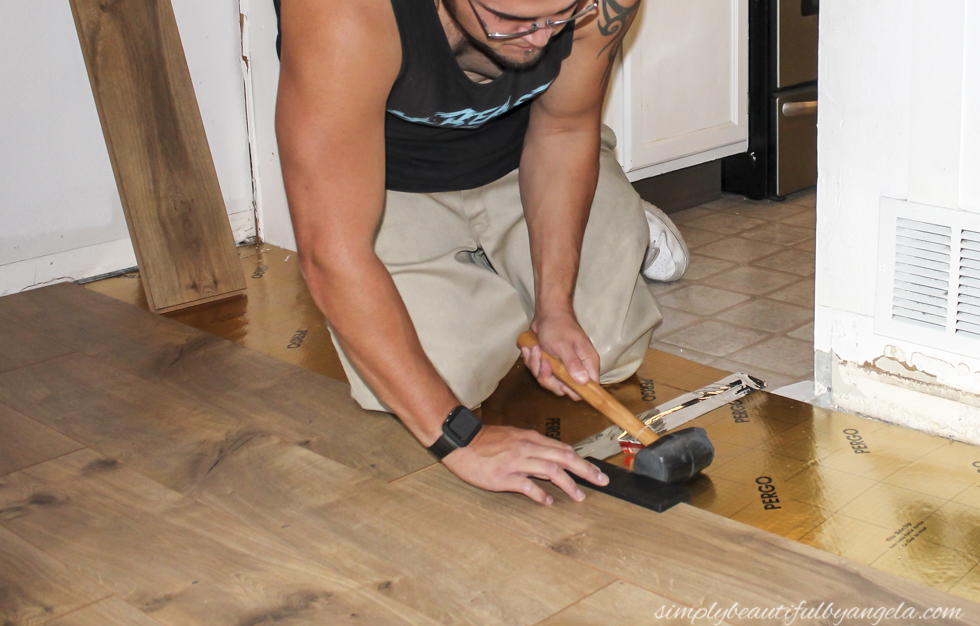
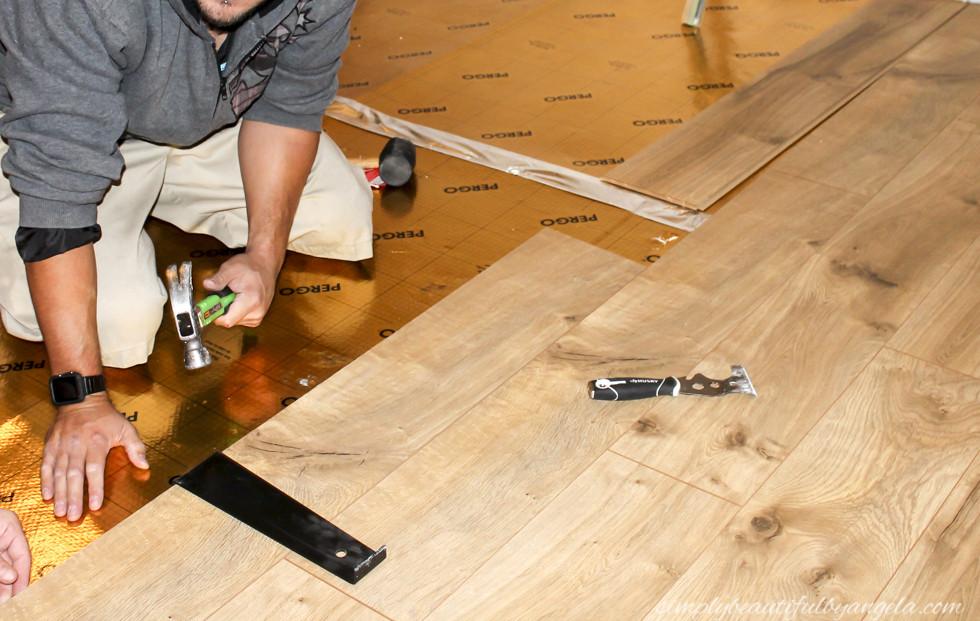
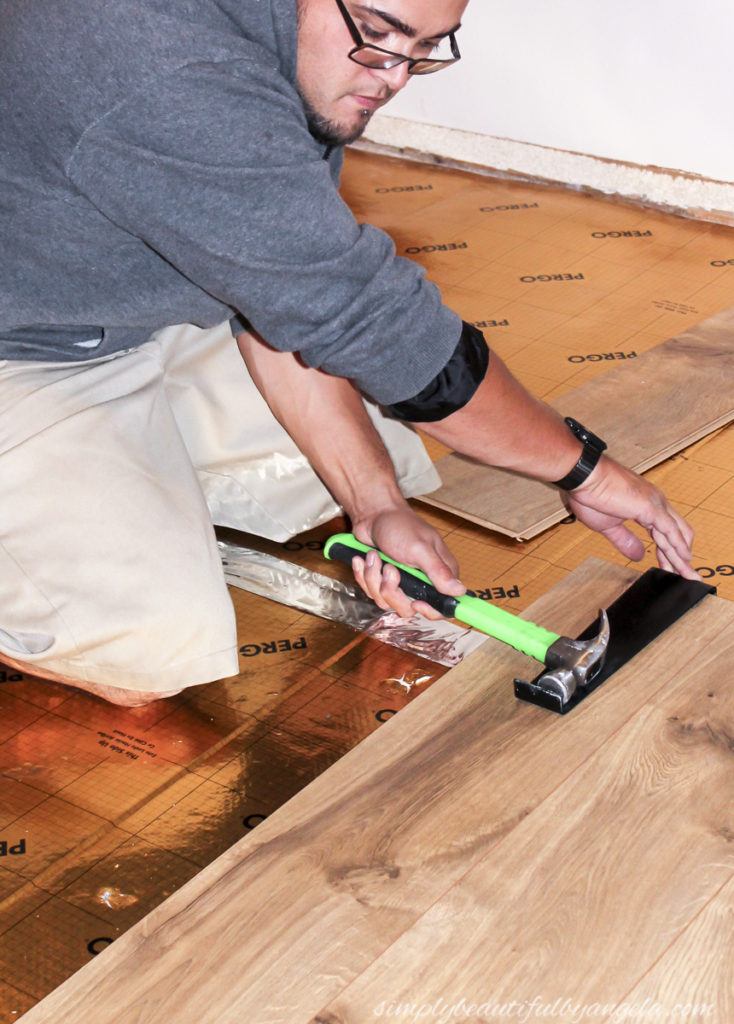
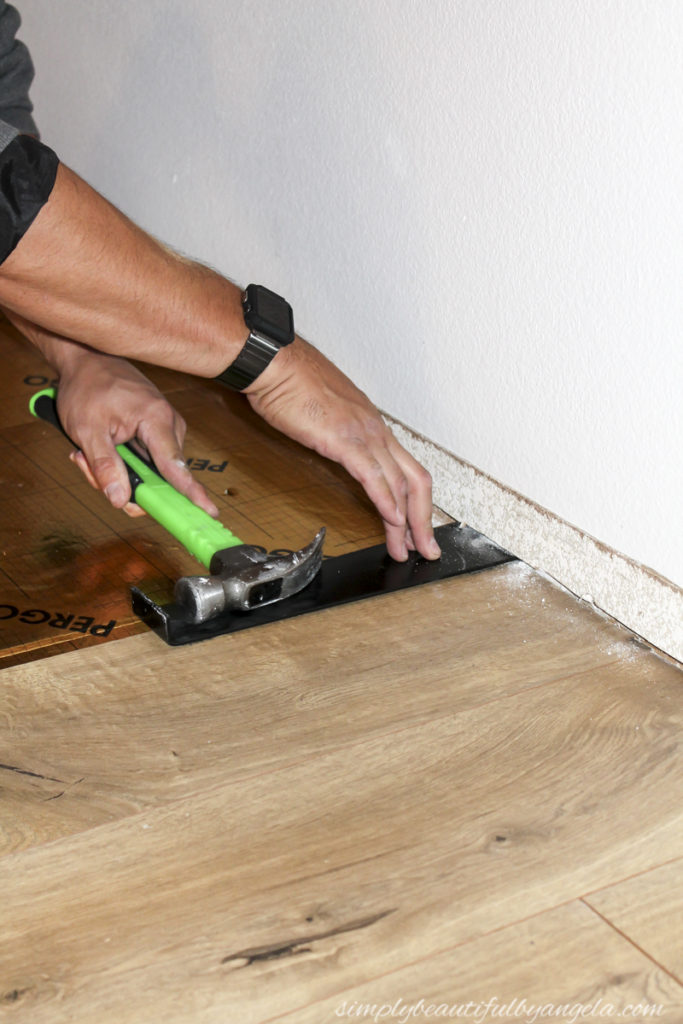
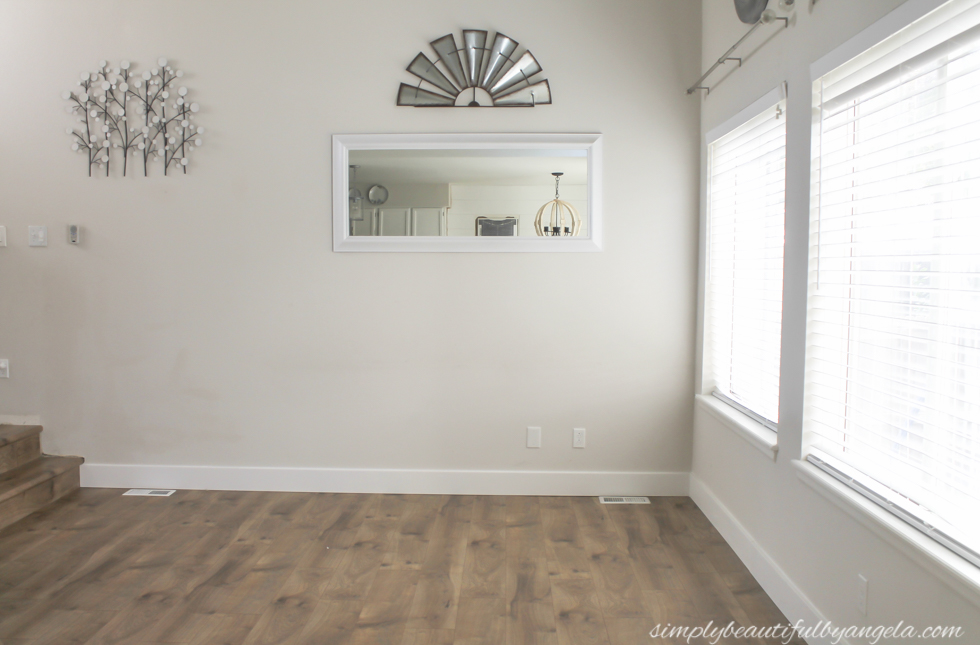
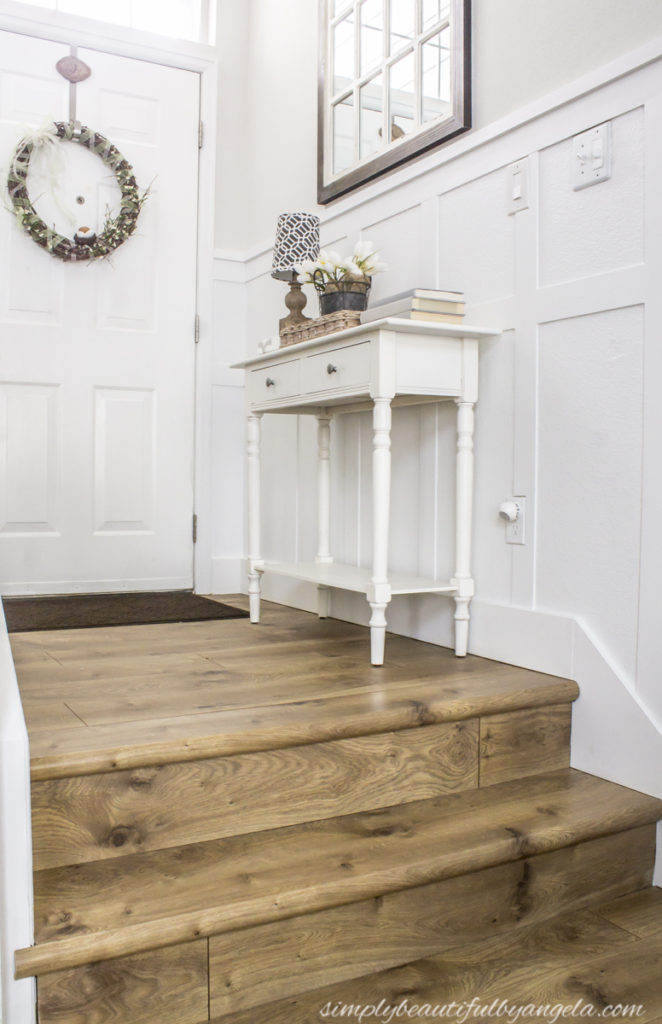
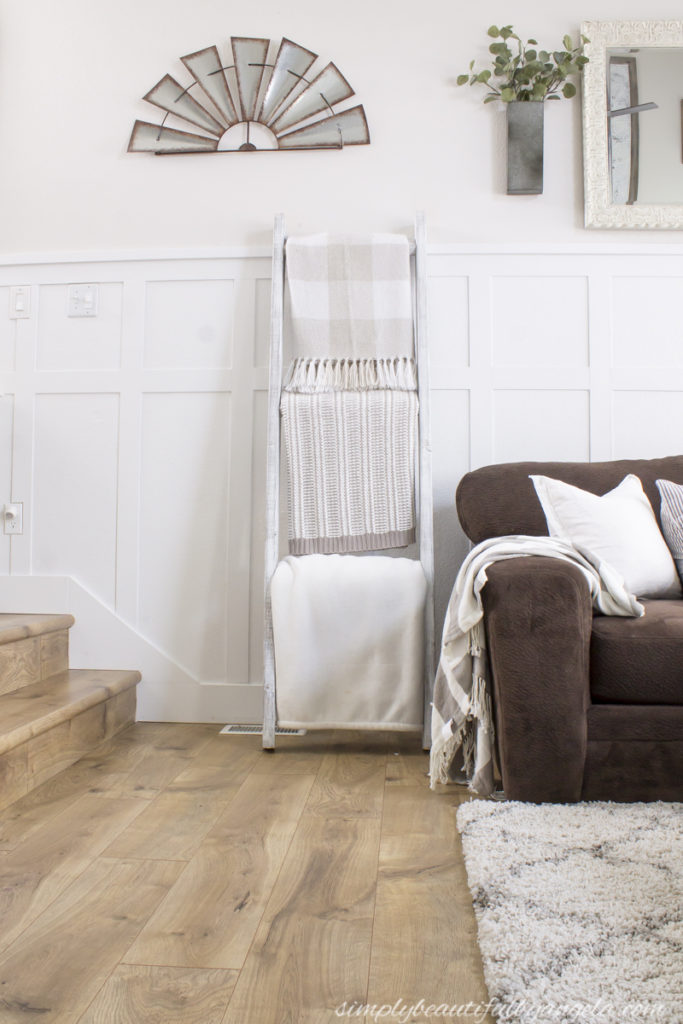
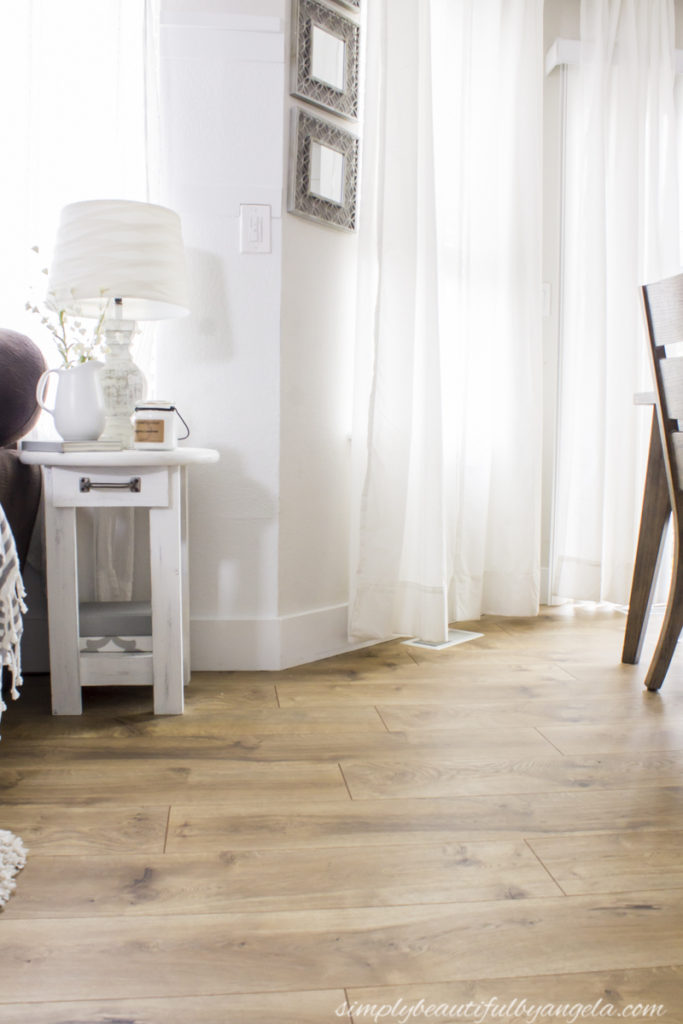
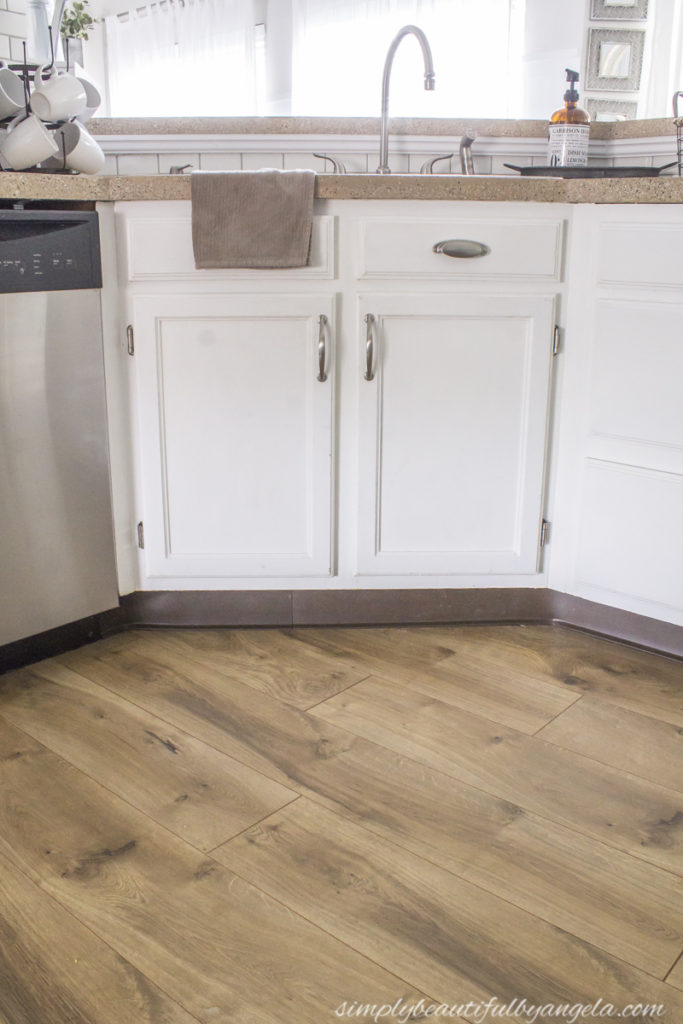
As we enjoy our last few weeks in our current home I’ve found myself looking around and truly admiring all of the hard work that we’ve put into our home. At the top of the list is our laminate plank floors that we installed ourselves last October.
When I first showed them off in my One Room Challenge Living Room Reveal last fall, I promised a full tutorial “very soon” but time completely got away from me!
Today I am finally going to share the process with you all in case any of you are thinking about taking on this on yourselves. I was super duper nervous about it, but it turned out to be much simpler than I thought it would be and trust me, if we can do it–anyone can!
Supplies Used: (Affiliate links may be provided for convenience. For more info, see my full disclosure here.)
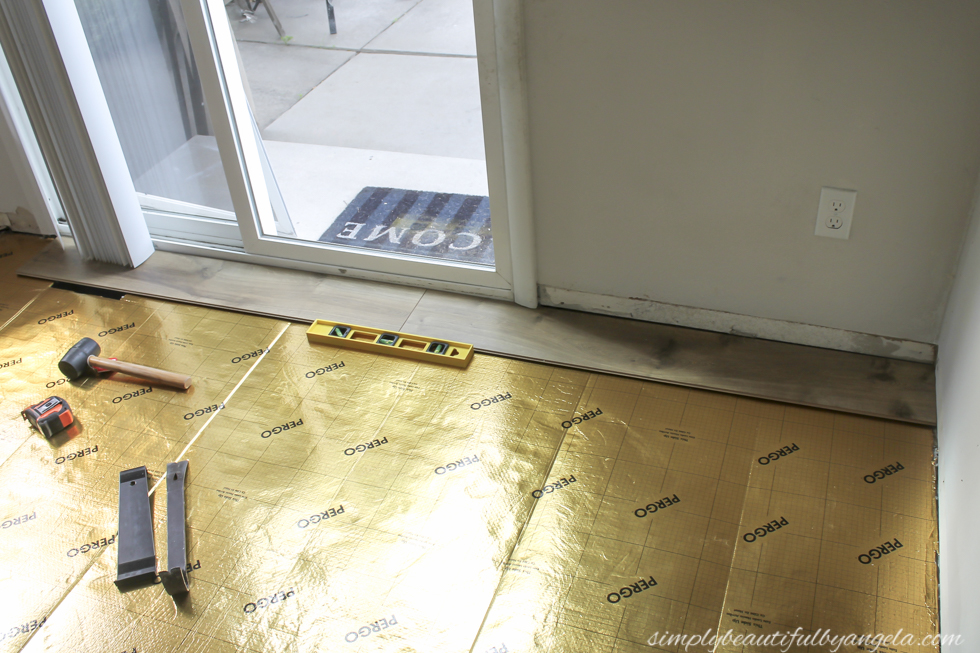
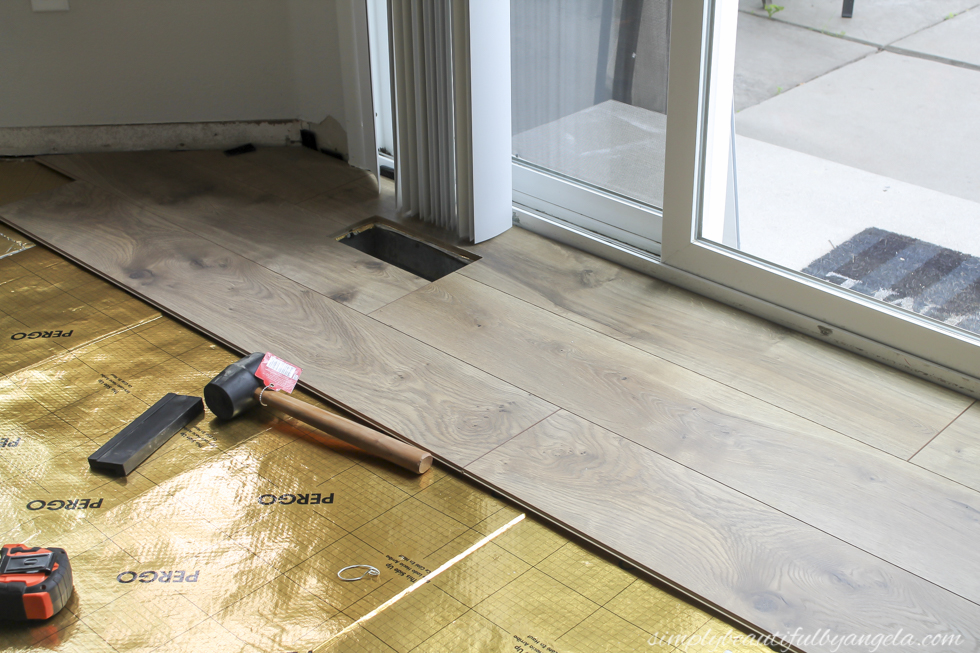
- Pergo Riverbend Oak Laminate Flooring
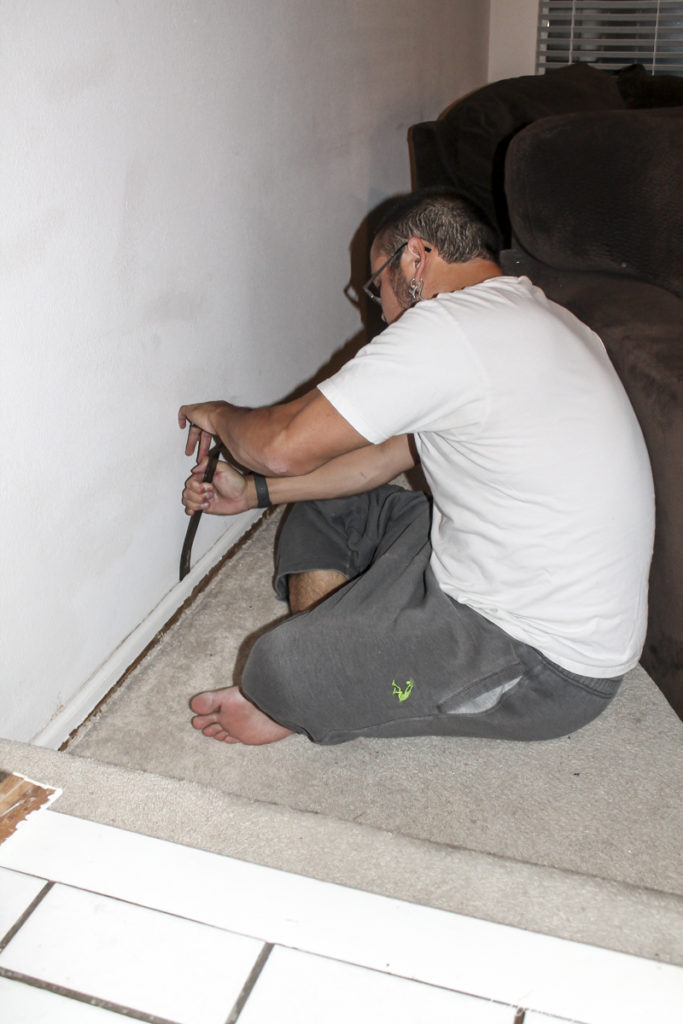
- Crowbar
- Utility Knife
- Pliers
- Sledge Hammer
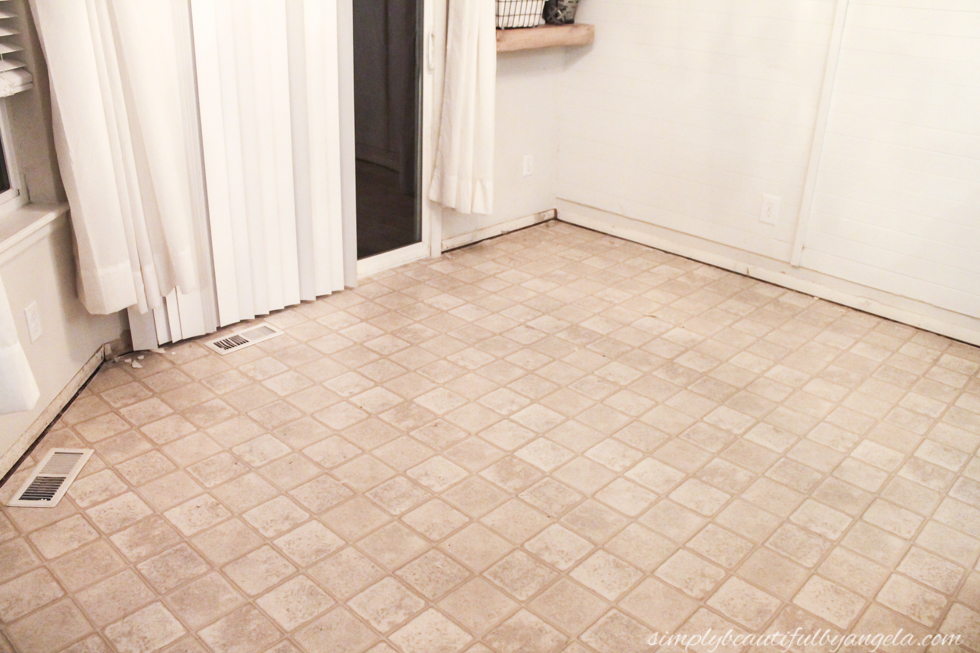
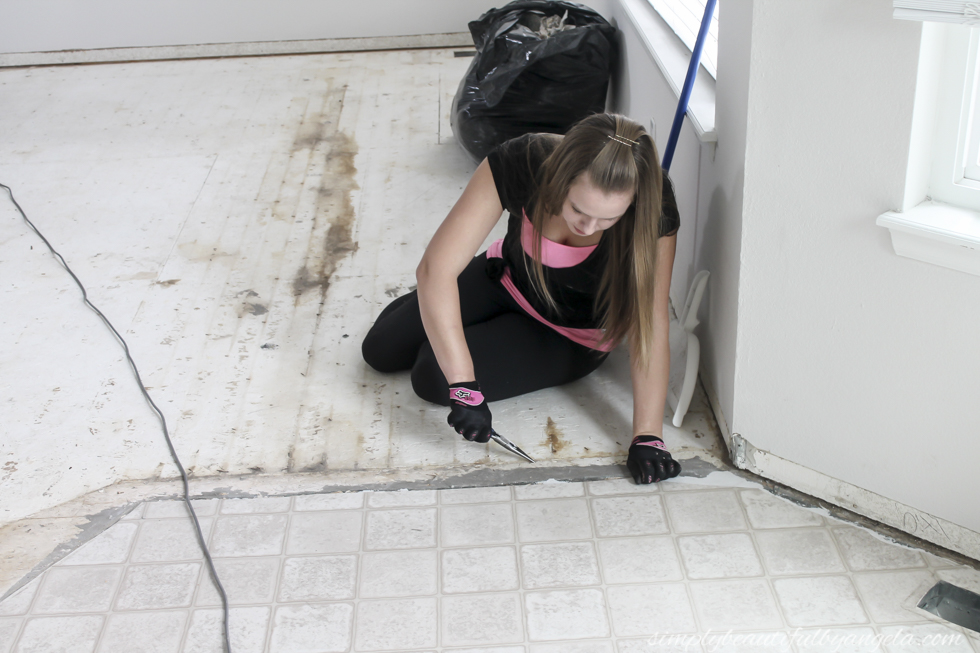
(if removing tile)
- Laminate Flooring Installation Kit
- Rubber Mallet
- Hammer
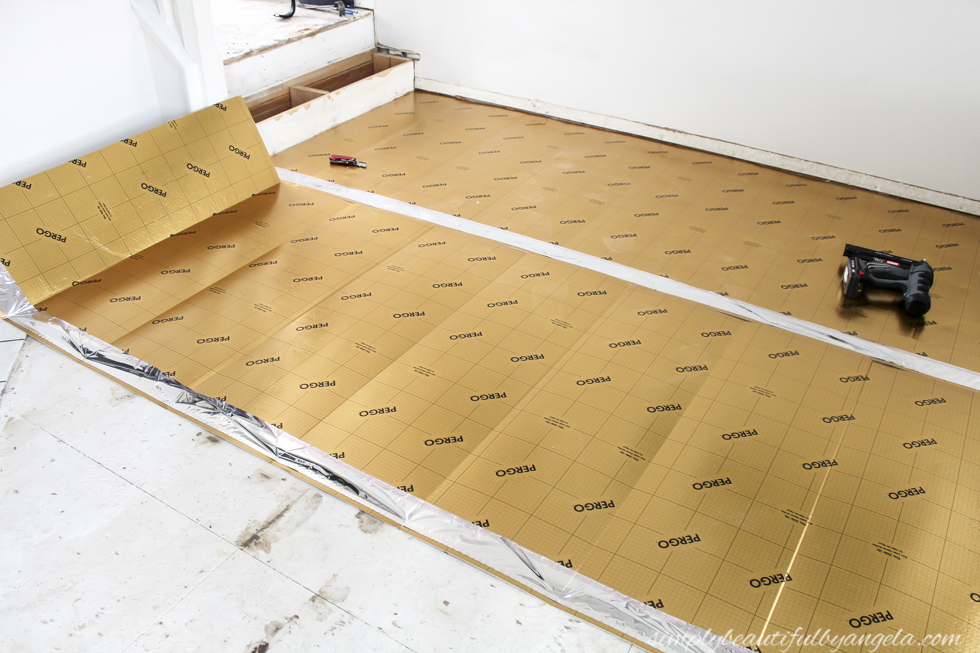
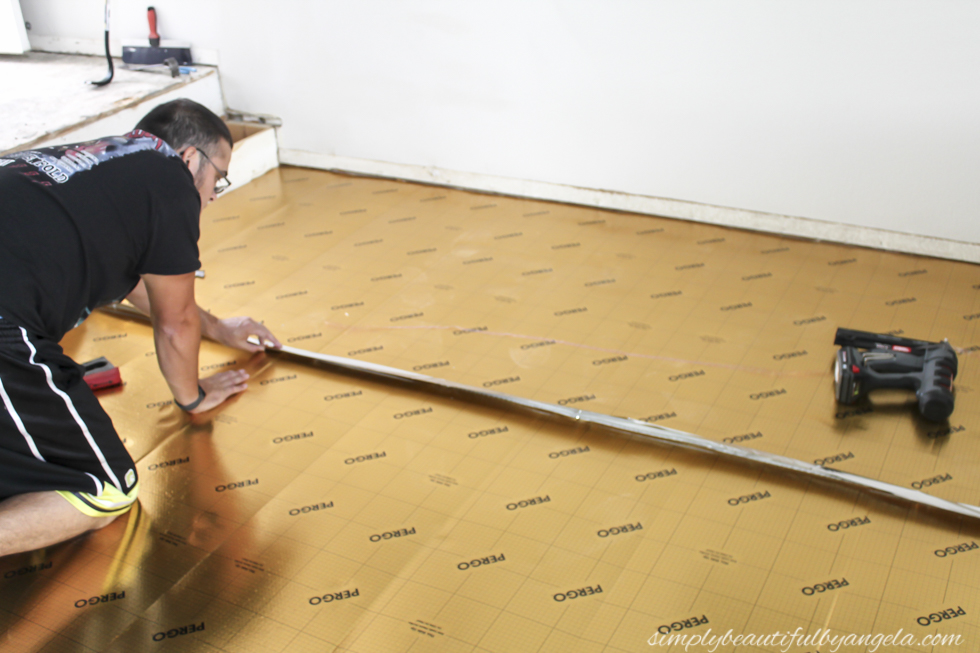
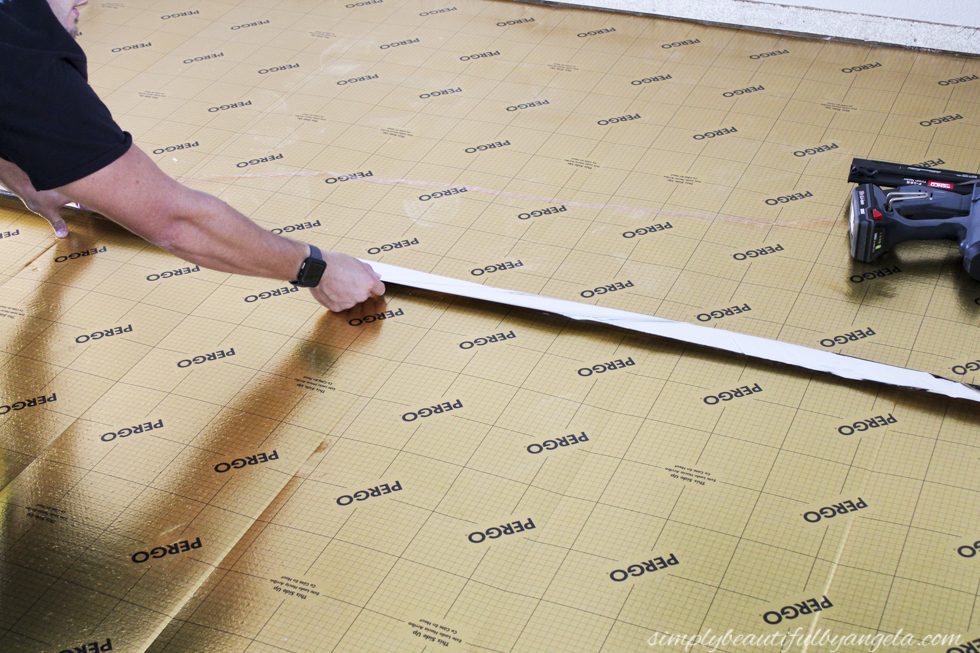
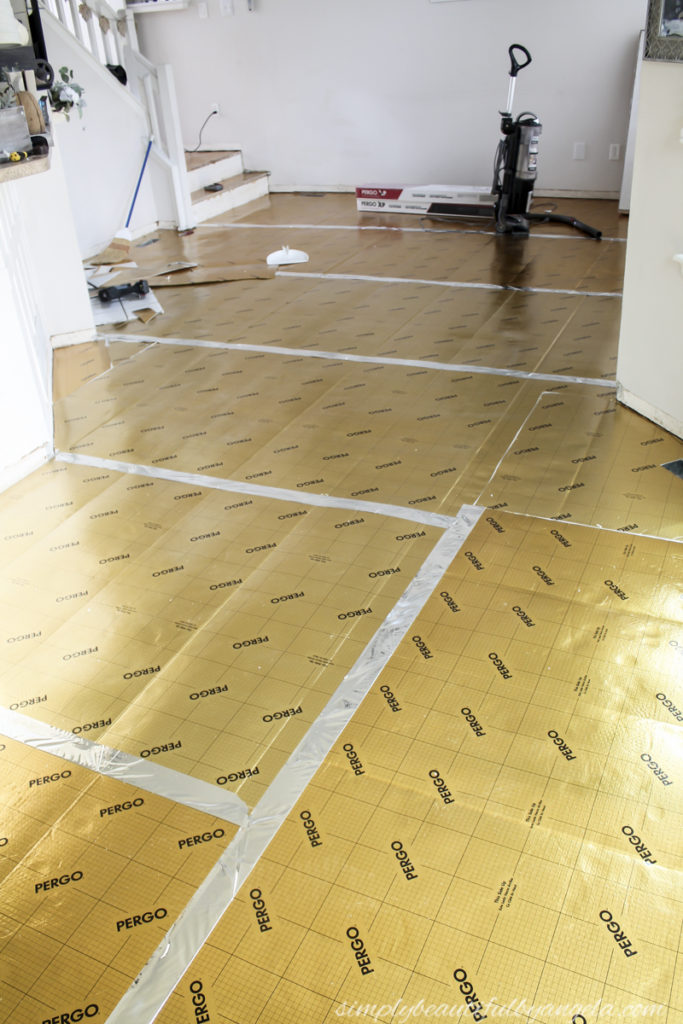
- Pergo Gold Underlayment
- Staple Gun
- Brad Nailer
- Contour Gauge
- Jigsaw
- Compound Miter Saw
- Dremel
- Level
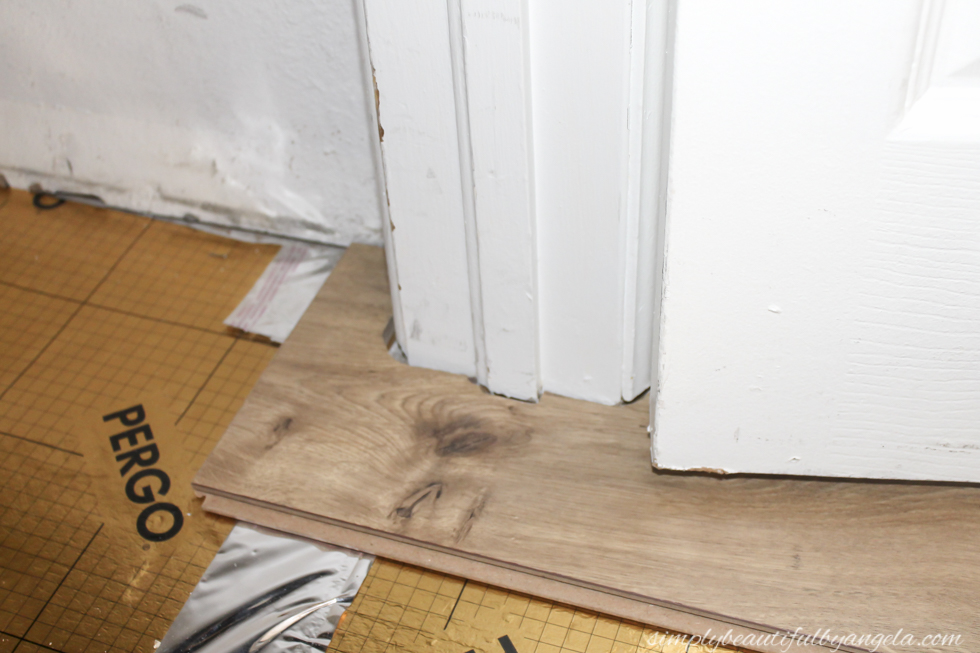
Also, there are A LOT of color options–holy moly! After months of debate I finally chose Riverbend Oak.
I ordered a whole box rather than a sample so that I could really get a feel for how it would look. If I hated it I figured that I could just return it, but of course I fell in love the second I took the first plank out of the box.
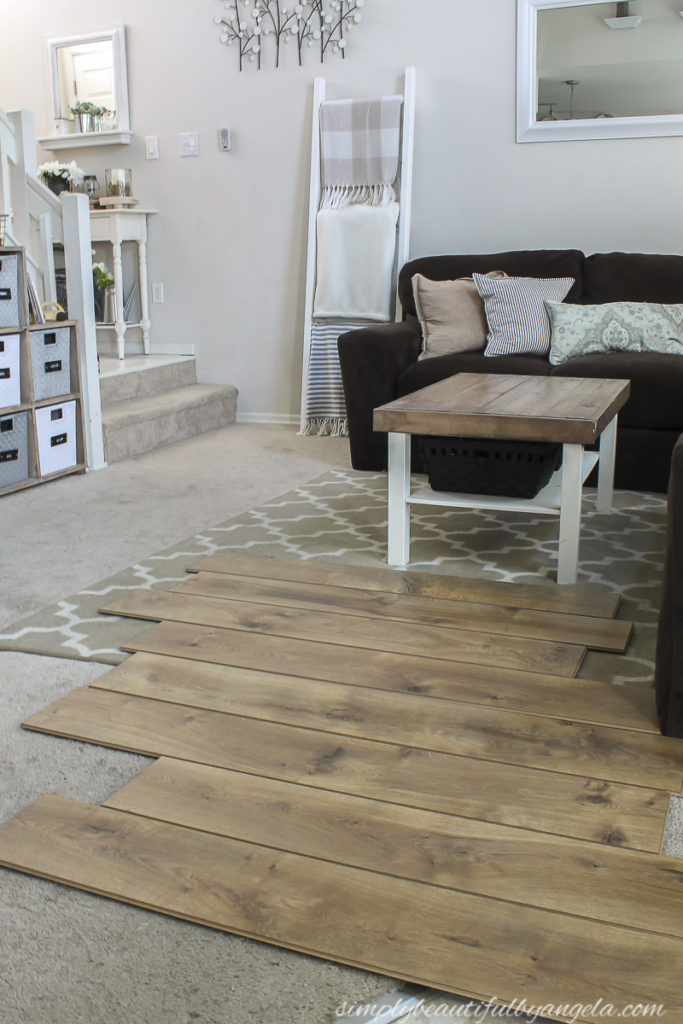


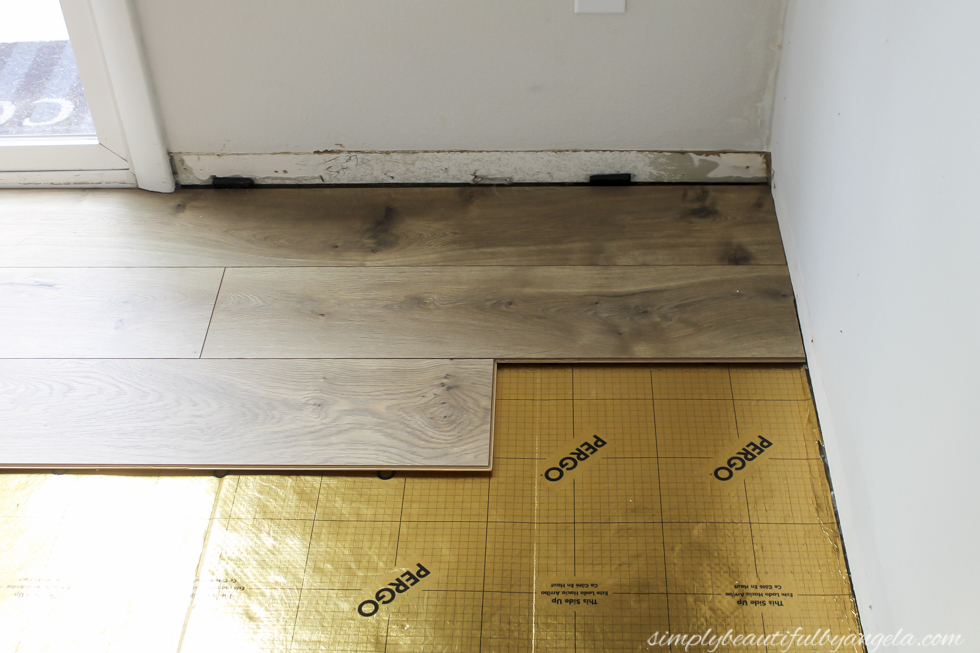
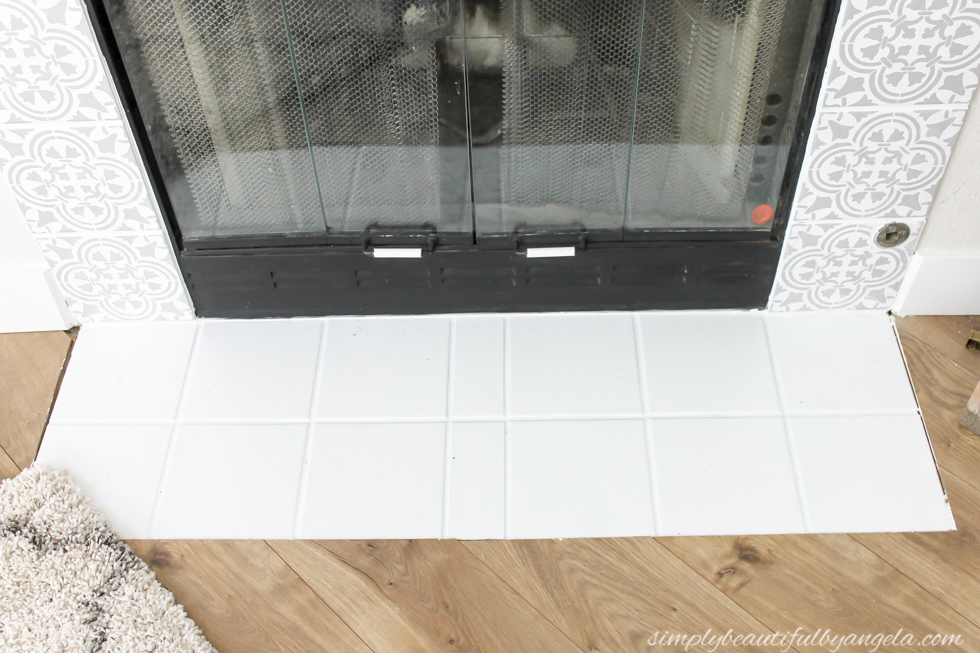
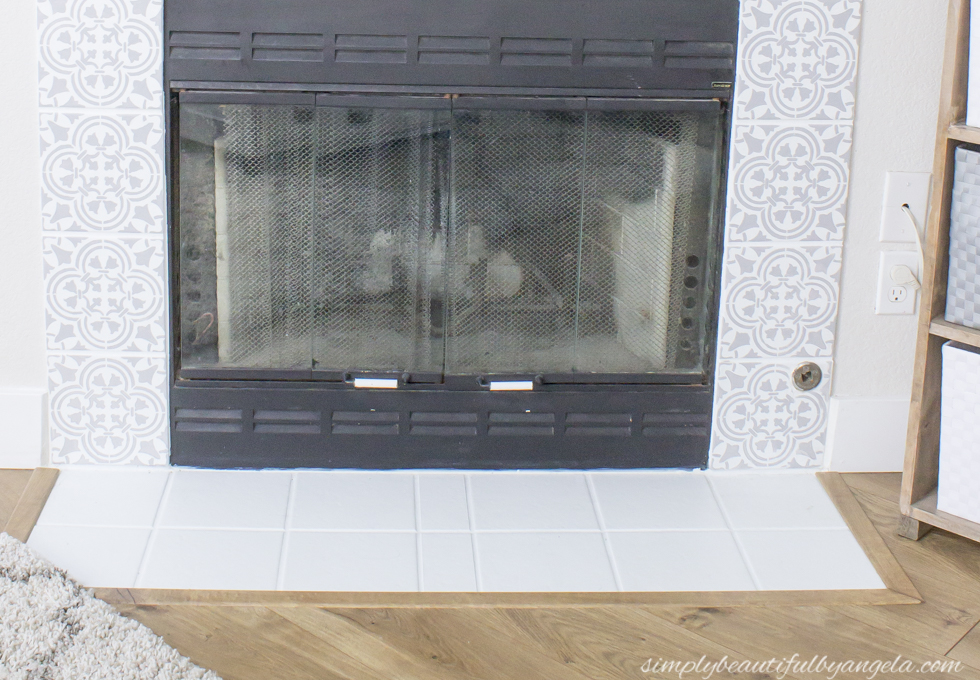

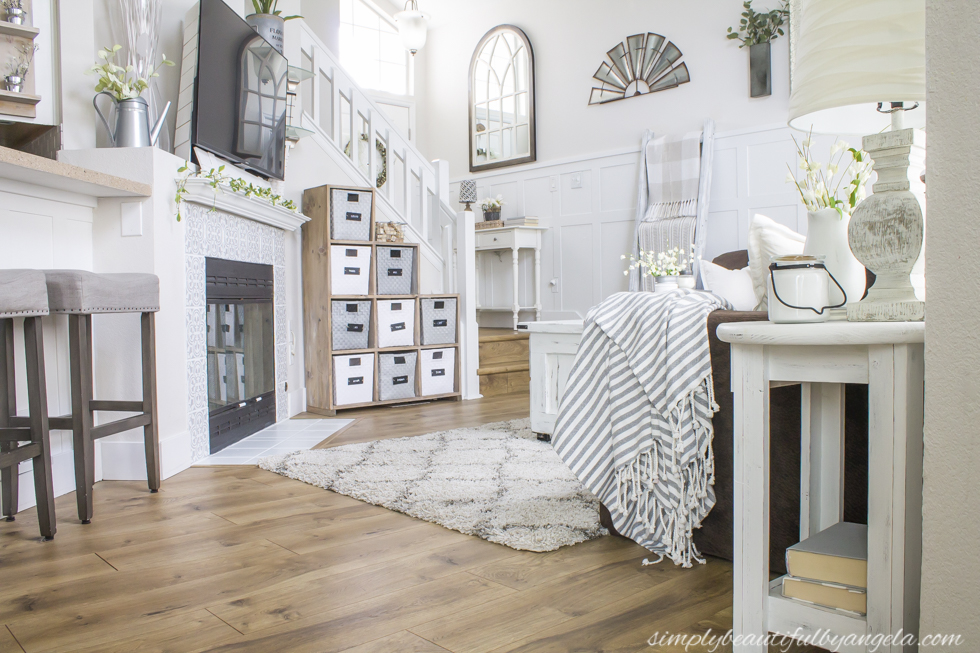
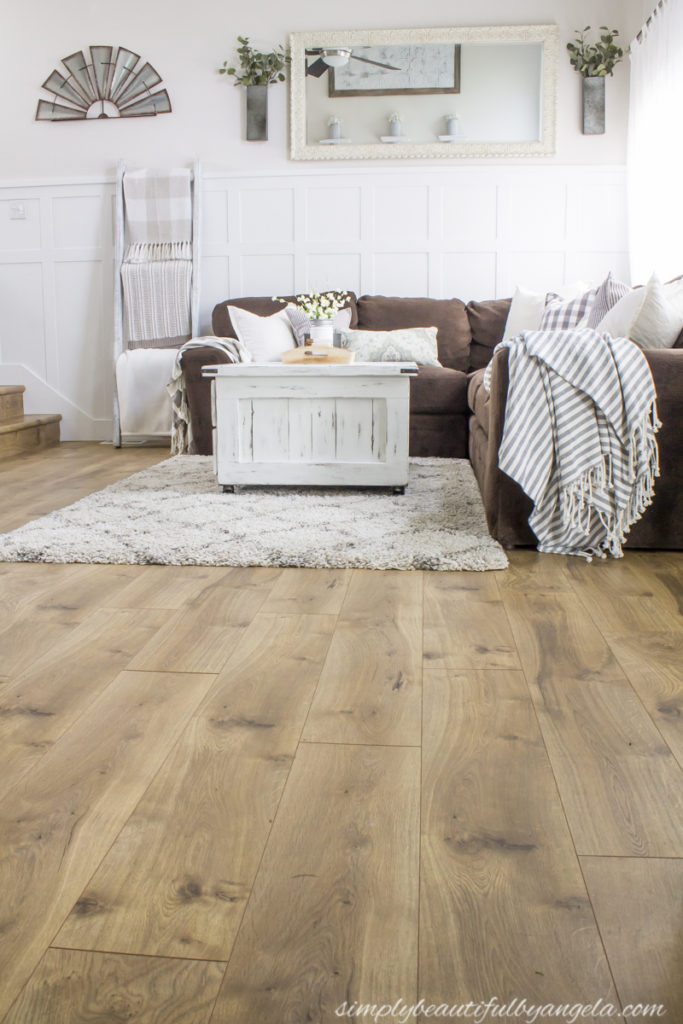


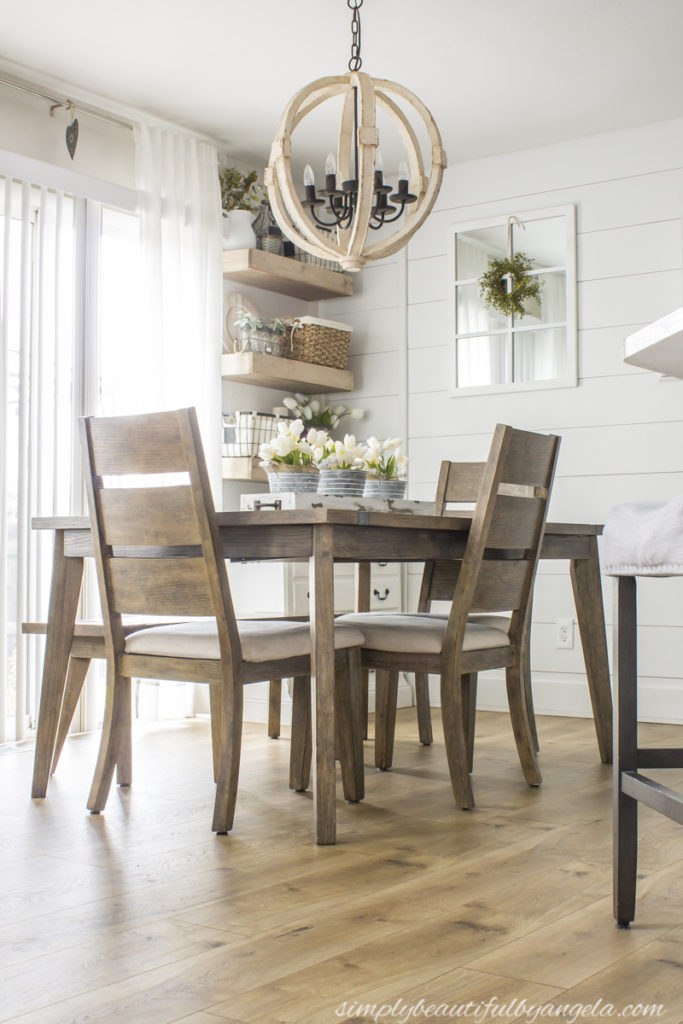
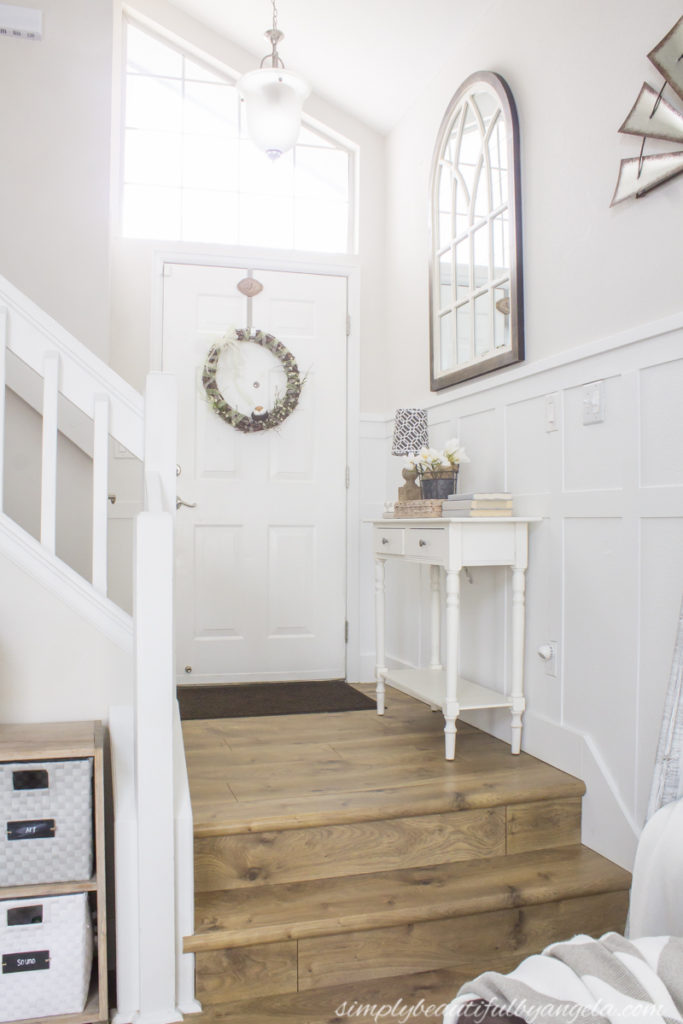
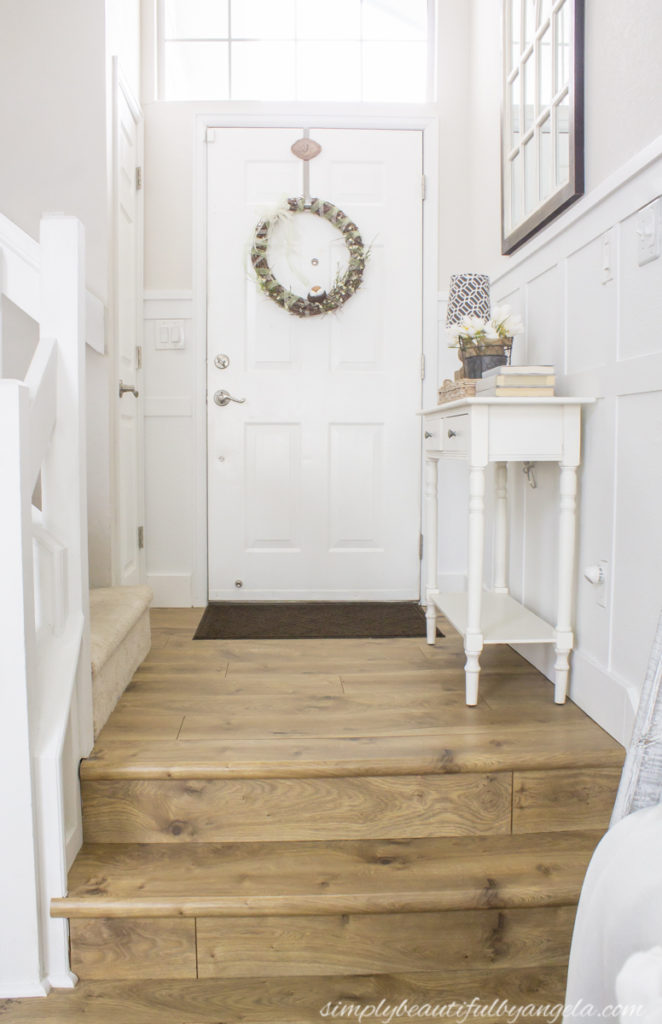
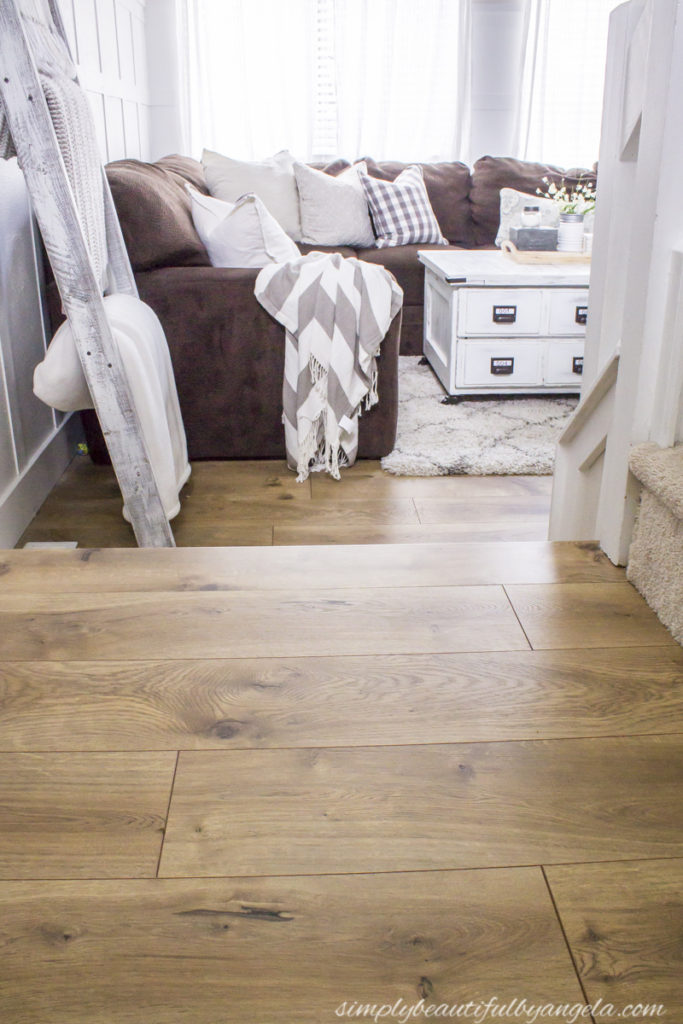


Oh! Just one minor quick note. Or NOT so minor haha! We actually had the entire living room and dining room laid before I realized that we were lining them up in a perfect brick pattern. Of course natural wood floors are staggered randomly, so I knew that it was going to drive me insane. To make a long story short, we ended up having to pull them all up and relay them. Major pain. So learn from our mistake and make sure you randomize your seams! (You can see what I mean in this post.)
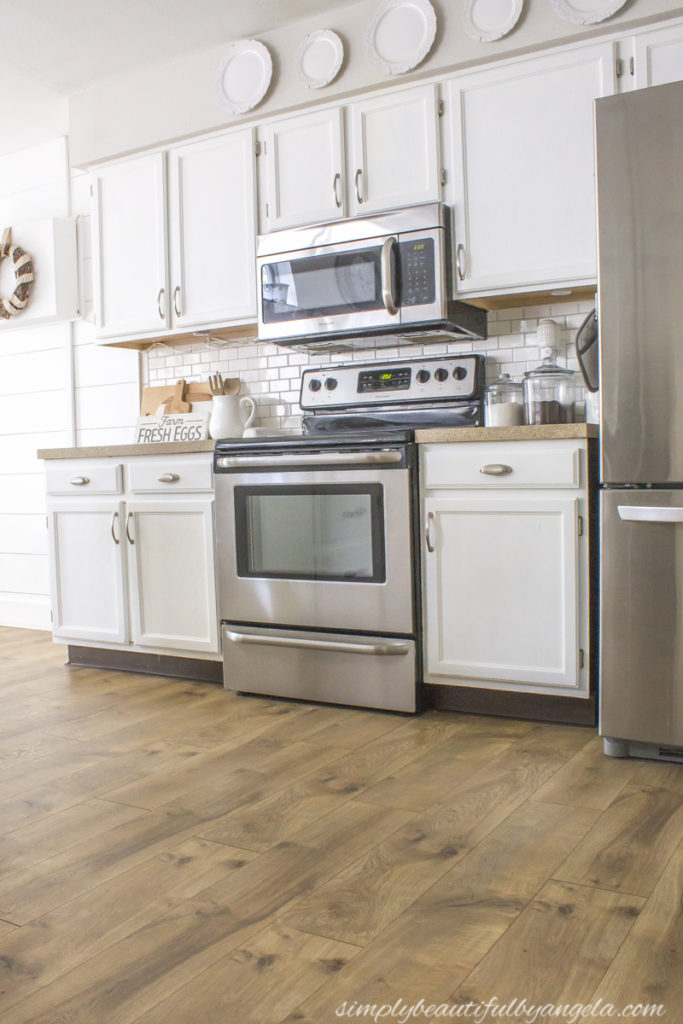
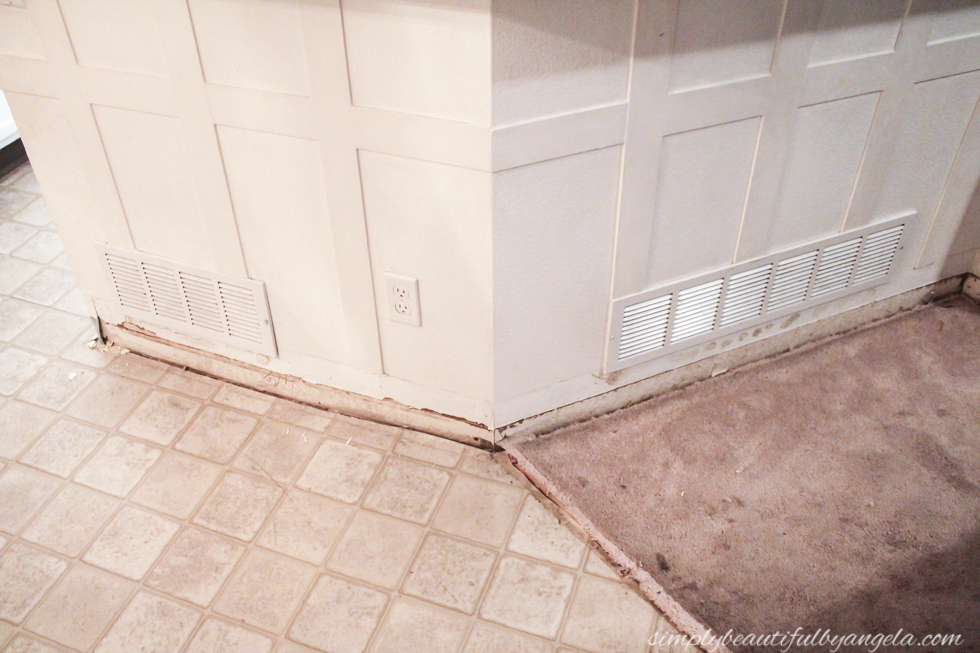
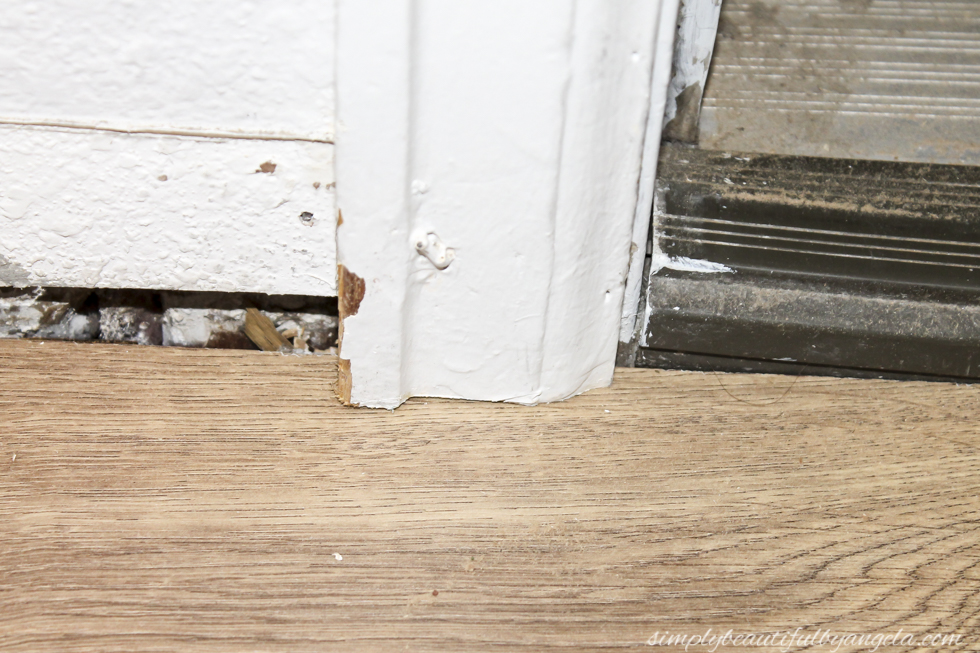
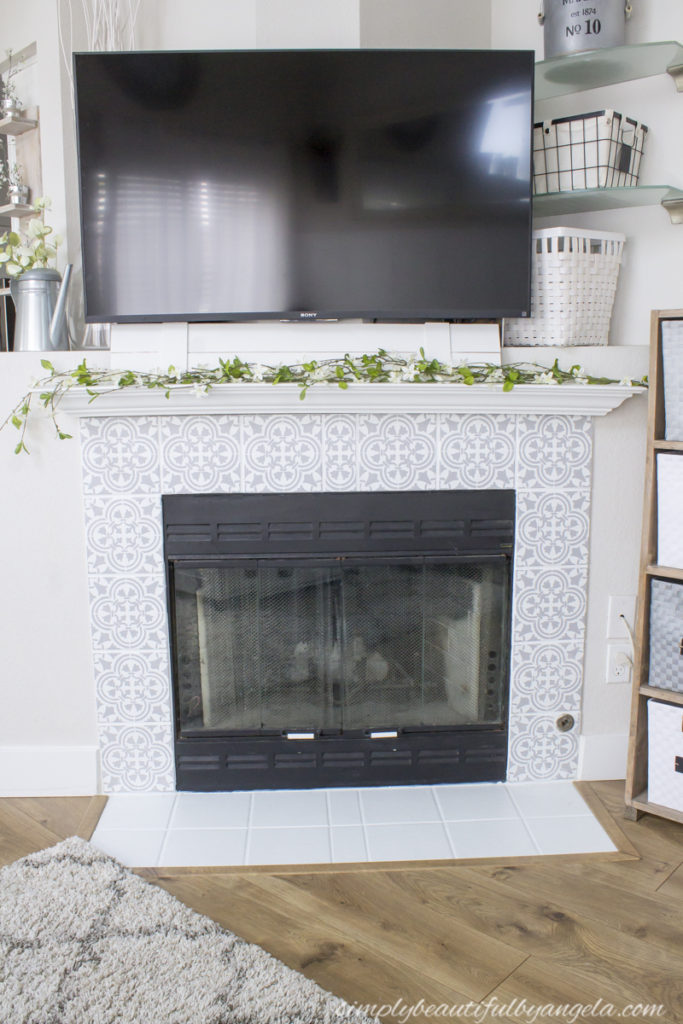
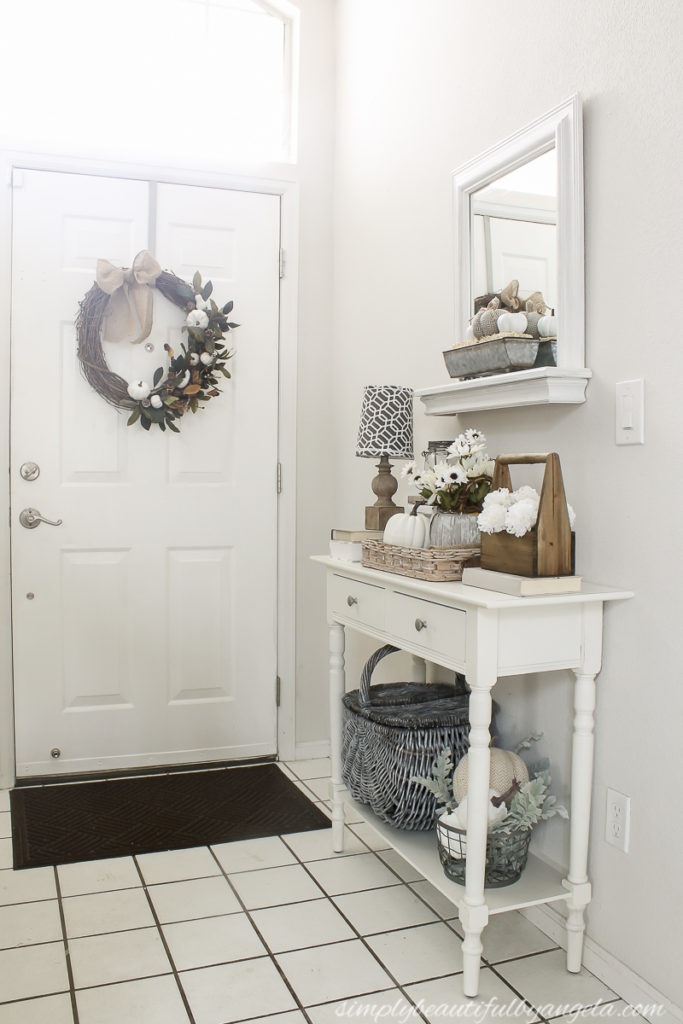
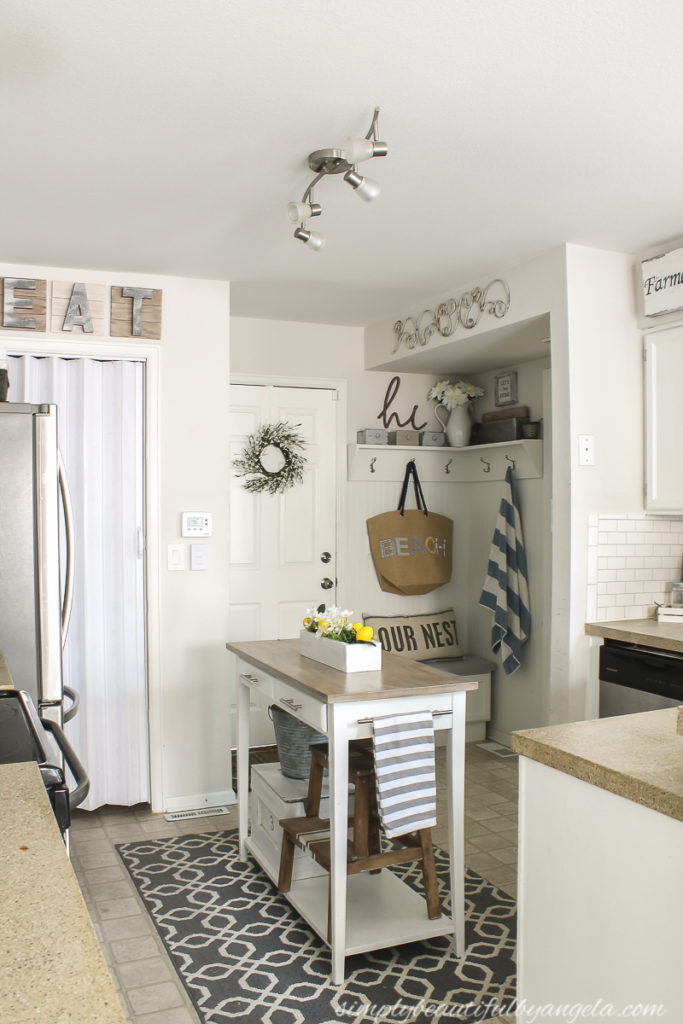
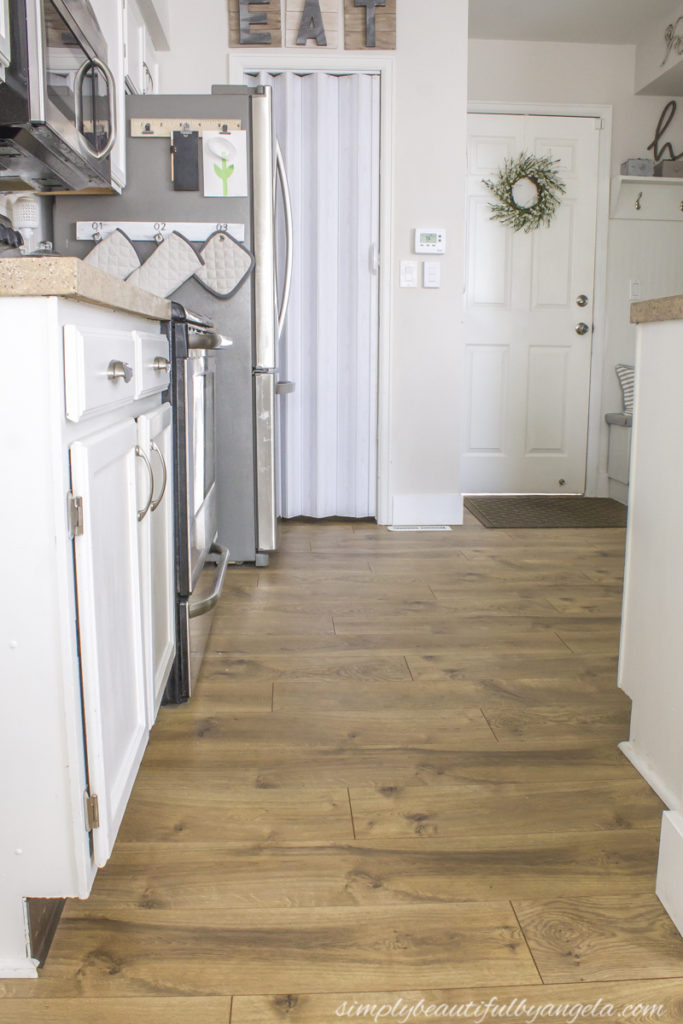
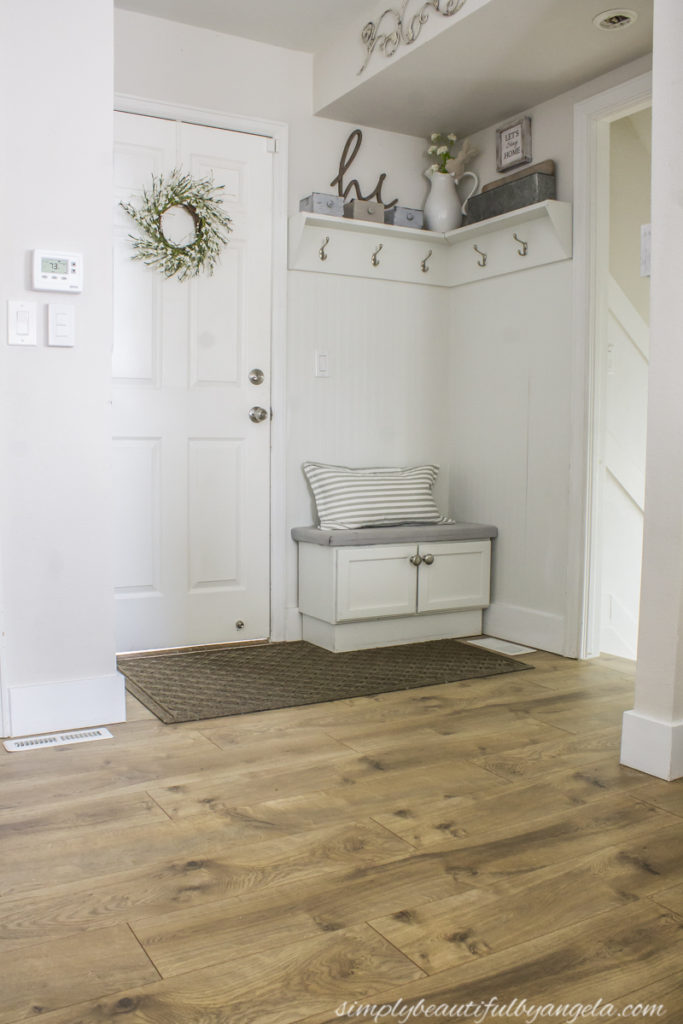
Even the mudroom space looks much better than before.

We saved quite a bit of cash by installing ourselves. Between the cost of the floors, the underlayment and tools we spent about a third of what we were quoted to have them installed.
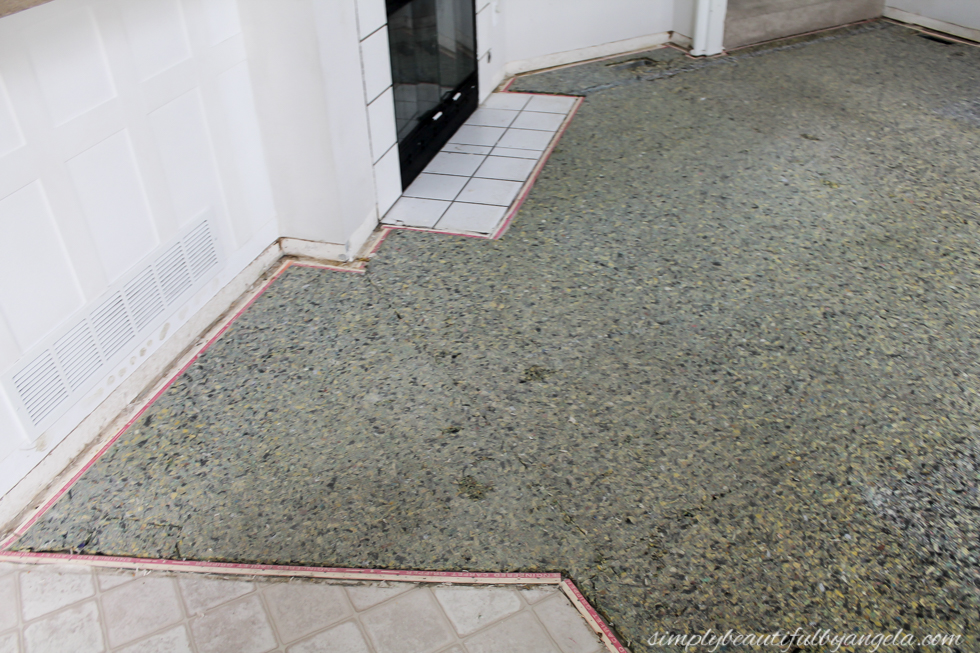
I am just now realizing that I didn’t get any pictures of making the cuts. However, you’re in luck because our new home needs new floors and I’m pretty sure we are going to go with the same ones because I love them so much so you will most likely get a second tutorial later on with some better pictures.
Thank you for sticking with me through what is probably one of my longest posts, you all deserve a big cookie! I hope you all have a fantastic rest of the week!

Many consumers not familiar with Breitling often fear that they will end up purchasing a Breitling watcheswithout knowing it. How likely are you to getwhen you aren't looking for one specifically? Well first of all there are numerous places online that sell Valentino handbags. Most of these sites are from Asia (where Replica Valentino Handbags are made) and are pretty clear about the fact that they sell replica watches.?