Hello everyone and thanks for swinging by the blog today!
I know it’s been a little more quiet than normal around her. I’ve been extra busy with the move to the new house and oh boy you guys–there have been soooo many heartbreaking and frustrating challenges that we’ve been faced with in the short month that we’ve owned this home. So many.
BUT–I’ll have to save all of that for another post because today is Thrift Store Challenge day!

The Rules:
- Upcycle an item(s) from a thrift store, resale store, or garage sale into a new piece of decor.
- There’s no monthly theme.
- There’s no budget to stick to.
Meet the Hosts
Jennifer | Cookies Coffee and Crafts – Gail | Purple Hues and Me
Yami | The Latina Next Door – Amanda | Domestically Creative
Marie | The Inspiration Vault – Ann | Duct Tape And Denim
Michelle | Our Crafty Mom – Lynne | My Family Thyme
Debra | Shoppe No. 5 – Victoria | Dazzle While Frazzled
Shirley | Intelligent Domestications – Chelc | Inside the Fox Den
Habiba | Craftify My Love
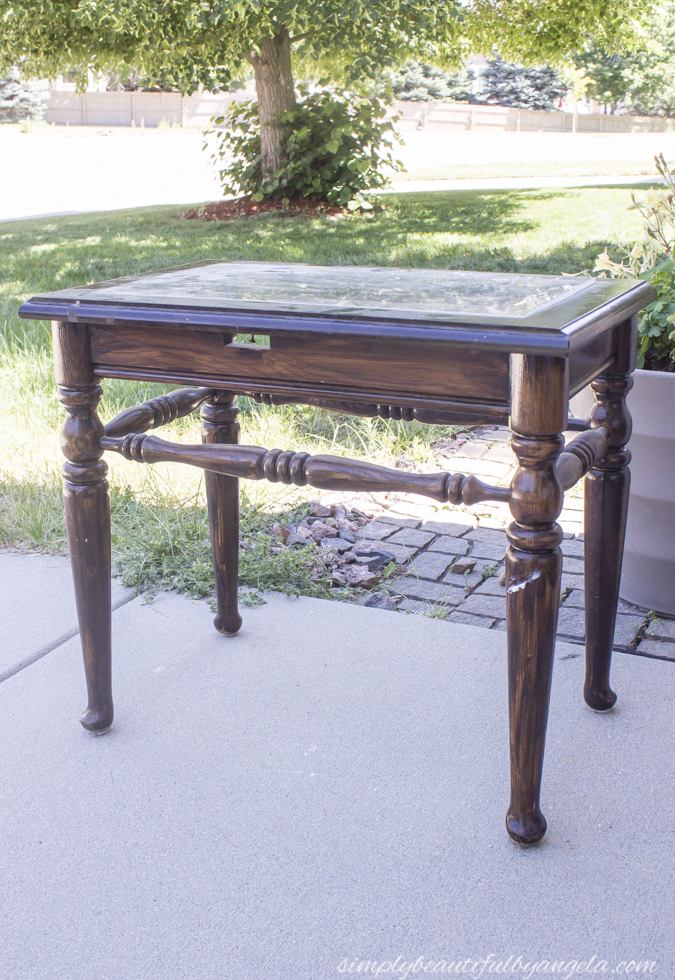
So even though I had absolutely no idea when I would have time to work on it, I threw it in the back of my truck and brought it back to our new home with plans of refinishing it once renovations slowed down a little bit.
However last week I decided I just couldn’t wait any longer to work on my new treasure! It got buried in the garage on move in day so I had Anthony dig it out (which he was thrilled about…) and decided to work on it for this month’s challenge.
Supplies Used: (Affiliate links may be provided for convenience. For more info, see my full disclosure here.)
- White Latex Paint
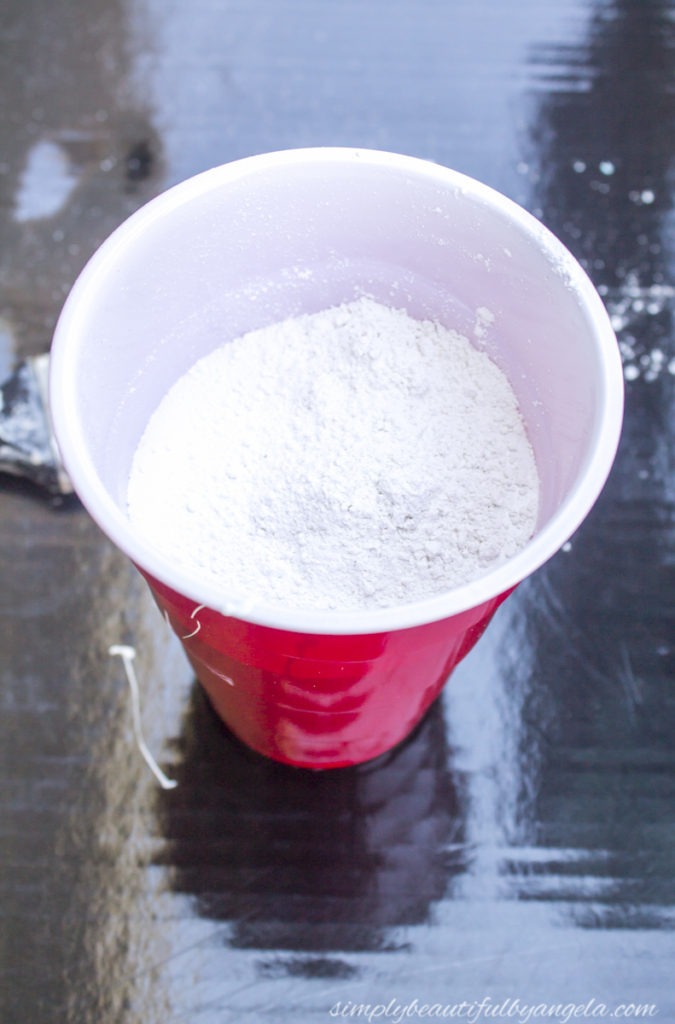
- Plaster of Paris
- Medium Grit Sandpaper
- 1x4s
- Compound Miter Saw
- Liquid Nails
- Minwax Dark Walnut
- Rag
- Chip Brush
- Minwax Polycrylic
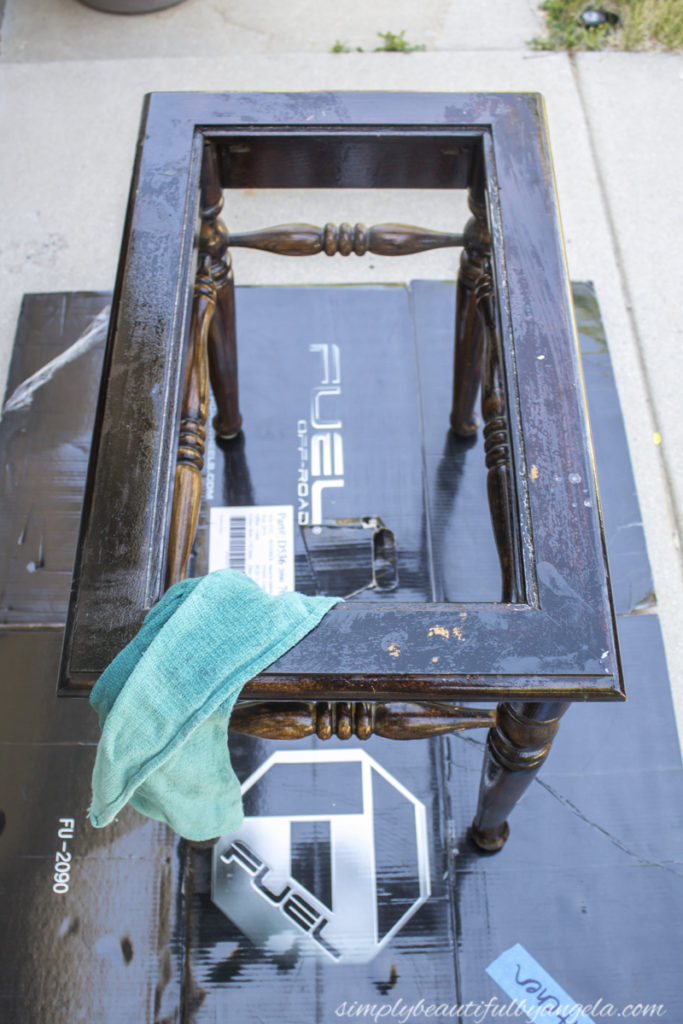
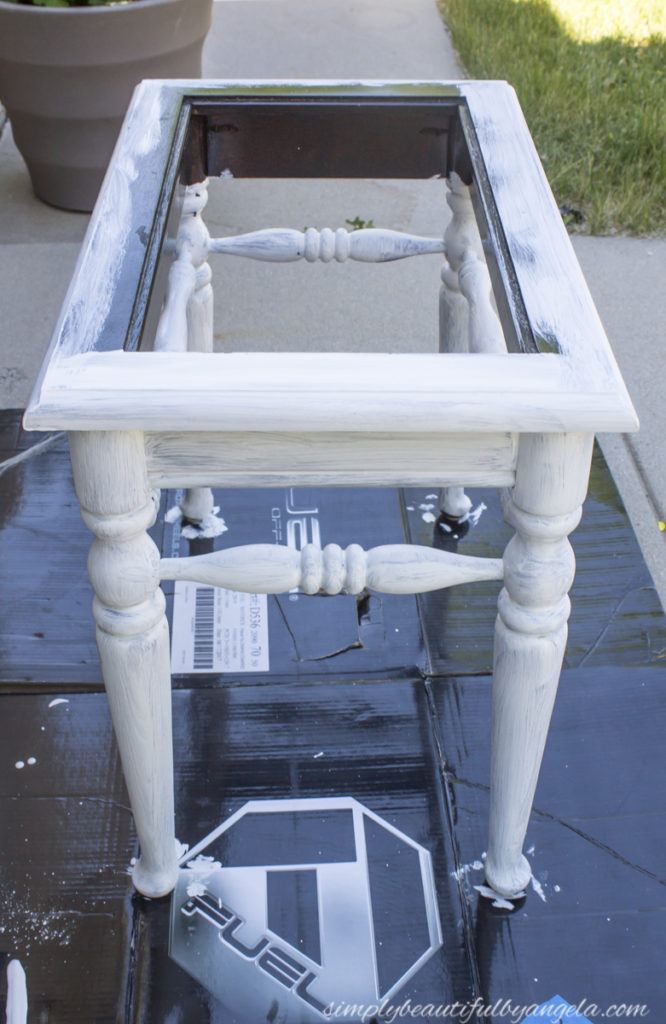
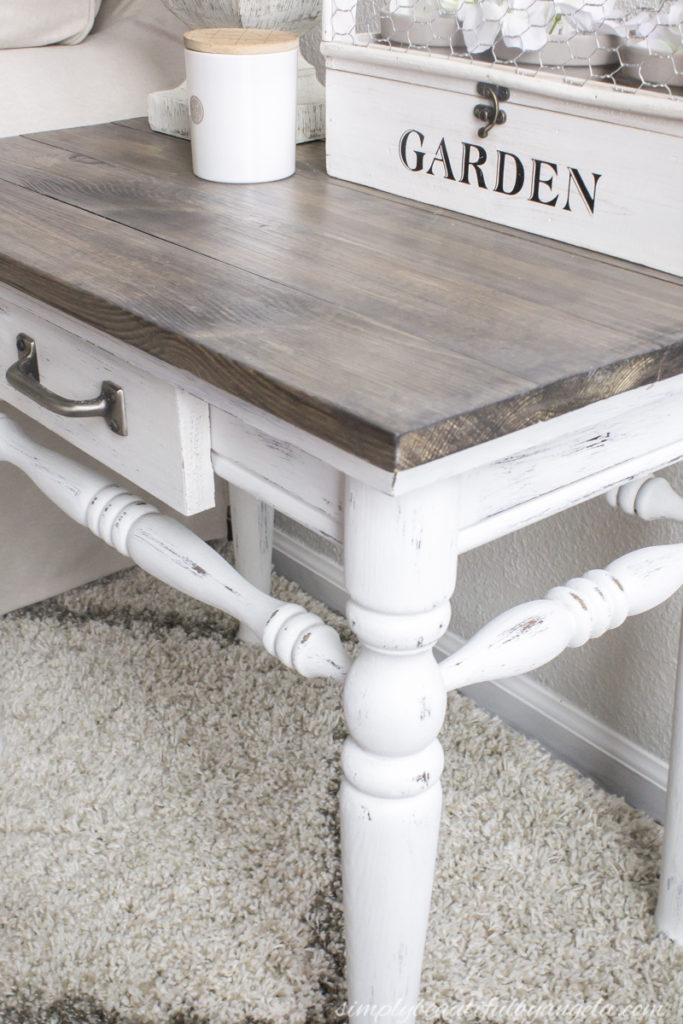
Luckily the plexiglass instert popped right out which was a nice surprise since I was originally planning on just planking directly over it instead of fighting it out.
I then ran over the wood with a damp rag to clean the dirt and grime off of it.
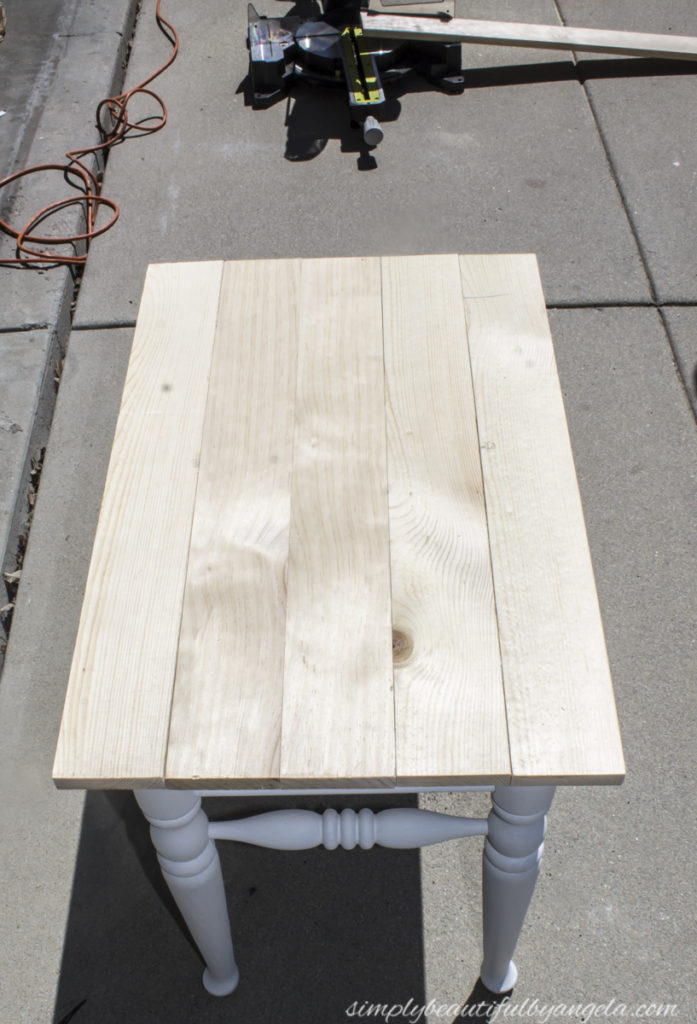
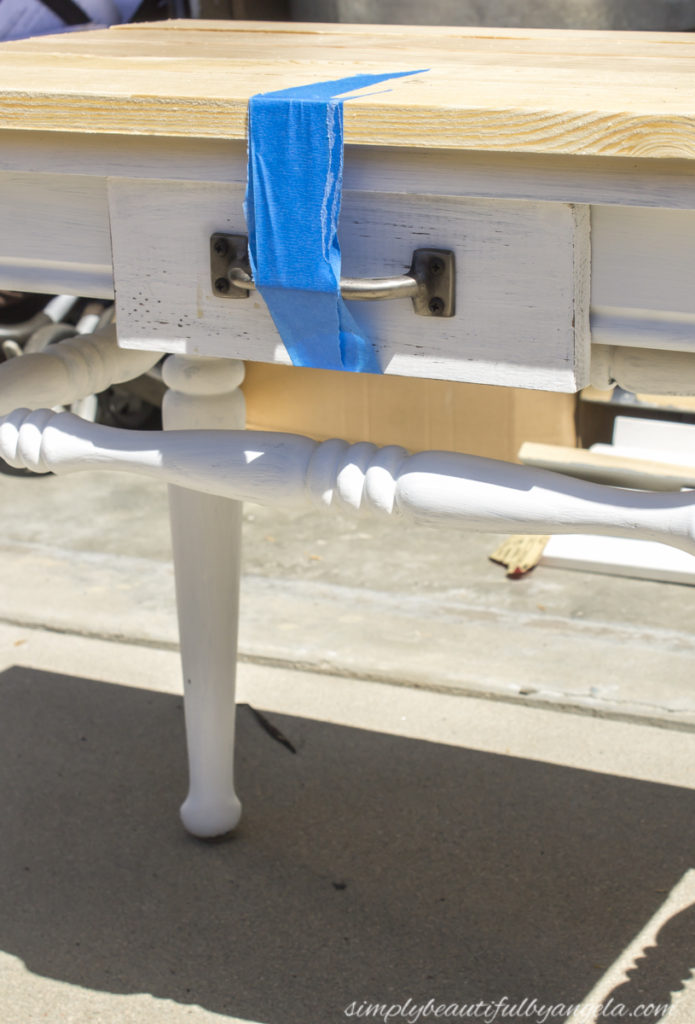
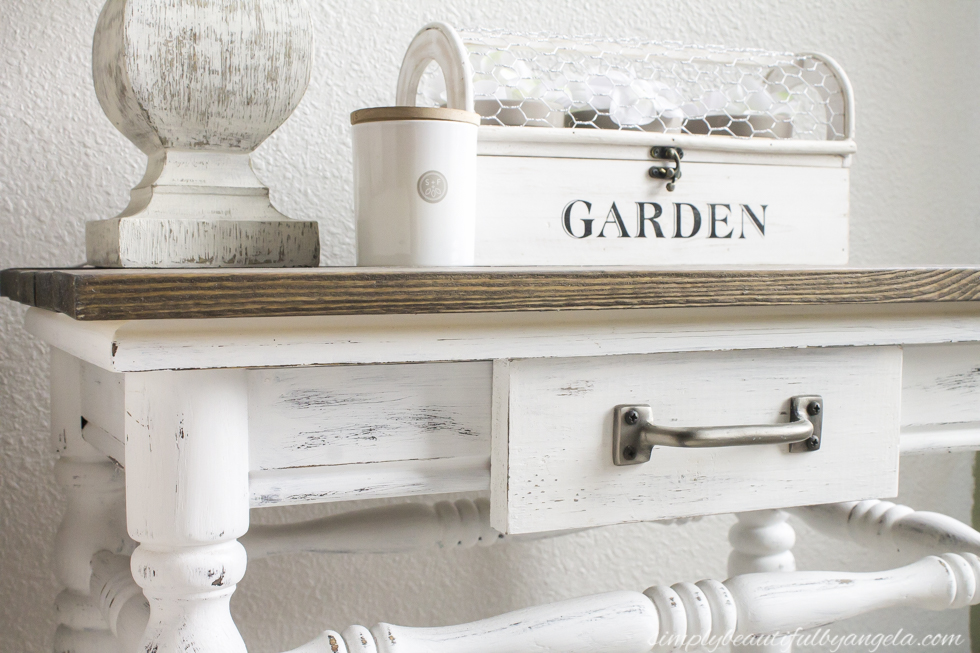
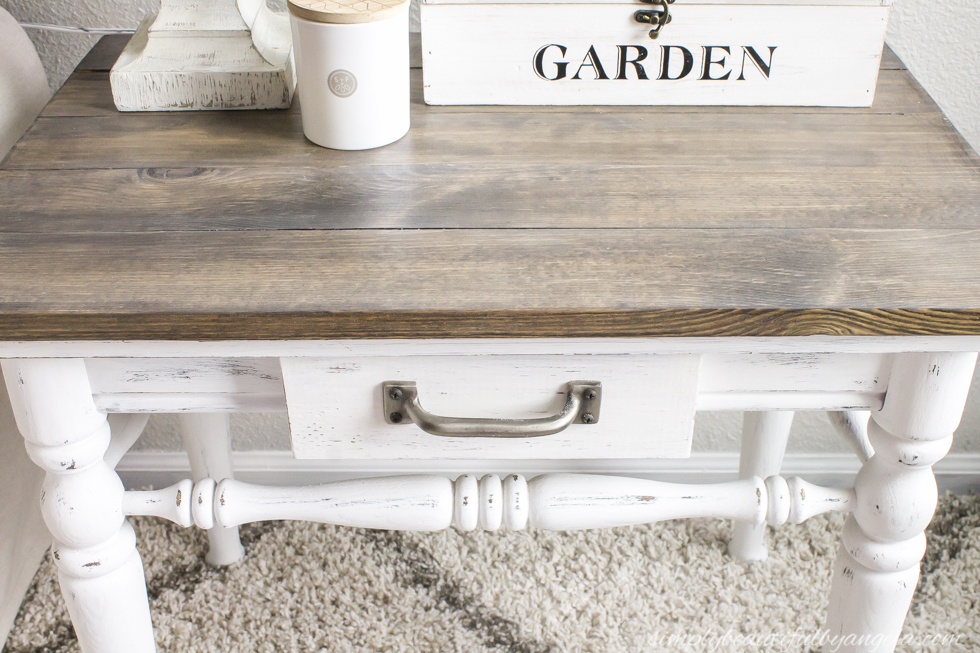
I then measured out how much overhang on the sides 5 boards would create. It turned out to be 1.5″ so 3/4″ on either side. I then added 1.5″ to the length of the table to create the same overhang lengthwise. I used our miter saw to cut the boards and then attached them to the table top with liquid nails. Easy peasy!
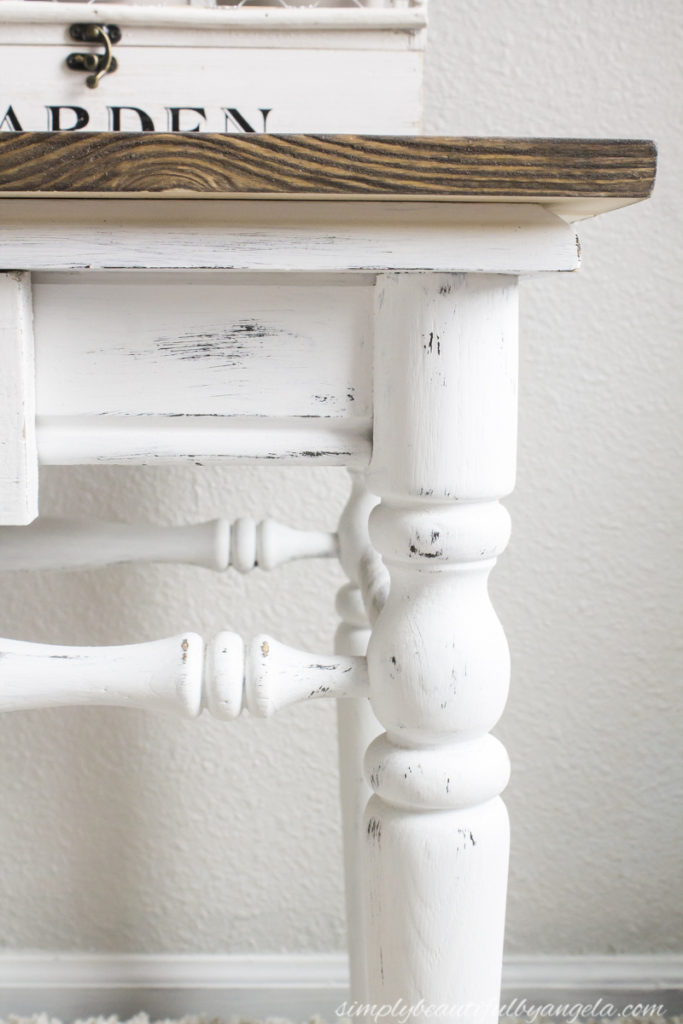
The next day I sanded the boards down and stained them with Miniwax Dark Walnut. I follwed it with a coat of whitewash to make it look a little more weathered.
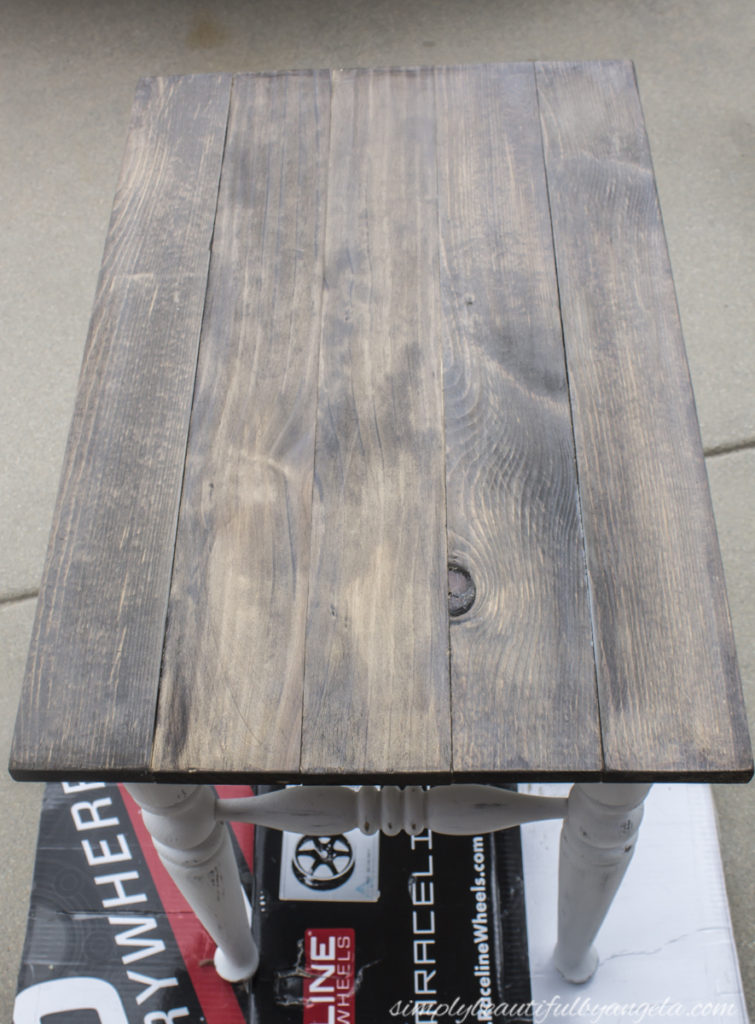
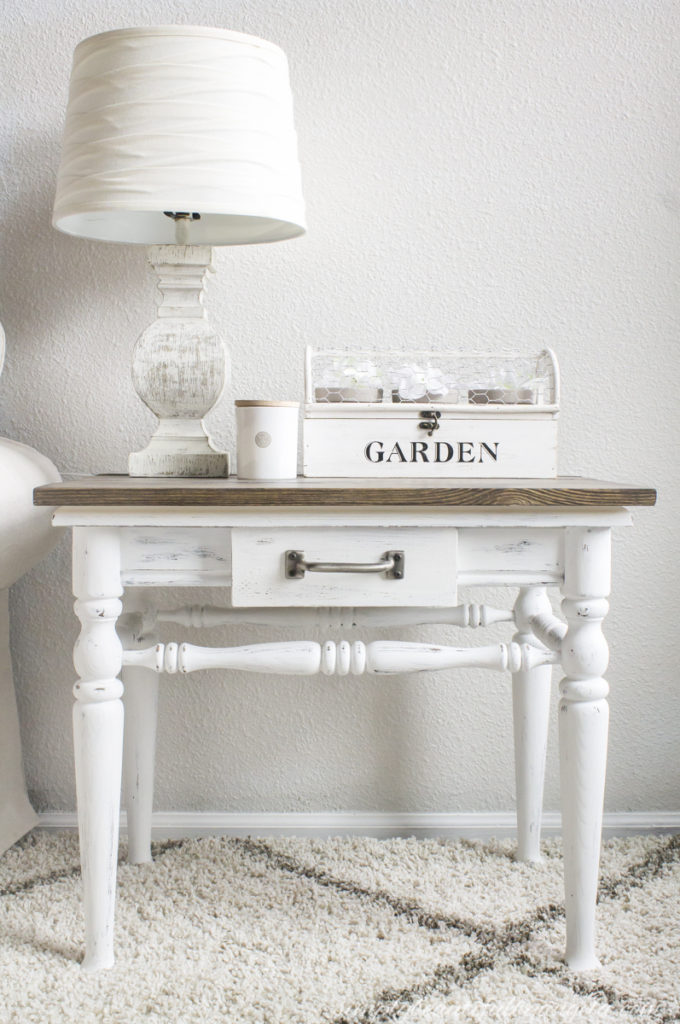
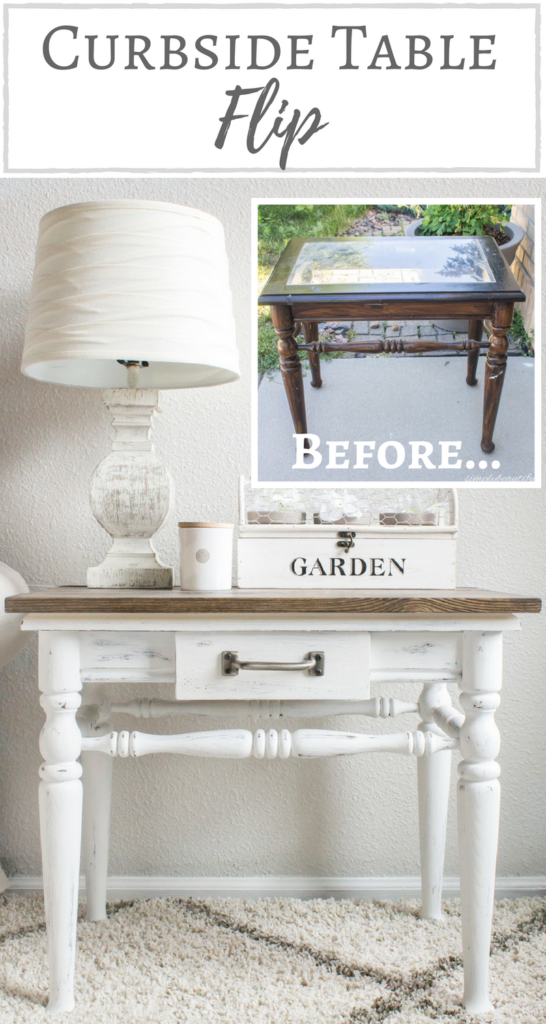
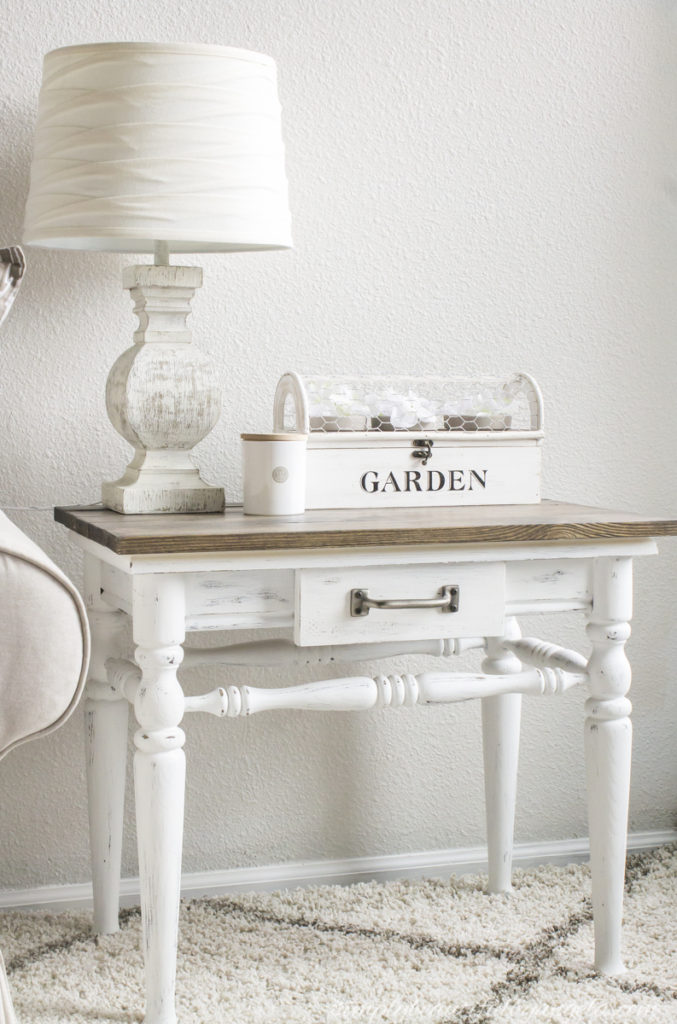
It looks like a whole new table and I absolutely love how it turned out.
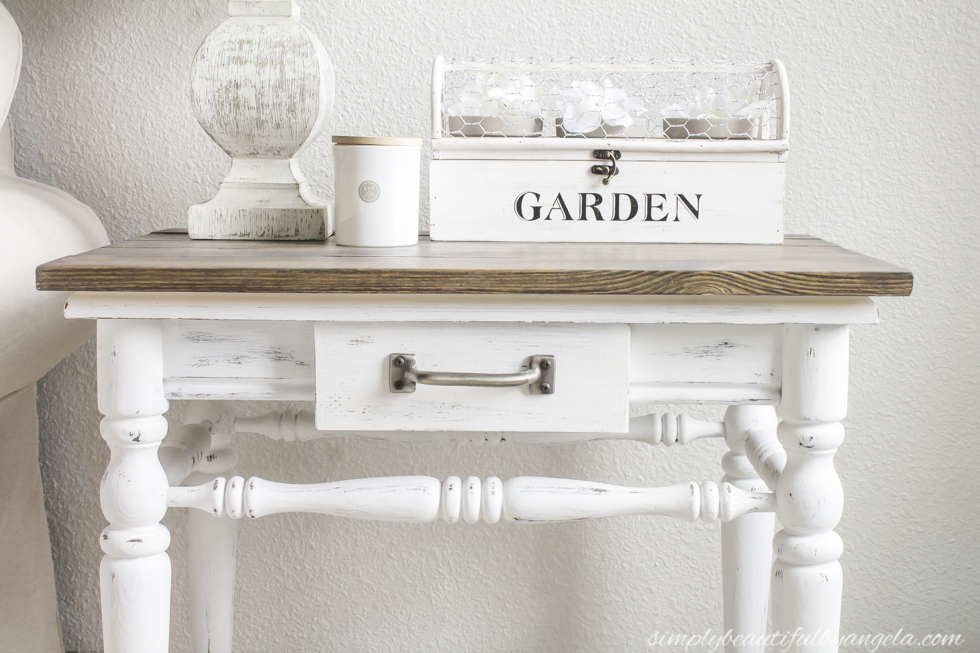

I decided to put it in our front room next to the couch and it fits wonderfully.
And because I like to keep it real I must zoom out and show you how the front room actually looks right now…
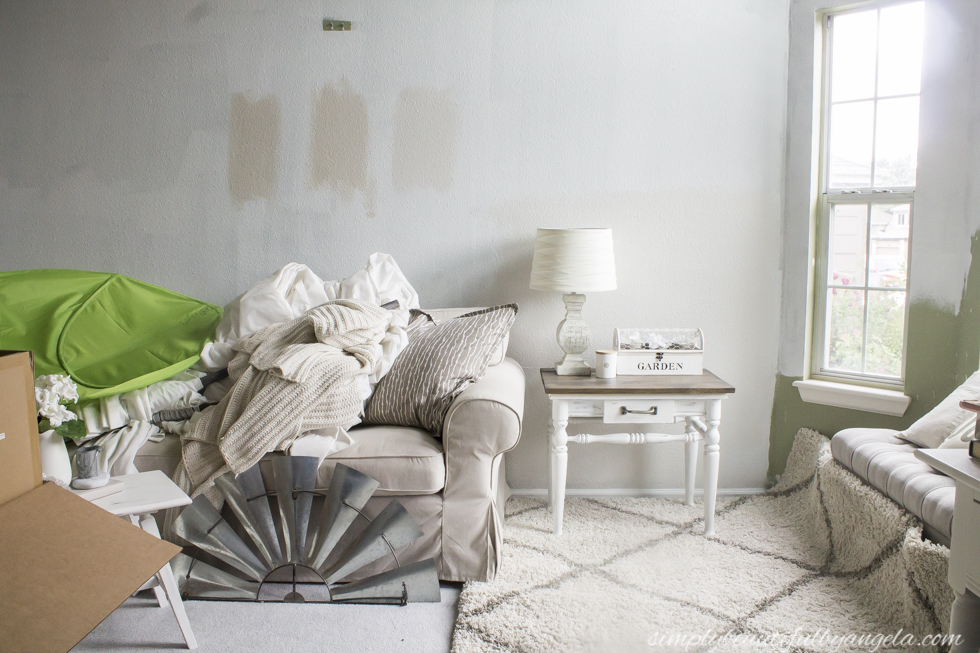
Yep. Keeping it very real! The couch has become a dumping zone, the walls are partly primed, I have paint samples galore up and there are boxes and wall hangings scattered everywhere.
I actually had to think really hard about how I was going to pull off photographing this table in this war zone. I finally decided to pull the area rug under the table to hide the dated blue carpet and painted a large swatch of a paint sample behind it. Worked out pretty nicely I must say!
Before I sign off I just wanted to mention that although I always love this challenge, this month I found it EXTRA therapeutic. At first it was hard to find the motivation to get started since I’ve been so preoccupied. However once I finally got started it felt sooo amazing to pick up a paint brush, sit down and do what I love! I really needed that 🙂
And now for more thrifty goodness!
Check out what my fellow upcyclers created below!
Linking up to these awesome parties!