Let me start this post by saying that the last two weeks have been utterly chaotic. Seriously, oh my goodness!
It’s crazy that it’s already been two whole weeks since we closed on our new home!

It feels like we’ve been working non-stop since the second I signed those papers so perhaps that’s why it feels as though time has totally slipped away from me. We are currently in the last minute scramble to finish the ceilings because Saturday is move in day! I’m super excited but nervous at the same time because we just seem to have so much stuff. Fingers crossed it goes somewhat smoothly!
Last week when I gave a little tour of our new fixer upper I mentioned that the first item on the list was to remove the popcorn ceilings. We wanted to tackle it before we start moving our stuff in because although it’s not extremely difficult, it’s super MESSY!
I tried to take as many pictures as I could throughout the madness, but I only managed to get about half of them edited so far. So today I am going to share the nitty-gritty on the removal process and then next week I will share the finishing steps. Sound good? Okay let’s get to it!
Supplies Used: (Affiliate links may be provided for convenience. For more info, see my full disclosure here.)
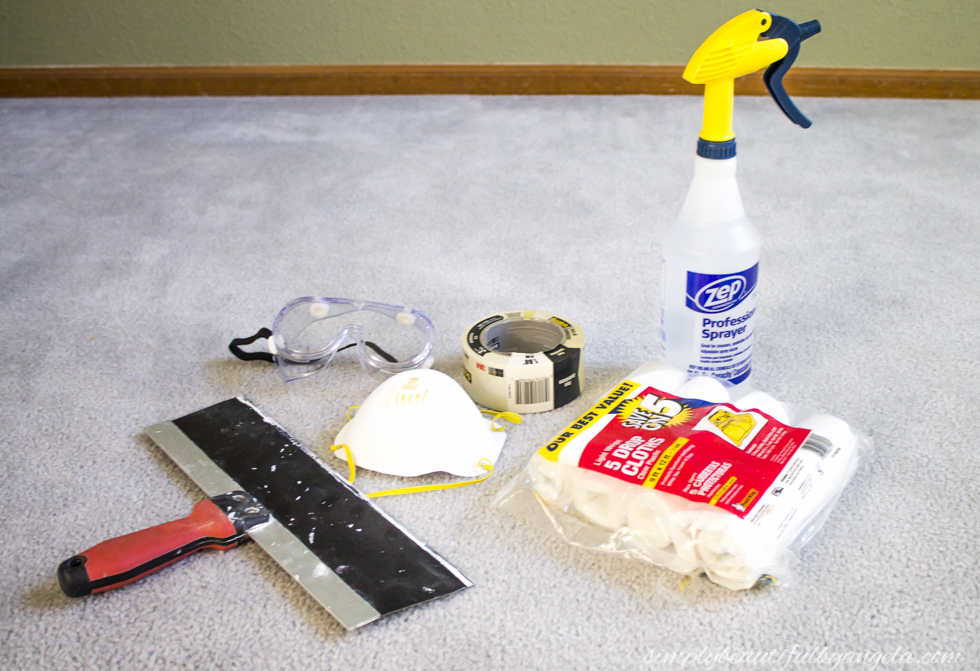
- Plastic Drop Cloths
- Masking Tape
- Spray Bottle
- Wall Scraper
(ignore the large drywall knife pictured, I’ll get to that in a minute!)
- Safety Goggles
- Respirator Masks
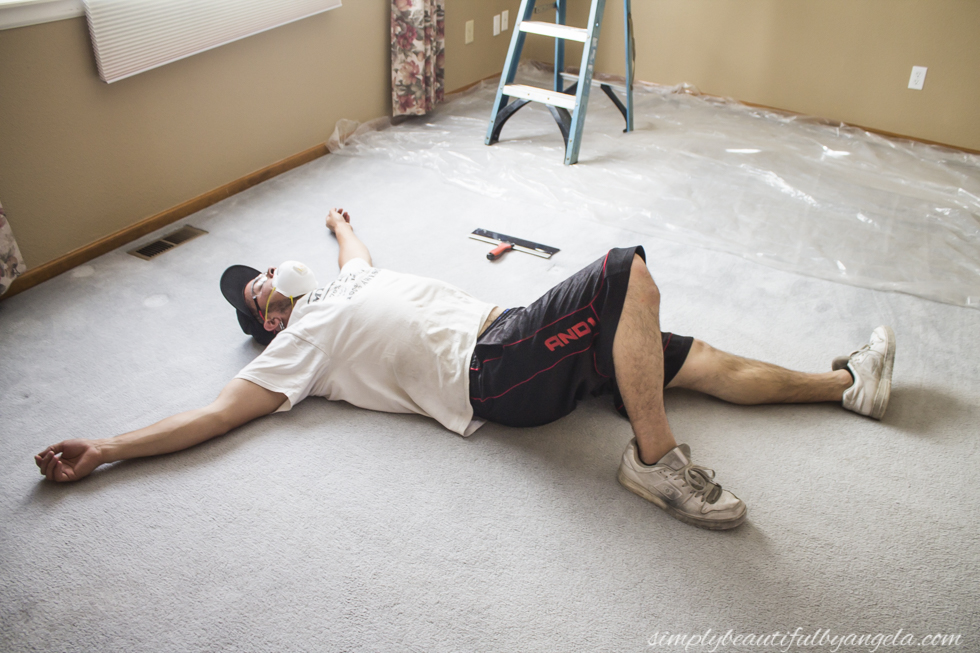
Kidding…kind of. I told Anthony to hit the pause button before getting started so that I could go around the house to get some before pictures. When I was finished I found him sprawled out on our floor. Exhausted from being so excited about starting this I suppose?
(actual) Step 1.
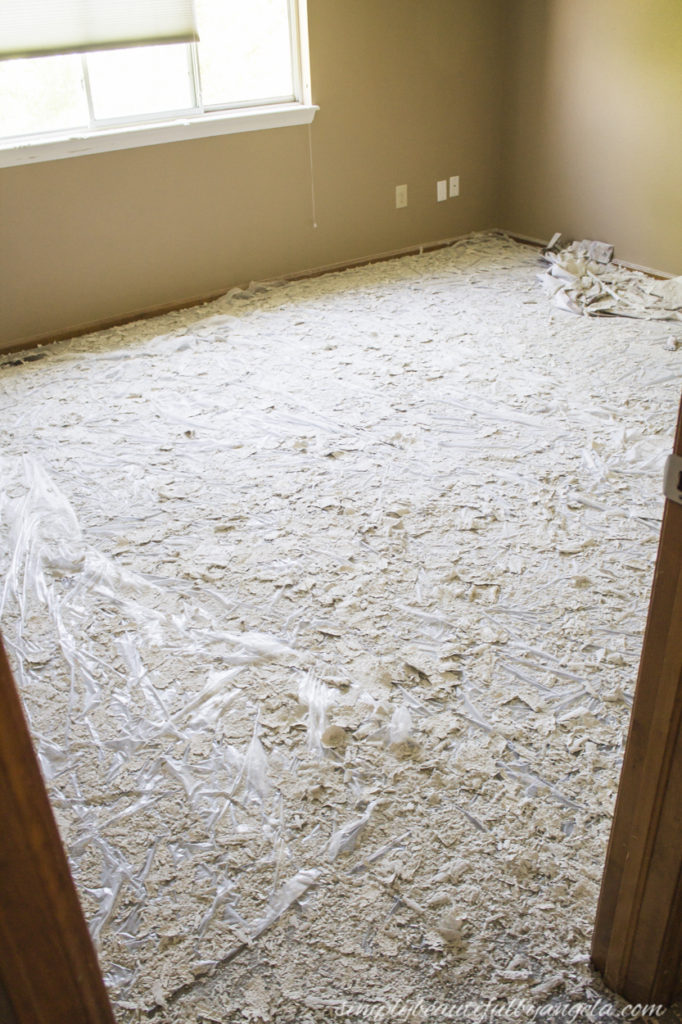
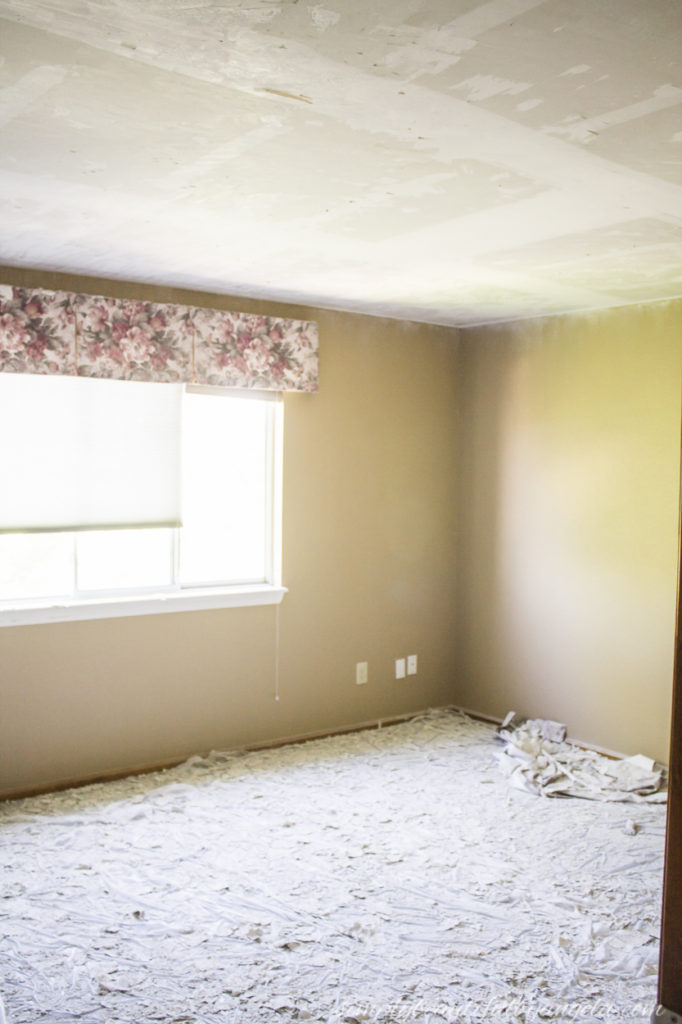
Layout plastic sheets on the floor and use masking tape to attach it to the wall to keep it from moving around. We actually got lazy and decided not to tape and ended up having a lot of clean up to do.
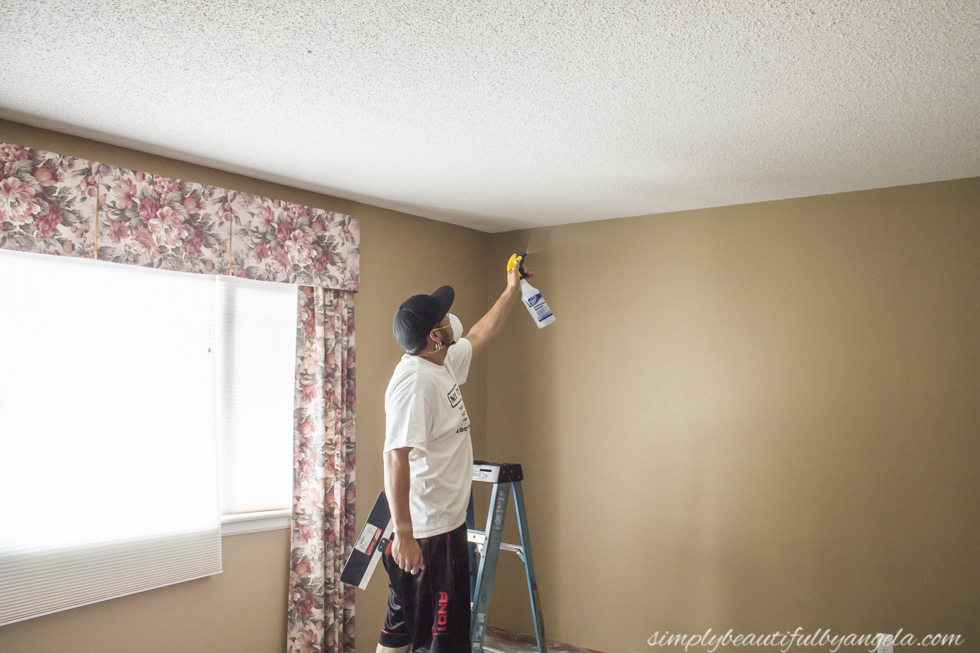
Step 2.
Fill up a spray bottle with some lukewarm water and begin spraying the ceiling in sections. It works best if it sits for about 10 minutes so spray about as far as you think you will get in that amount of time.
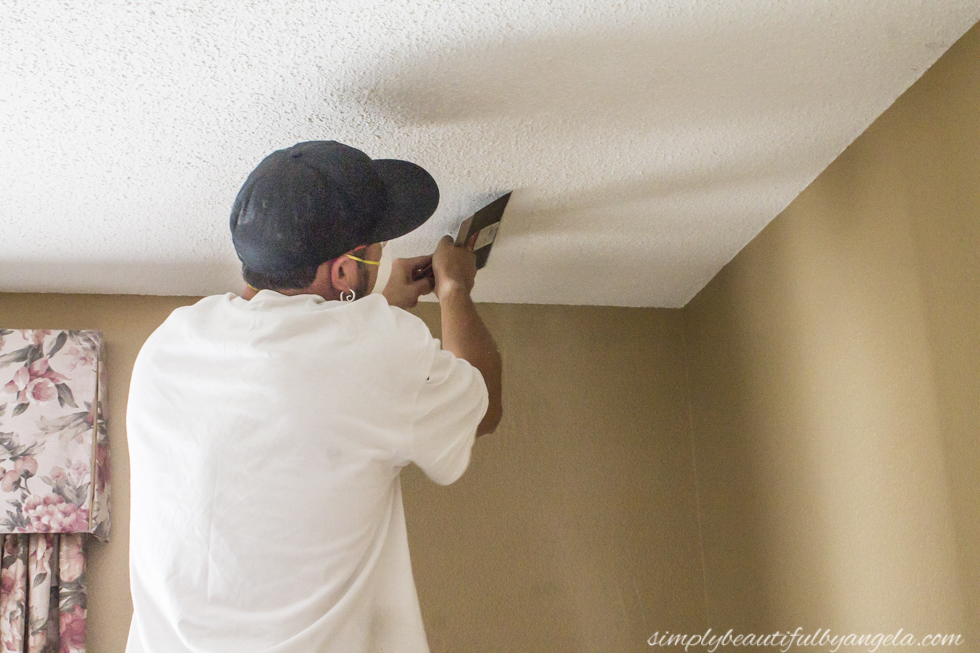
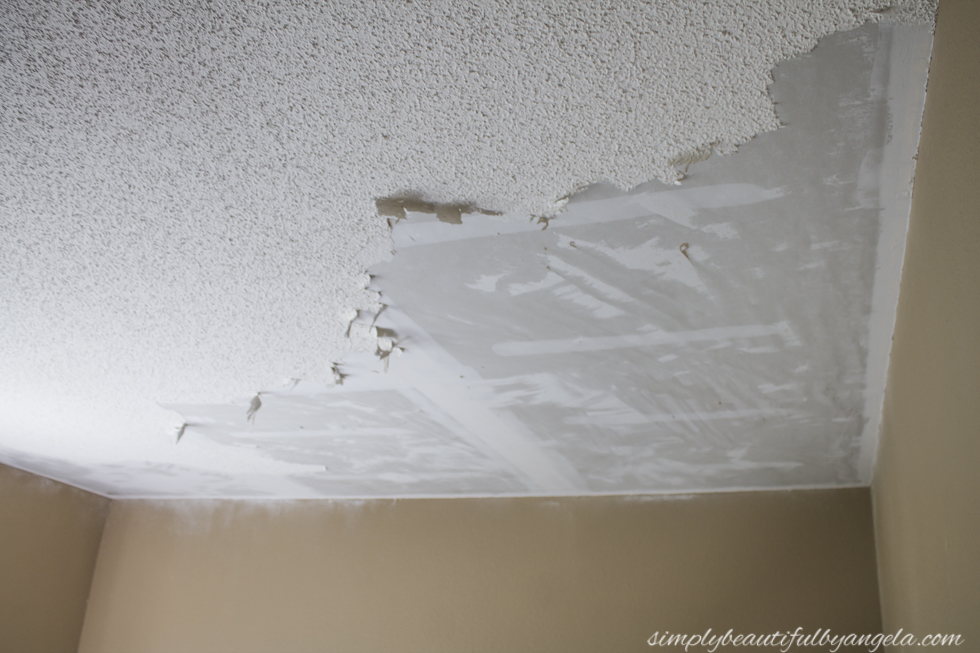
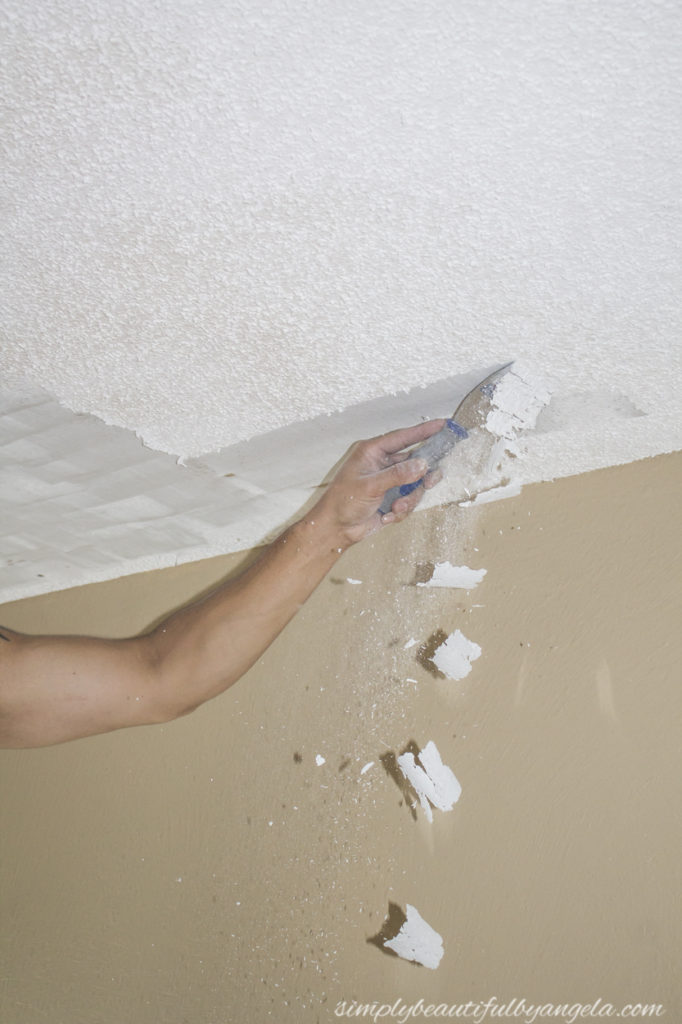
Step 3.
Once the water has sat for a few minutes, take your wall scraper and begin scraping the popcorn off. As long as you have given the water enough time to sit it should scrape off like buttah!
We found that since it’s been 4 years since we’ve done this, we have actually forgotten a few things. For instance, what tool we used to scrape. The long drywall knife is actually used for the re-texturing step and we didn’t remember until Anthony finished the first room.
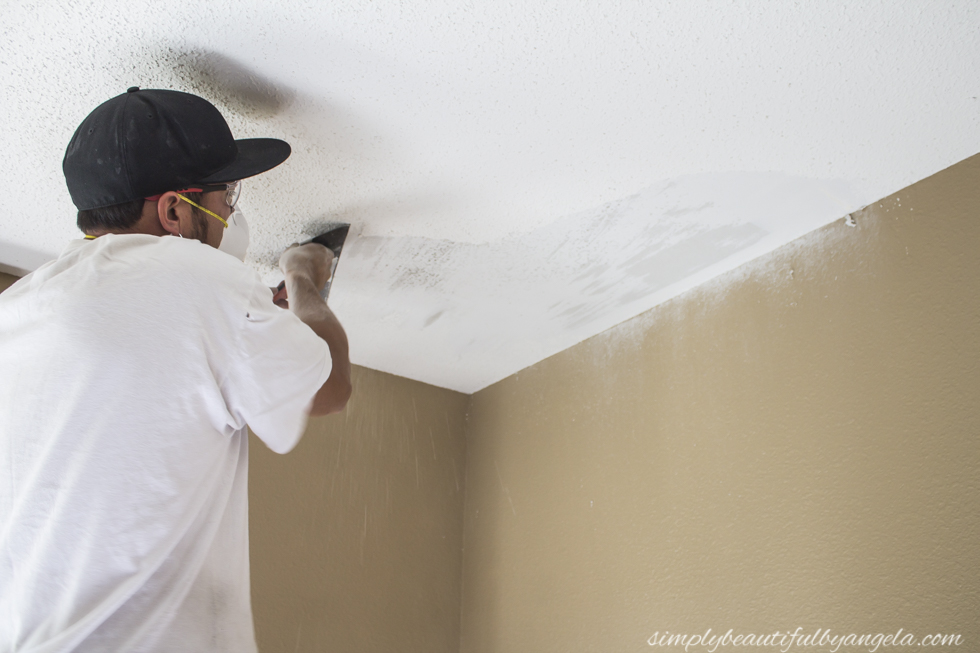
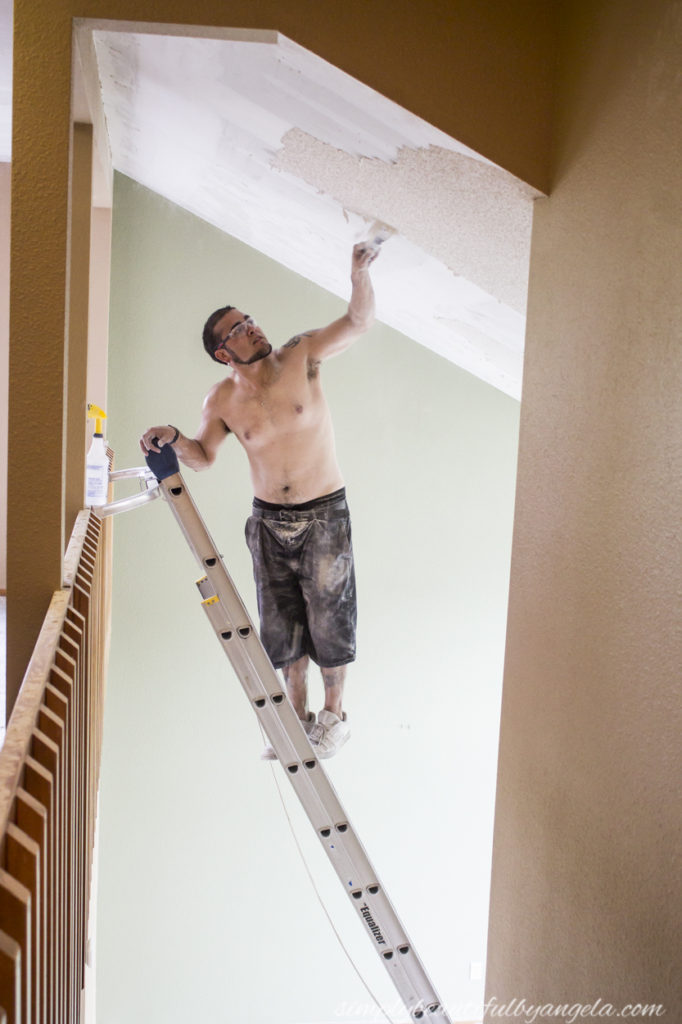
The rooms were finished pretty quickly, but the large vaulted ceiling took a little bit more time. Anthony had to get creative with ladder work but luckily he works on ladders for a living so he’s a pro.
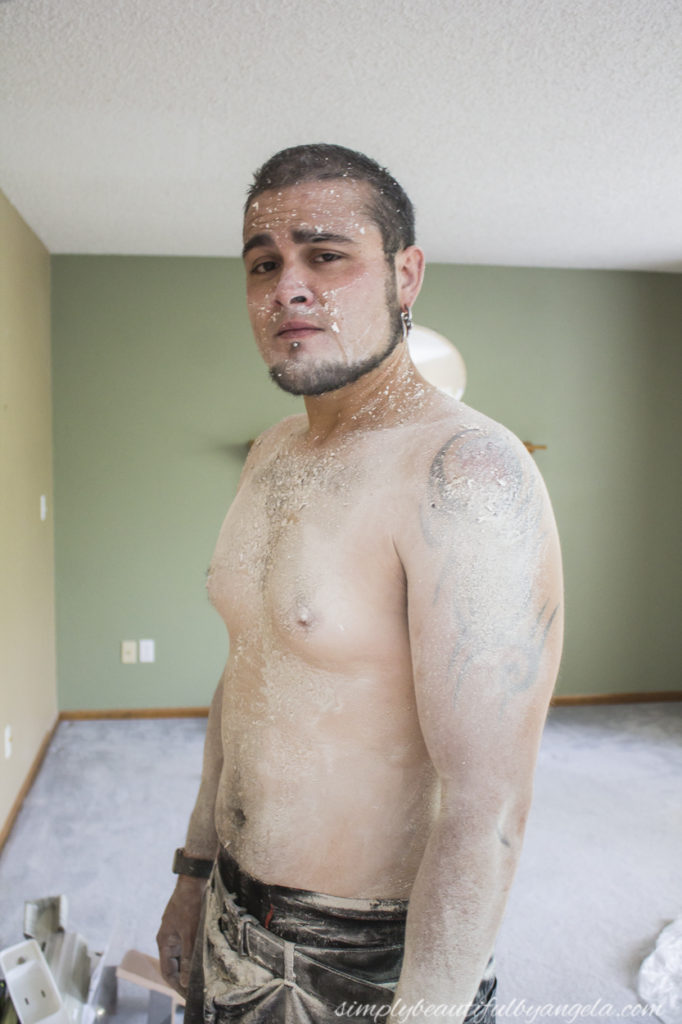
We were pretty dang messy when the day was over and it looked like a bag of flour had exploded all over us! He’s probably going to freak out a little if he finds out that I posted this picture that I’m about to show you, but I feel like it captures our day oh so beautifully!
Okay my friends, I hope you all have a fantastic weekend and I’ll be back next week to share all the fun details on the finishing process!
***Click HERE to see the finishing process***
Linking up to these awesome parties!

LOL! The last picture of your husband looks like he had just gone to battle with the popcorn ceiling. With the piercings, tats, and dust all over him, he should be holding a sword. I am sure he will be thrilled to know you posted that picture of him on your blog. 😉 lol
The ceilings look great and I wish we had smooth walls (we have knock down texture). Good luck on your move this weekend and keep cool; it's been hot here!
Julie
You had better treat Anthony right after all that he went through. What a thankless job, and who ever came up with this stupid idea to put popcorn on the ceiling anyway?
I wanted to fill up roof cracks to avoid irreparable damage to my home, so called up the most reputable roofers in town, and they helped carrying out all the necessary repairs carefully.