Hello and welcome to another fun Thrift Store Challenge! As usual, I am surprised how quickly this snuck up on me this month. It’s a reminder that the month is nearly over and I’m especially on edge about saying goodbye to July since my oldest starts Kindegarten in August! Sob!!
Regardless, I’m in love with how this month’s project turned out and can’t wait to share it with you guys, so let’s get to it!

The Rules:
- Upcycle an item(s) from a thrift store, resale store, or garage sale into a new piece of decor.
- There’s no monthly theme.
- There’s no budget to stick to.
Meet the Hosts
Angela | Simply Beautiful by Angela
Marie | The Inspiration Vault – Jennifer | Cookies Coffee and Crafts
Lynne | My Family Thyme – Ann | Duct Tape And Denim
Gail | Purple Hues and Me – Michelle | Our Crafty Mom –
Amanda | Domestically Creative – Debra | Shoppe No. 5
Amanda | Domestically Creative – Debra | Shoppe No. 5
Make sure you follow our board on Pinterest for more upcycled decor inspiration!
A few weeks ago while we were working on project bye-bye popcorn at the new house the hubby had run out to pick up a few supplies and on his way back he stopped at a garage sale. I know, right–him at a garage sale? I must to be wearing off on him!
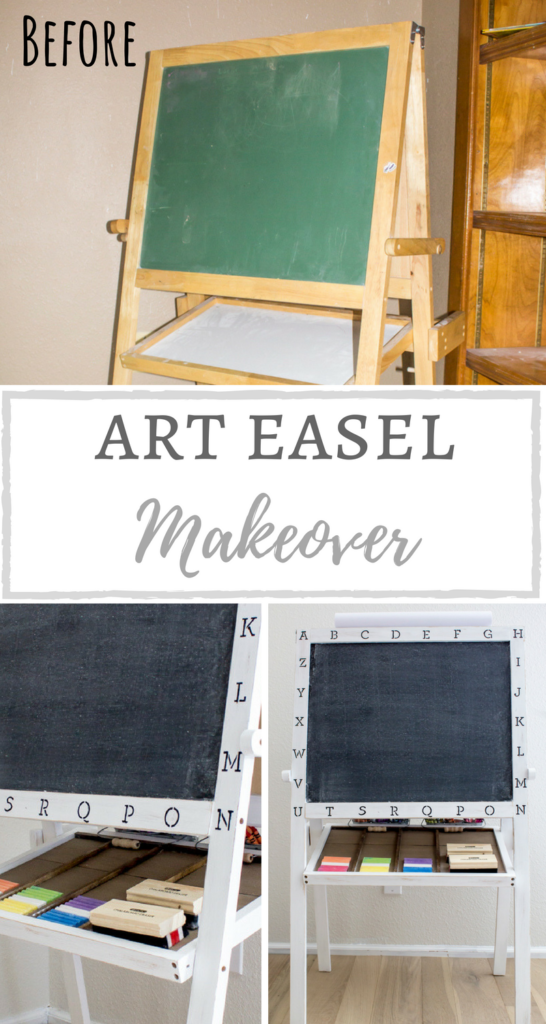
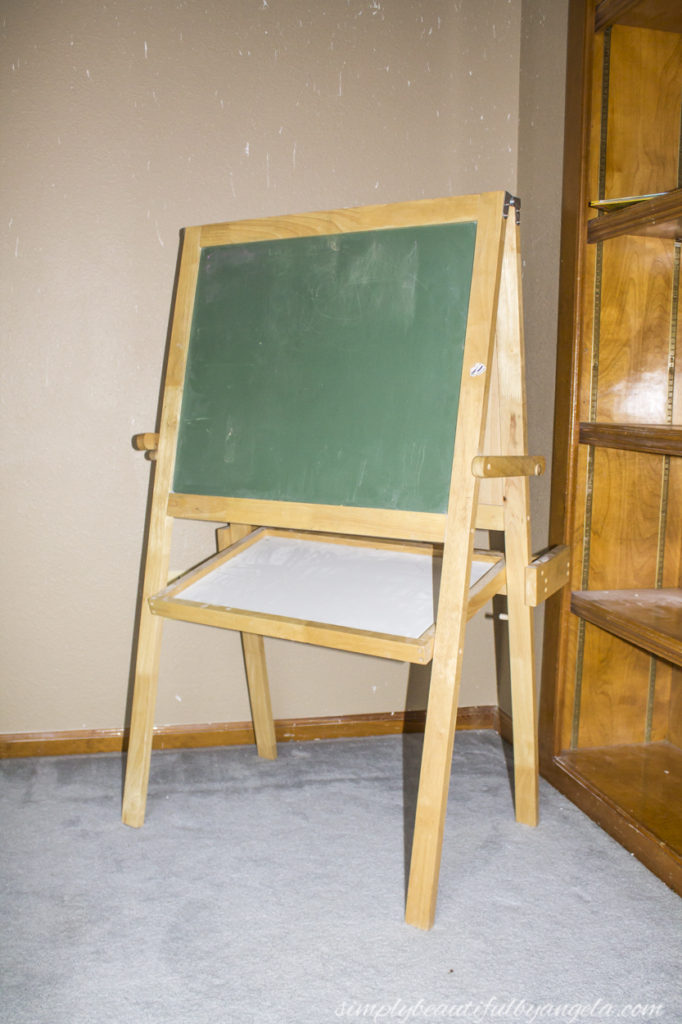
He had spotted this kids art easel and for 3 bucks couldn’t pass it up.
It was a little beat up, but the boys didn’t care. They were absolutely ecstatic to have something to play with at the new house since at that point we had only brought over their train set to play with which they got bored with after about 5 minutes.
They adopted the easel right away and had so much fun with it that I knew it was going to be a keeper for several years to come.
I’ve been working on their playroom the last couple of weeks so I decided that this guy would be a perfect candidate for this month’s challenge to clean up and make super cute!
Supplies Used: (Affiliate links may be provided for convenience. For more info, see my full disclosure here.)
- White Latex Paint
- Plaster of Paris
- Medium Grit Sandpaper
- 1/4 Underlayment
- 3/8″ Square Dowels
- Compound Miter Saw
- Minwax Dark Walnut
- Liquid Nails
- Frogtape
- DecoArt Americana Chalkboard Paint
- Stencils
- Small Brush
- Black Acrylic Paint
- 16″ Paper Roll
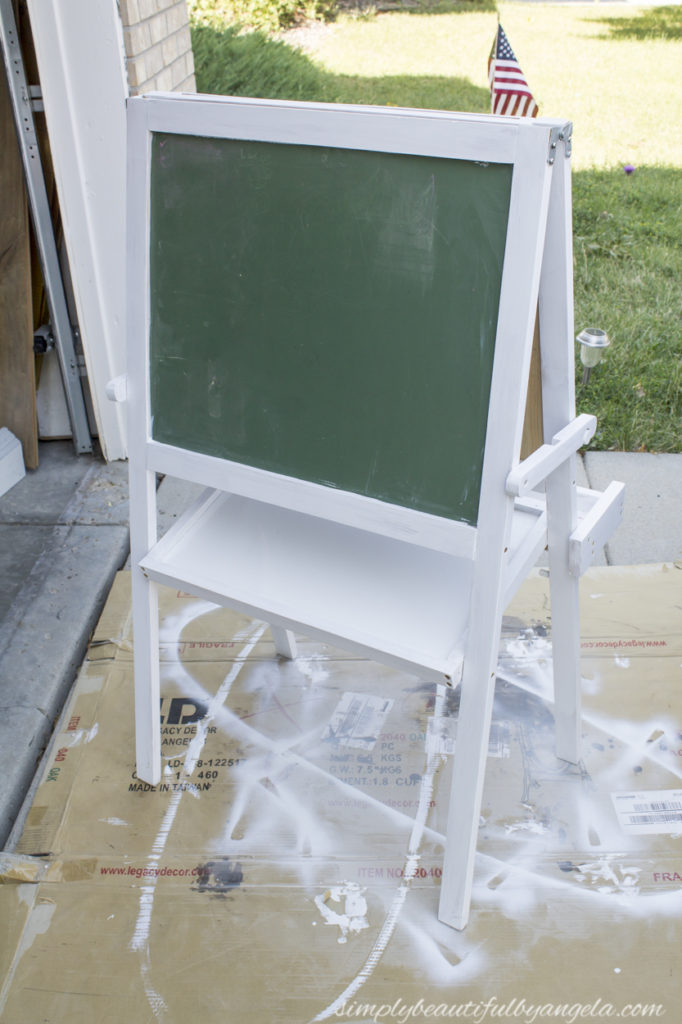
I first wiped it down with a rag to remove the dust and chalk remnants before giving it three coats of my DIY chalk paint which is simply about 2 tablespoons Plaster of Paris mixed in to a cup of latex paint.
Some spots were a total a pain to get to but I was too lazy to take it apart. Luckily the first coat provided nice coverage so the second and third went on pretty quickly.
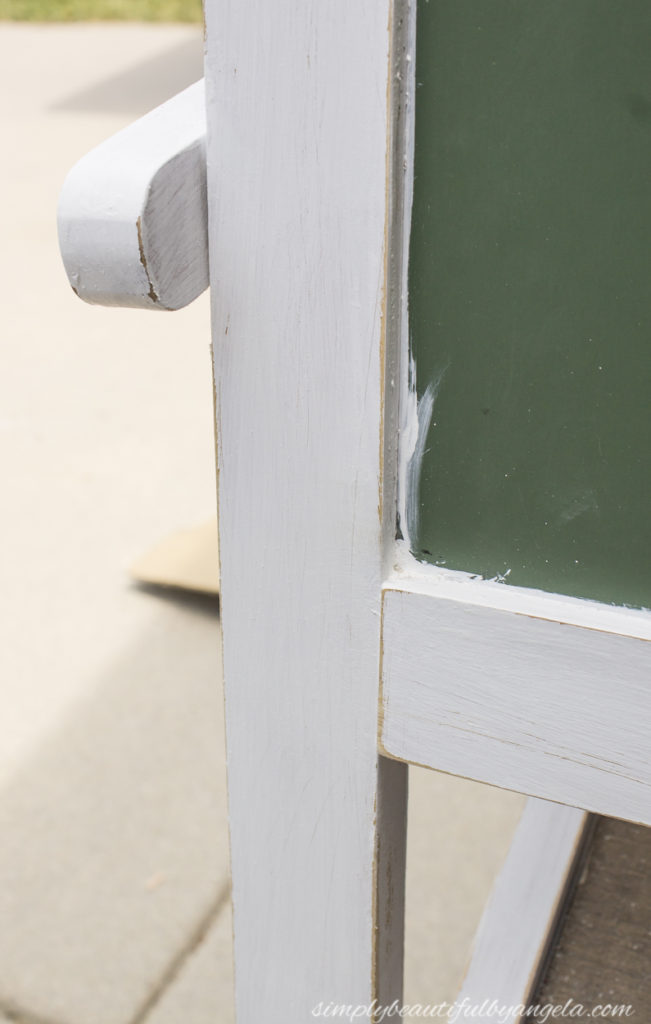
Once it was all dry, I went over it with some sandpaper to pull out some of the wood from underneath which gave it some nice worn character. I focused heavily on the edges and corners.
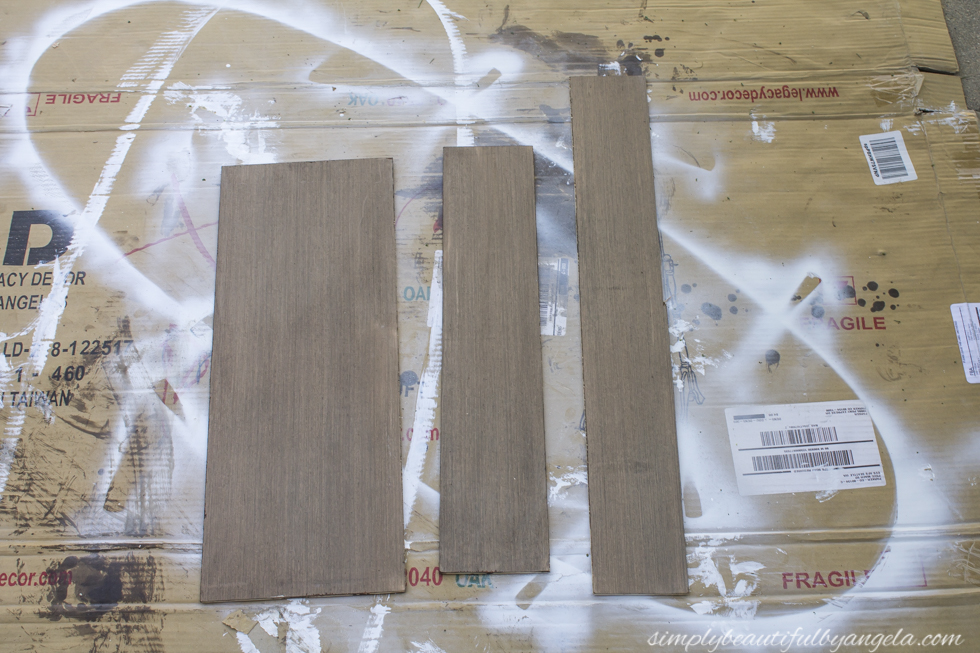
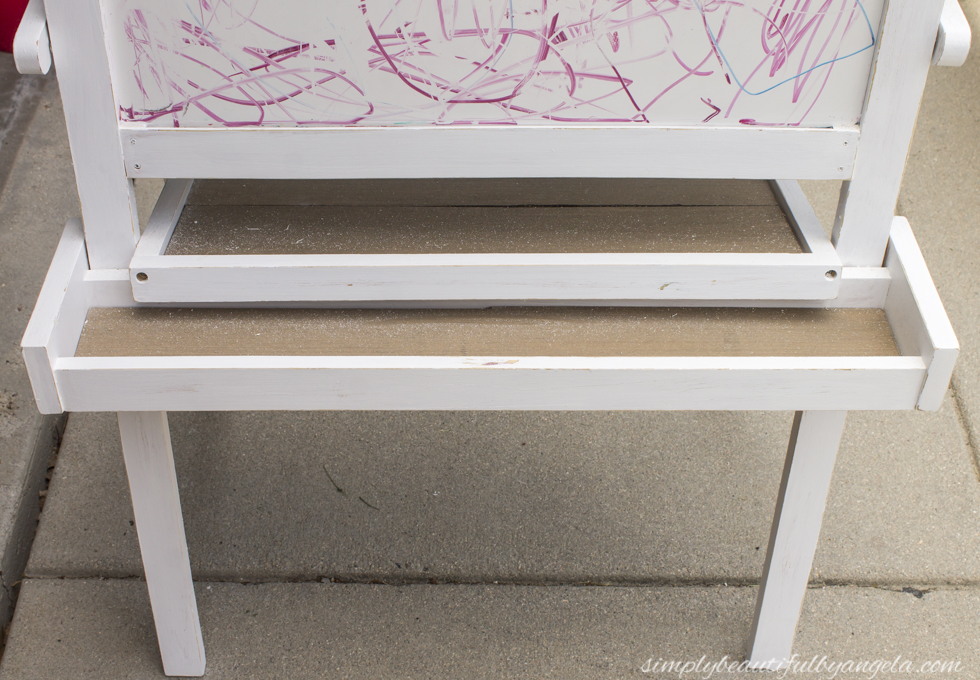
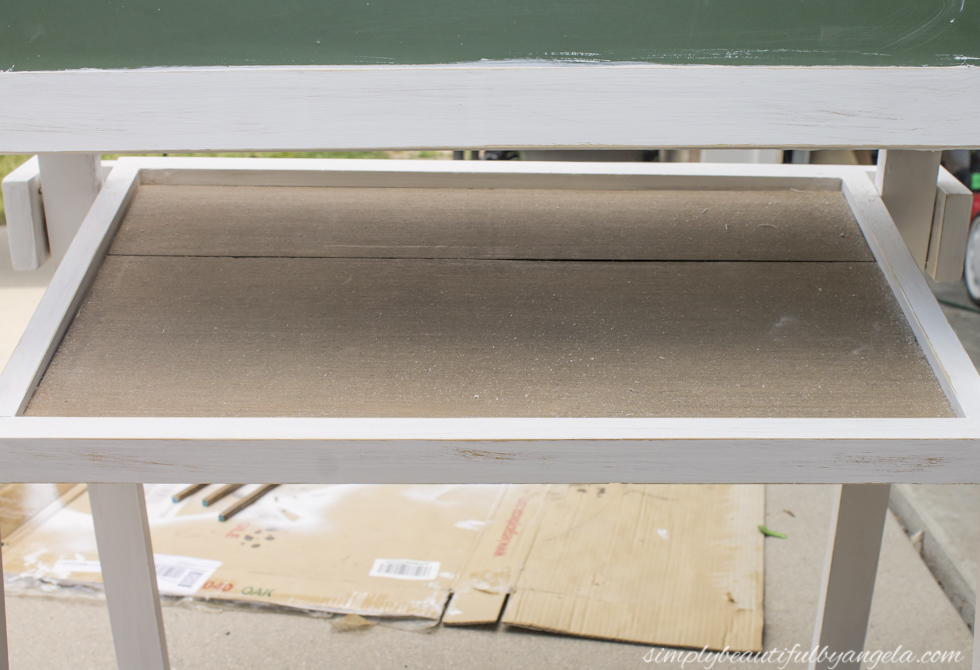
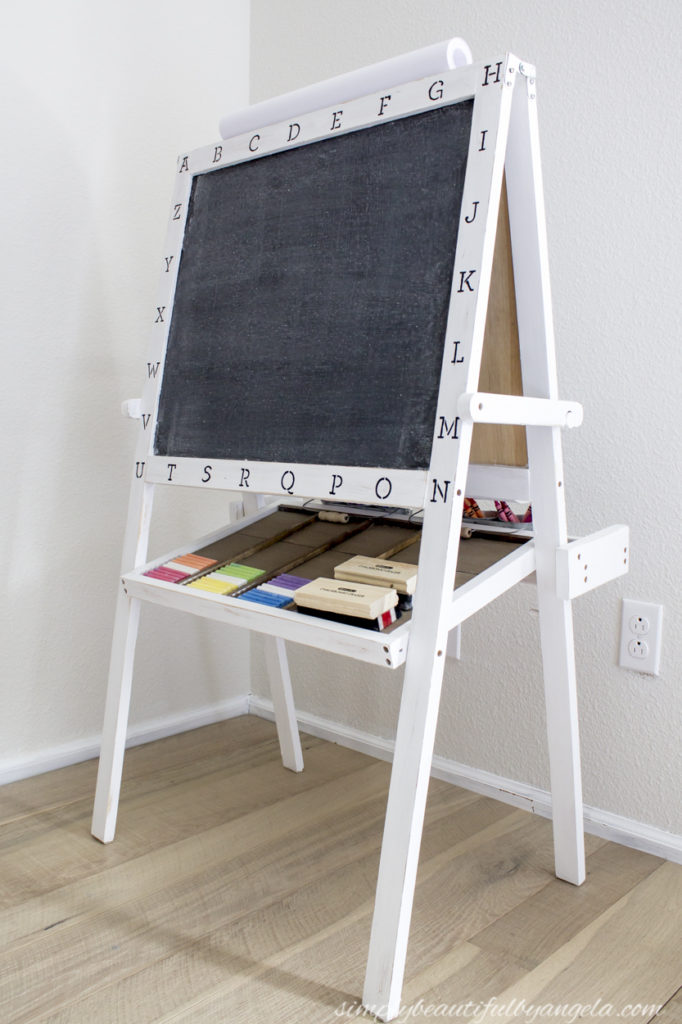
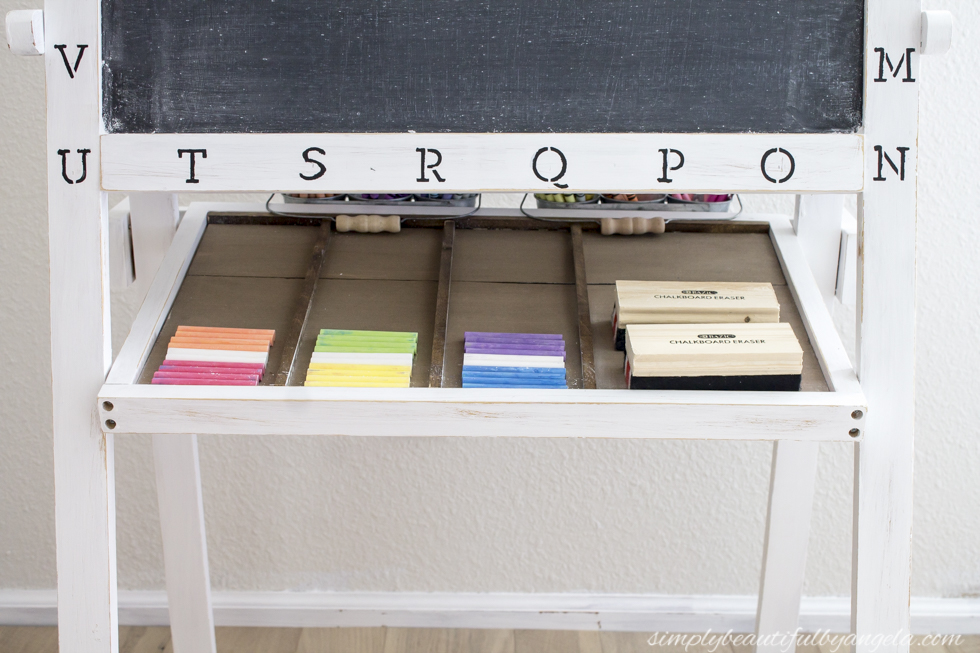
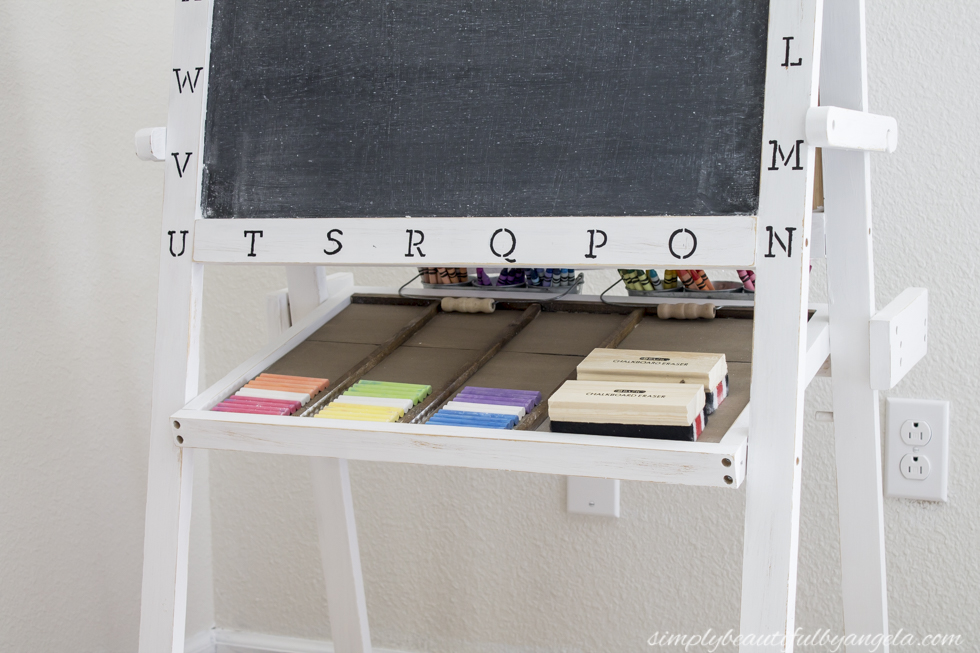
The trays were made out of dry erase board, so I decided to warm them up a little bit by covering them up with wood. I cut pieces of 1/4″ underlayment that I had left over from our last shiplap project to fit and stained them with Minwax Dark Walnut .
.
.
.
I used Liquid Nails to attach them to the inside of the trays.
I had to use two pieces for the bigger one since I didn’t have a wide enough piece, but I actually like the character that the planked look added.
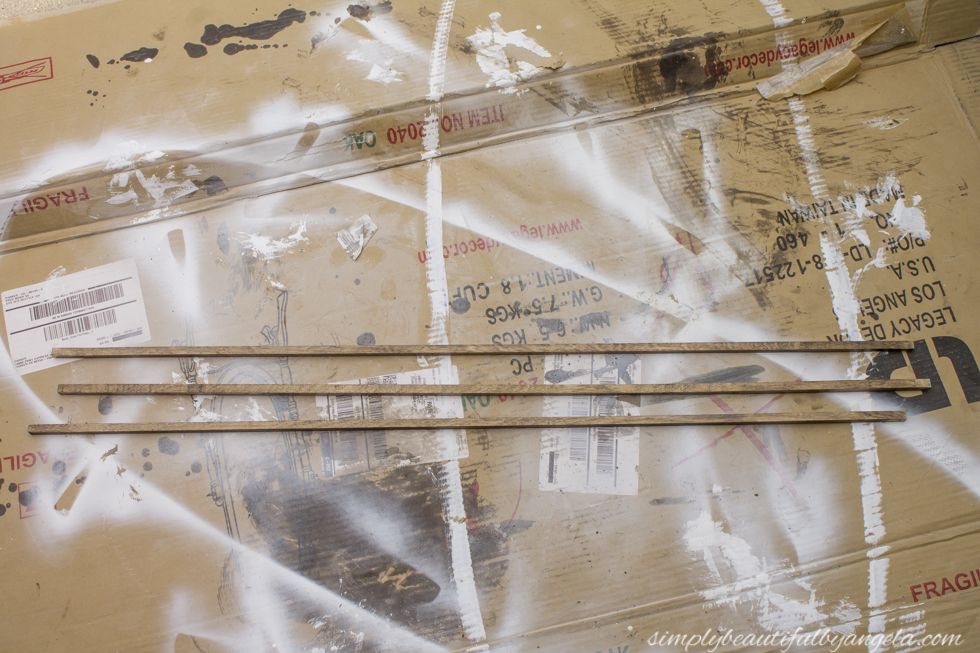
I also stained a few square wooden dowels to use as dividers on the chalk tray.
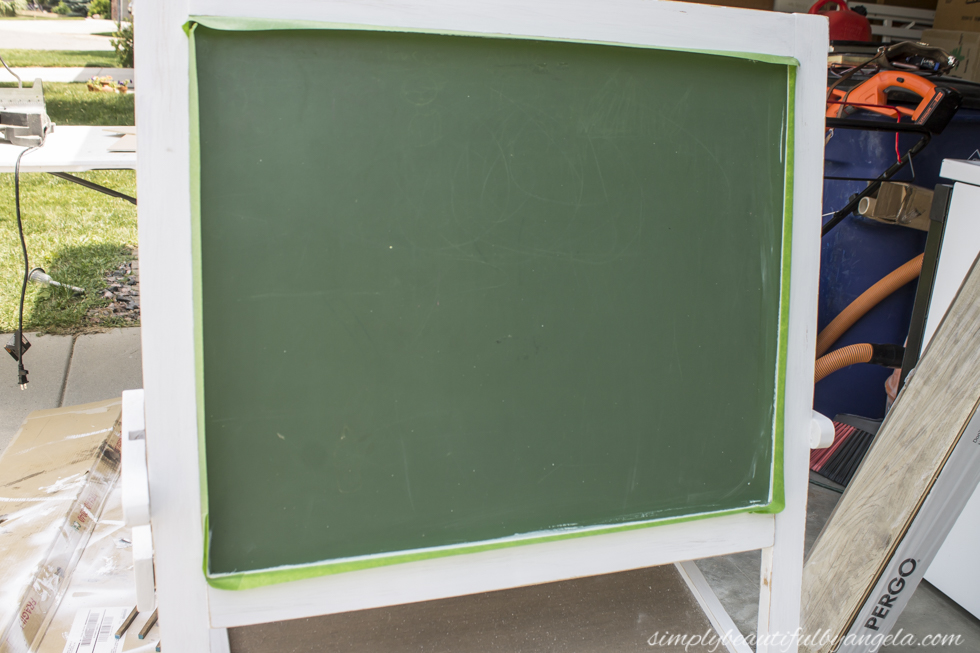
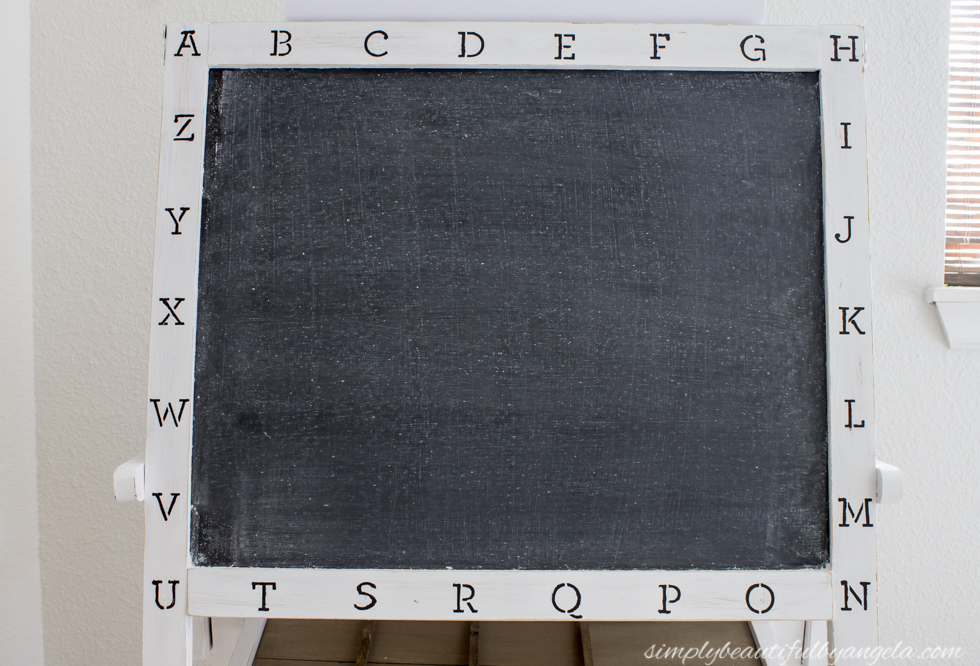
I honestly really liked the vintage feel that the green chalkboard had, however I knew that black would go better with the other items that I have in the playroom.
I used Frogtape to tape off the inside edge of the frame to prepare it for the chalkboard paint. I think I’ve mentioned it before, but I love how I don’t have to worry about paint bleed with this tape. It’s more pricey than other tapes, but I learned my lesson a long time ago that you get what you pay for. With this one I get nice crisp lines!
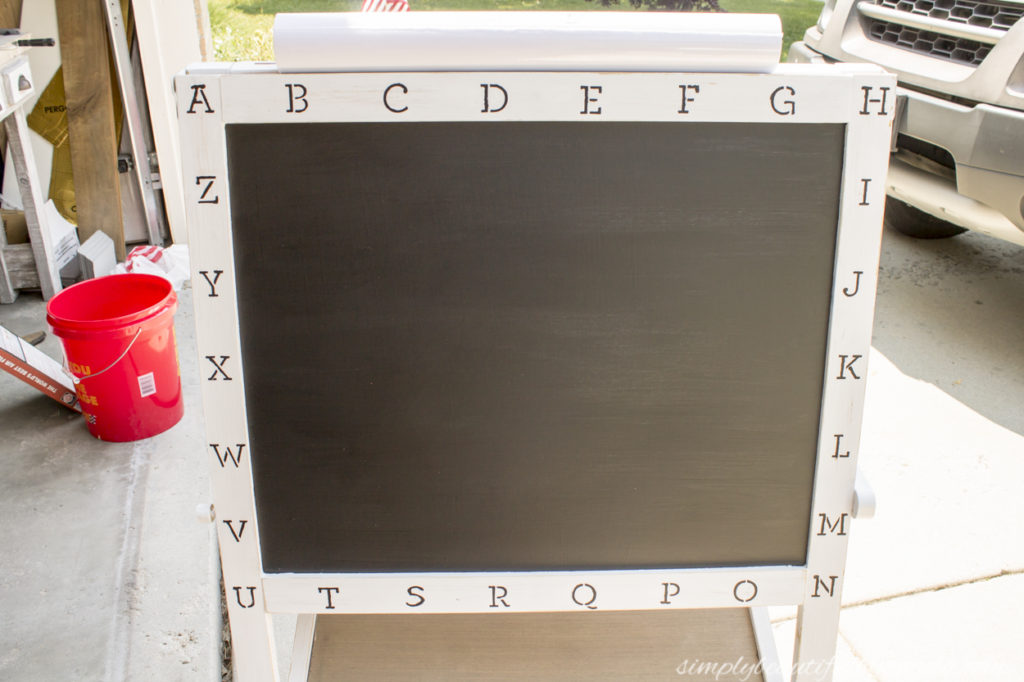
I followed the instructions on the bottle which stated to apply one coat vertically, let it dry for an hour and then applied a second coat horizontally.
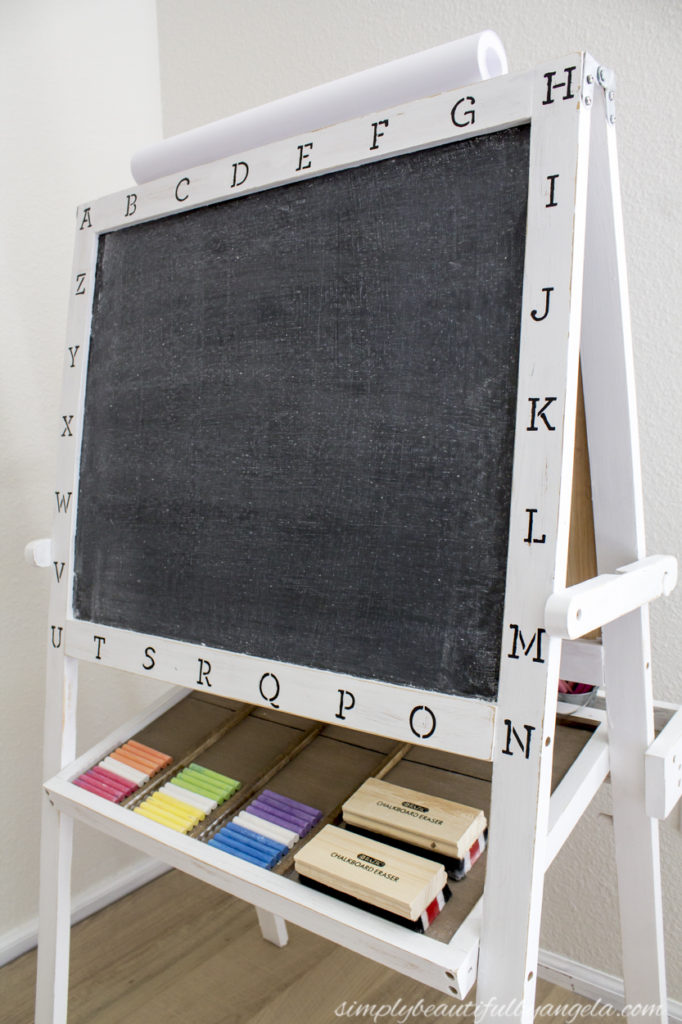
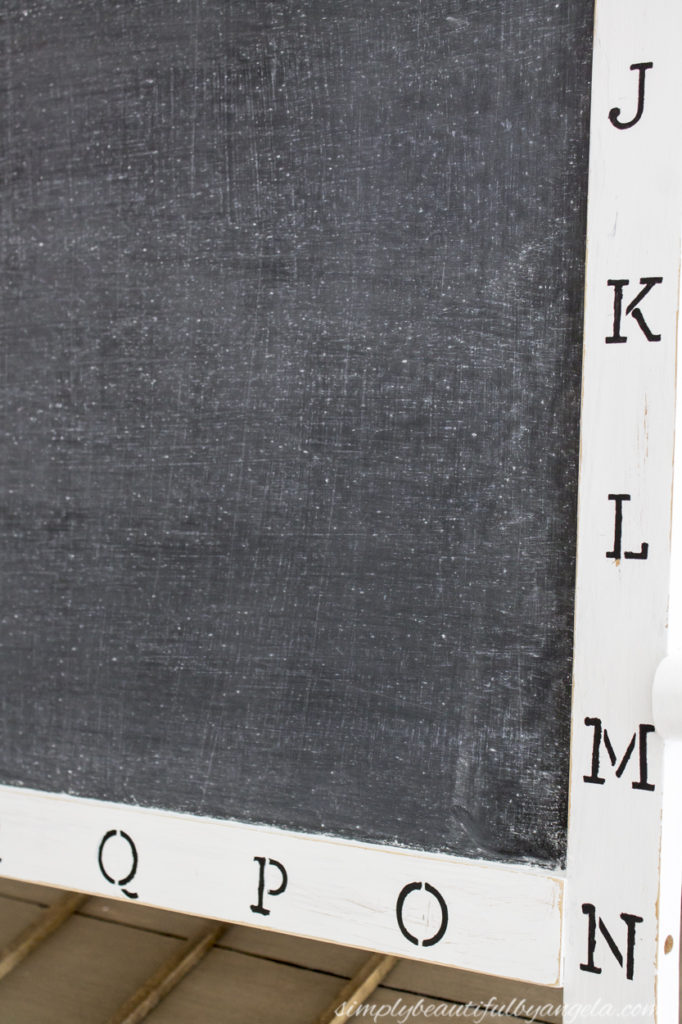
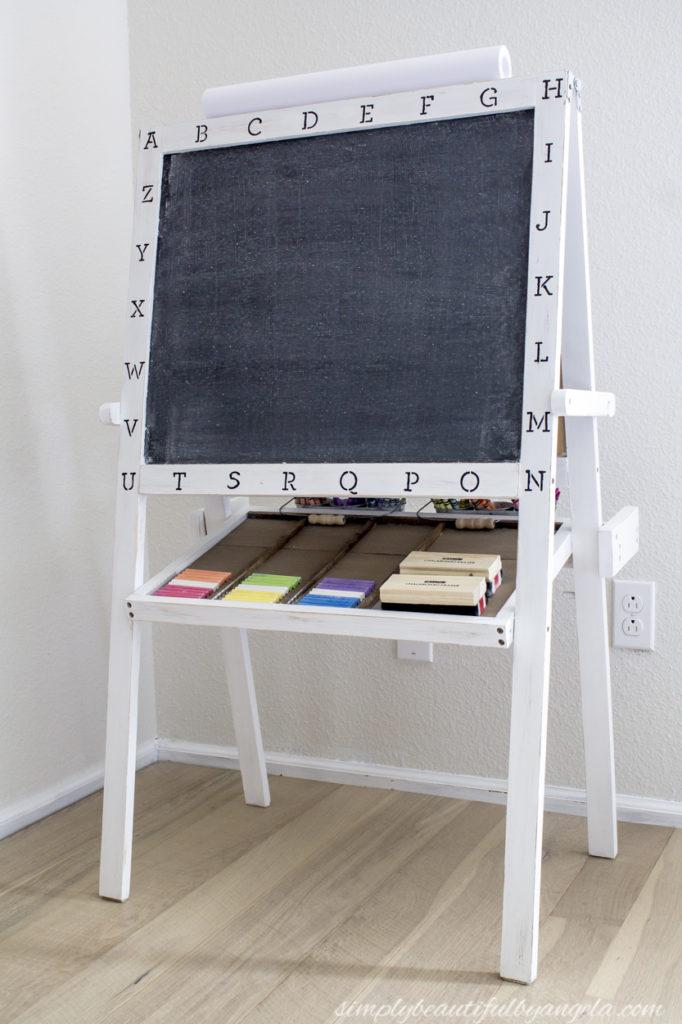
While the first coat was drying I began my stencil work. I’ve decided to go with an alphabet theme for the playroom so I added letters around the frame. I seem to have lost my S from my stencil set, so I had to freehand it. It turned out kind of sad, so try hard not to laugh at it!
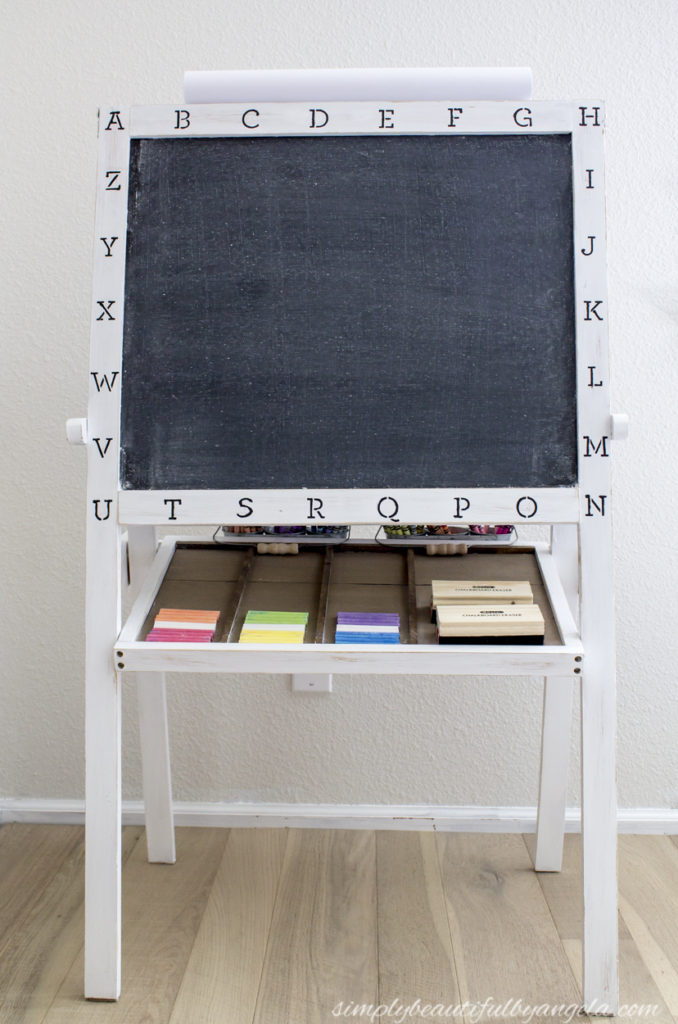
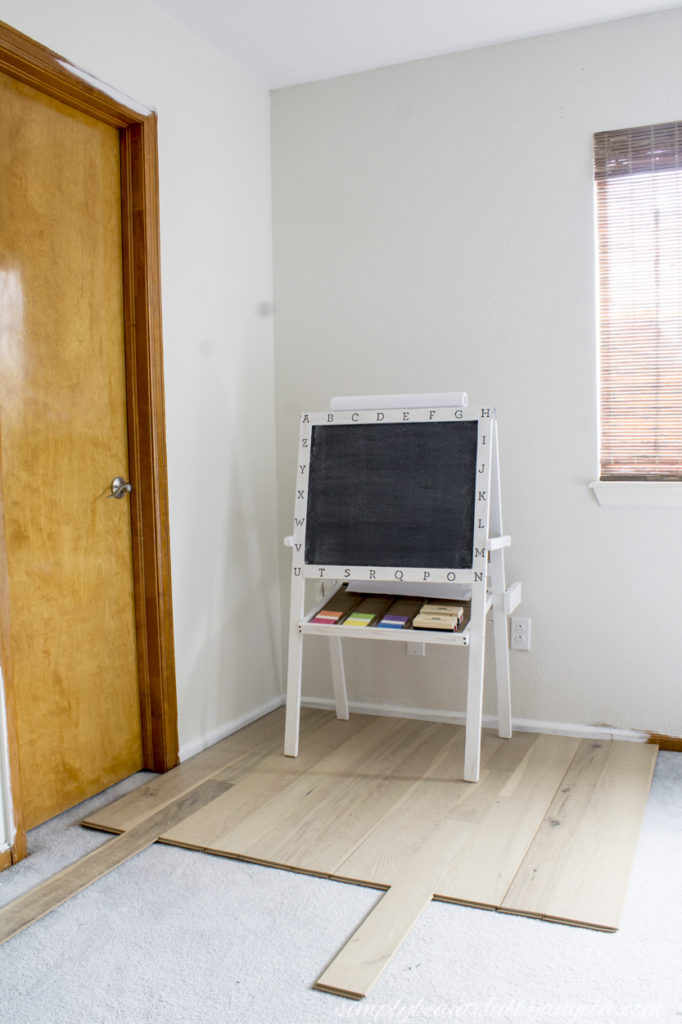
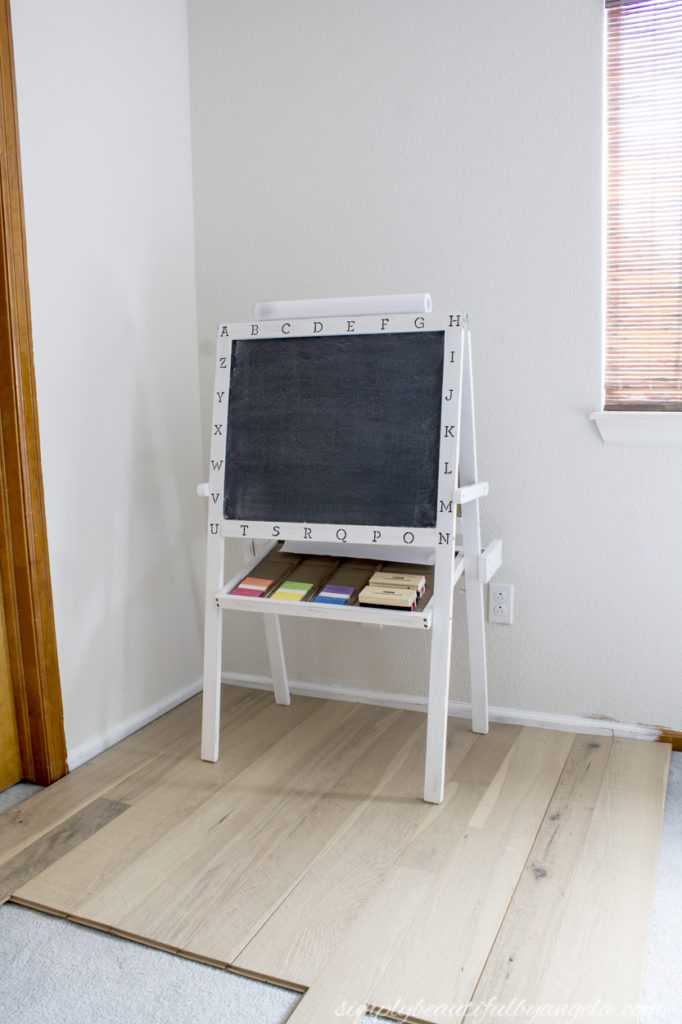
After gluing my dowels on the tray it was ready for the chalk and erasers. This is how it looks all put together!
I was really excited when I found these wooden chalkboard erasers on Amazon because they look so much nicer than the plastic ones and even seem to erase better.
I made sure to season the chalkboard before letting the kids create their masterpieces on it which helps things erase better later on. You simply just rub a piece of chalk over the surface both vertically and horizontally and then wipe it off.
A foam roller would have given me a more smooth surface than the brush but the boys don’t seem to mind.
I love how much the black letters pop against the white and it will be super handy to have them displayed while they practice writing them. Tristan has them down pretty well already, but Lucas shows no interest in learning them yet…sort of like his lack of interest in potty training! Oy vey…
Wait…there’s more!
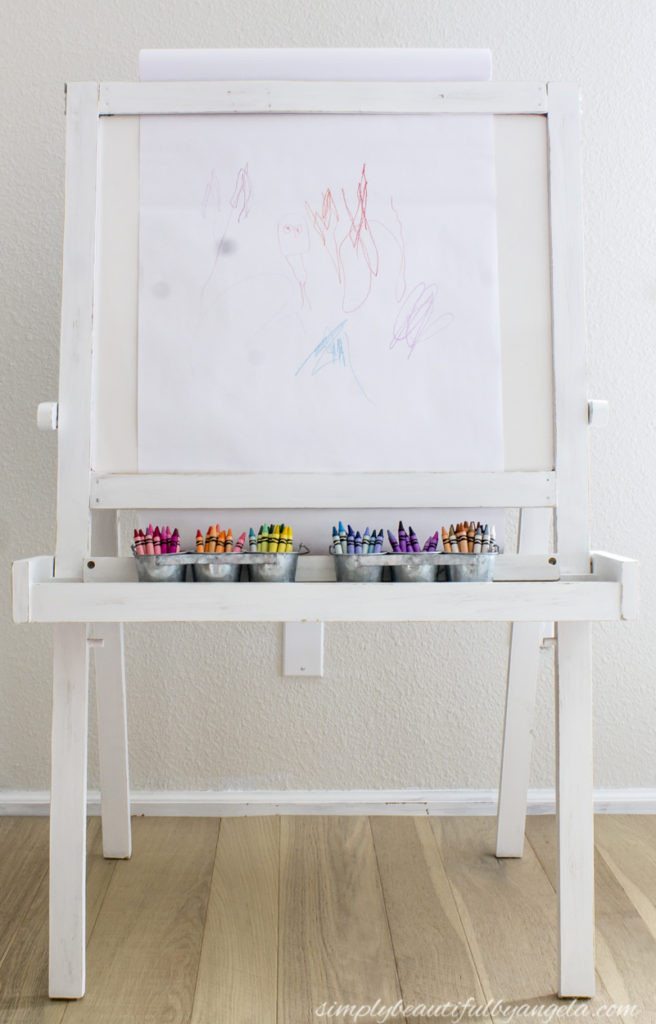
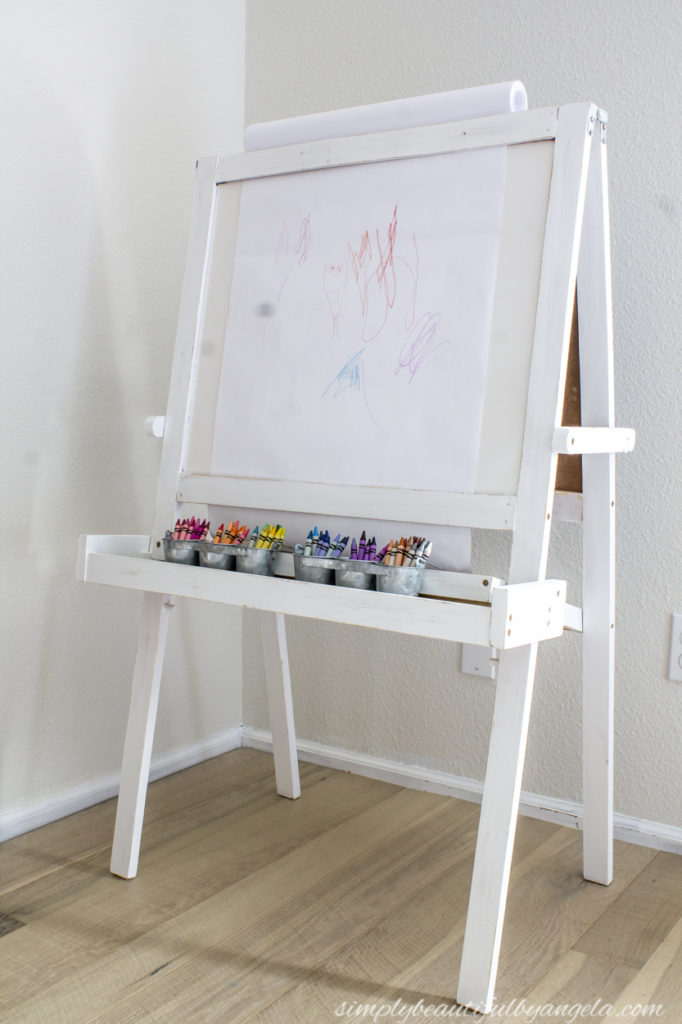
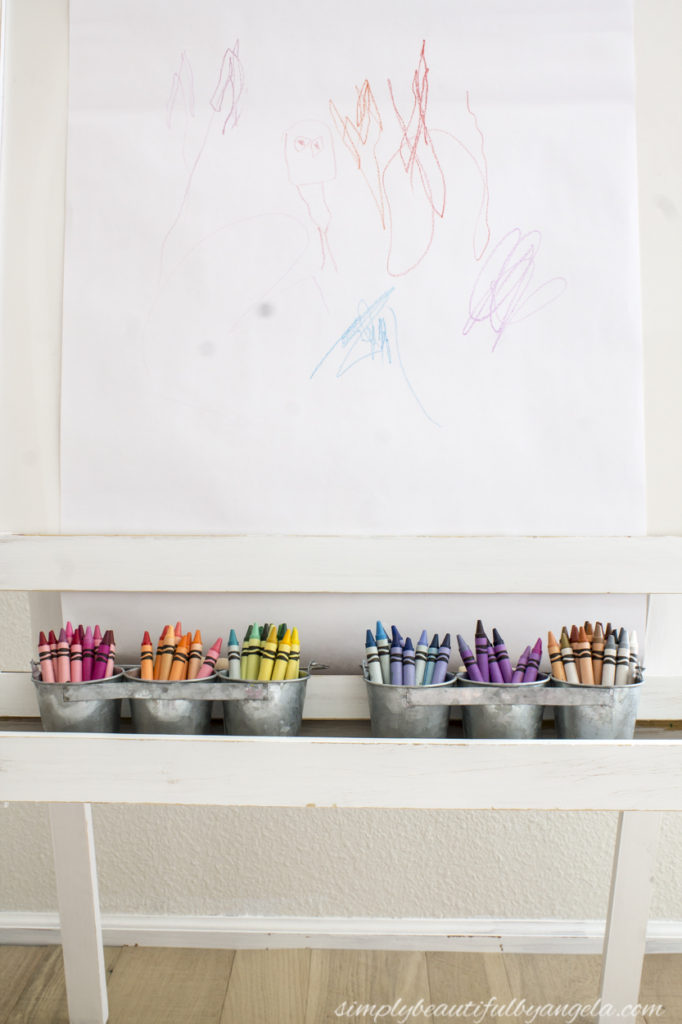
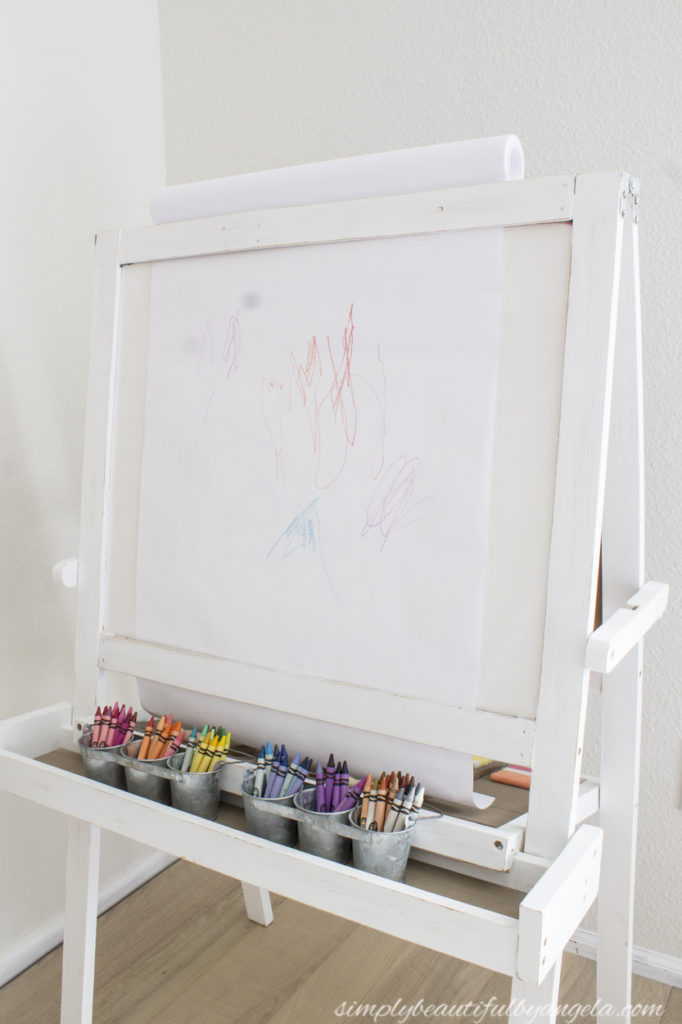
I originally wasn’t going to have them use the whiteboard side since Lucas had grabbed a hold of one of the markers on day one and decorated several walls with it. But then I came up with the genius idea of adding a paper roll to the top so that they could draw on it with crayons–which are much more washable in case they end up where they shouldn’t be!
Please excuse the lens marks that are obnoxiously visible in these pictures, a new lens is on the list of things to buy soon!
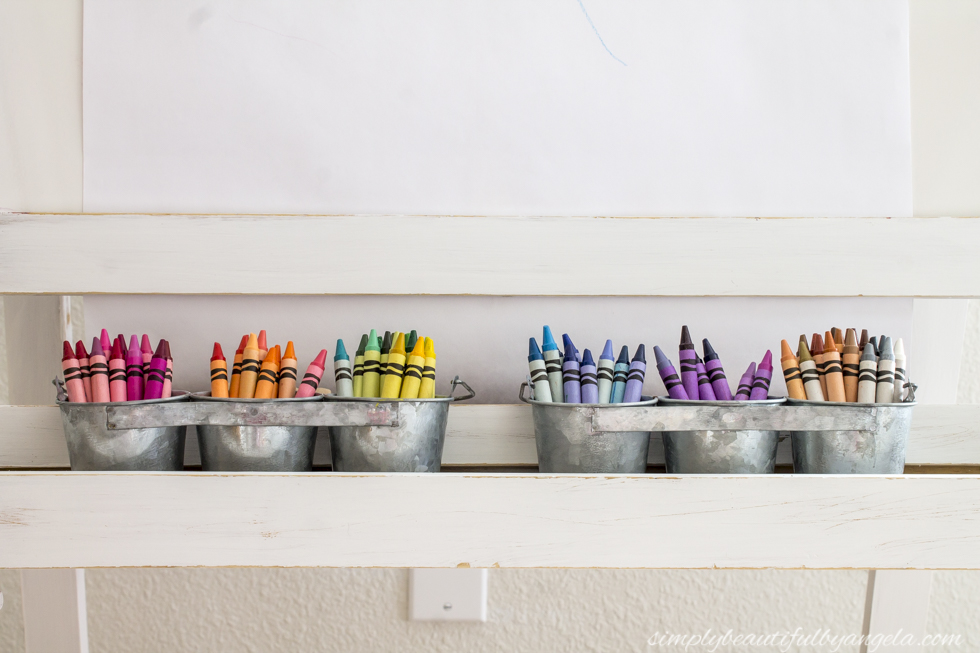
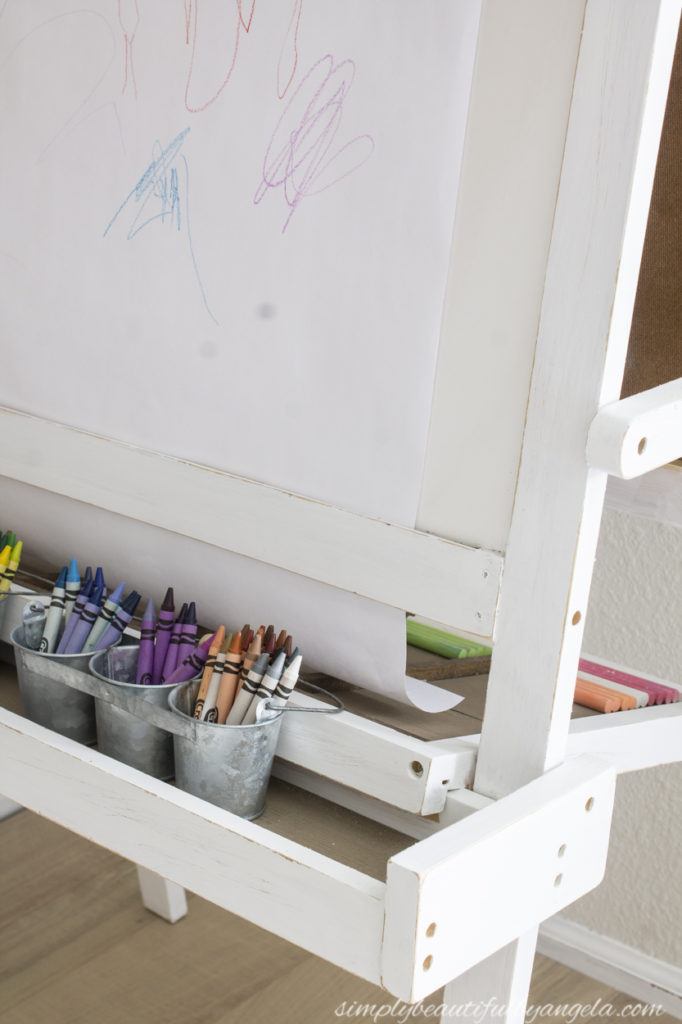
I picked up the cute metal caddies from Hobby Lobby on clearance for 80 cents to hold the crayons. Surprisingly the boys have been good at keeping them organized by color which has happily surprised this organization loving mama!
The pink squid figure in the center is Tristan’s portrait of me. Not even up for a whole day and he already created me a special treasure that I’ll probably keep forever. So stinking cute!
The paper slides behind the trim pieces perfectly and stays nice and put at the top, but I may eventually add a device for it to hang from later on.
Did you notice the beautiful wood floors and wonder where in the heck in our fixer upper house I took these pictures? A corner of our master bedroom actually!
I ordered a box of wood flooring to see how it looks in person and happened to lay a couple down in our room. I then decided that they would make a much nicer back drop than the dirty gray/blue carpet we currently have.
I’m pretty sold on these floors but the hubby thinks they are too light. I think they are perfect. We have one more place to check out this weekend so we shall see if these are what we end up with (aka if I win…).
Thank you for popping by the blog today my friends I’ll catch up with you all next week!
And now for more thrifty goodness!
Check out what my fellow upcyclers created below!
Linking up to these awesome parties!

This is amazing, Angela! I love everything about how you transformed this three dollar easel – from the painting and lettering, to adding the drawing paper roll on top, to the crayon holding metal caddies on the bottom! Well thought-out and creatively executed! Bravo! I am quite impressed!
This is so stinkin cute! So happy your hubby stopped for this great score and I bet your boys are super happy too.
Your husband did good and the makeover on the easel came out great. What a good idea to convert the easel for a roll of paper. I bet the boys play with this for hours.
Super cute! Love the idea to do an alphabet theme in the playroom. Your boys are going to love the easel.
هل تبحث عن شركة متخصصة فى خدمات التنظيف بالطائف بافضل المعدات والسوائل وثقة تمة فى العمل ودقة فى النتائج كل هذه المميزت توفرها شركة الخليج الشركة الافضل والامثل فى الخدمات المنزلية بالطائف وبما اننا الشركة الافضل والامثل بدون منافس سوف نسعى لتوفر افضل الخدمات باقل تكلفة وبقدر كبير من الاهتمام والدقة عزيزى اينما كنت فى اى منطقة ا وحى تابع لمدينة الطائف اتصل بنا وسوف نصلك فى الحال شركة الخليج للخدمات المنزلية شركة تنظيف منازل بالطائف
شركة تنظيف فلل بالطائف
شركة تنظيف خزانات بالطائف
شركة تسليك مجارى بالطائف
شركة رش مبيدات بالطائف
شركة مكافحة نمل ابيض بالطائف
شركة مكافحة حشرات بالطائف
شركة عزل اسطح بالطائف
شركة عزل خزانات بالطائف