Simply Beautiful By Angela

creating simple beauty on a budget

  • Home Tours
  • Projects
  • Legal
  • Link Parties
  • Let’s Chat!
  • About Me

DIY Tent Canopy

August 8, 2018

Hello my sweet friends! I hope you’re all having a good week.  I’ve been painting every day after work so it’s been flying by pretty darn fast for me!
Last week I decided that the half primed walls that were surrounding us were one of the things driving me most insane about the new house.  I was holding off on painting each room until the wall treatments were complete, but I realized that realistically that may be a loooong ways away.
So. In the meantime I decided to go around and paint all of the walls to make it feel more like home and less like a construction site.  I’m starting to feel pretty accomplished and hopefully this will help me feel a little better about the house for now.
I will have some progress photos to share with you guys by next week, but this week I wanted to share something that I meant to share awhile ago which is Lucas’ tent canopy over his bed!
When I first revealed the woodland themed bedroom that I created for Lucas this past spring I promised that a tutorial would be “coming soon.” I got a little distracted with the move, but at last I’m finally checking this one off the list!

Supplies Used: (Affiliate links may be provided for convenience.  For more info, see my full disclosure here.) 

  • Duck canvas
  • Coordinating thread
  • Sewing Machine (this is mine and I love it!)
  • Measuring tape
  • Sewing pins
  • Iron
  • 48″ Dowel rod
  • 4″ Wood circular plaques
  • Wood Ball Knobs
  • Minwax Dark Walnut
  • Self Drilling Drywall Anchors with Screws
  • Dowell screws
It all started when I spotted my inspiration photo from the Restoration Hardware Child website.  
(source)
I couldn’t find anything like it that I could buy at a store, but my heart was set on having something like this in his woodland themed room.  So I came up with my own DIY version! 
I’m not going to sugar coat it–this thing was a beast to put together!   I spent many long hours thinking this up, putting it together and fixing mistakes. It was all worth it though because it turned out wonderful in the end.
After some debate on changing the color I decided to stick with navy so I headed to Joanns and purchased 3 1/4 yards of navy blue duck canvas. I cut it in half at the fold so that I had two long pieces.  I took each piece, folded the edge in sewed a hem with white thread.  The stitching turned out really badly–but more on that in a second!
I wanted it to stick out from the wall 16″ so I measured to the 17.5″ mark to give me a seam allowance to fold and sew a seam along the other edge. I ended up having  major issues with my machine (we have a love/hate relationship and it’s always user error…) and my white stitching was a total eyesore.
So time for a fix!
I cut a strip of fabric 3.5″ wide and used an iron to press a hem on each side before running it through the machine with blue thread.  Part of the reason my stitching had turned out so wonky is because I skipped the iron step.  
I then pinned this “cover” piece over my messy seam.  I made sure to feel for evenness on both sides as I pinned it on so that it got sewed on evenly.  I didn’t do this at first so parts of it the seam ran off, but I made sure to hang that side on the side you don’t see.
Once it was all pinned on I pressed the iron over it so that it was nice and flat when I ran it through the machine.  
I used navy blue thread since I was nervous about another messy seam showing up, but I ended up feeding it through again with white thread once I was done since I really liked the way the contrasting thread looked in the RH inspiration photo.
I made another cover for the other side except I made it twice as thick at 7″ wide since I thought it would look cool to have a thicker one at the front of the canopy.
I did the same thing for the other half of fabric and once both pieces were complete I laid them on top of each other and stitched them together along the top with my seam being at what would eventually be the underside of the tent covered by a pole pocket.
To create the pole pockets  I cut 3 pieces of fabric 7″ wide and hemmed the short sides (with blue thread) to the width of my panels.  I then hemmed the longer sides with white thread.
I laid it on the center of the underside of my panels and sewed it on with blue thread.

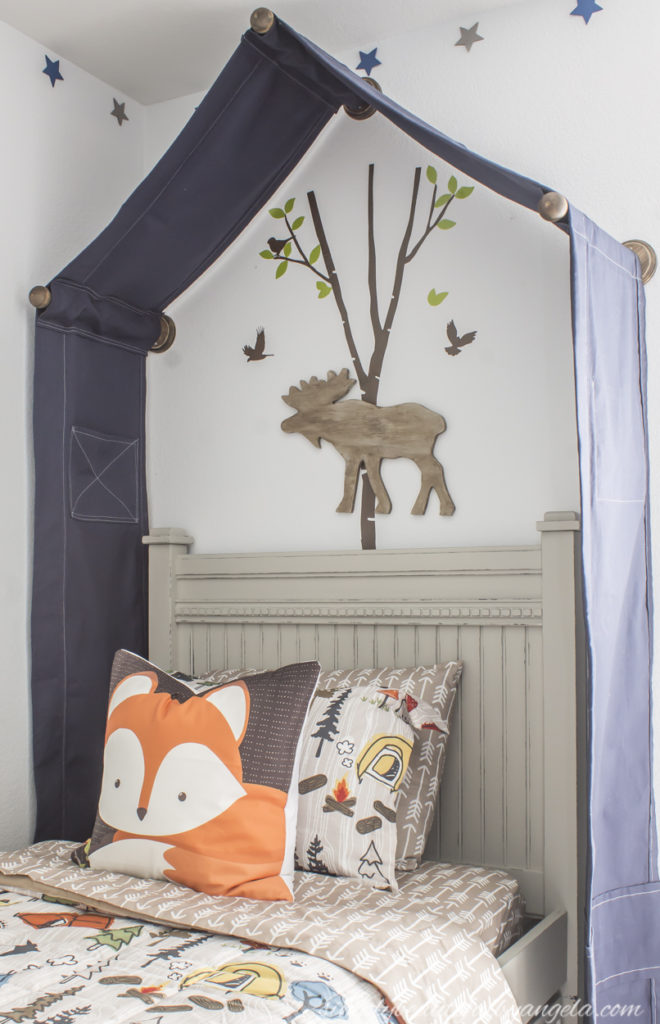
Once that was attached we began to mount it to the wall so that I could find out where the side pole pockets should be.

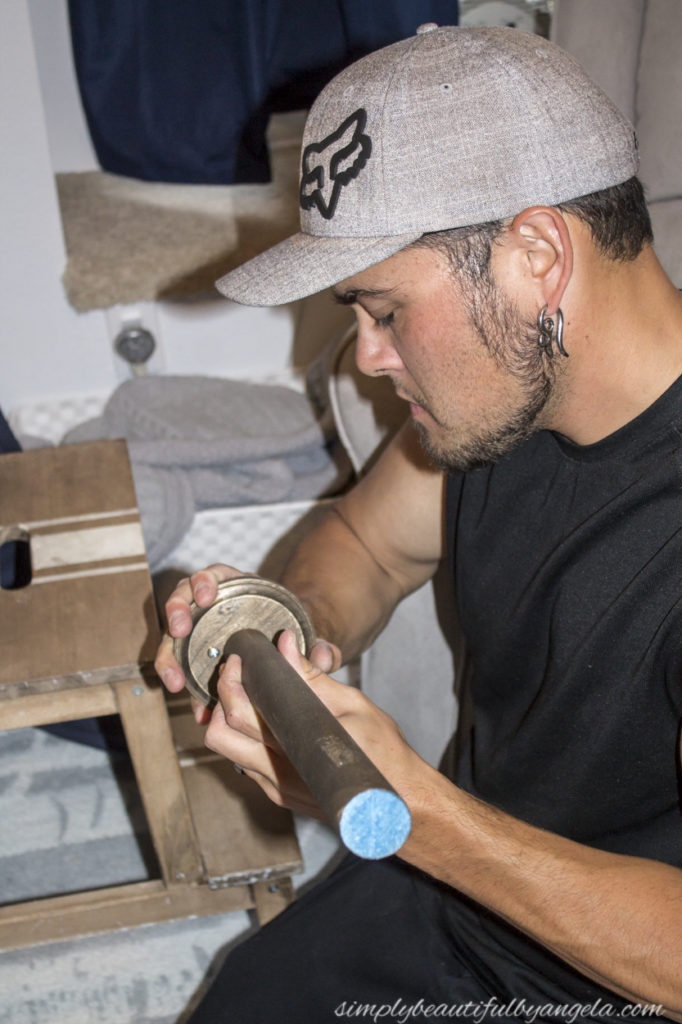
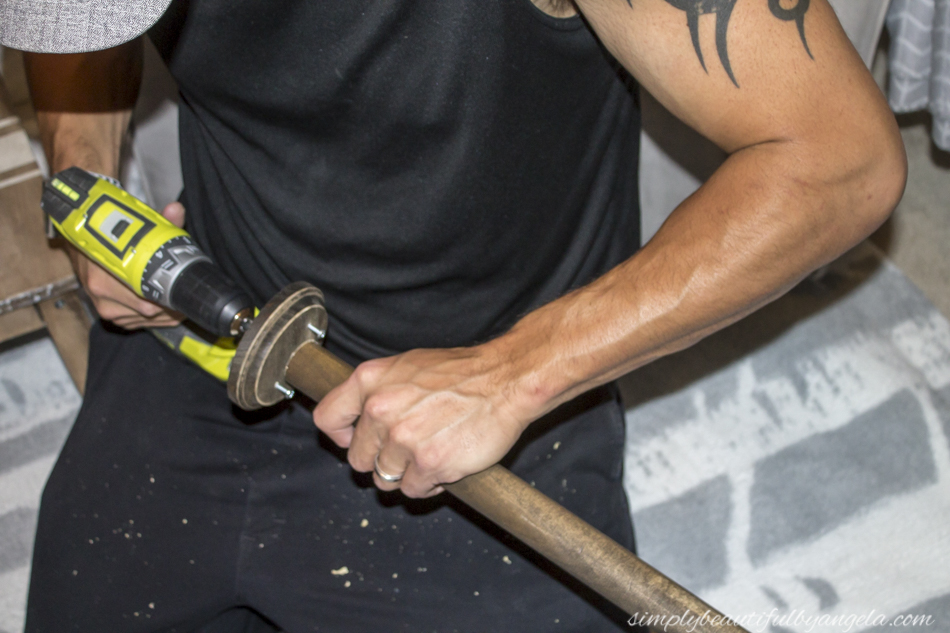
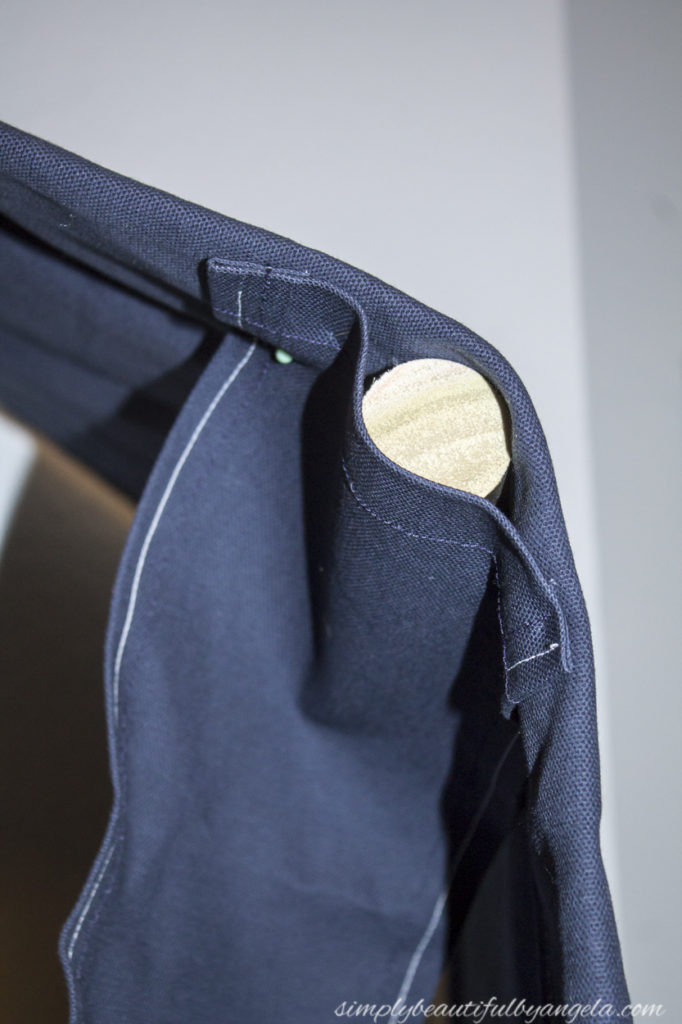
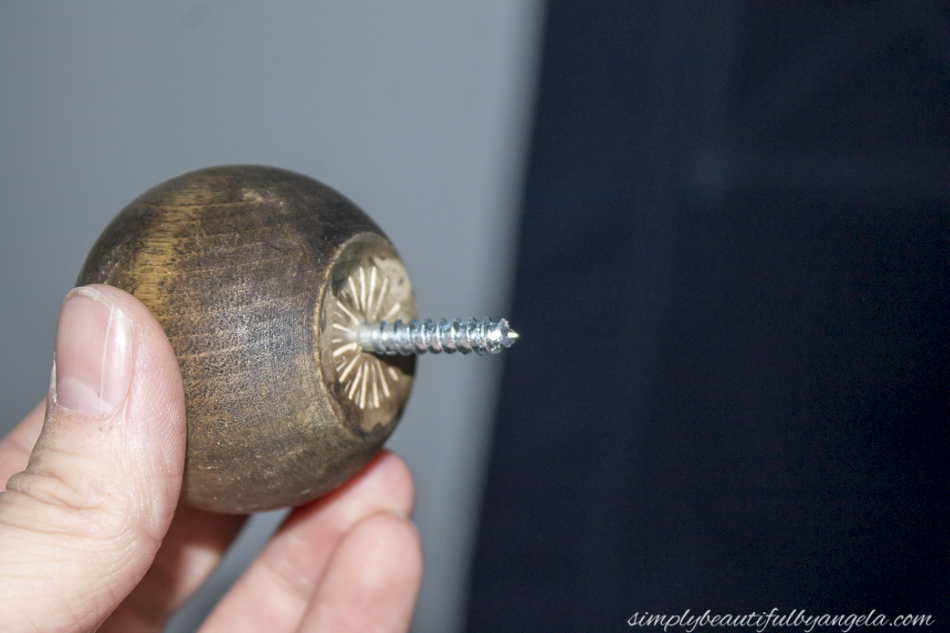
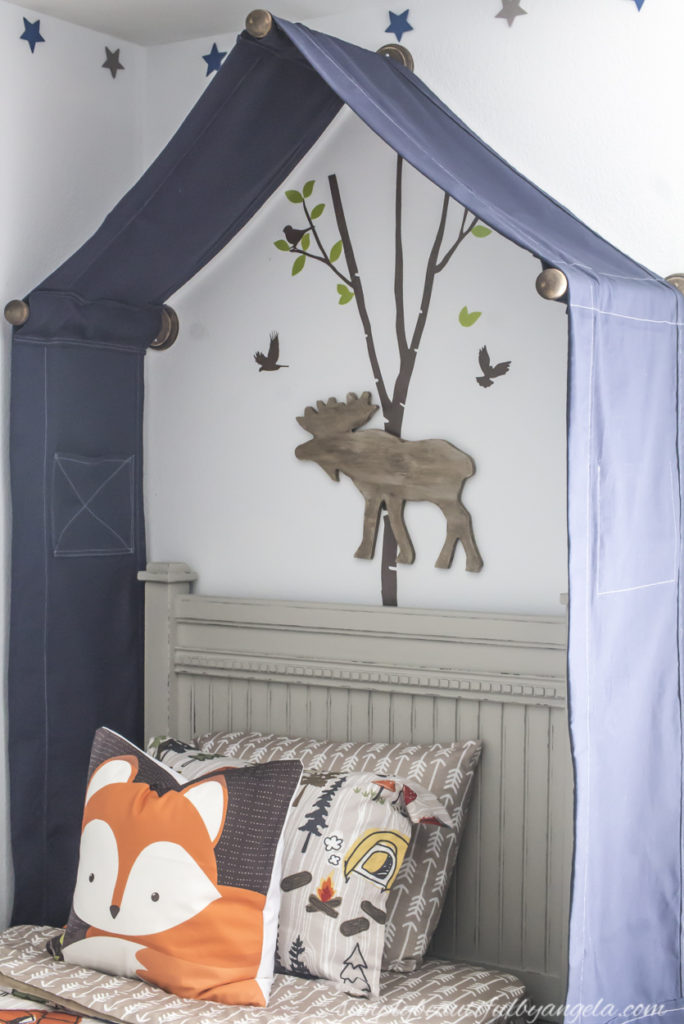
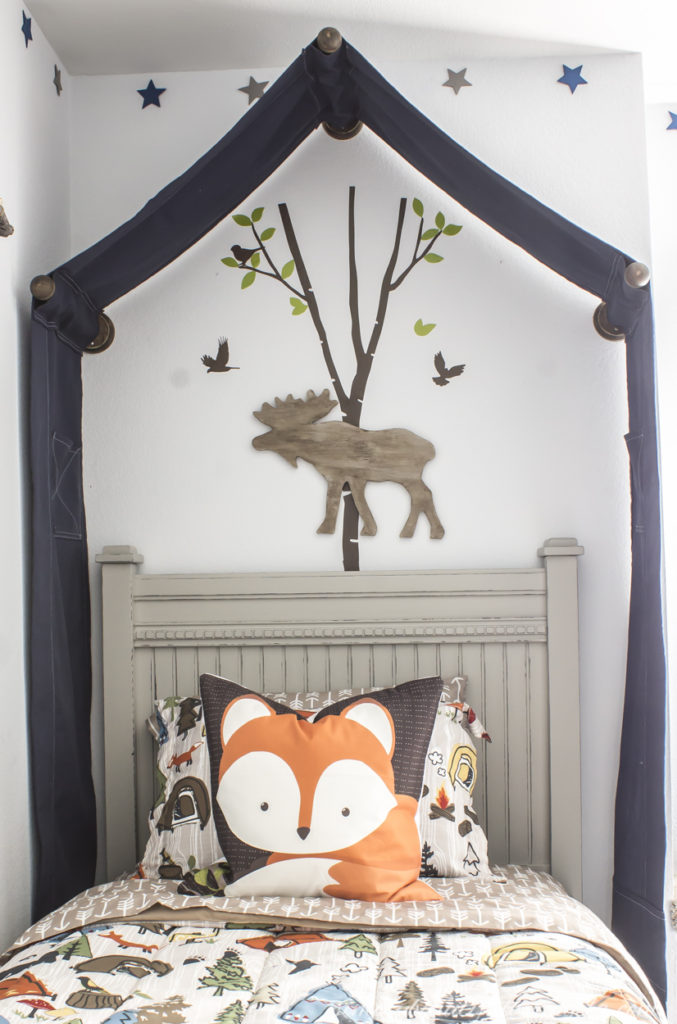
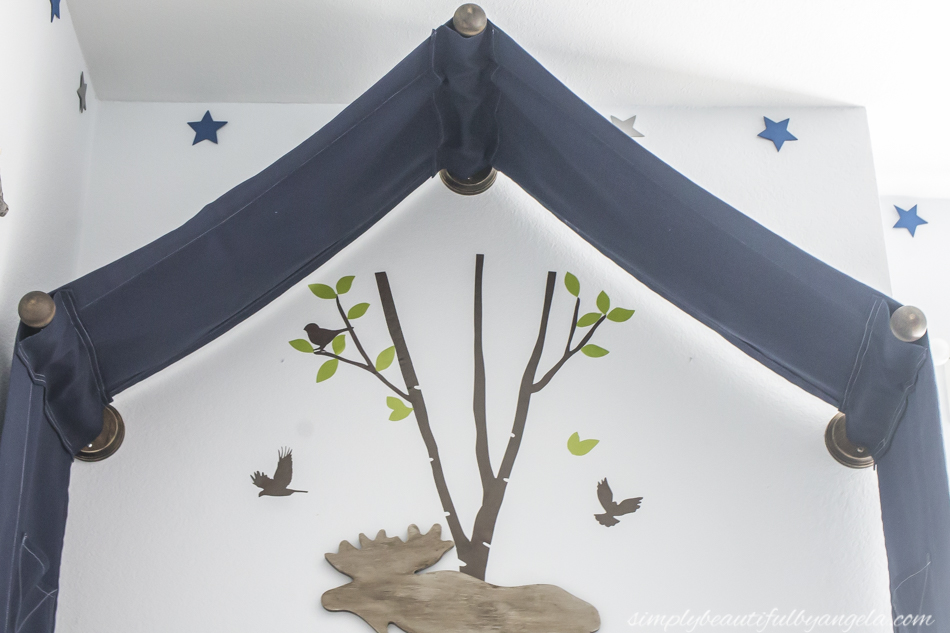
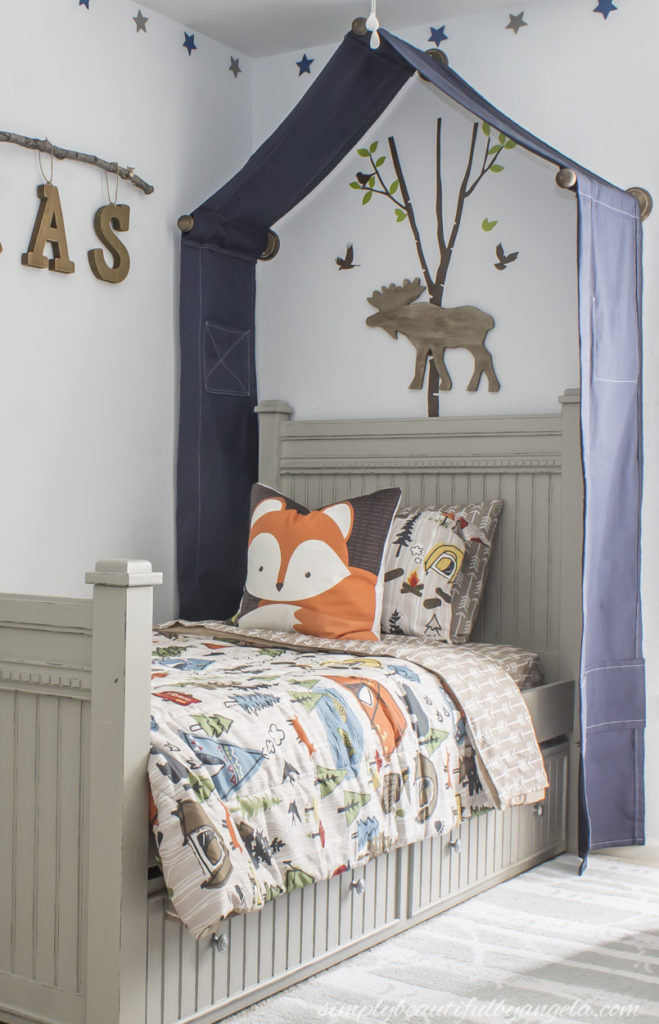
I didn’t get a picture of creating the poles and wall mounts but I simply stained a 48″ 1-1/4″ wood dowel and then cut it down into three 16″ pieces.  I also stained three circular plaques and three ball knobs.

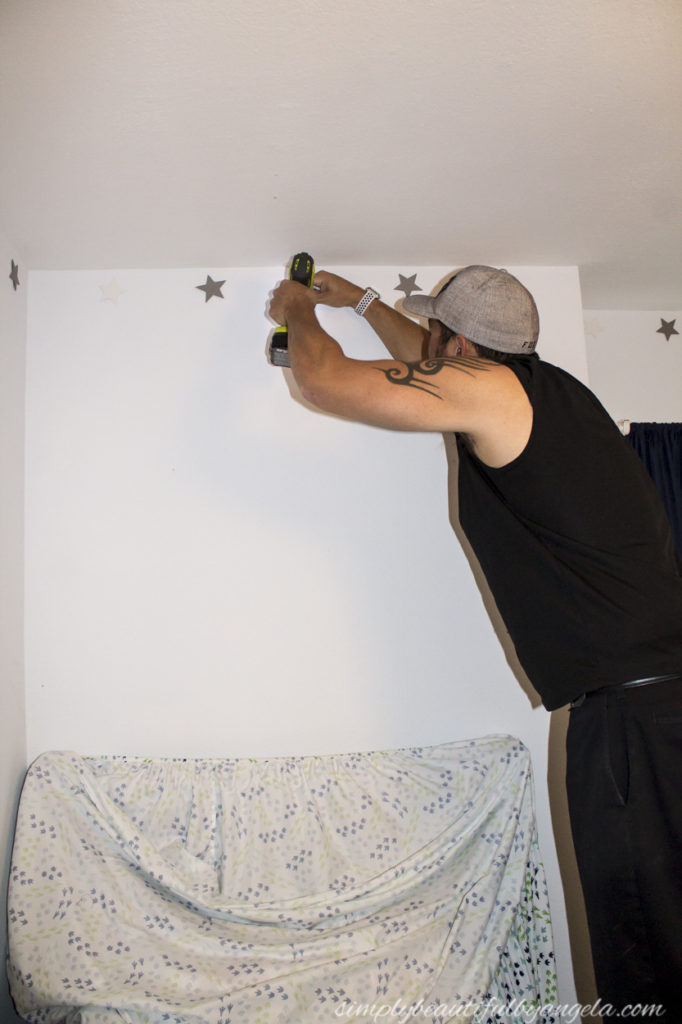
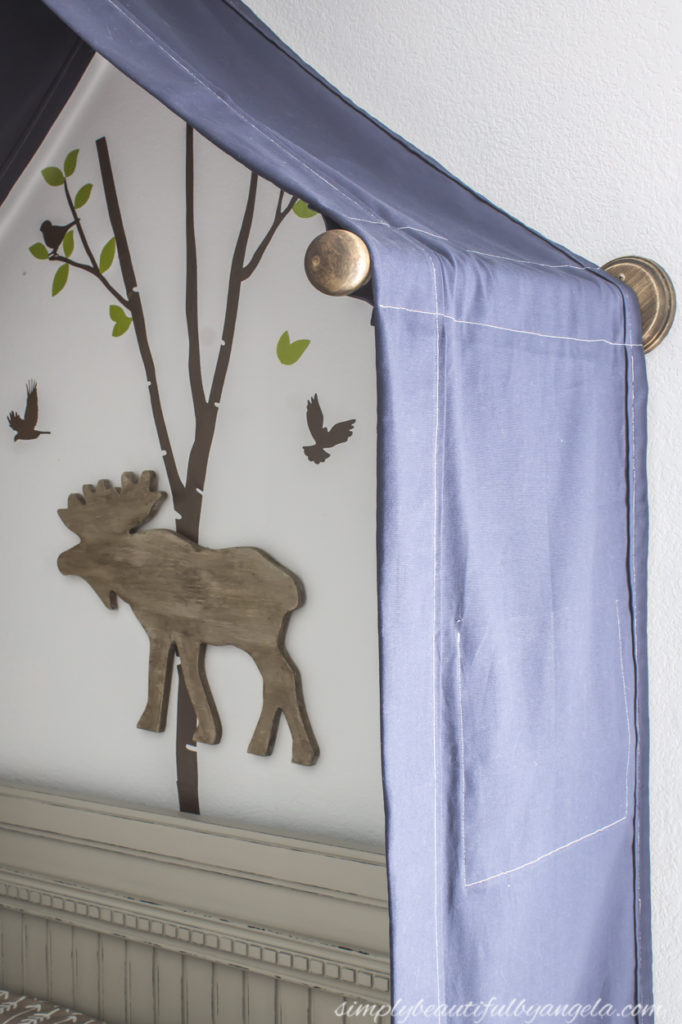
Anthony began by finding the center of the wall and drilled two pilot holes for the wall mount.

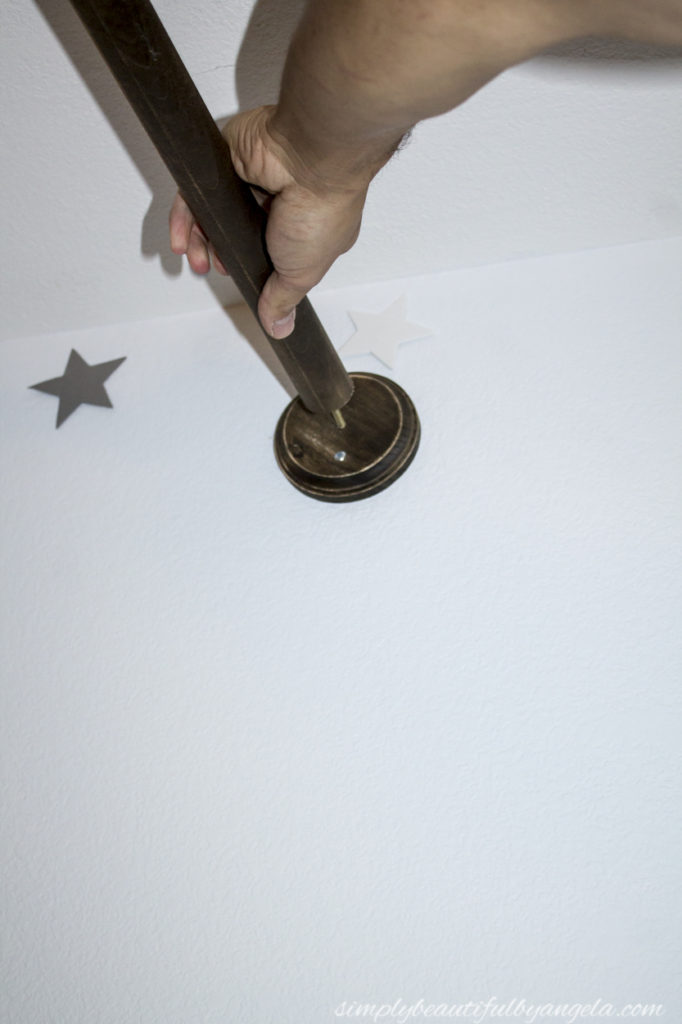
Next, he marked and drilled a hole in the center of the mount and the pole.

He put a screw through the back of the wall mount but left the pole off for the time being.  He countersunk the screw so that the wood would sit nice and flush on the wall.  
He attached the wall mount using drywall anchors since we didn’t hit any studs and then screwed the pole onto the screw.
Once the center pole was up, I slid the pocket over it and from there we were able to test out where the side poles should go and attached them to the wall.
I used pins to mark where the pockets needed to go and then ran them through the machine.
I also pinned where the length needed to be hemmed.

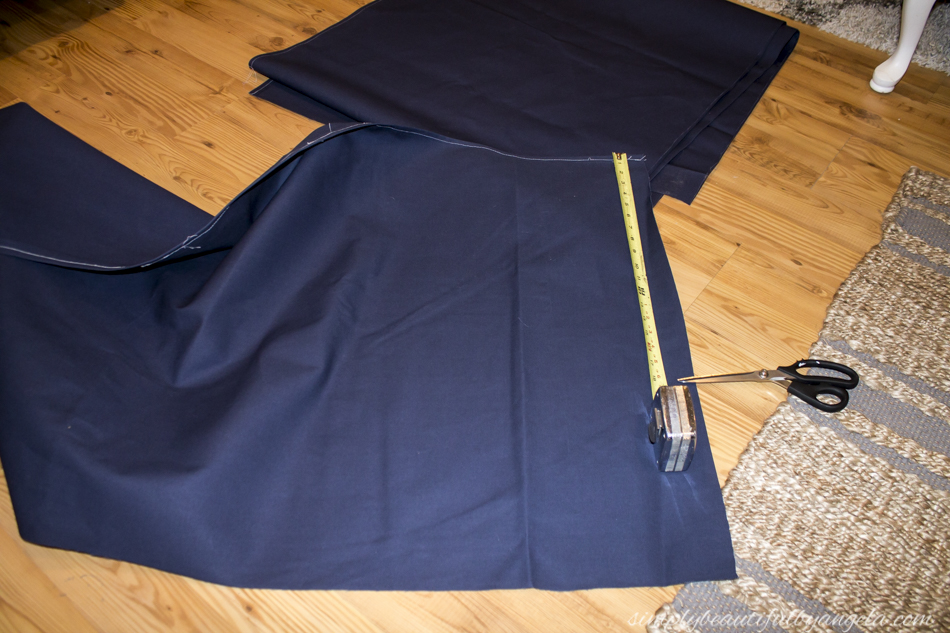
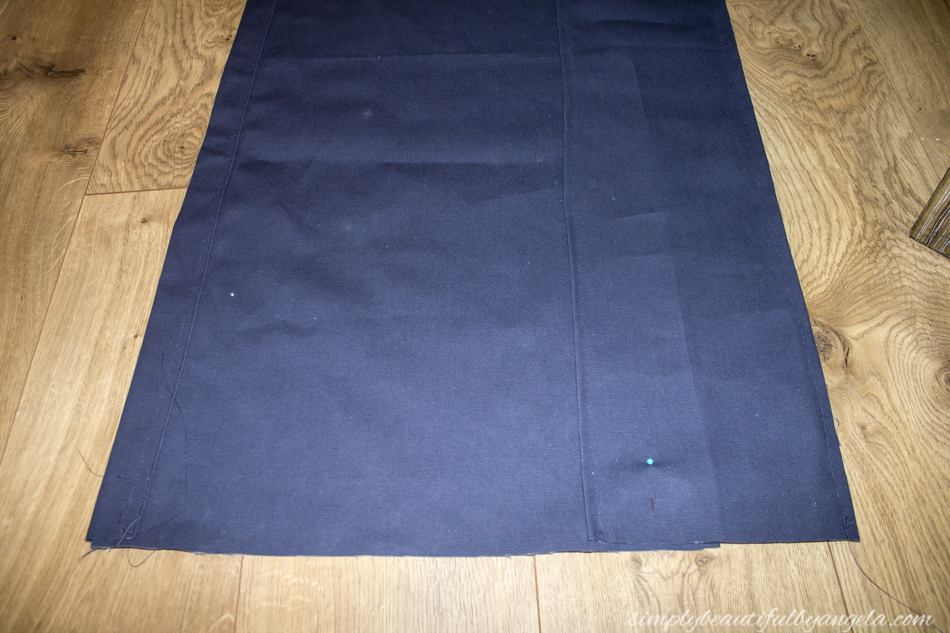
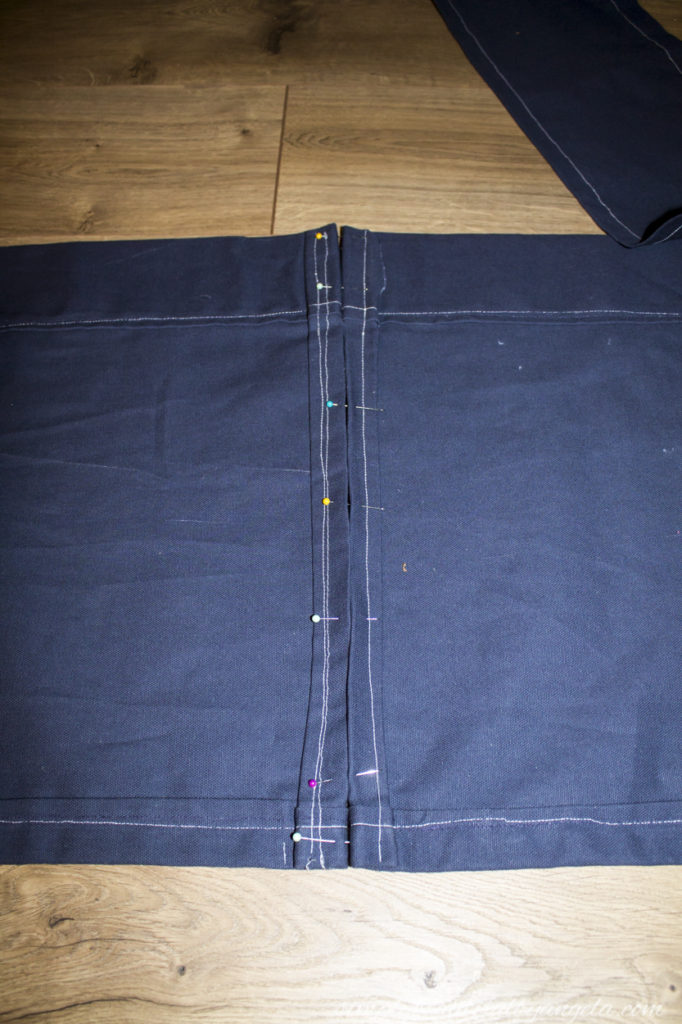
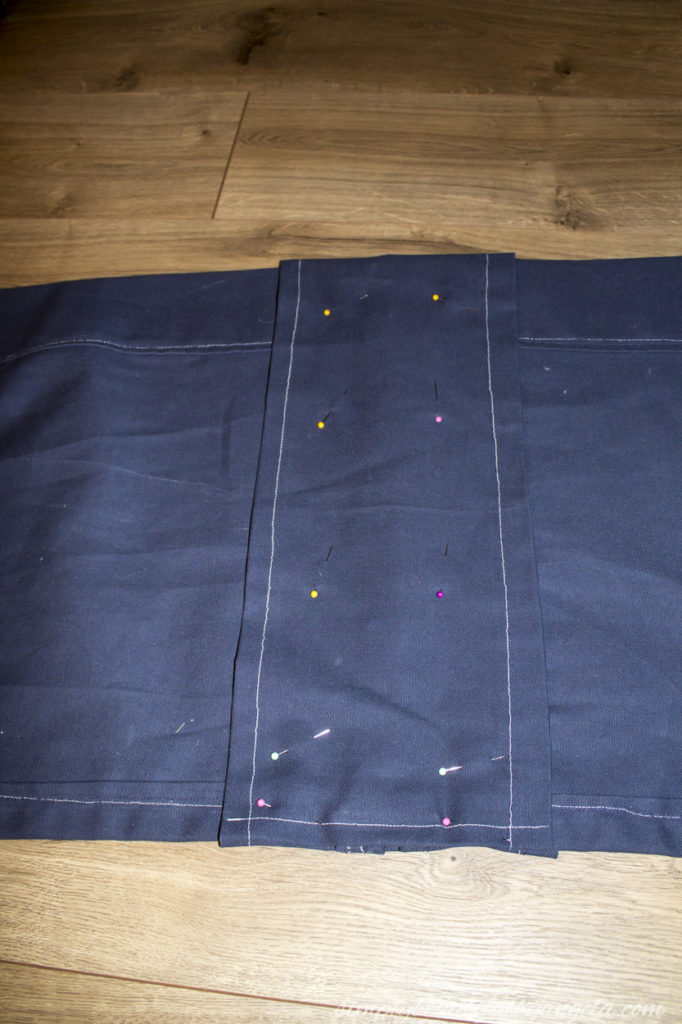
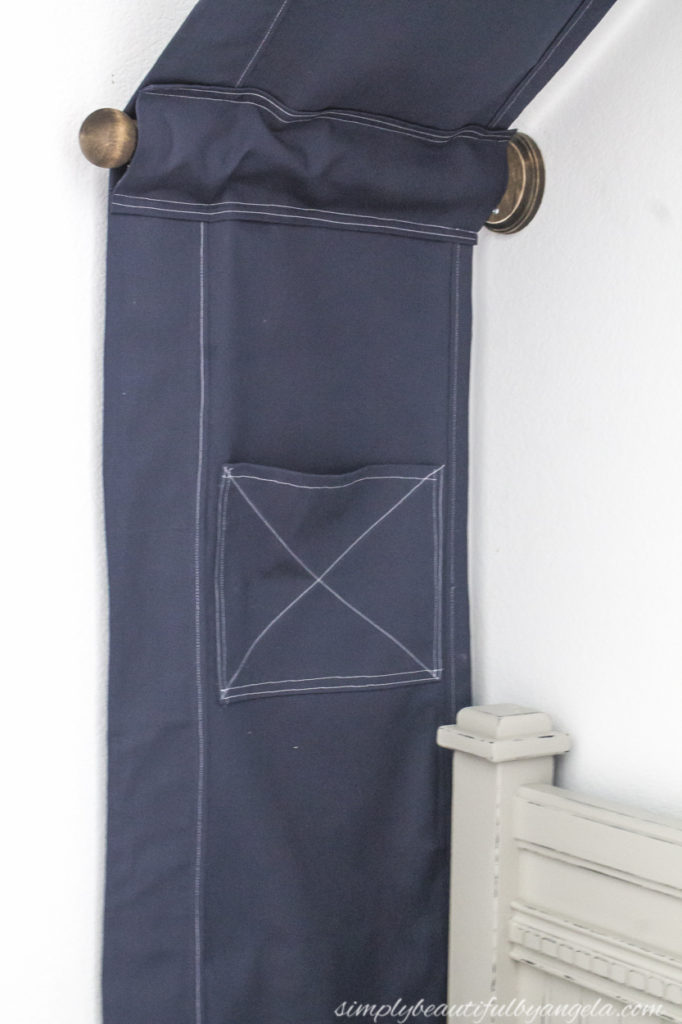
However.  Instead of cutting it at the bottom, I cut it where I planned to stitch.

Whoops!  That’s what happens when I work past my bedtime.  I am NOT a night person!  It turned out to be a happy accident though. I took the pieces that I cut off, made sure I had the right length and pinned them to the bottom of each panel.

Next, I made pieces similar to the pocket long enough to wrap the front and back of each side to hide where the two pieces met. 

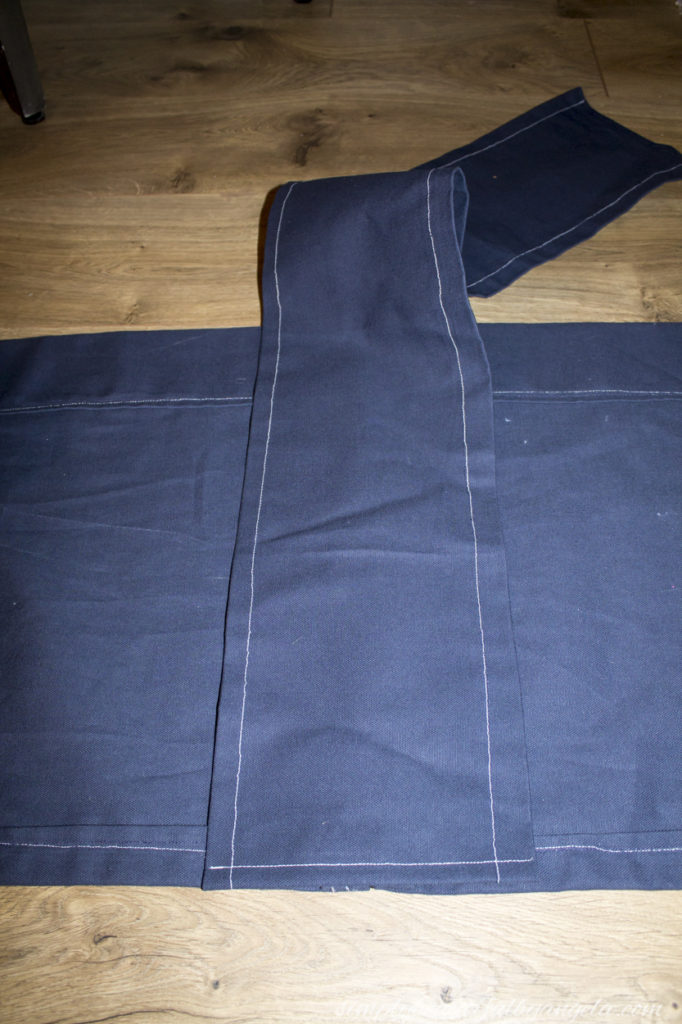
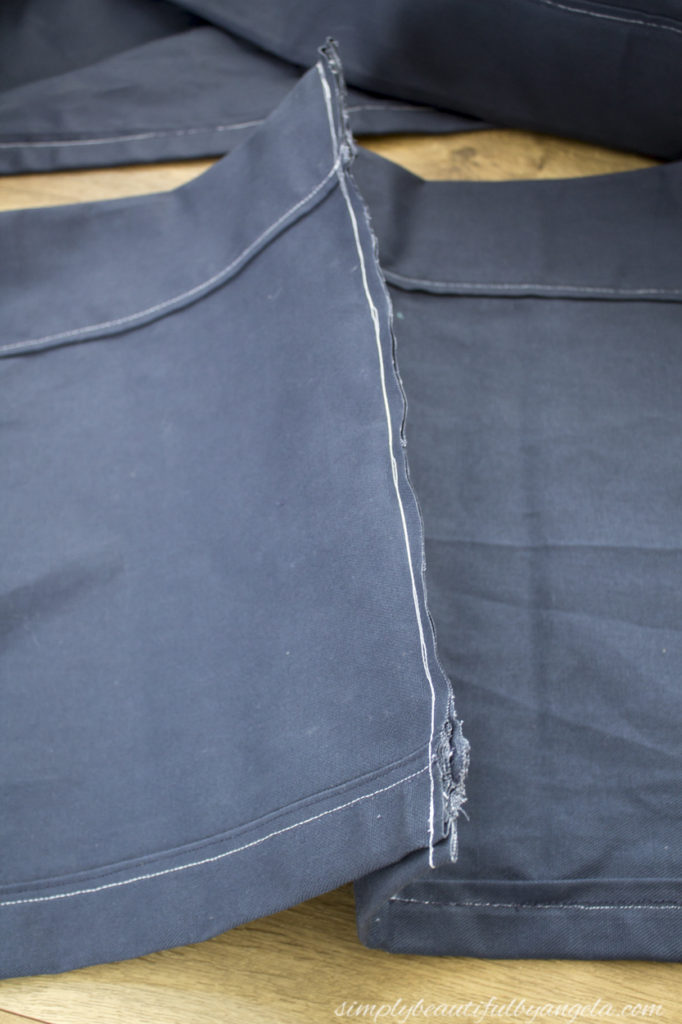
 At this point I was getting fed up with the sewing machine so I actually just used hot glue to attach it after I had it pinned in place.

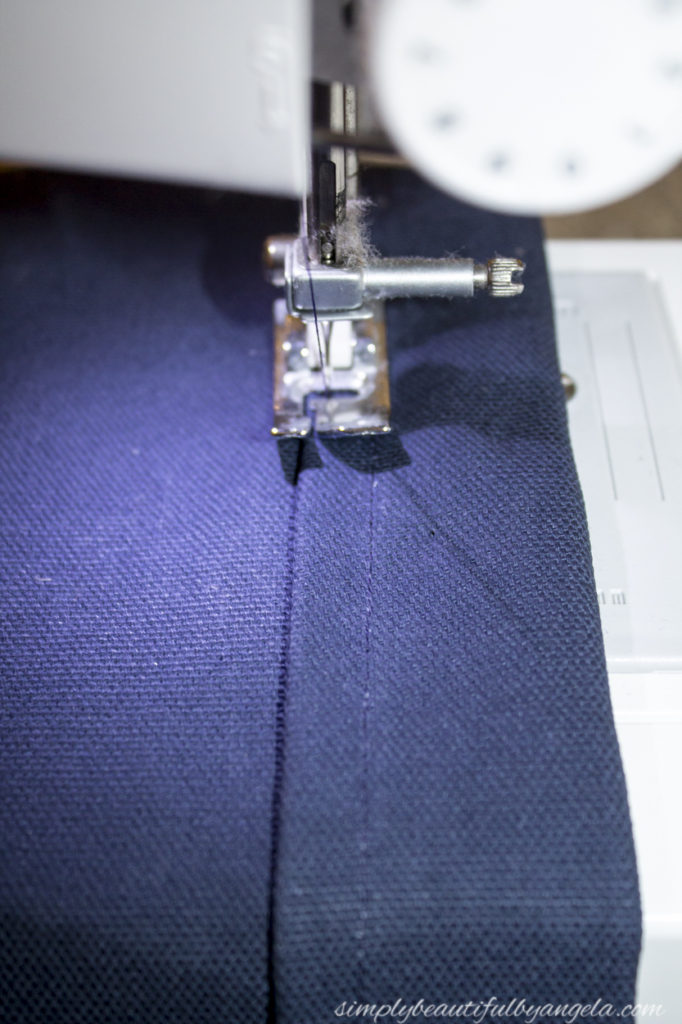
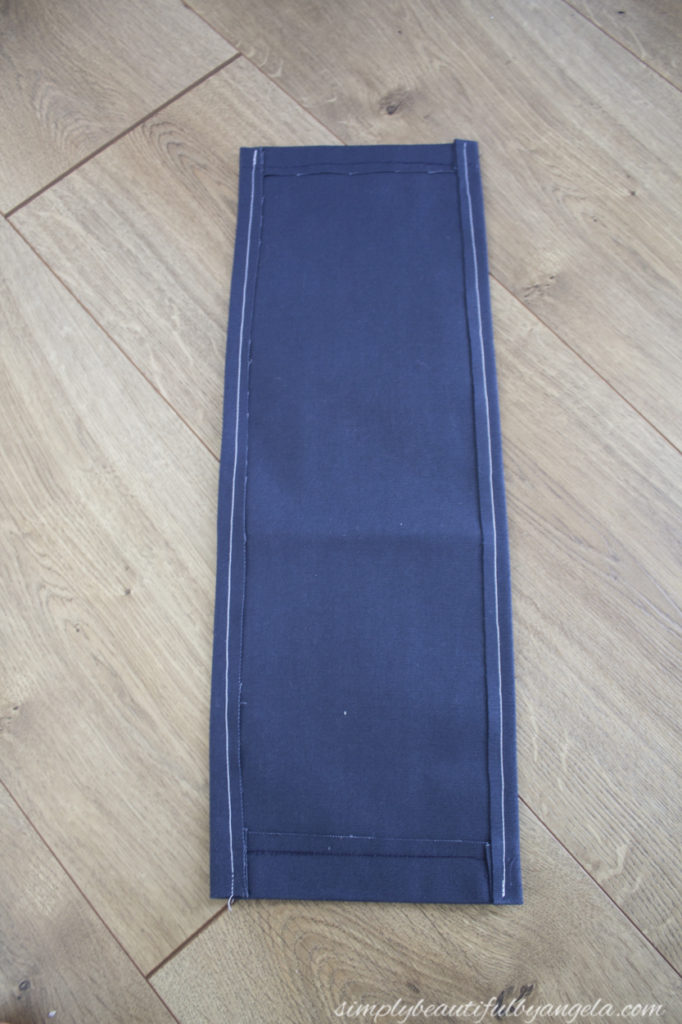
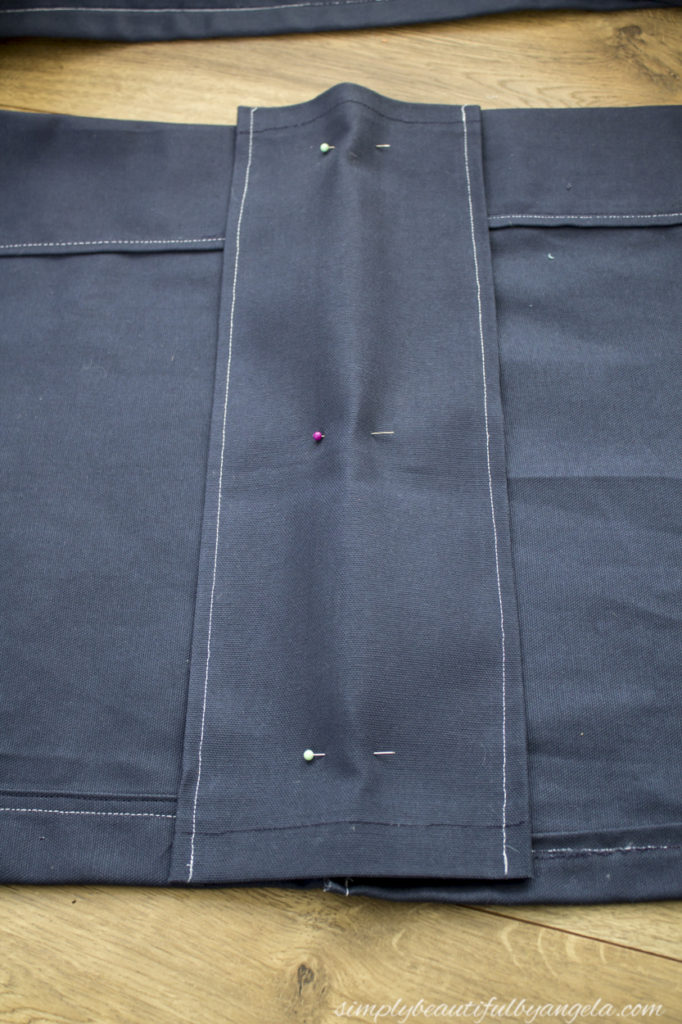
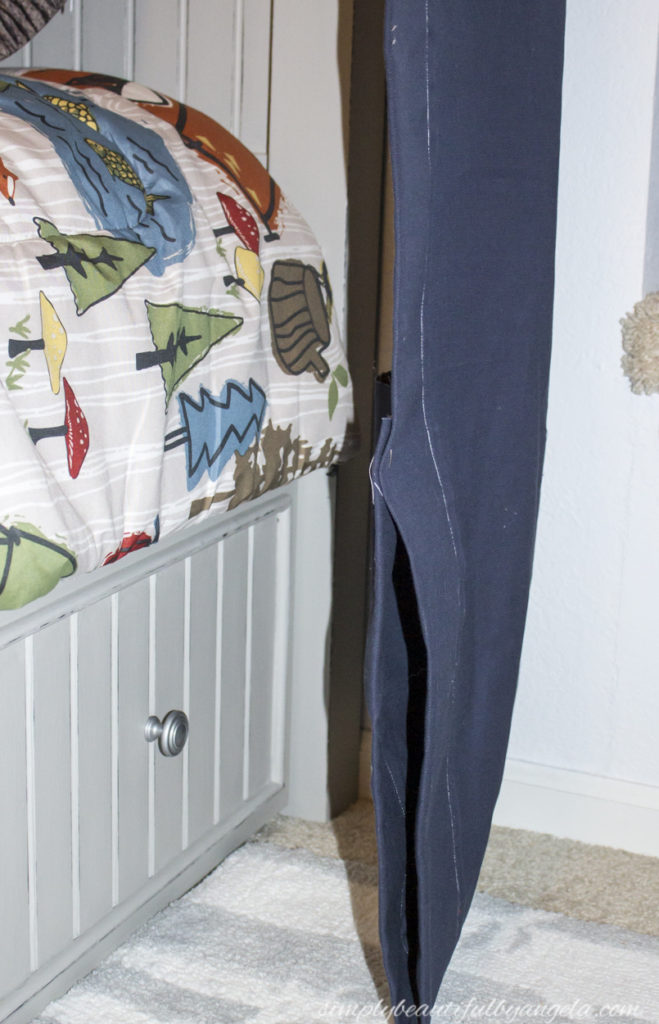
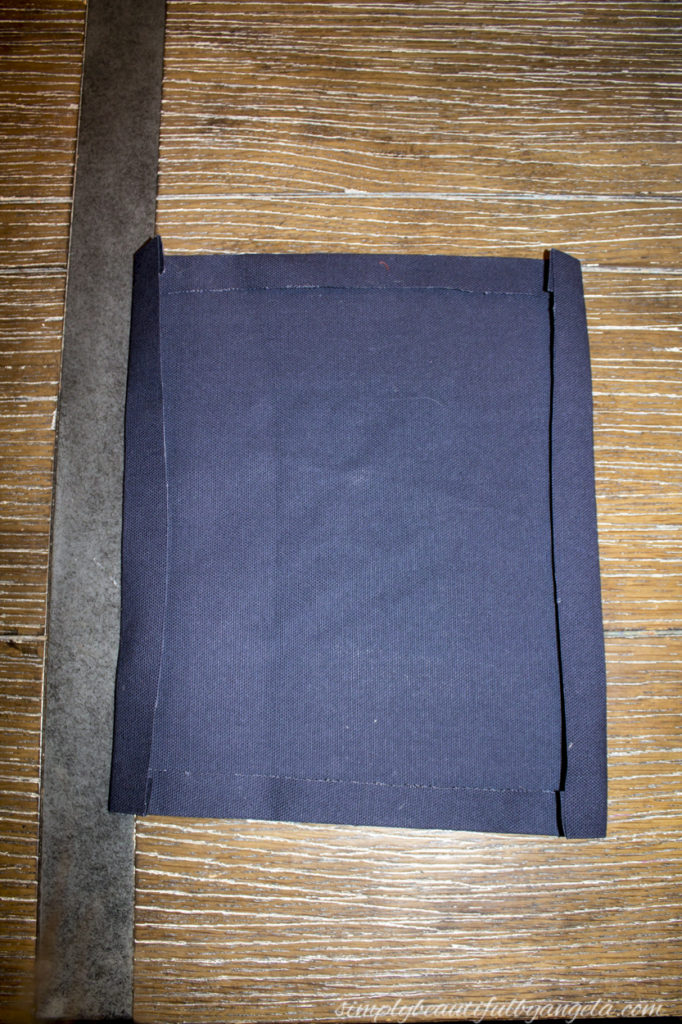
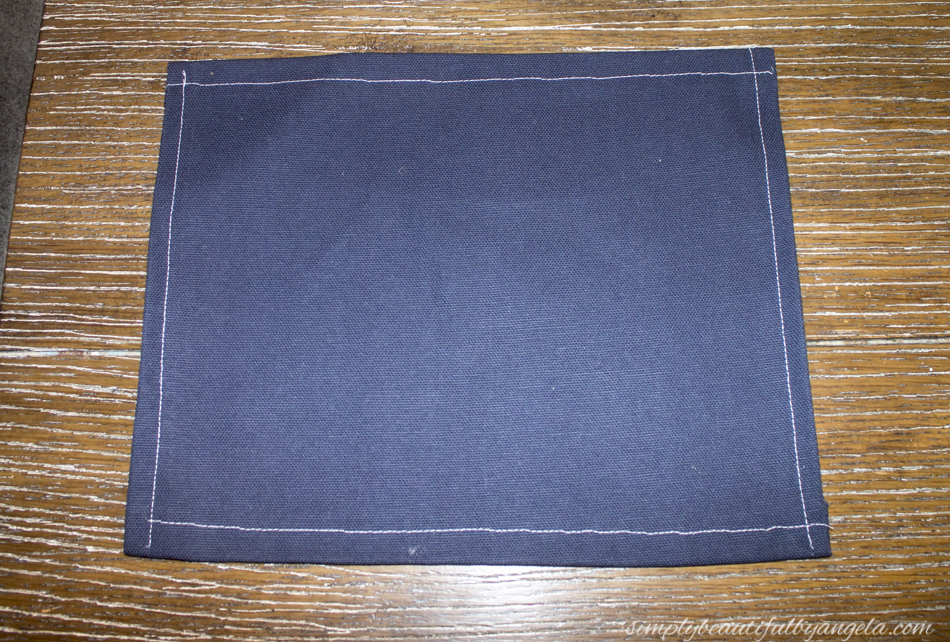
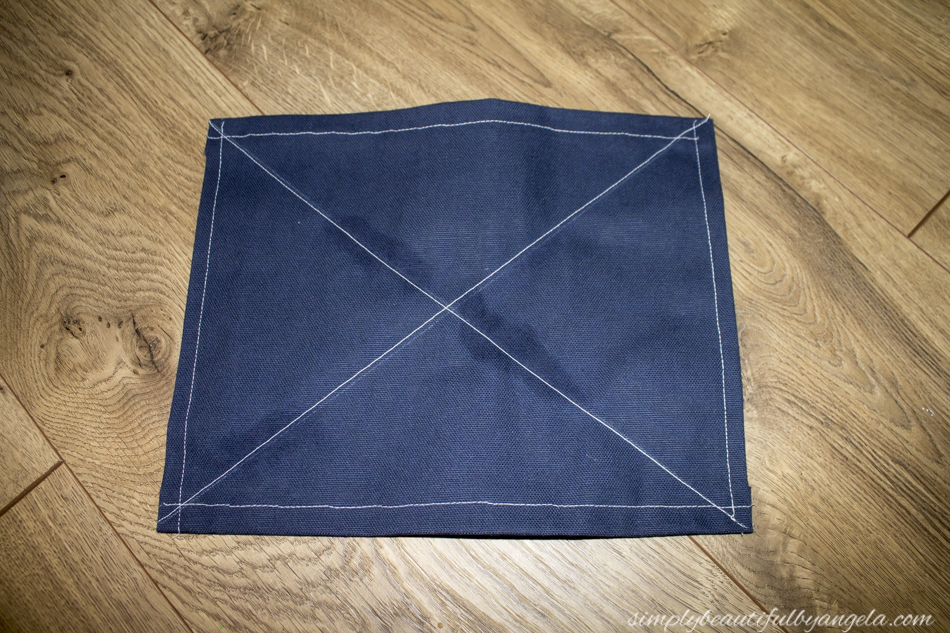
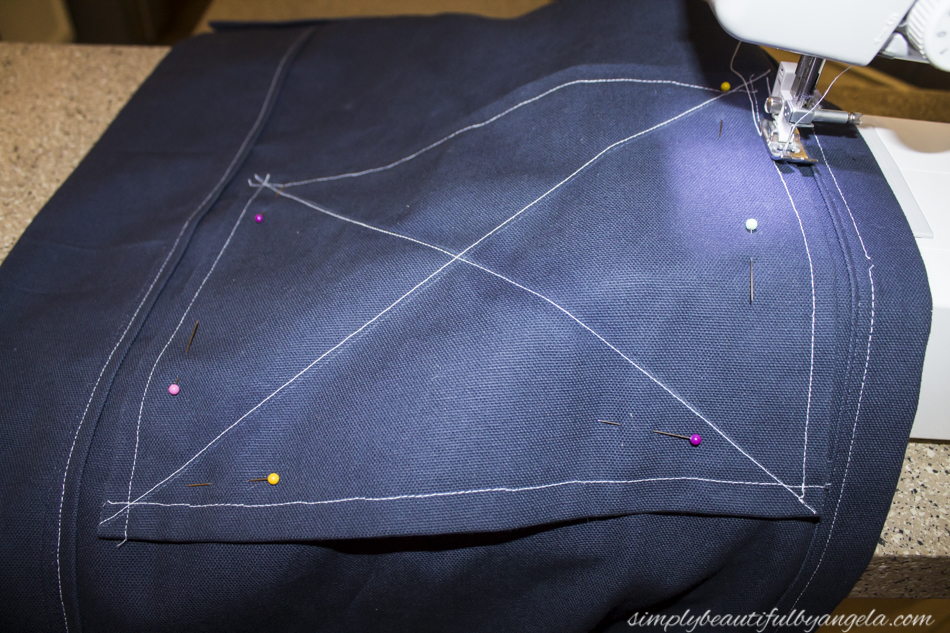
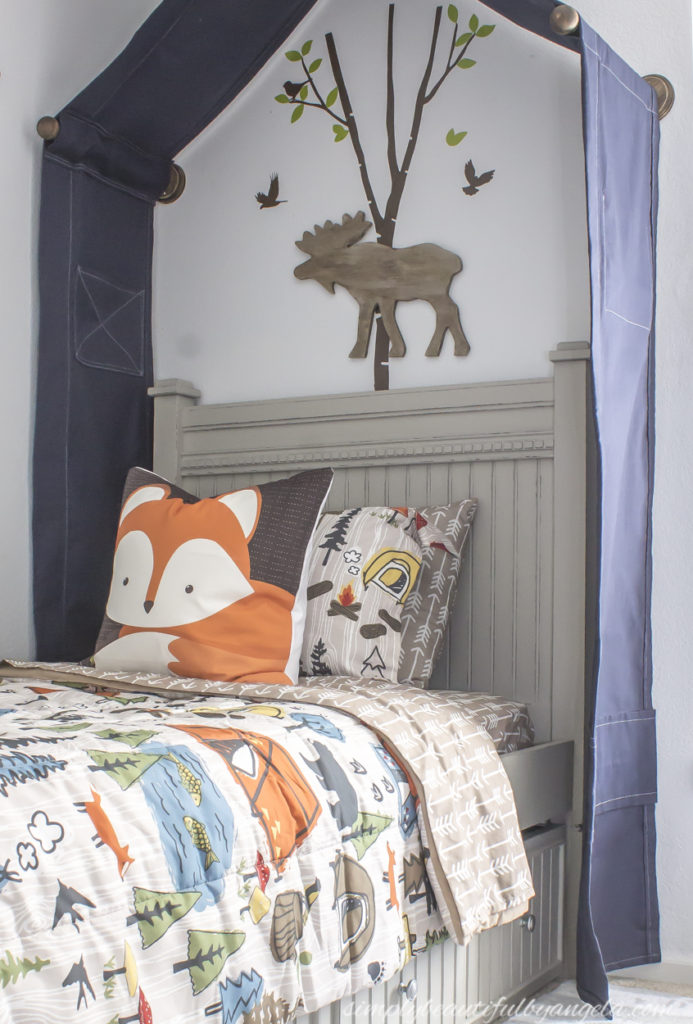
I did have one more thing to use the sewing machine for though, and that was the side pockets. I cut two squares of fabric and hemmed the sides of each one.

I then used a piece of scrap wood to draw an X with a chalk pencil and then ran it through the sewing machine along this line with some white thread.

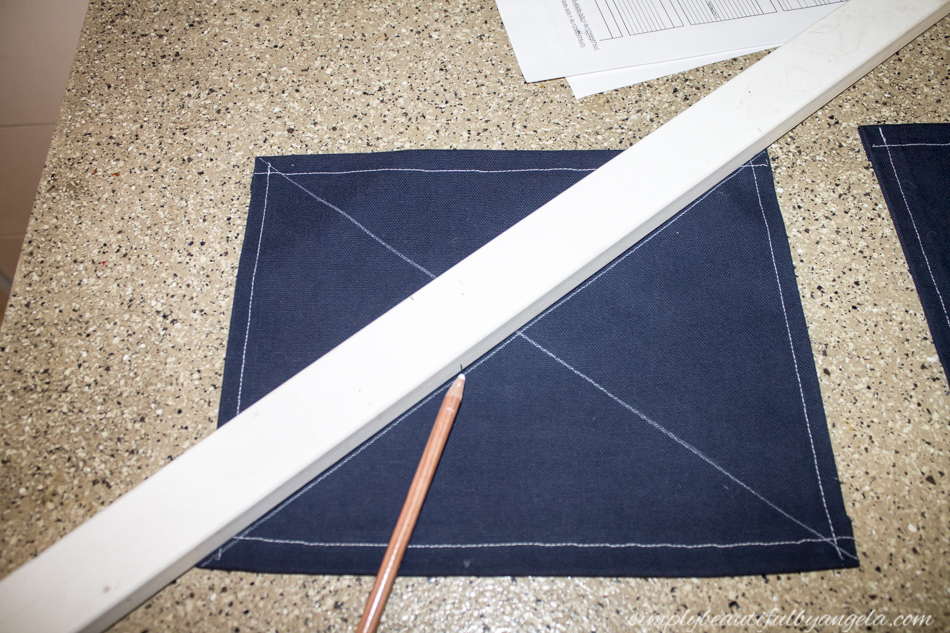
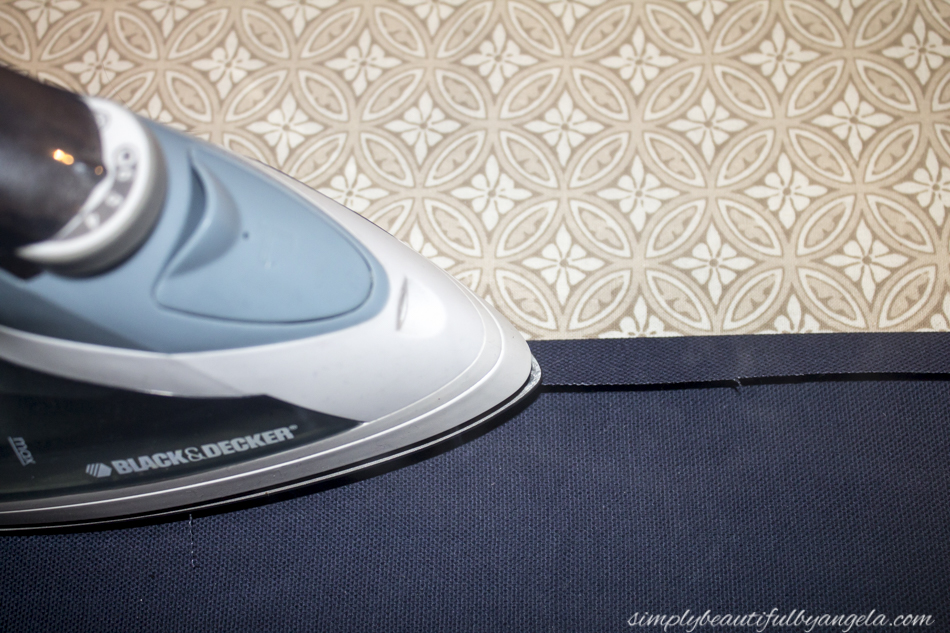
The chalk pencil washed off easily with water.

I then sewed one on the inside of each panel.
Once I slide it over the poles I finished it off by attaching some wooden balls to the ends of the poles to keep it from sliding off.
To do this we simply screwed a nifty double sided screw (also known as a dowel screw) in to the ball and then screwed it into the pilot hole that the hubby put in the end of the pole.
And finally my masterpiece was complete!

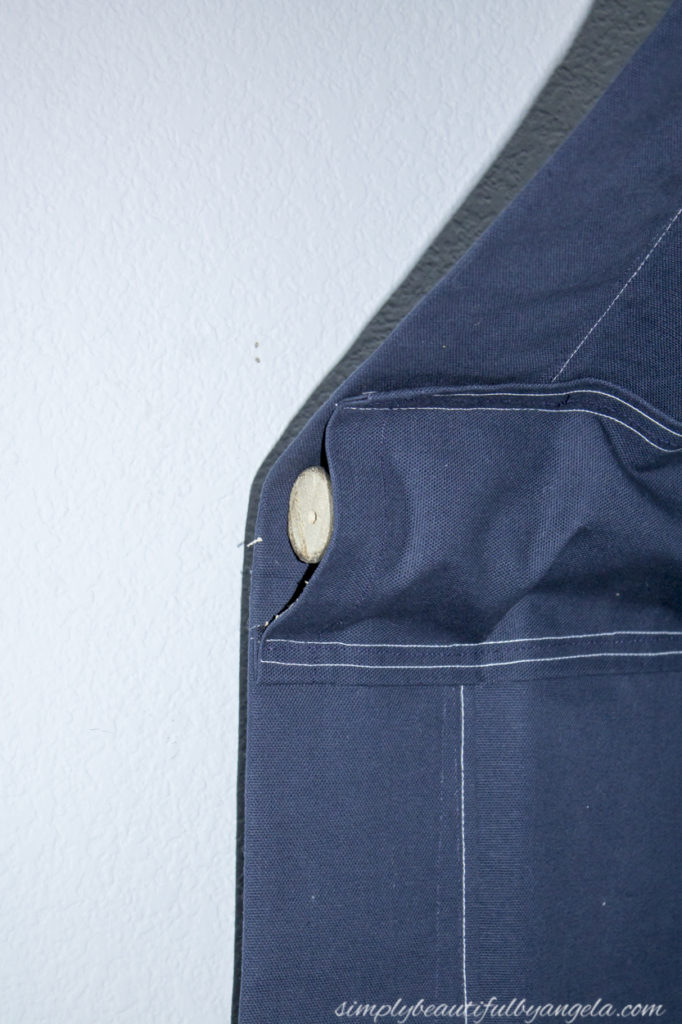
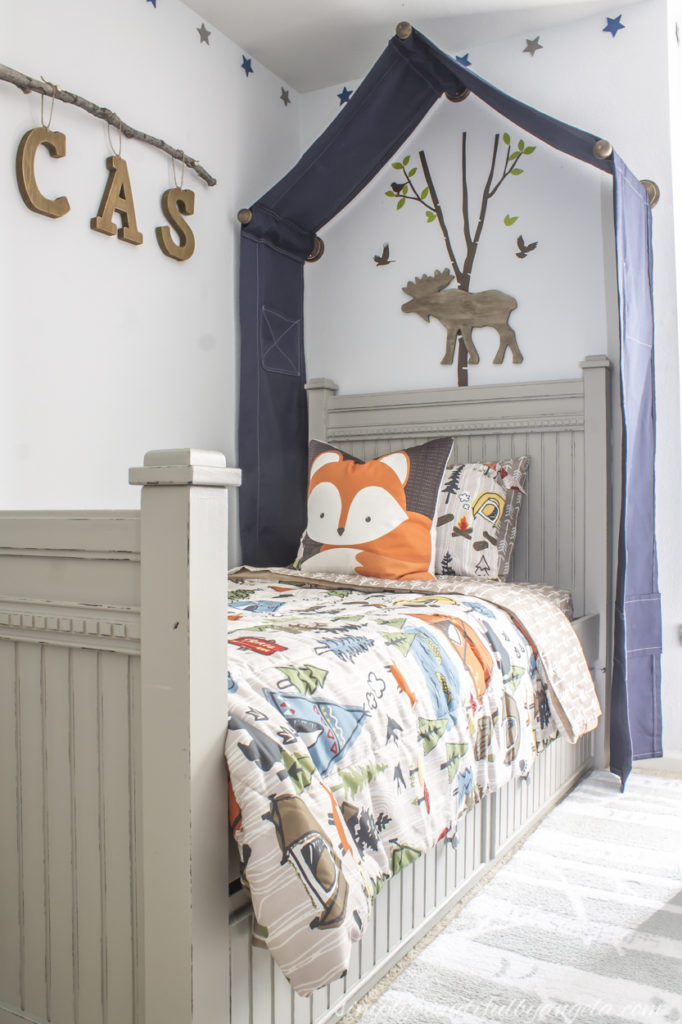
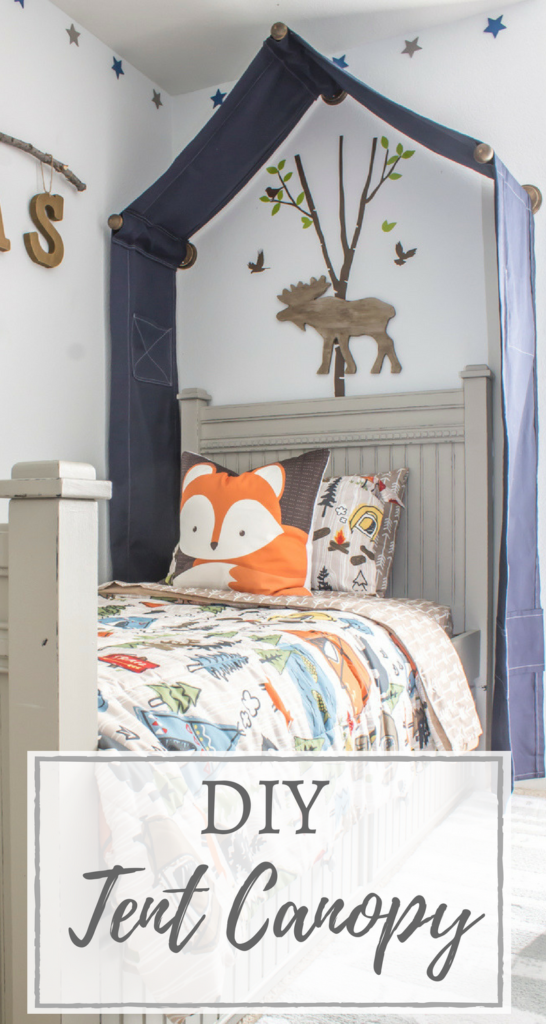
Lucas was of course smitten with it and really likes that he can keep his stuffed fur “babies” in the side pockets.

Despite the hiccups that I ran into, it turned out even better than I had hoped that it would.  The seam “covers” on the edges and at the bottom add so much character and nobody besides me (and obviously you!) know that they were actually mistake covers.
I feel so proud that I created this from scratch. Especially since I’m no pro on a sewing machine…like at all!  You can trust me when I say that if I can put this together, anyone can.  
These pictures were from the old house but we also set it up in the new house.  It took us a few weeks to get around to it but once we did Lucas was so excited to have that piece of his old room back up!
I hope you all have a fantastic rest of the week!
Linking up to these awesome parties!

· Labels: Uncategorized

Comments

  1. the cape on the corner says

    August 22, 2018 at 3:38 pm

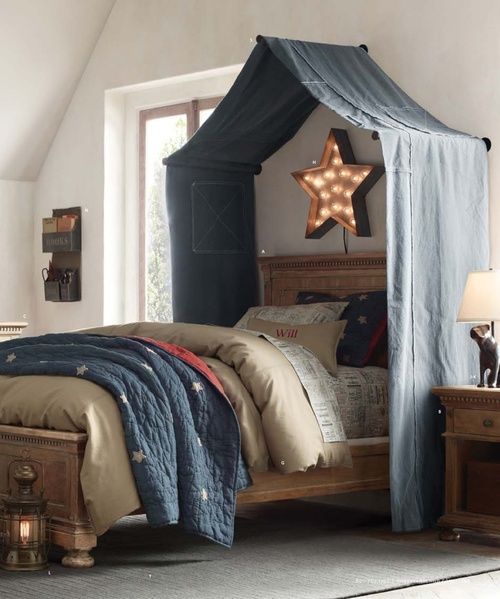
    you are a rock star! i love your version better, and it goes so stinking perfectly in this room! well done!
    b

Hello, I am so happy that you're here! My name is Angela and I love to create simple beauty in our home on a budget. Here you will find DIY decor and home projects, furniture flips and other home inspiration!

Never Miss a Post!


Diagonally Fluted Nightstands

Diagonally Fluted Nightstands

Hello! I’m really enjoying the extra daylight and the fact that it’s been paired with warm sunny weather this week has been icing on the cake. I’m trying to soak it all in before the next snowstorm! Today’s flip was from about a year ago and is still one of my favorite sets of nightstands…

Read More »

How to Update a Dresser with a Missing Drawer

How to Update a Dresser with a Missing Drawer

Hey friends, happy March! Even though I know we still have quite a bit of cold weather coming our way here in Colorado, it’s exciting to see these warmer days sprinkled in here and there. This week I am sharing how I saved an old IKEA dresser from ending up at the landfill! Supplies Used:(Affiliate…

Read More »

Vintage Ice Box Style Nightstands Makeover

Vintage Ice Box Style Nightstands Makeover

Hello friends! We just got back from our annual trip to the Great Wolf Lodge and it was fun times as always! Today I am sharing how I updated these fun vintage ice box style nightstands that I found on Marketplace! Supplies Used:(Affiliate links may be provided for convenience.  For more info, see my full disclosure here.) …

Read More »

Never Miss a Post!


GOOGLE 2

GOOGLE 3

GOOGLE 4

GOOGLE 5

GOOGLE 6

GOOGLE 7

Theme by 17th Avenue · Powered by WordPress & Genesis