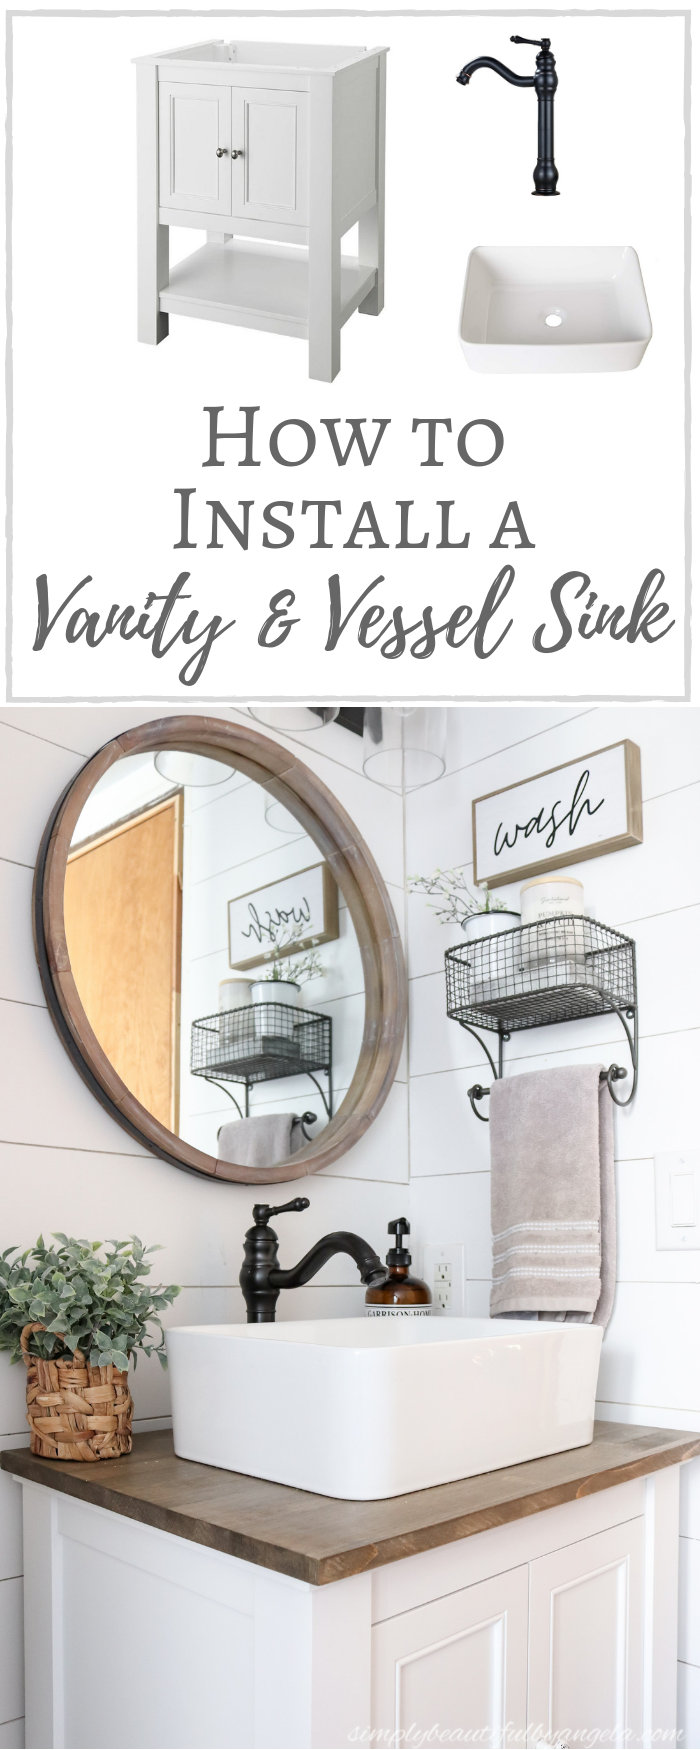
Hello everyone–I hope you all had a fantastic weekend!
You guys. I am sooo excited to share today’s post. In fact I honestly can’t remember the last time I was this pumped to share a tutorial. I am over the moon thrilled with how beautiful our vanity and vessel sink turned out in our powder room and I absolutely can’t wait to tell you guys all about it!
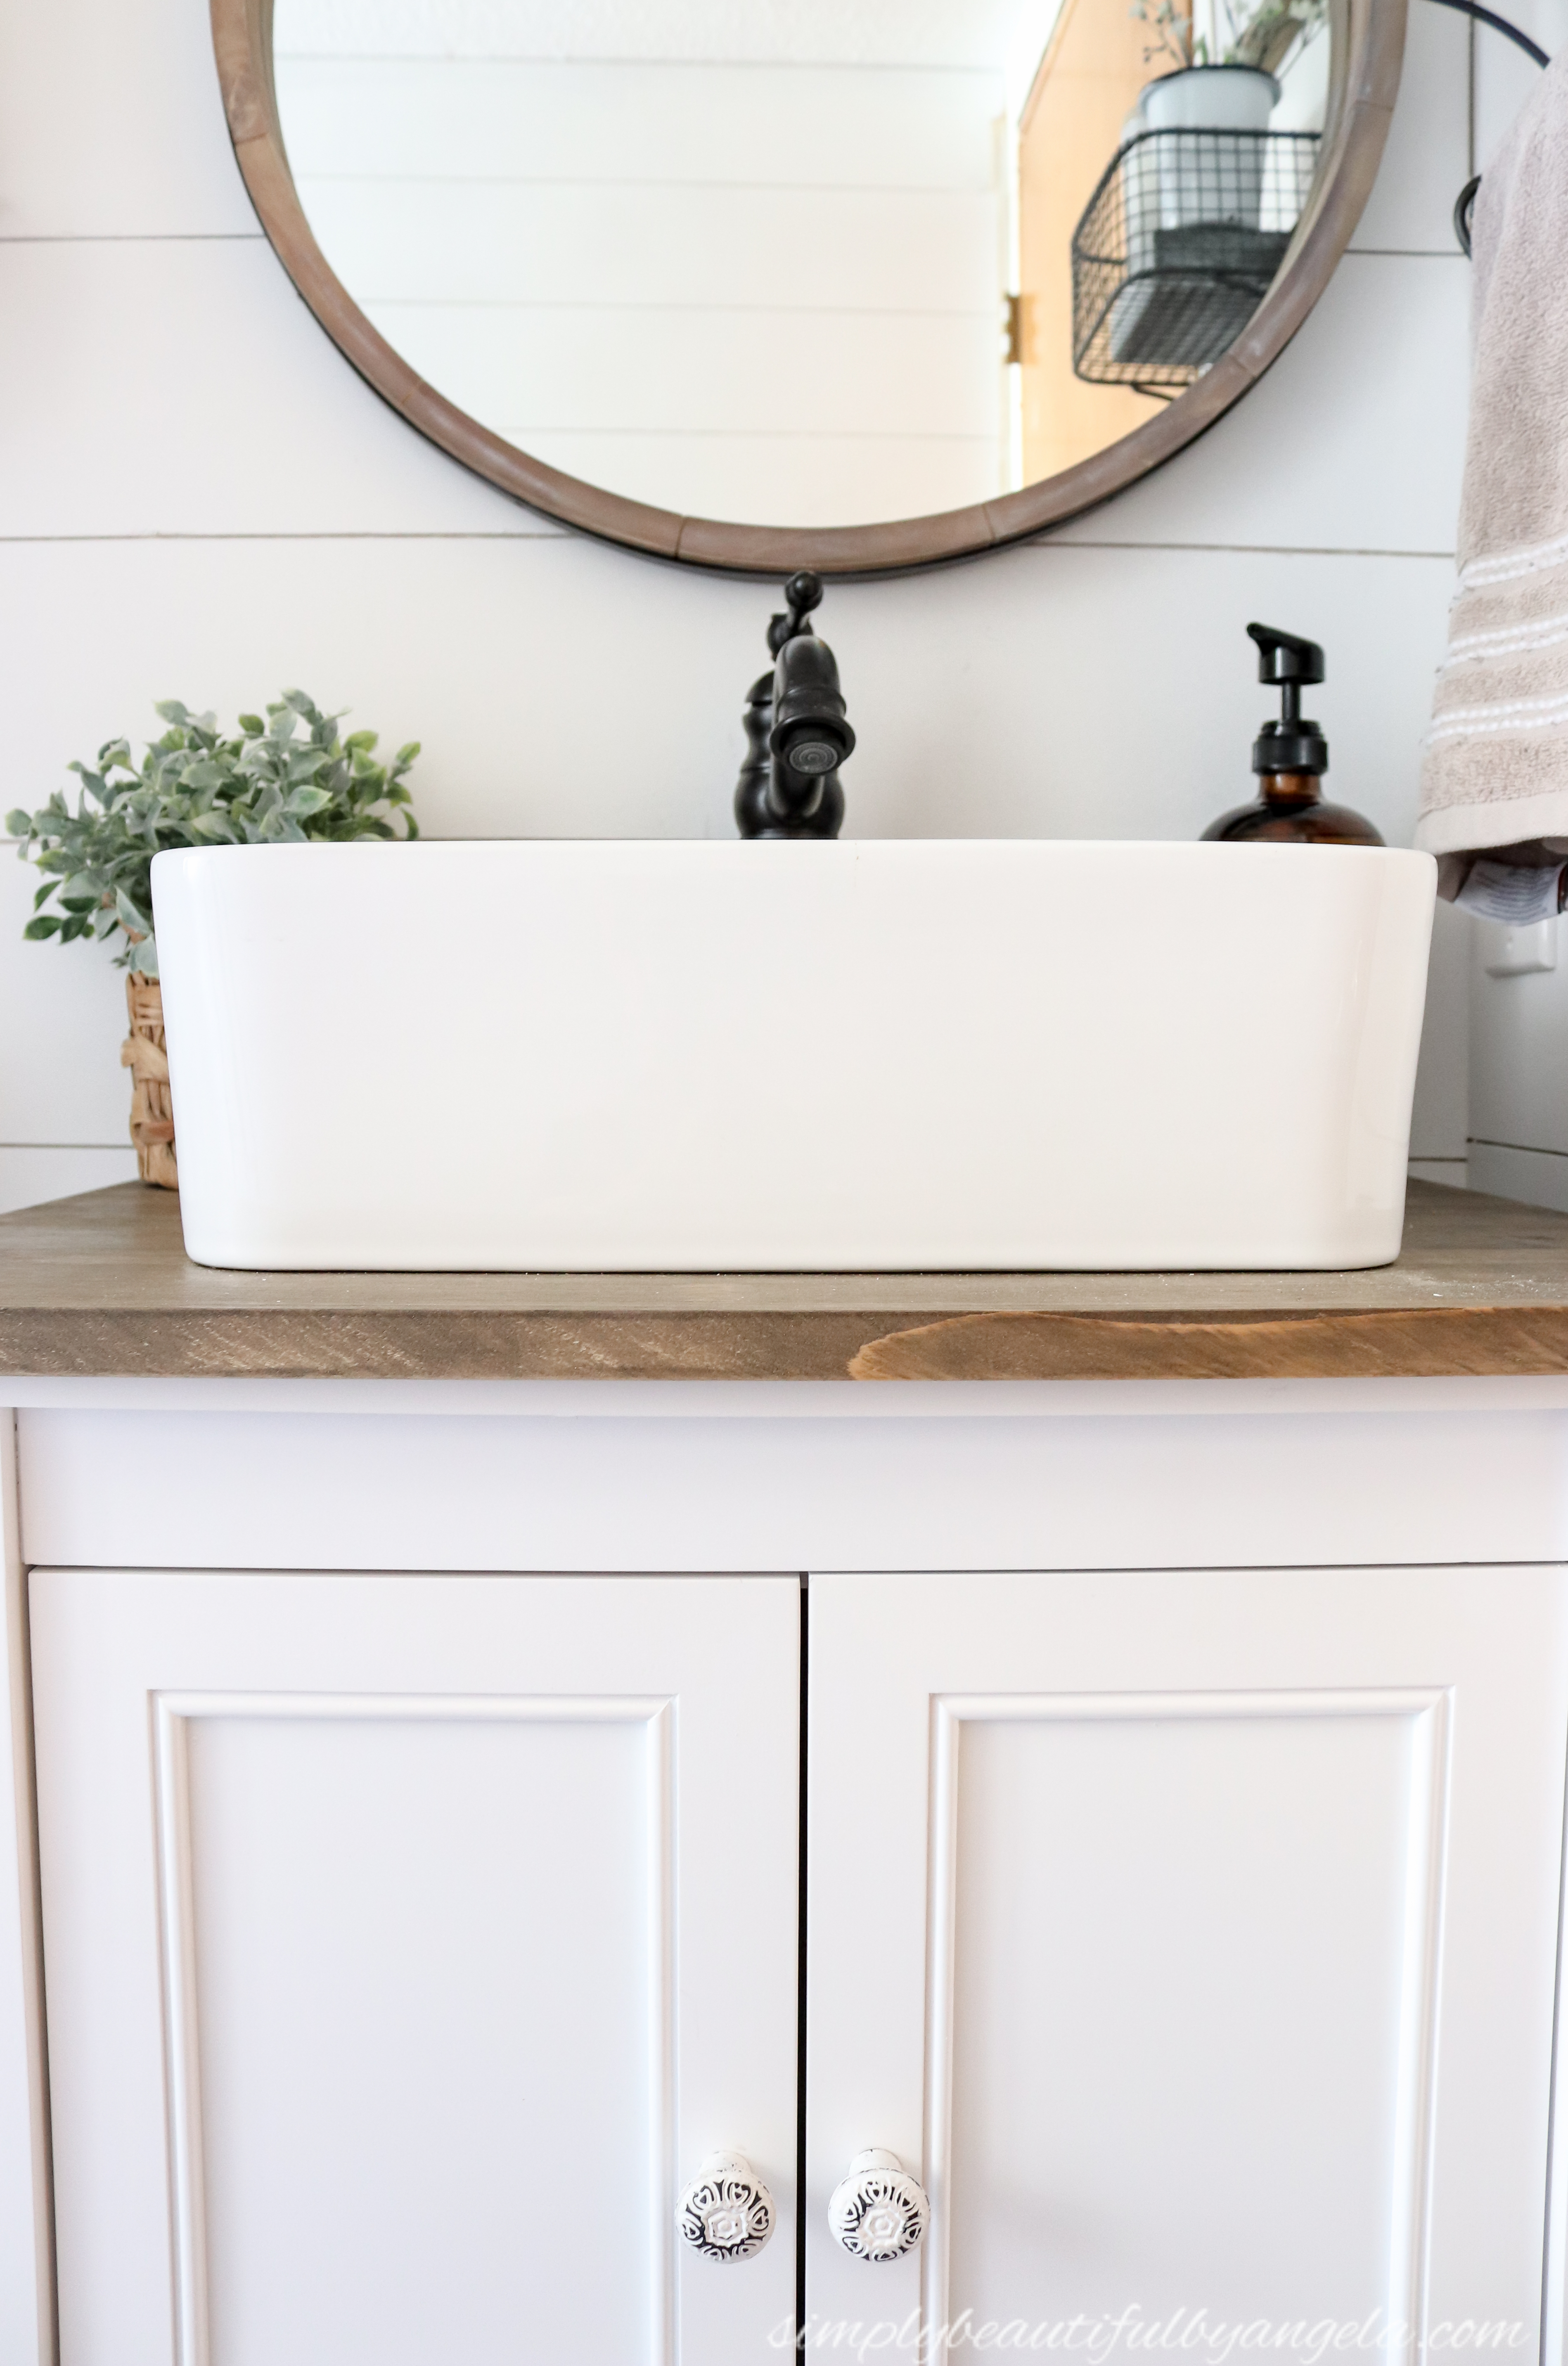
As you may recall we’ve been slowly working on our powder room makeover and the last big item on the list was installing a new vanity. I searched for many weeks to find the perfect one and I couldn’t. I was close to just settling on something until I ran across this simple white vanity base one day while browsing online.
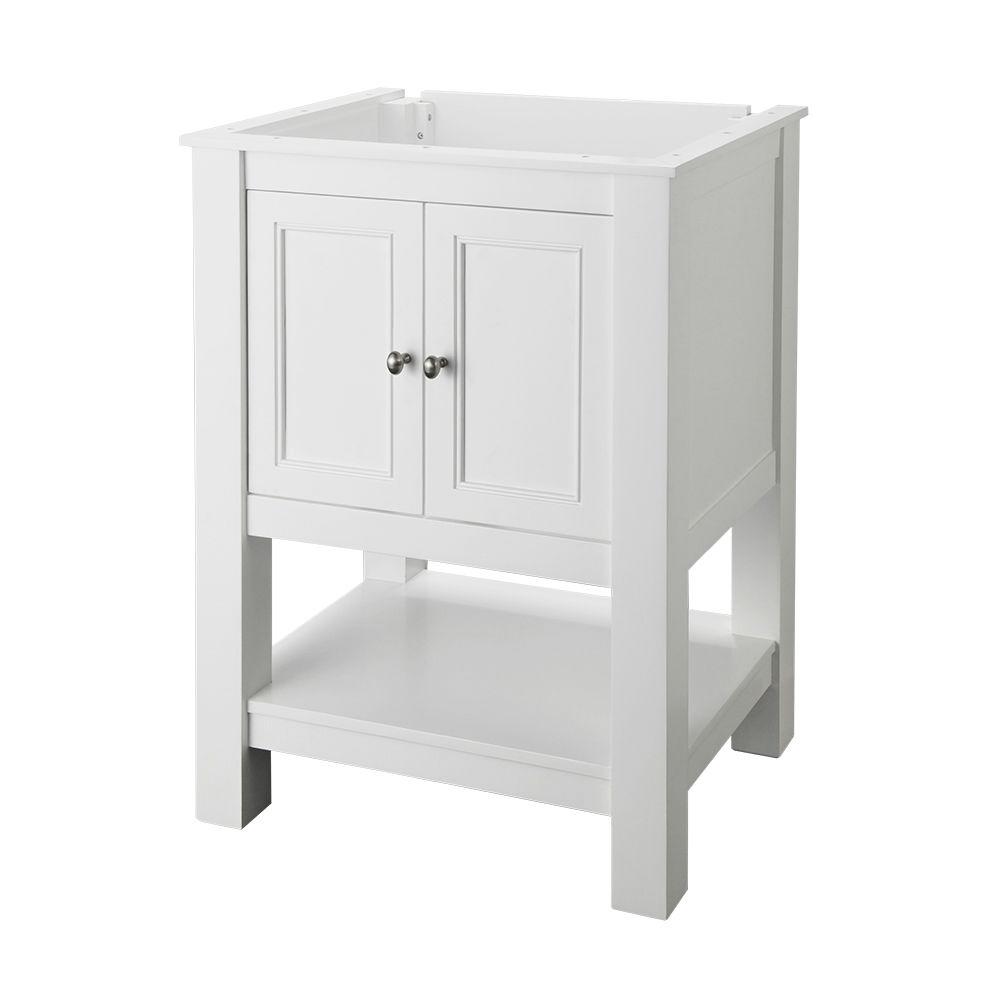
I went all googly eyes over the clean lines and chunky legs. Right then and there I knew that THIS WAS IT. Just like back in the day when I first started talking to Anthony! (sorry for the corniness–I couldn’t resist haha!)
The fact that it didn’t come with a countertop was perfect because I really wanted a vessel sink. Before I knew it this beauty hopped in my online cart and thus my creation begun!
Supplies Used:(Affiliate links may be provided for convenience. For more info, see my full disclosure here.)
- Home Decoraters Collection Gazette Vanity
- 3/4″ Pine Board
- Minwax Pre-Stain Wood Conditioner
- Minwax Dark Walnut
- Minwax Classic Gray
- Poly/Bristle Stain Brush
- Minwax One Coat Polyurethane
- 1-3/4-in Hole Saw
- 1-1/4 in Hole Saw
- Mixing Tap Faucet with Pop up Drain
- Braided Water lines
- Quarter Turn Shut-off Valves
- 1 1/4 PVS Drain Extension
- 1 1/2 PVC Elbow
- 1 1/2 PTrap kit
- Adapter O-Ring
- 16 x 12″ Ceramic Vessel Sink (different brand linked since ours is no longer available)
- Silicone Kitchen and Bath Caulk
- Plumbers Tape
- 1″ Corner Braces
The vanity cabinet measures 24″ long and 18″ deep so I purchased a large pine craft board from Lowes and had them cut it down to 25″ x 19″ so that there would be 1/2″ overhang on each side.
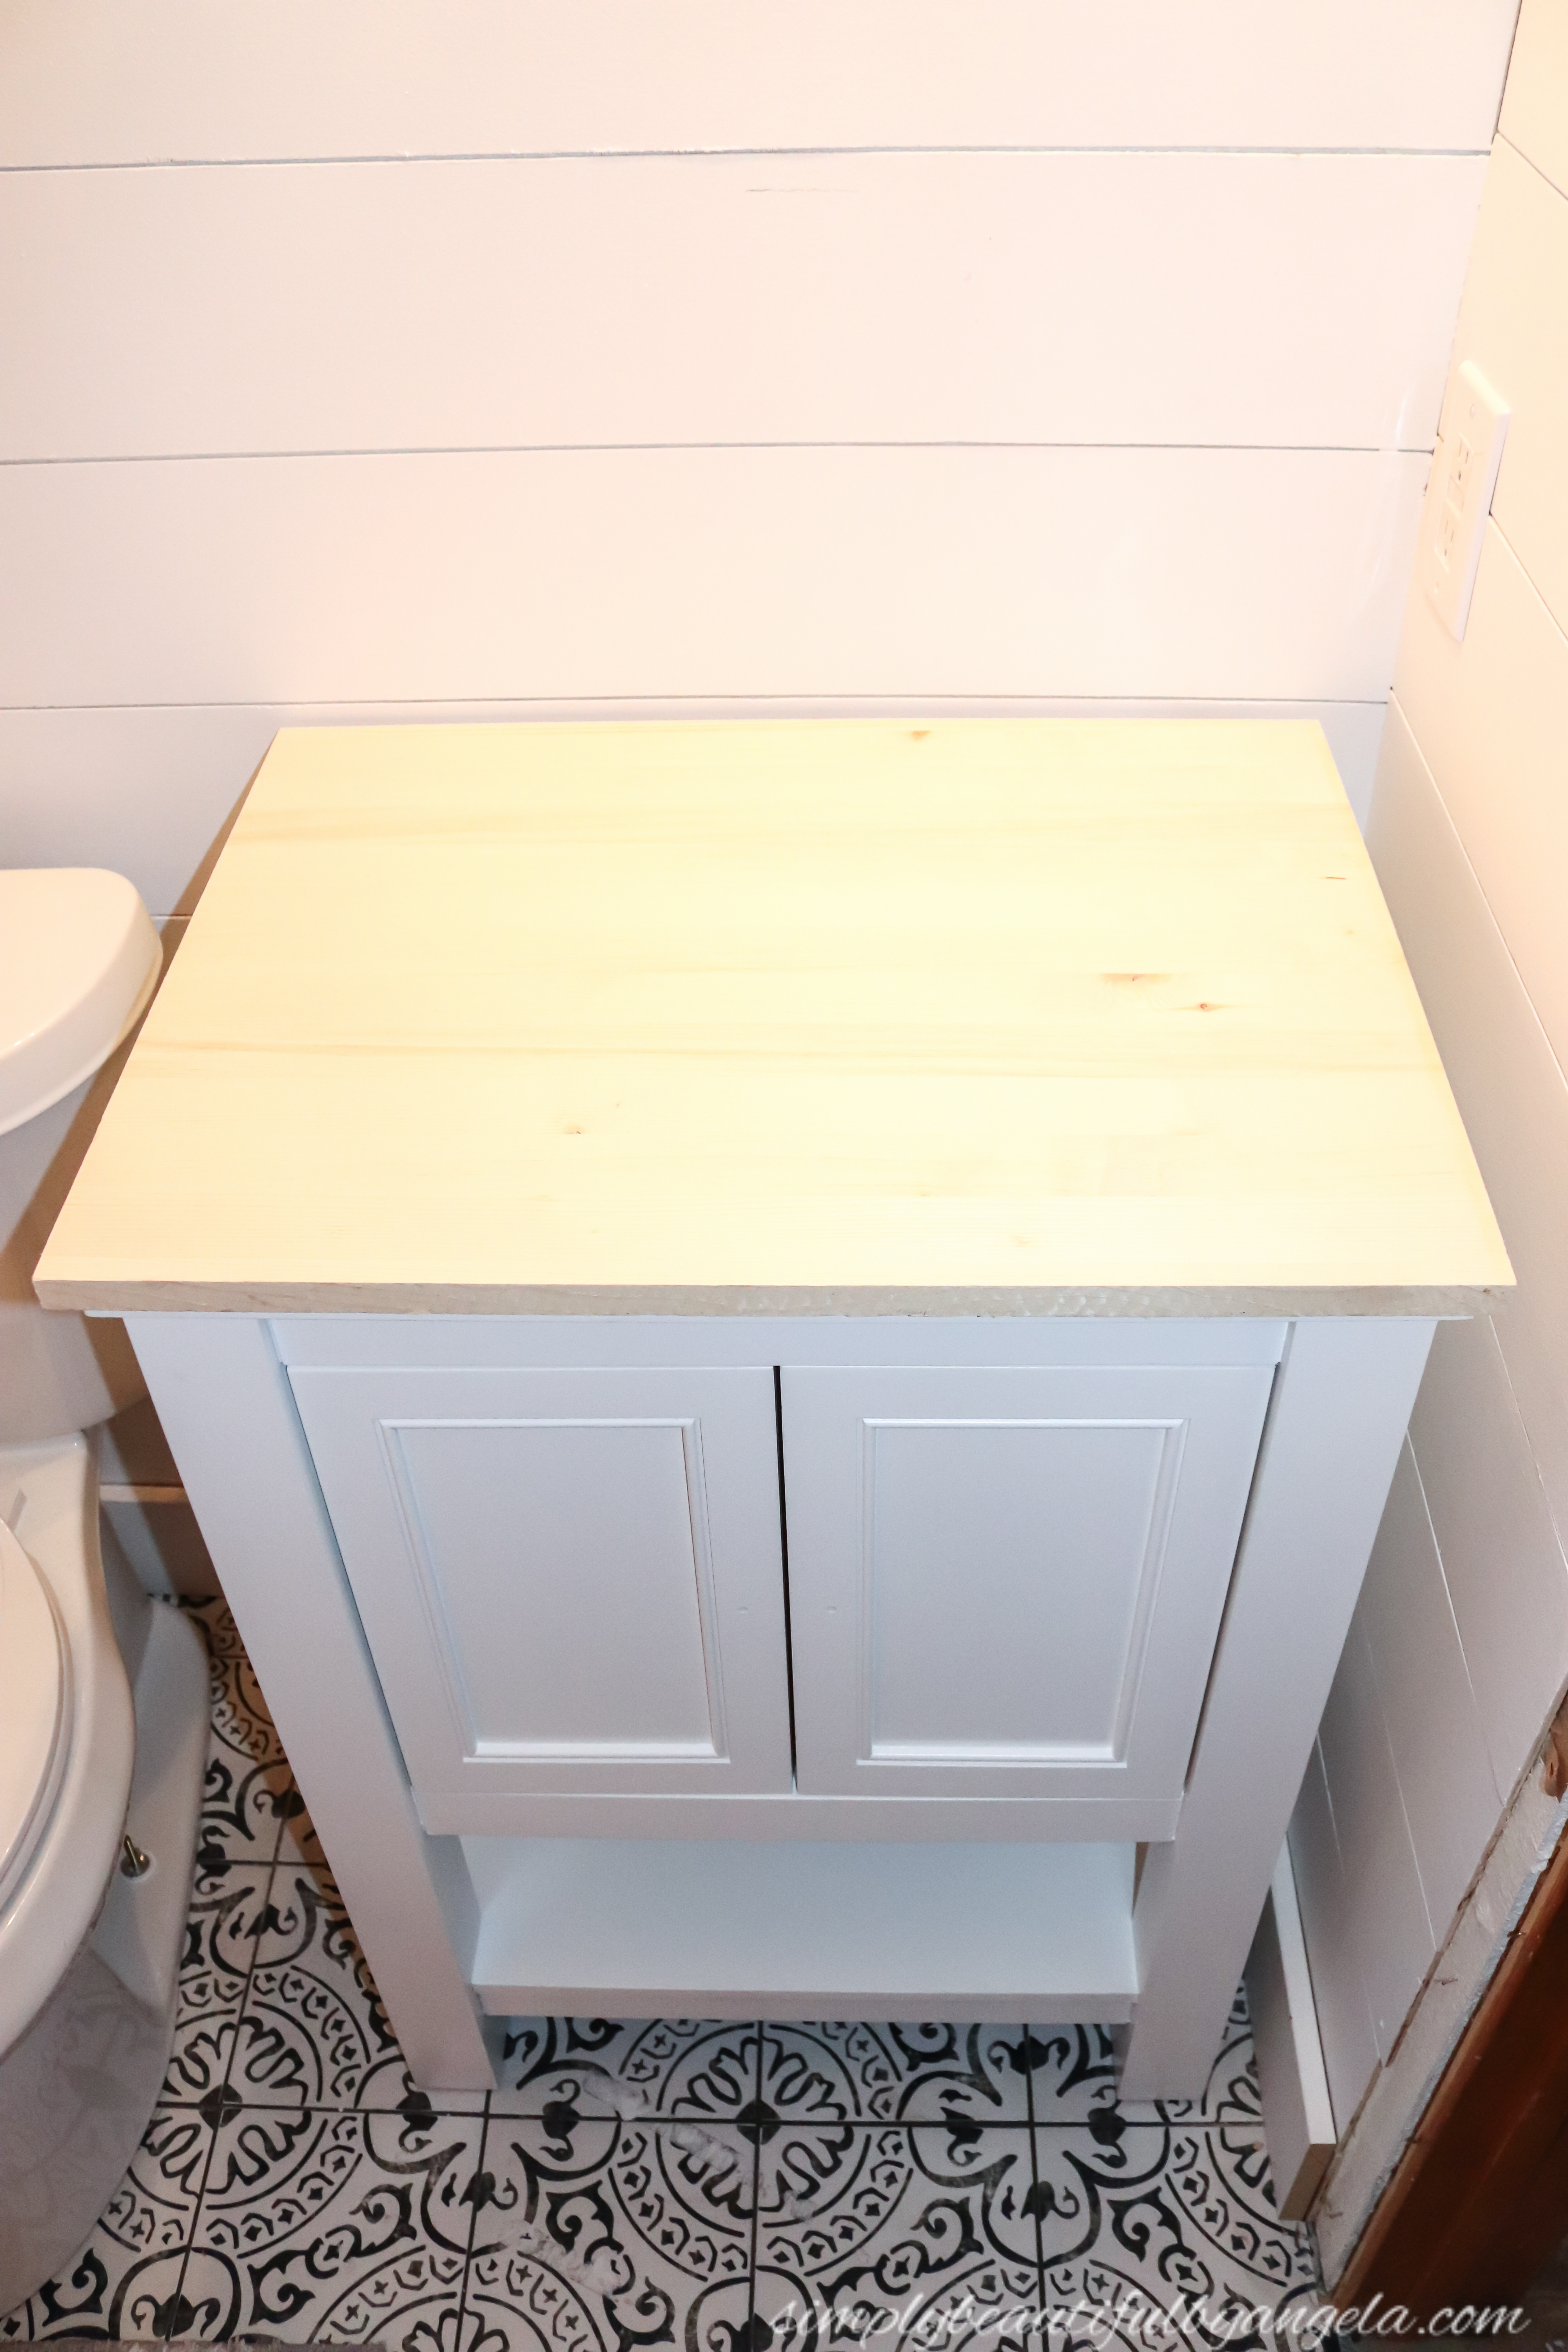
I considered using butcher block originally, but since this vanity already stands so high I decided that I didn’t need the extra thickness. Not to mention the board was only $16 versus $140!
I sanded it down and then applied some Minwax Pre-Stain Wood Conditioner with a rag and let it sit for about 15 minutes.
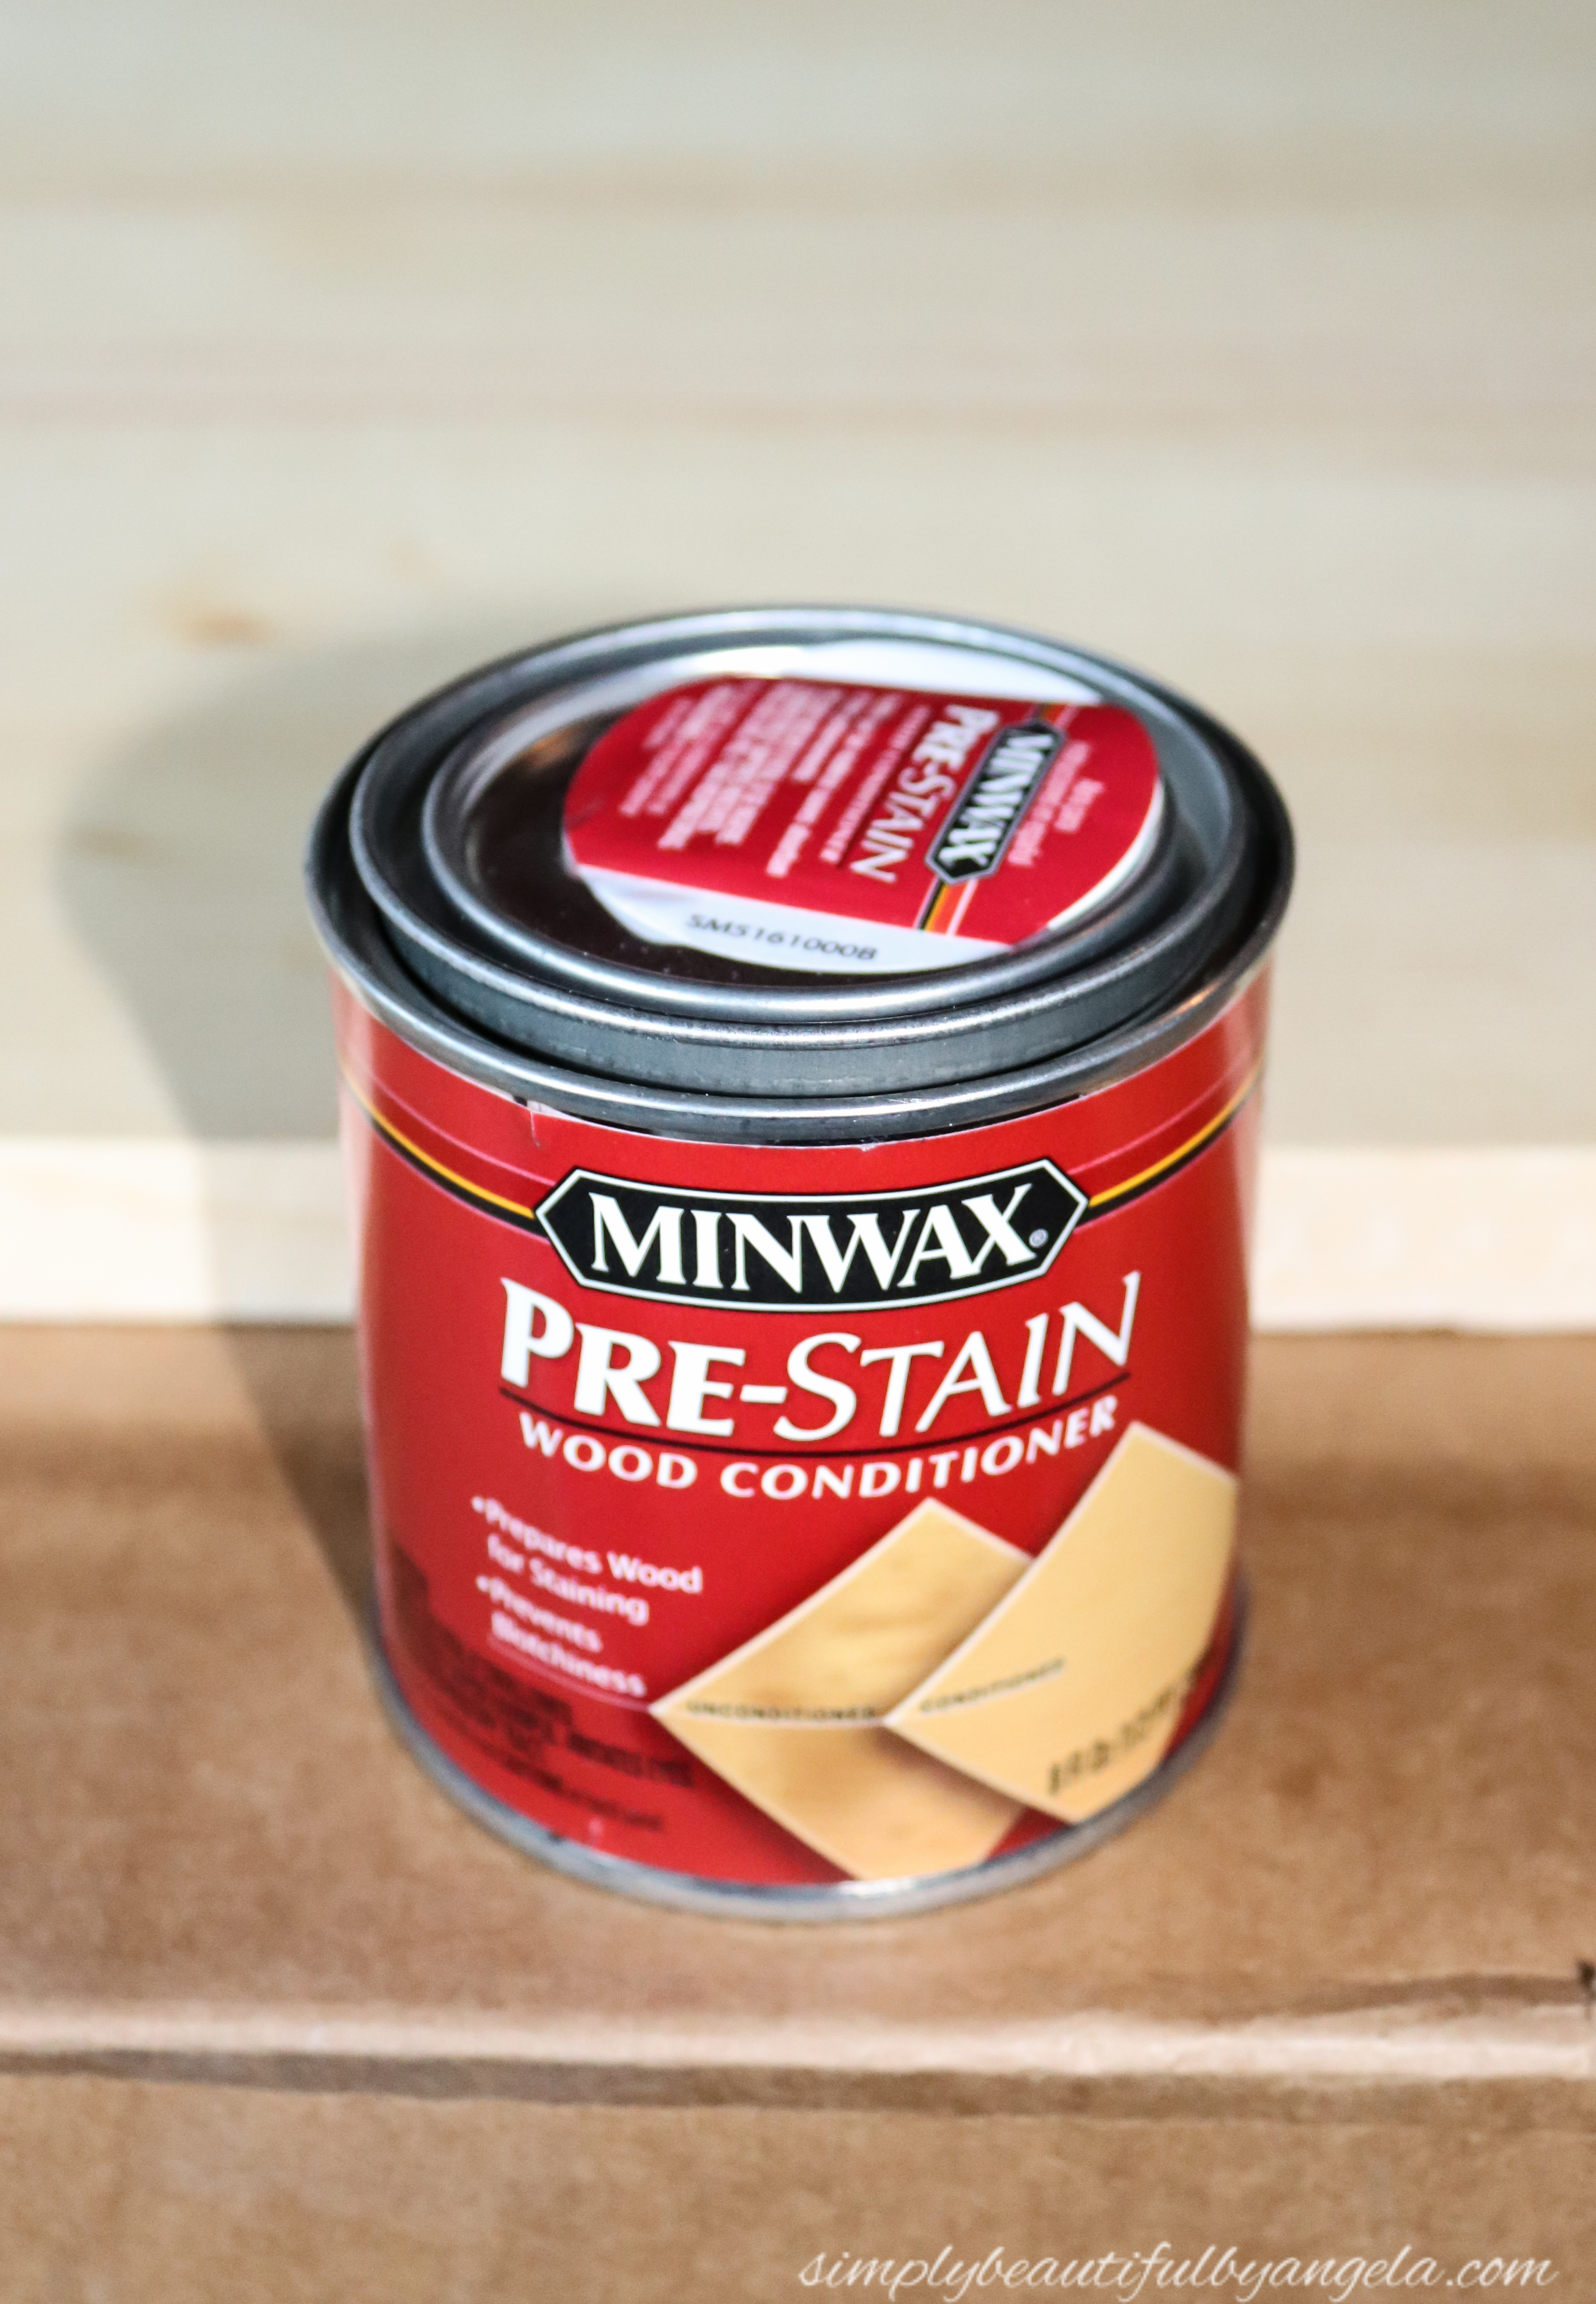
I used to jump straight into staining but I always ended up with unsightly blotch spots. This conditioner prevents them from popping up and makes the stain go on smooth as silk!
While my conditioner was drying I mixed up my stain in a cup. I used about 75% Minwax Dark Walnut and 25% Classic Gray to achieve a nice weathered barnwood look.
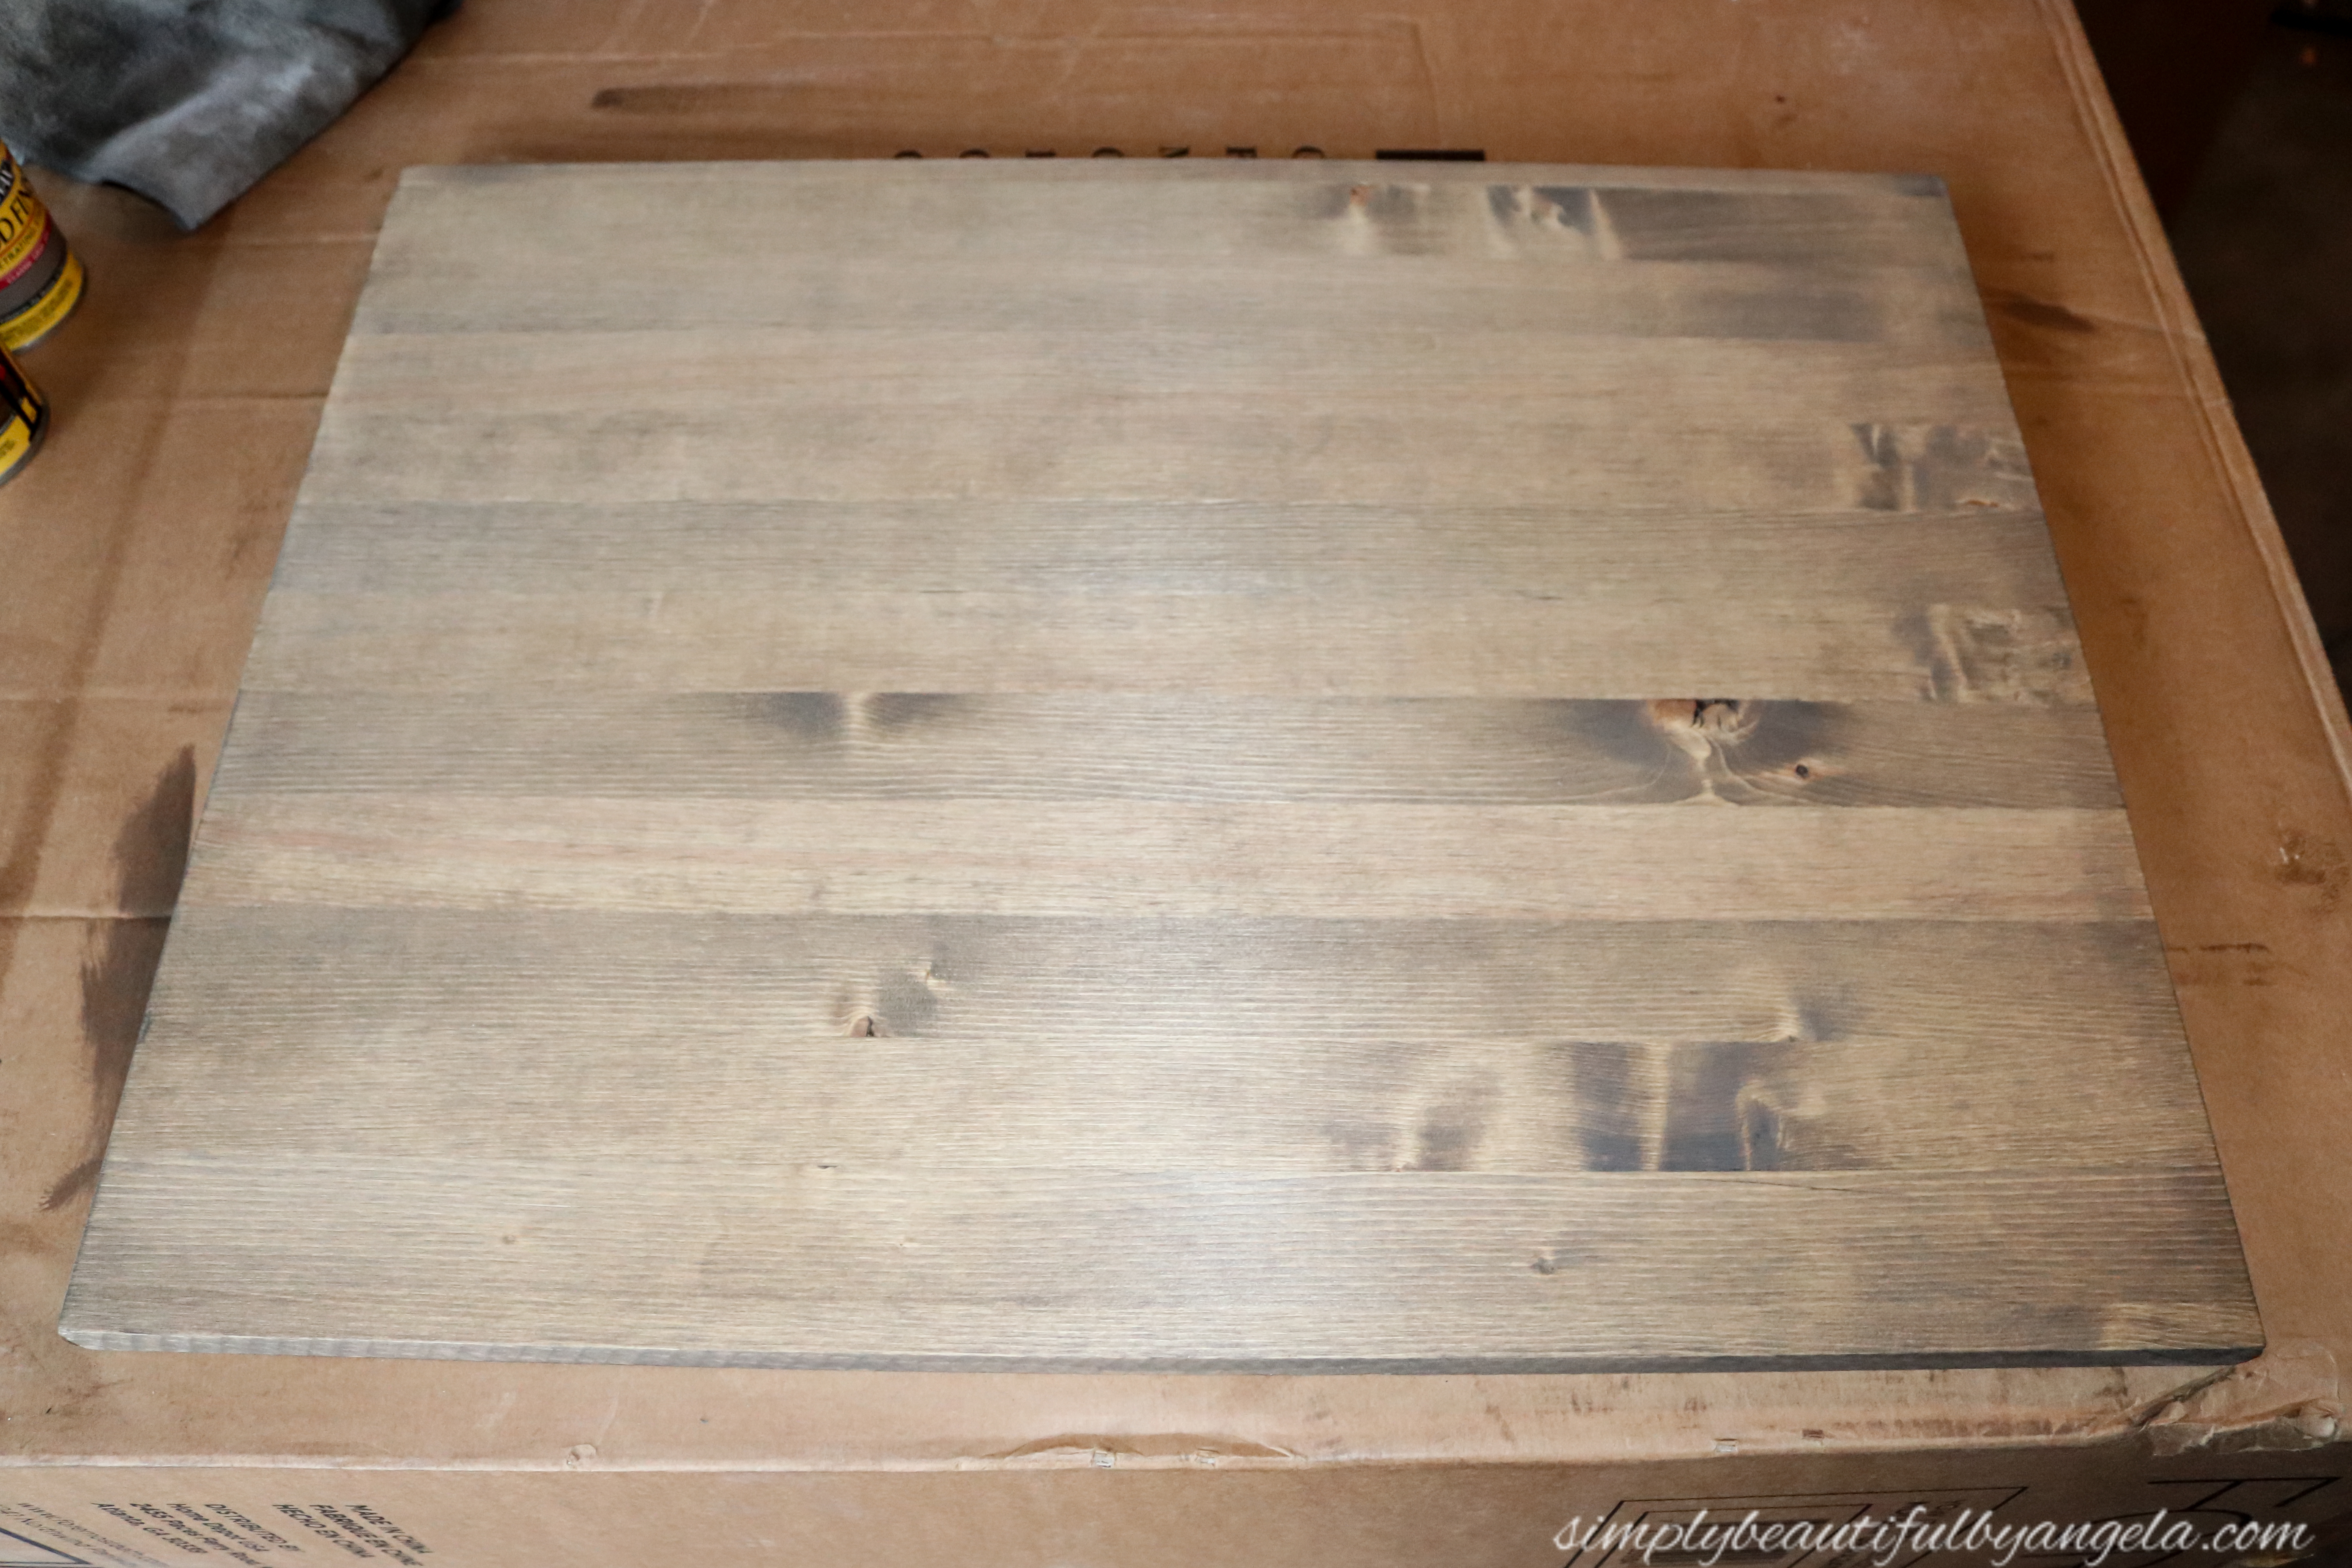
Once it was dry I applied a coat of Minwax One Coat Polyurethane with my bristle brush to the sides, the top and bottom. I searched extensively before deciding on this product. It’s supposed to be super moisture resistant which is a must for a bathroom counter.
I handed the baton over to the hubby for the hard part. I was at the ballet with my Mom when he tackled this but he was kind enough to take these pictures of the process.
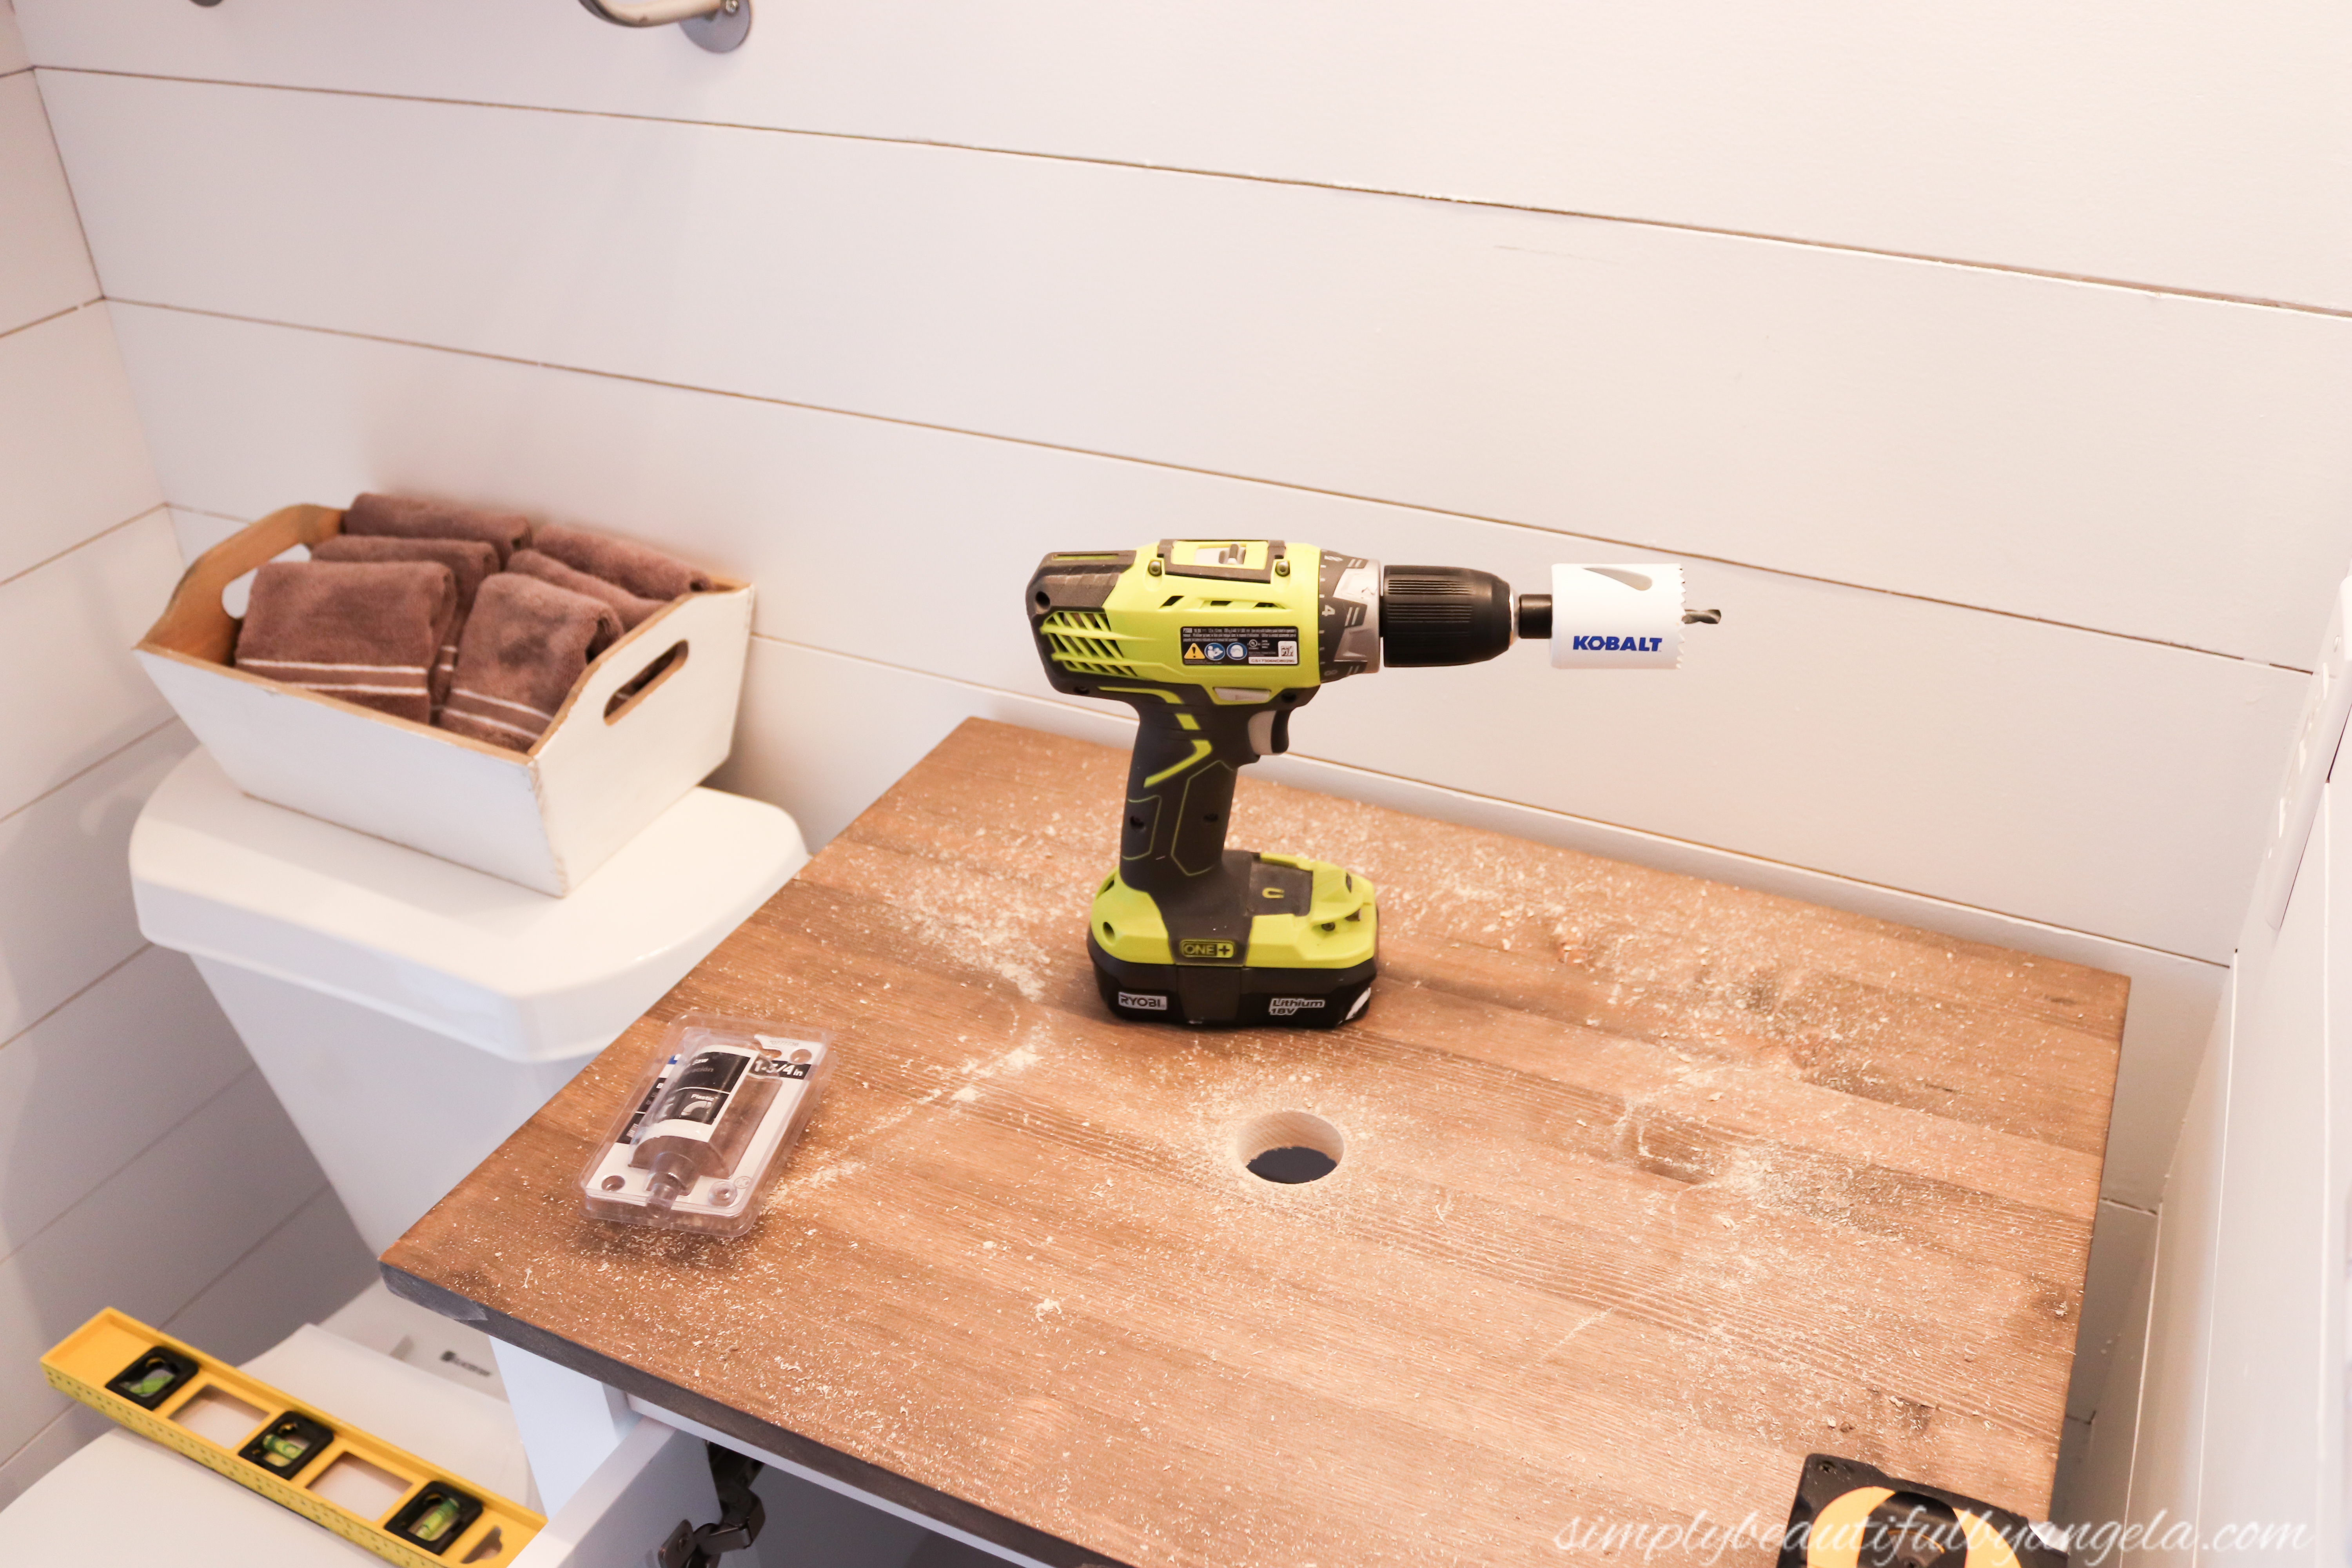
Before I left we set both the sink and faucet on the counter to decide where I wanted it. I chose to have the whole set up centered on the counter and then marked where the drain hole would be. He then used a 1-3/4 in Hole Saw to drill the hole.
Even though he explained the steps to me, I decided to let him jump in here for a bit to explain the technical terms so that you all don’t have to suffer through hearing phrases from me like “the little white plastic ring” and “the twisty wall knobs” haha!
With that, I introduce you to my amazingly talented, smart and macho DIY hero!

Anthony:
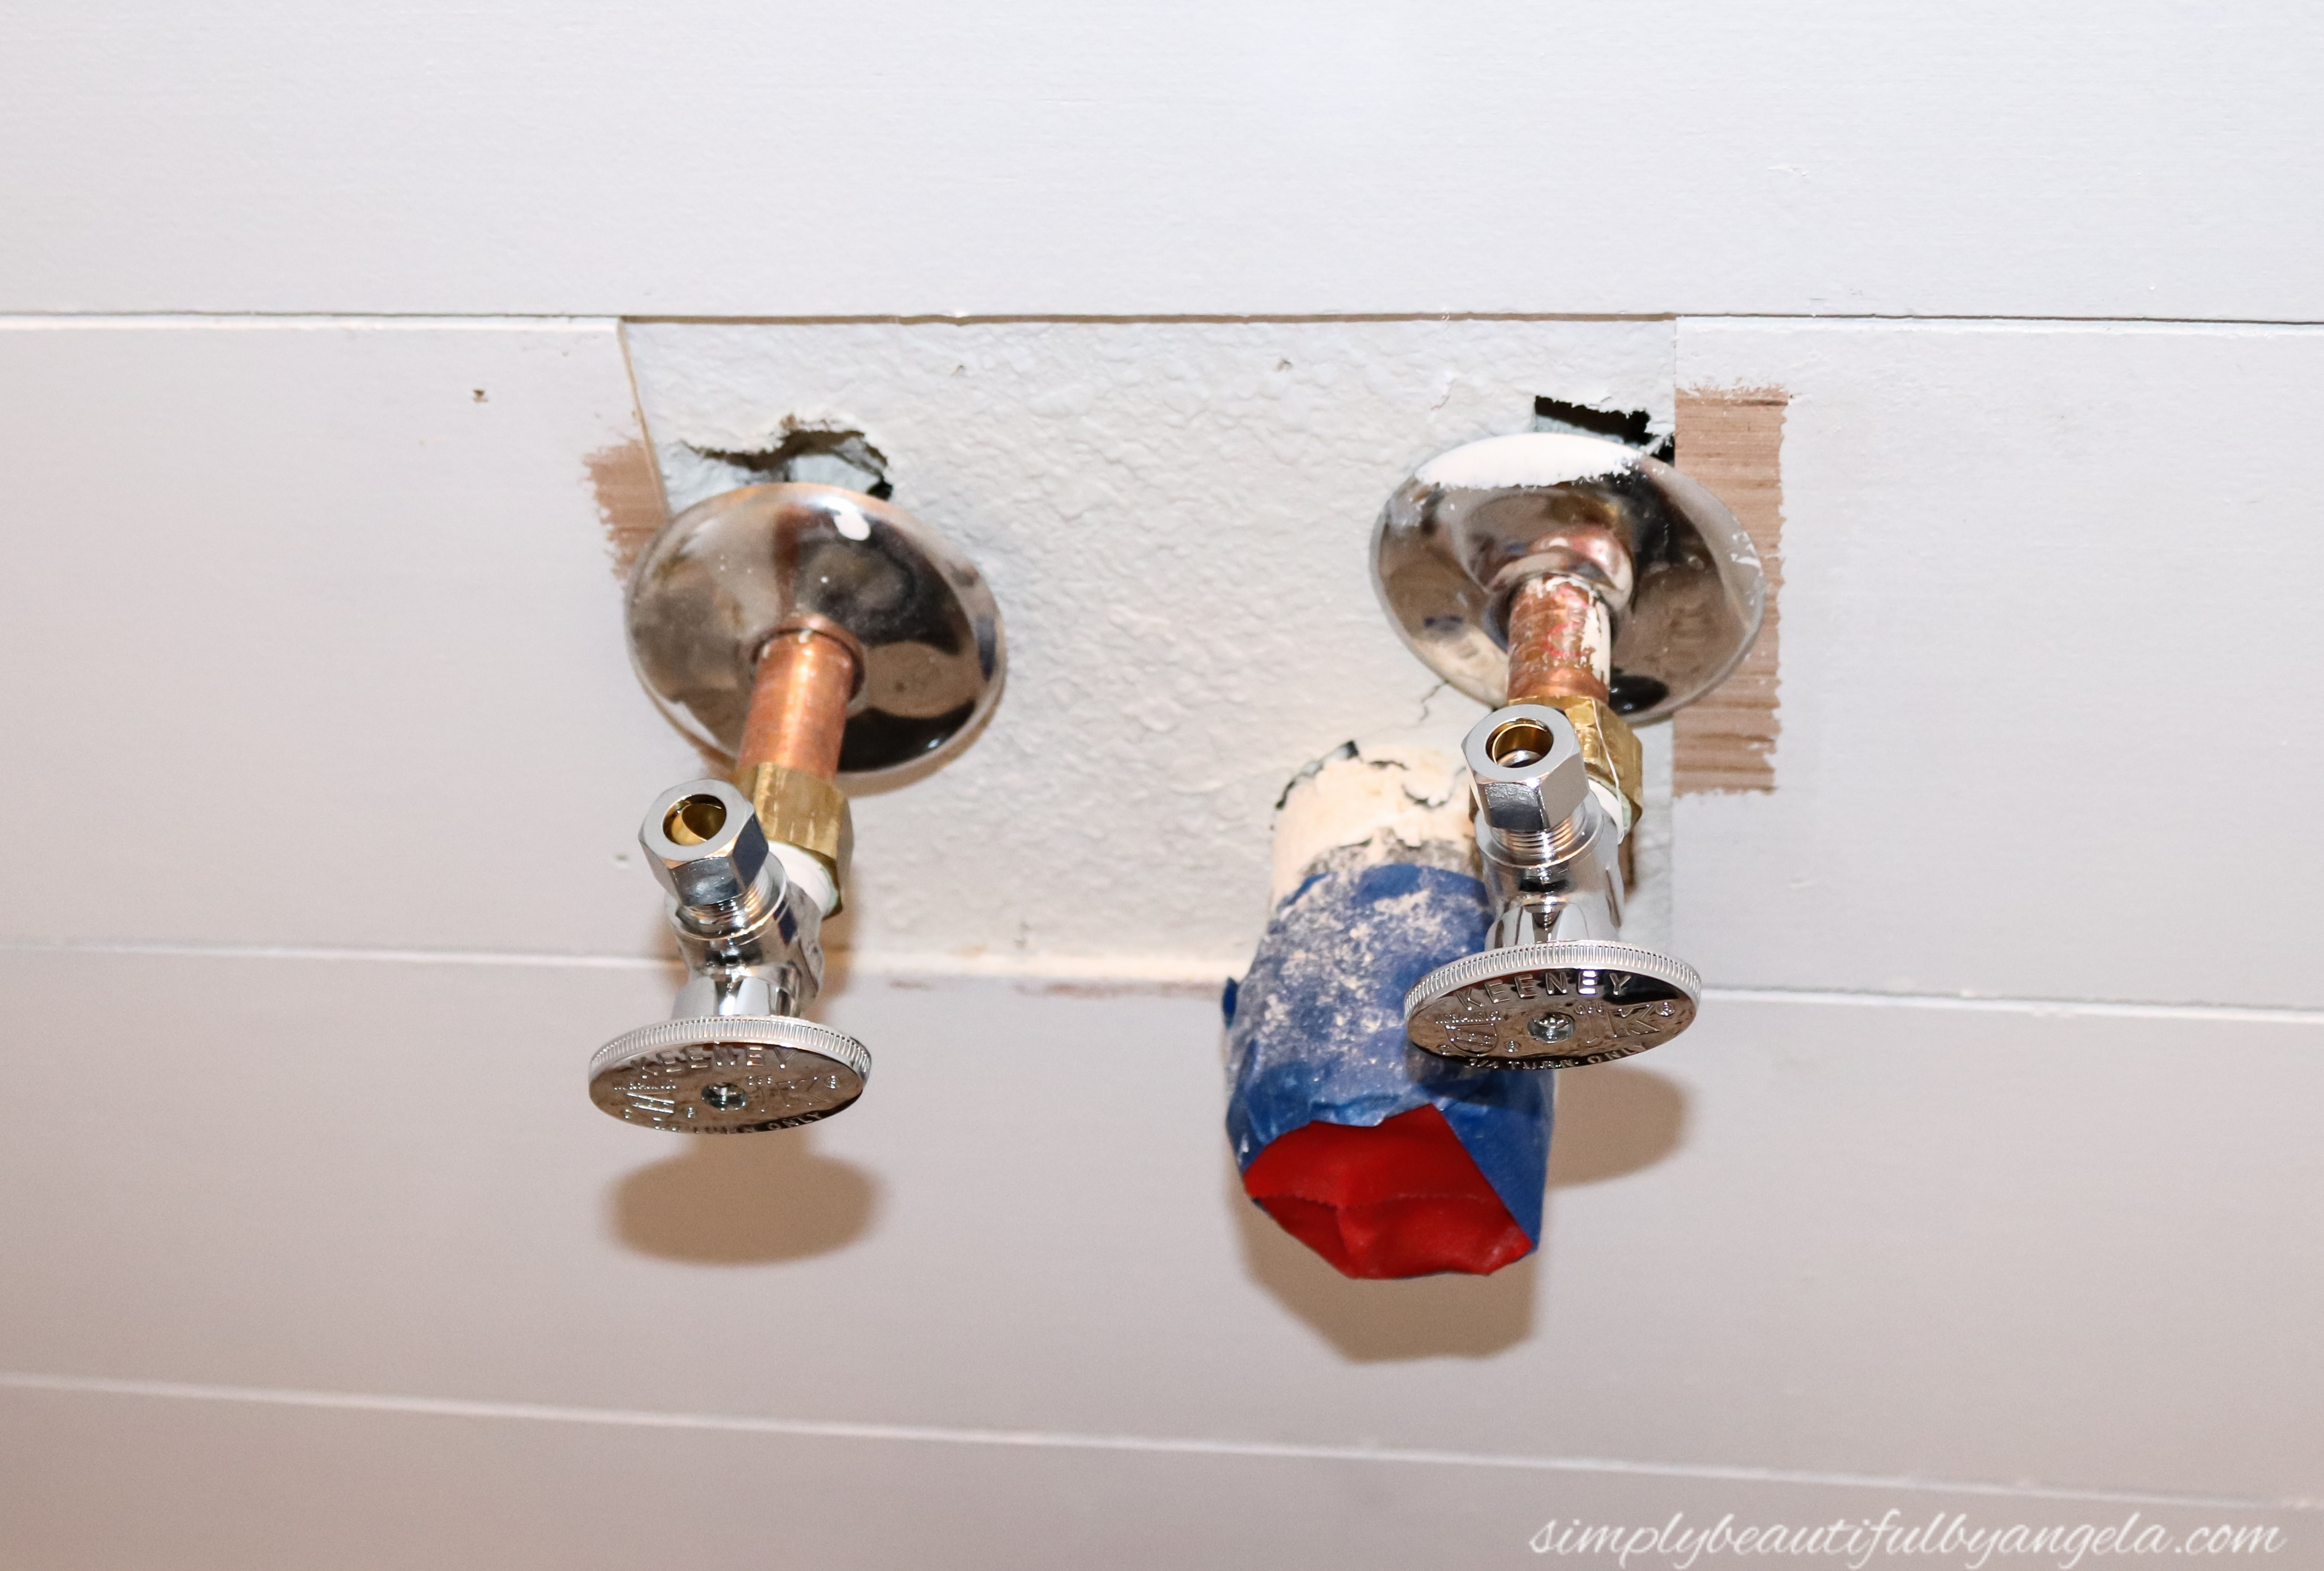
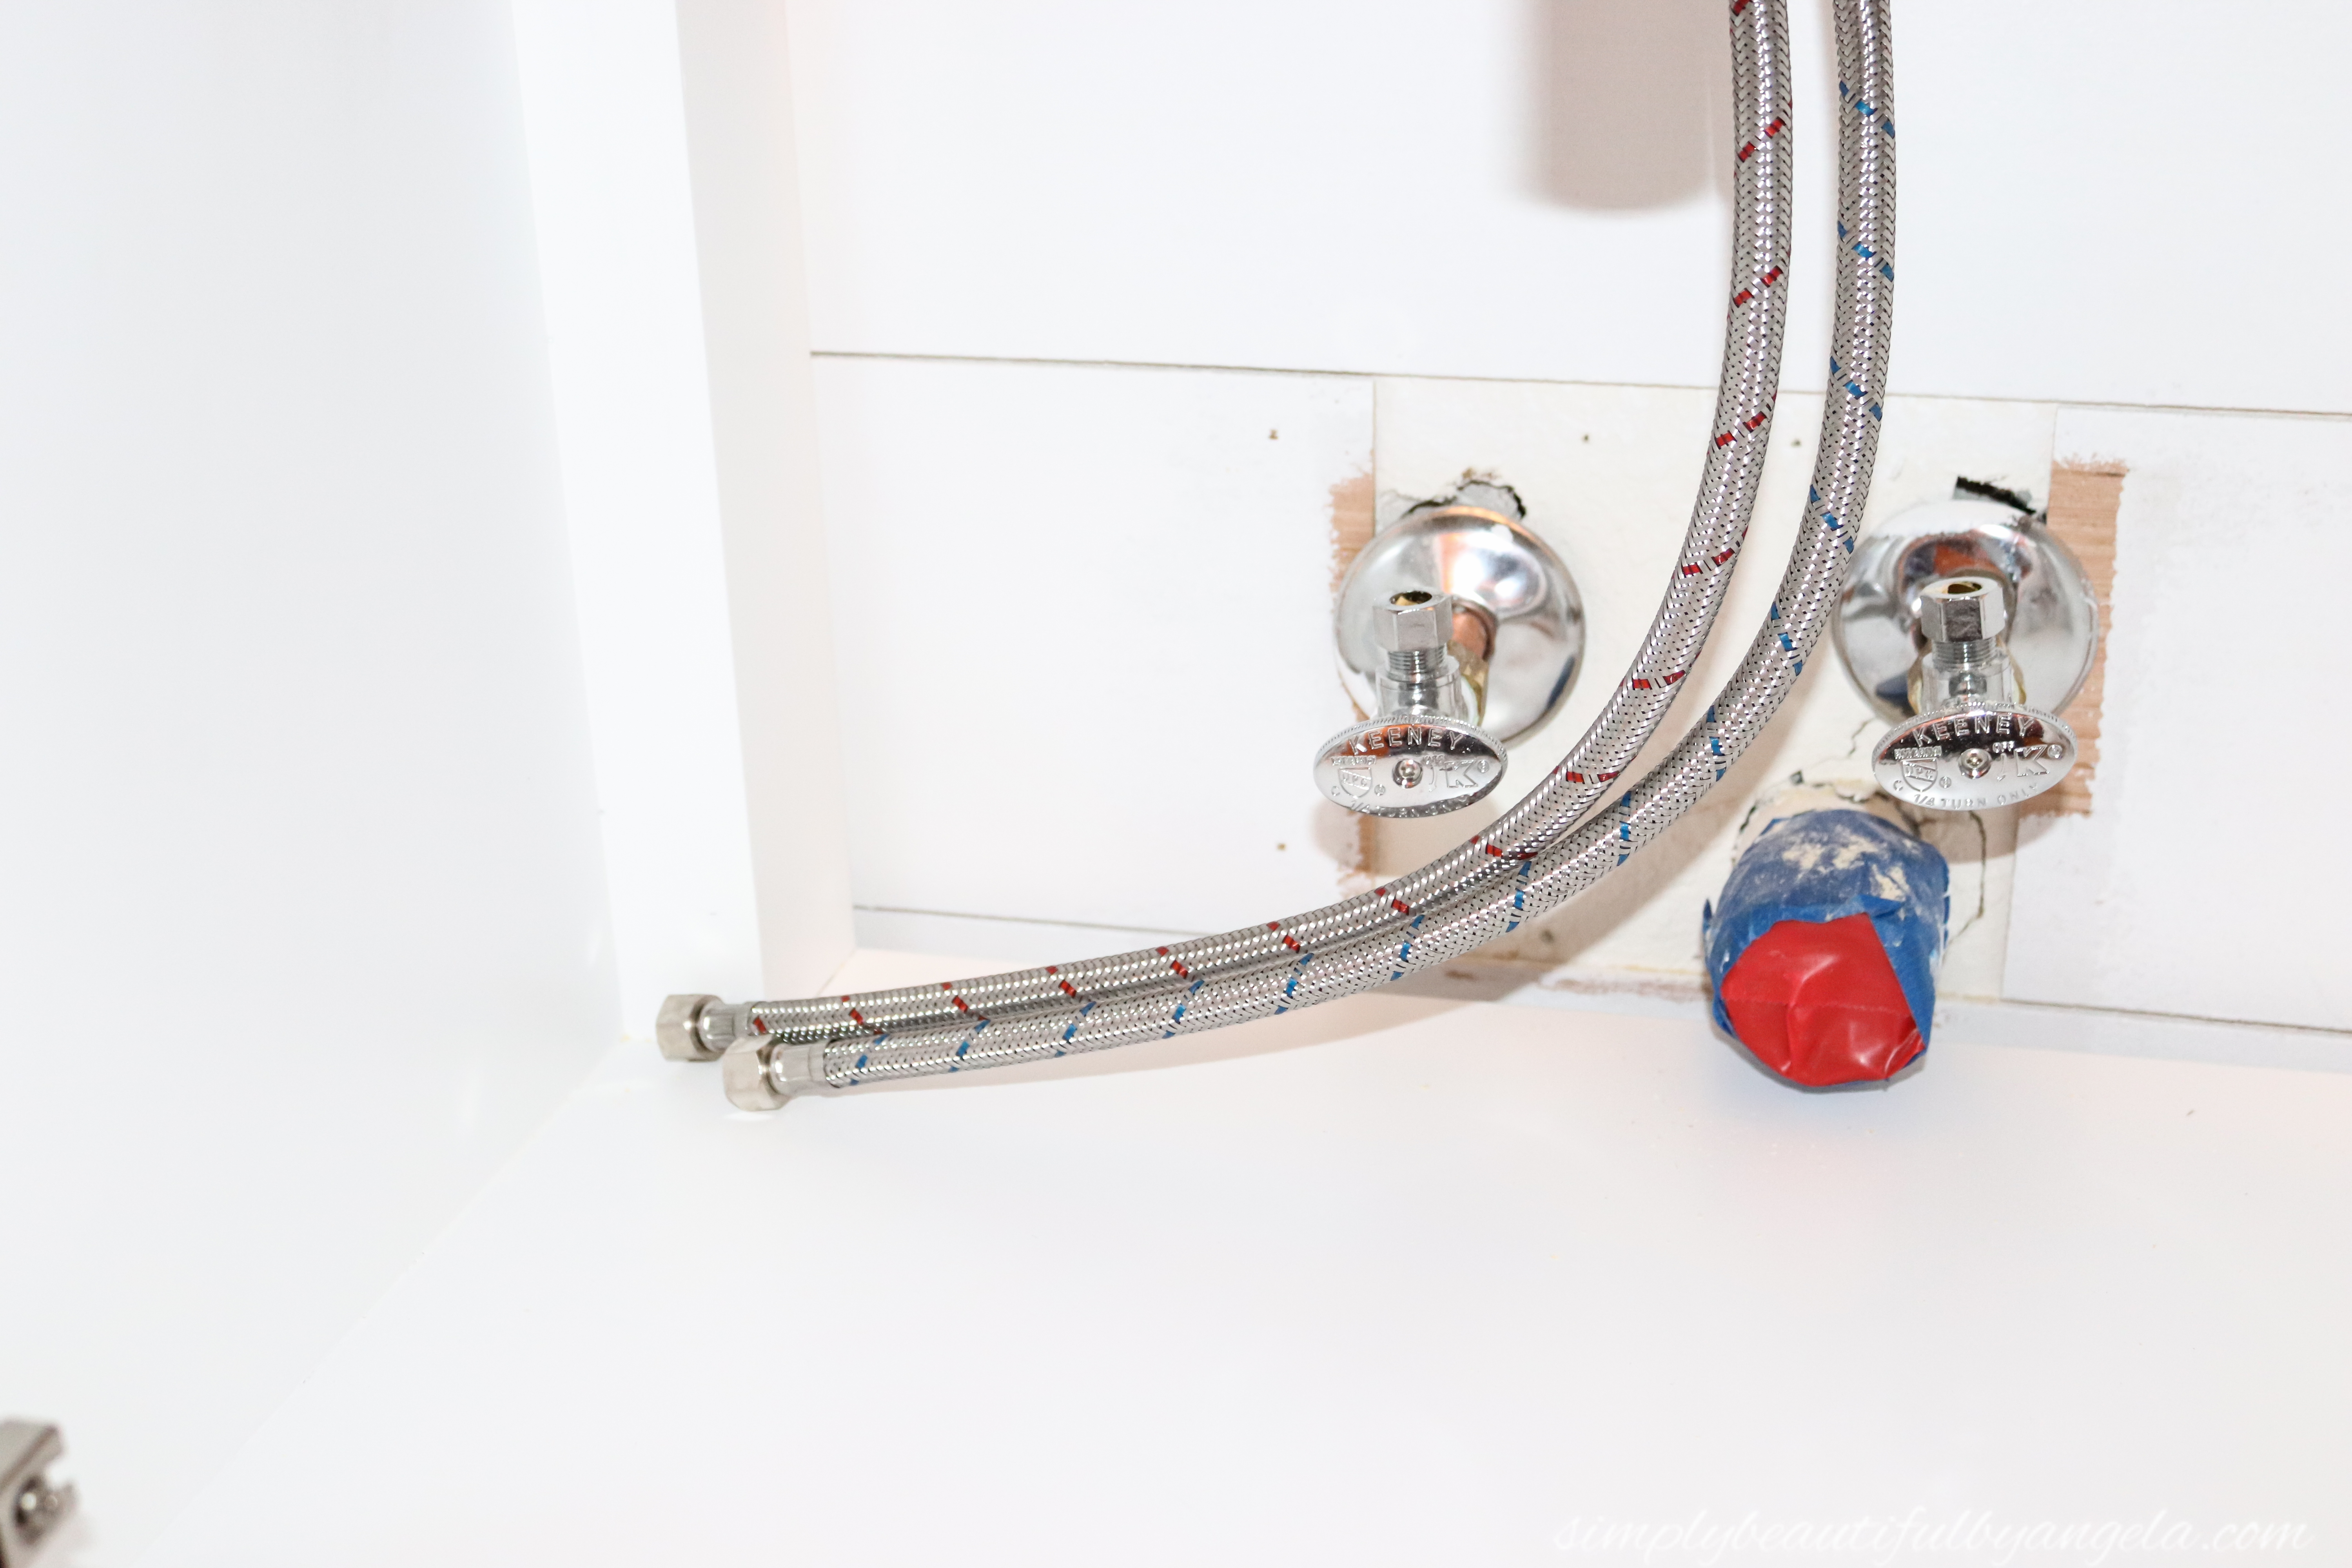
I replaced the old water shut-offs with new quarter turn versions. After removing the old ones I cleaned off the build up in and around the copper pipe opening. Then I wrapped plumbers tape around the threading on the new valves before screwing them in to place.
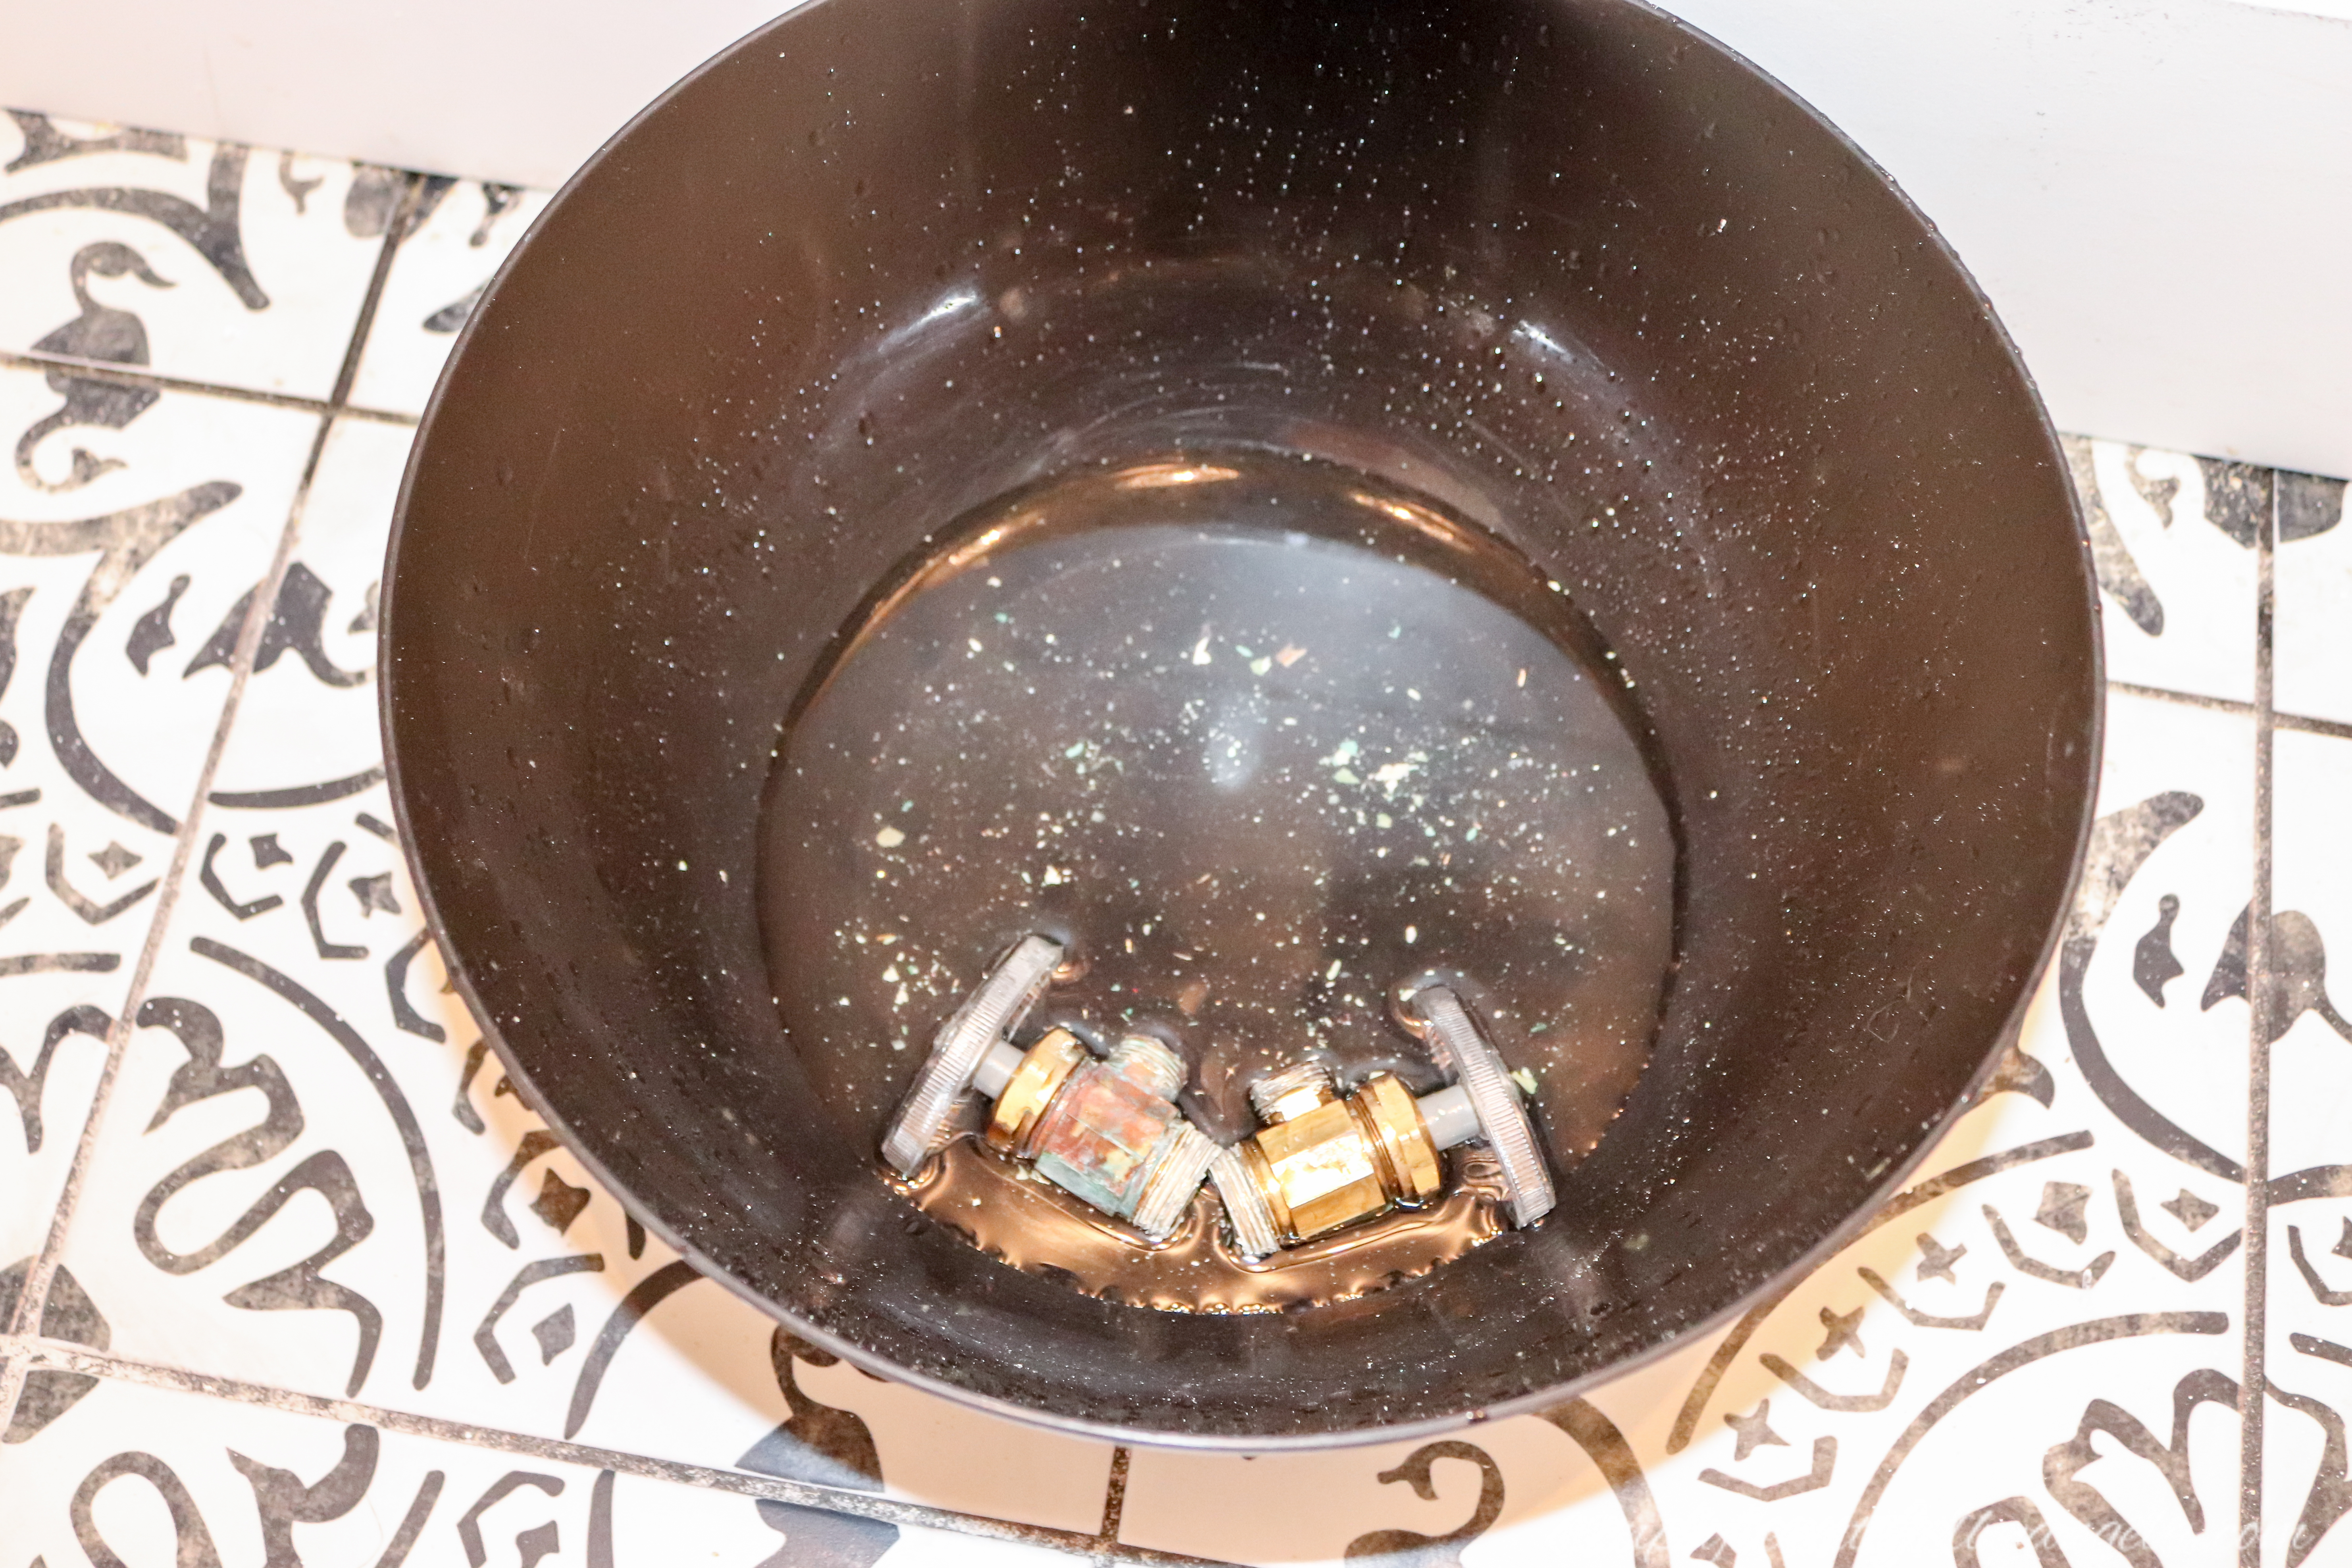
I placed a large bowl underneath to catch the water that was still in the pipes after shutting off the main water line. The old style water shut-offs got placed in the bowl, along with all of the excess mineral build up that came off with them.
Next I measured where the faucet would sit and used a 1-1/4 Hole Saw to drill the hole.
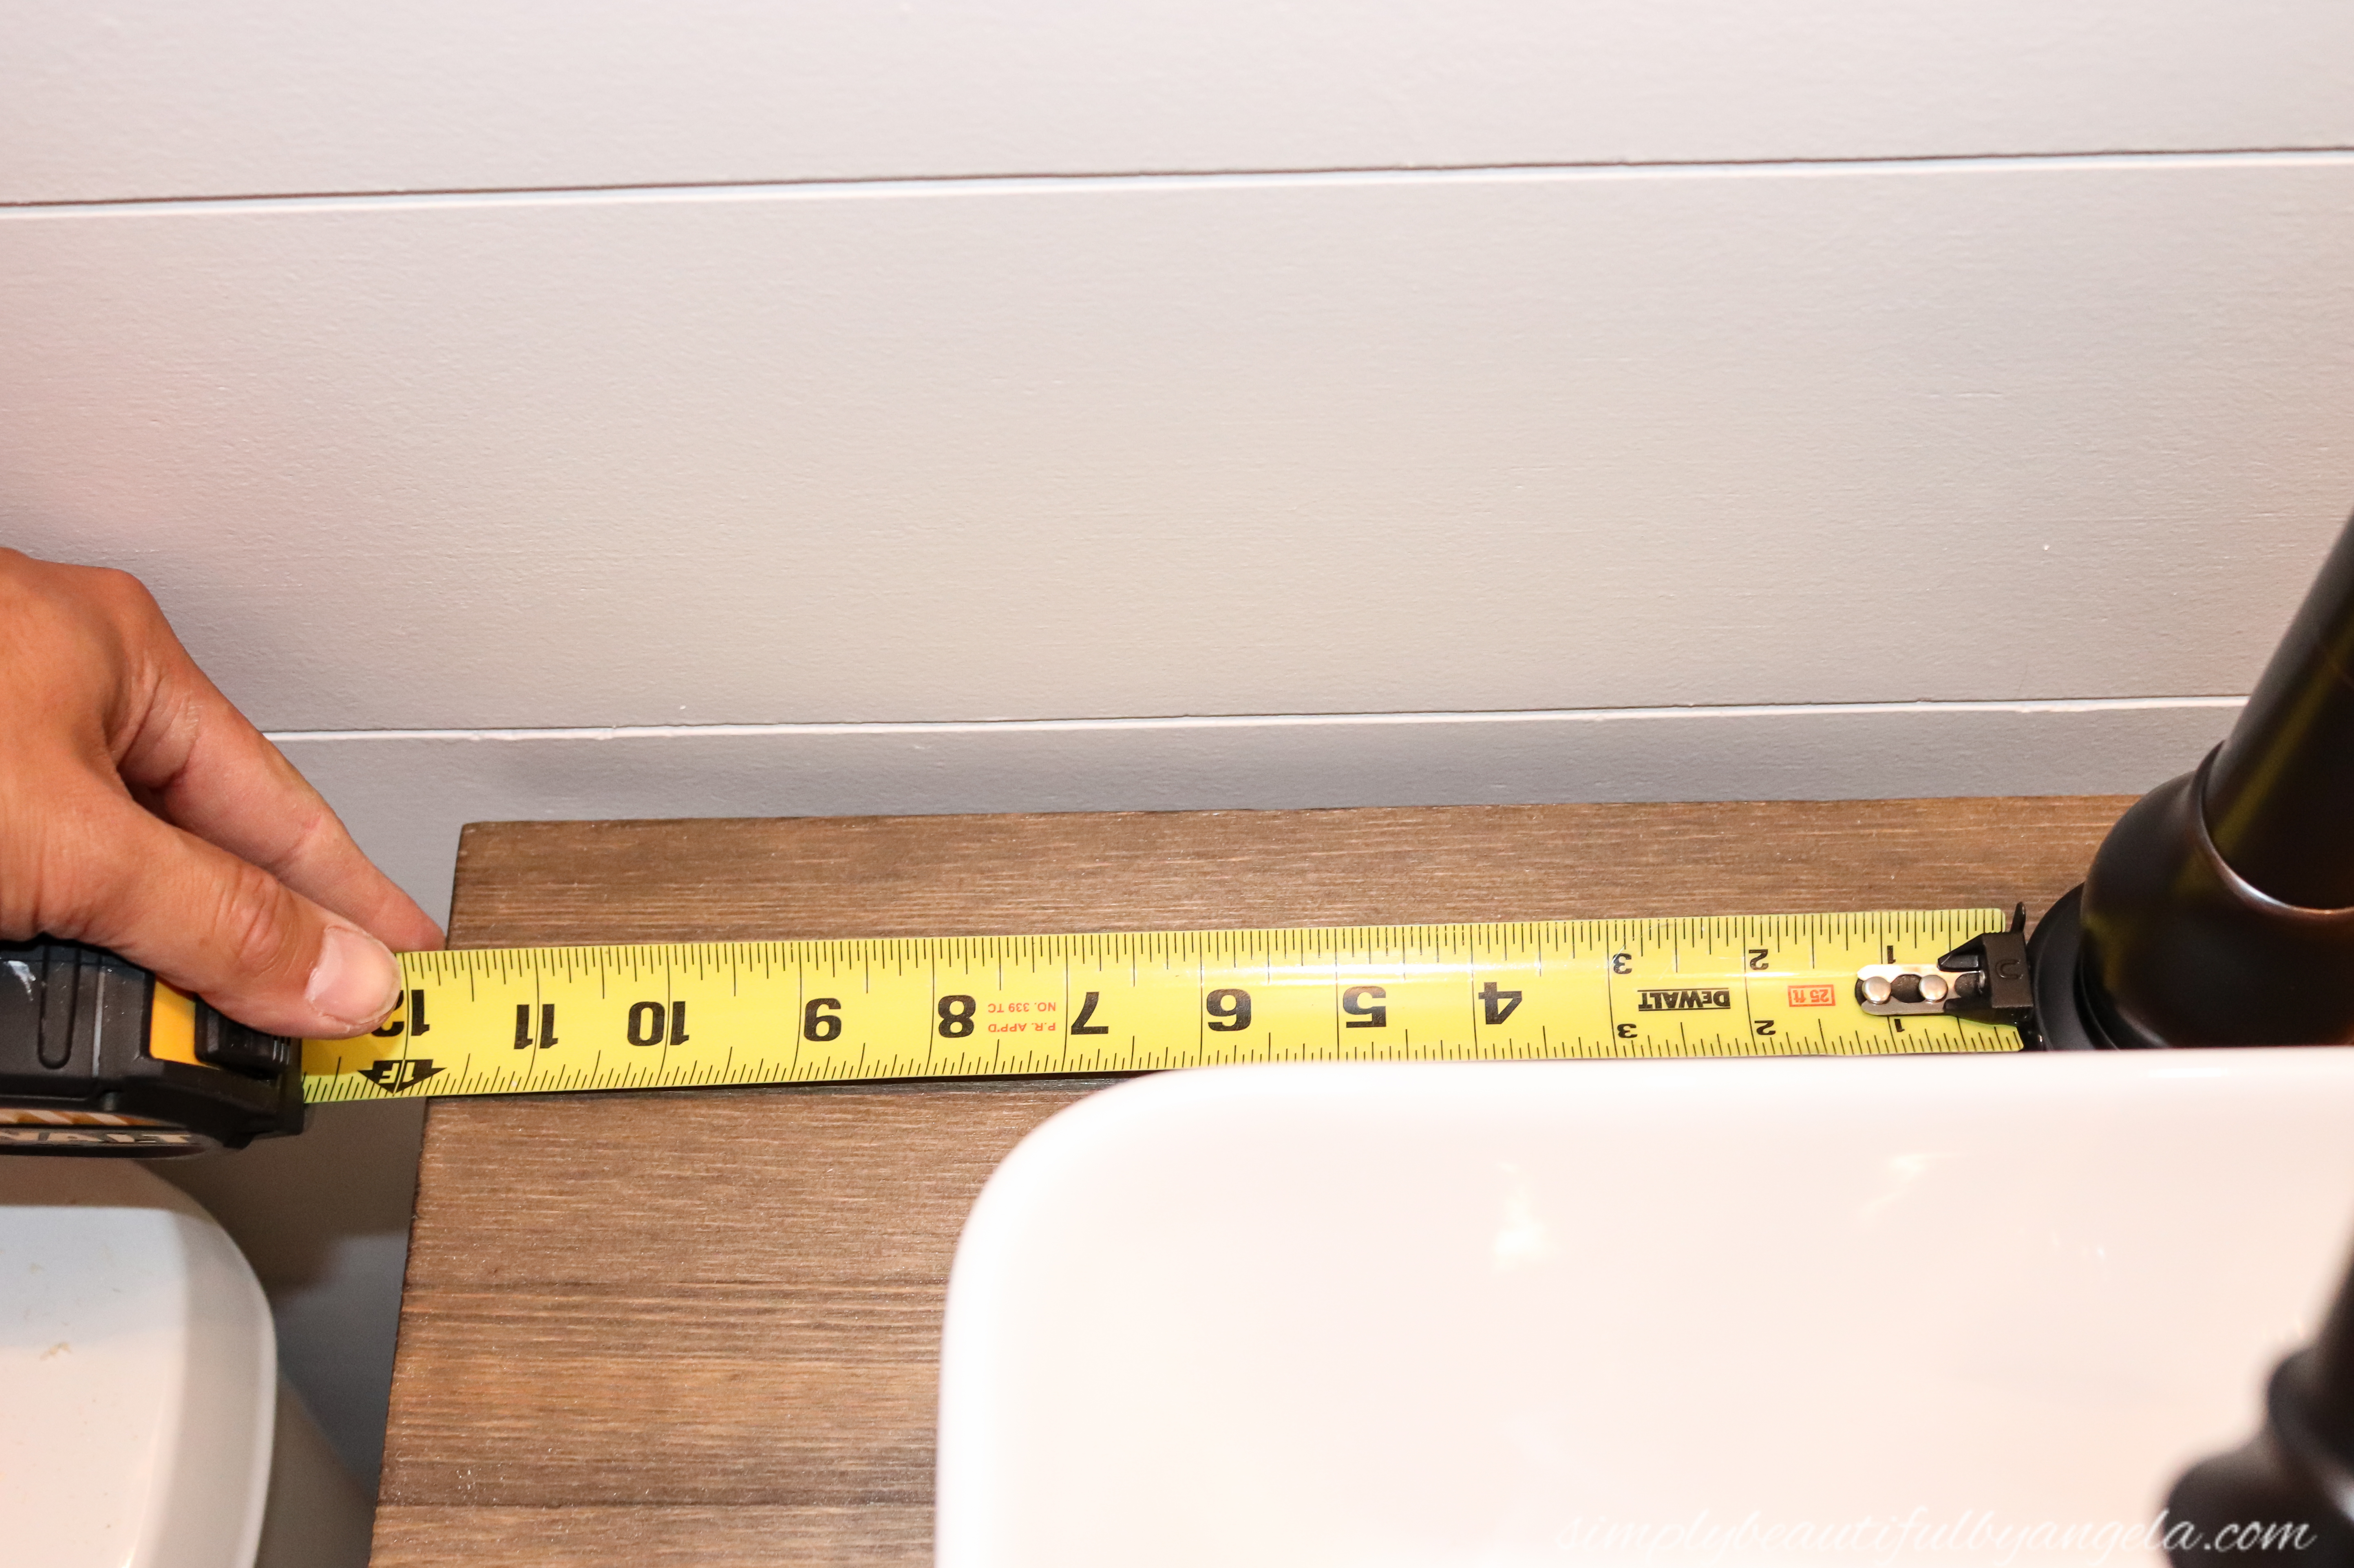
I then attached the new braided water lines to the connections on the inside of the faucet base, before sliding the brass attachment that came with the faucet up the lines and screwing it into place at the base of the faucet.
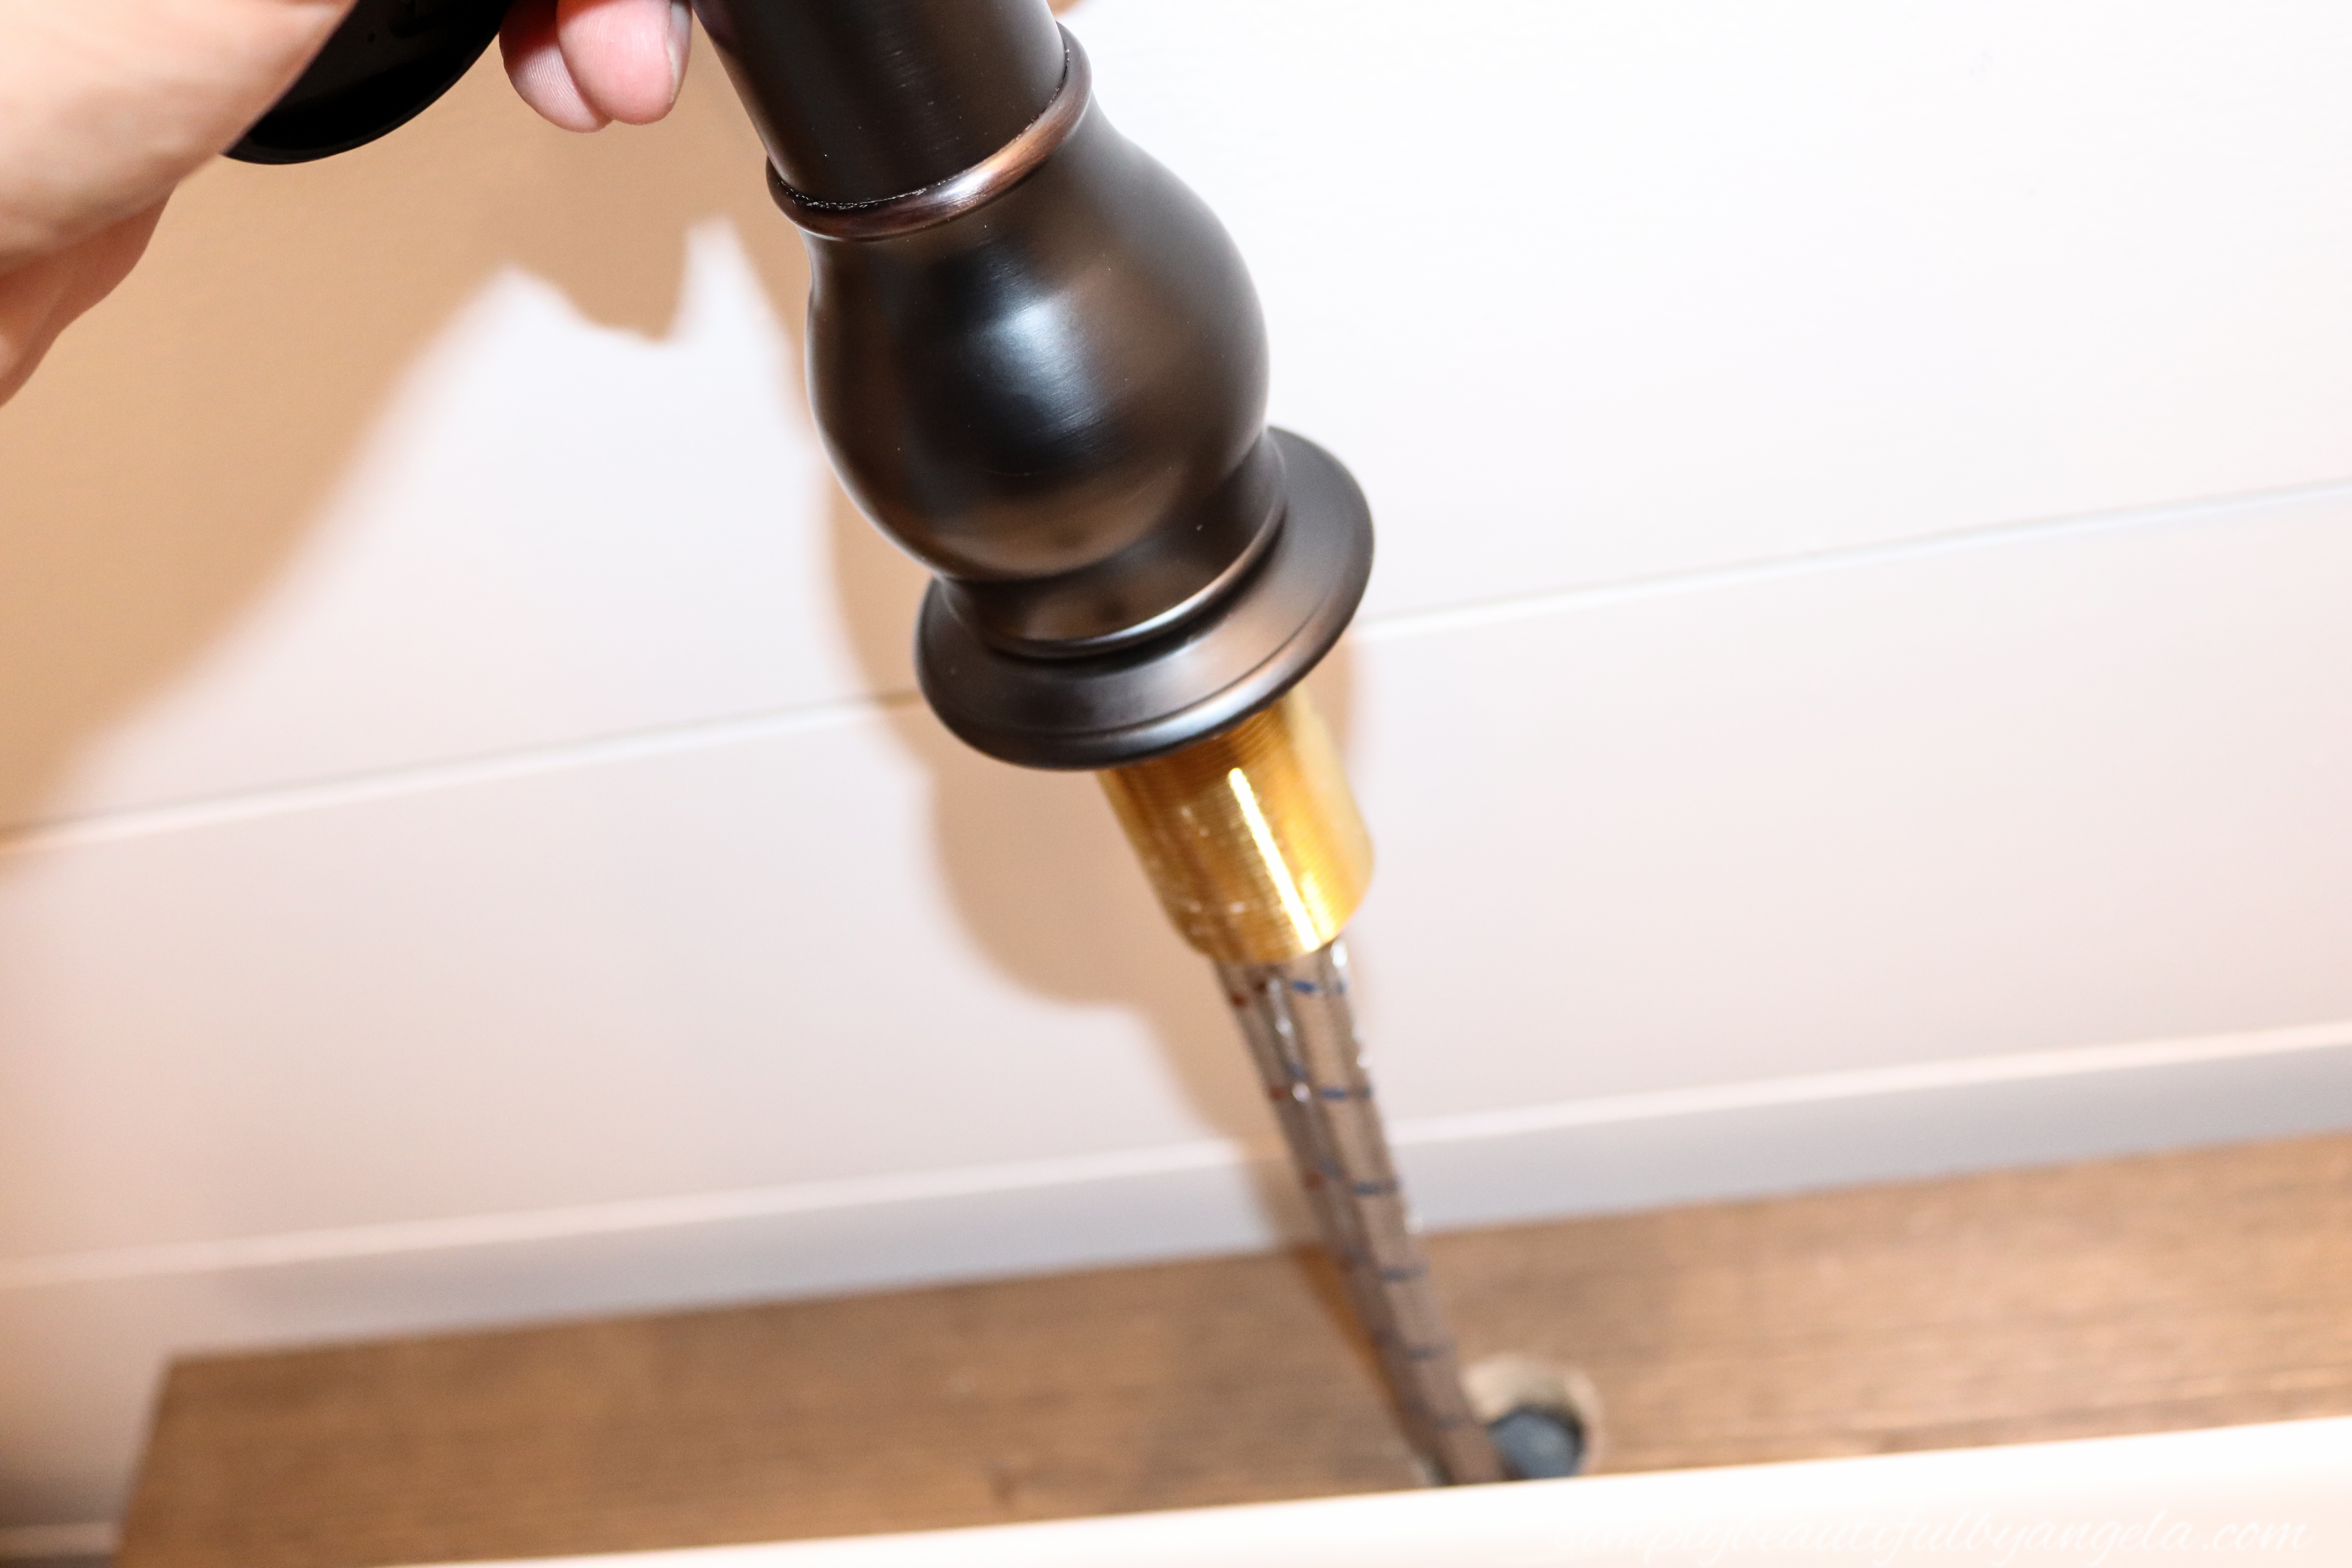
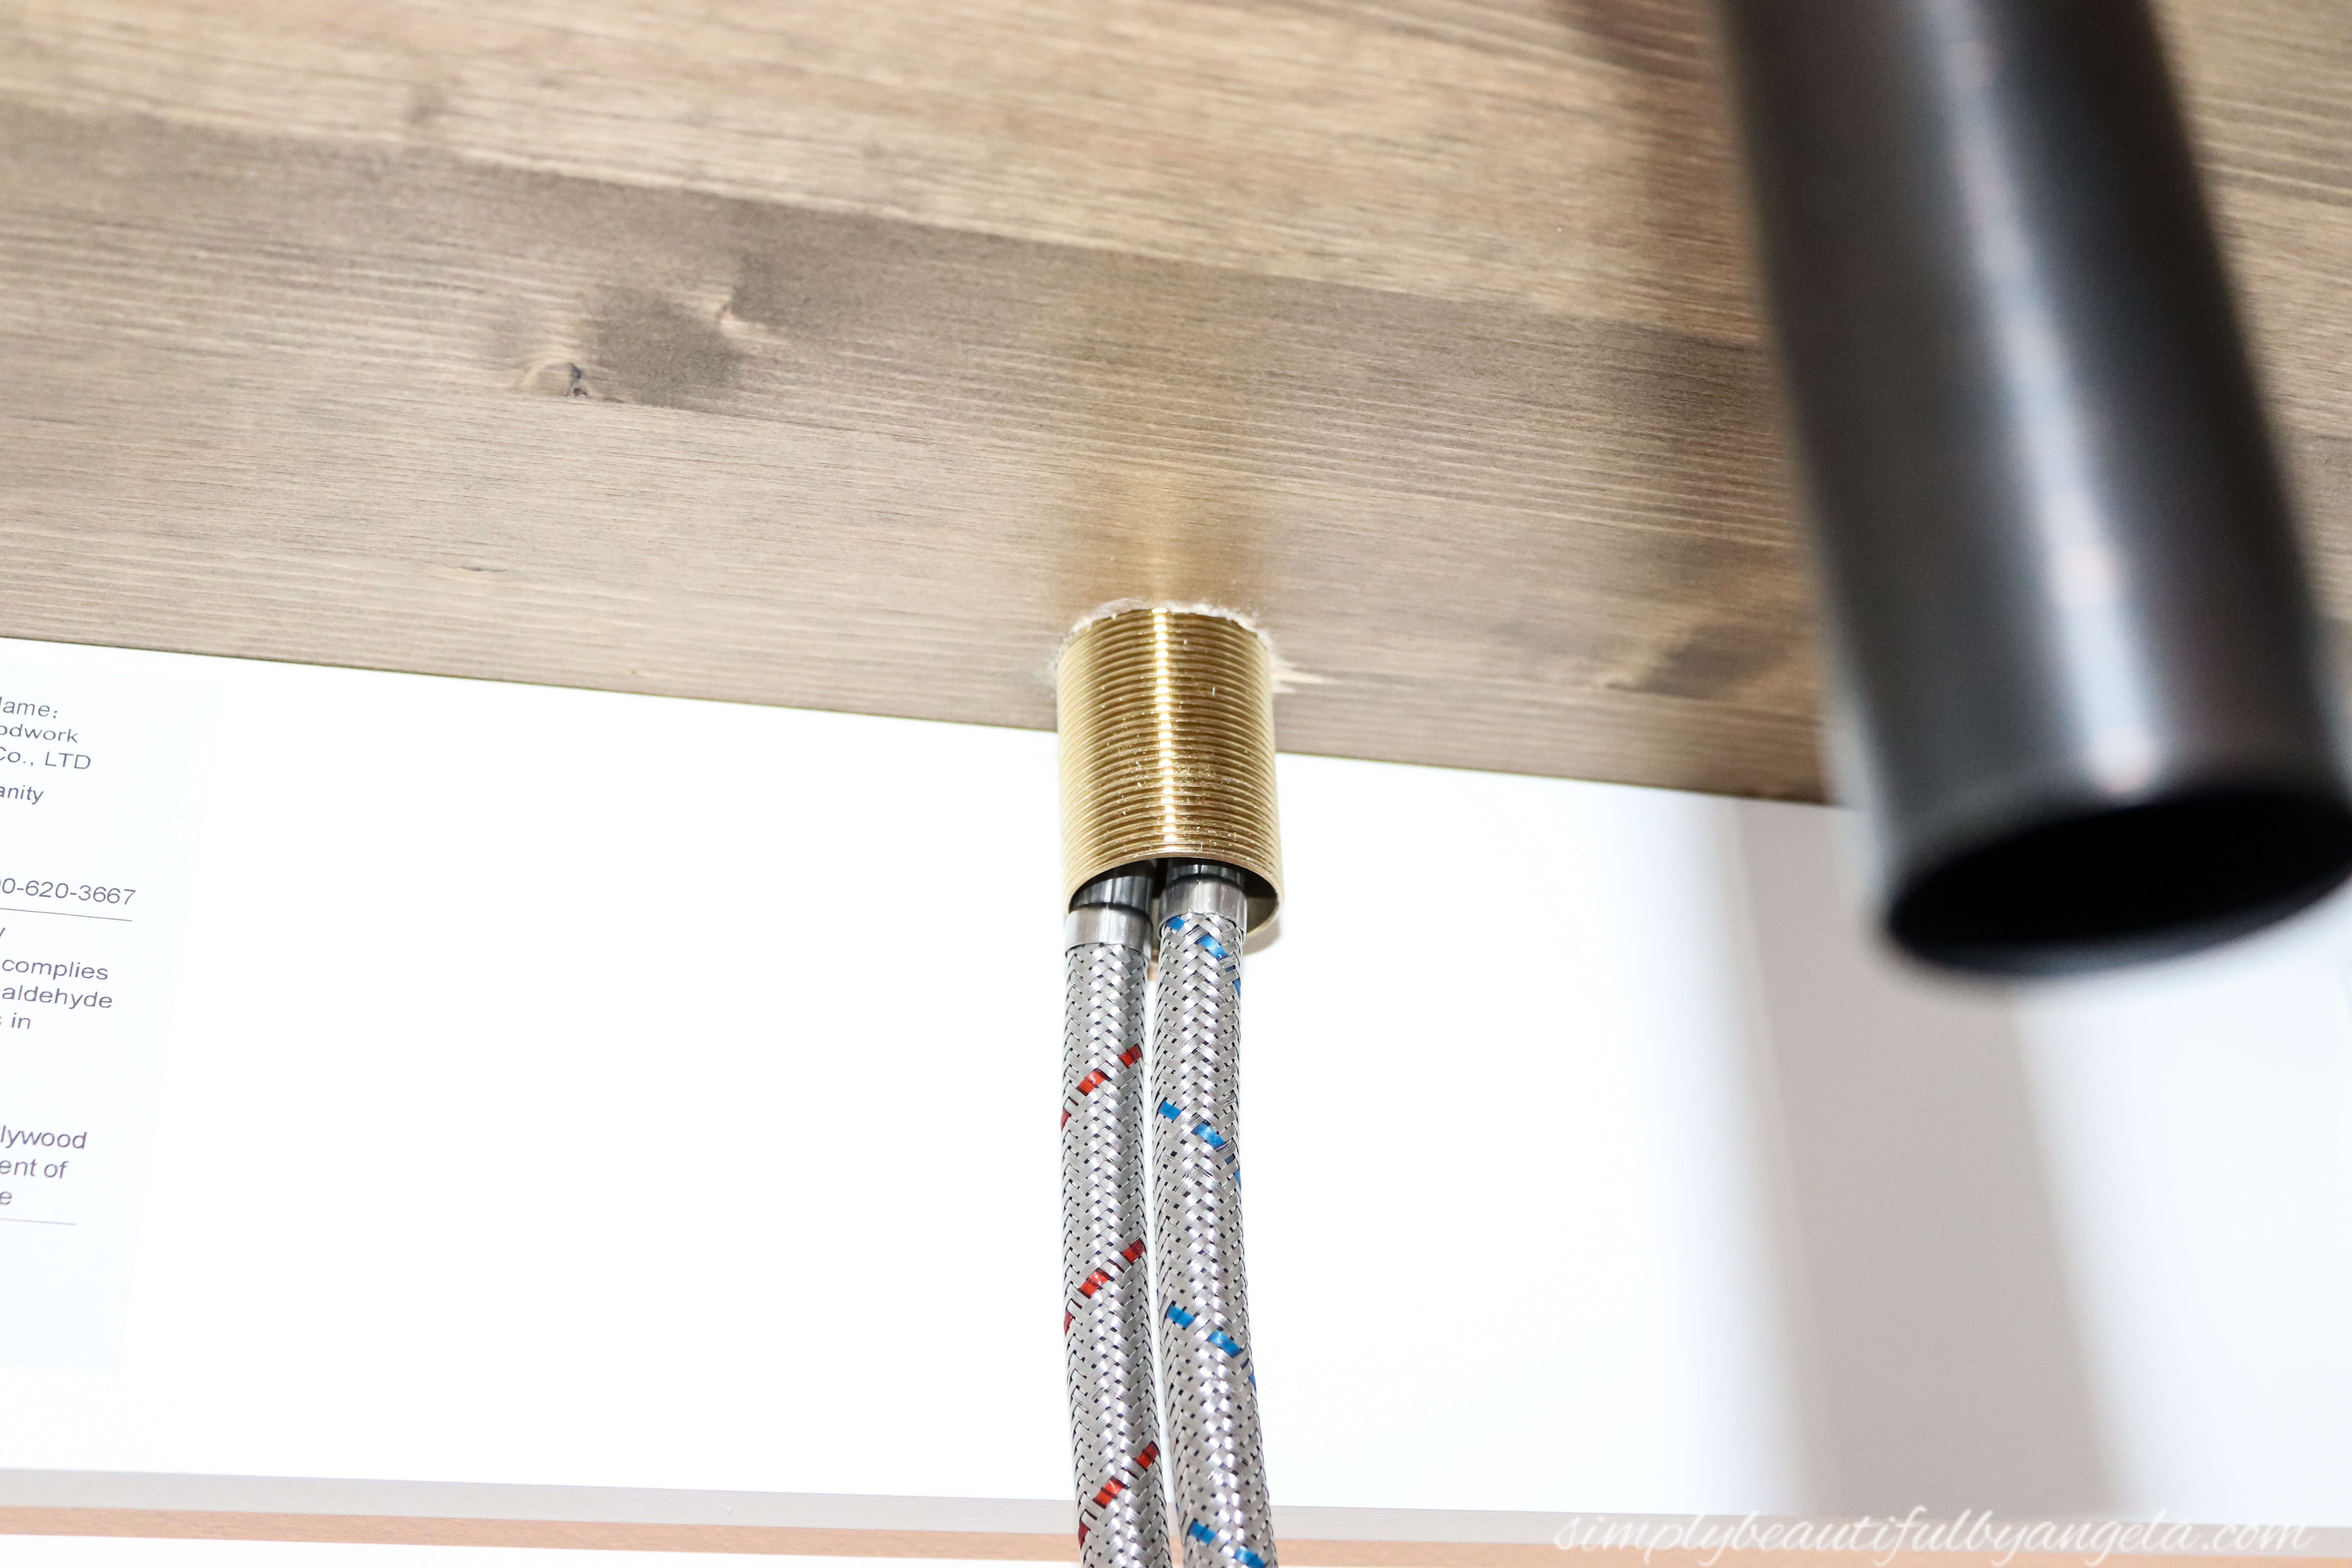
I left the water lines disconnected until the final step just in case there were placement issues with any of the PVC plumbing.
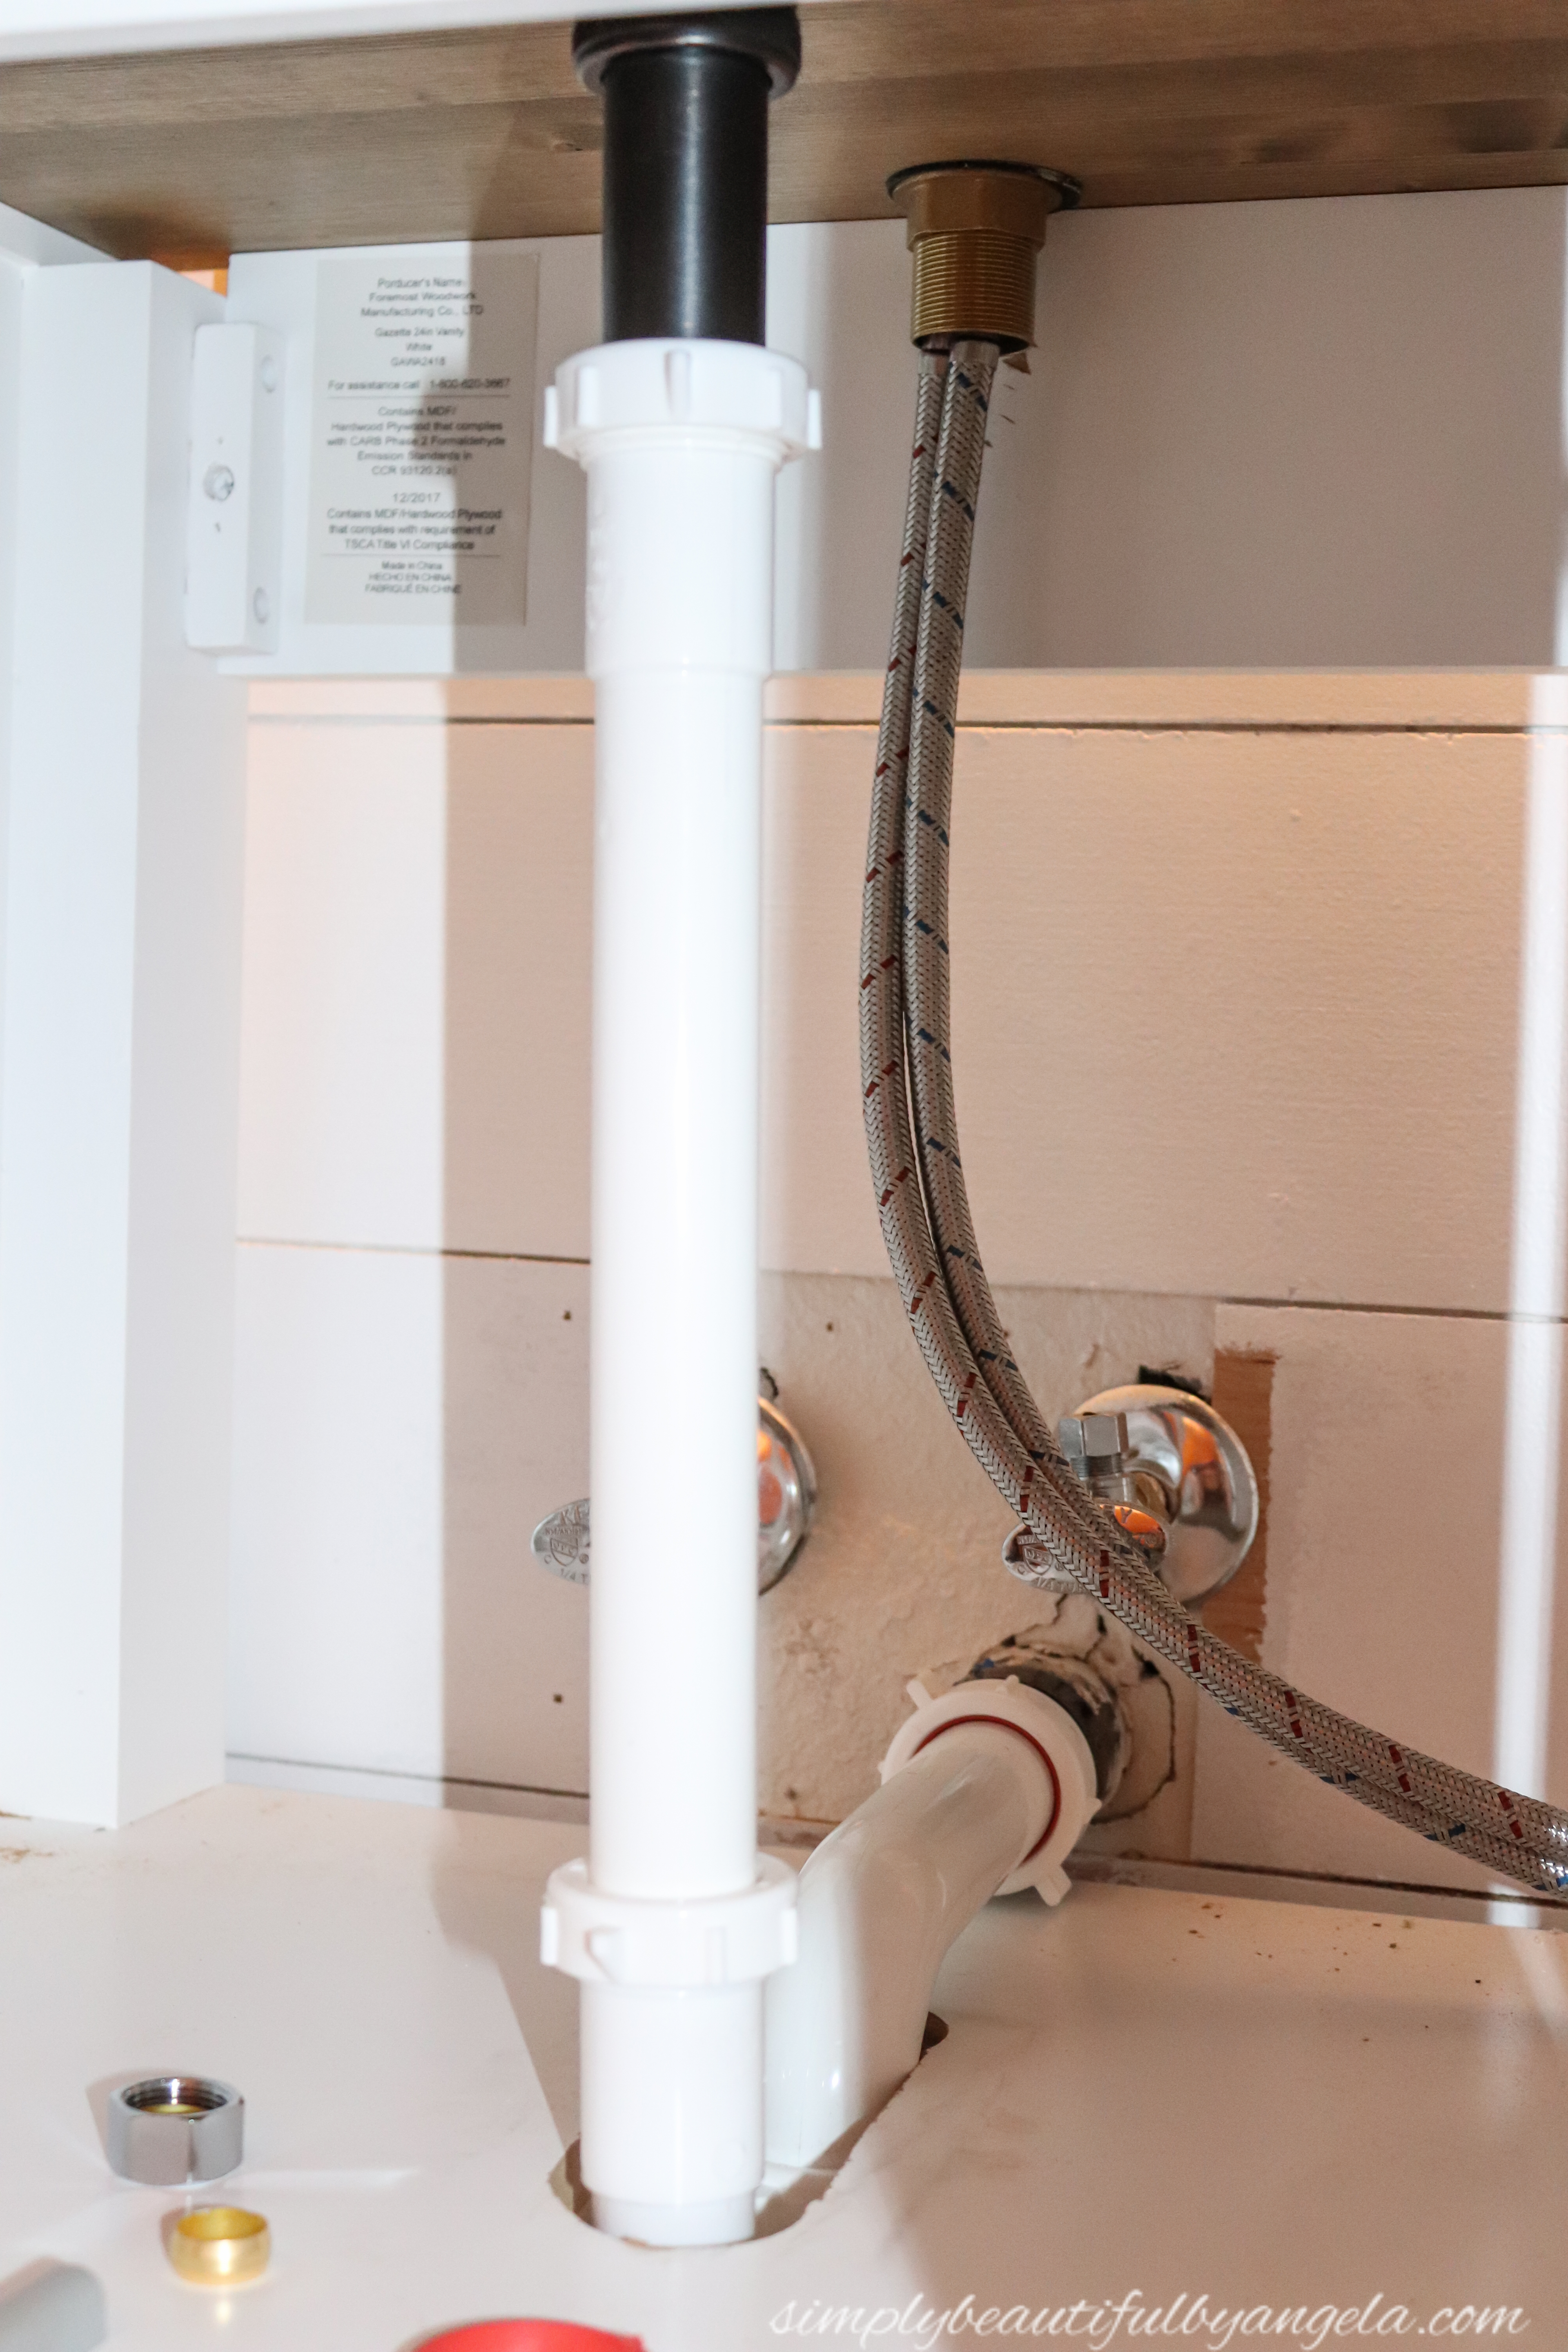
I attached the 1 1/4″ PVC drain extension to the bottom of the drain to reach down to where the P-Trap would sit. From the main drain pipe coming from the wall, I used a 1 1/2″ PVC elbow to extend out to where the other side of the P-Trap would connect.
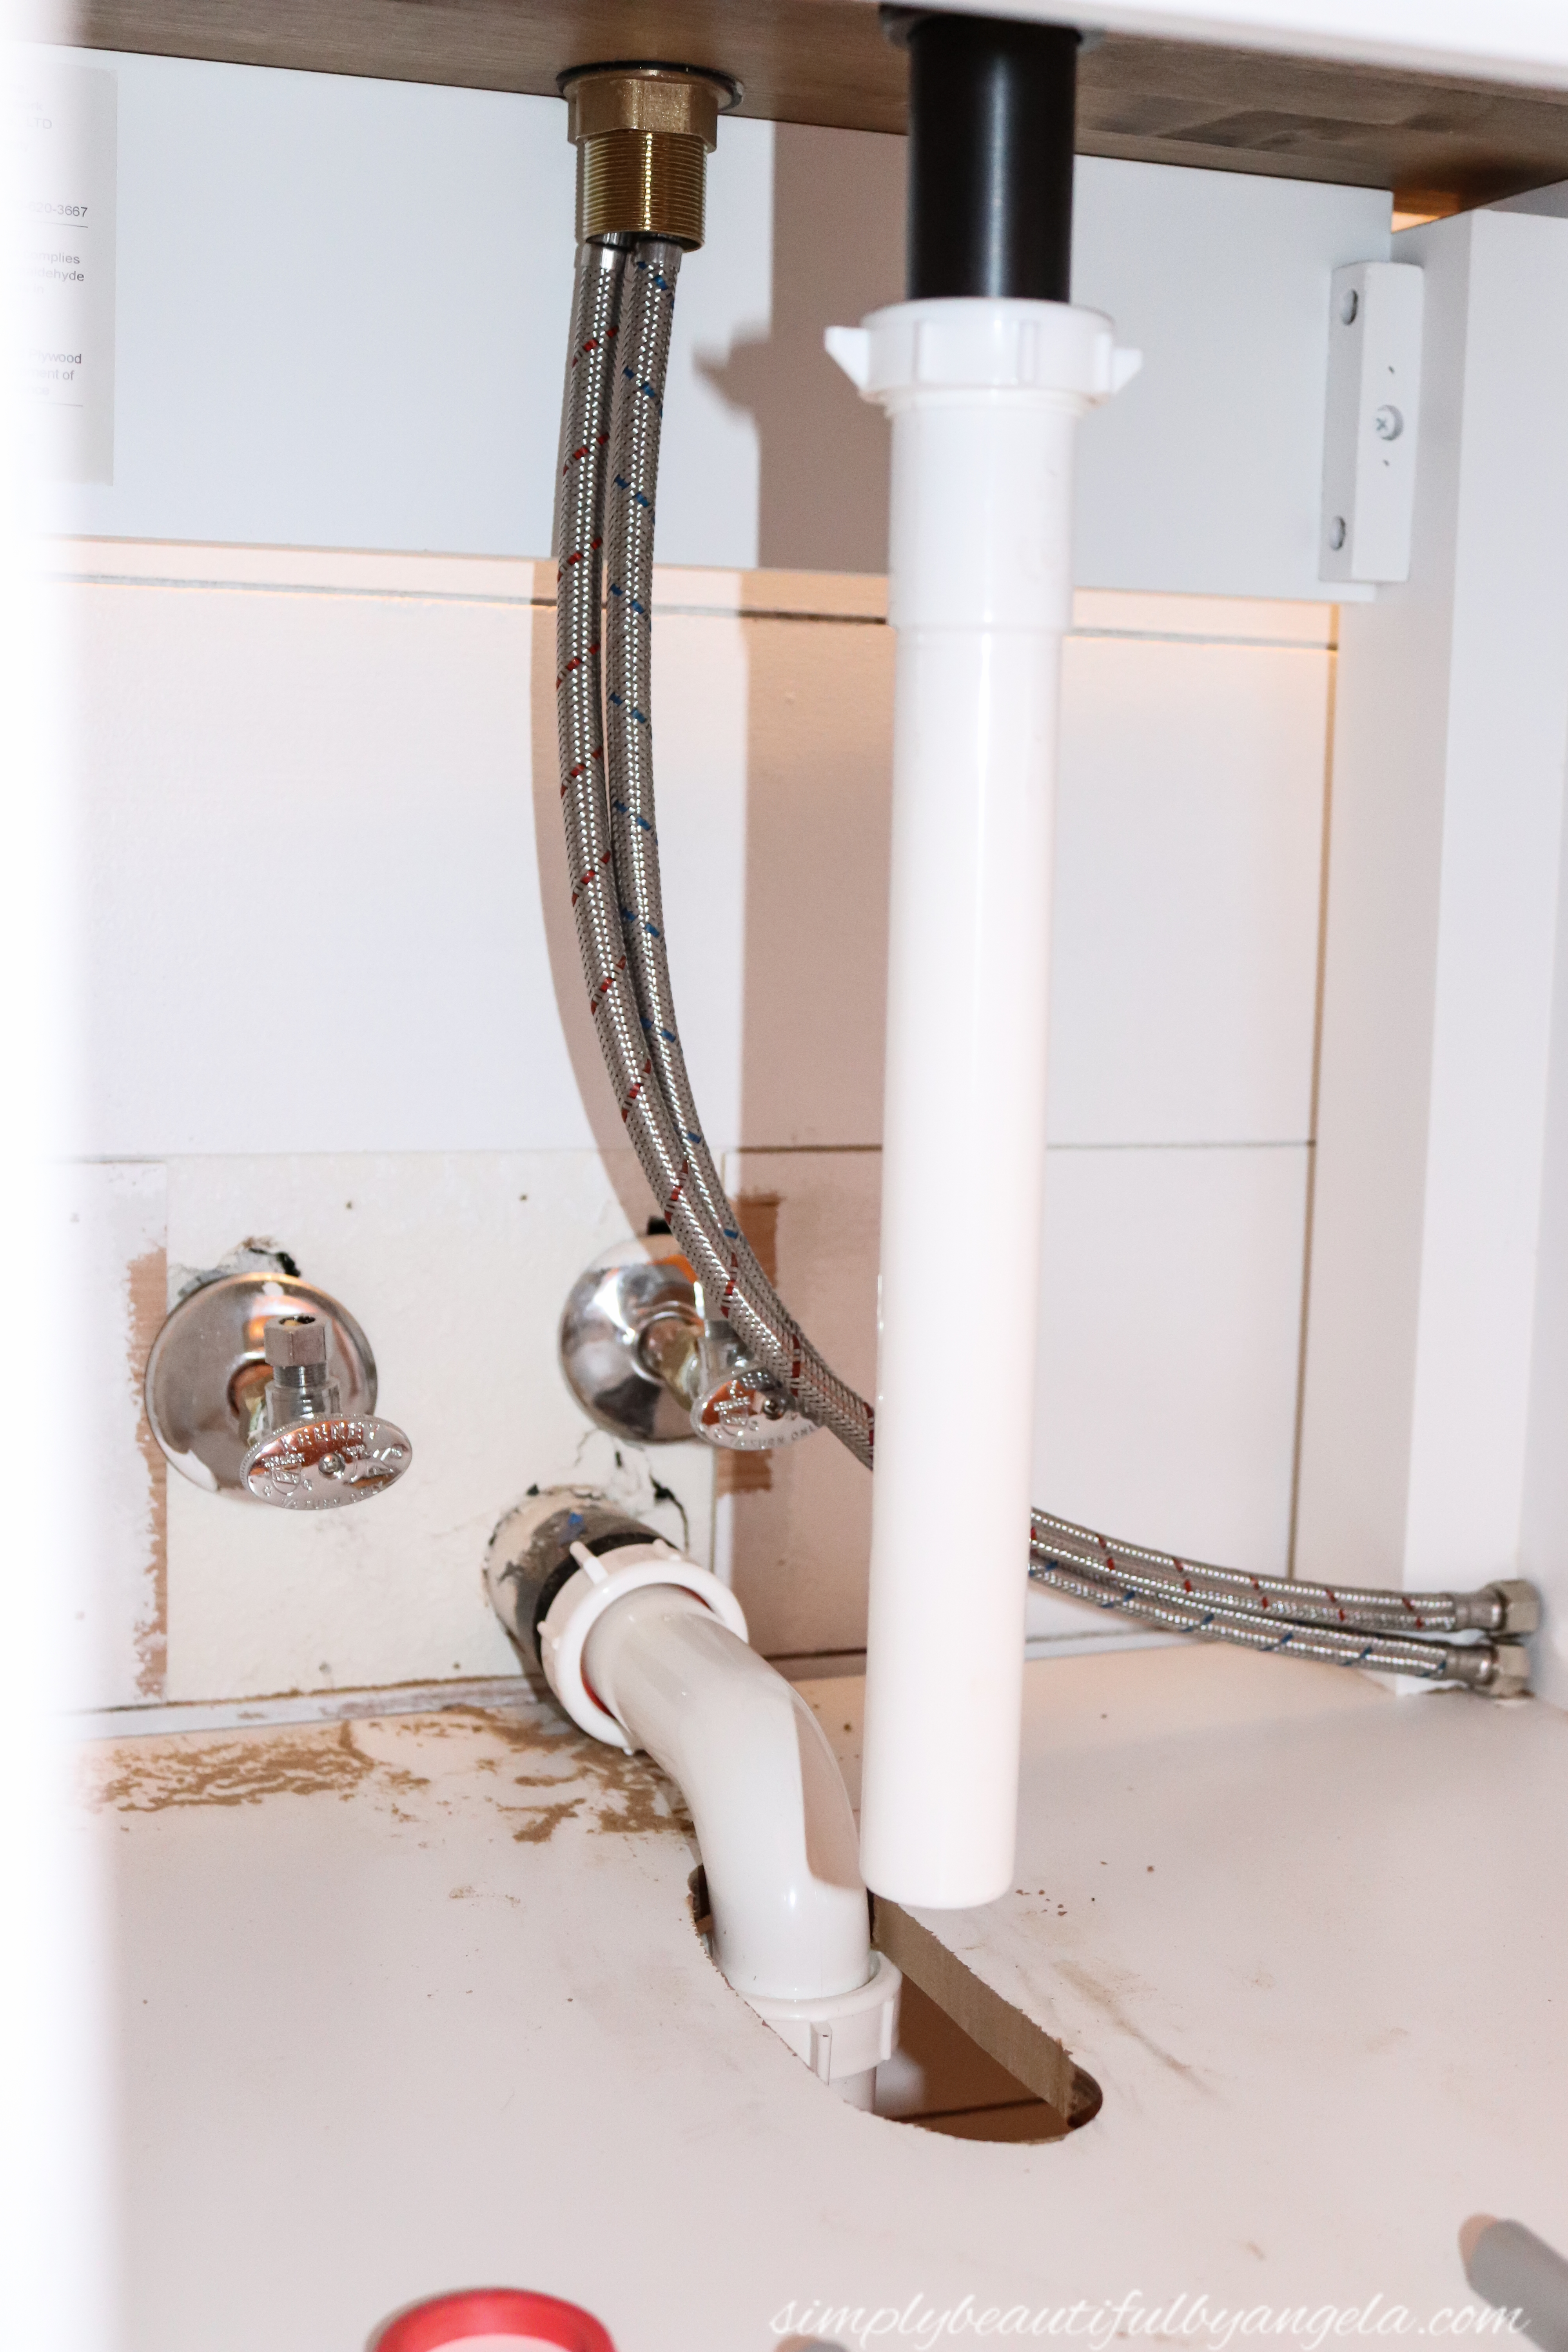
The P-trap dipped into the cabinet shelf so rather than paying an insane amount to have the plumbing moved up we simply decided to use the hole saw and a jig saw to create an opening for it.
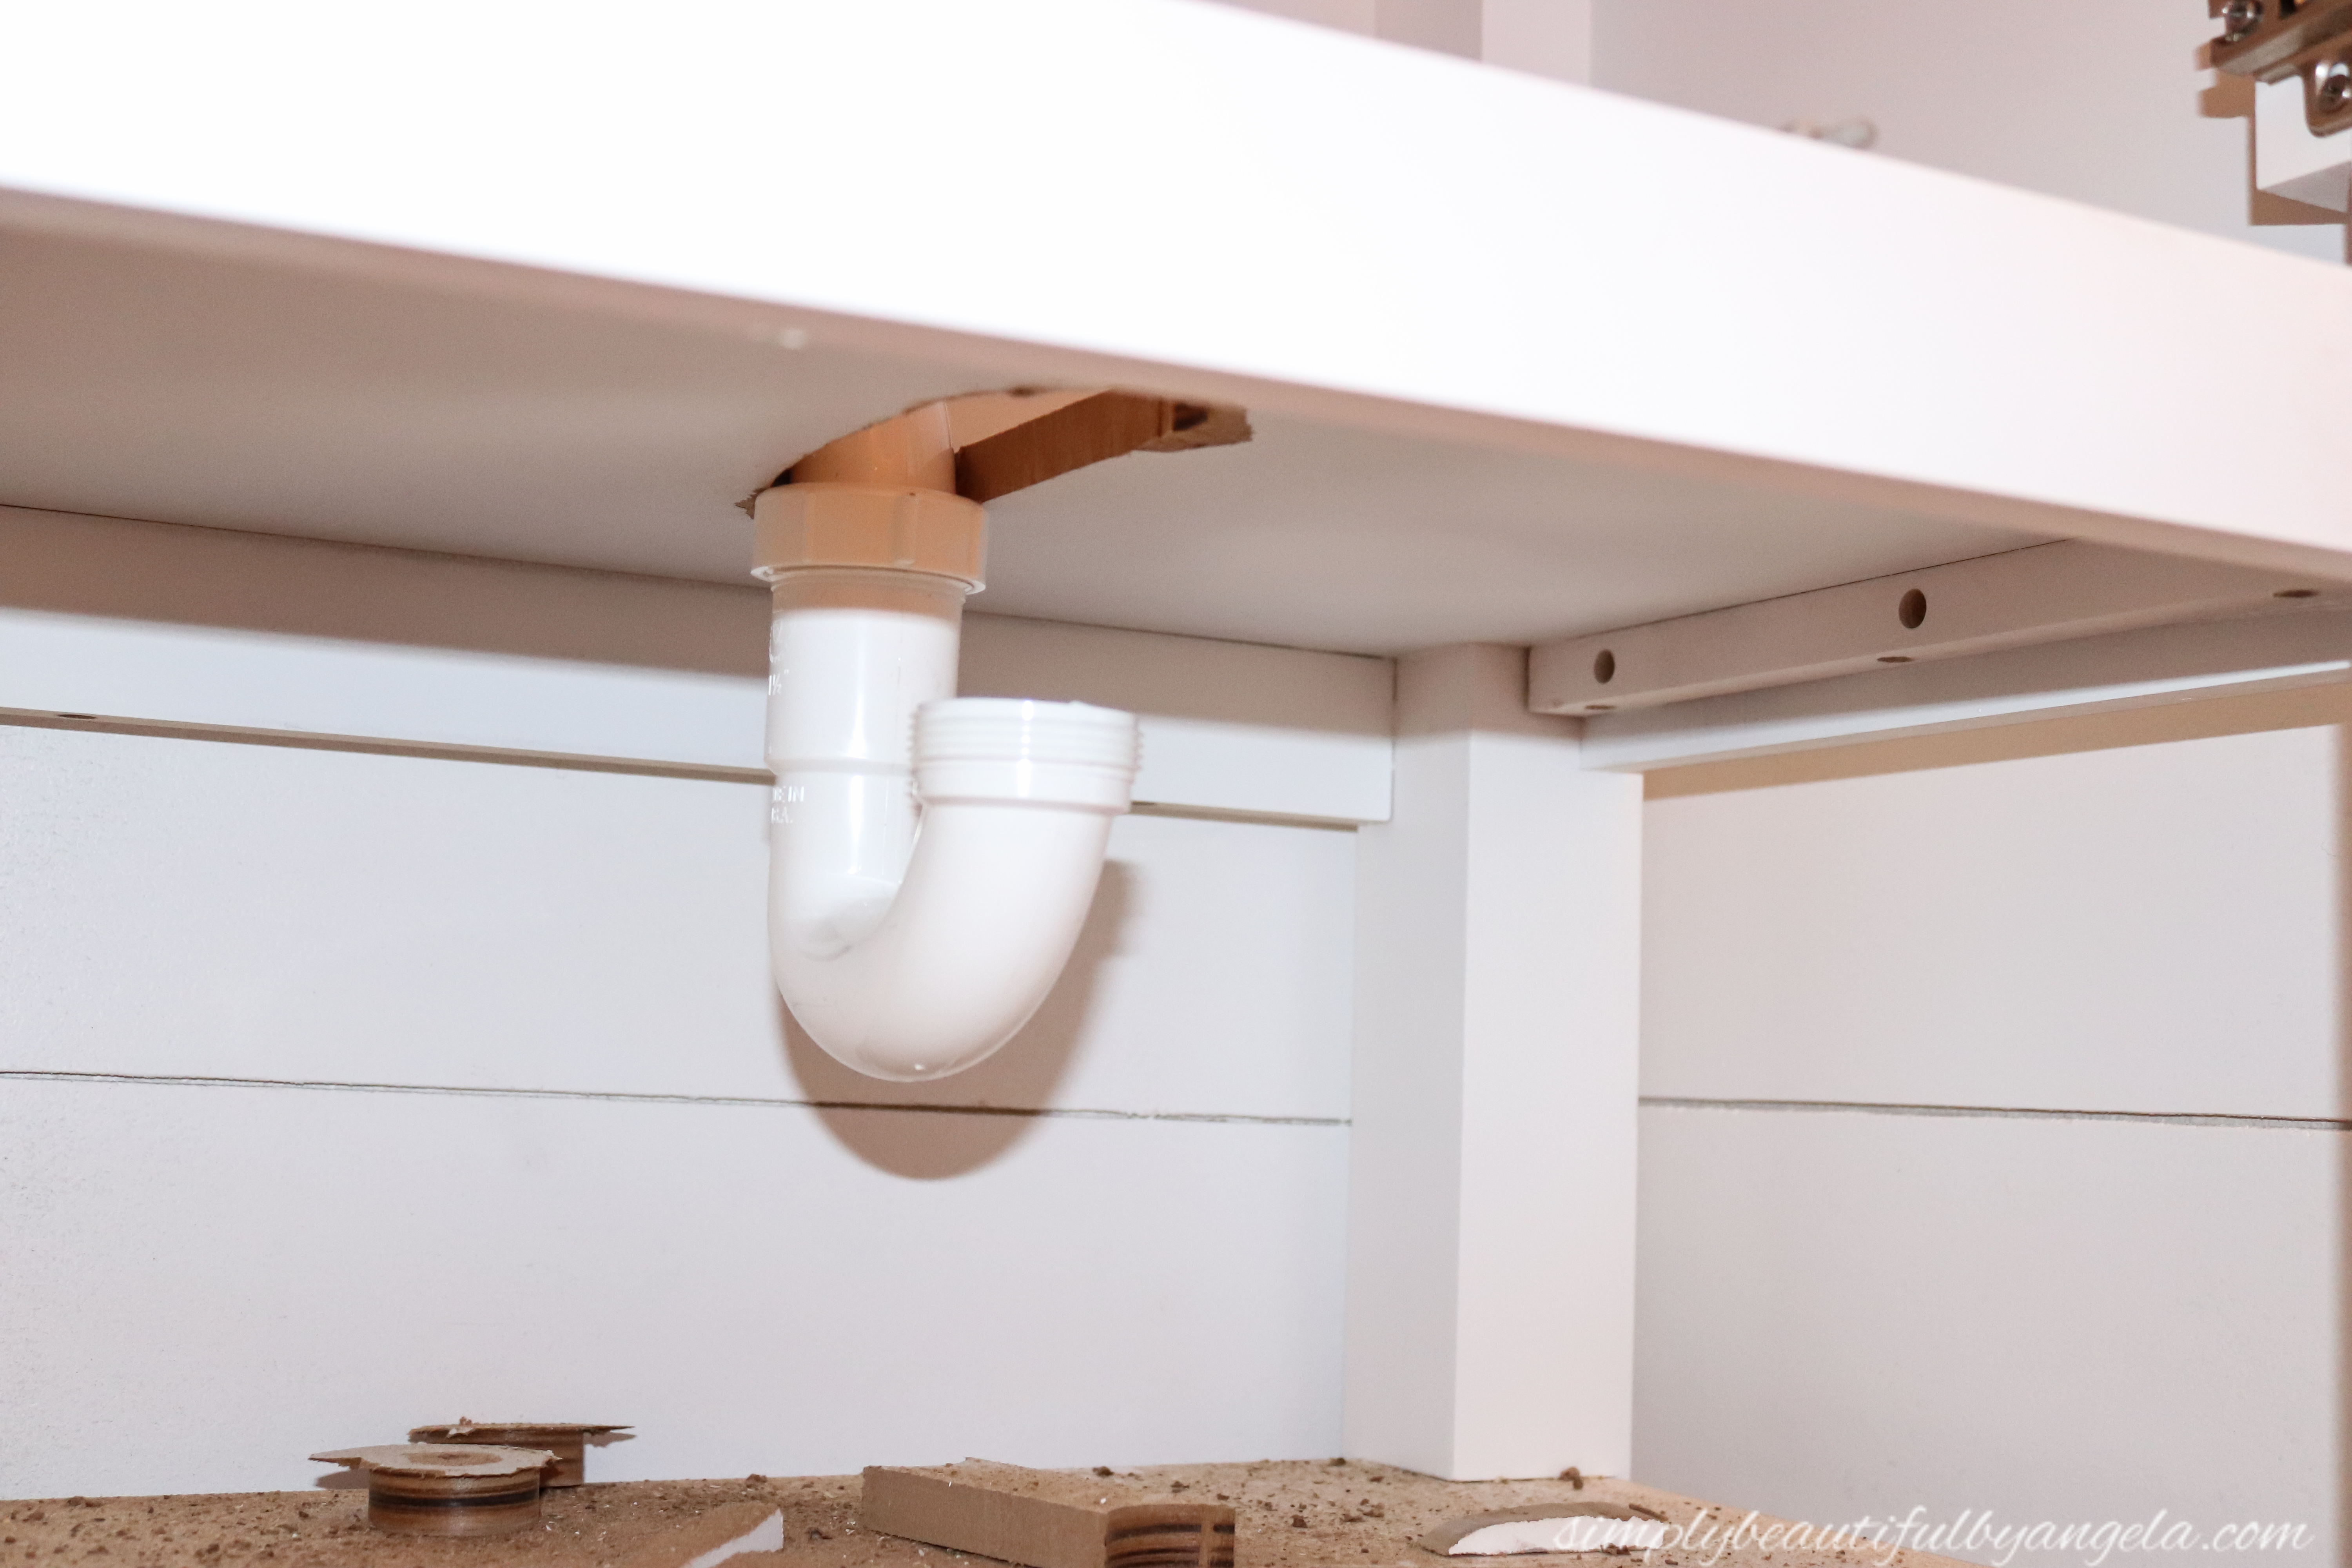
Since the drain extension from the sink is 1 1/4″ and the rest of the piping including the P-Trap are 1 1/2″, I used an adapter O-ring to convert the thinner piping to the thicker one. Using the rings that came in the P-Trap kit, I secured all of the piping in place with the O-rings that were included and tightened the white rings down to create a water-tight seal.
Me:
And that’s where he left off before I was able to join back in on the fun.
We placed the sink on the counter over the drain hole and ran a line of
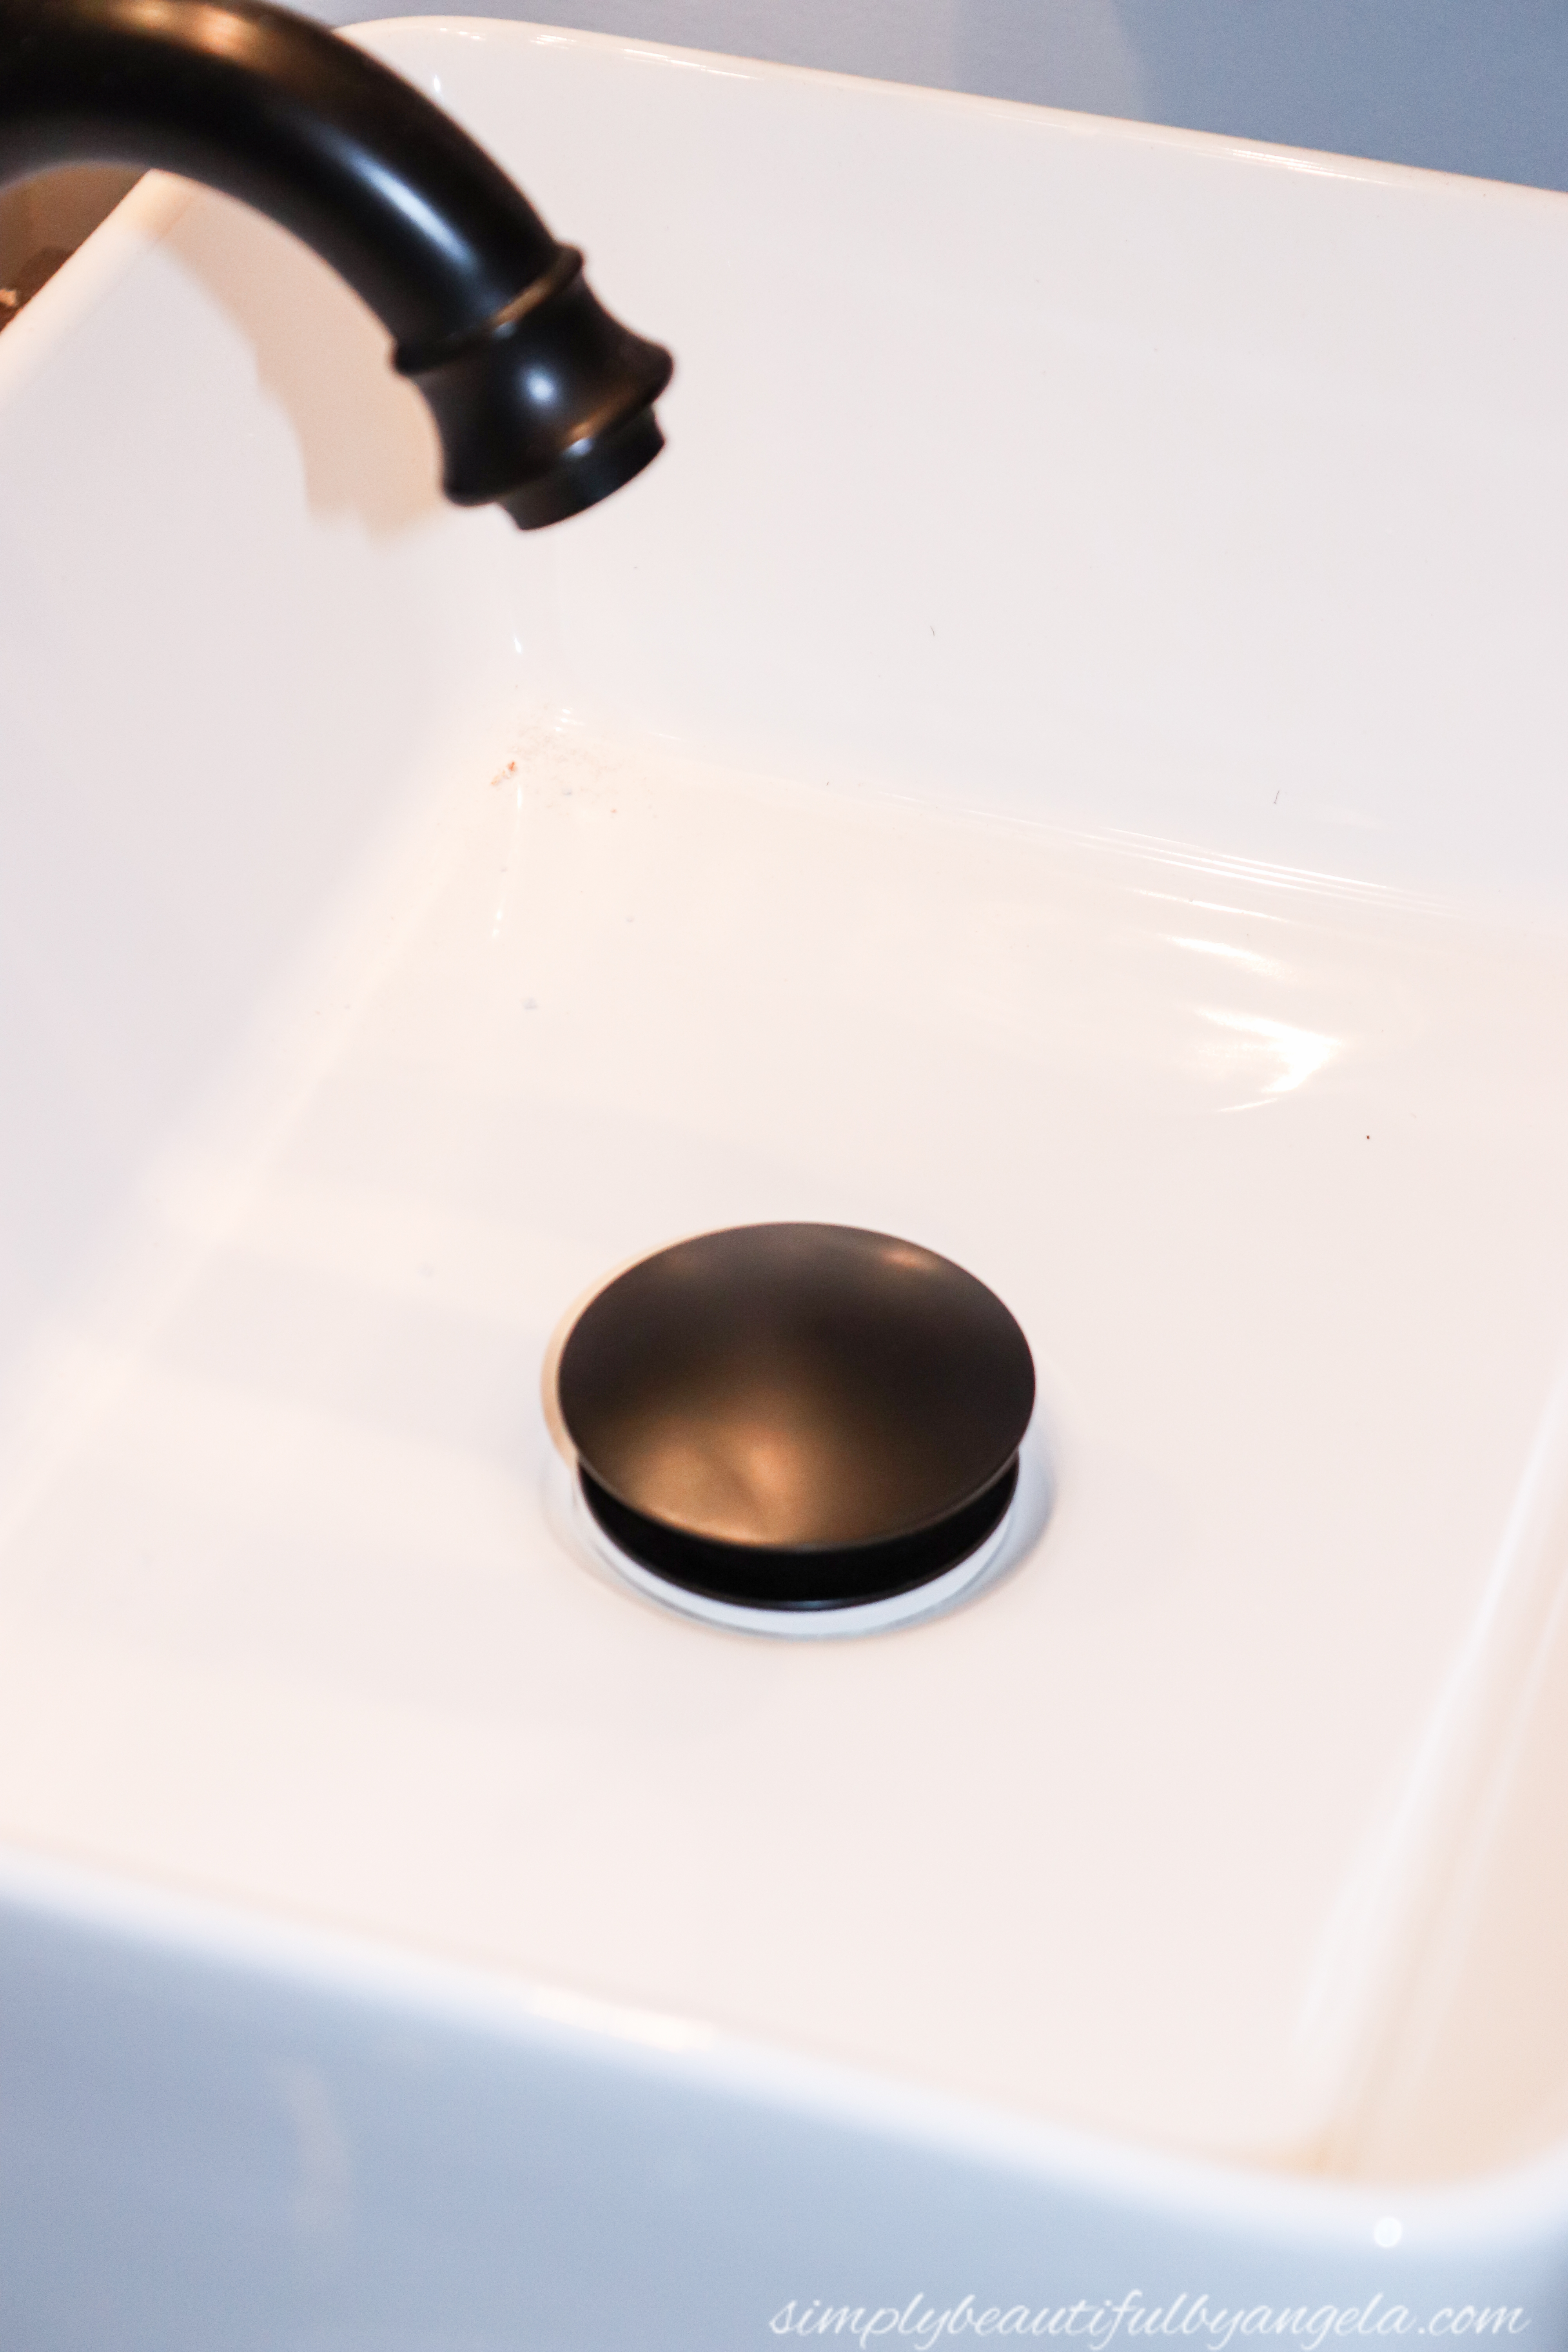
Silicone Kitchen and Bath Caulk around where the sink met the drain hole to prevent any leaks.
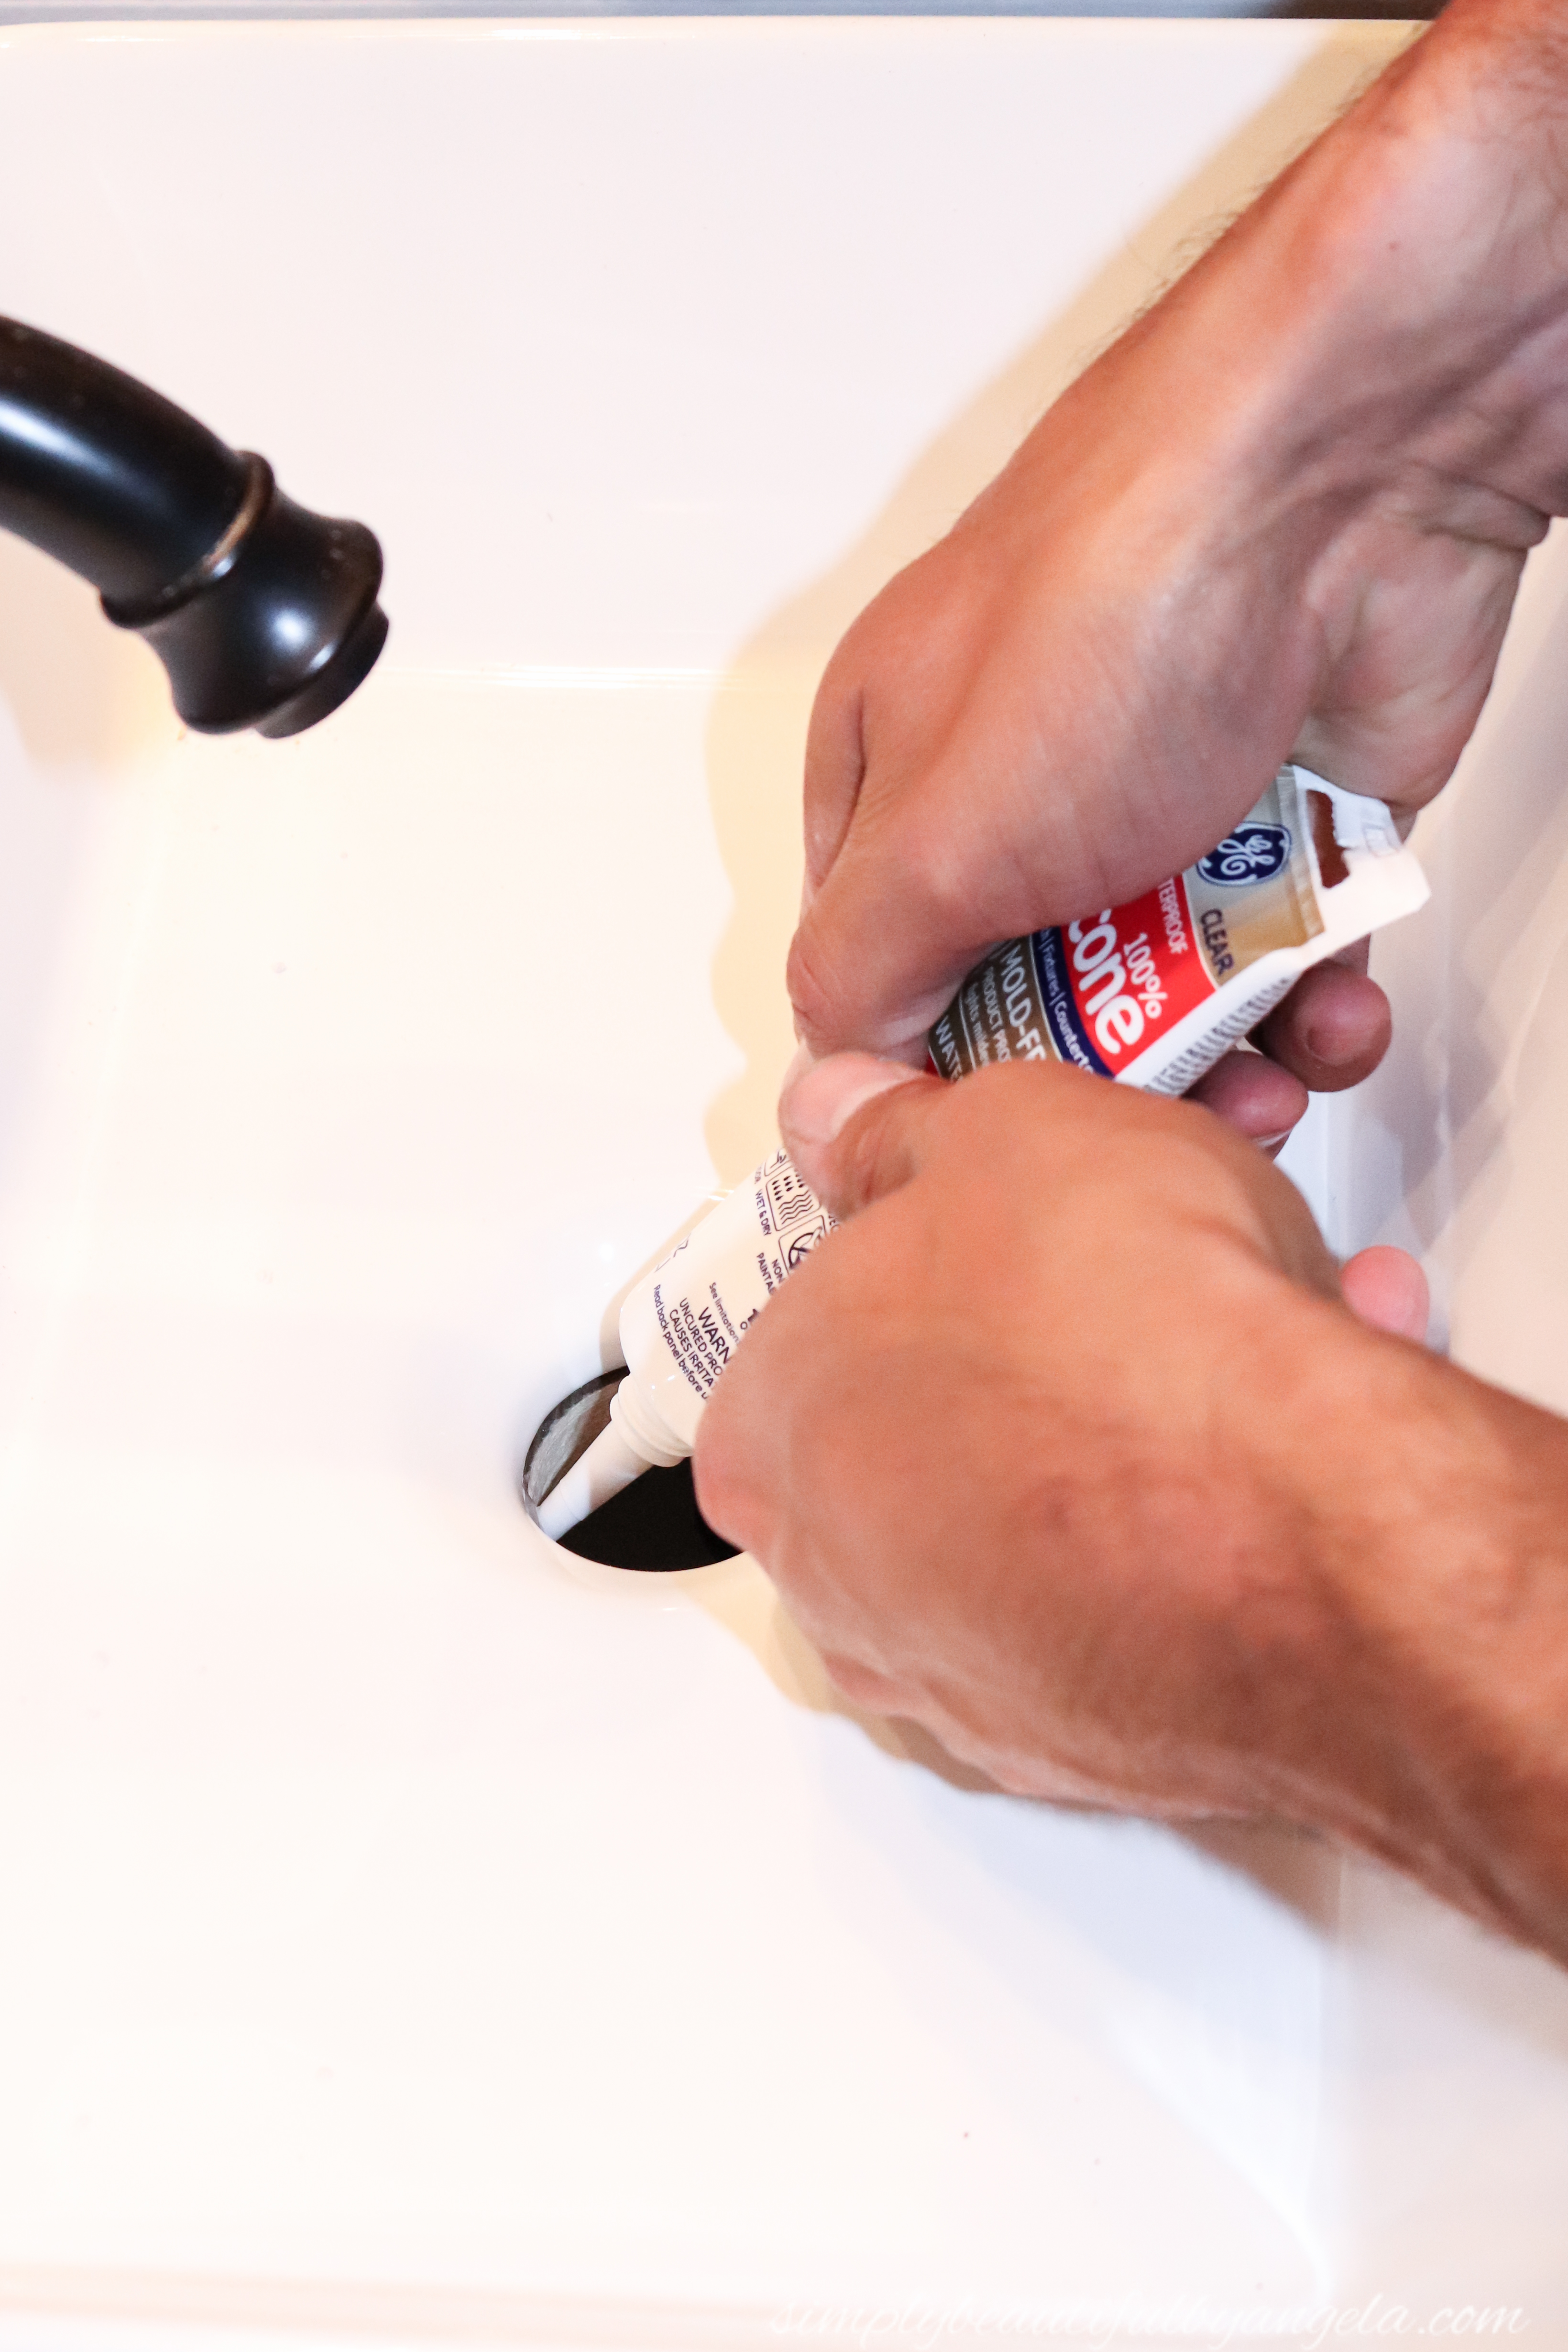
He immediately placed the drain in place and I stood on deck with a rag to wipe the small amount that squeezed through.
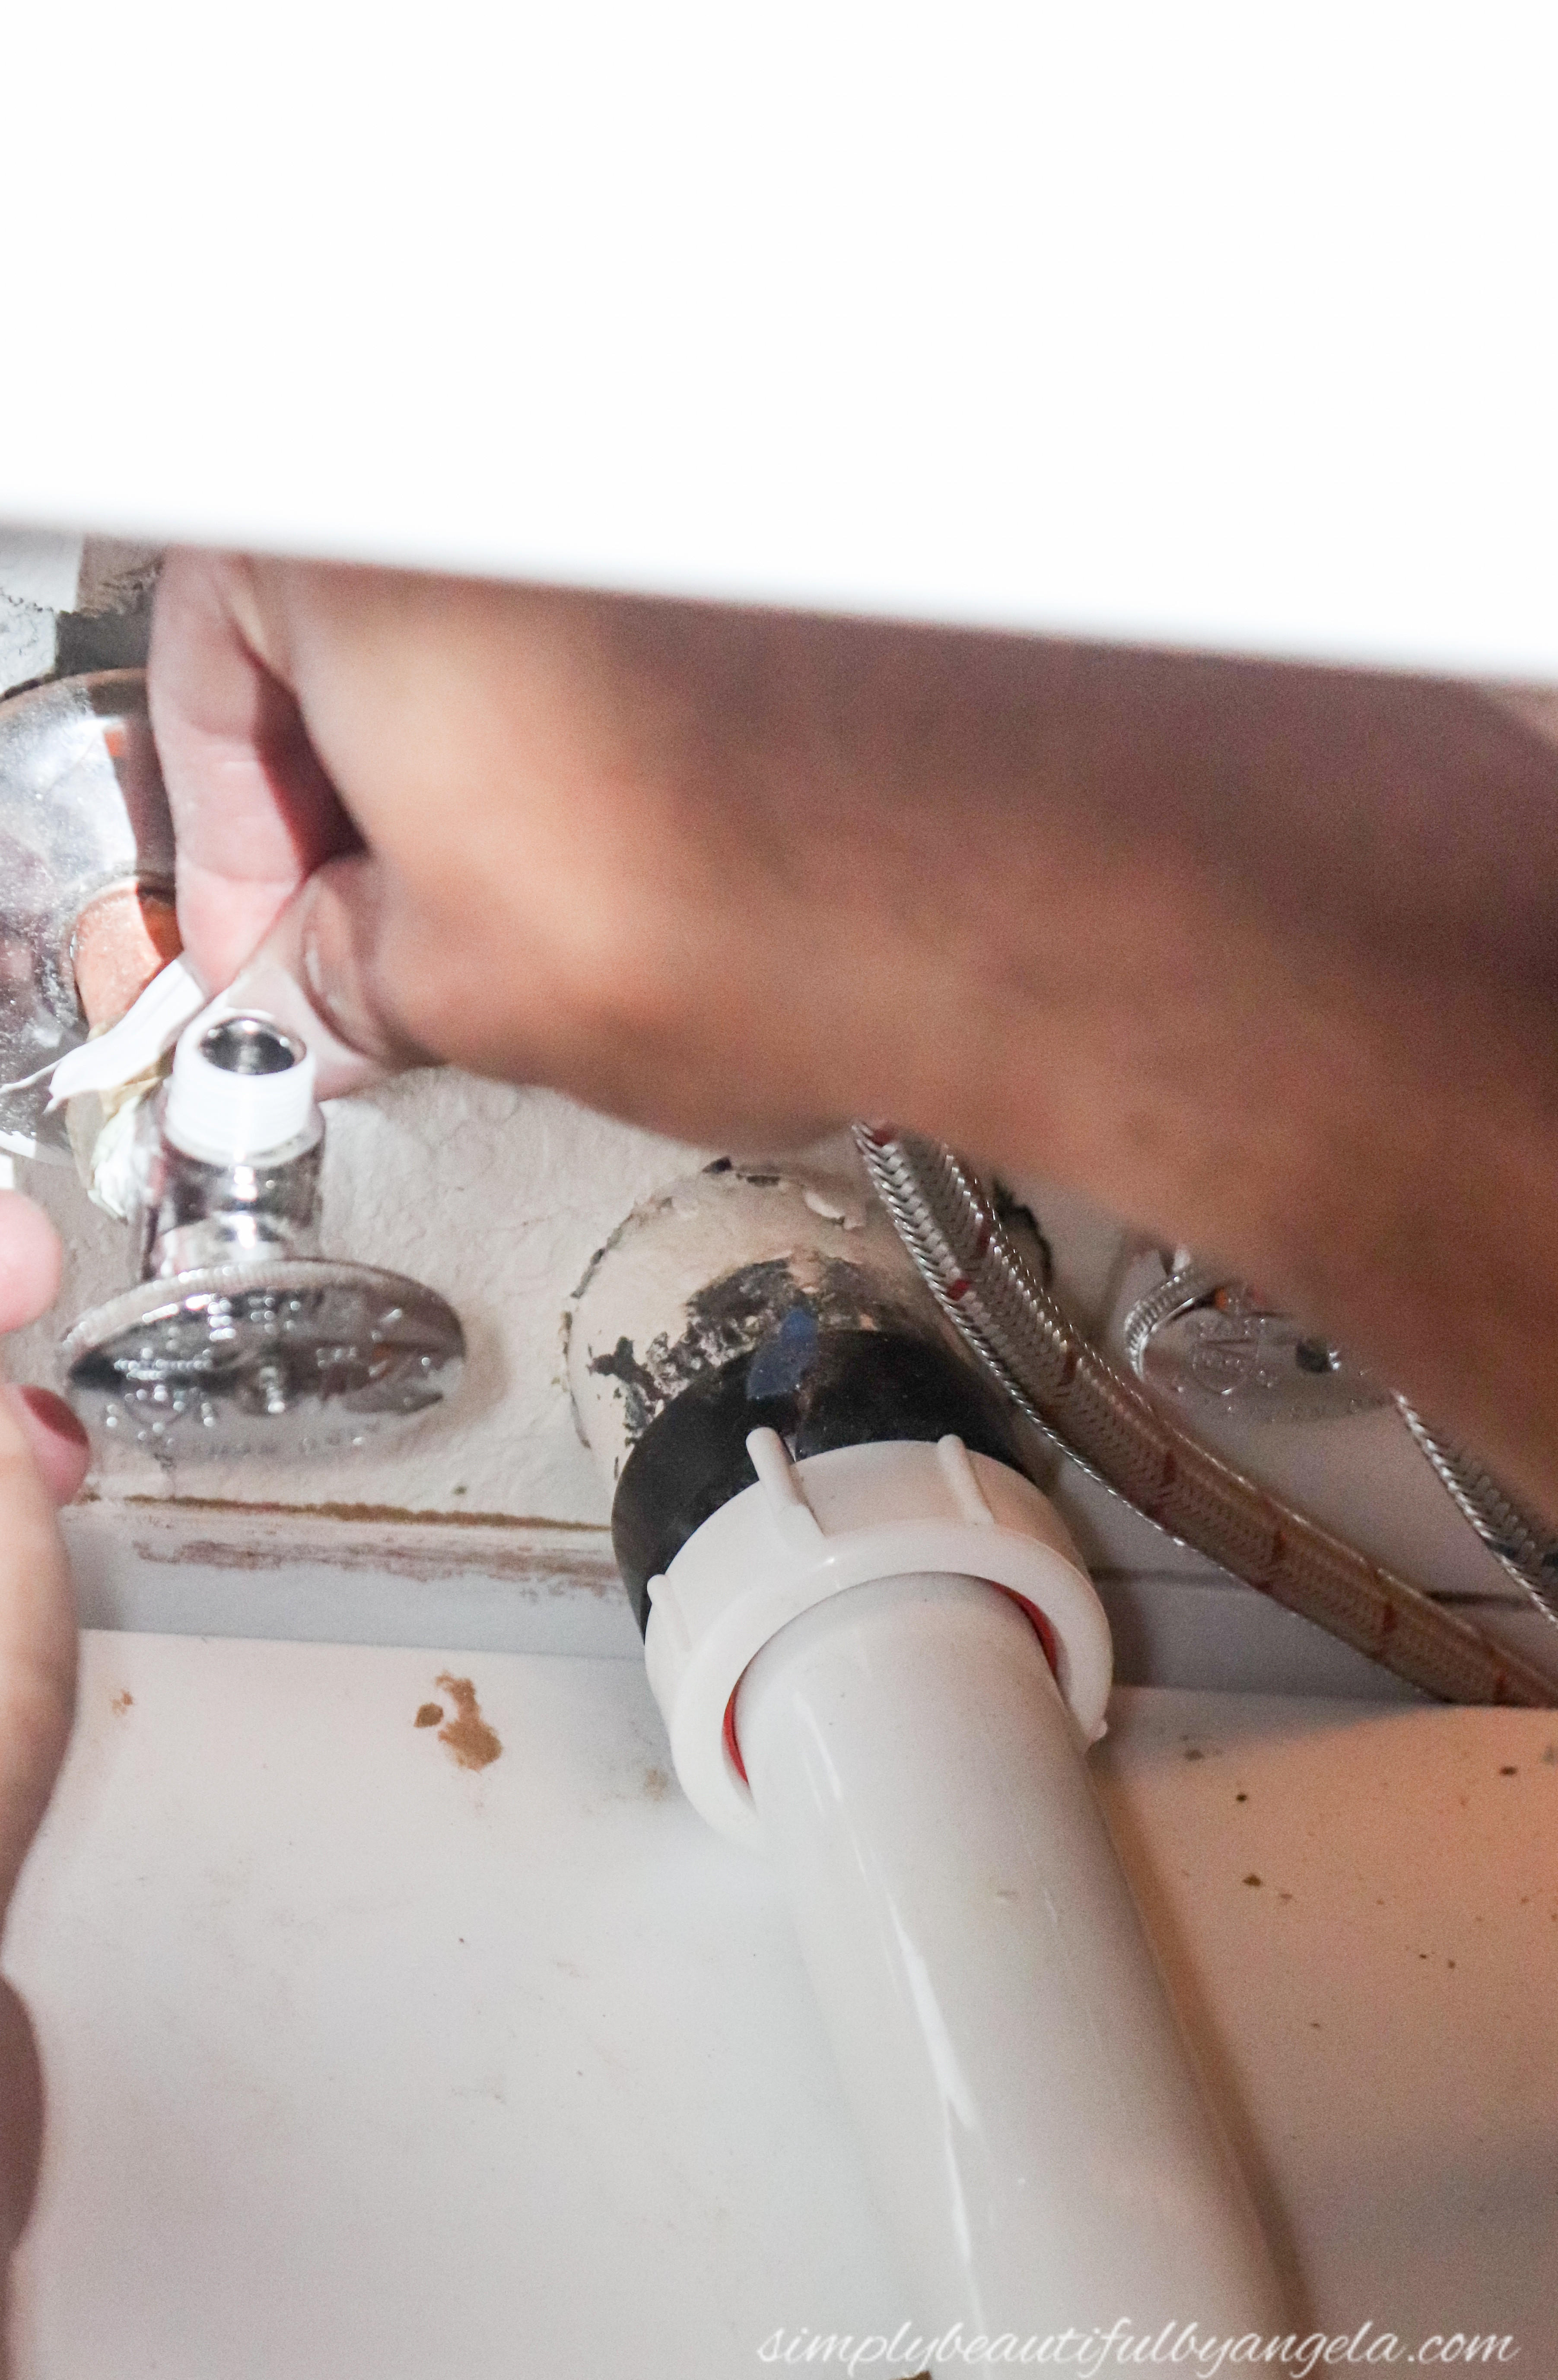
Finally it was time to connect the water lines. He first took some Plumbers Tape and wrapped it around the water-out port on each new valve. Just 2-3 full wraps around should suffice.
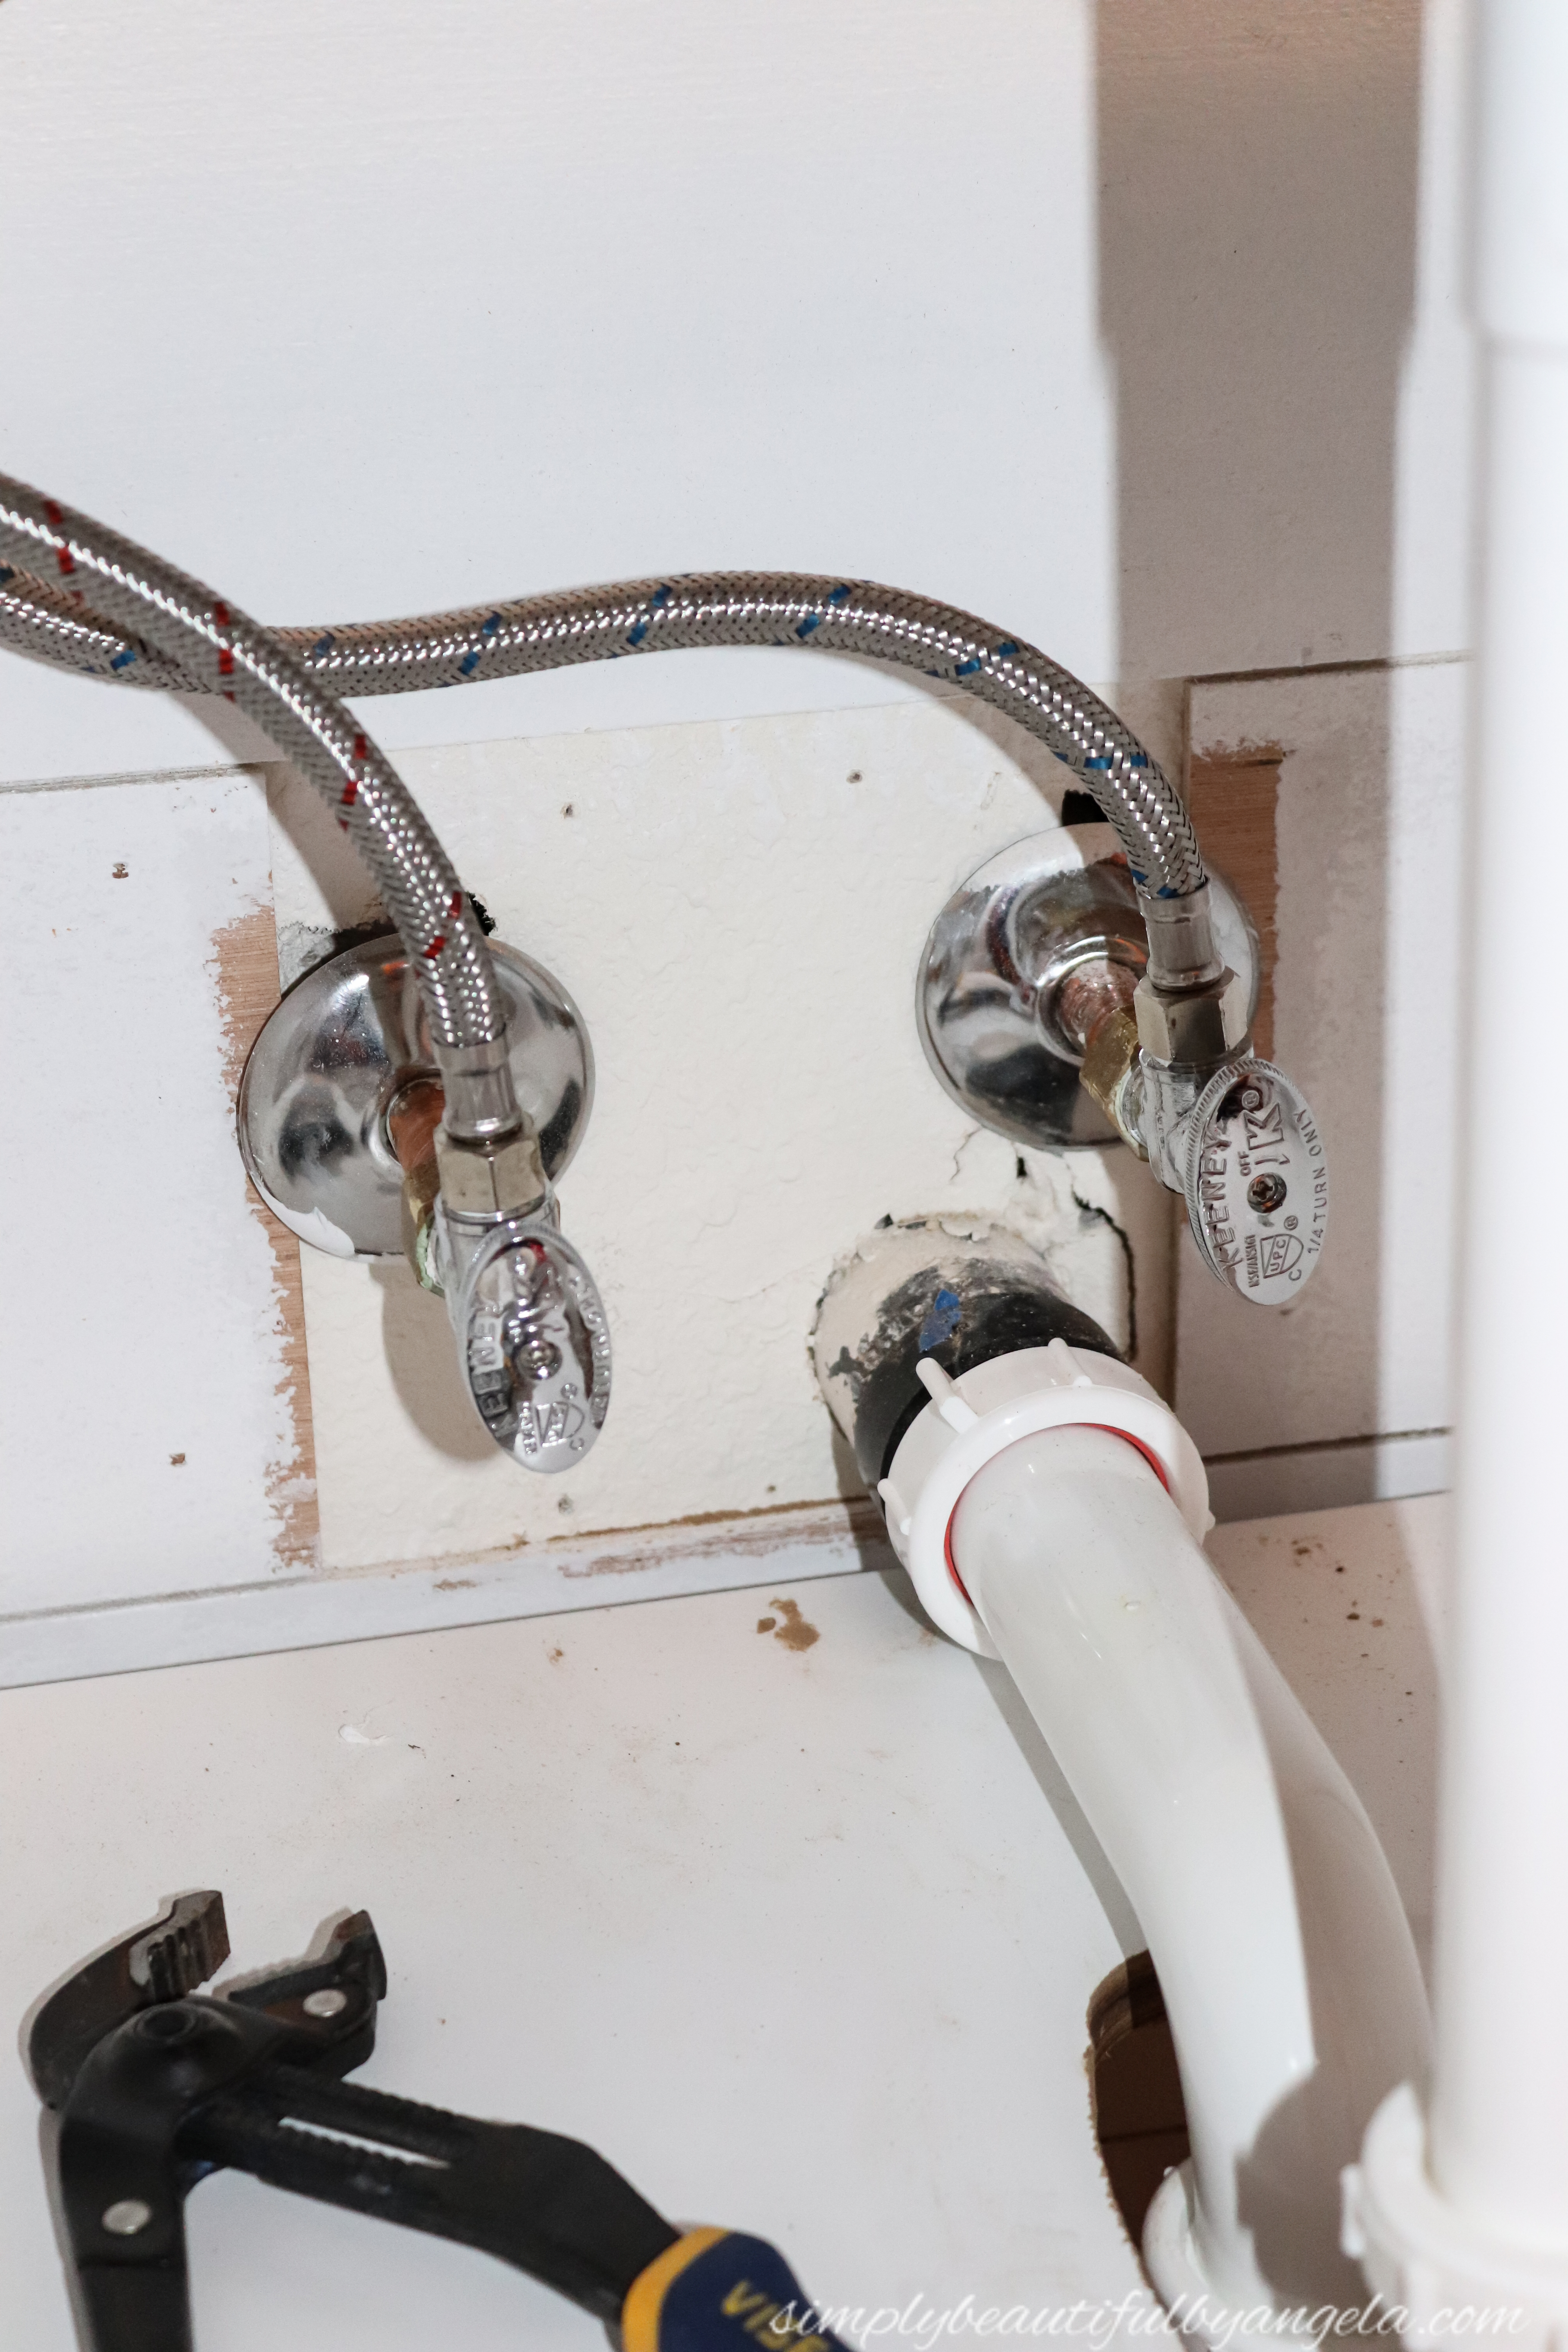
Once both water lines are attached tightly (be sure not to over-tighten anything!) it was time to turn the water back on at the main shut-off. He then gradually turned both water valve knobs counter-clockwise to ensure there were no leaks while the plumbing pressurized.
And at last it was the moment of truth! I stood back while he cautiously turned on the faucet for the first time…
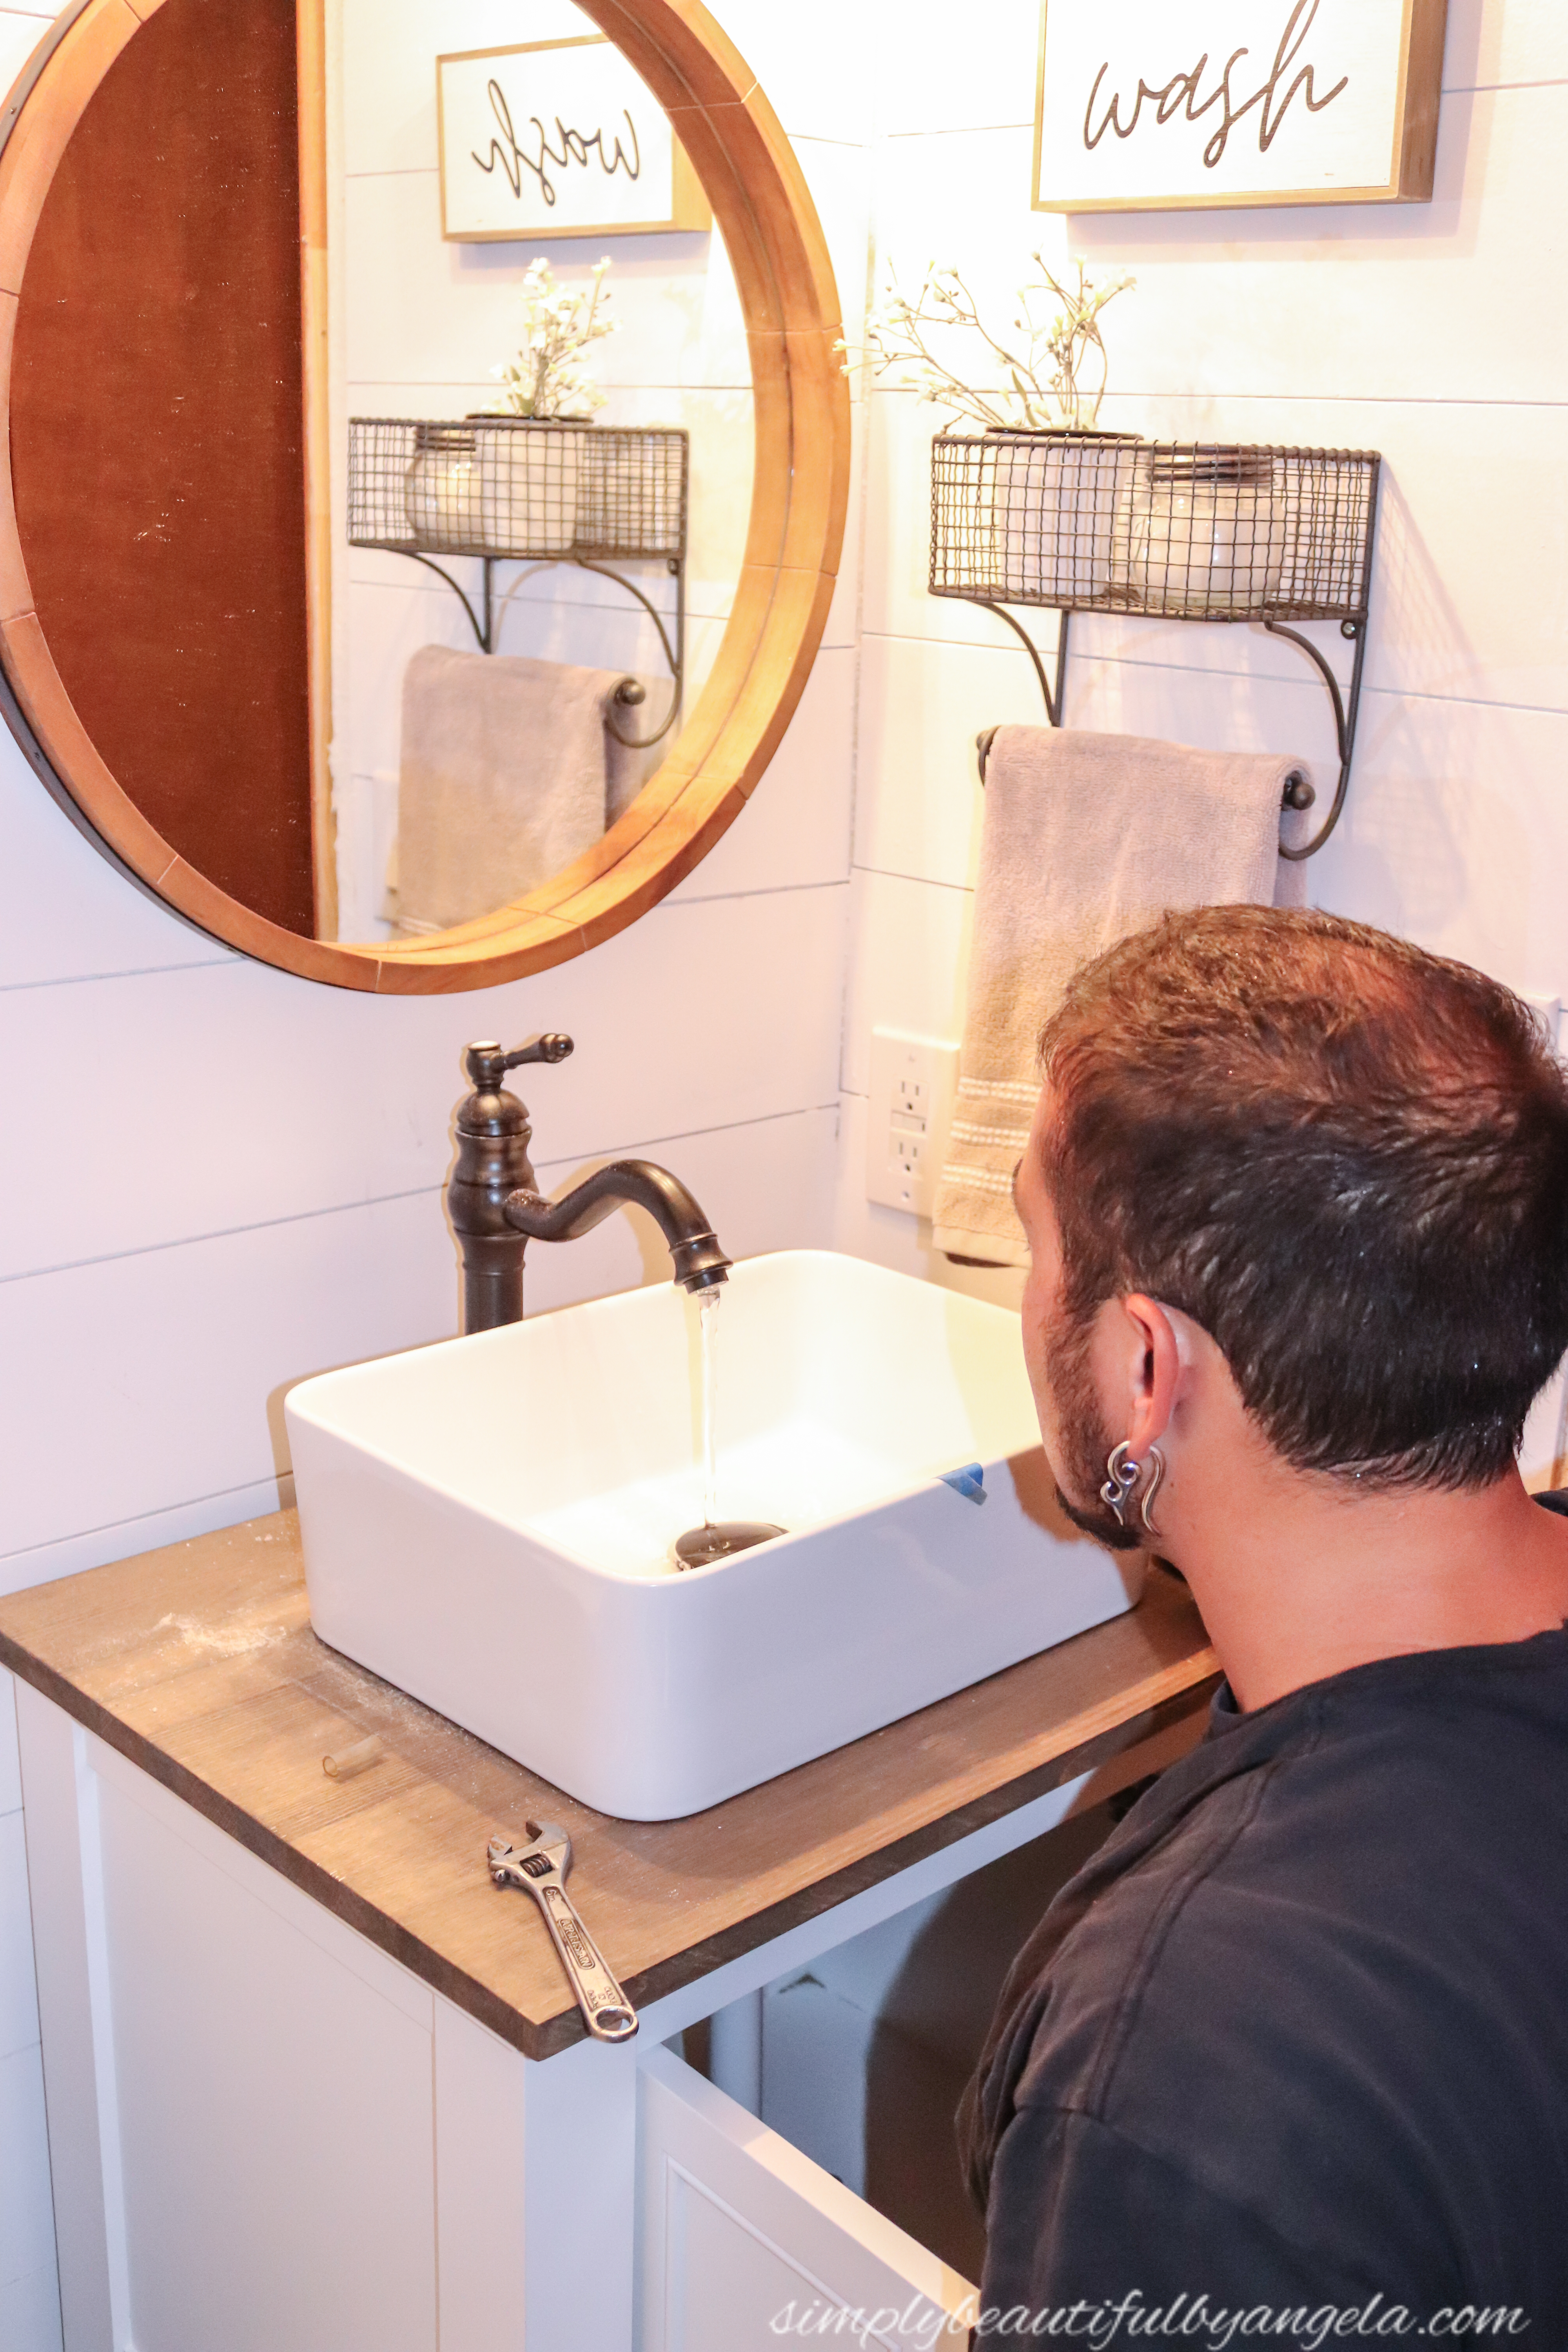
Success!!
We still need to secure the countertop in place by attaching 1″ Corner Braces with 1/2″ screws and washers (washers will be used as spacers to ensure the screws don’t break through the top of the counter) at each corner underneath.
But I couldnt wait another day to show you all how it turned out!
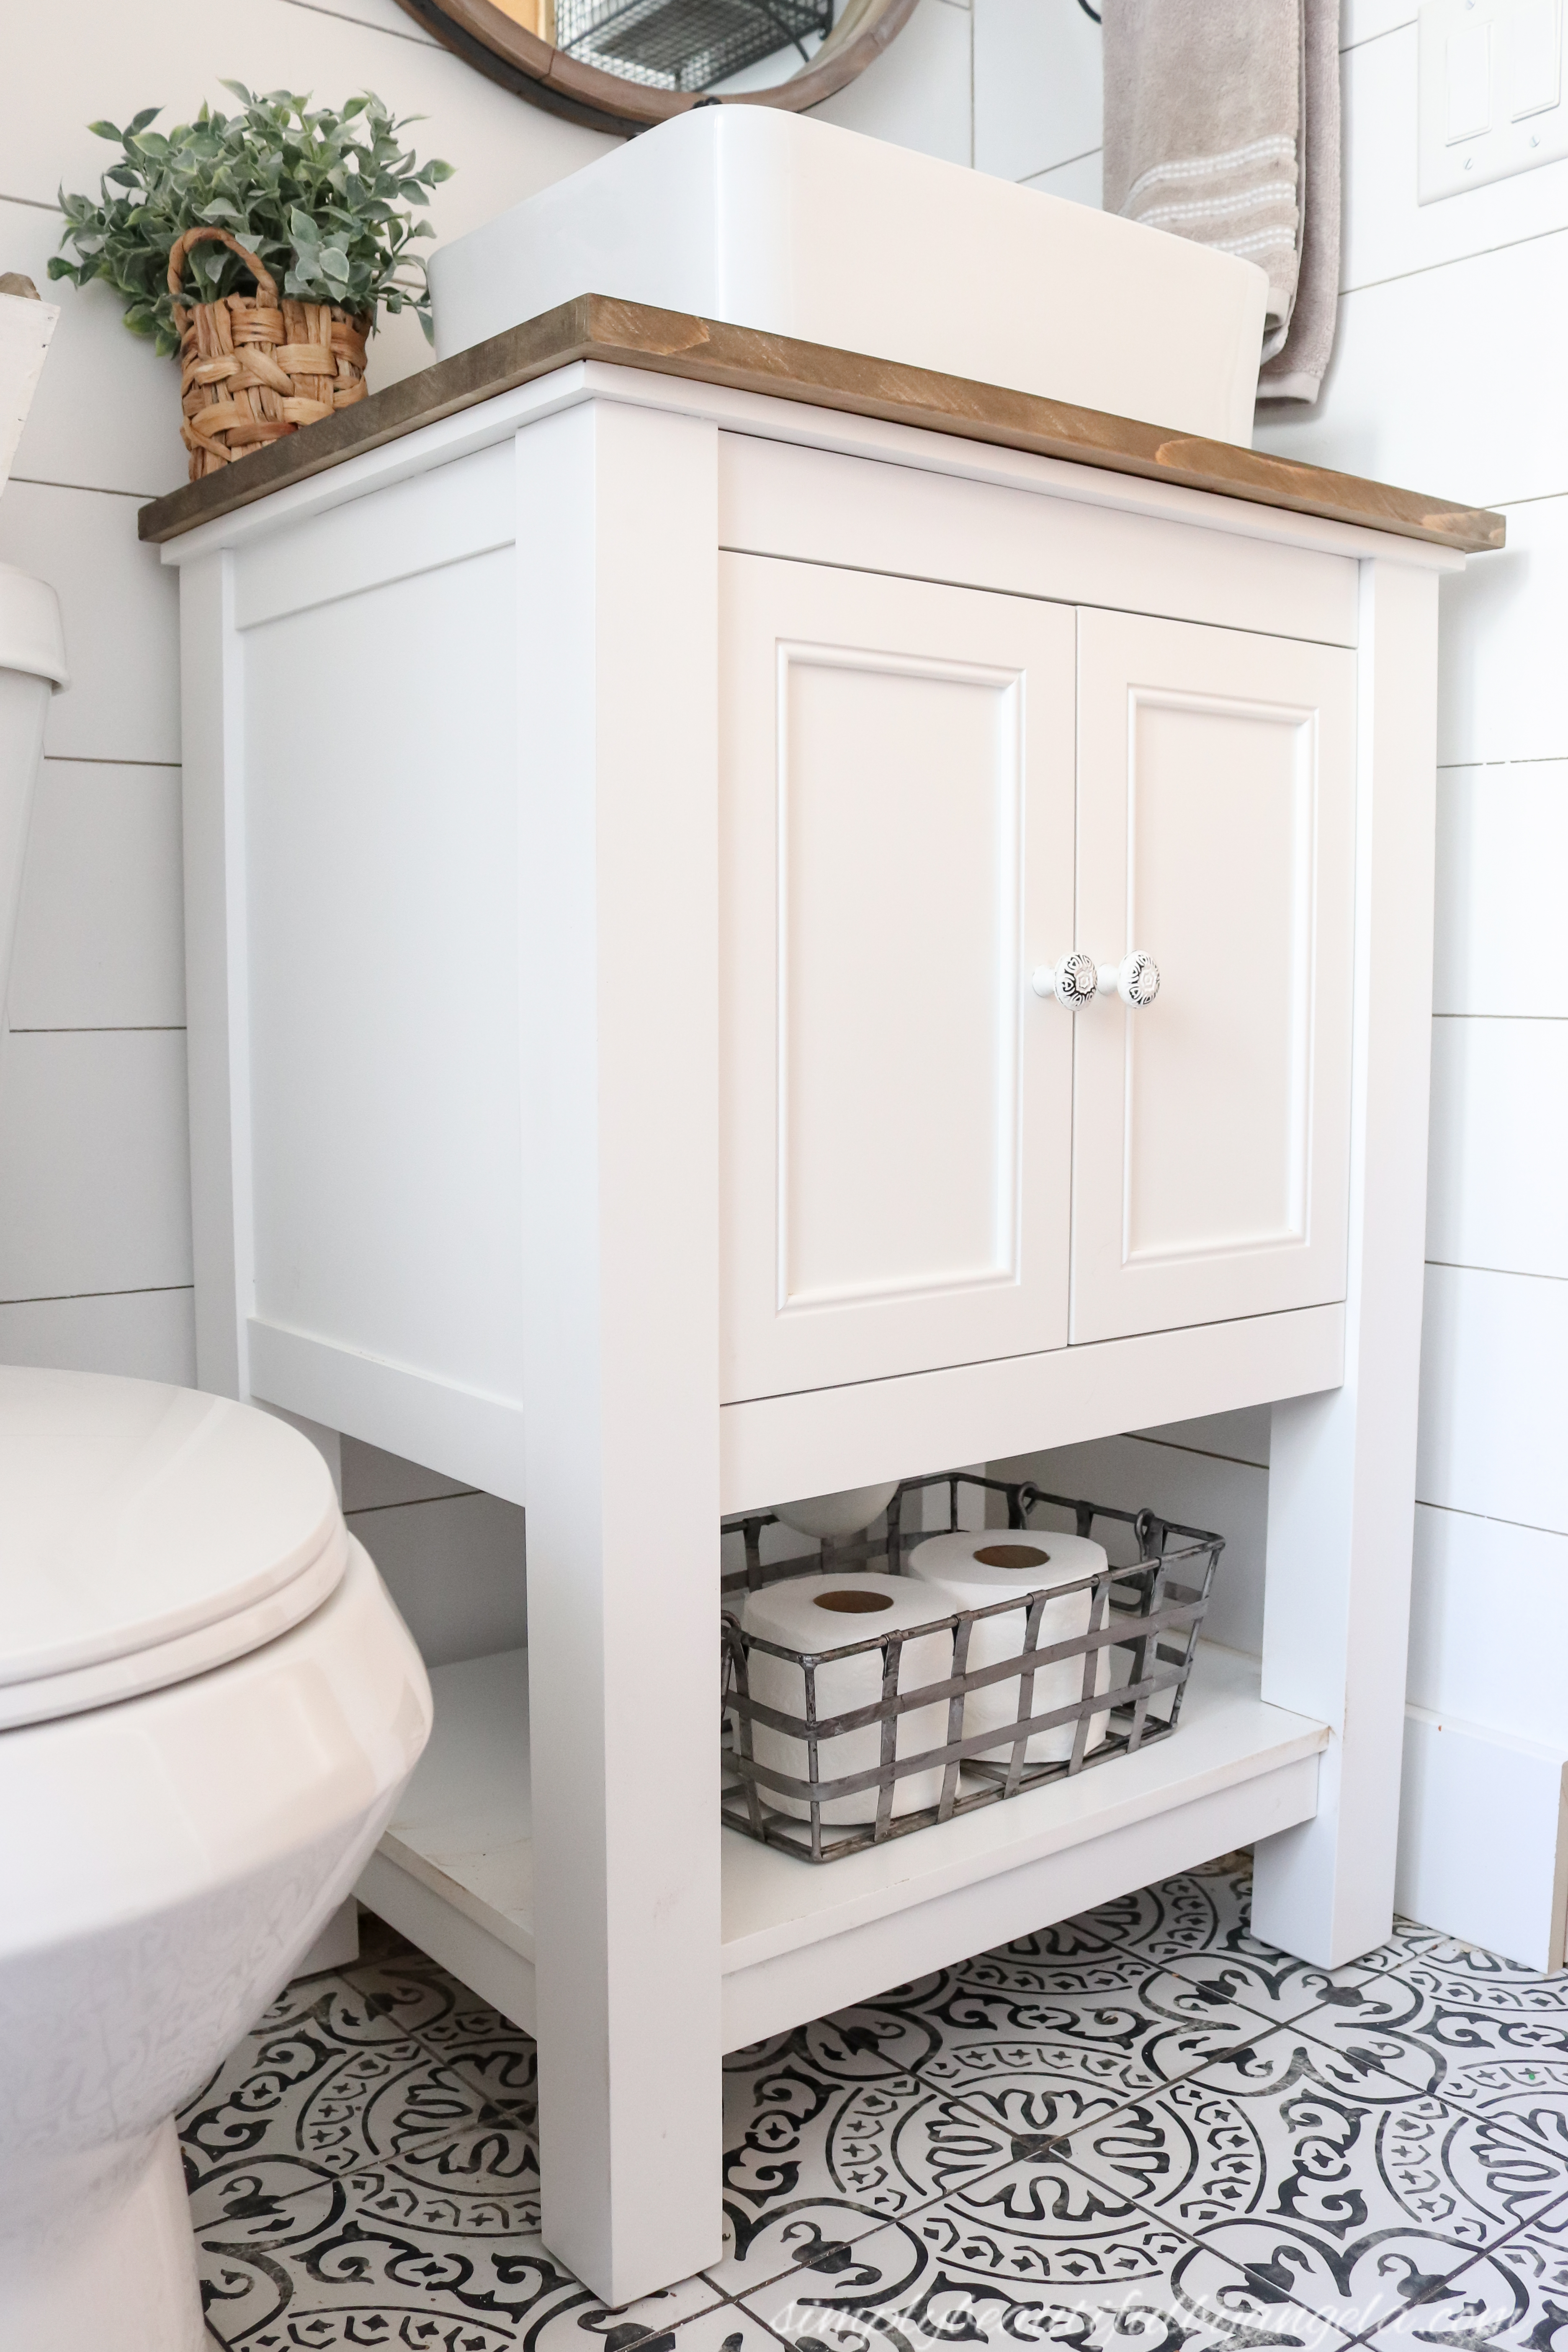

I am still in complete awe that this beautiful space is in our home.
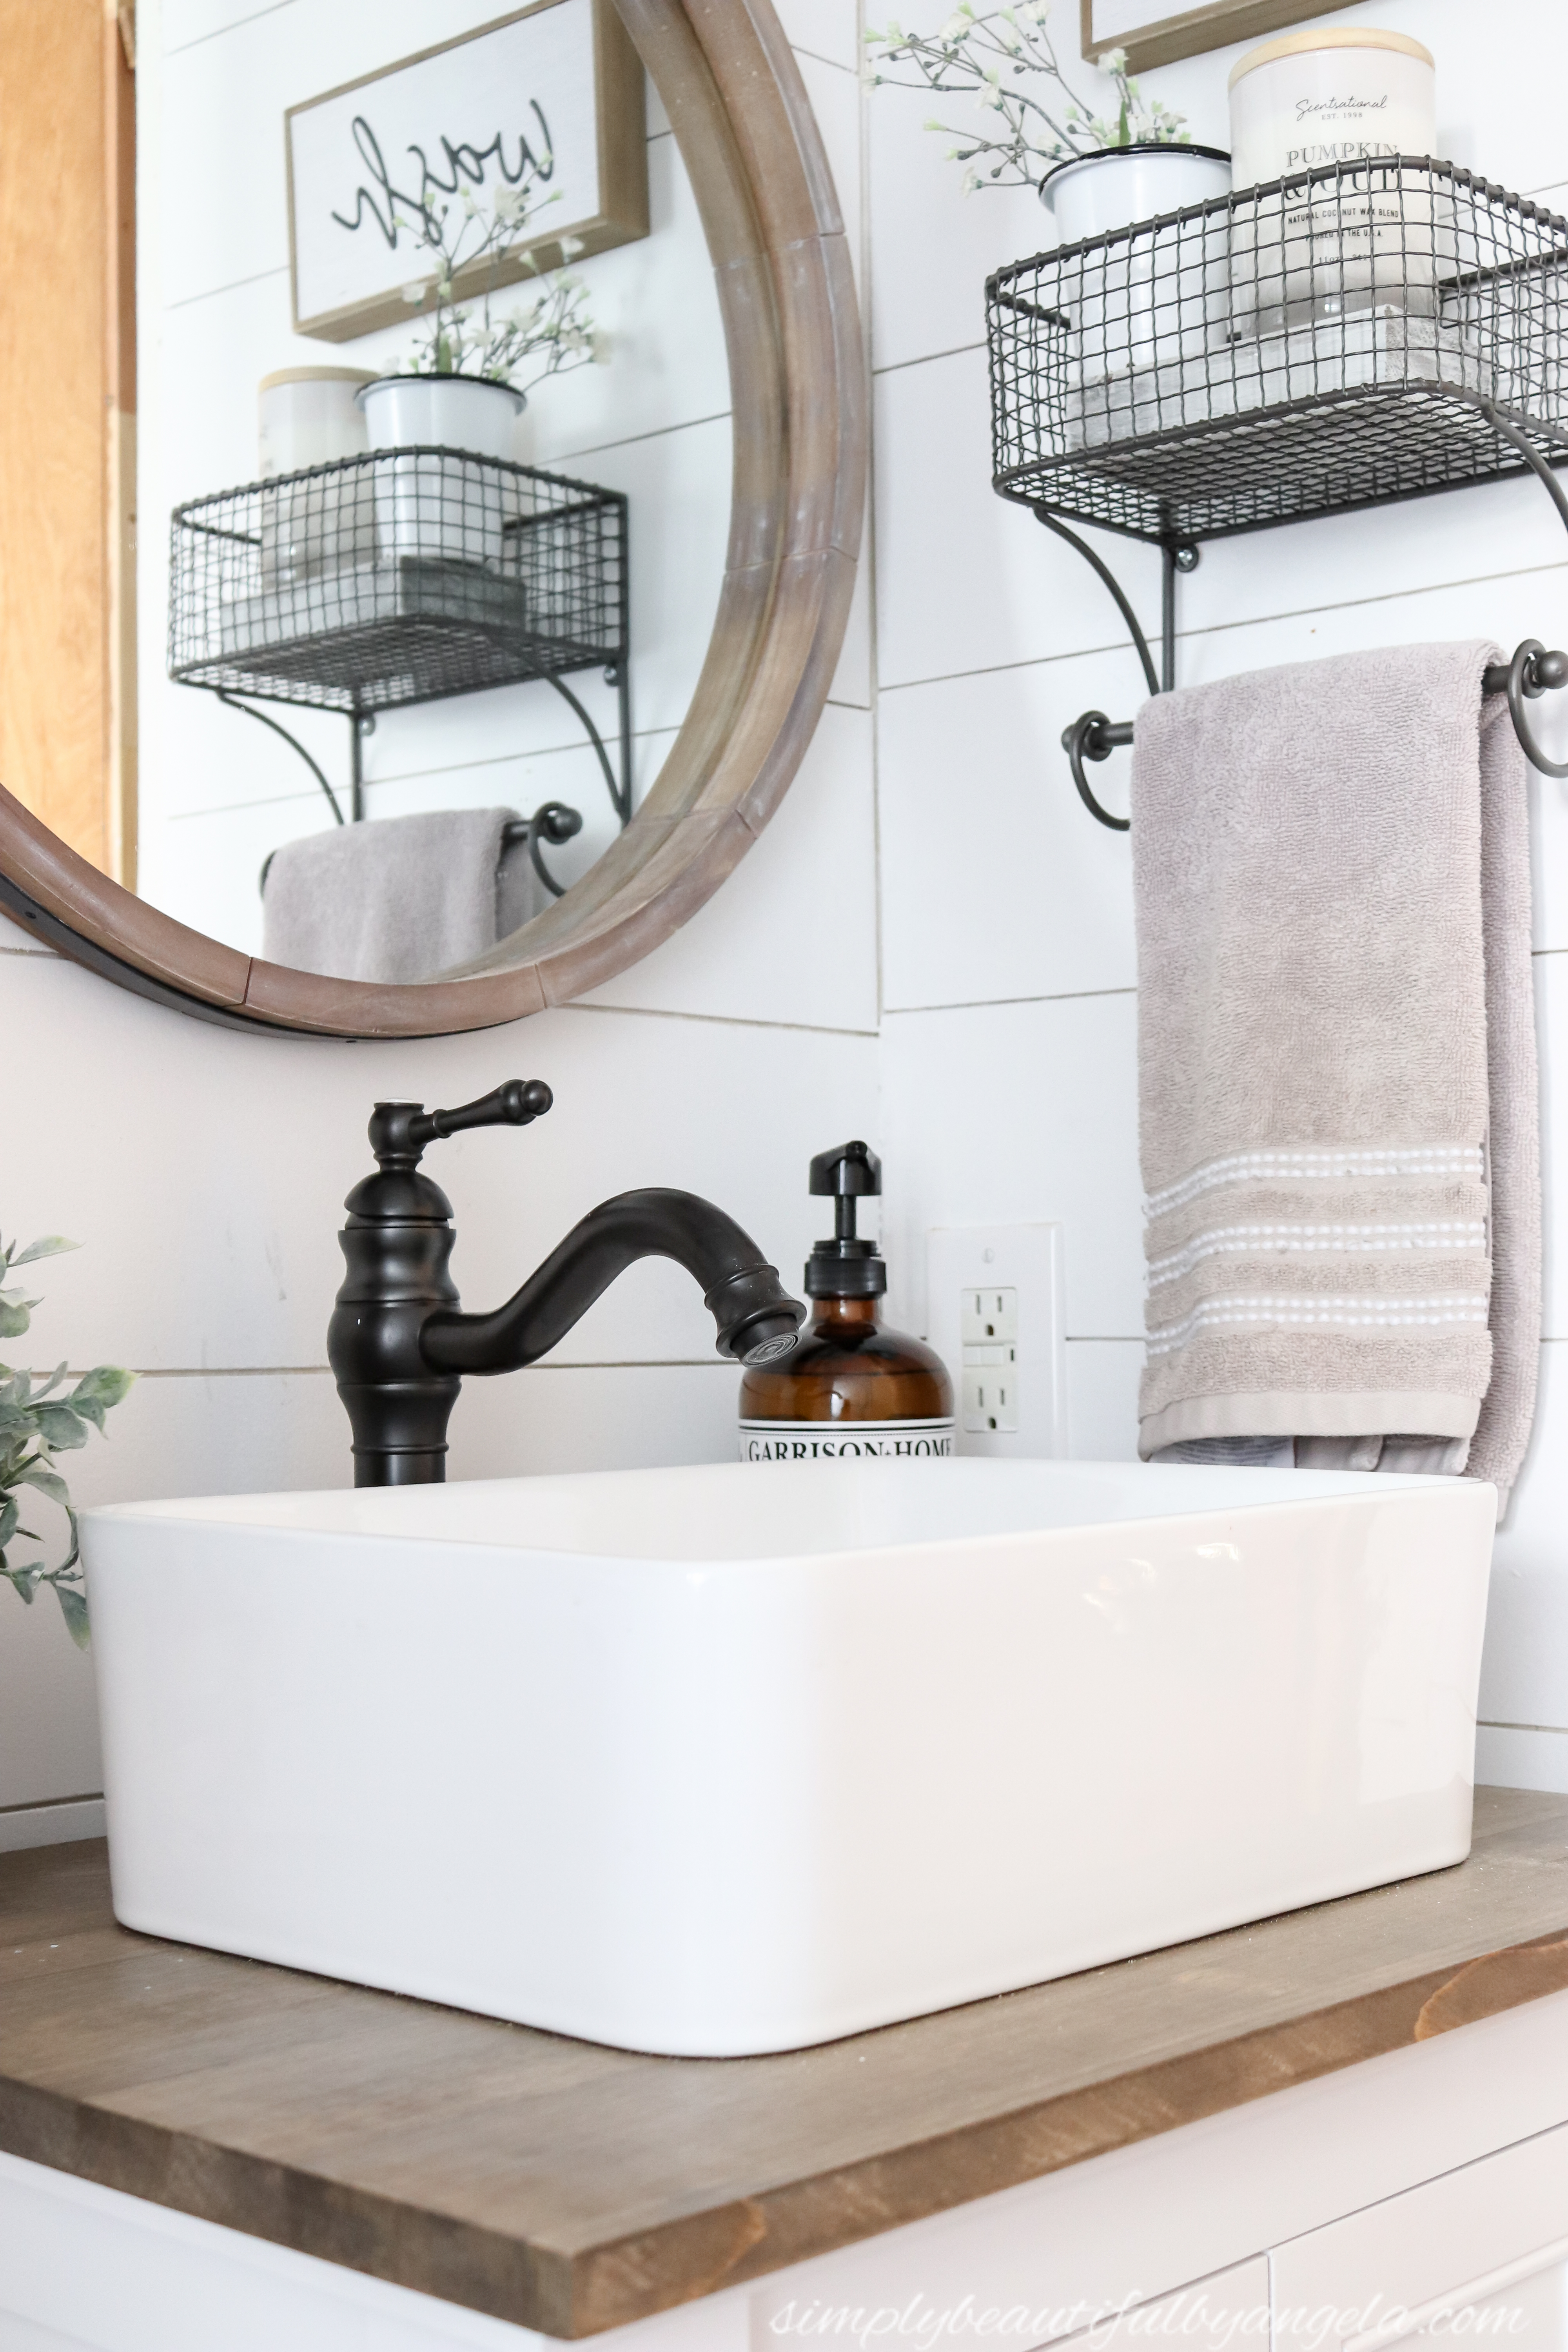
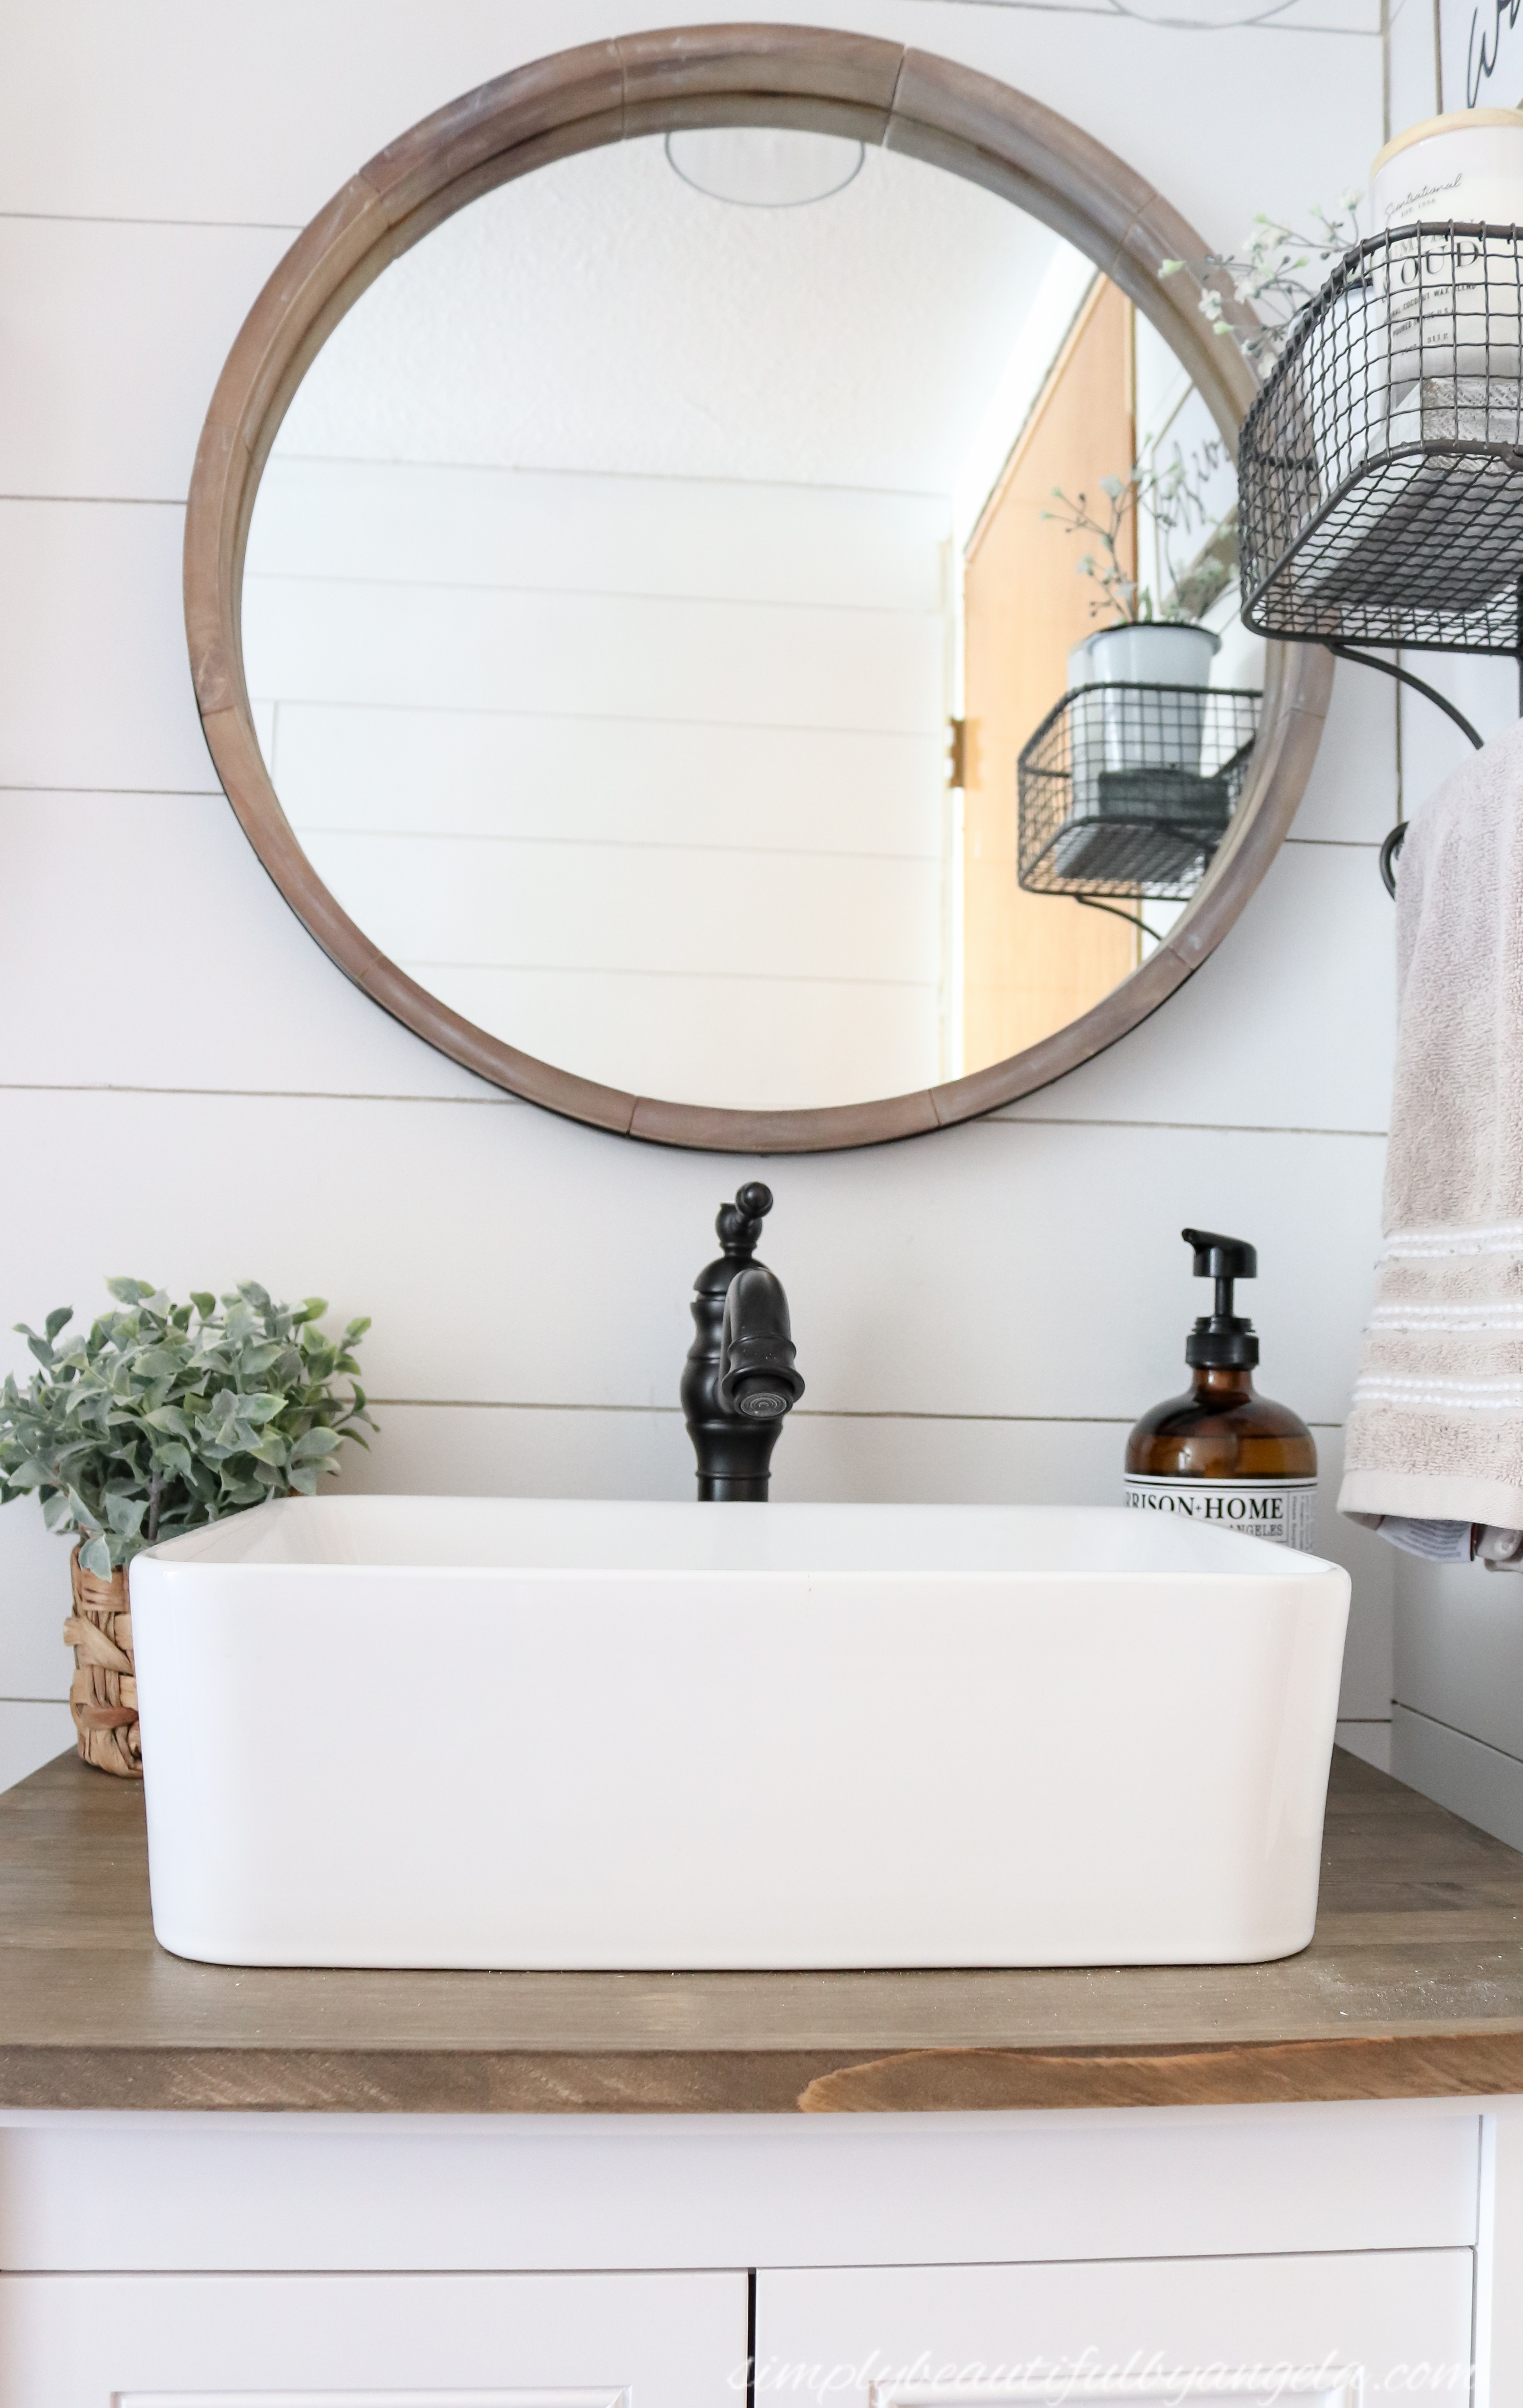
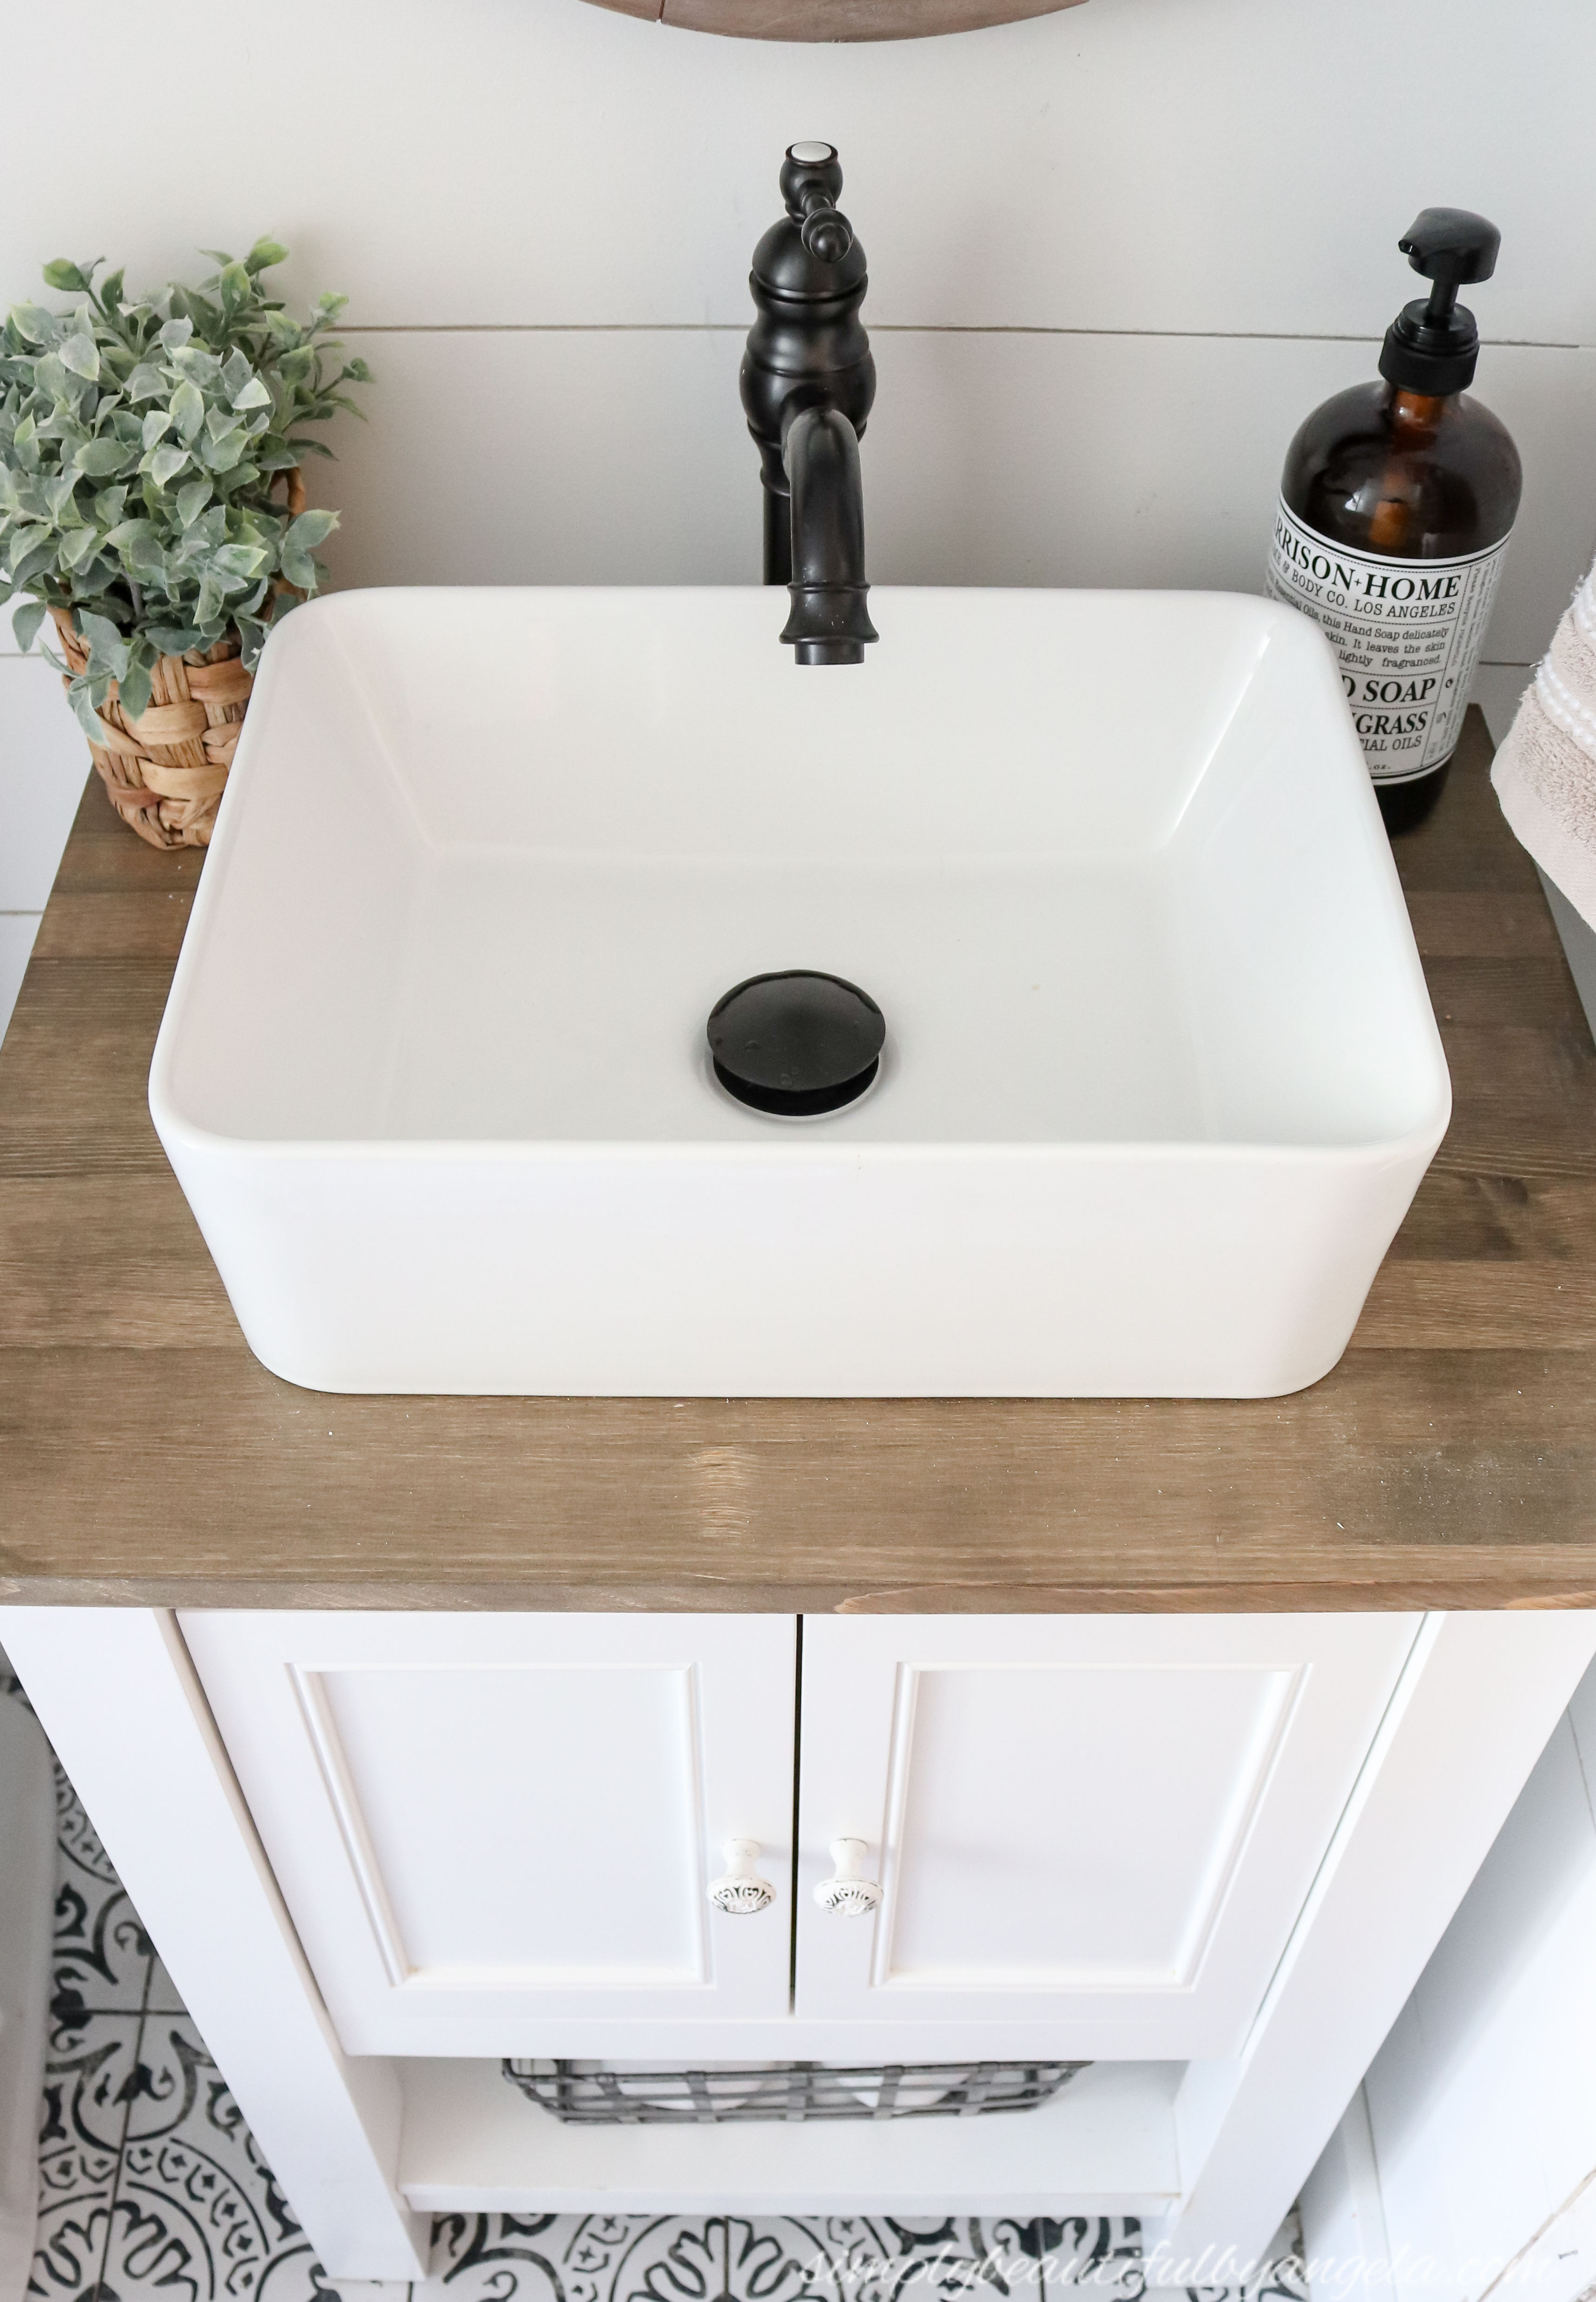
I wasted no time in accessorizing. I started by adding a cute faux plant and some yummy smelling hand soap that I found at Homegoods to the counter.
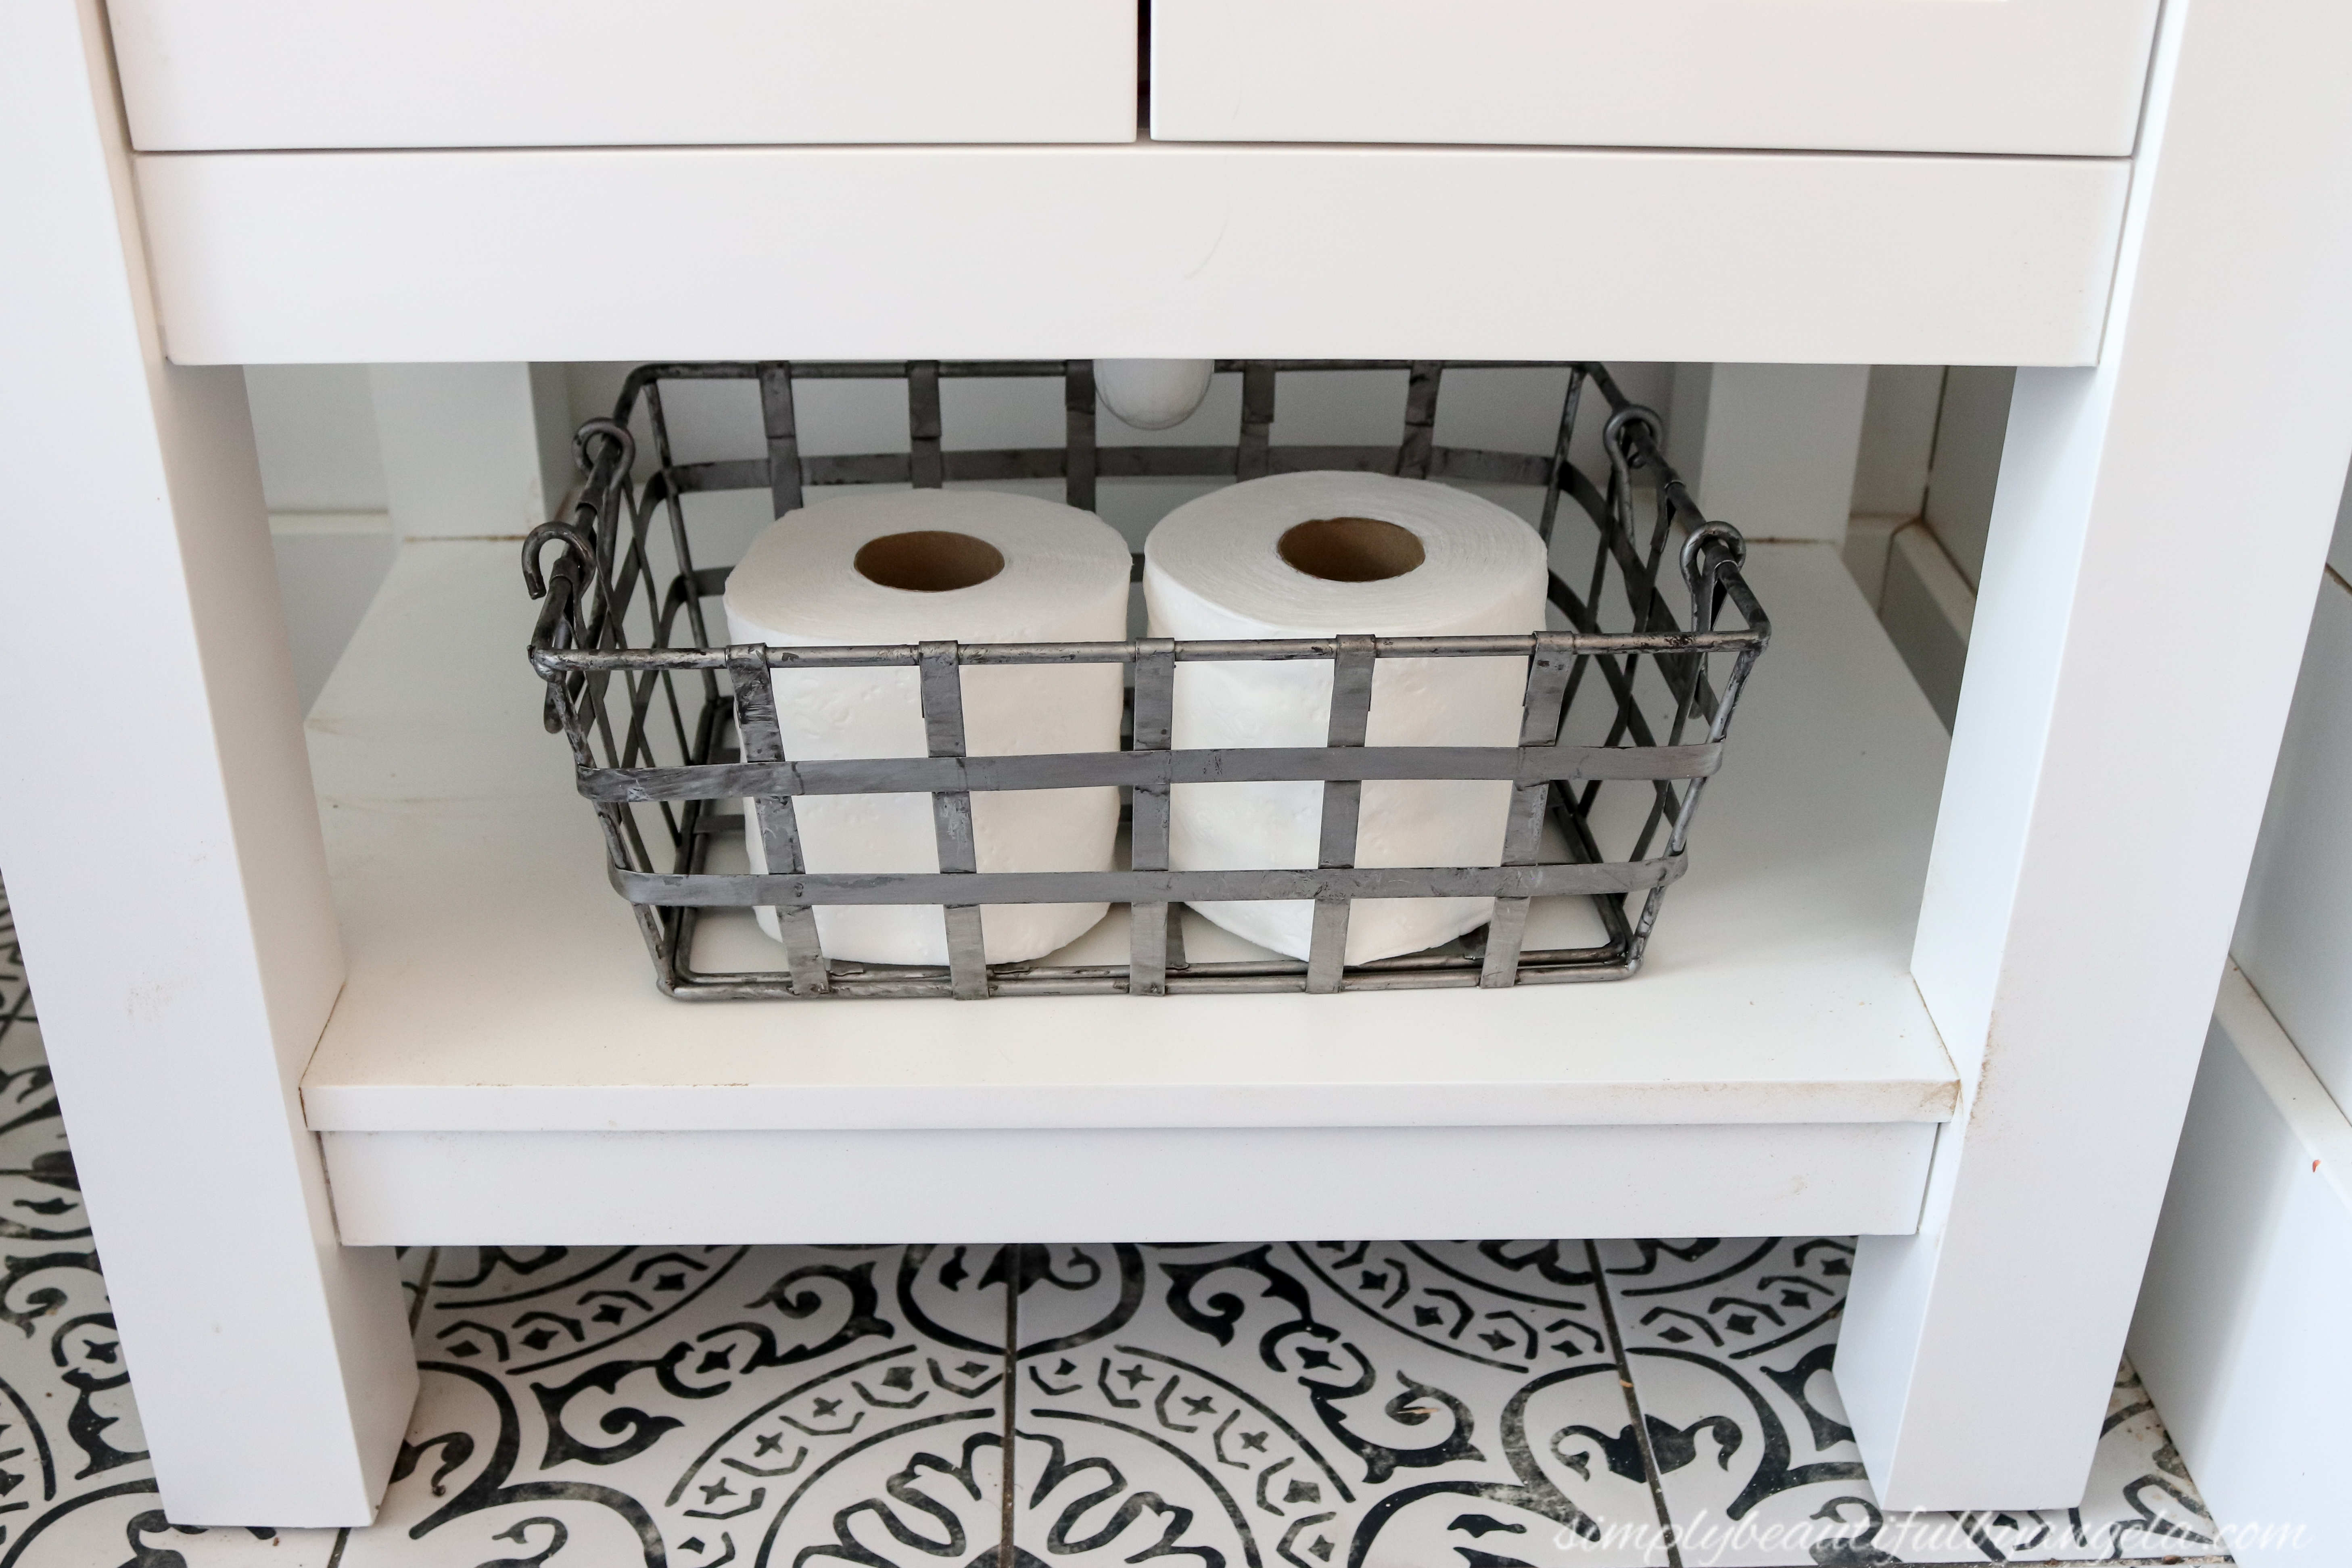
I also found this little metal basket at Homegoods and it fits perfectly as extra toilet paper storage on the shelf.
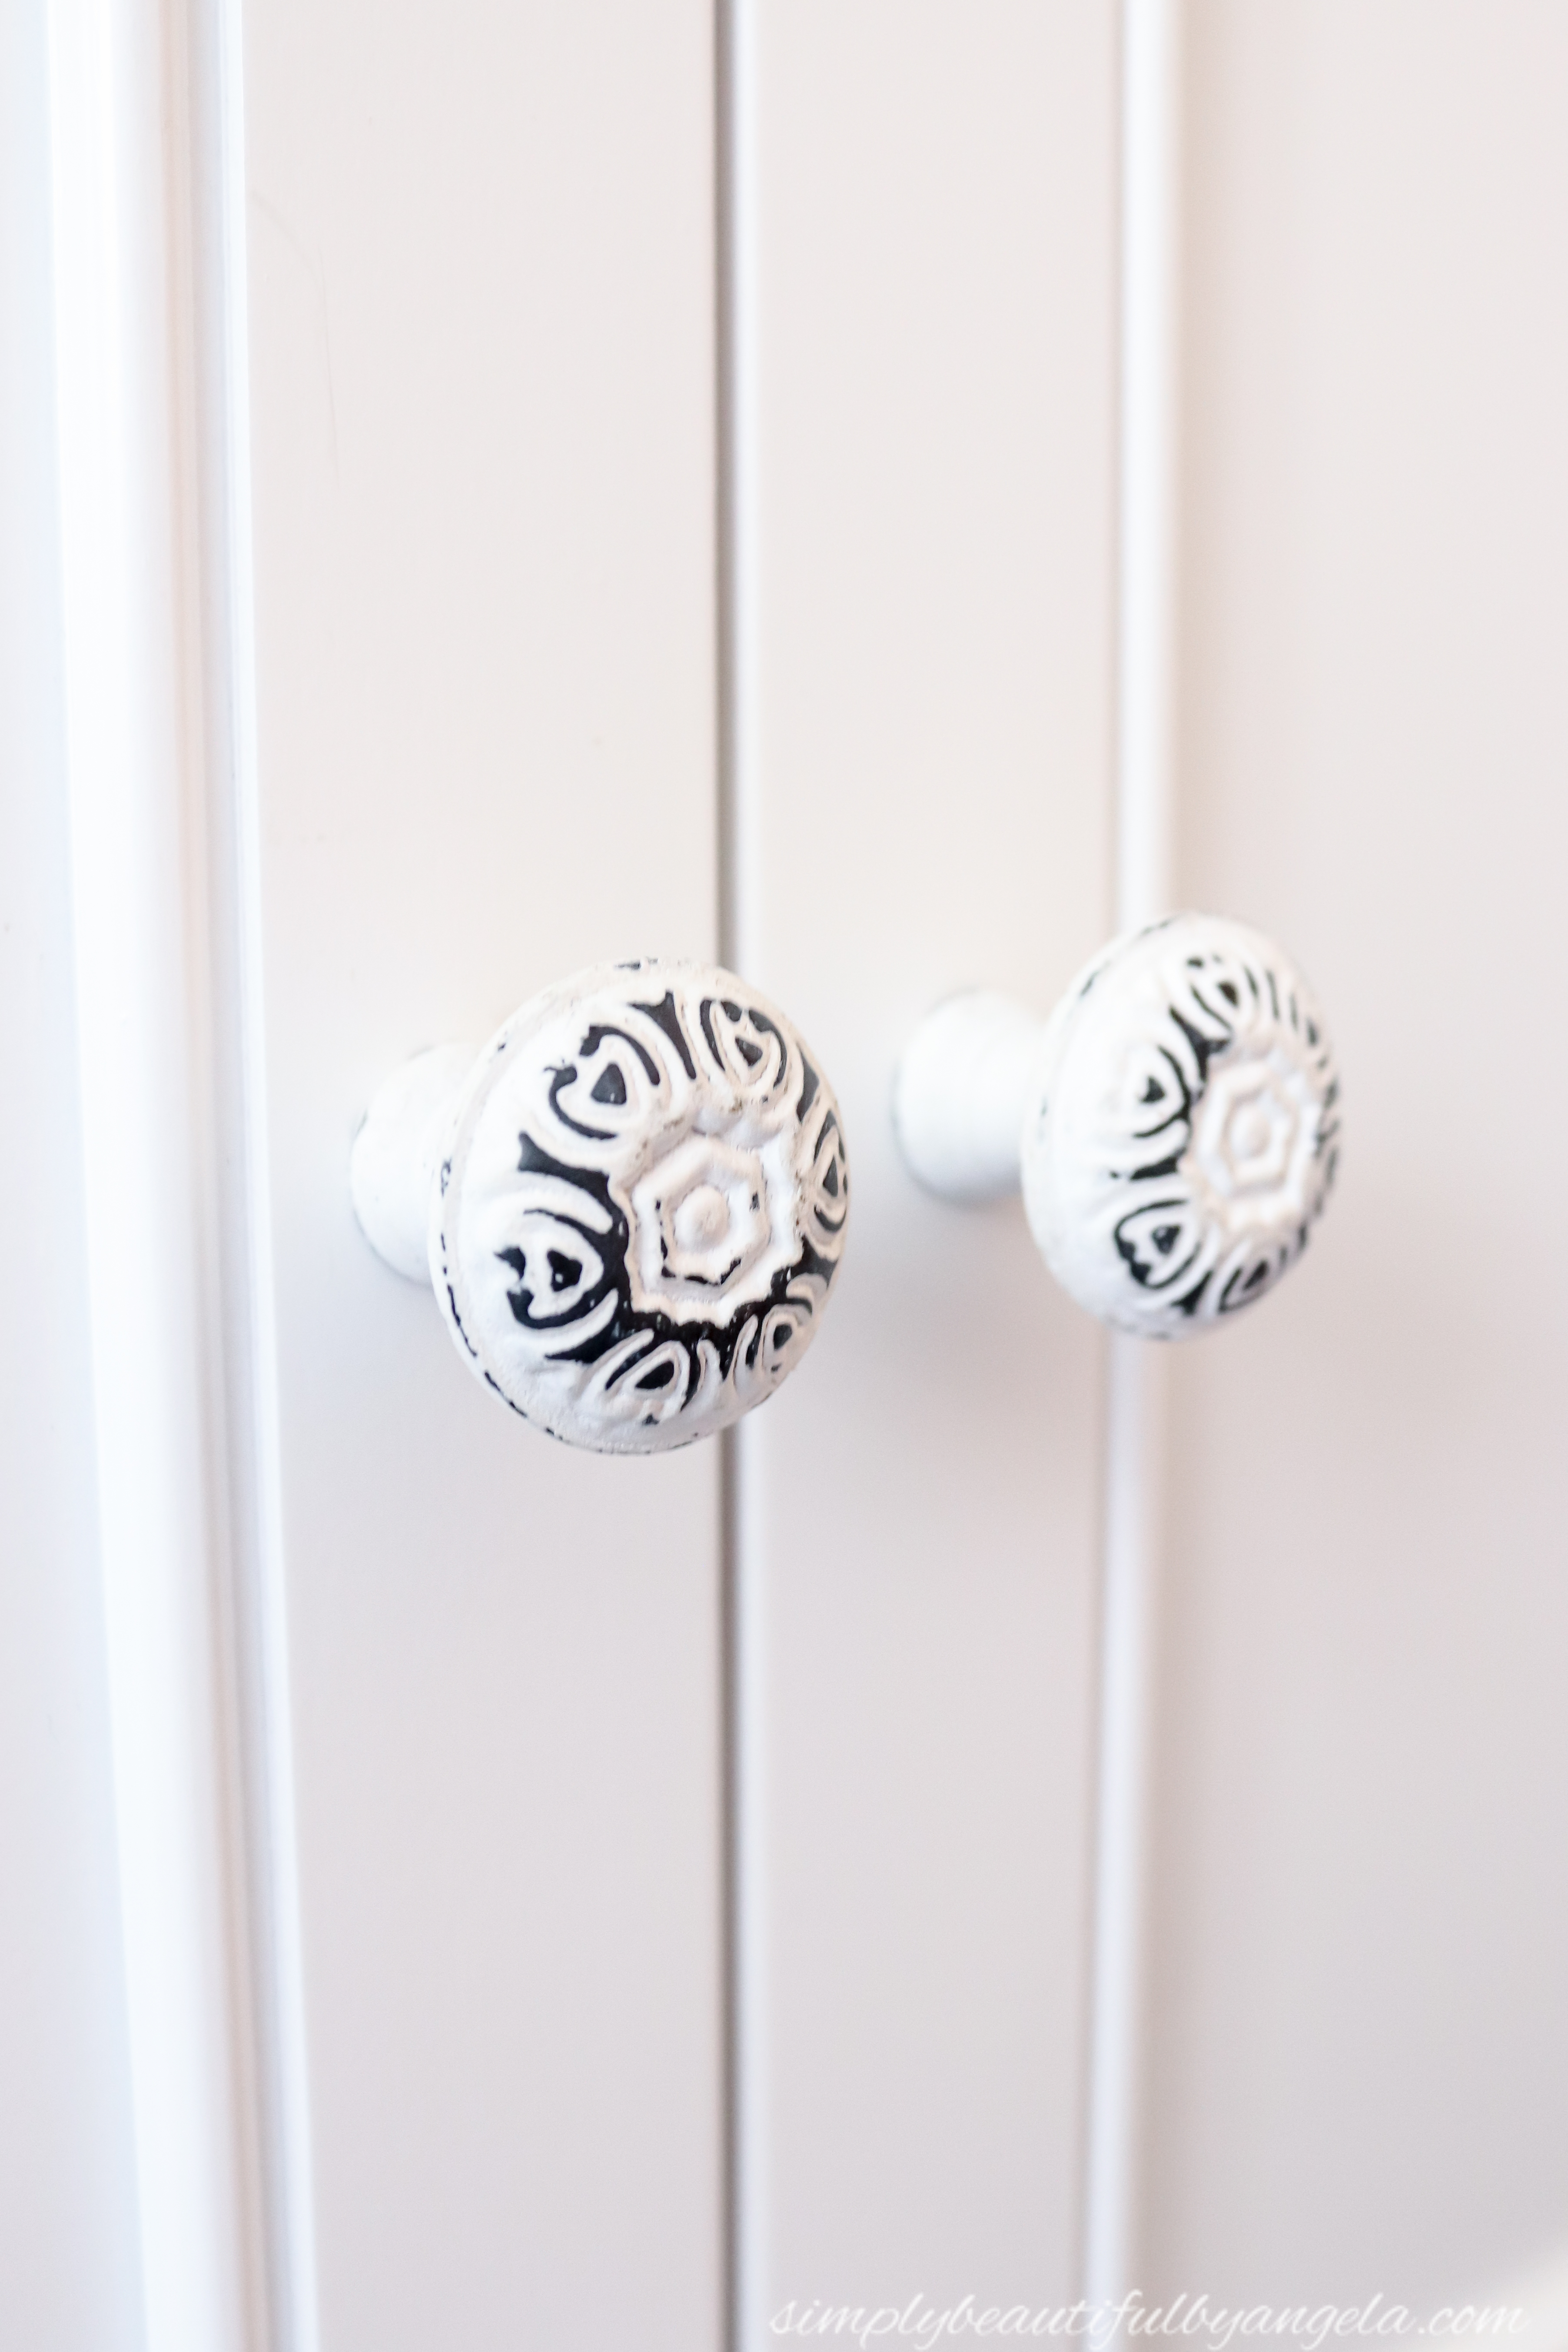
Instead of using the nickel knobs that came with the vanity I picked these distressed knobs up at Hobby Lobby and I love the charm that they add.
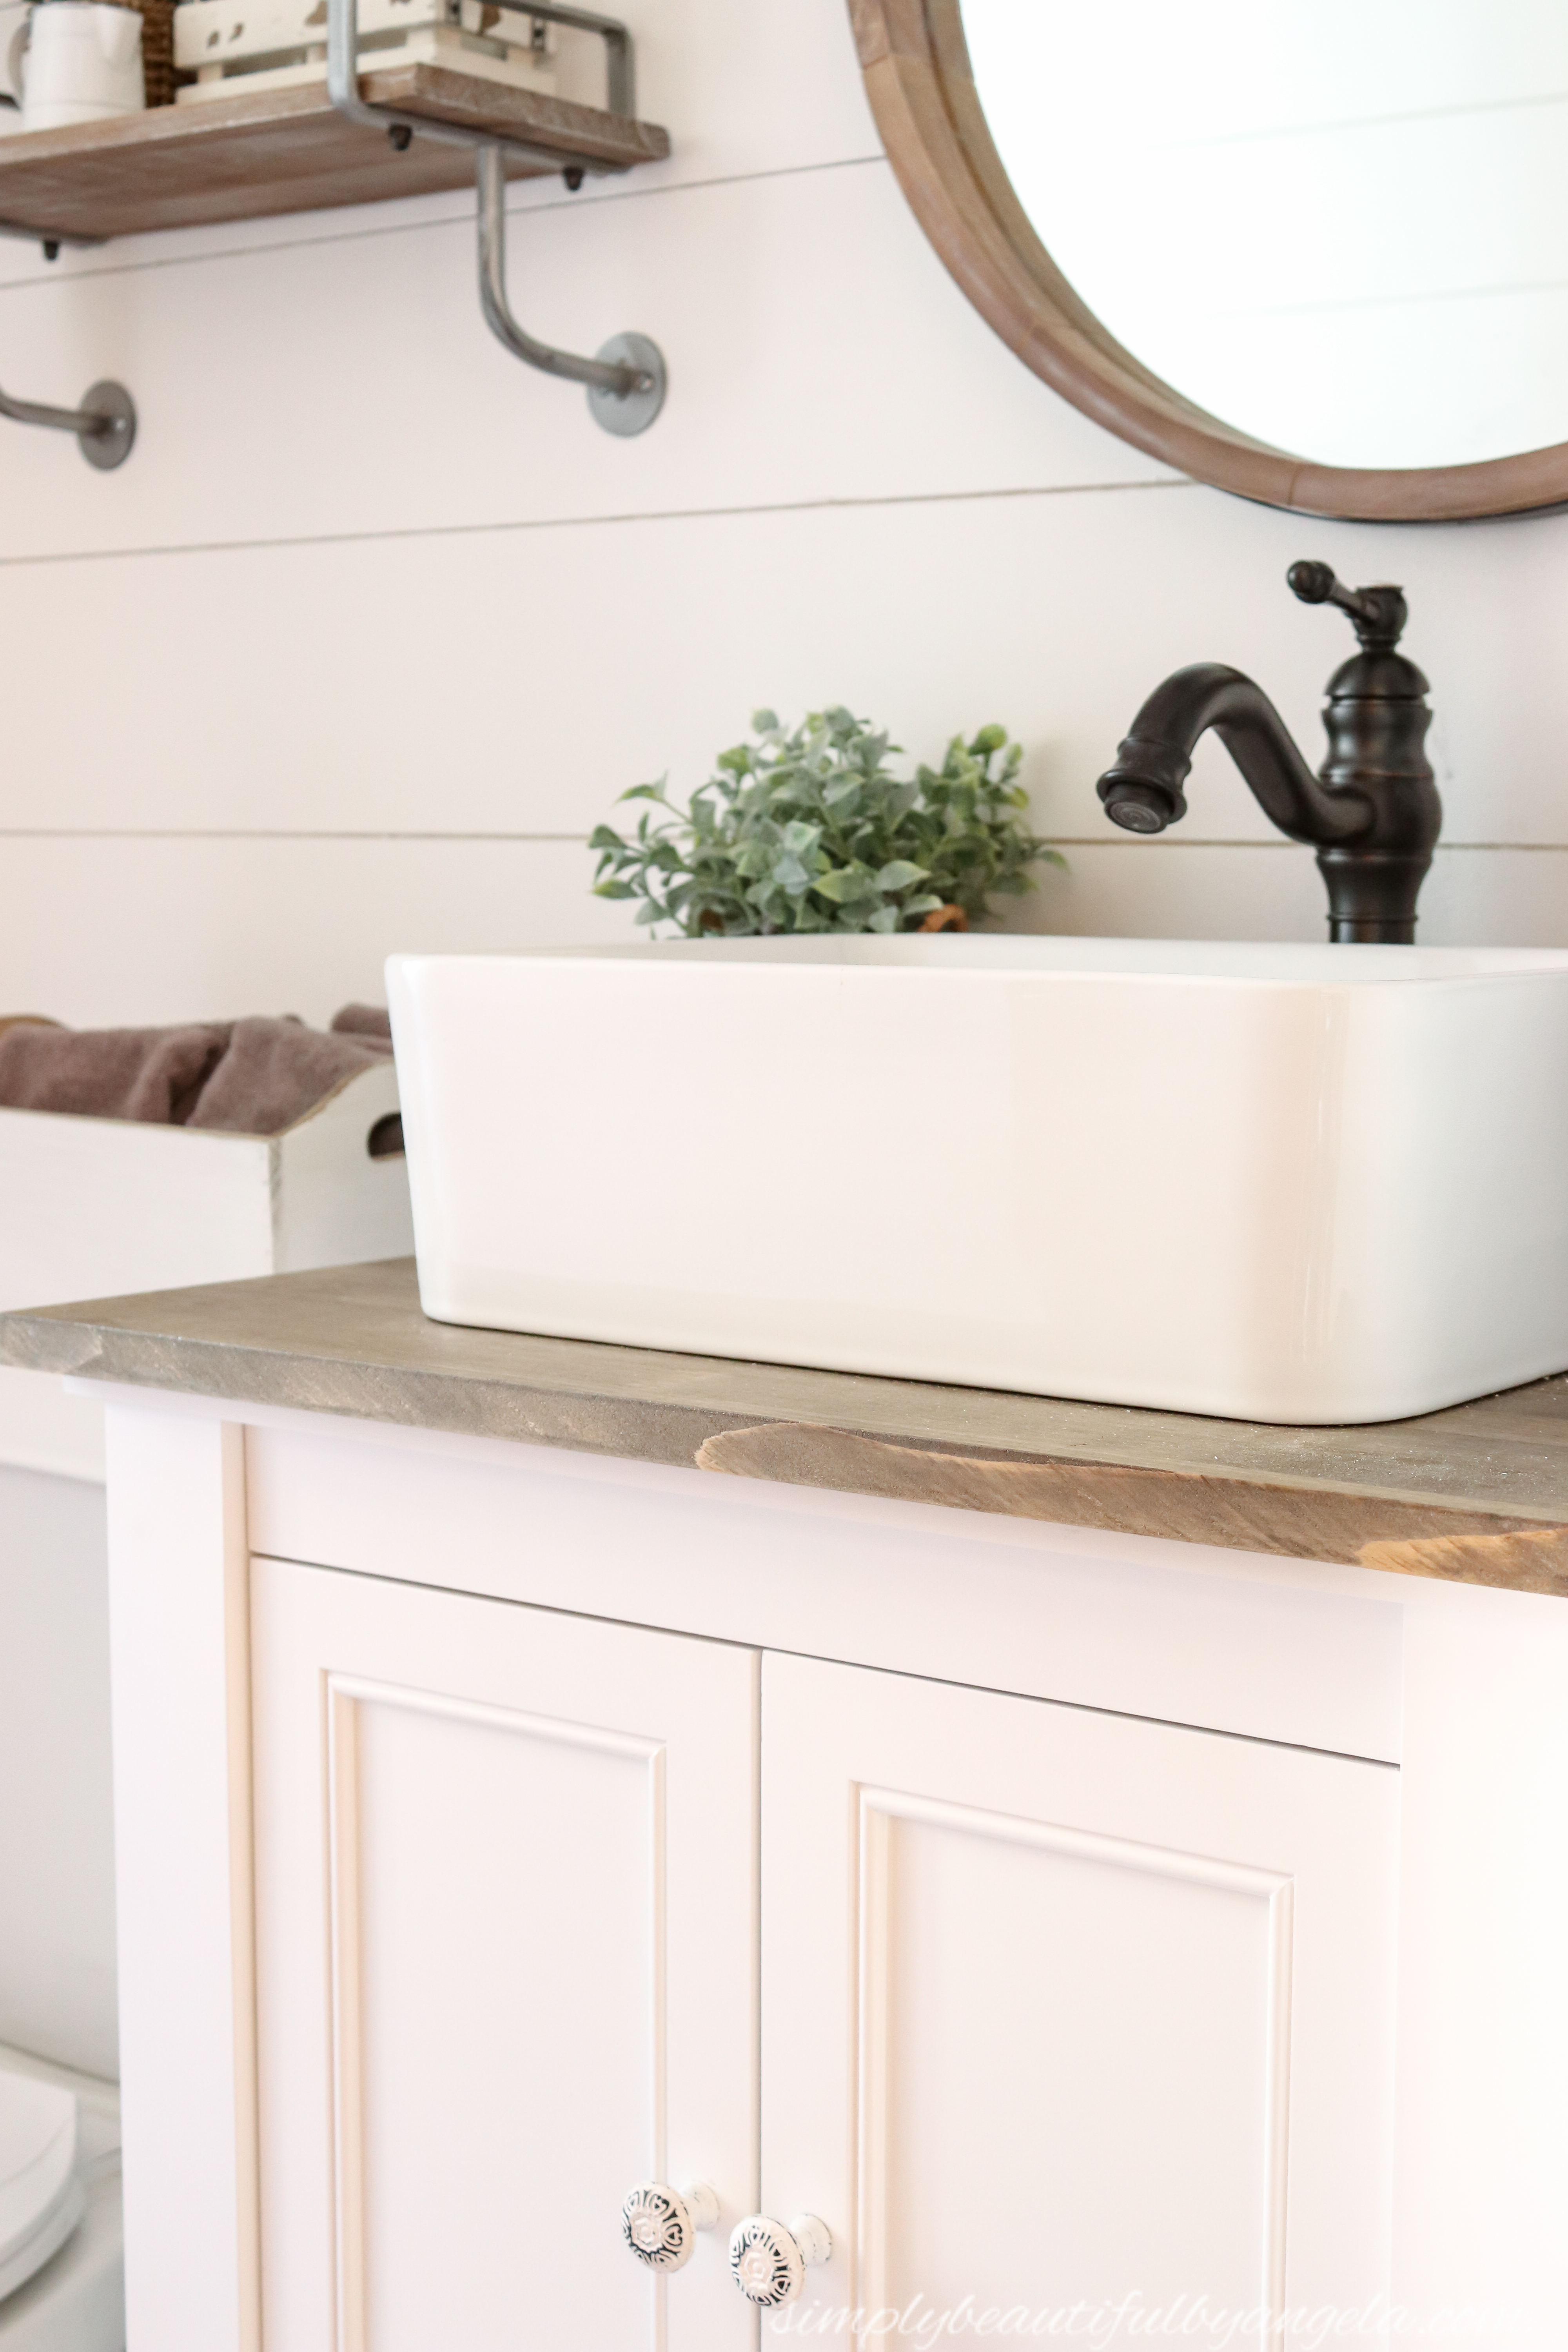
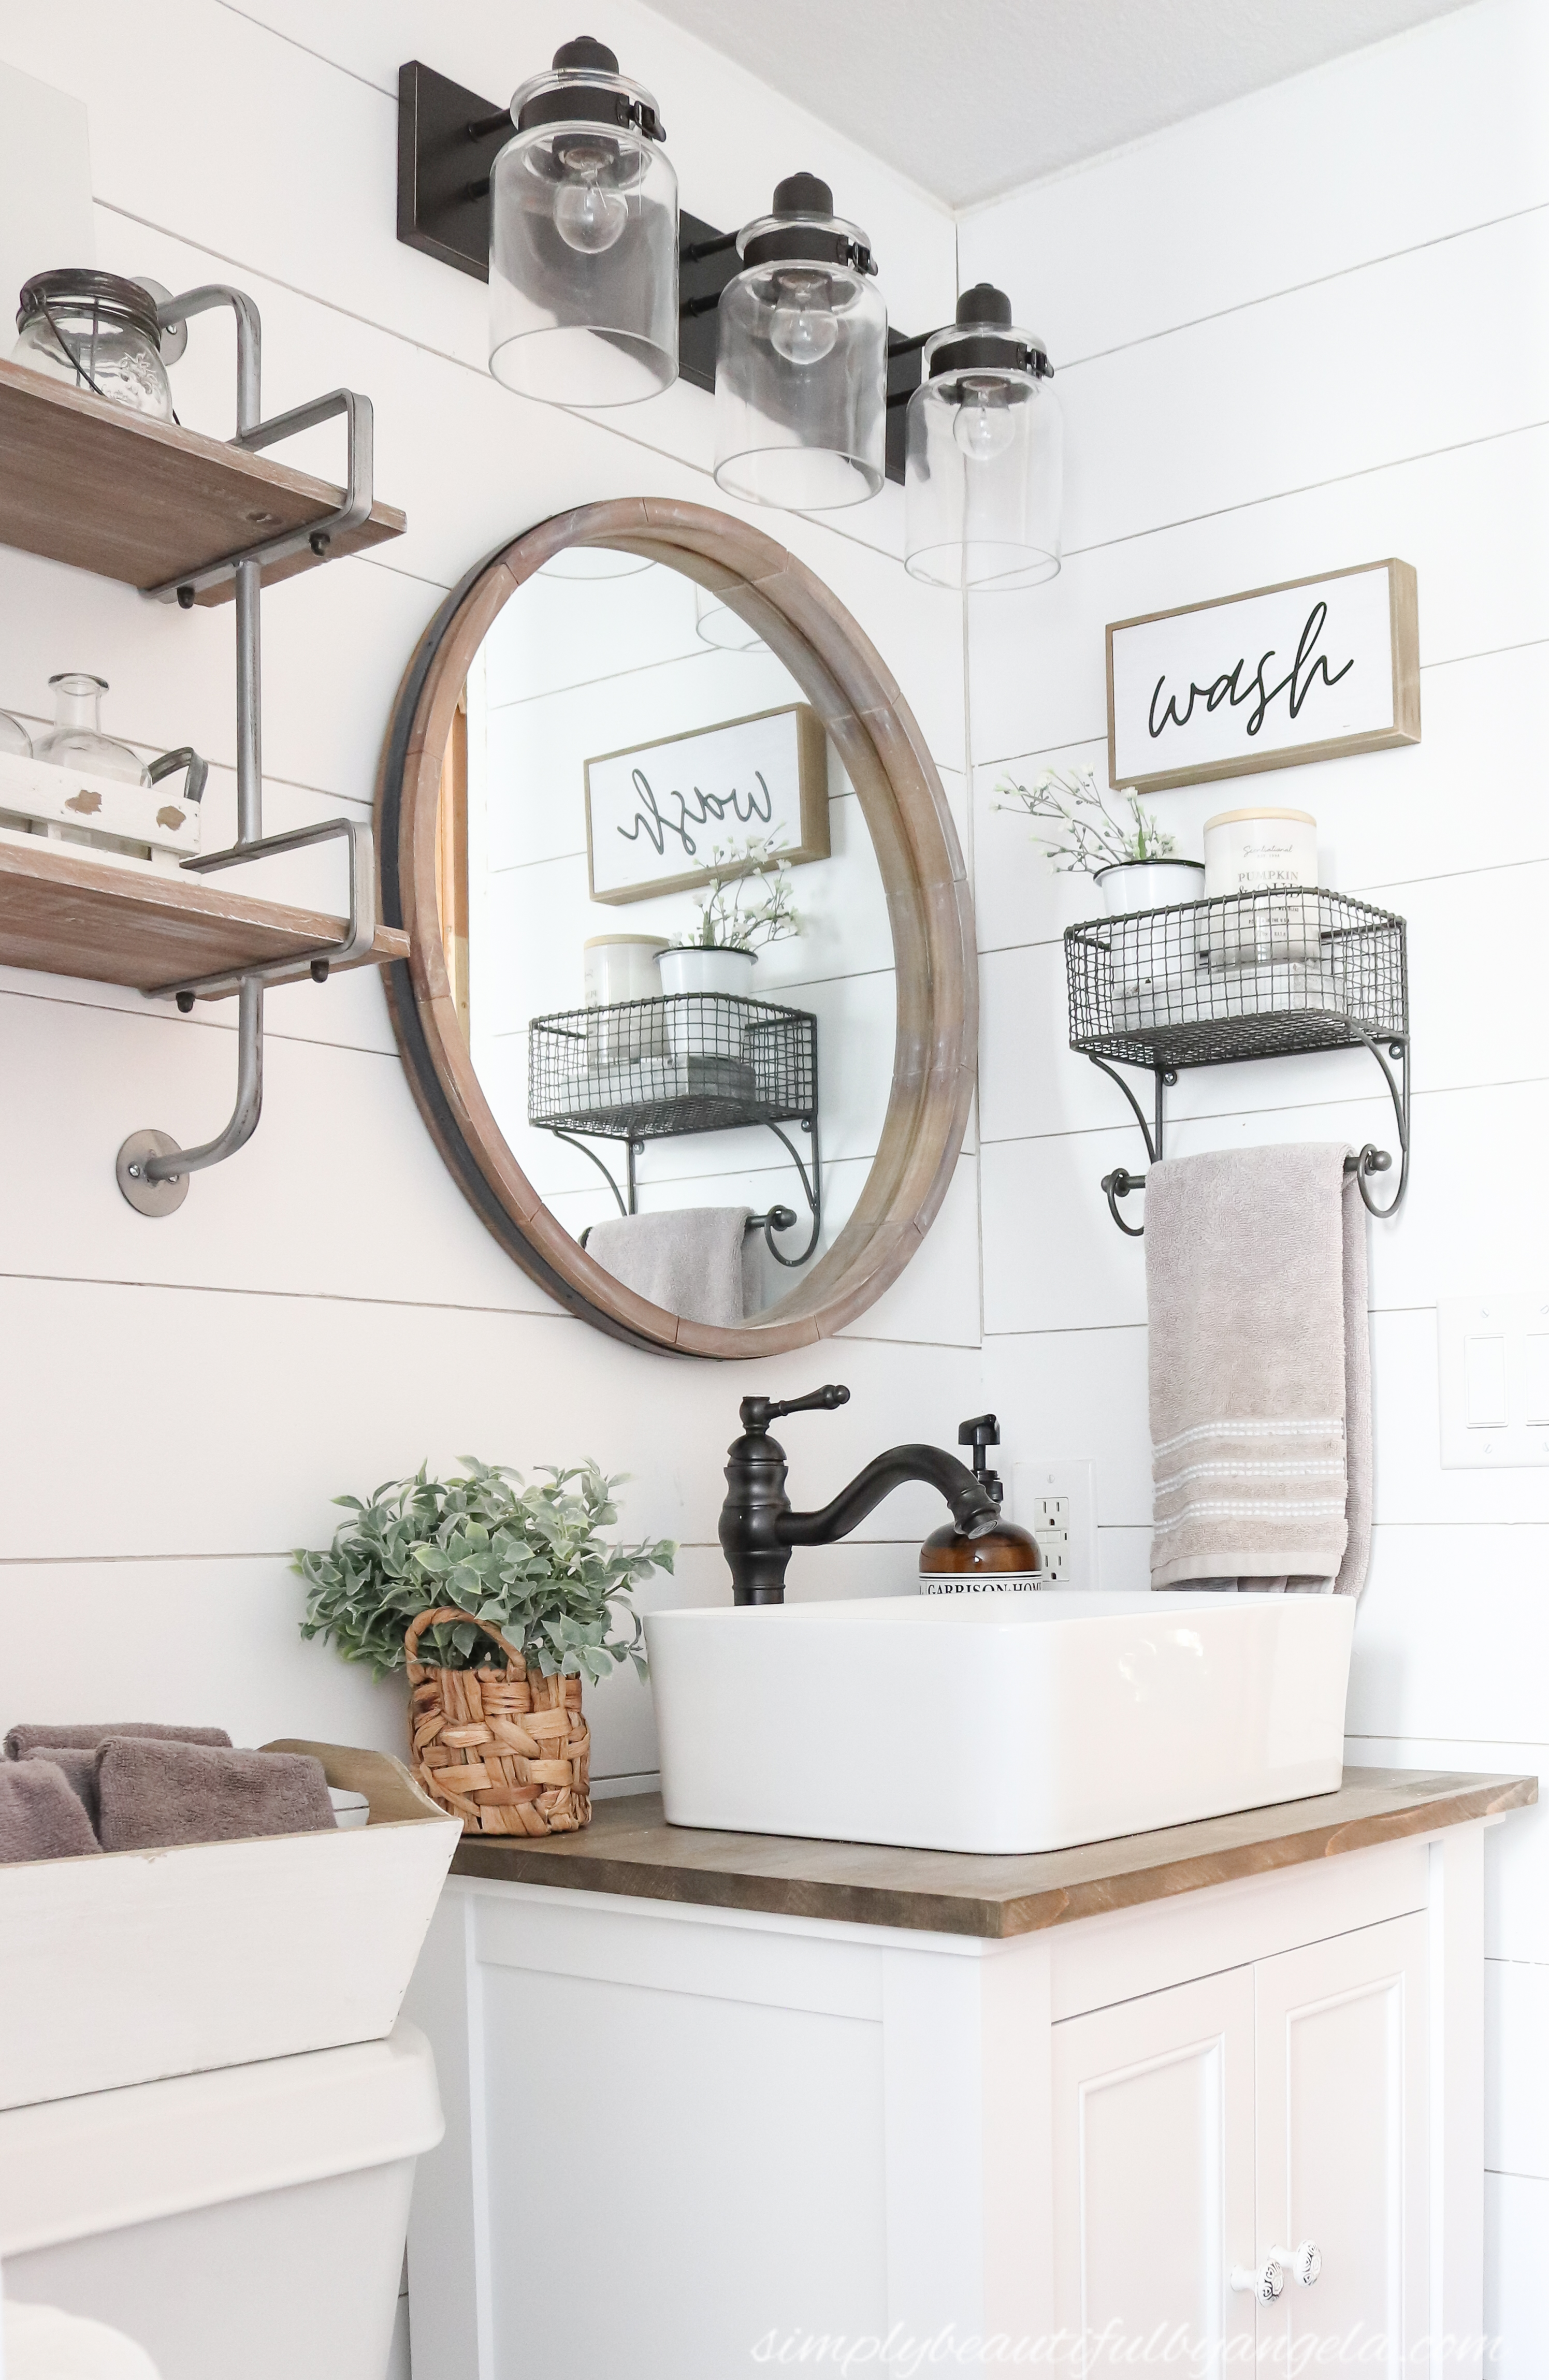
You may remember a couple of weeks ago I shared the farmhouse style vanity mirrors that I rounded up. After realizing that the size would t work on some of them I kept searching and I actually ended up choosing this Wood Barrel Mirror.
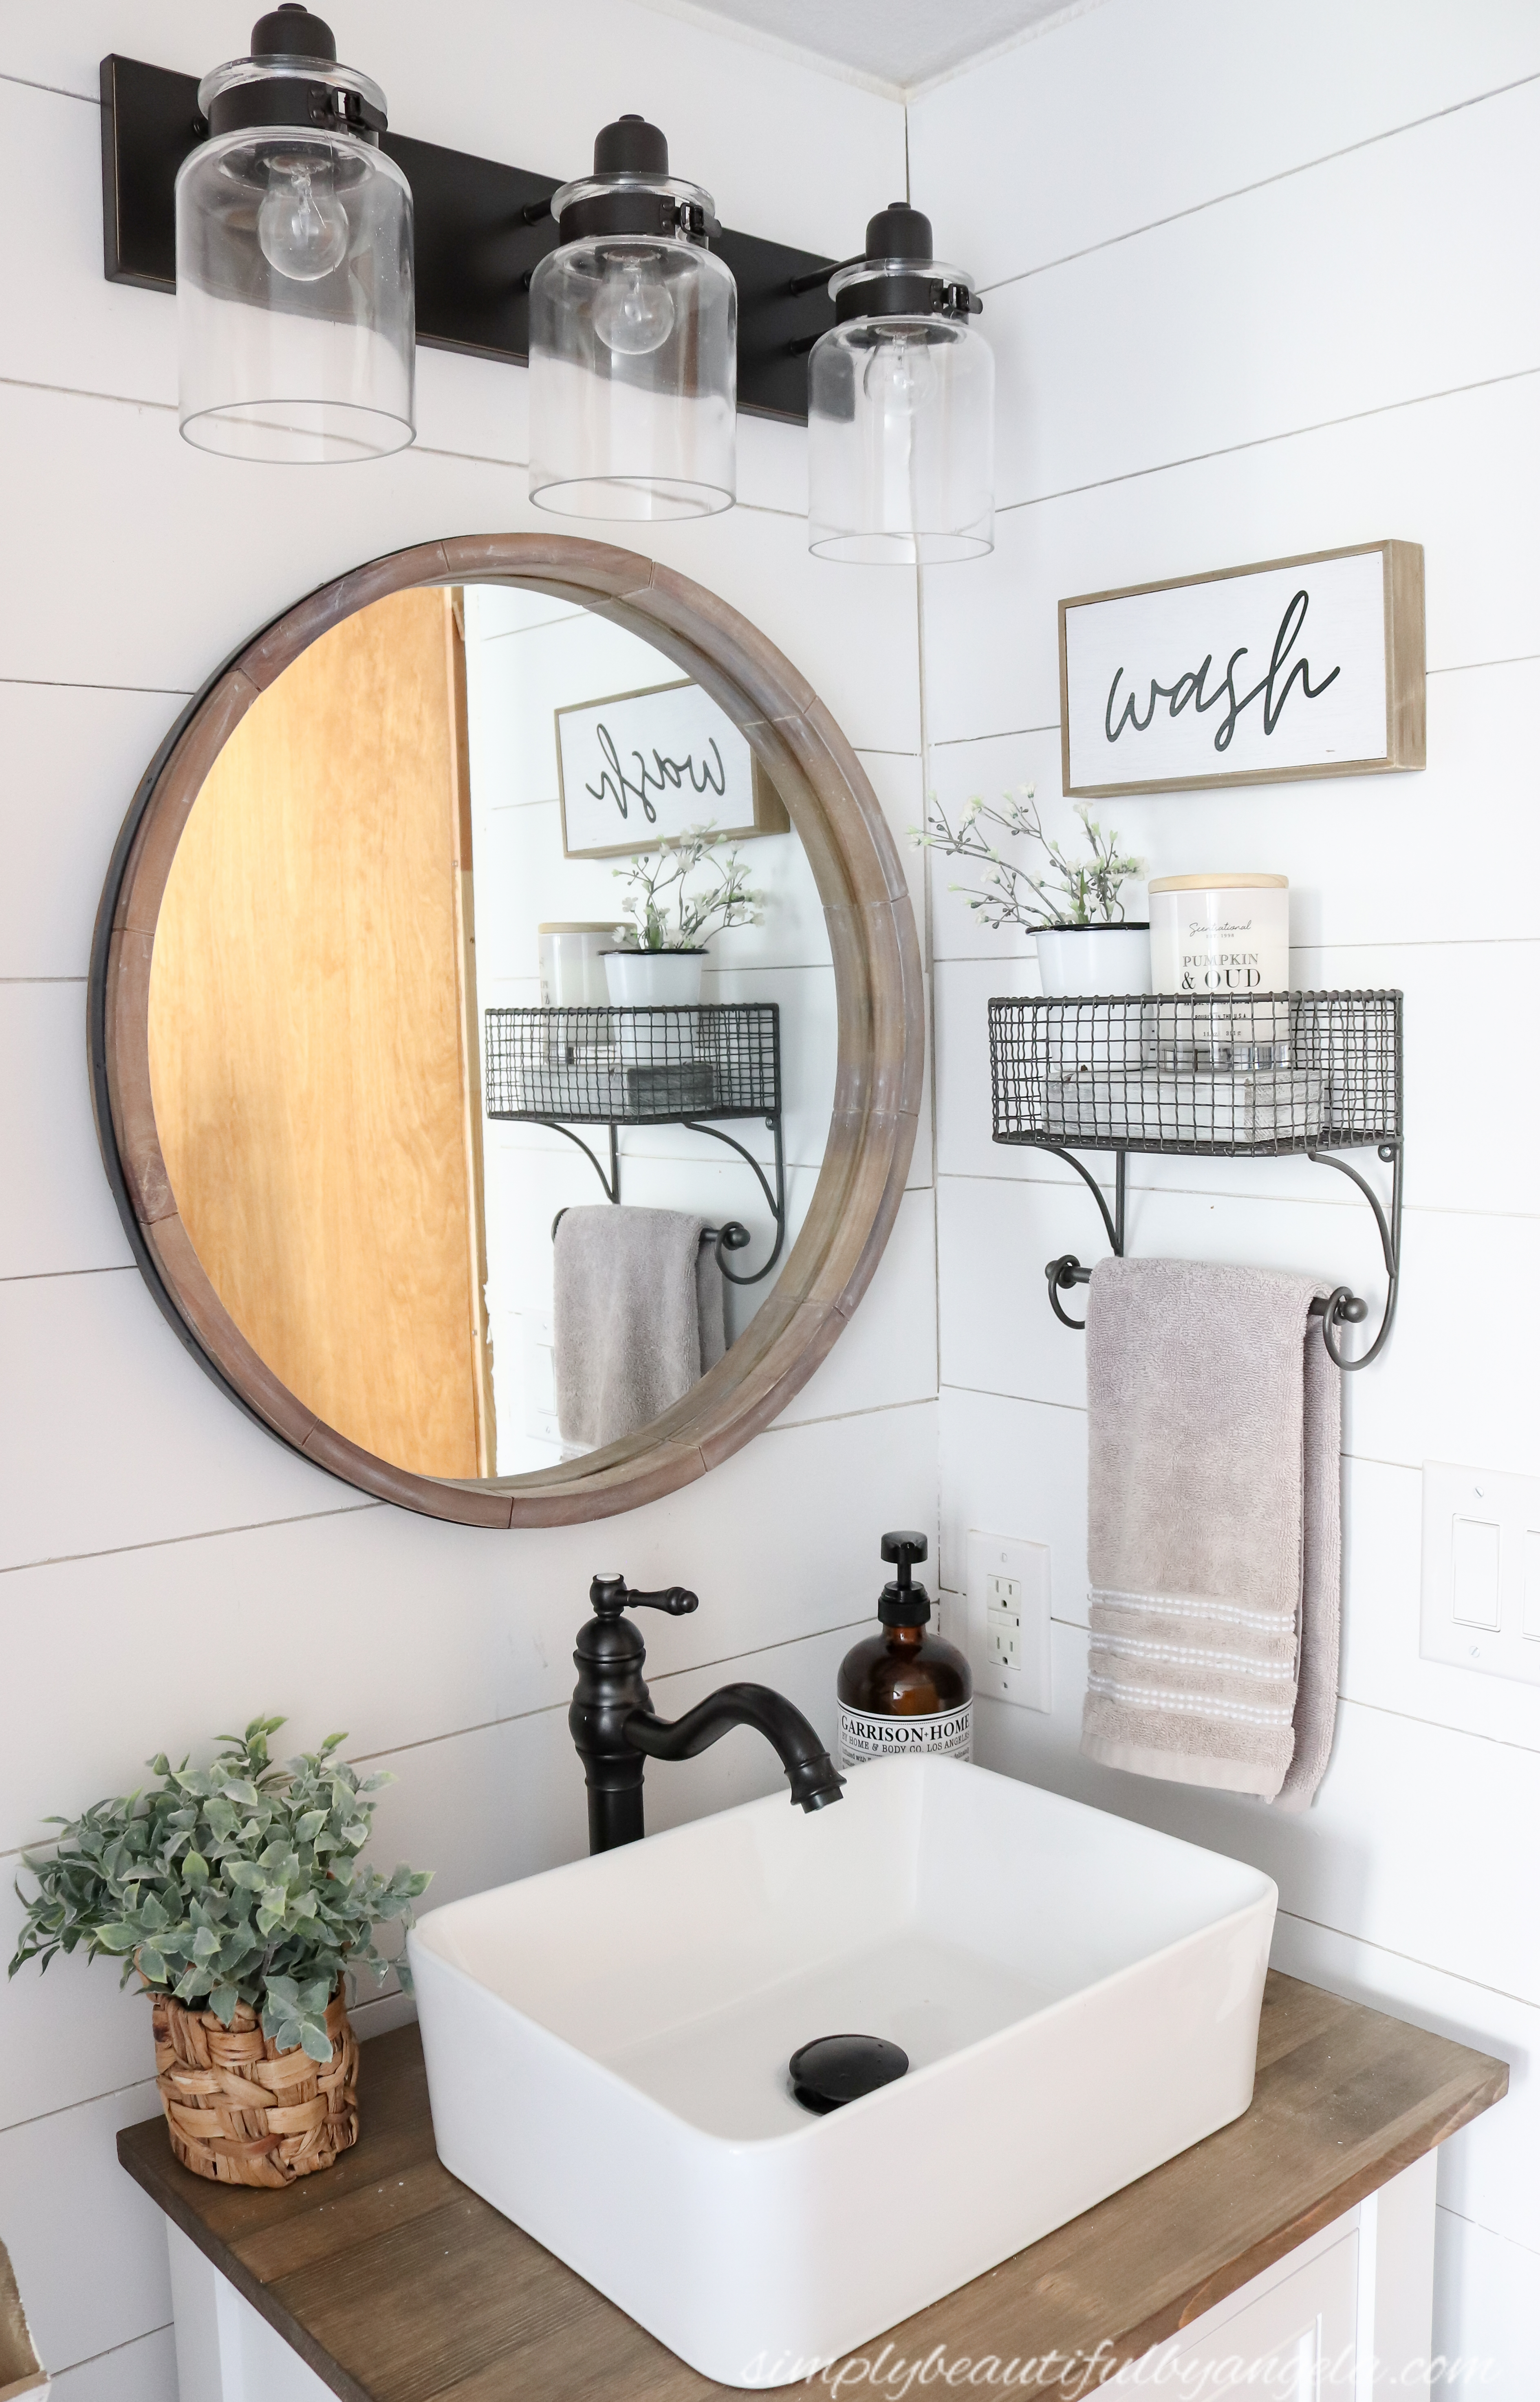
I feel like it ties the Oil Rubbed Bronze Vanity Light Fixture and counter together perfectly. I did have to white wash and lightly dry brush it since the wood was a little darker than my liking.
The hanging wall basket and “wash” sign both came from Hobby Lobby.
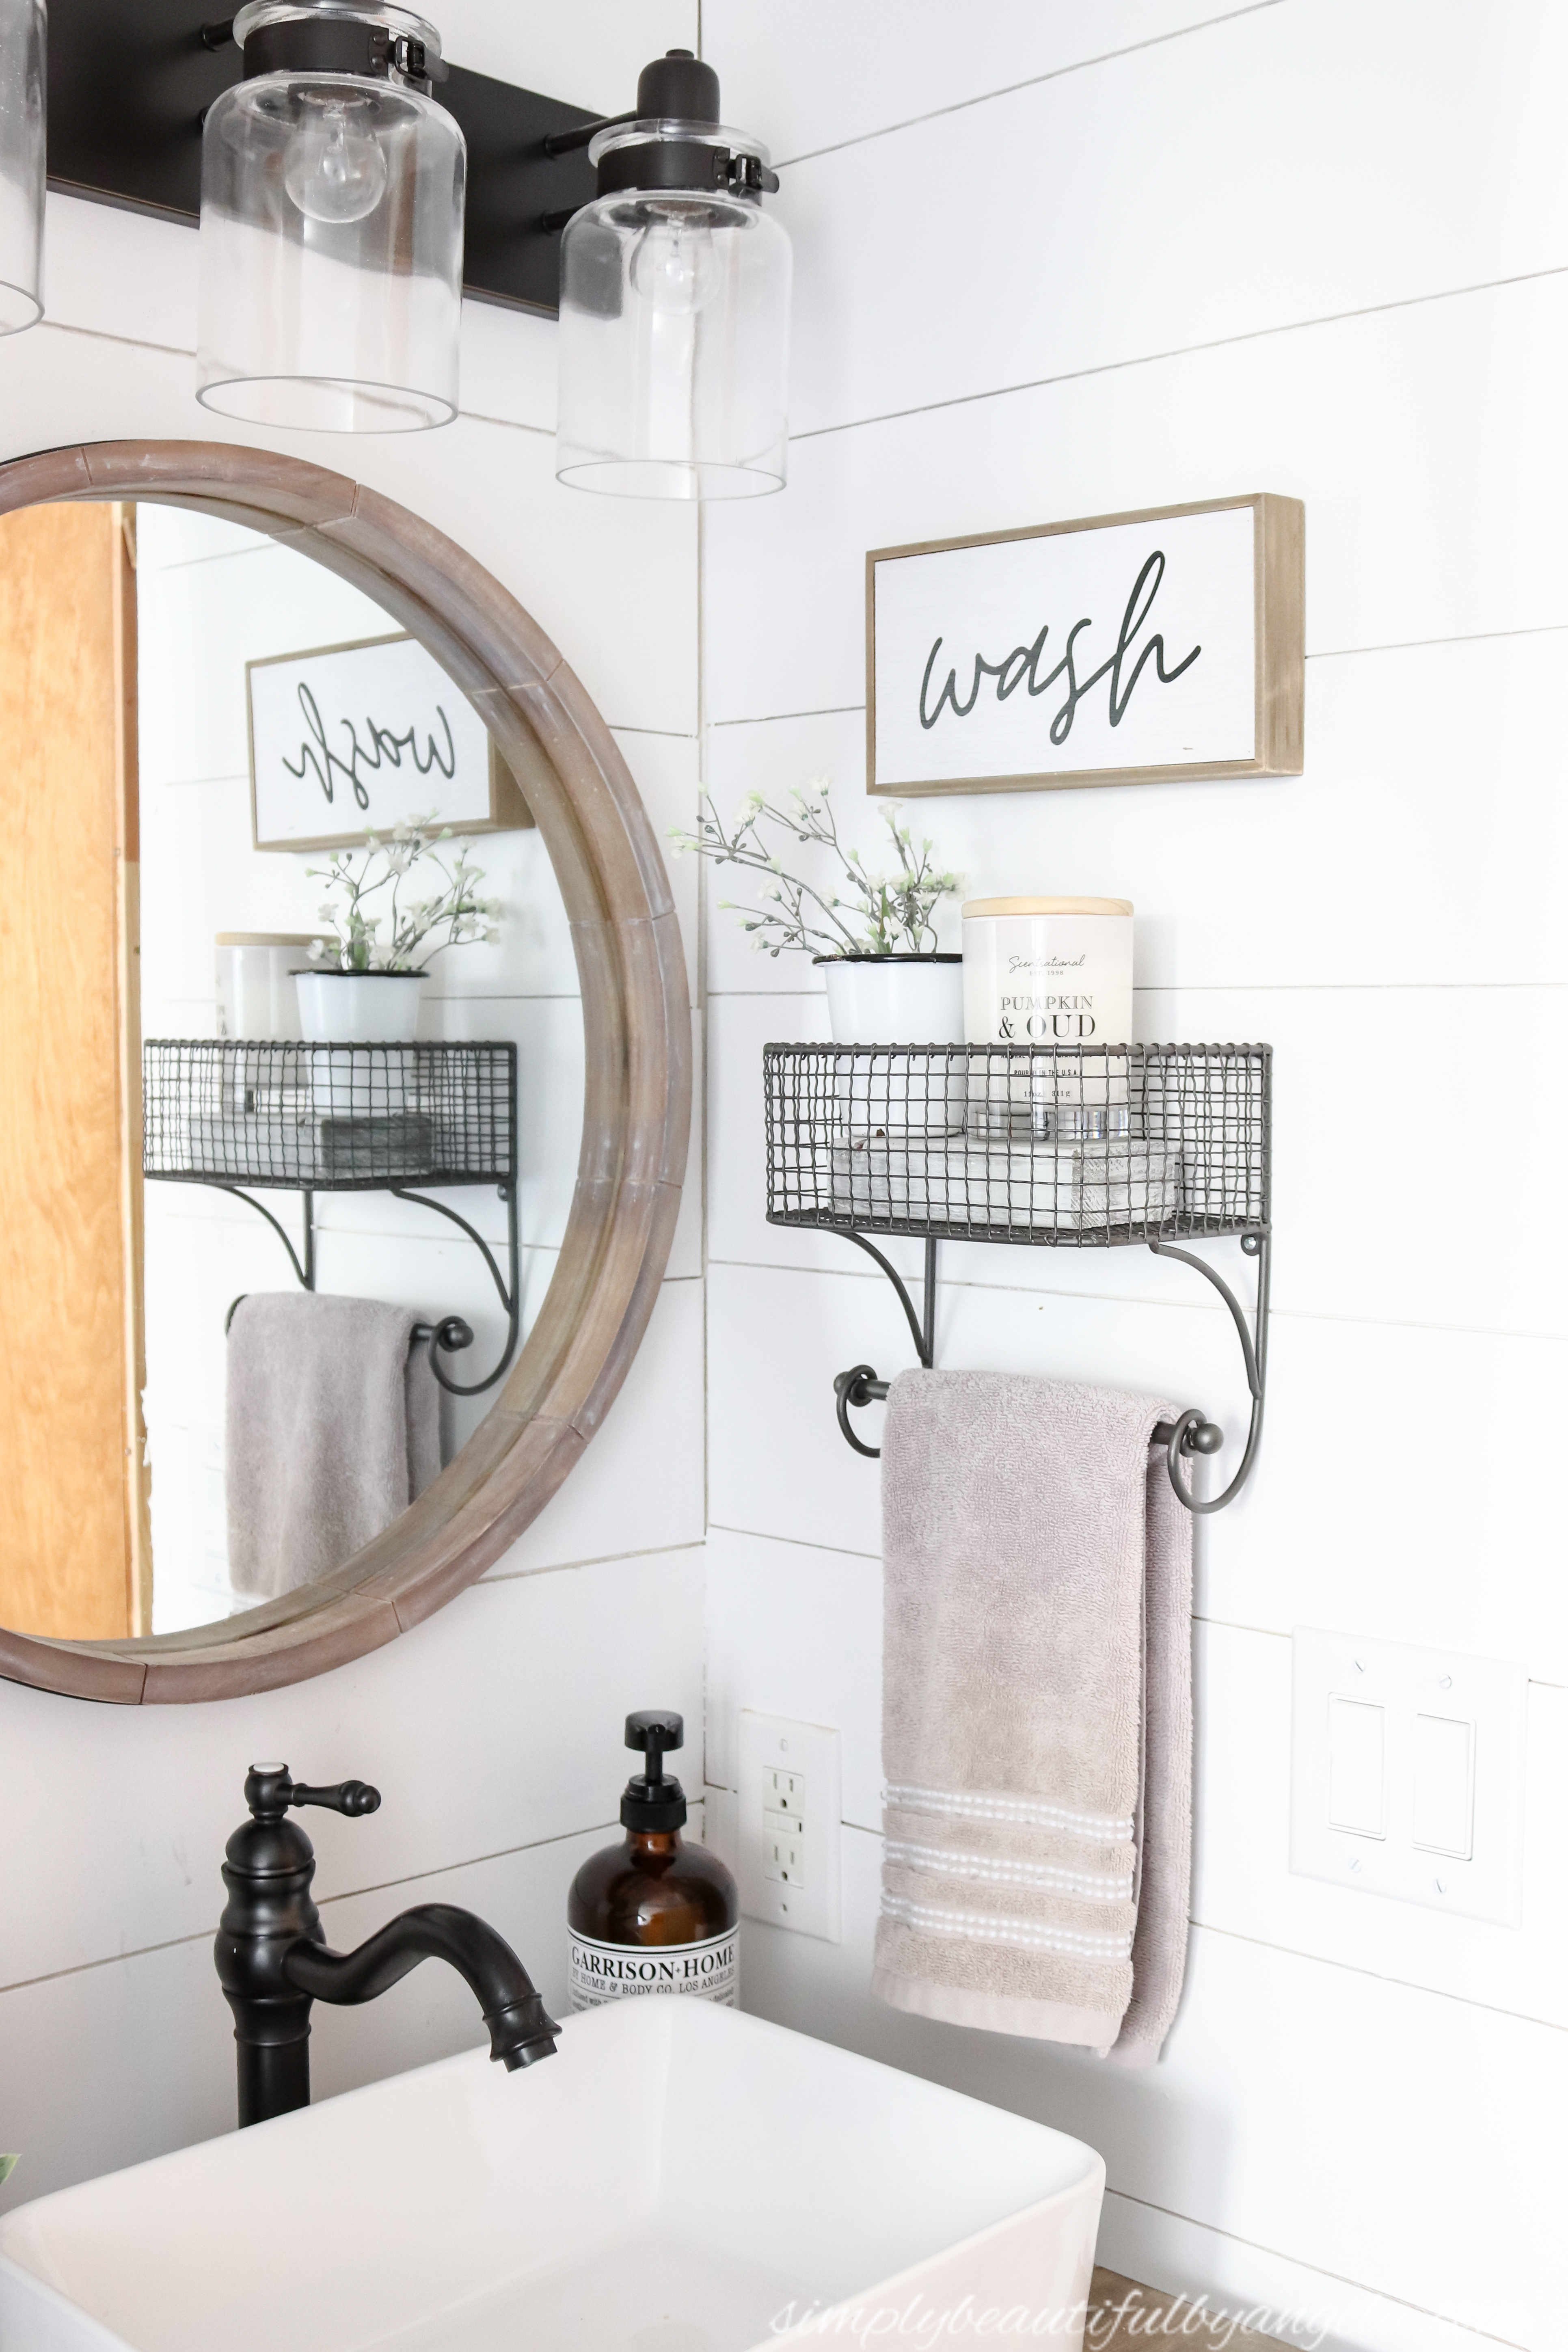
I am so happy with how it came together and am so excited to finish up the other details in this space so that I can do a full reveal soon!
I will be back on Thursday for this month’s Thrift Store Challenge. See you all then!
Linking up to these awesome parties!
Beautiful job!! Love the entire look. Thanks for the installation tips. ~~ Susie from The Chelsea Project
Thank you Susie!!
I love this makeover! The sink is perfect. Saw your link on TDC before & after party and just wanted to let you know how great it looks. 🙂
Thank you AnnMarie I really appreciate that!