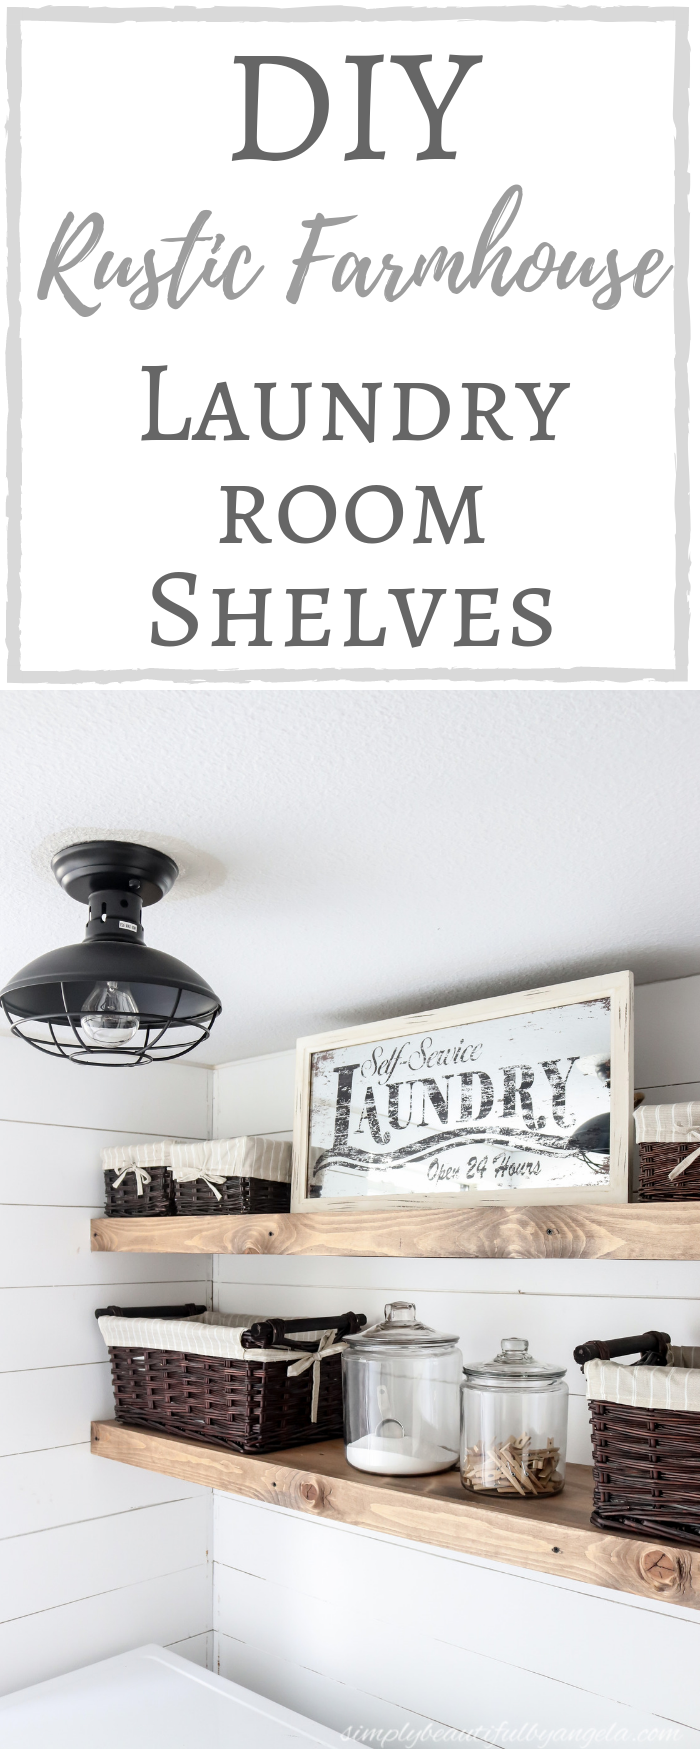
Hello everyone! I apologize for the radio silence last week. Two weeks ago today I woke up with a terrible headache, backache and nausea. It was intense. Throughout the day it progressively got worse and worse and eventually I was barely able to move and unable to even keep water down. After a trip to the ER, a day at the urgent care and an appointment to a GP we are still not entirely sure what it was.
Luckily I am feeling pretty much back to normal now, minus the random headrush/lightheaded feeling that I get upon sitting or standing. So I am very thankful because the whole experience was absolutely miserable!
Anyways I am excited to be back on the blog today and I am super pumped to share our most recent project with you all!
When we first moved in to our new fixer upper the laundry area that sits next to our powder room just had a basic wire shelf. I didn’t snap an actual picture of it, but you can get a small glimpse in this photo.
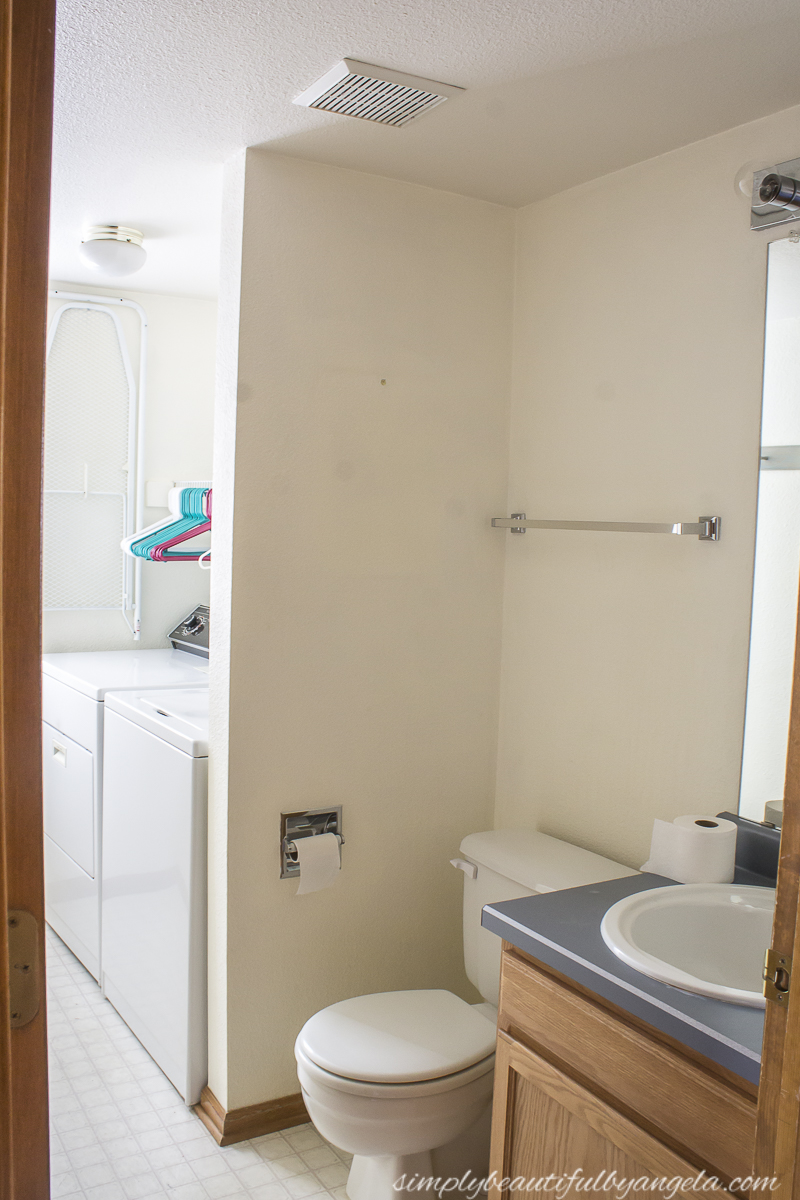
When I installed the shiplap in this space I ripped it out since I knew that I eventually wanted some chunky floating shelves there instead. However that was months ago so we’ve been living with piles of stuff on top of the washer and dryer ever since and it’s been driving me absolutely batty!
On Saturday while we were at Home Depot for the kids’ workshop we swung by the lumber aisle and picked up what we needed to finally get these babies built.
Supplies Used:(Affiliate links may be provided for convenience. For more info, see my full disclosure here.)
- 2x2s
- 1x12s
- 1x3s
- 1/4″ underlayment
- Measuring Tape
- Level
- Drill
- Compound Miter Saw
- 3 Inch Wood Screws
- 1-1/2-Inch Black Cabinet Screws
- FrogTape
- Medium Grit Sandpaper
- Minwax Pre-Stain Wood Conditioner
- Minwax Special Walnut
- Minwax Classic Gray
- Poly/Bristle Stain Brush
- Minwax One Coat Polyurethane
The hubby began by cutting down two 2x2s to the length of our wall which is 5′. He then sat it on top of the 1×12 board to measure out the distance needed for 4 support pieces. It should be around 9.75″ but since each piece of wood can vary slightly I recommend doing it this way.
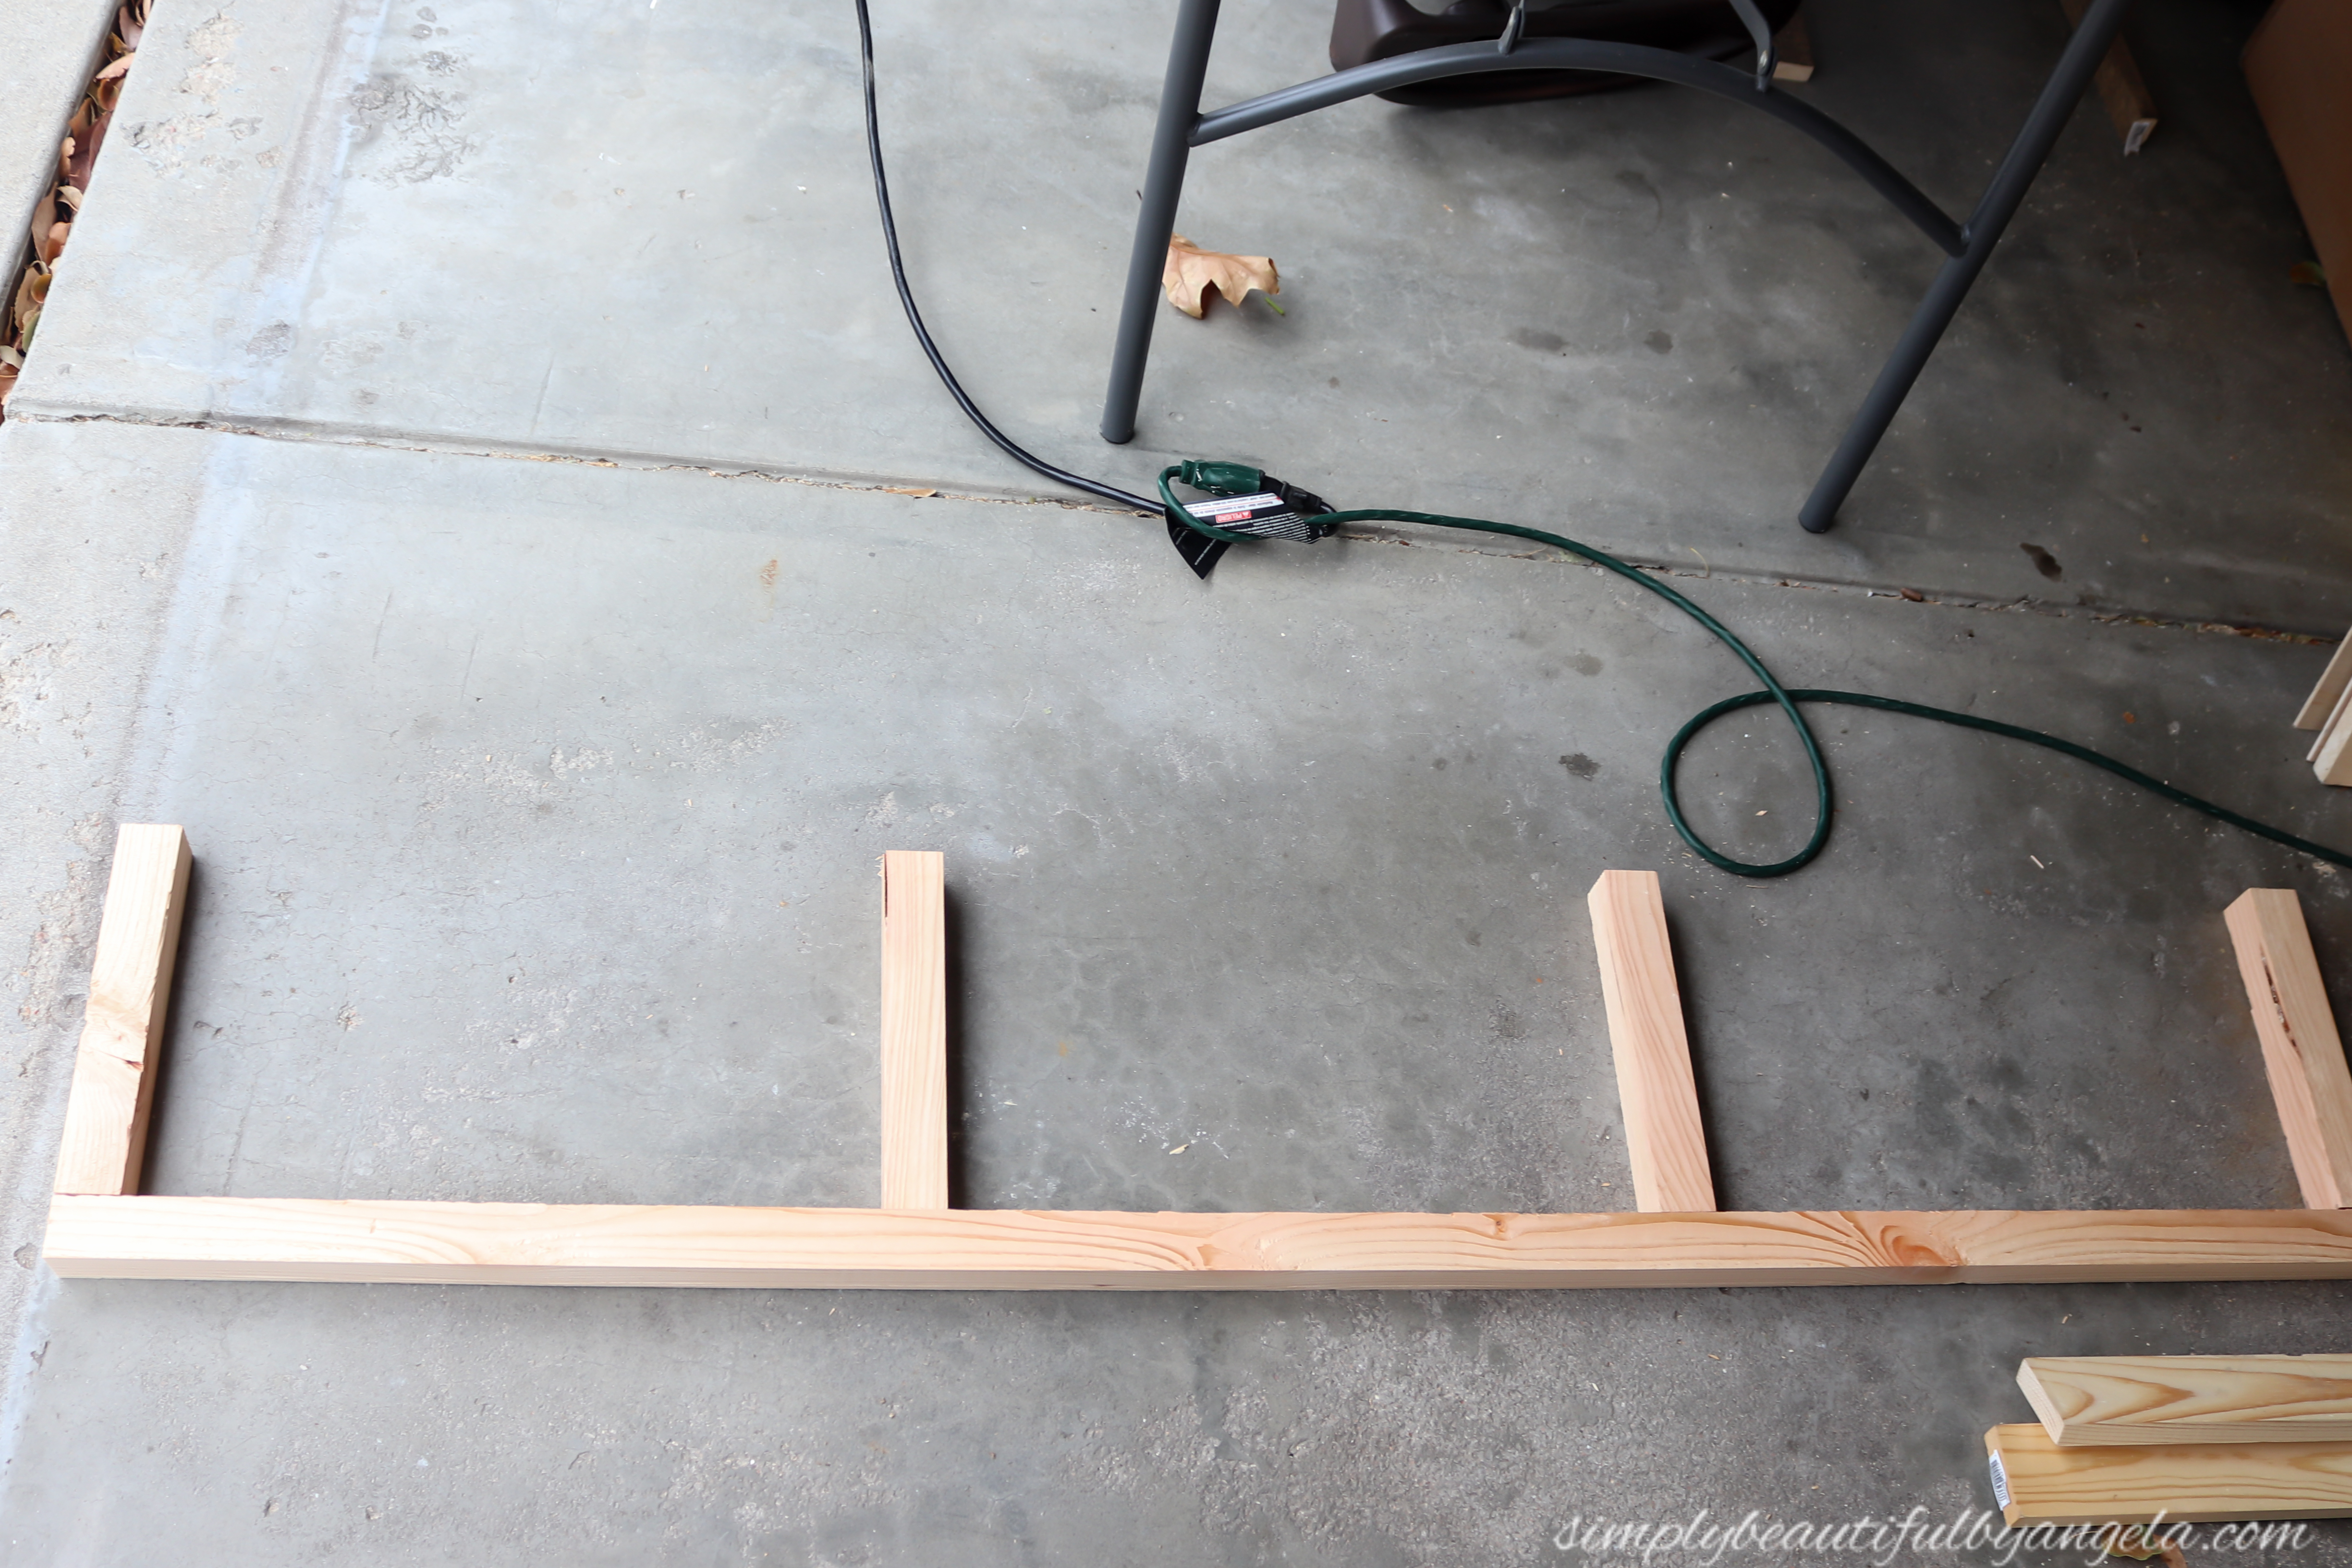
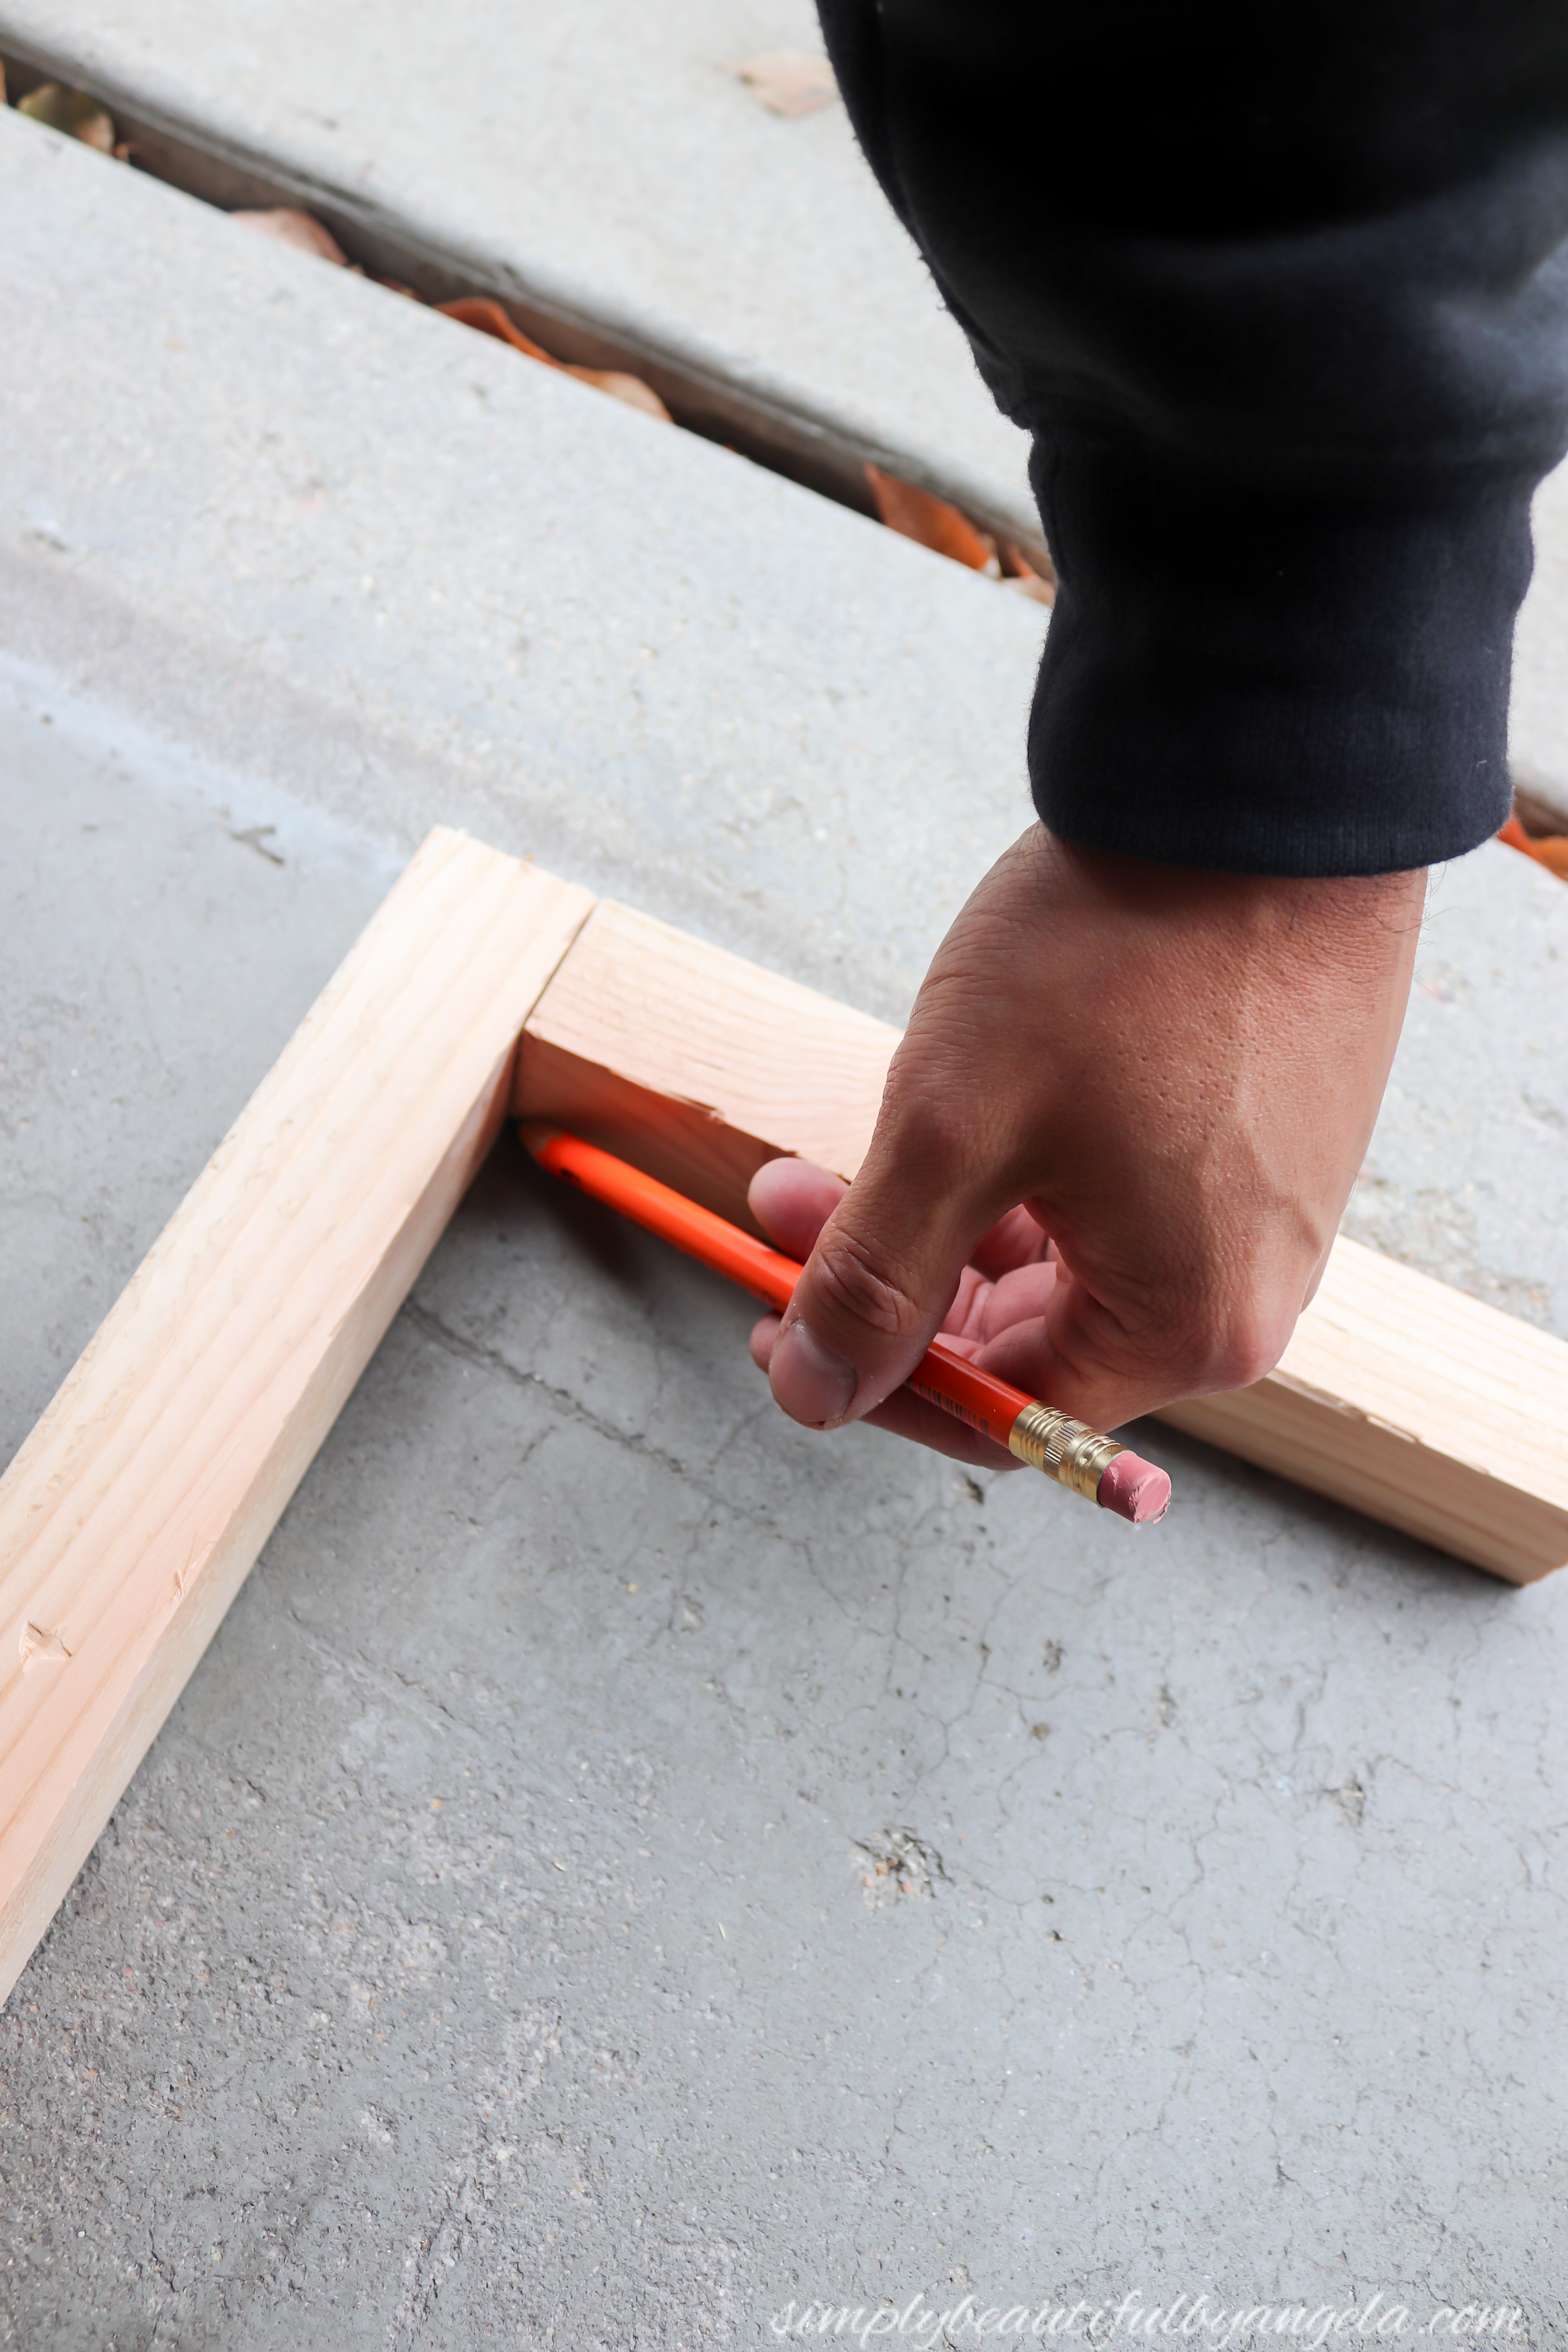
Once those were cut, he laid them out and marked where each one would be attached so that he could go back and drill pilot holes before securing each one with a 3 inch wood screw.
While he was working on that, I marked where they should be placed on the wall. After playing around with it for a bit, I decided to space them 12.5″ apart. So I first measured 12.5″ down from the ceiling to mark where the top of the shelf should be, then 0.75″ down from that to mark where the support should be attached (since the 0.75″ accounts for the top of the shelf).
Anthony used a stud finder to attach it to the studs at back of the wall as well as each side. This baby isn’t going anywhere!
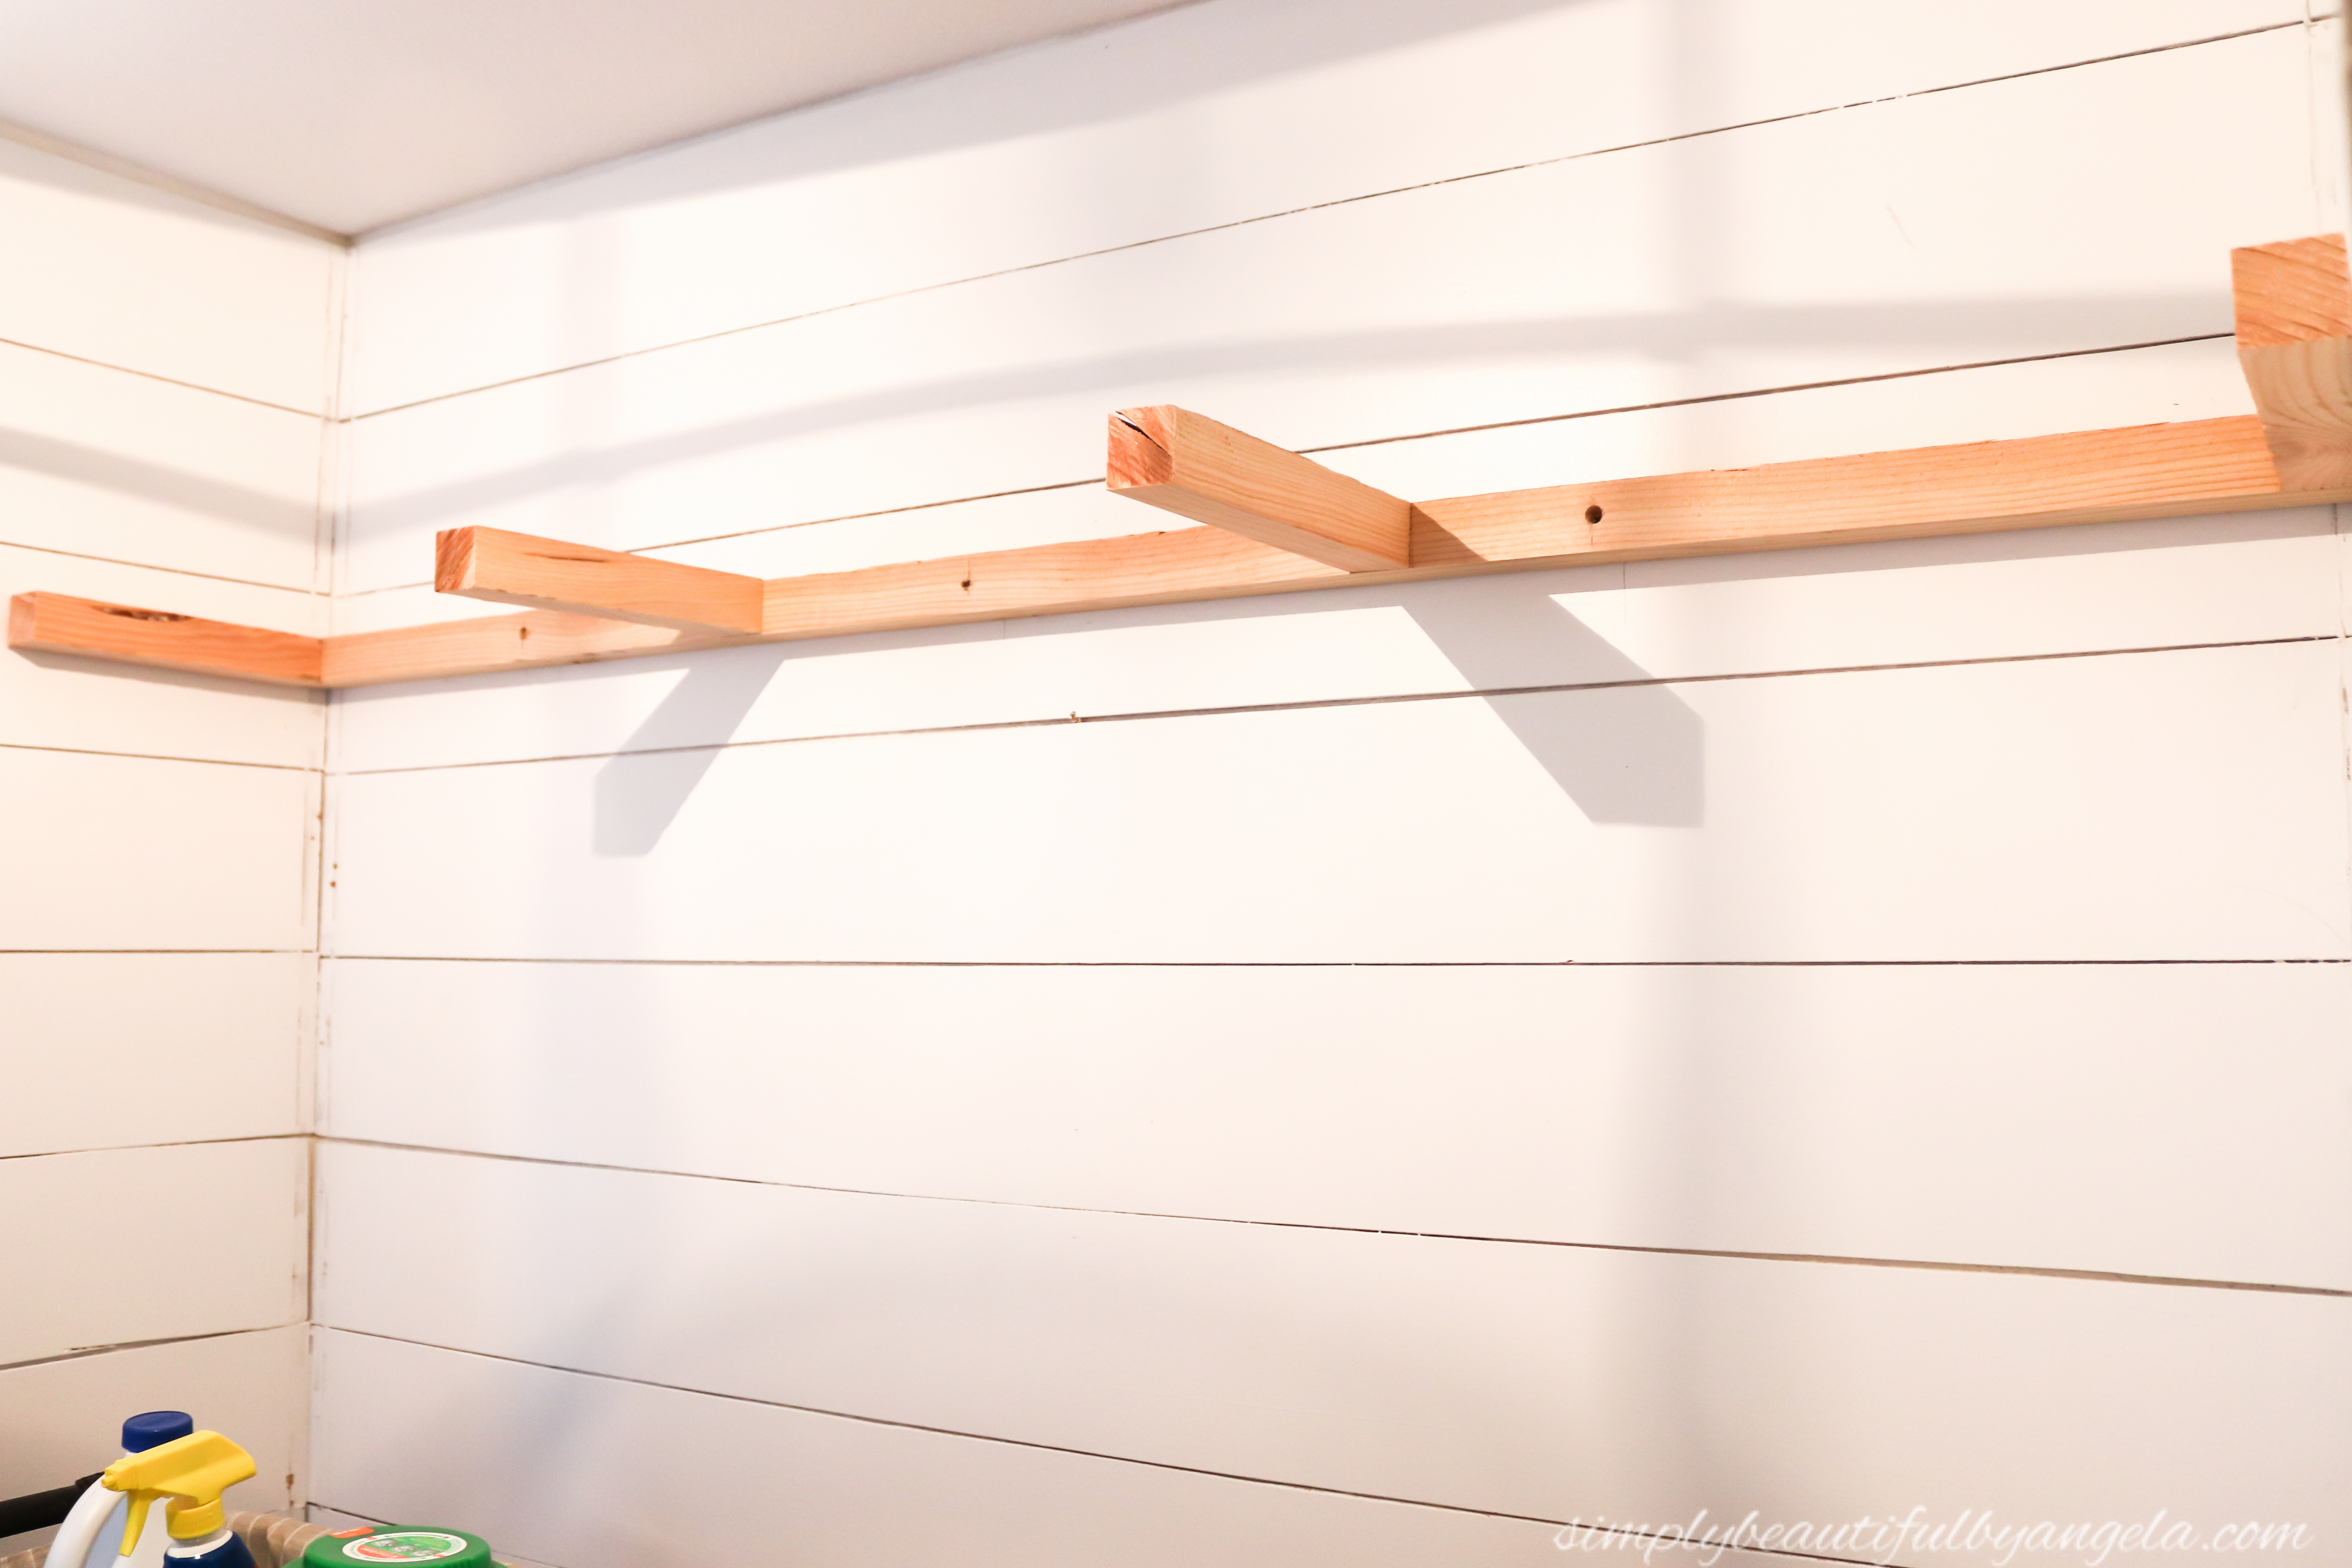
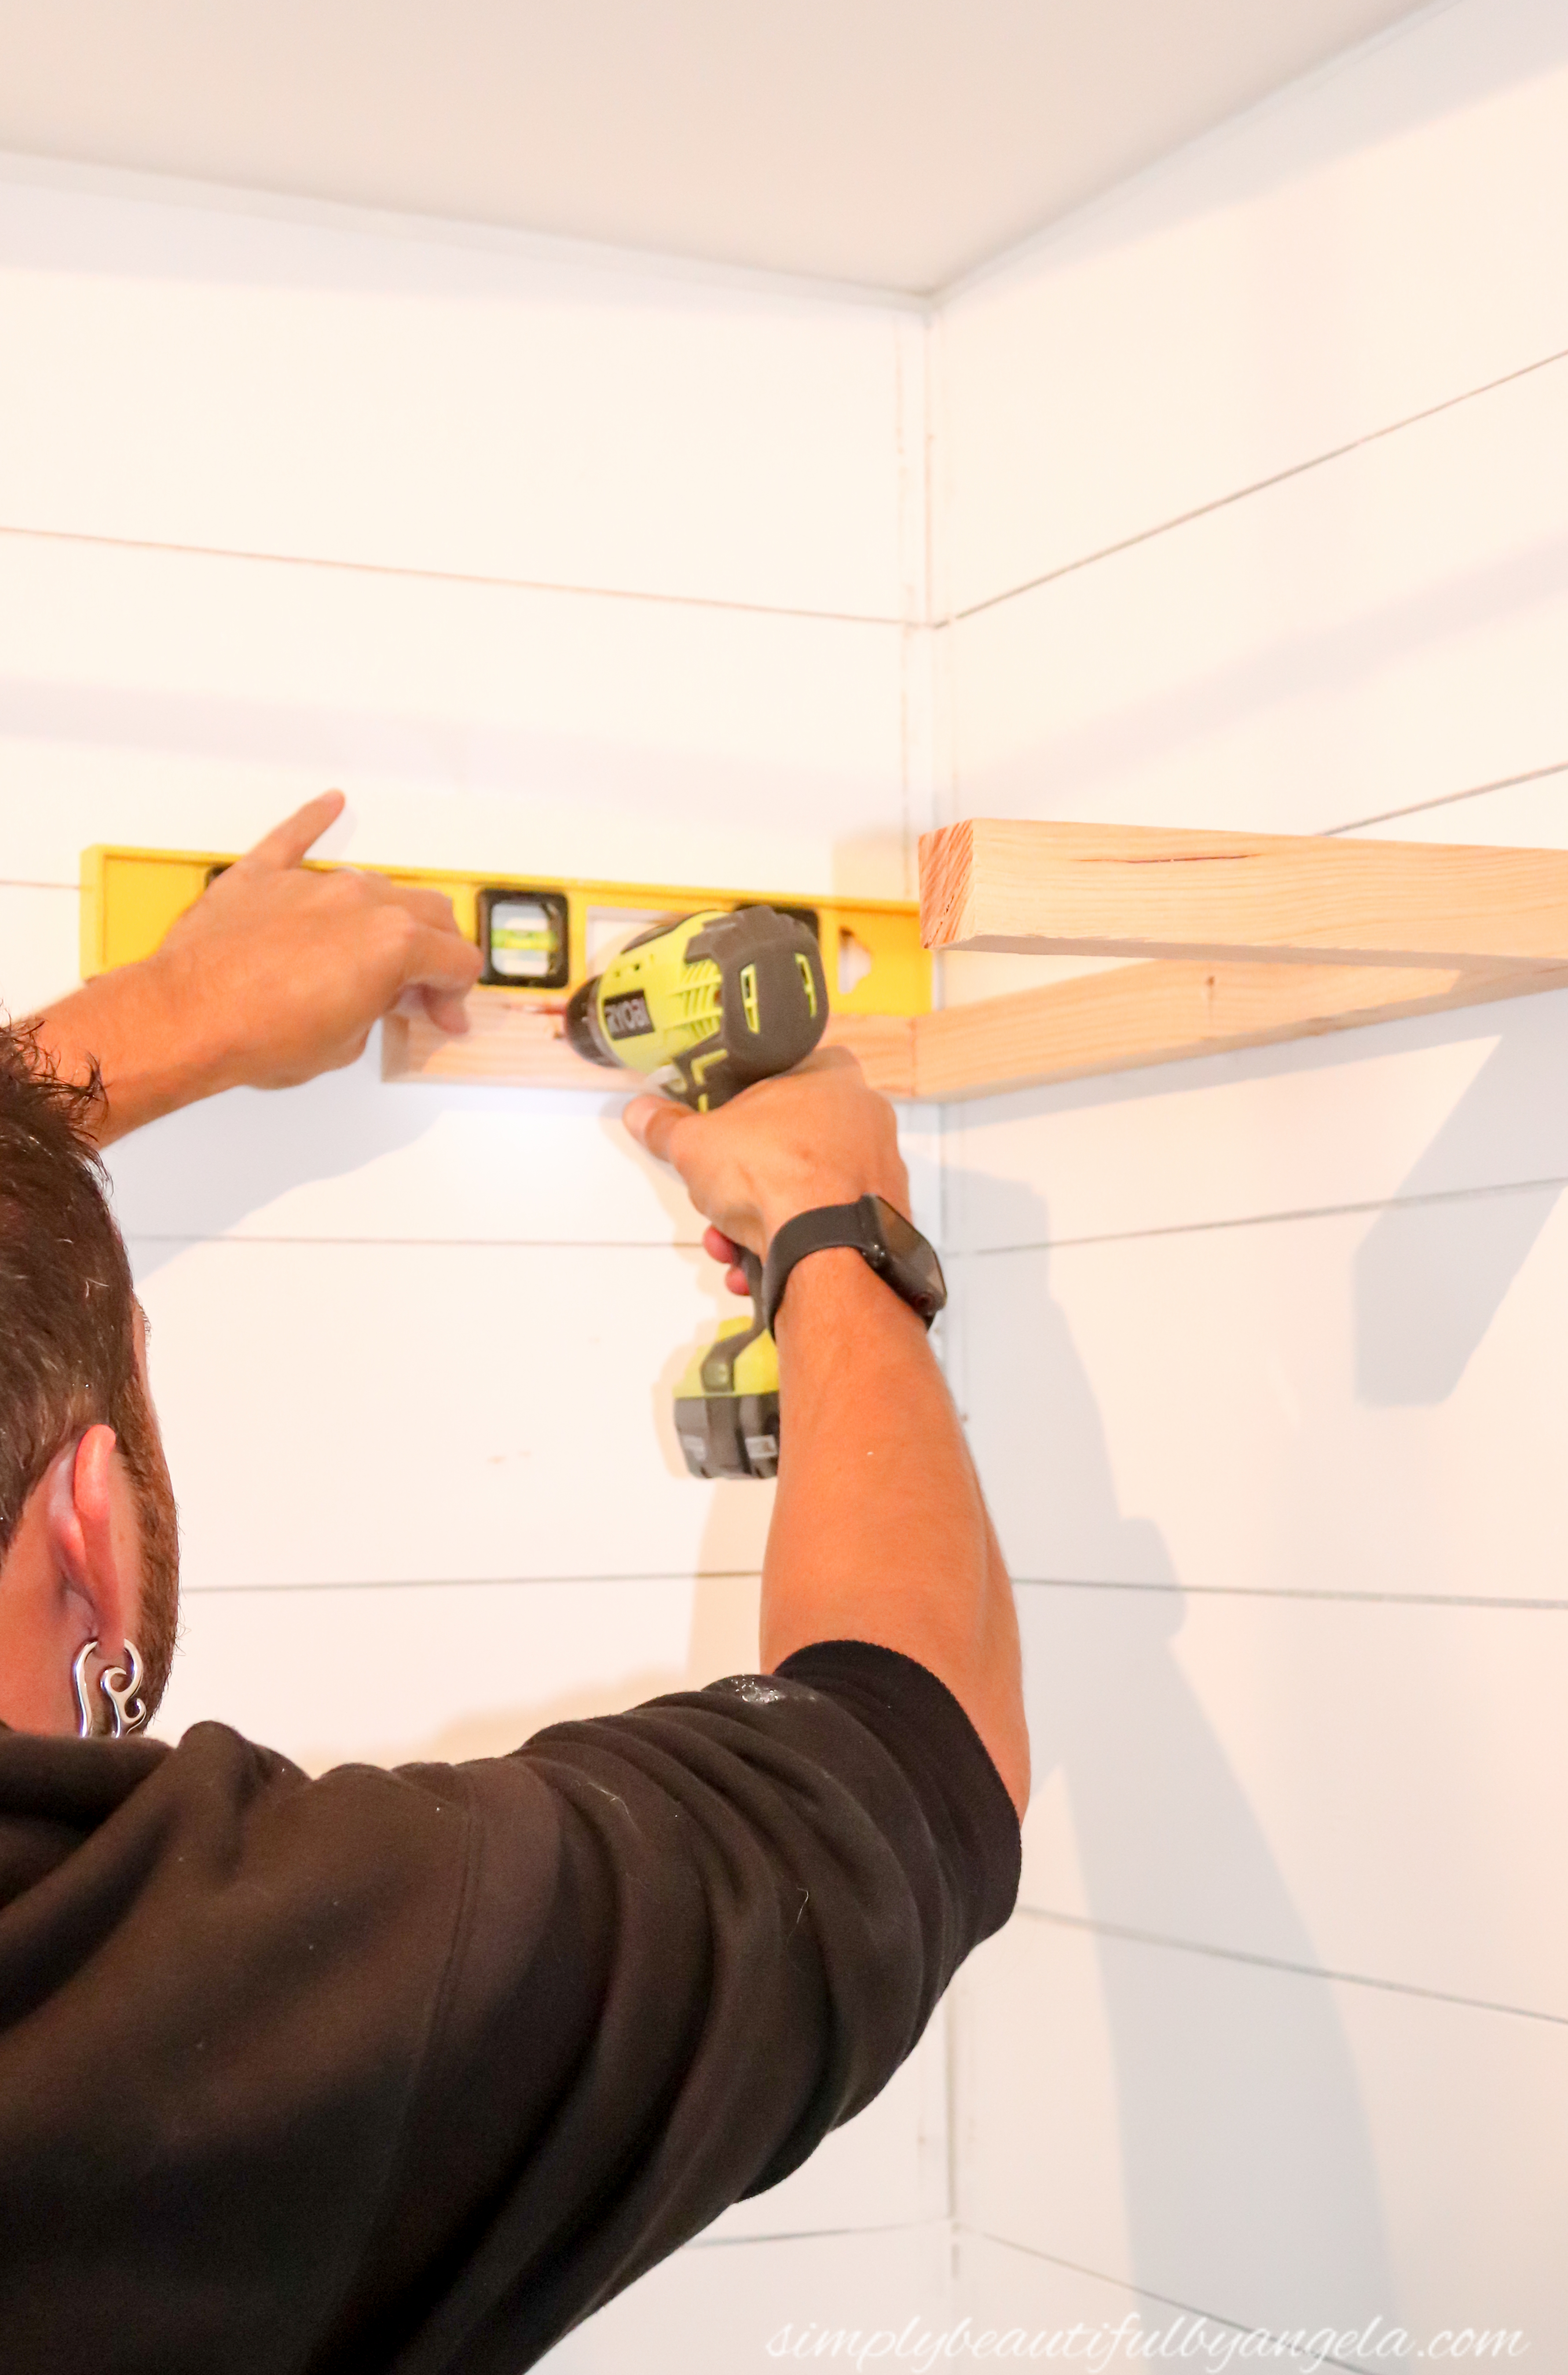
Oh! Notice that he used a level to make sure that it went up nice and straight.
Next, he cut the 1×12 board (which actually measures 11.25″) to the length of our wall and secured it to the four support pieces at the front and back. He made sure to place the front screw far enough back so that it wouldn’t interfere with the one used later on to attach the 1×3 used as the front piece which also got attached to these pieces.
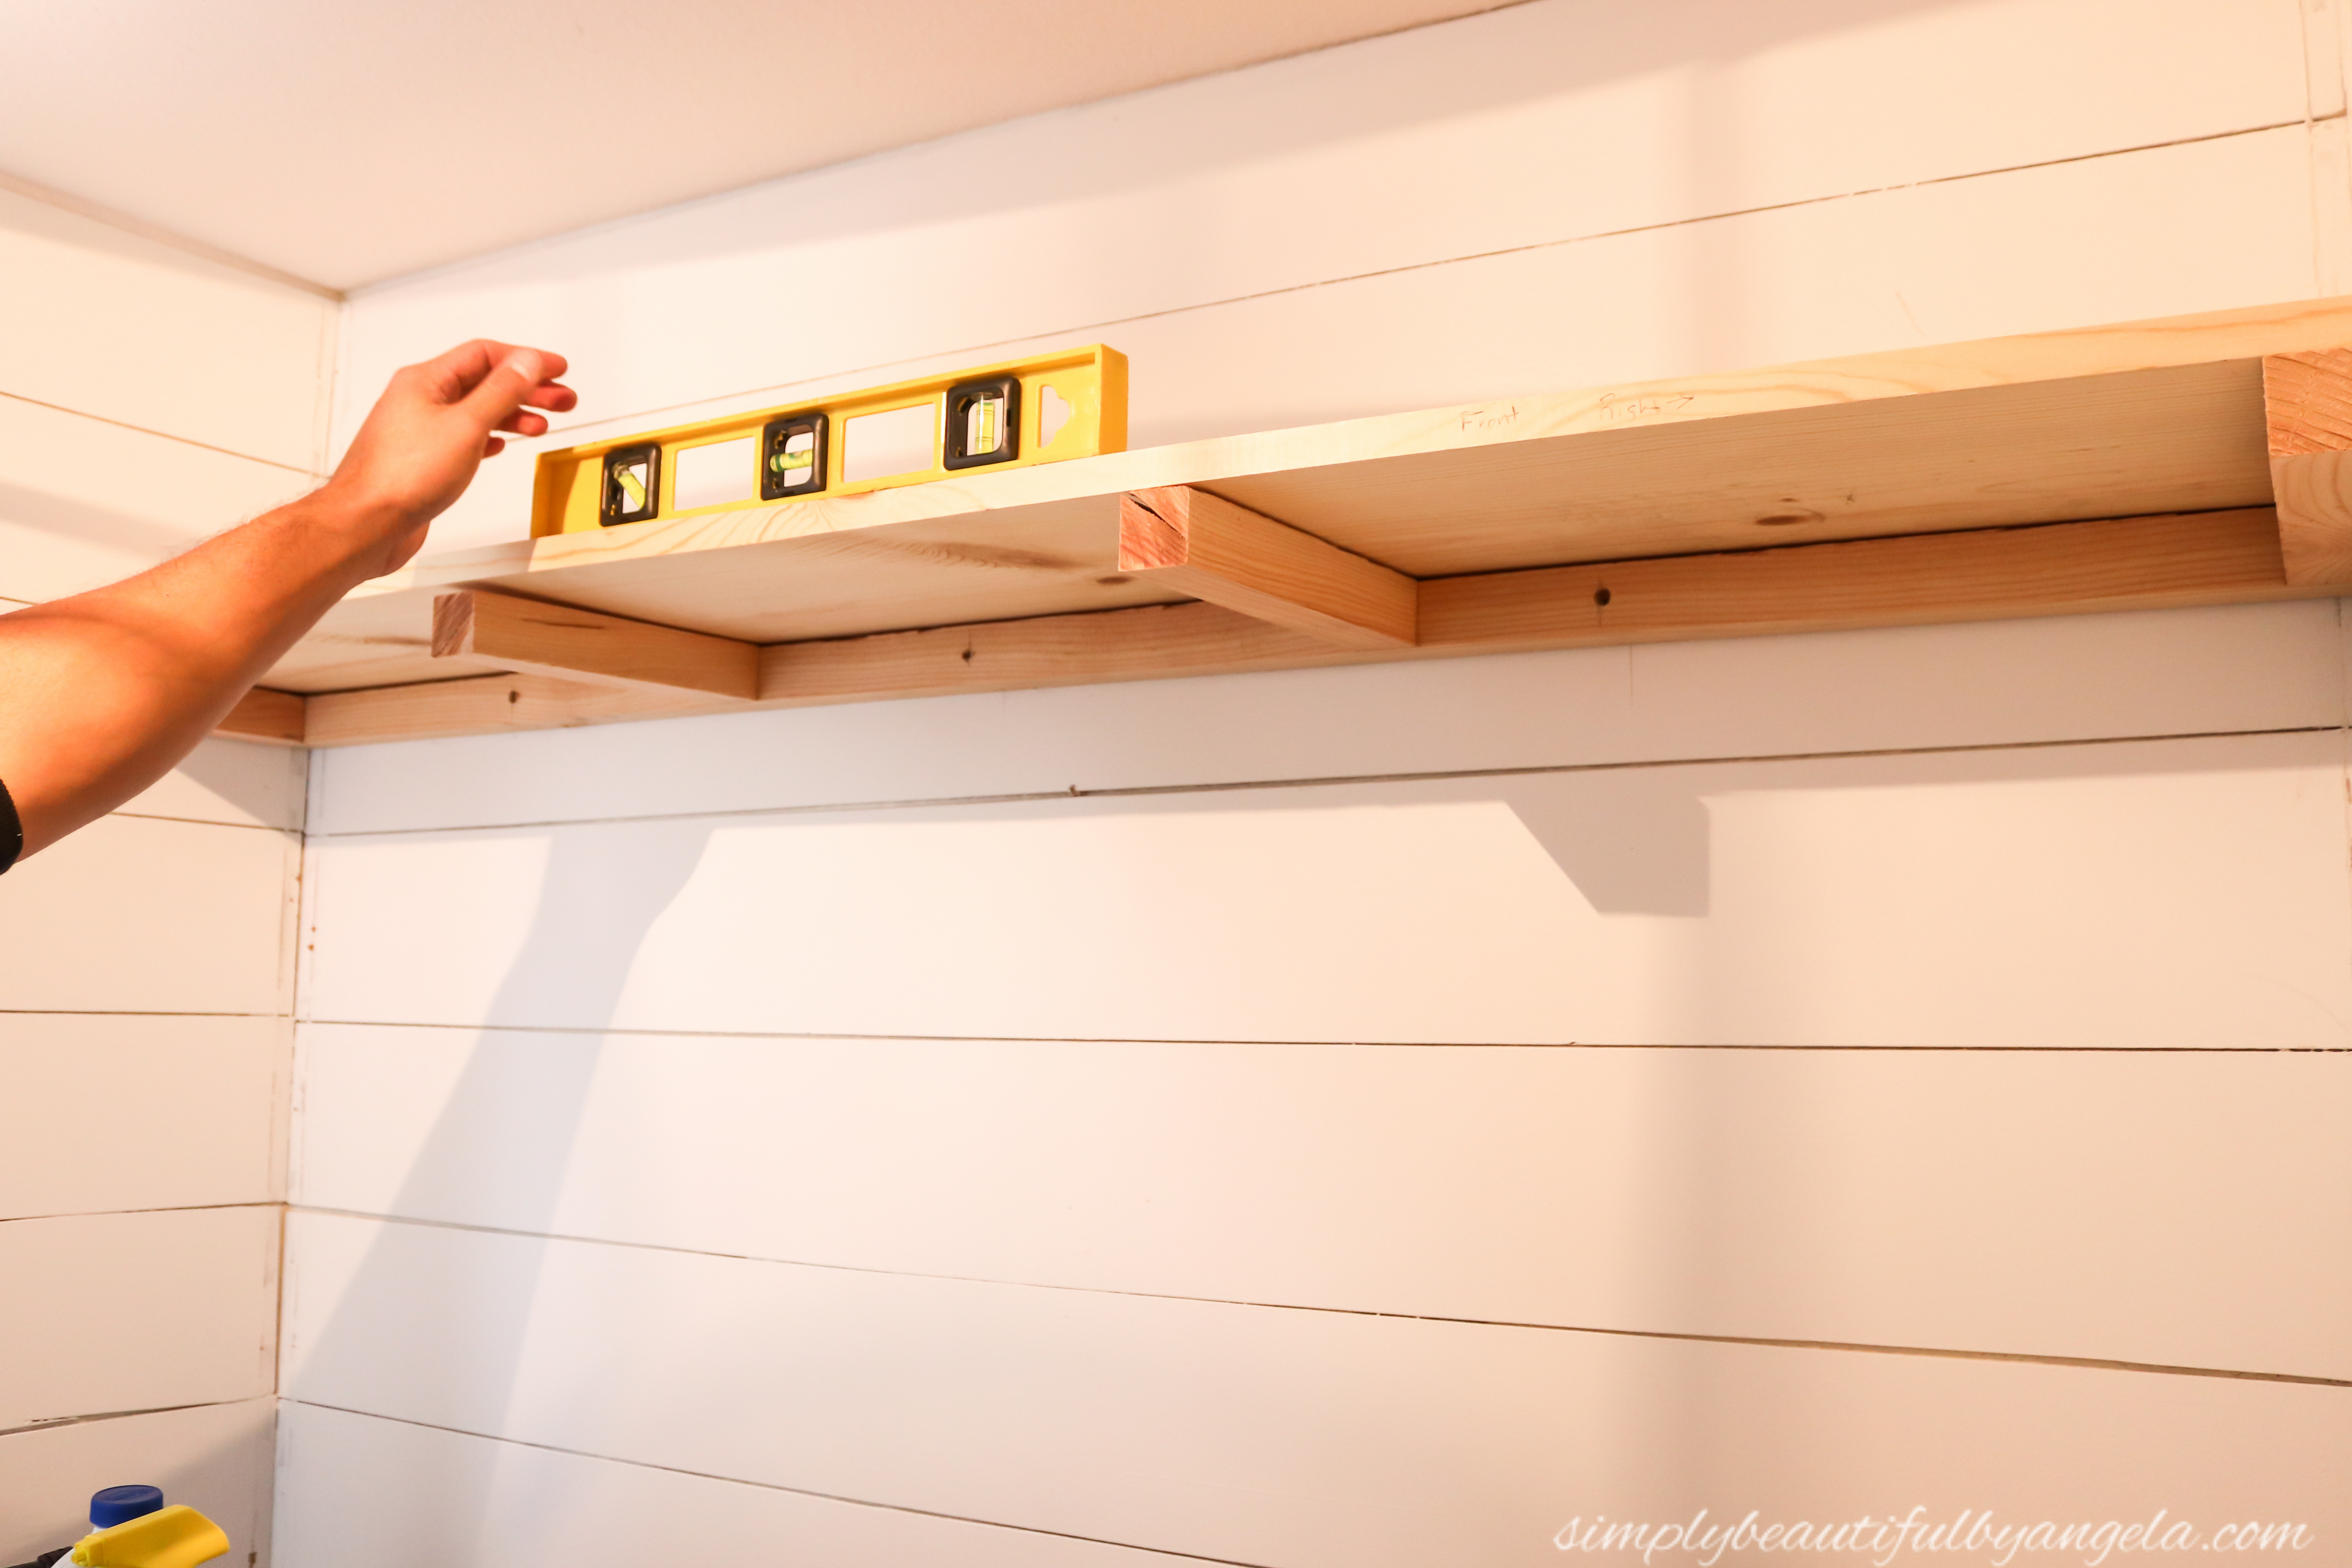
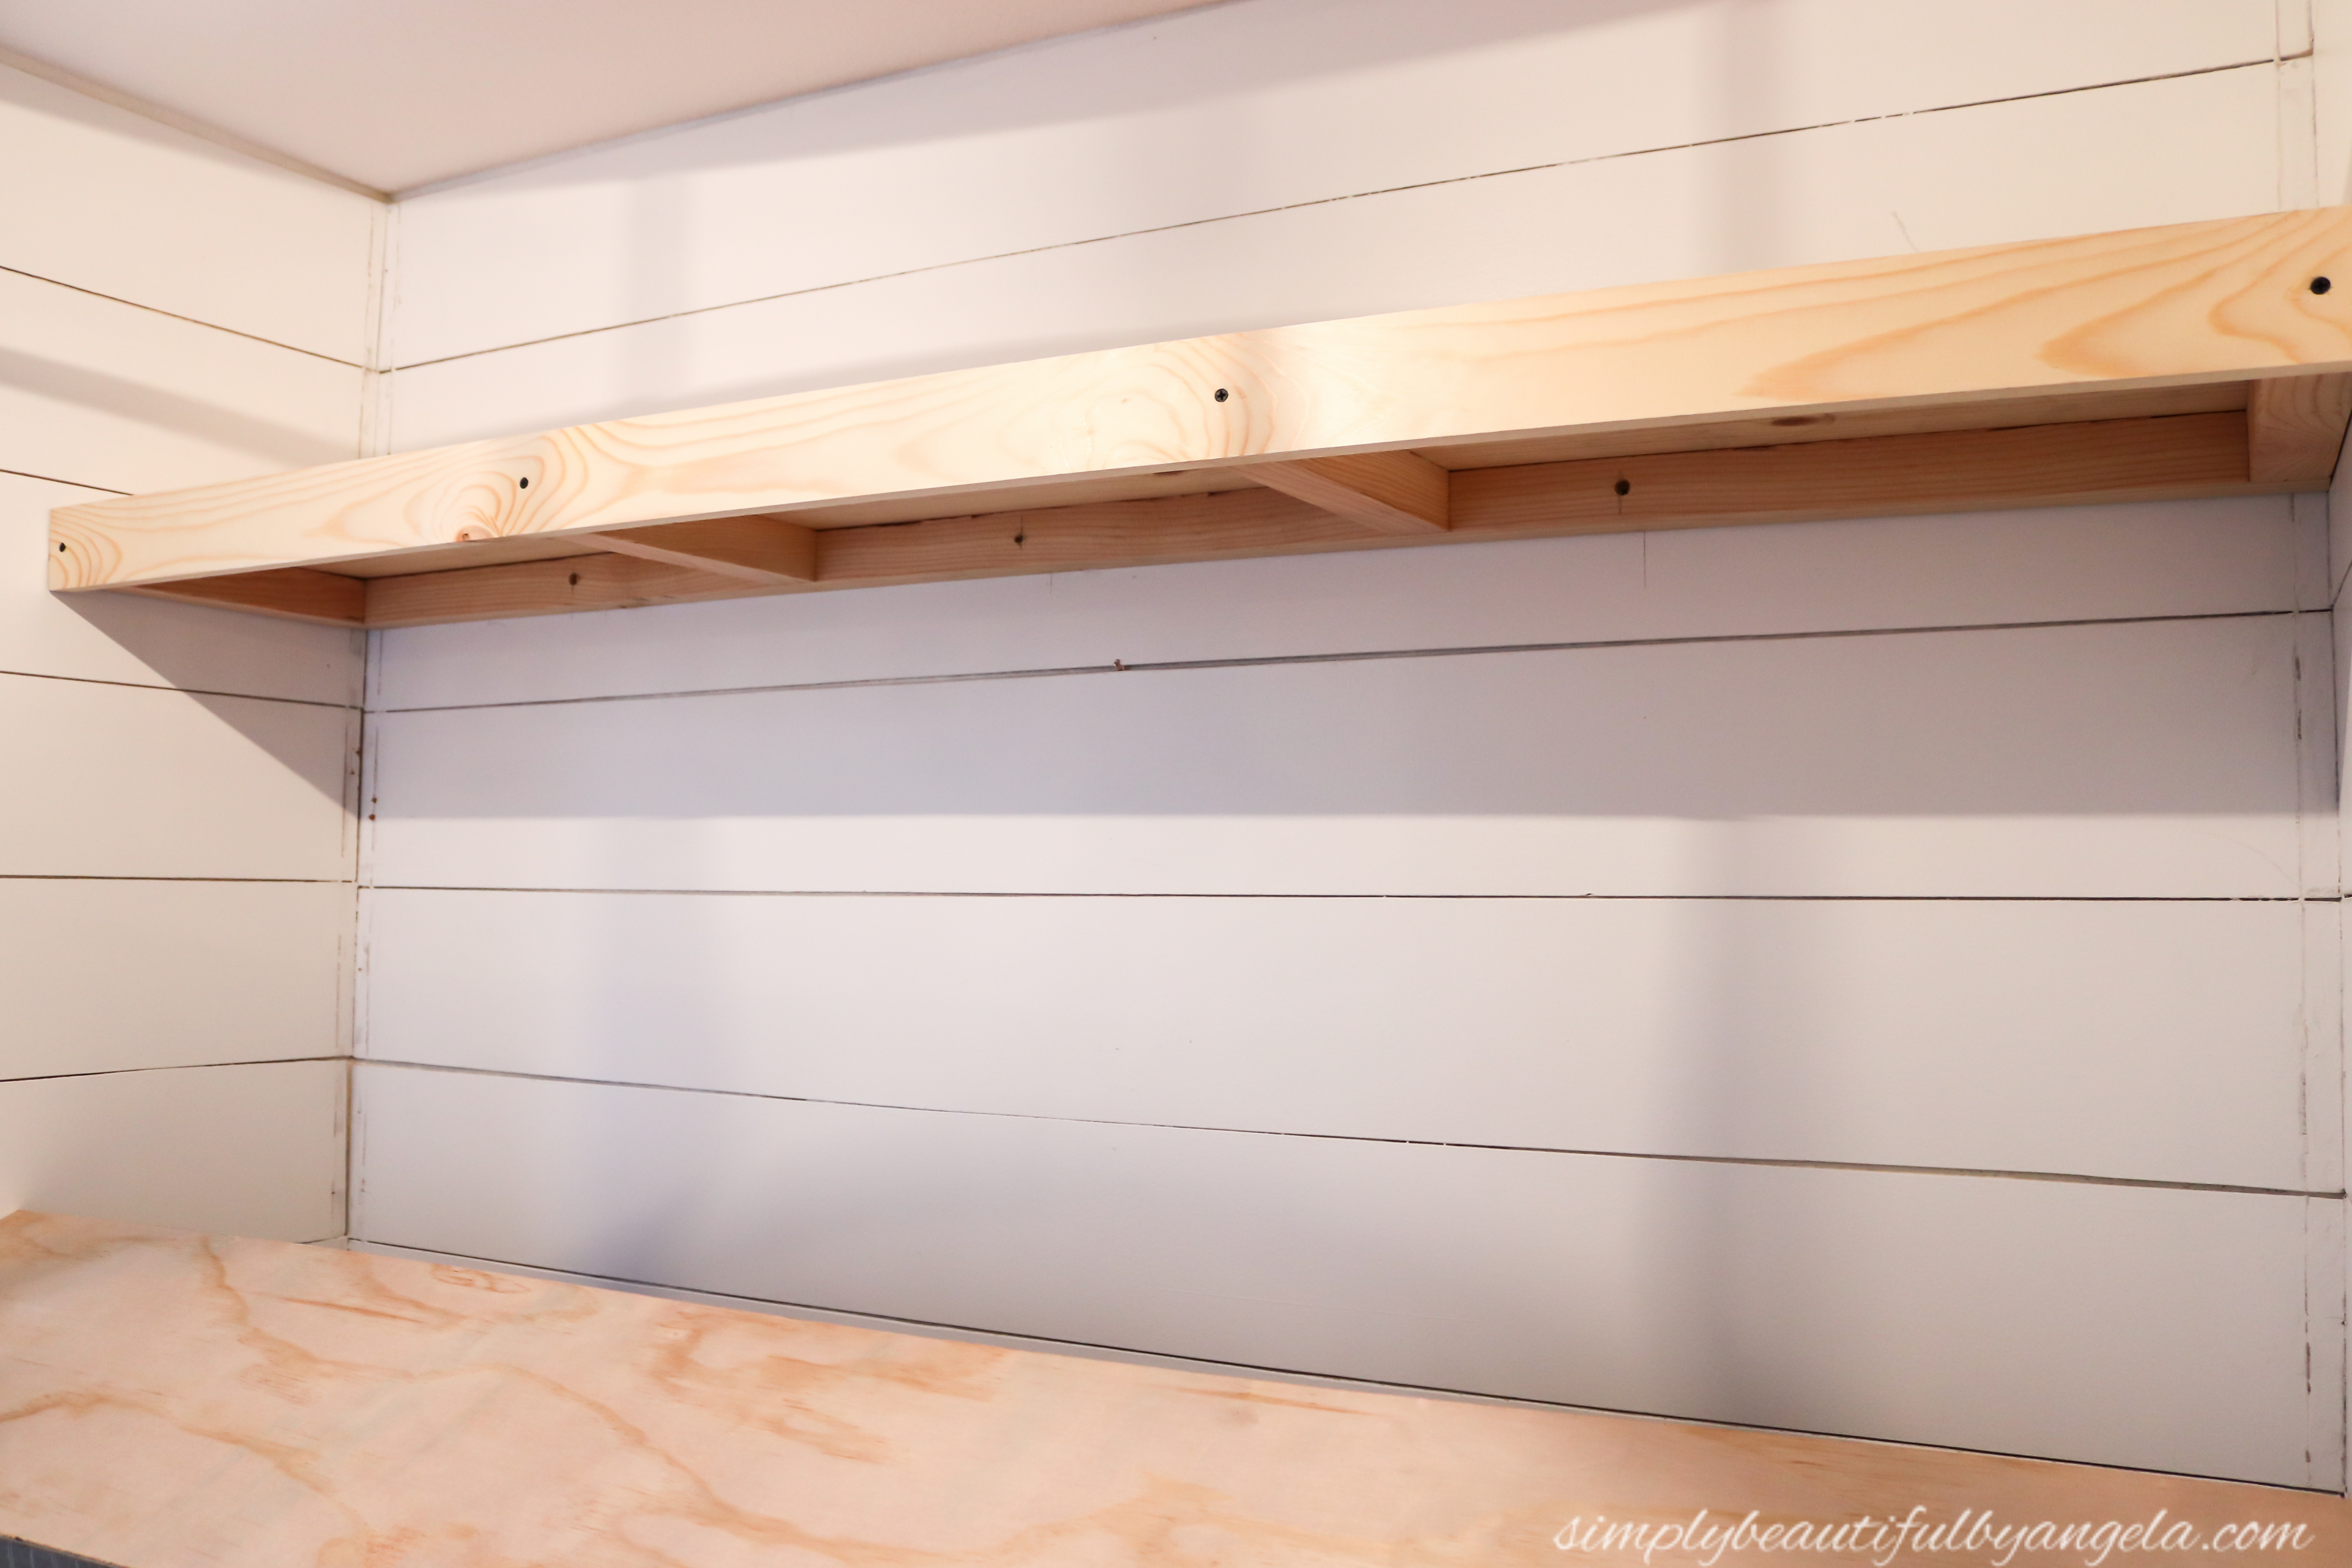
Finally, we had a 4′ x 8′ sheet of 1/4″ underlayment cut down to 11.25″ strips at Home Depot and then secured it to the bottom of the support piece.
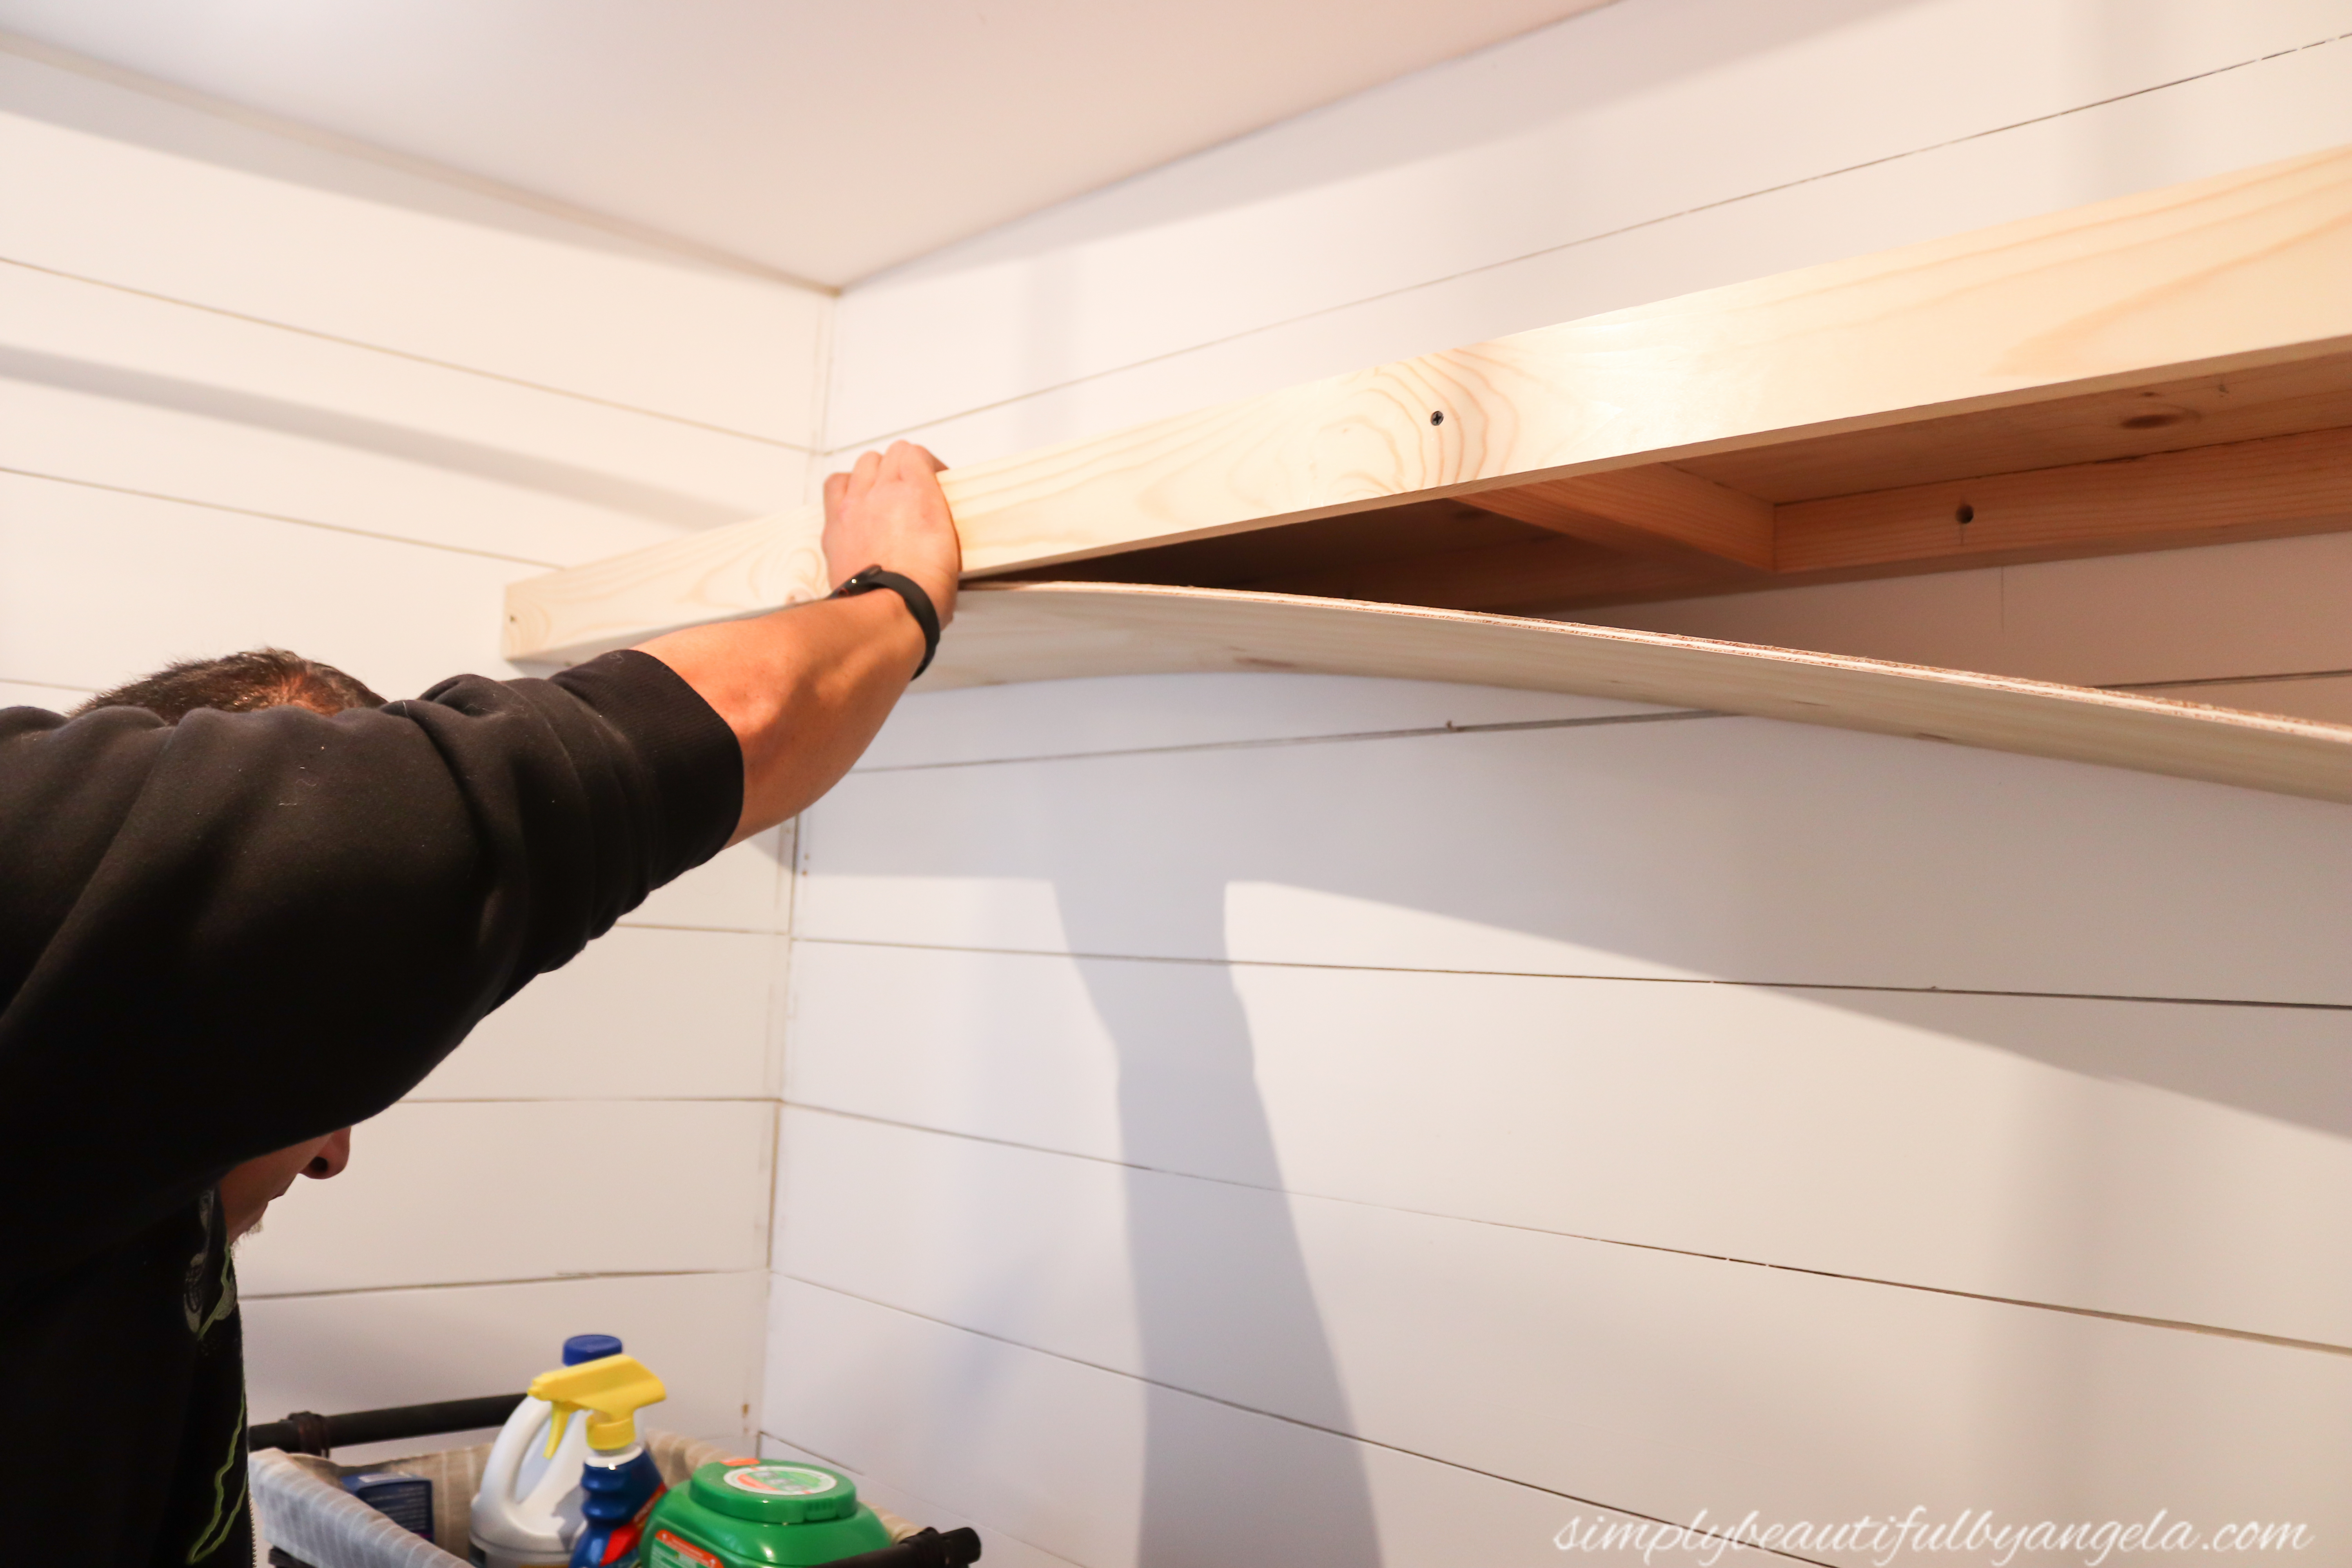
He repeated the process for the bottom shelf and then it was my turn to jump in to make them pretty!
I began by taping them off with my favorite painters tape–FrogTape. This stuff is the best at preventing bleed which is something I definitely did not want on my pretty white shiplap!
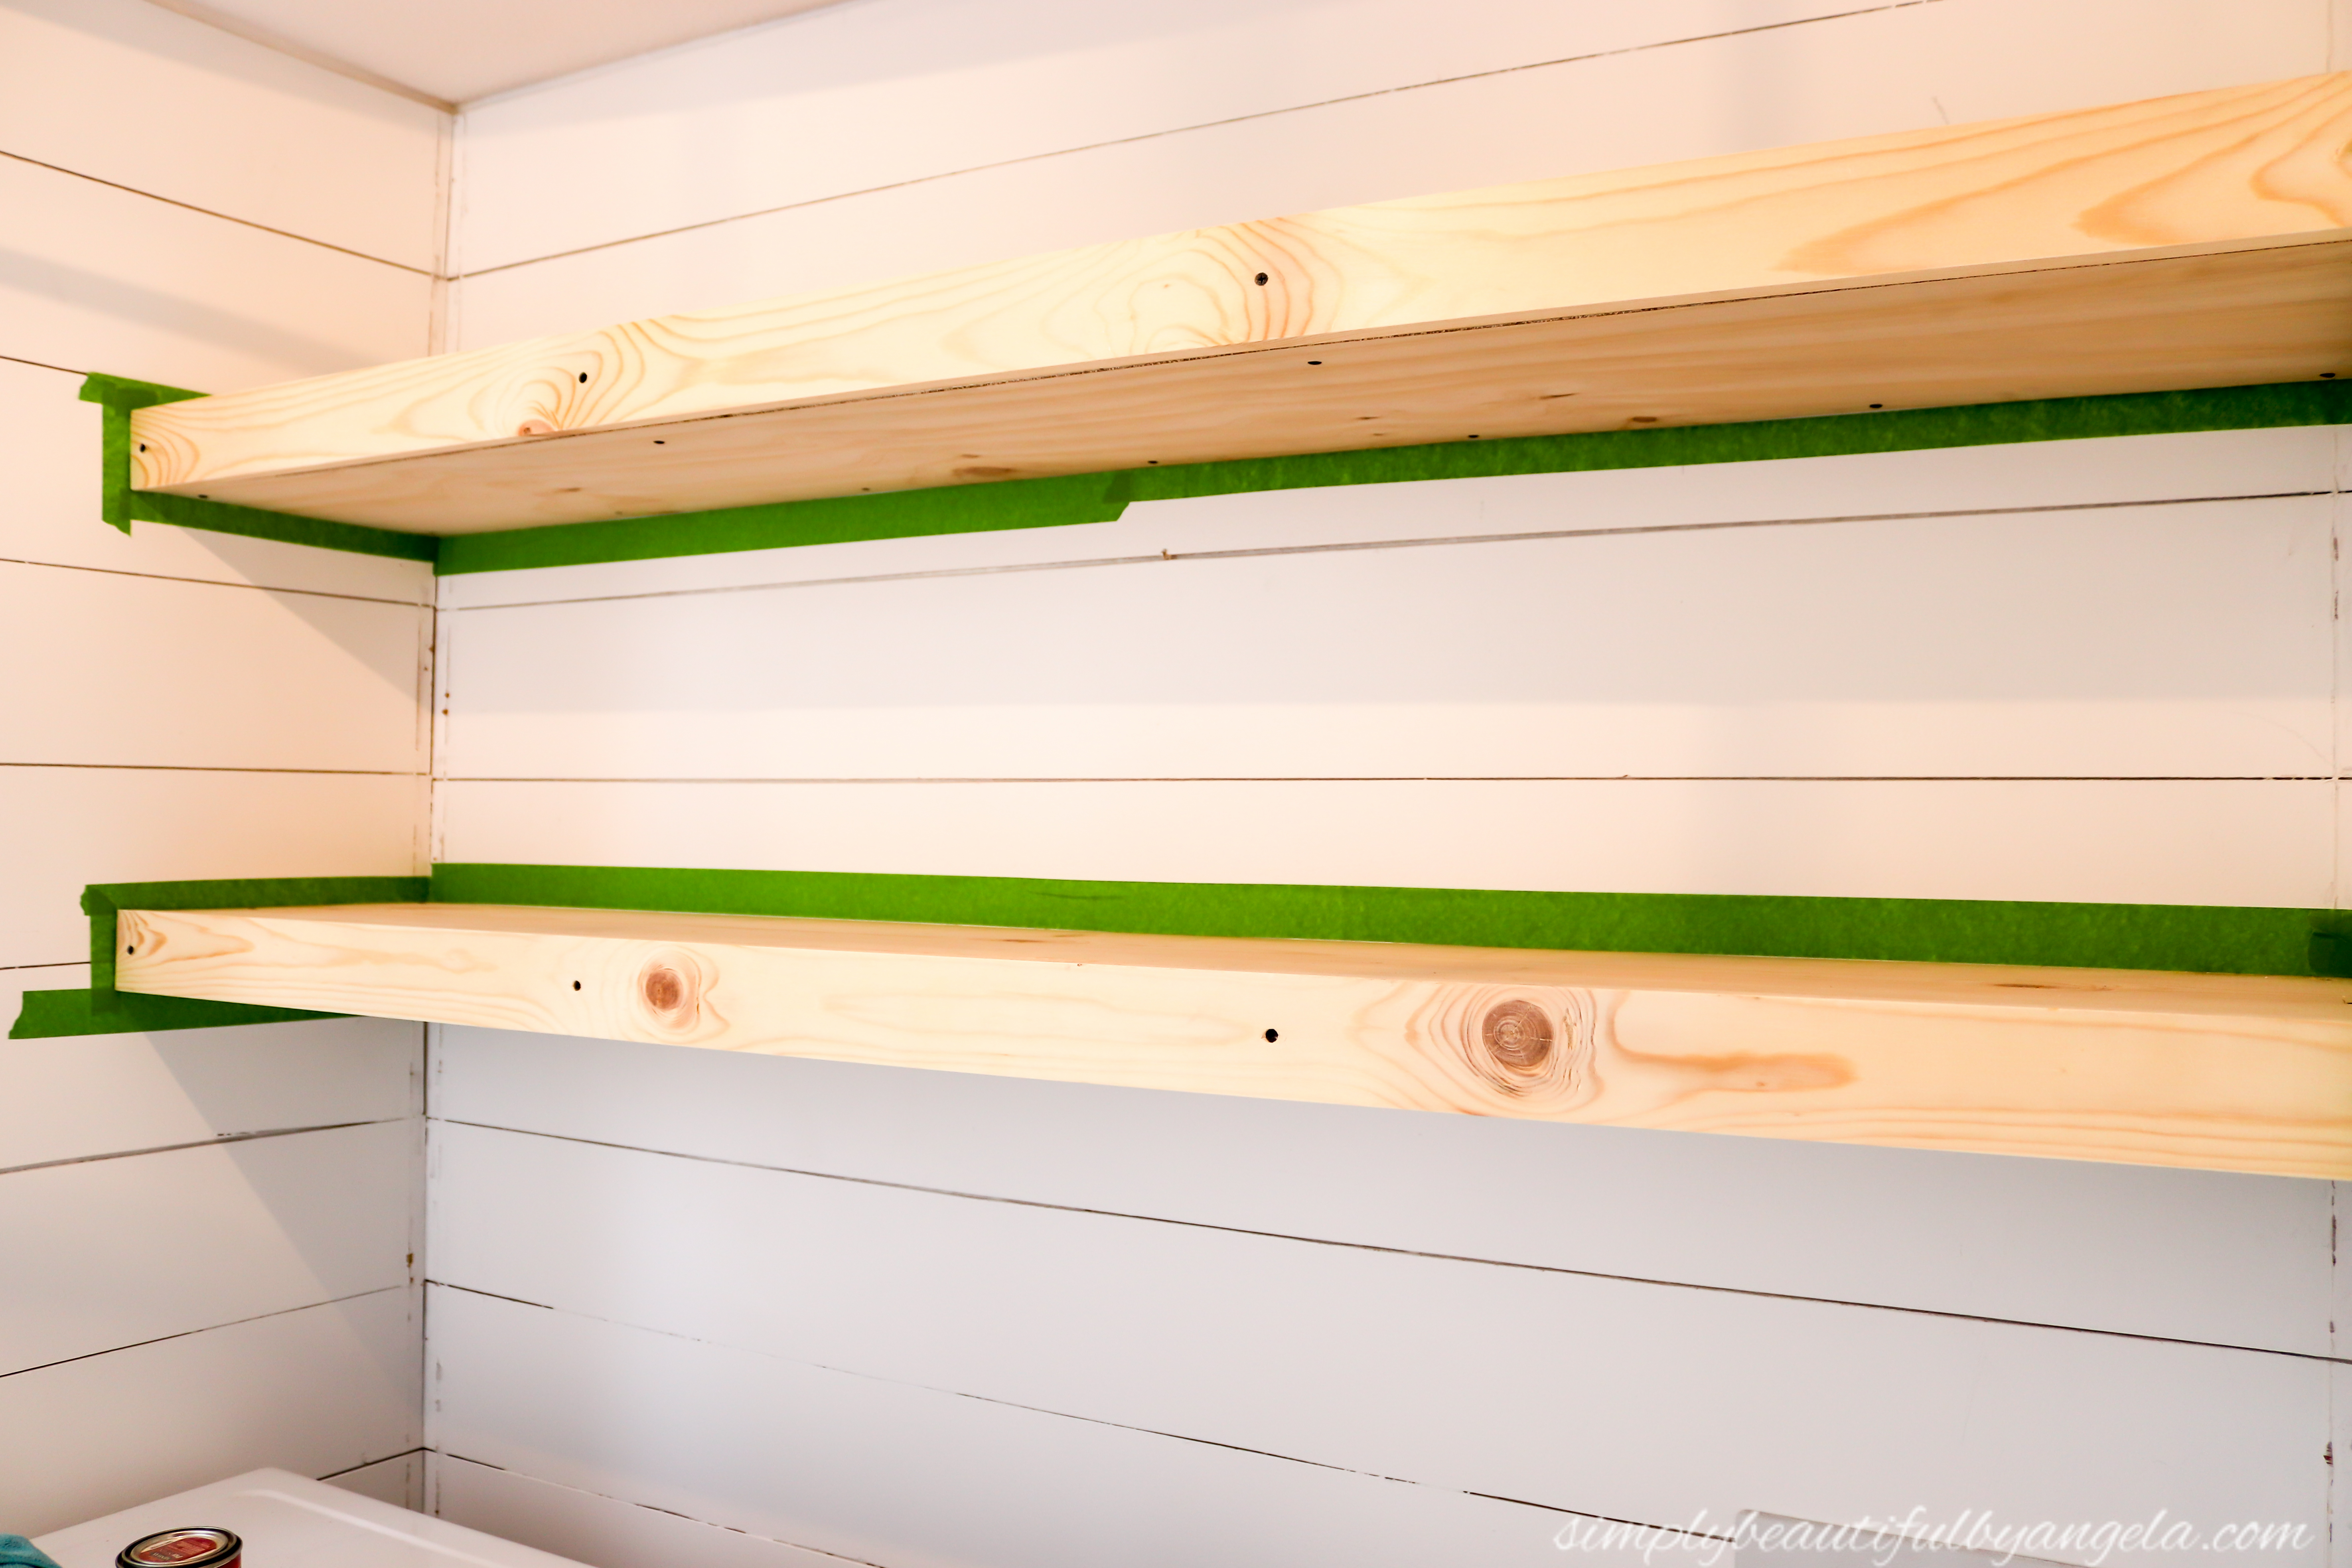
I used some medium grit sanpaper to smooth out the edges and a few of the rougher spots before applying a coat of Minwax Pre-Stain Wood Conditioner.
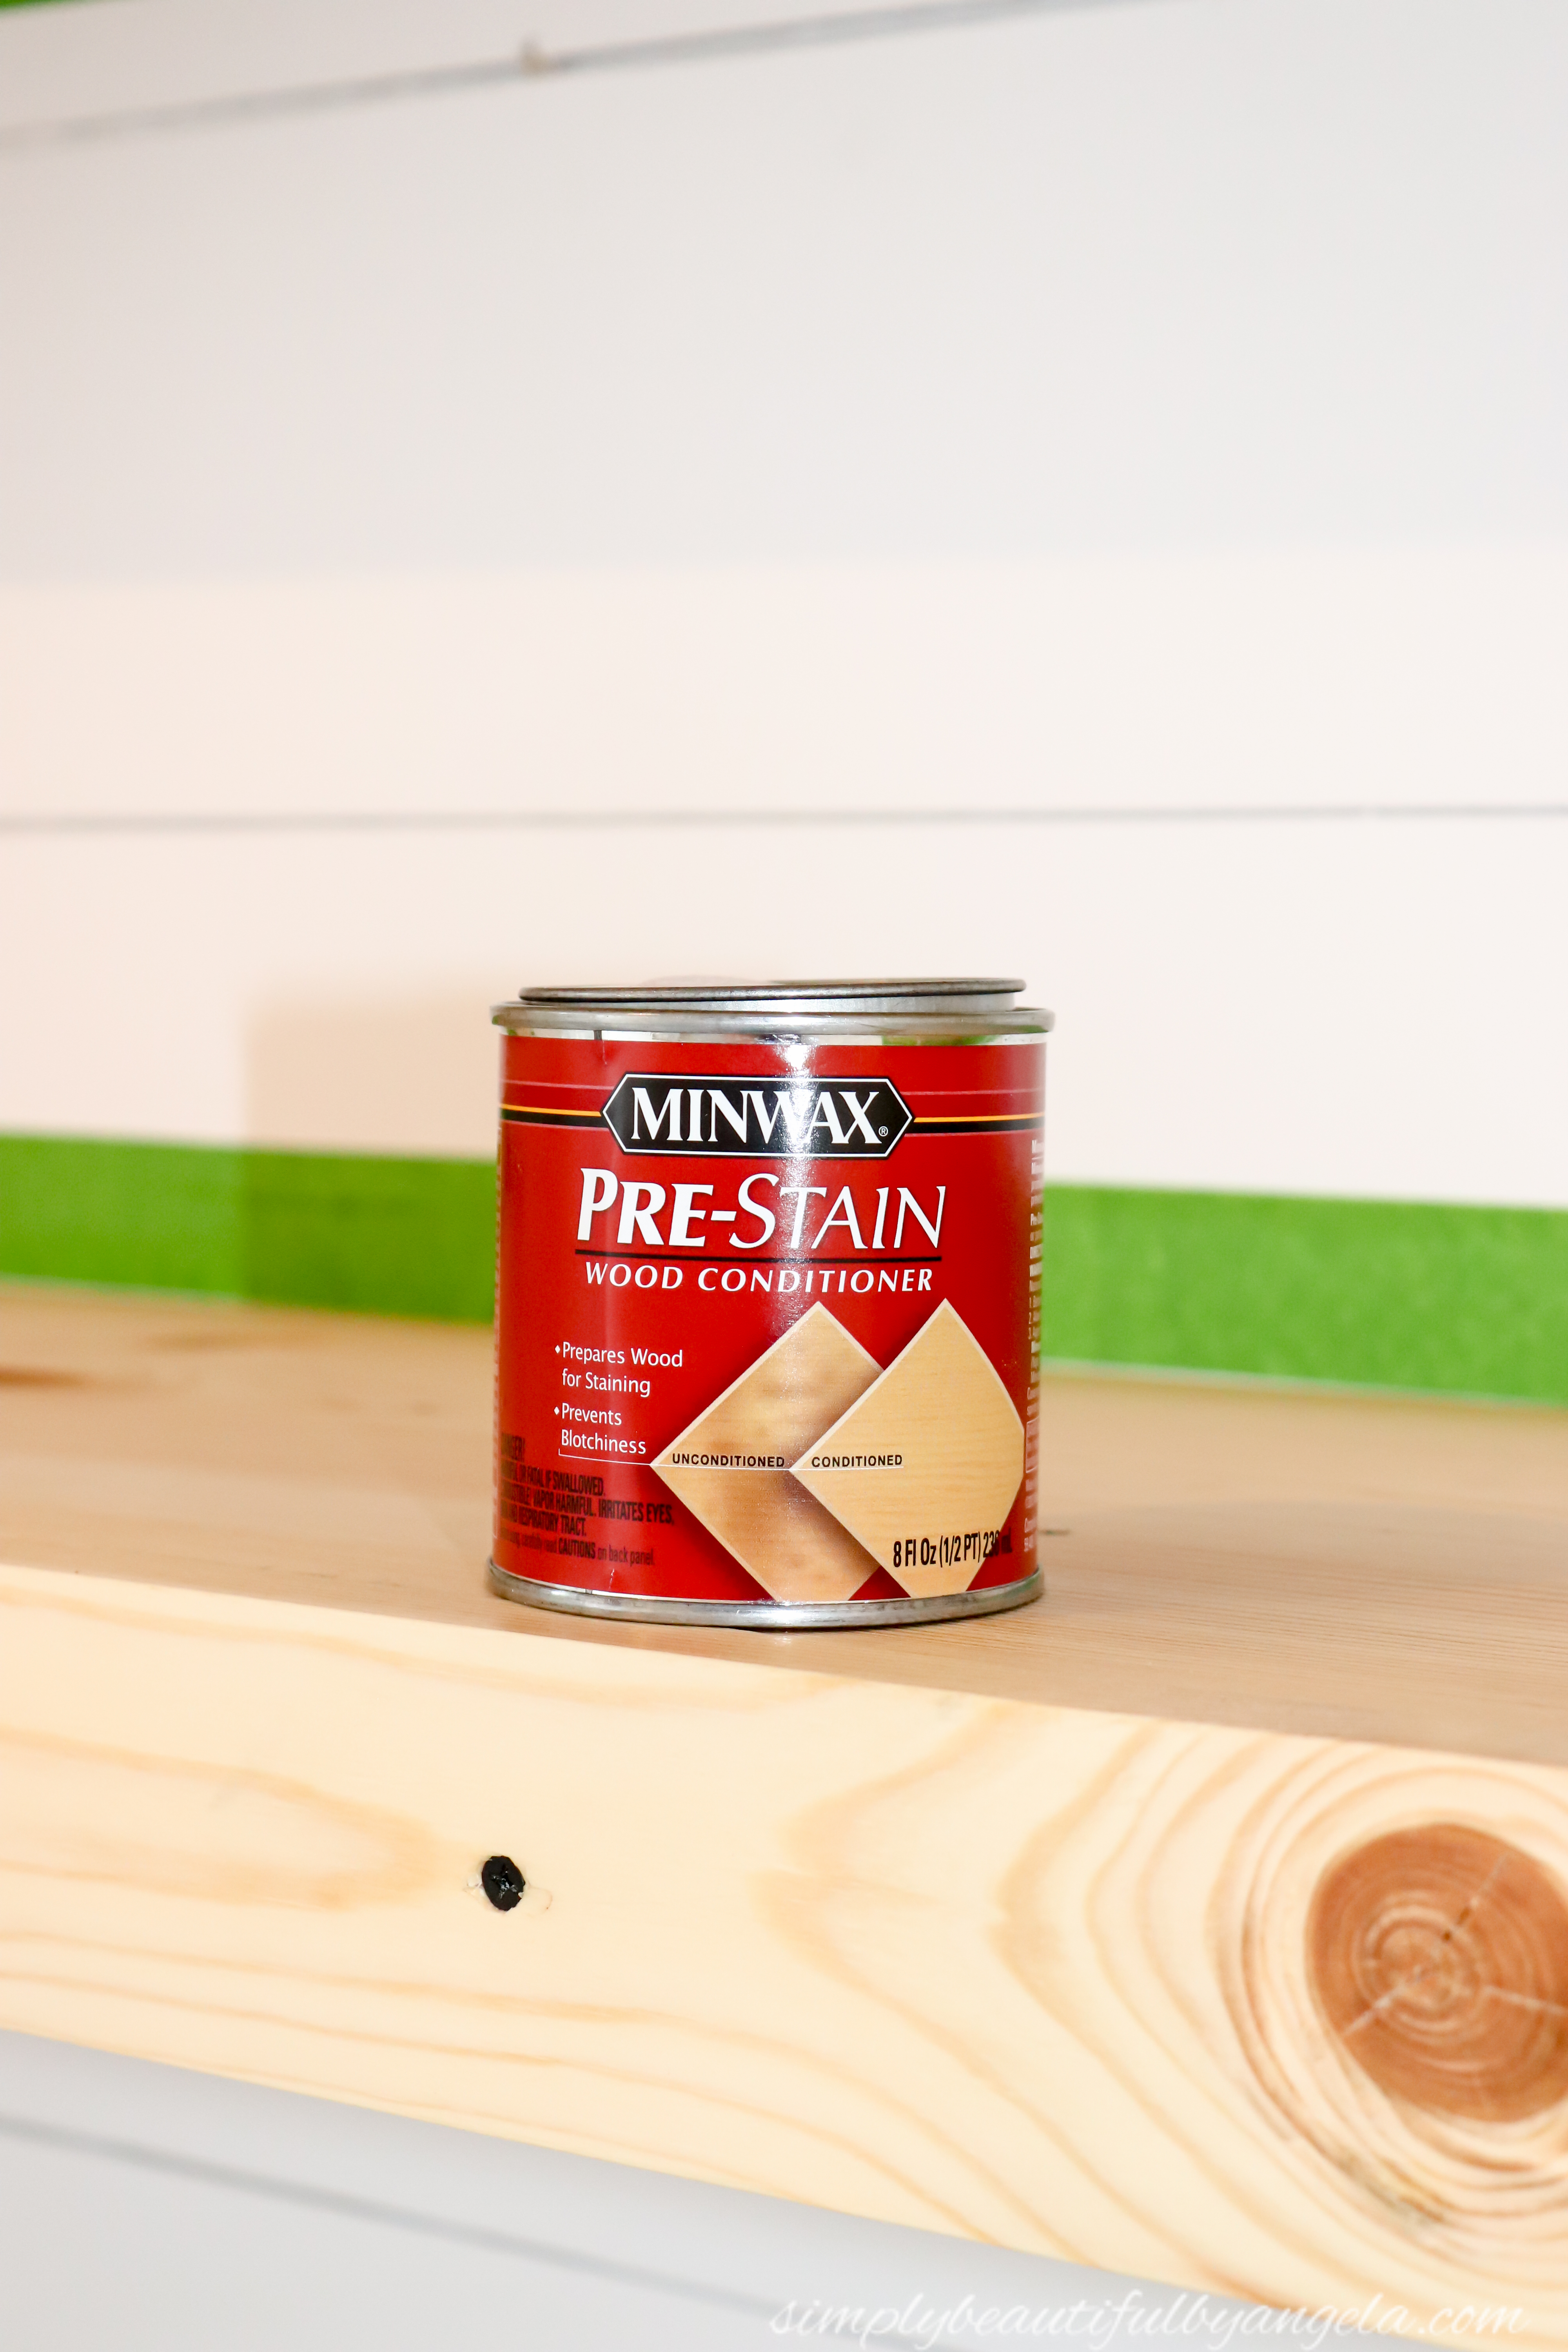
I let it sit for about 15 minutes and then mixed up a custom stain which was about 75% Minwax Special Walnut and 25% Minwax Classic Gray.
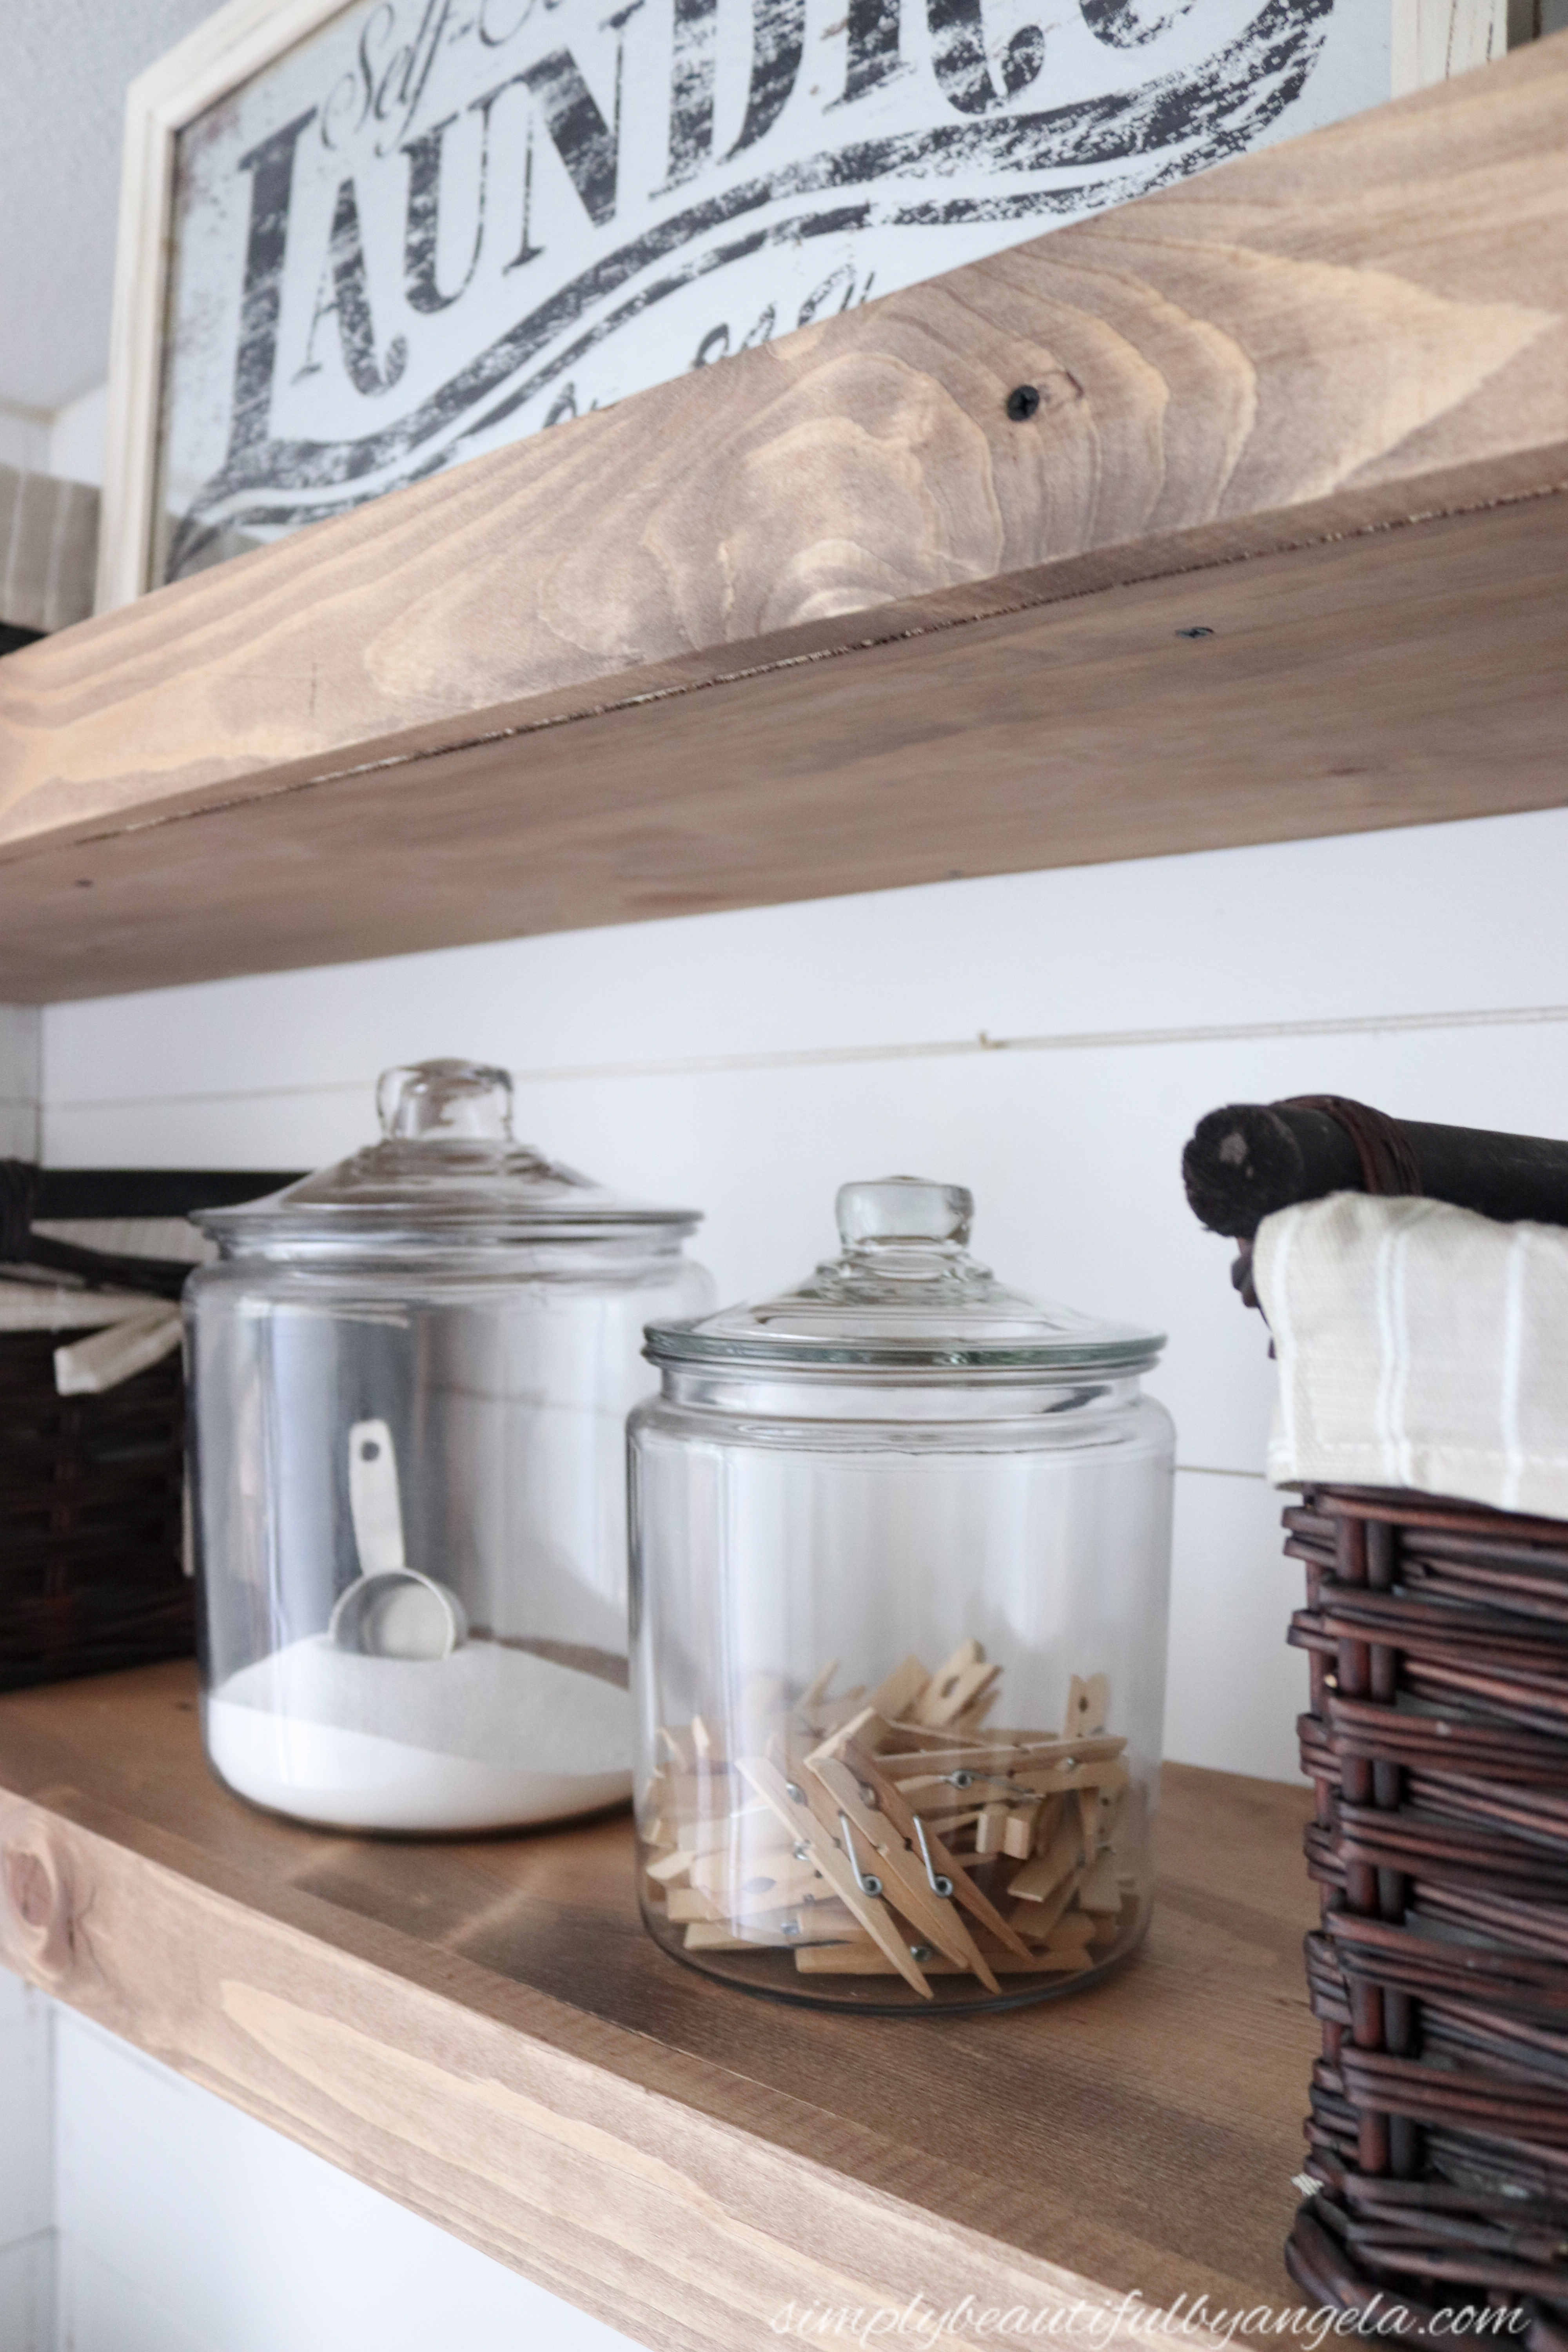
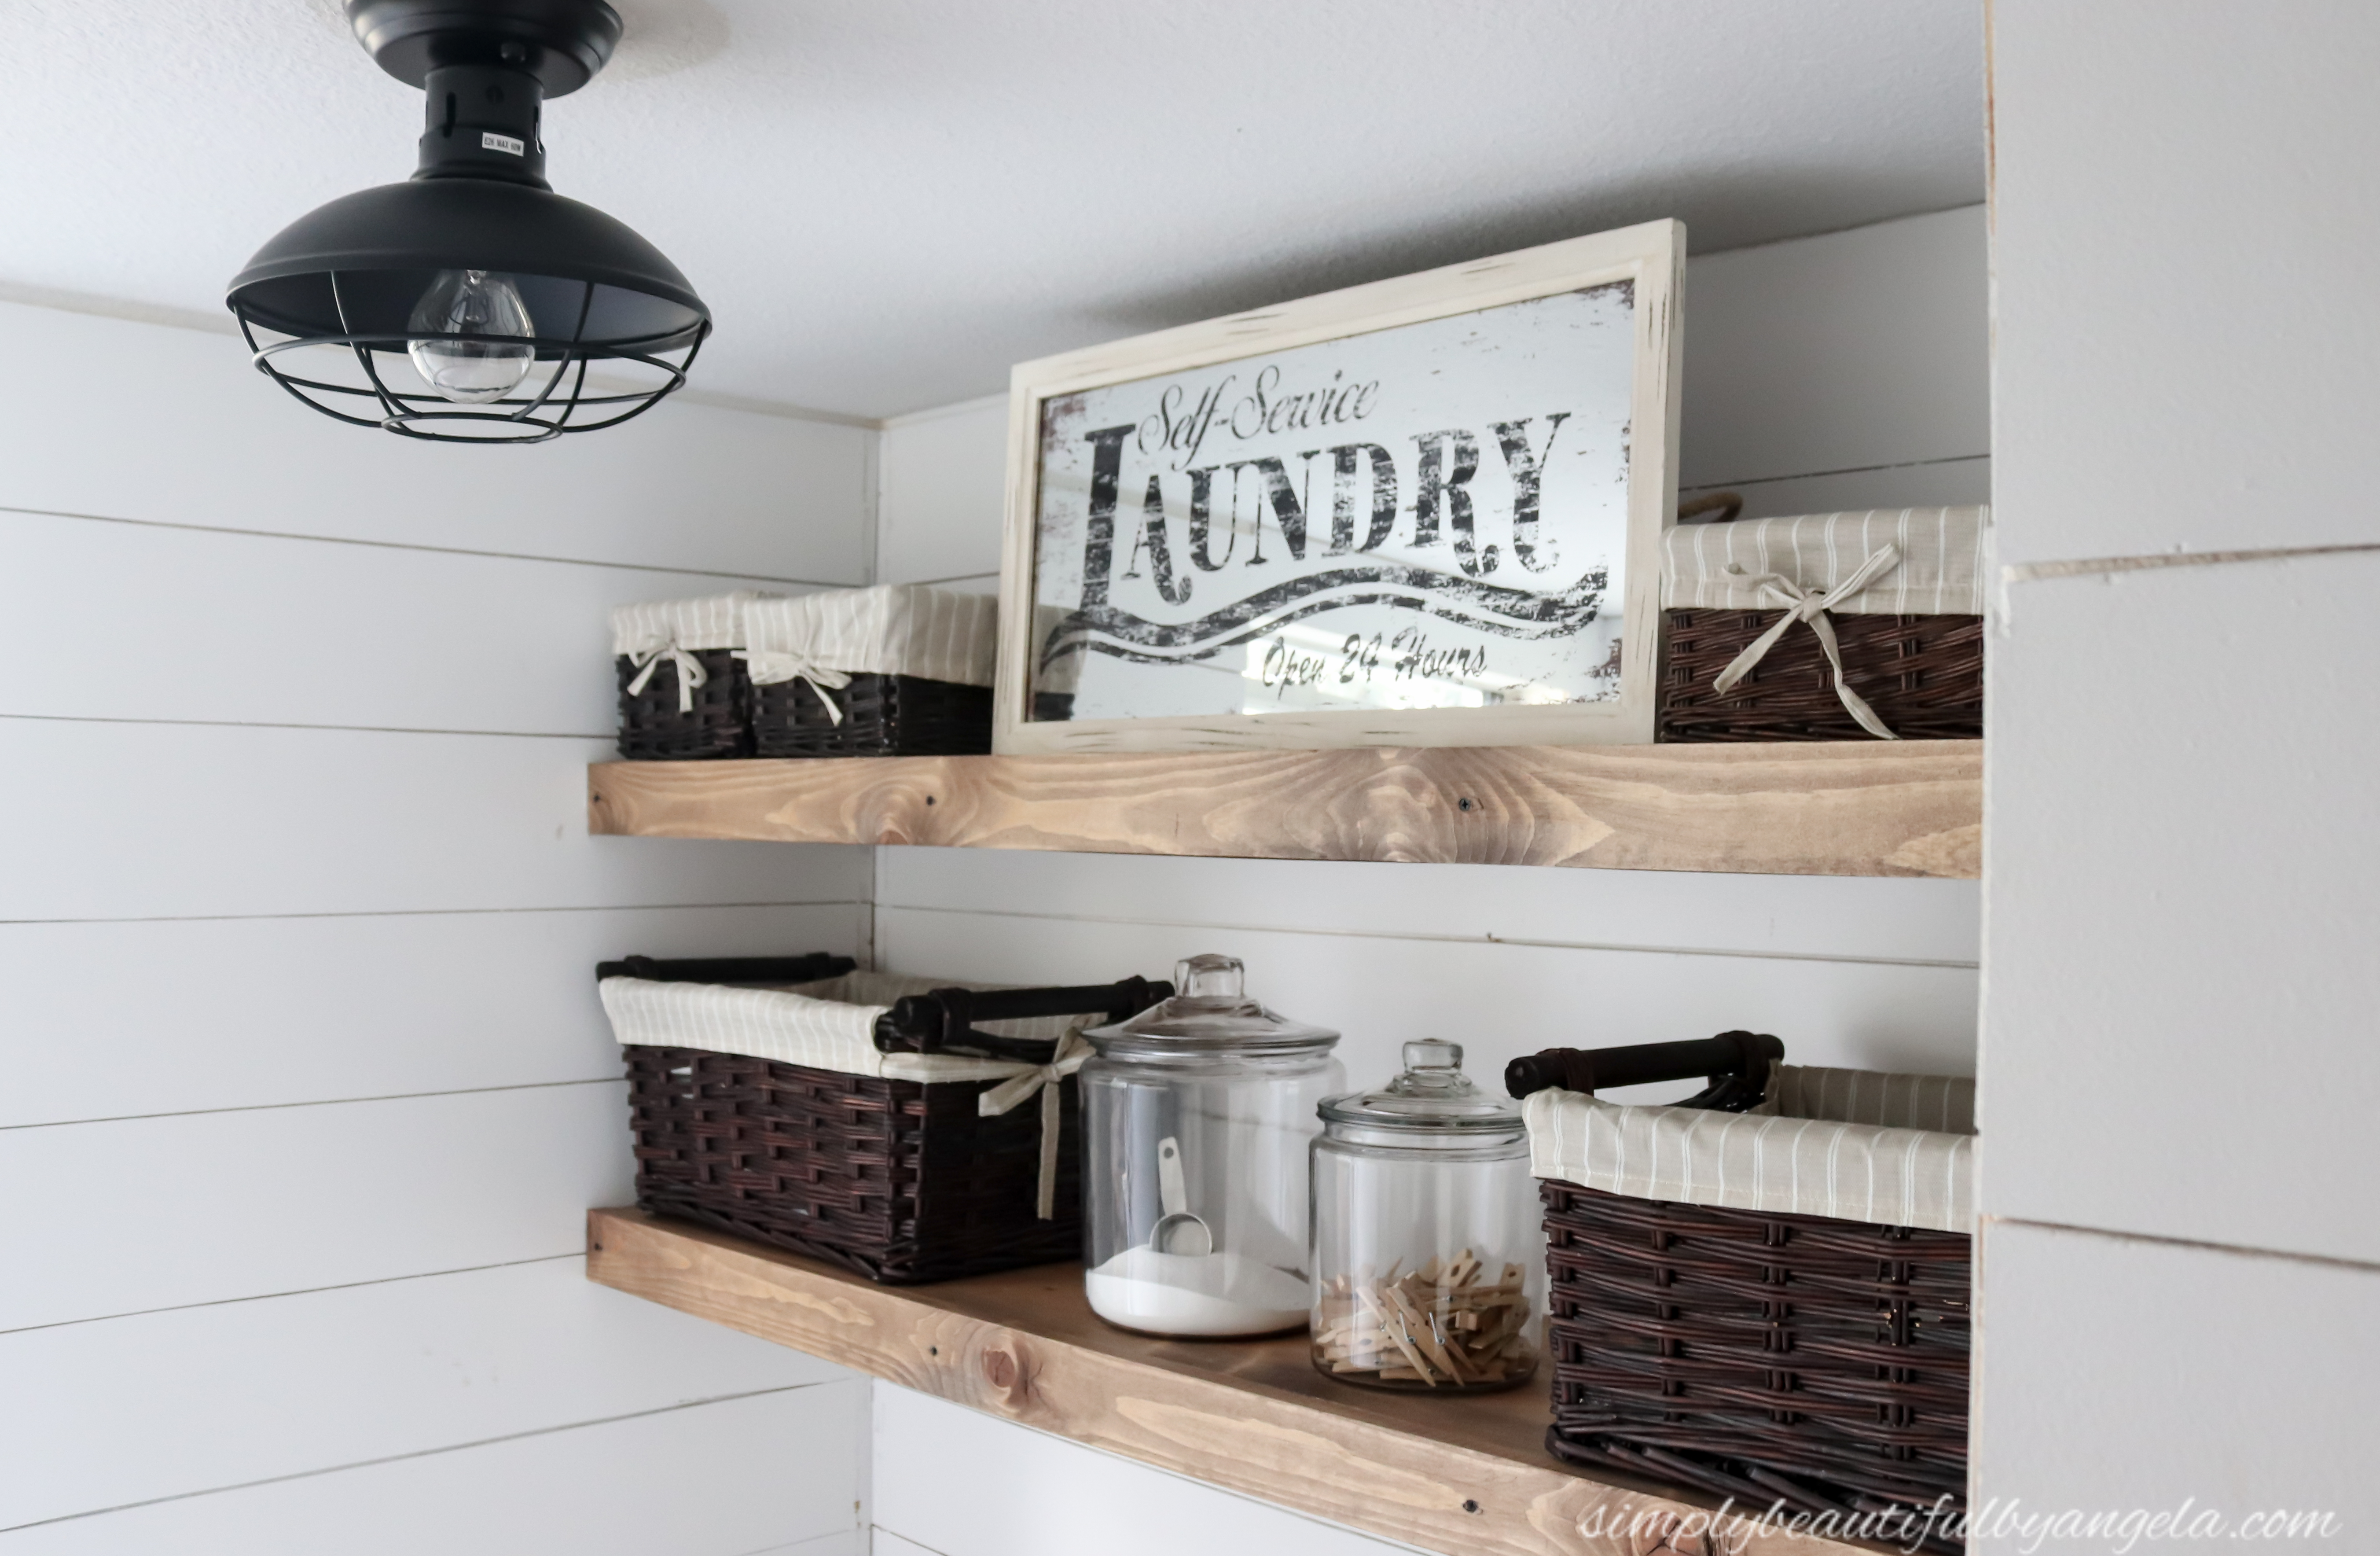
I finished them up with a coat of Minwax One Coat Polyurethane to protect them and this is how they turned out!
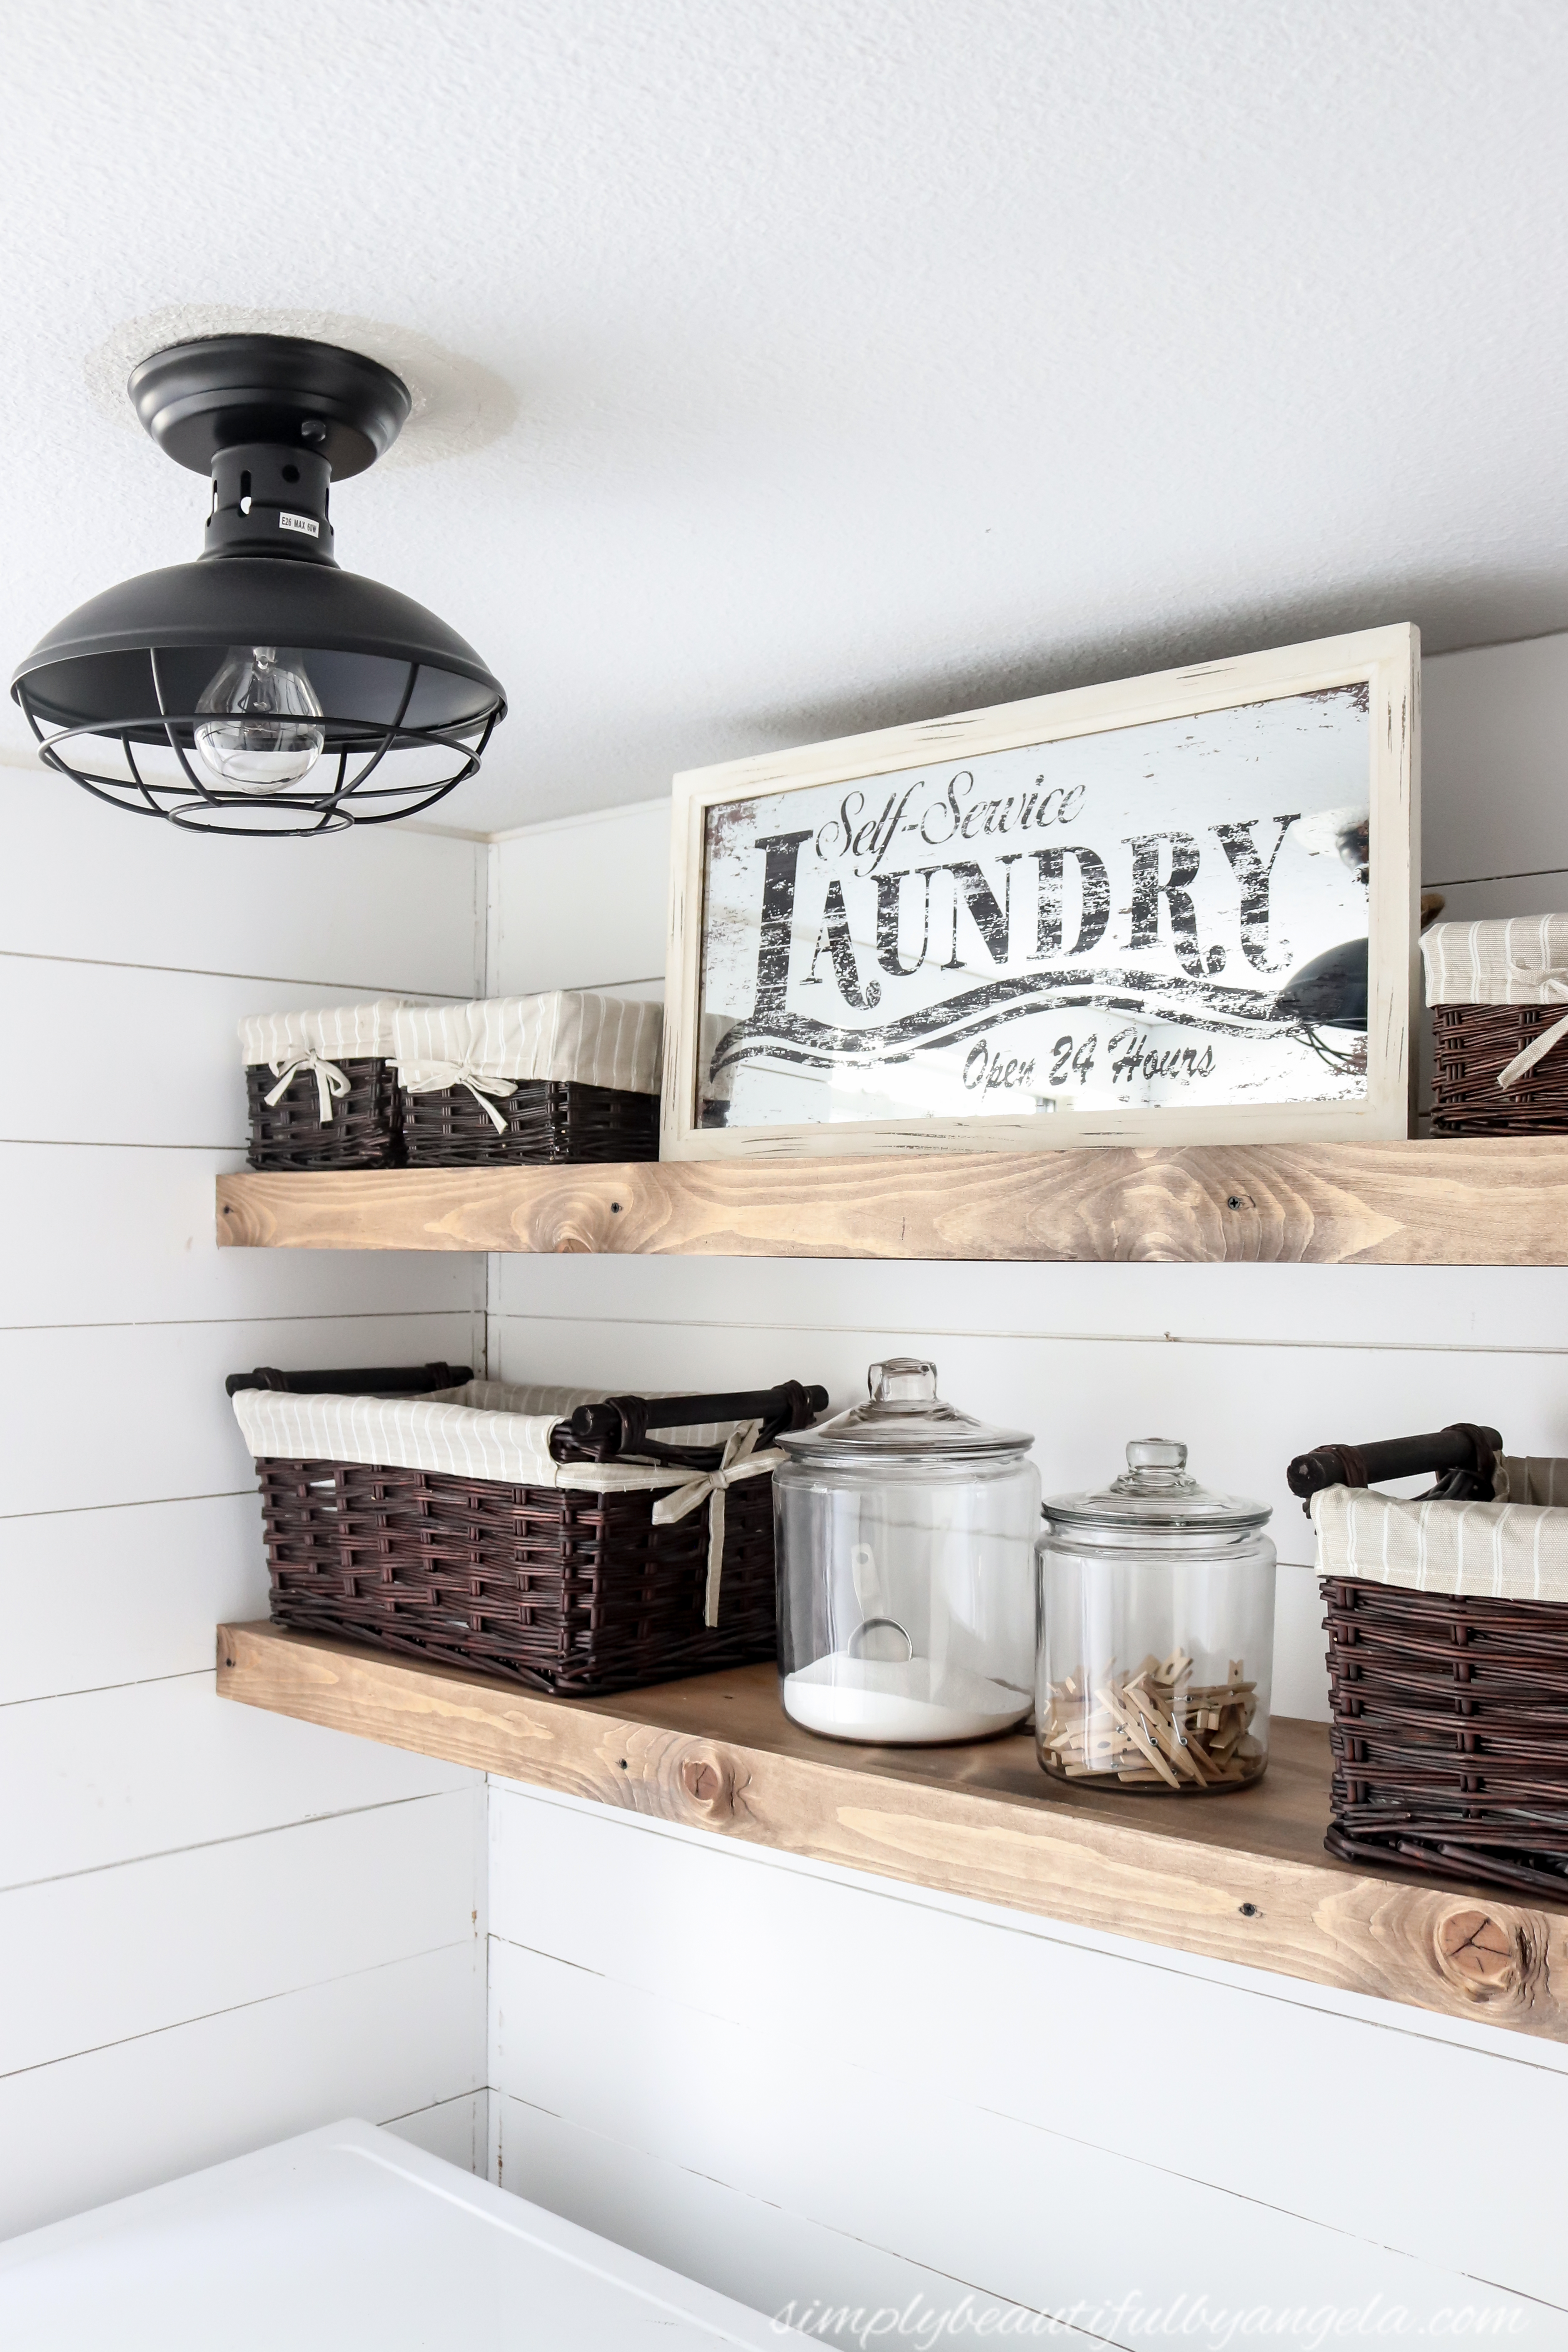
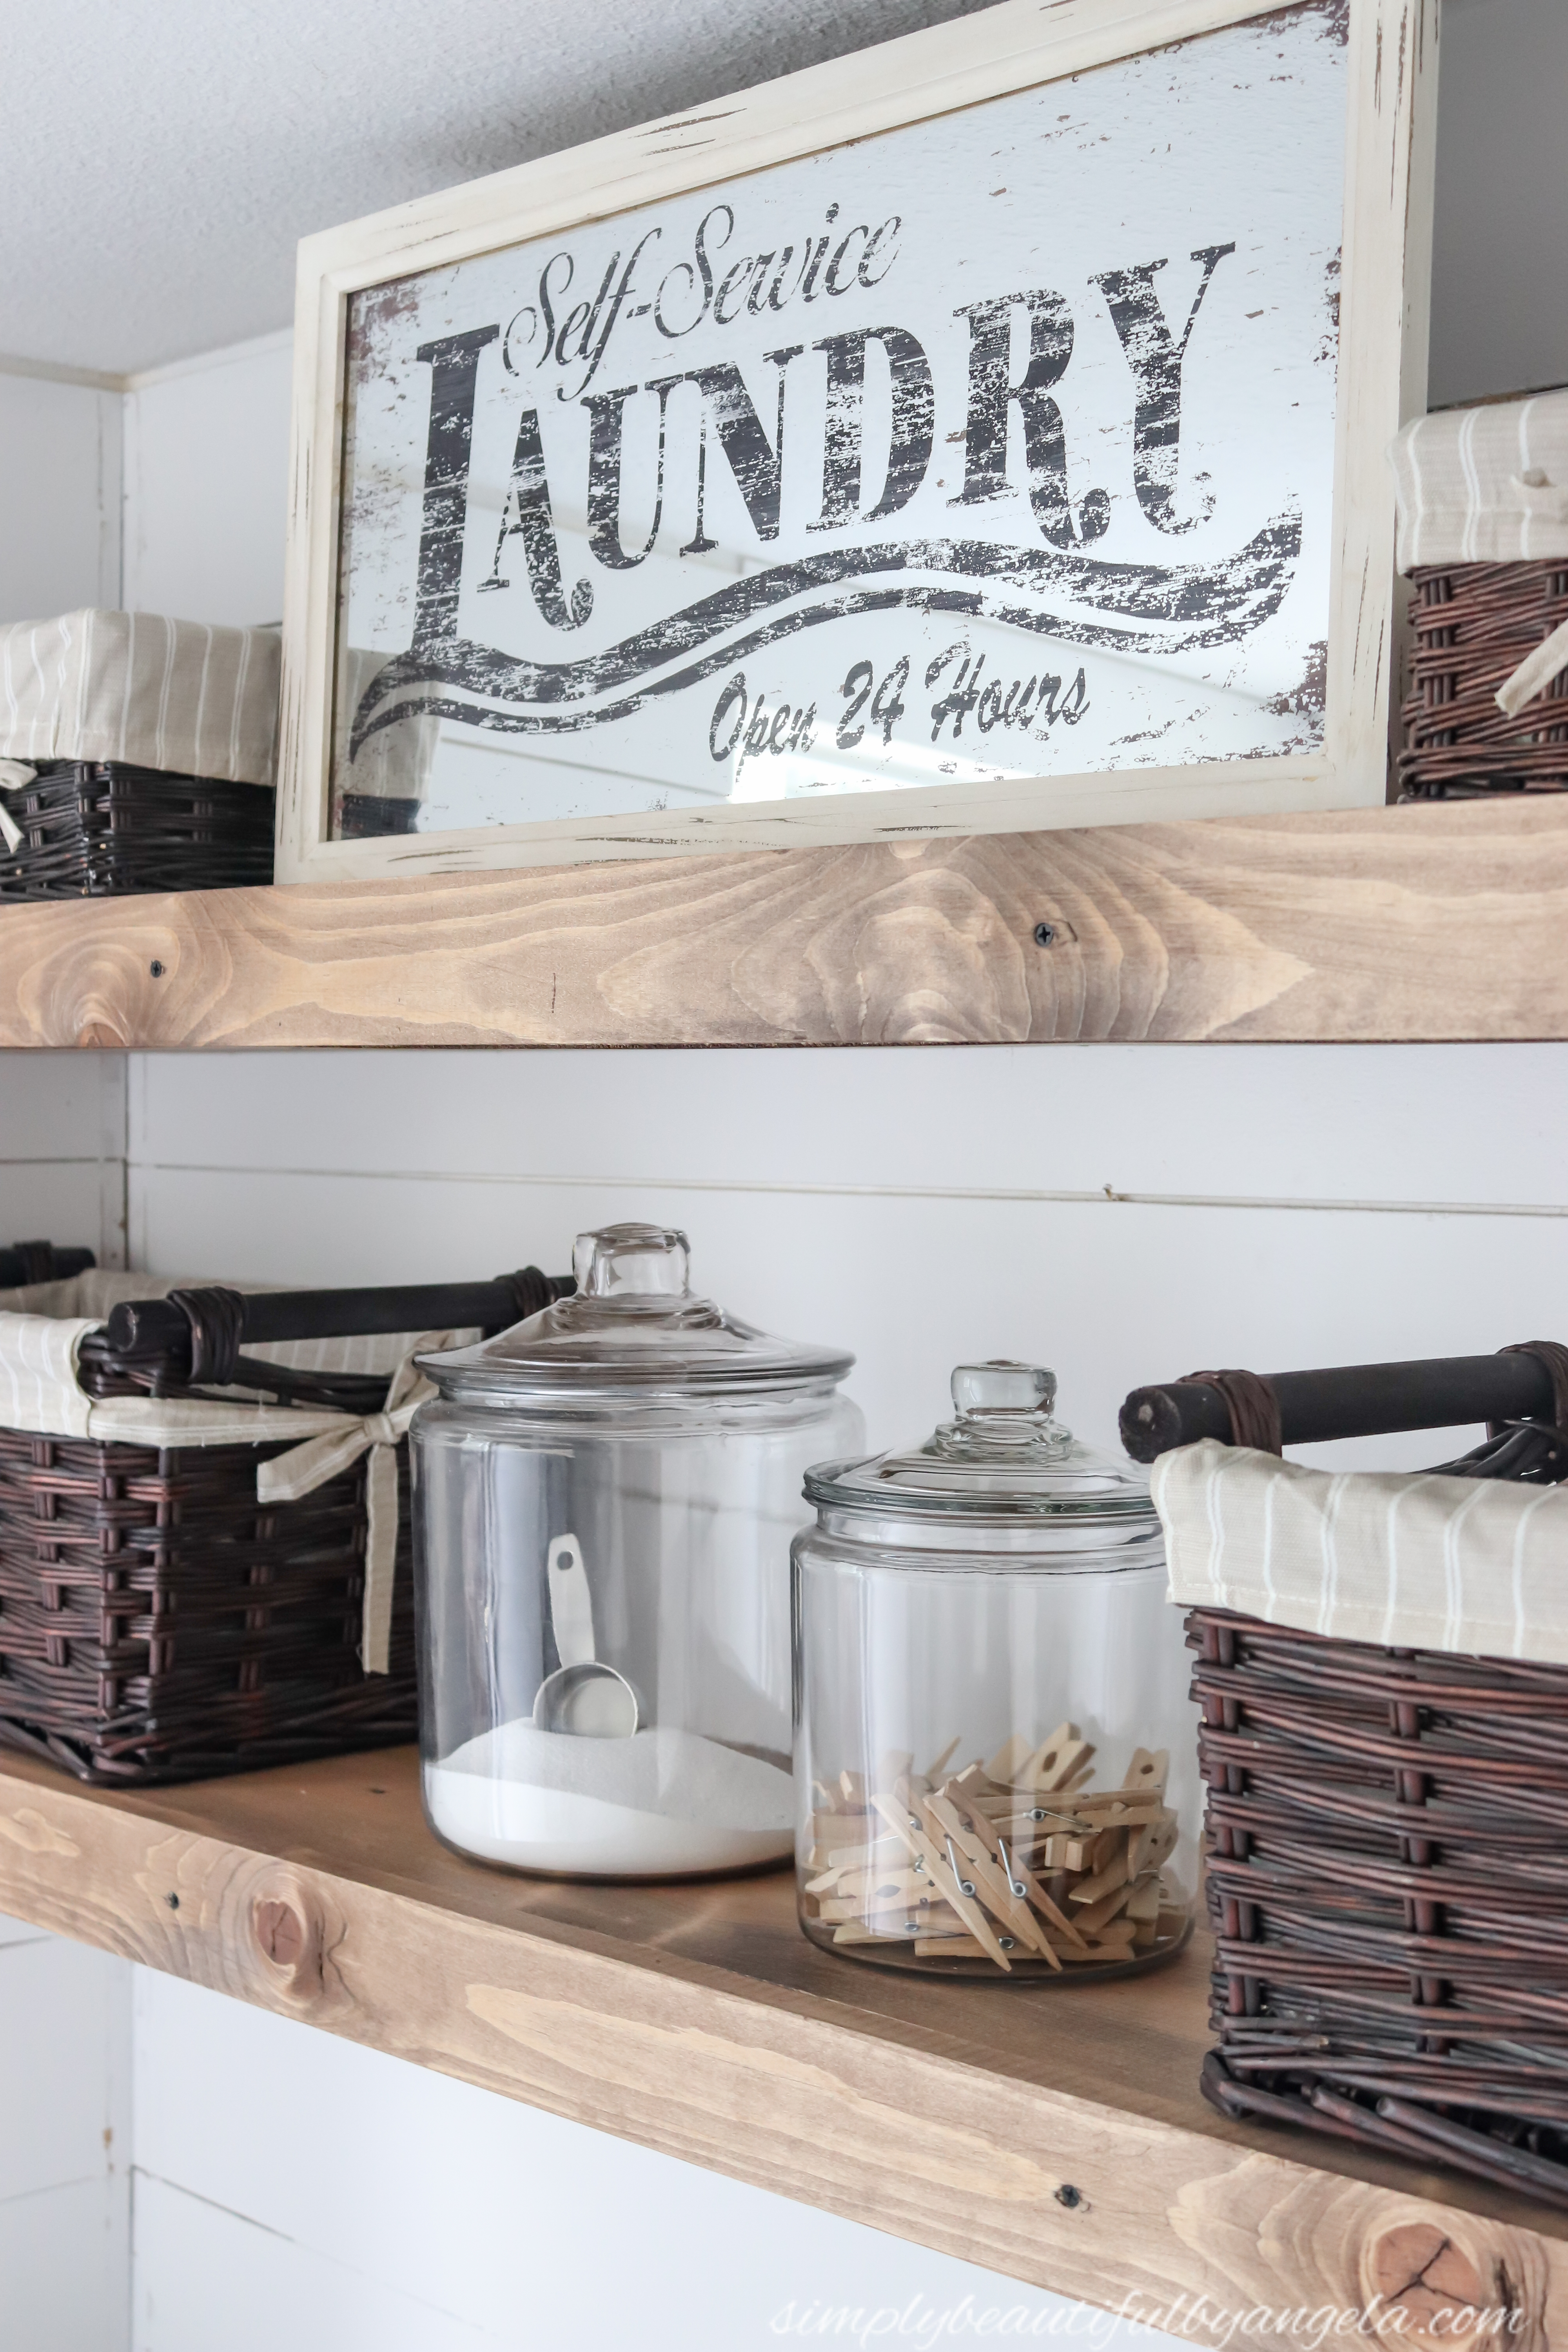
I am so thrilled with how my custom stain color came out and I think it warms this space up so much.
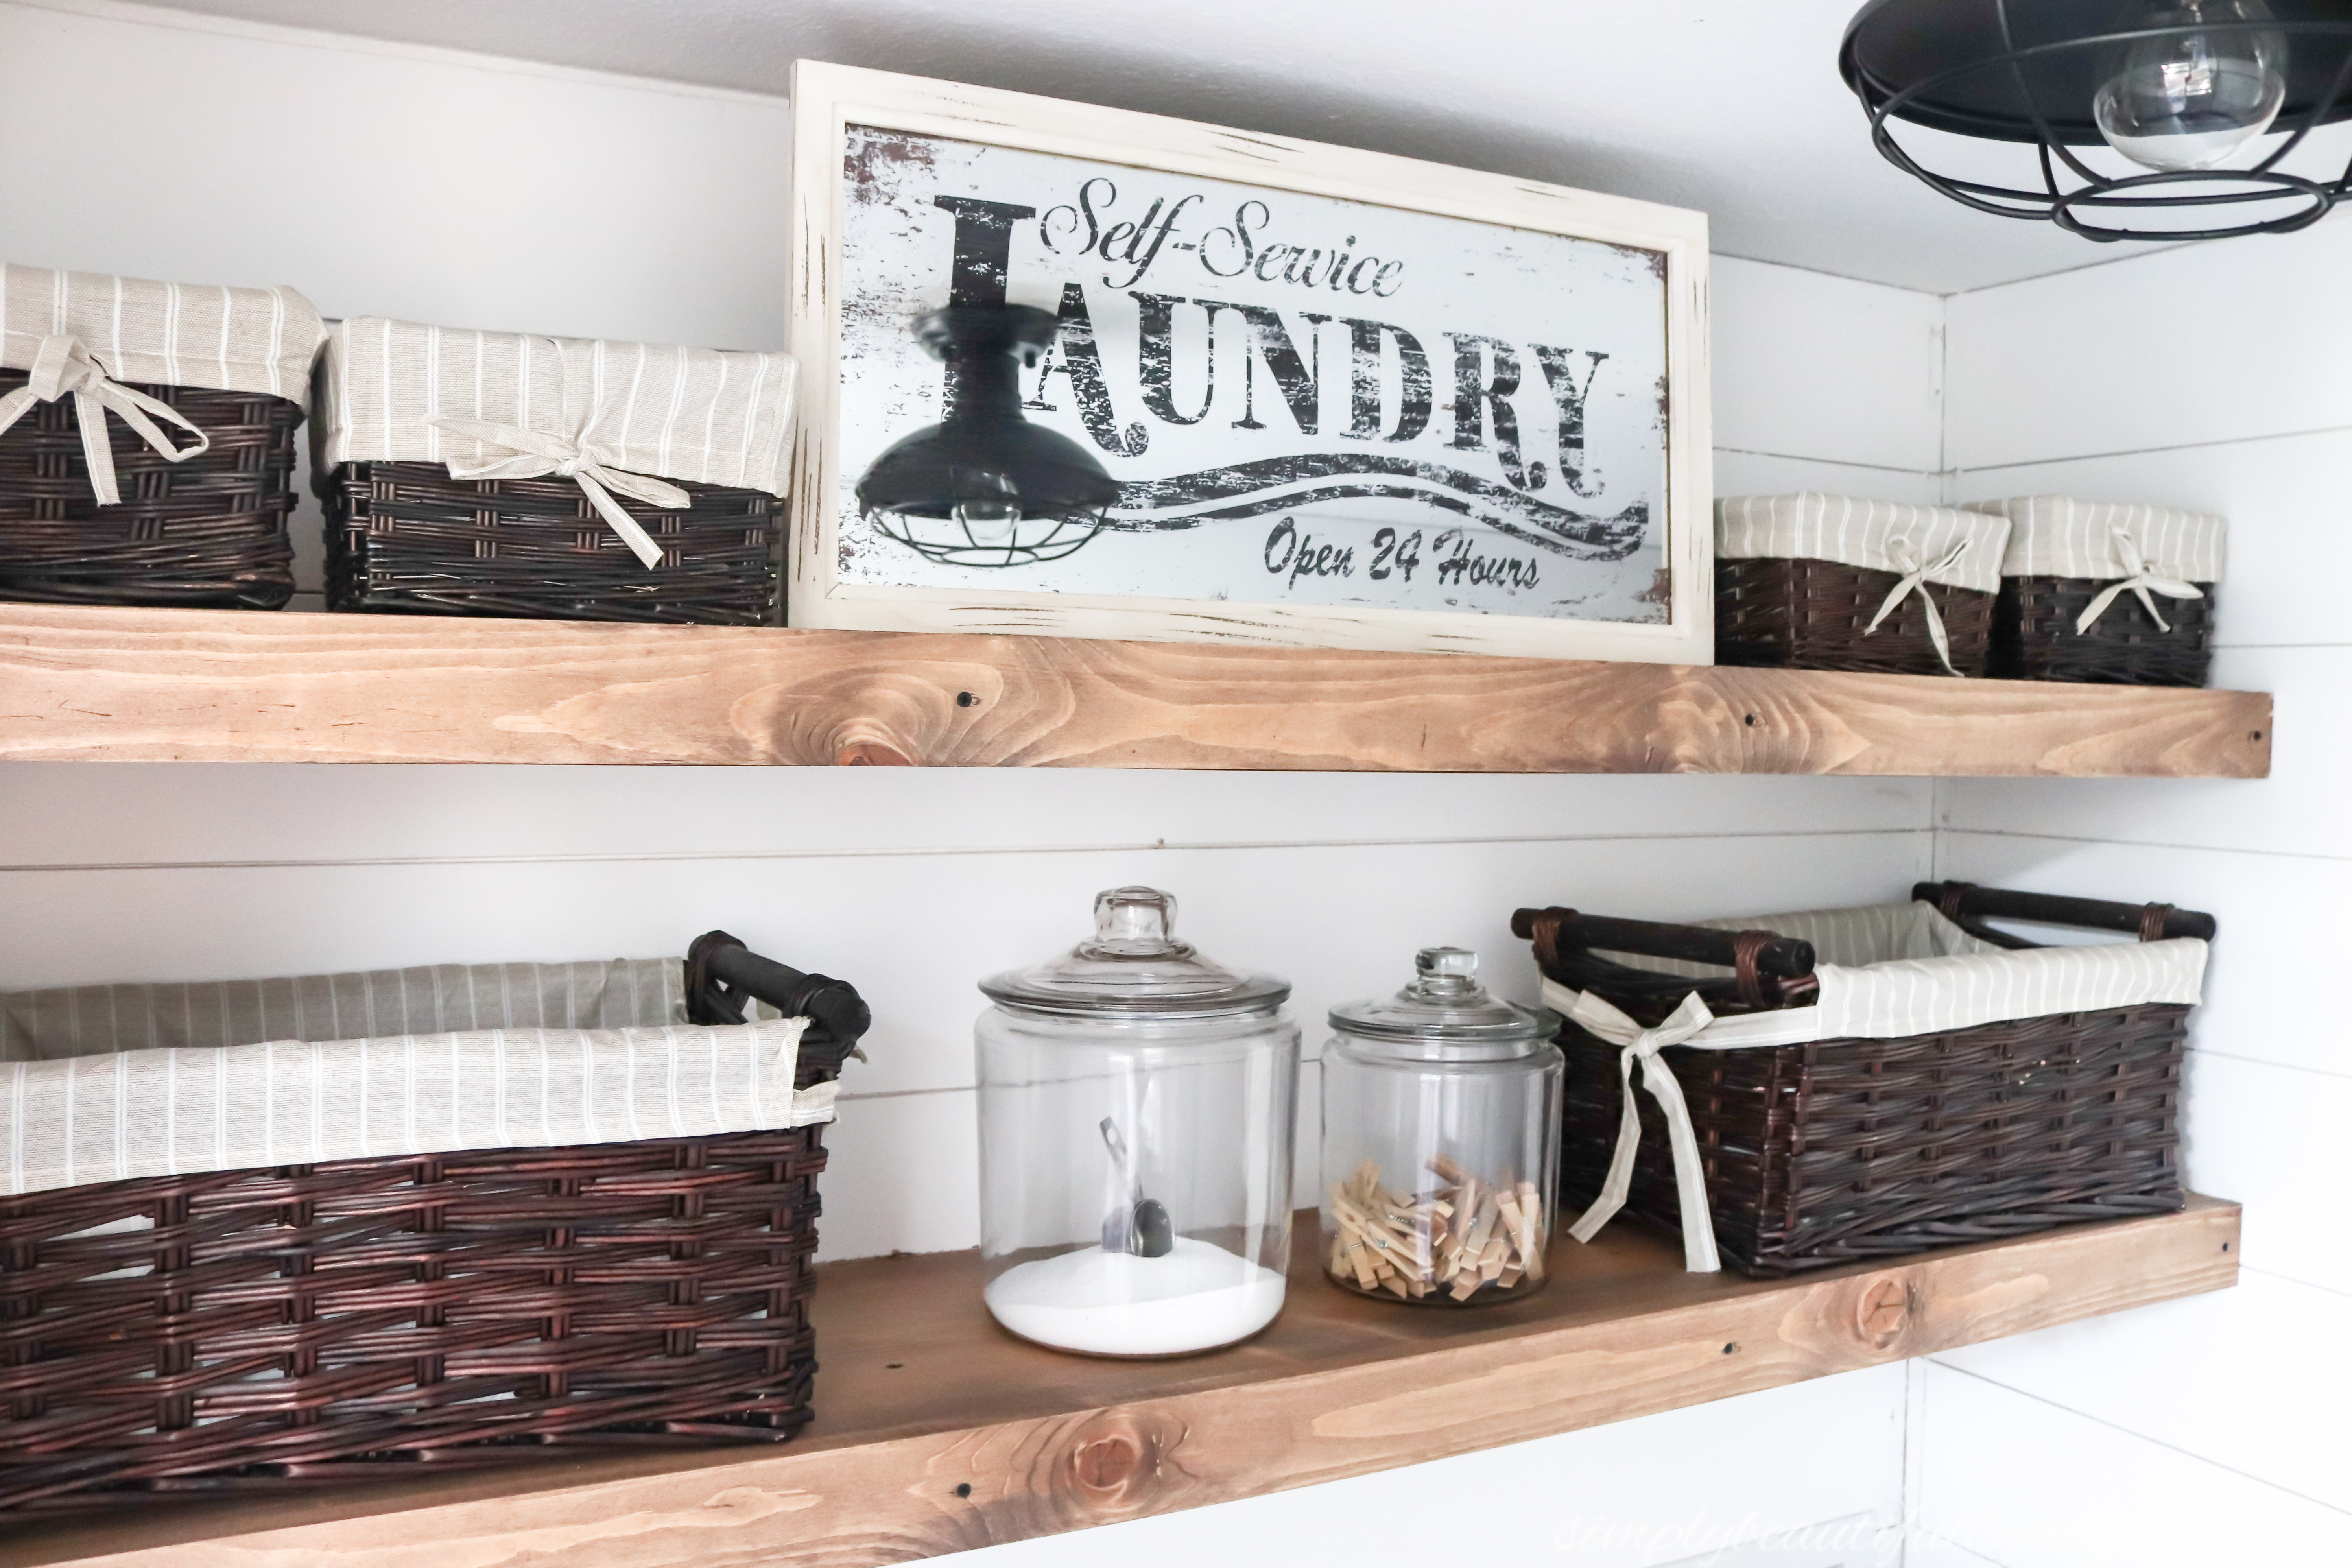
I propped my vintage laundry mirror up against a metal tub for these pictures, but I will be anchoring it to a piece of wood and the wall so that it doesn’t come crashing down! I also decided that it looks better on the bottom shelf.
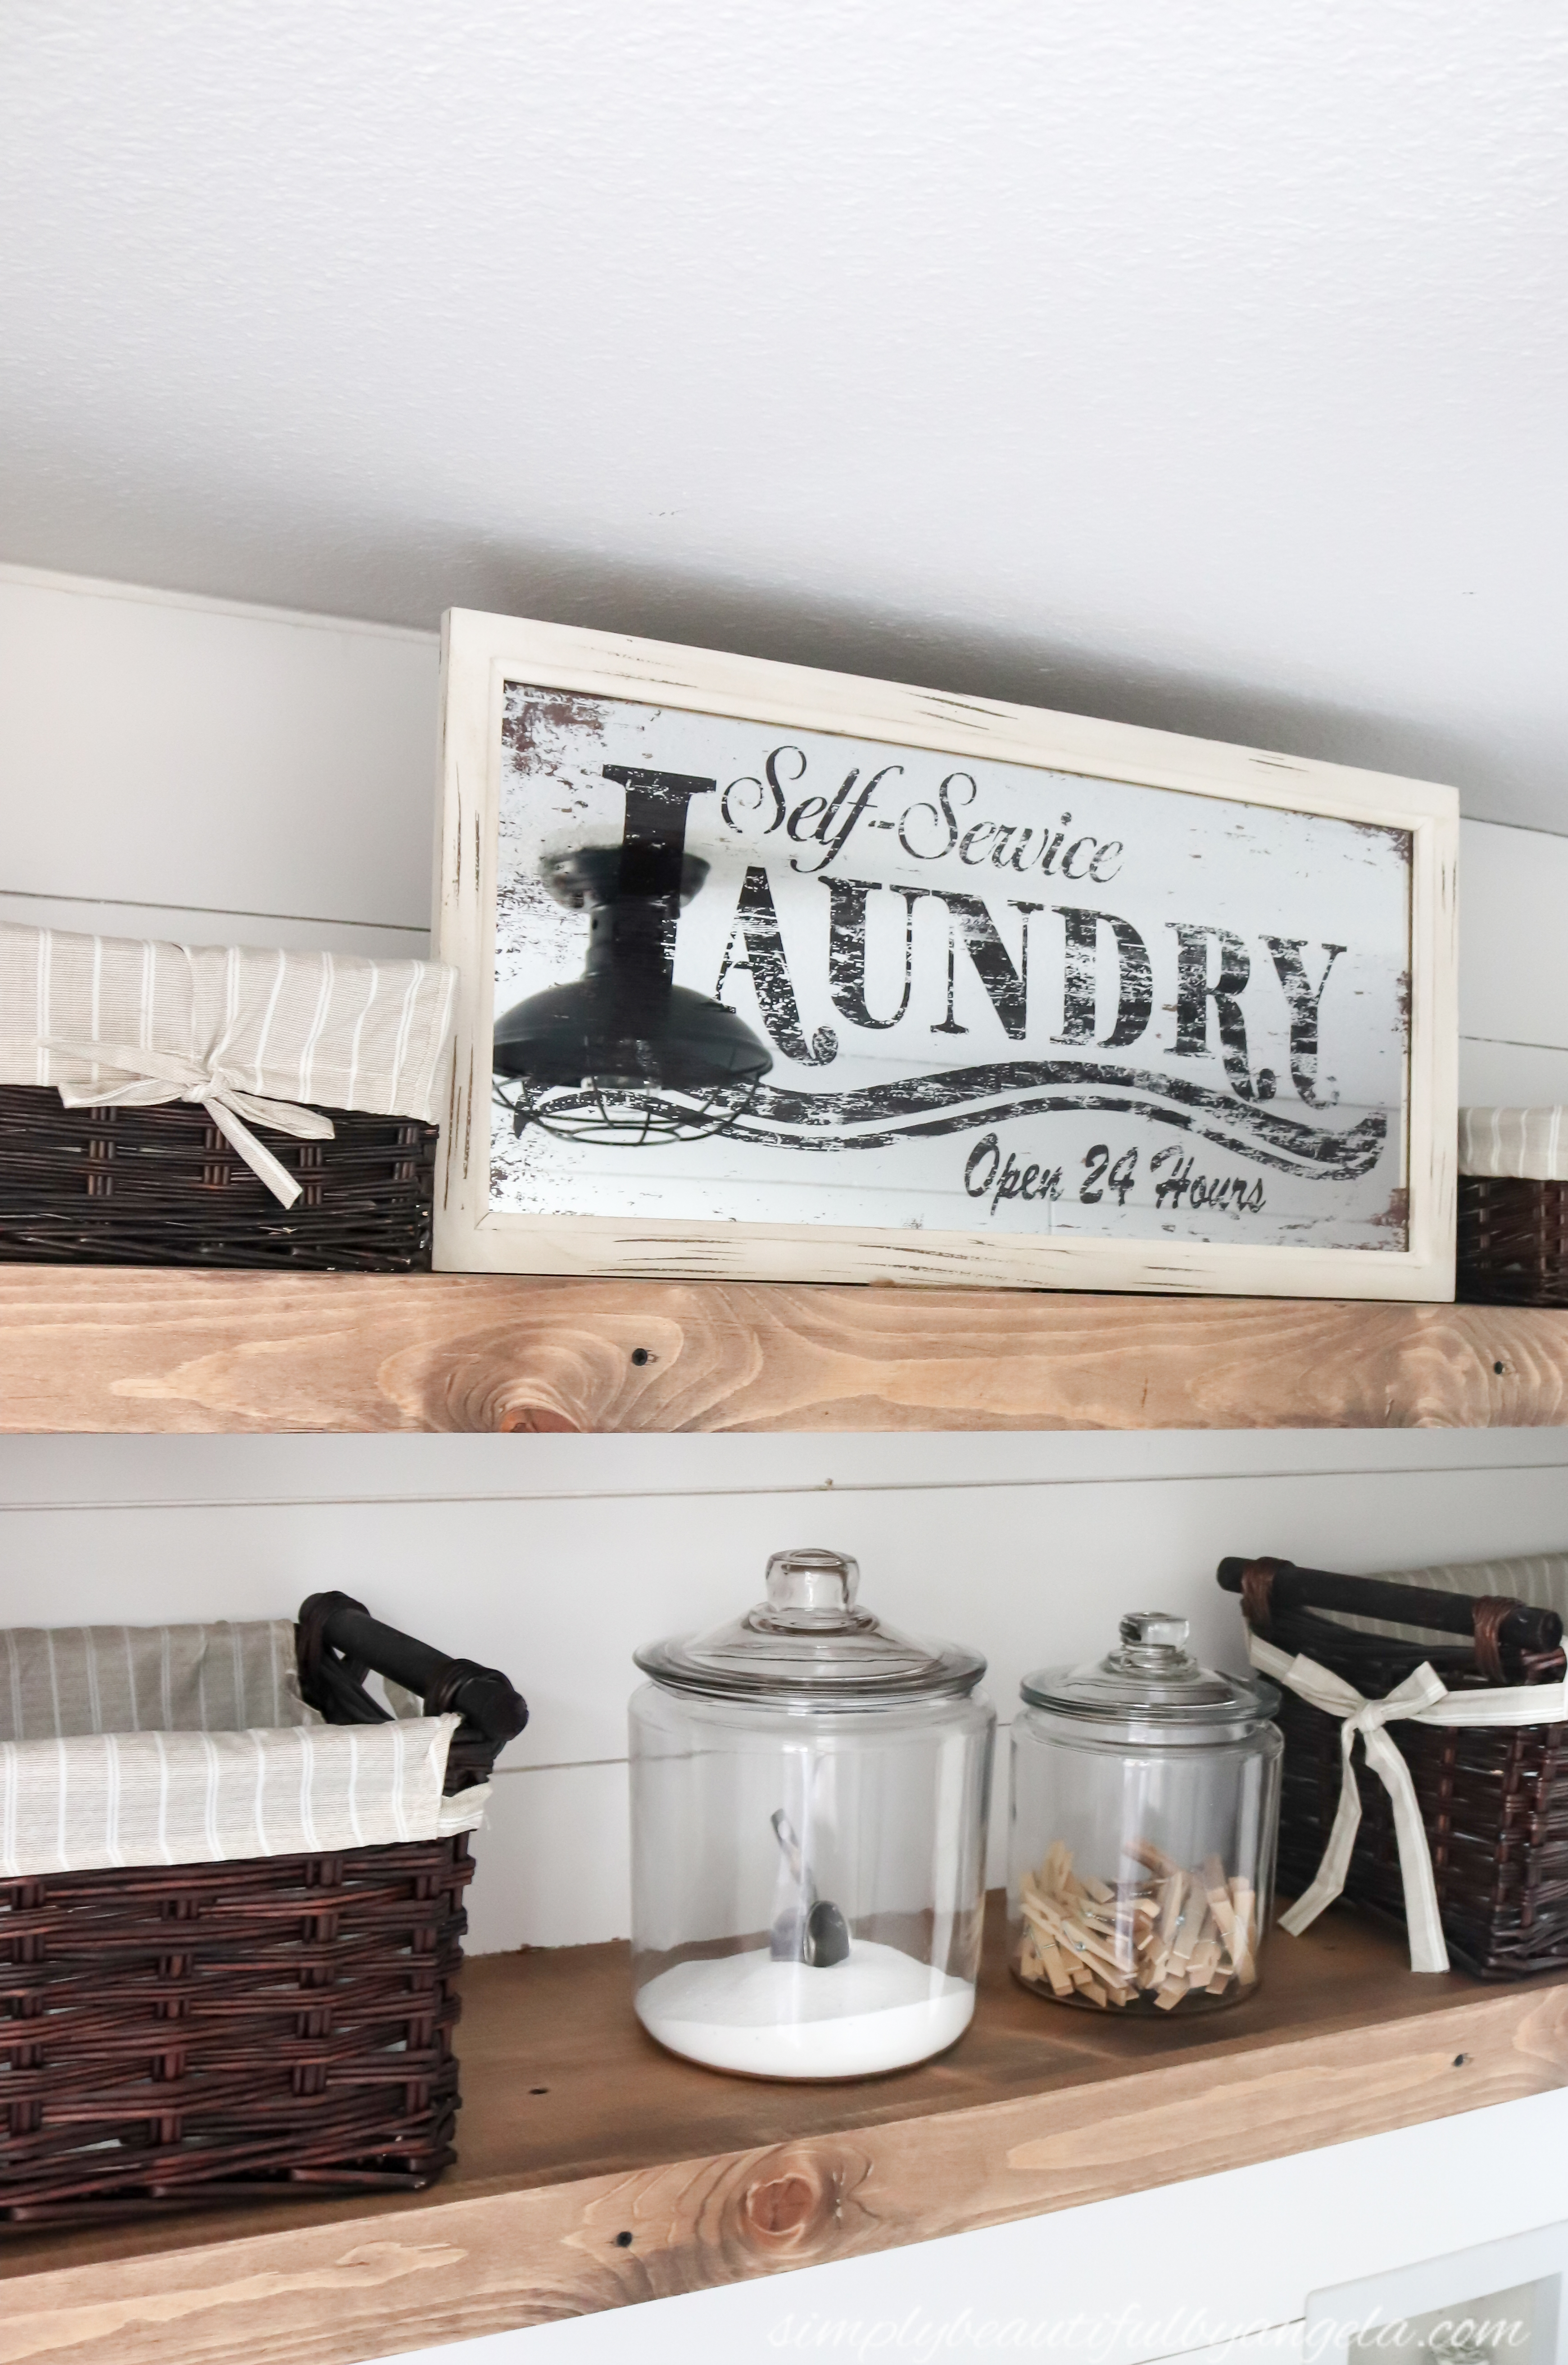
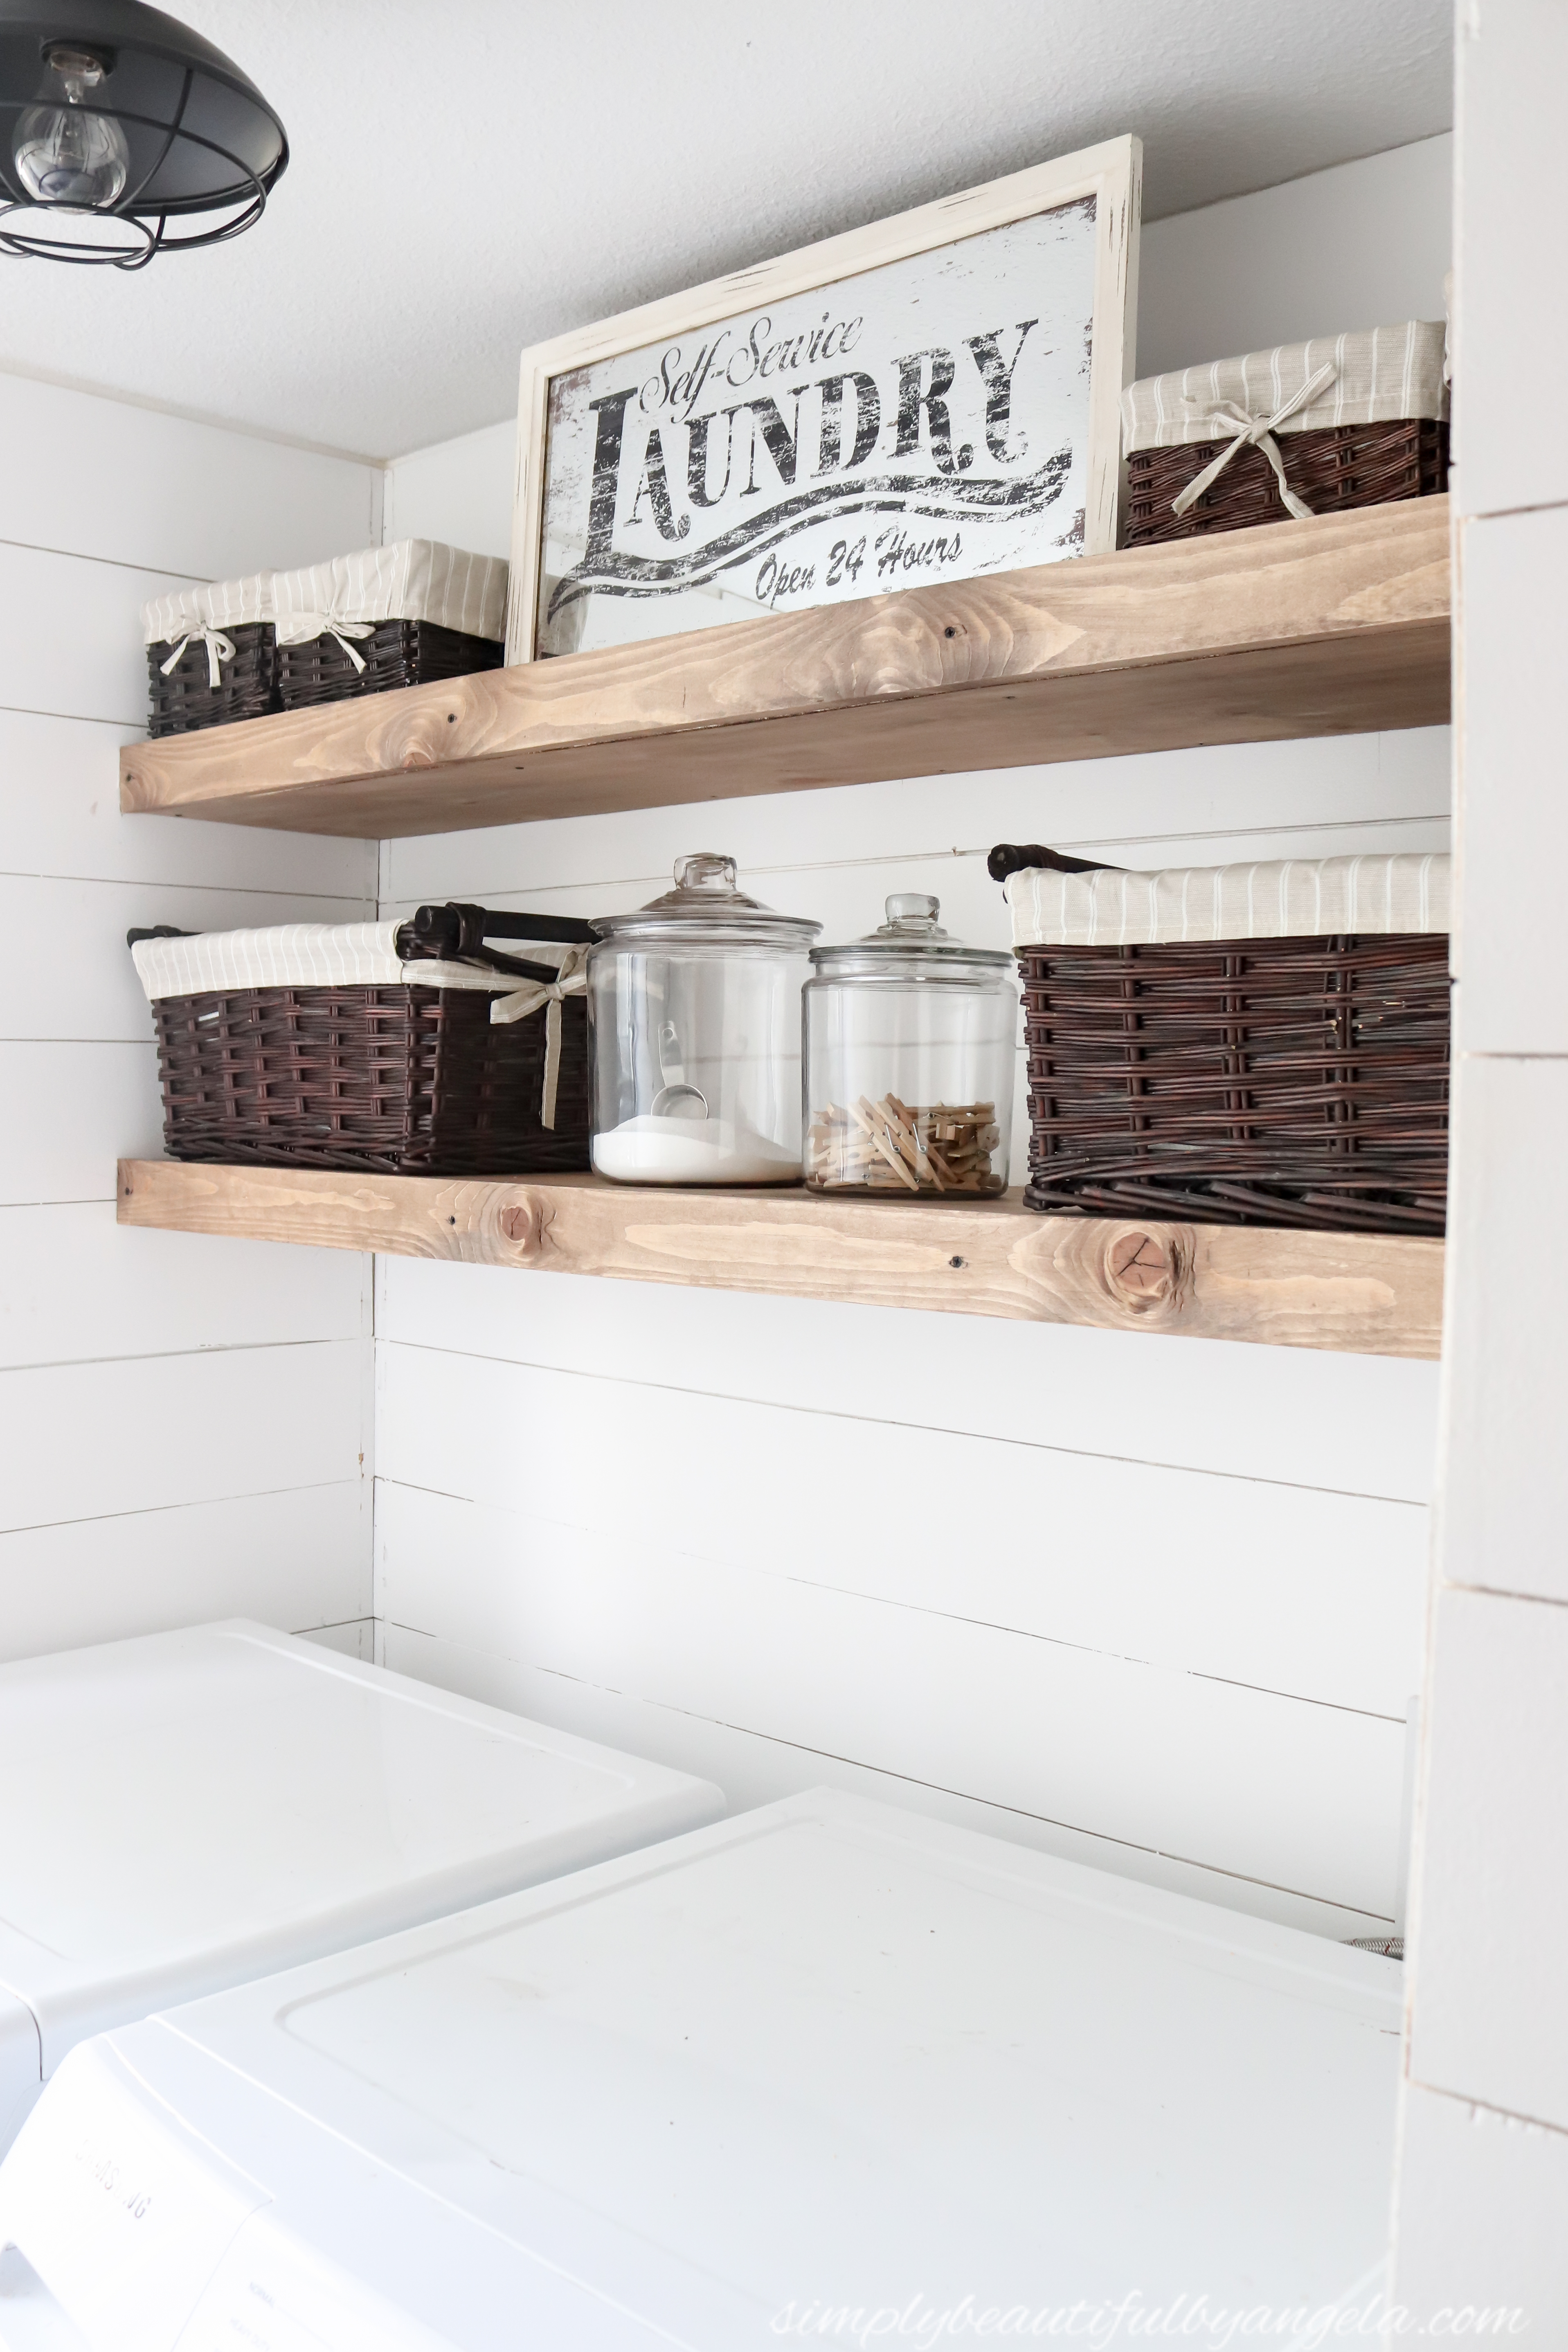
The cage ceiling light that we installed here blends with the rustic farmhouse vibe perfectly. Although I am just noticing that there’s a sticker that needs to be removed from it…
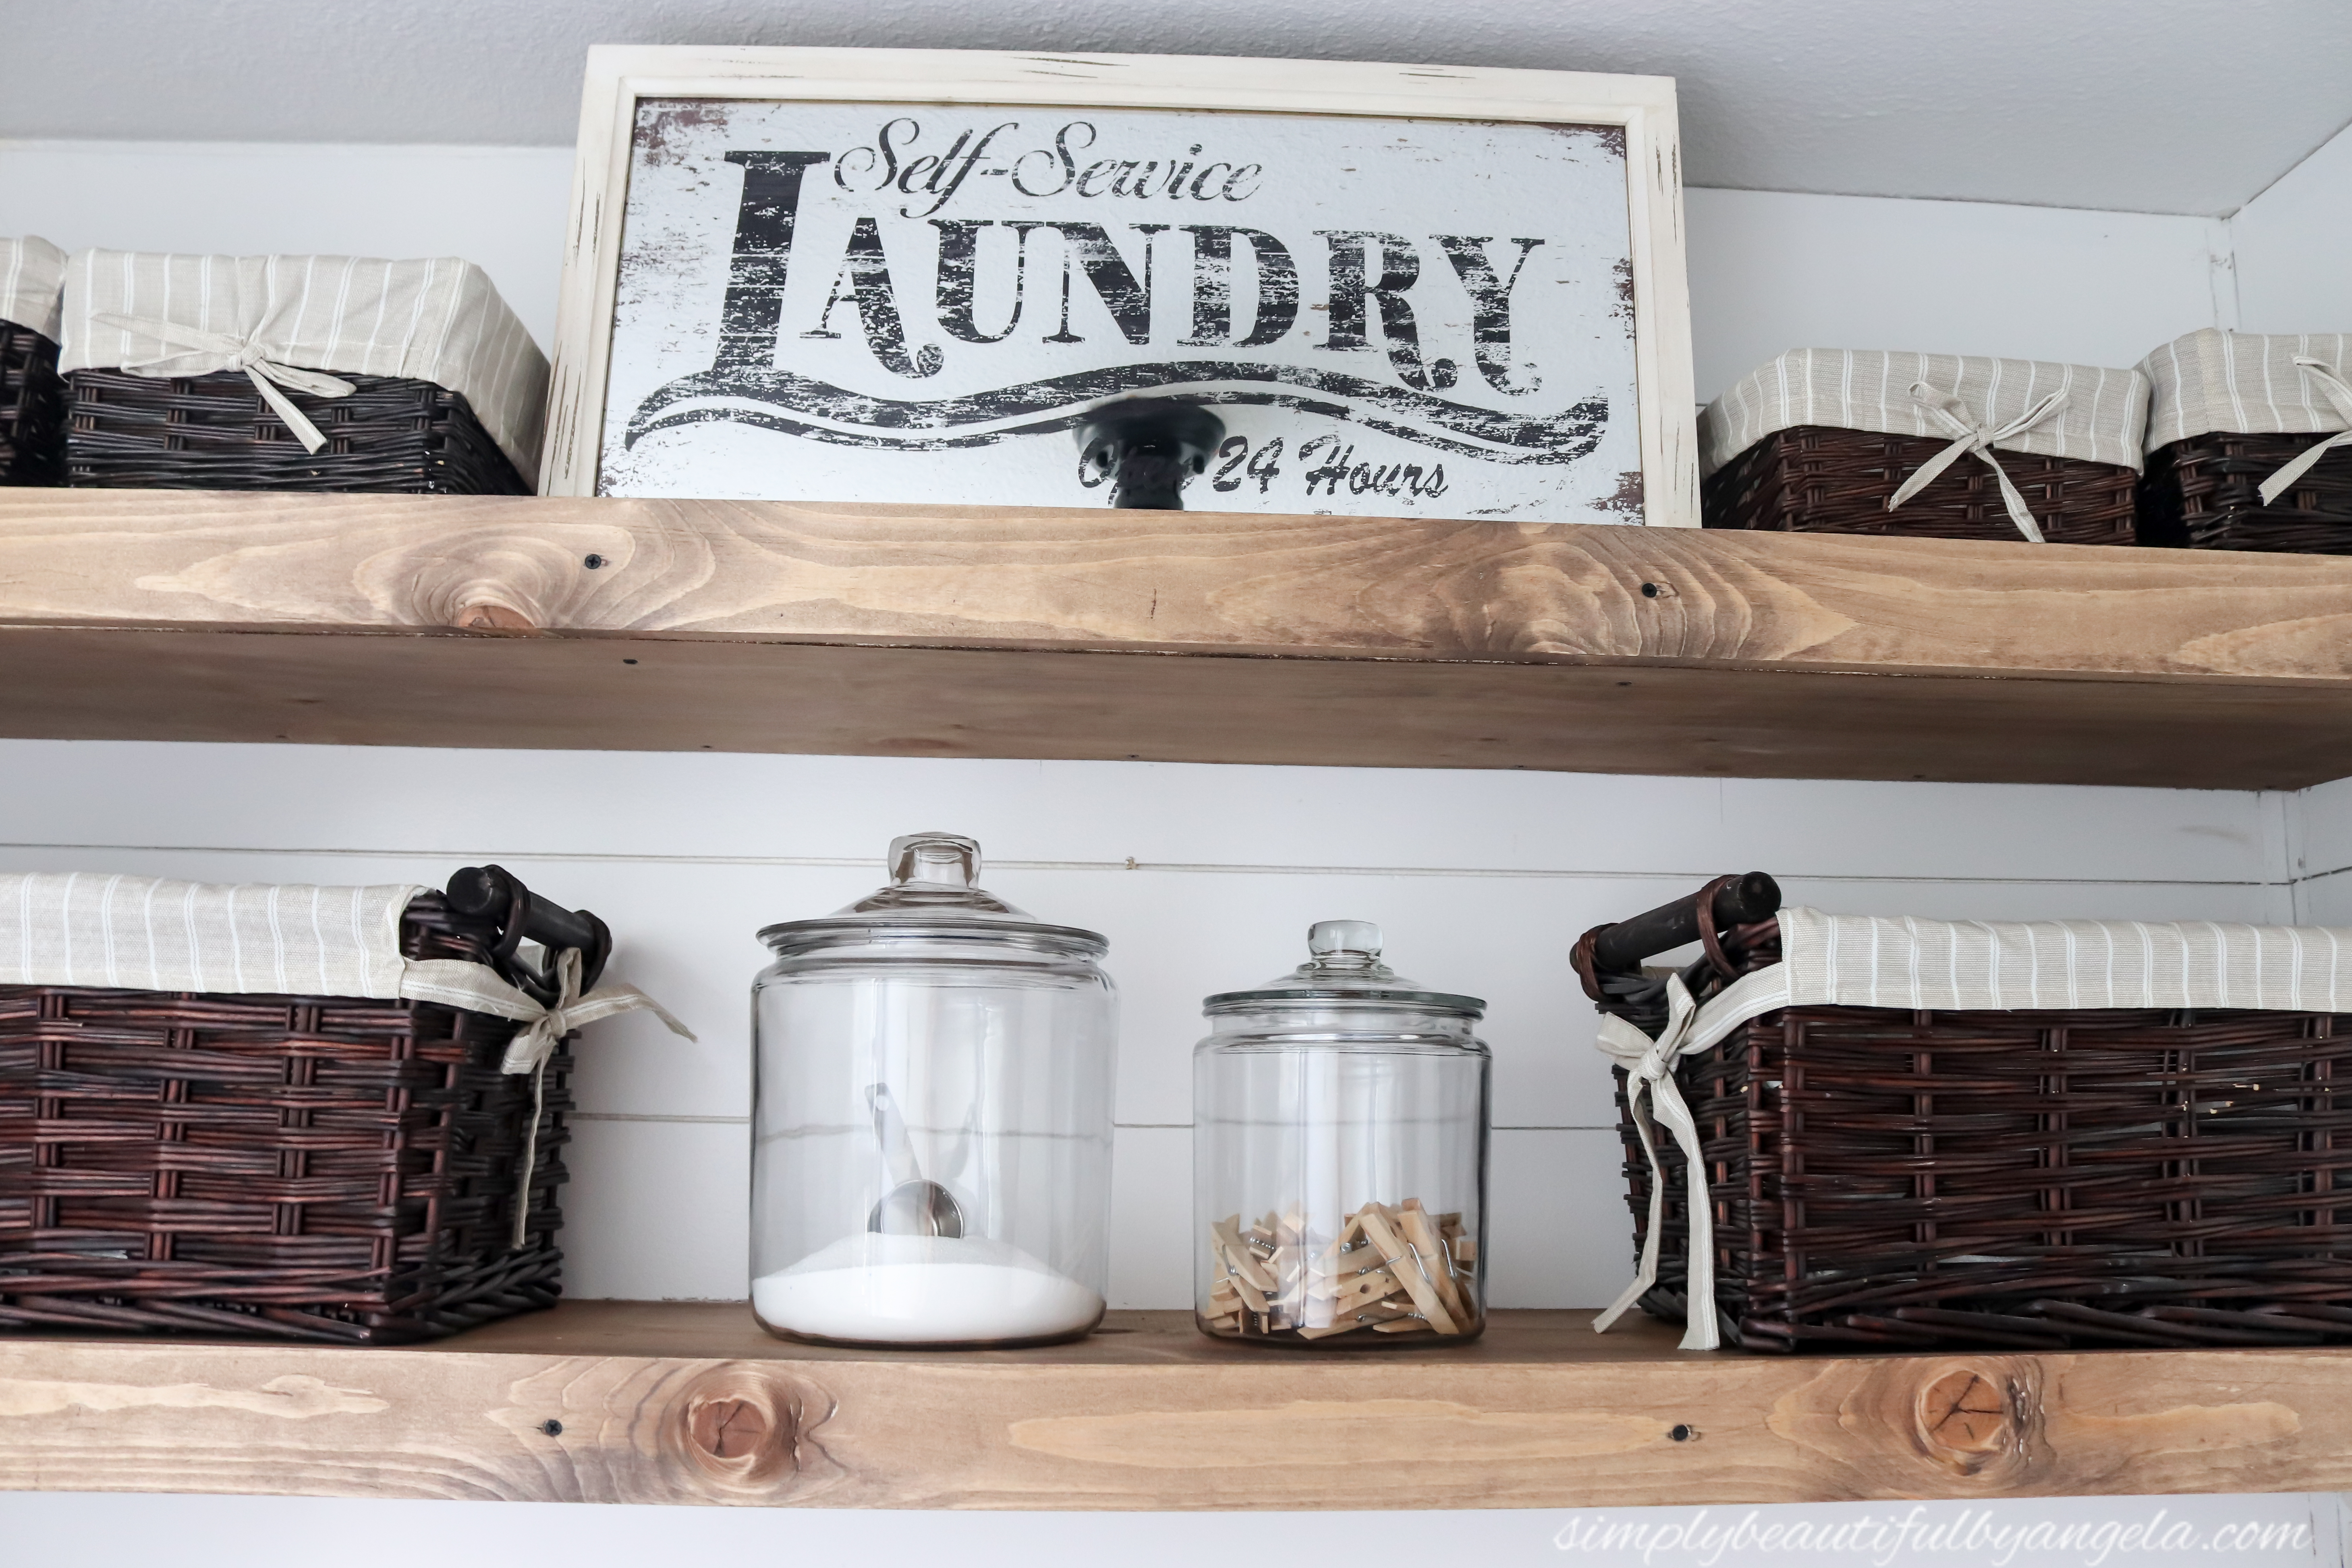
I still need to add the quarter round around the ceiling and in the corners. Actually I had already installed it in these two corners but we had to rip it off to install the shelves properly. Whoops! The remnants are the mess that you can see up close in these photos.
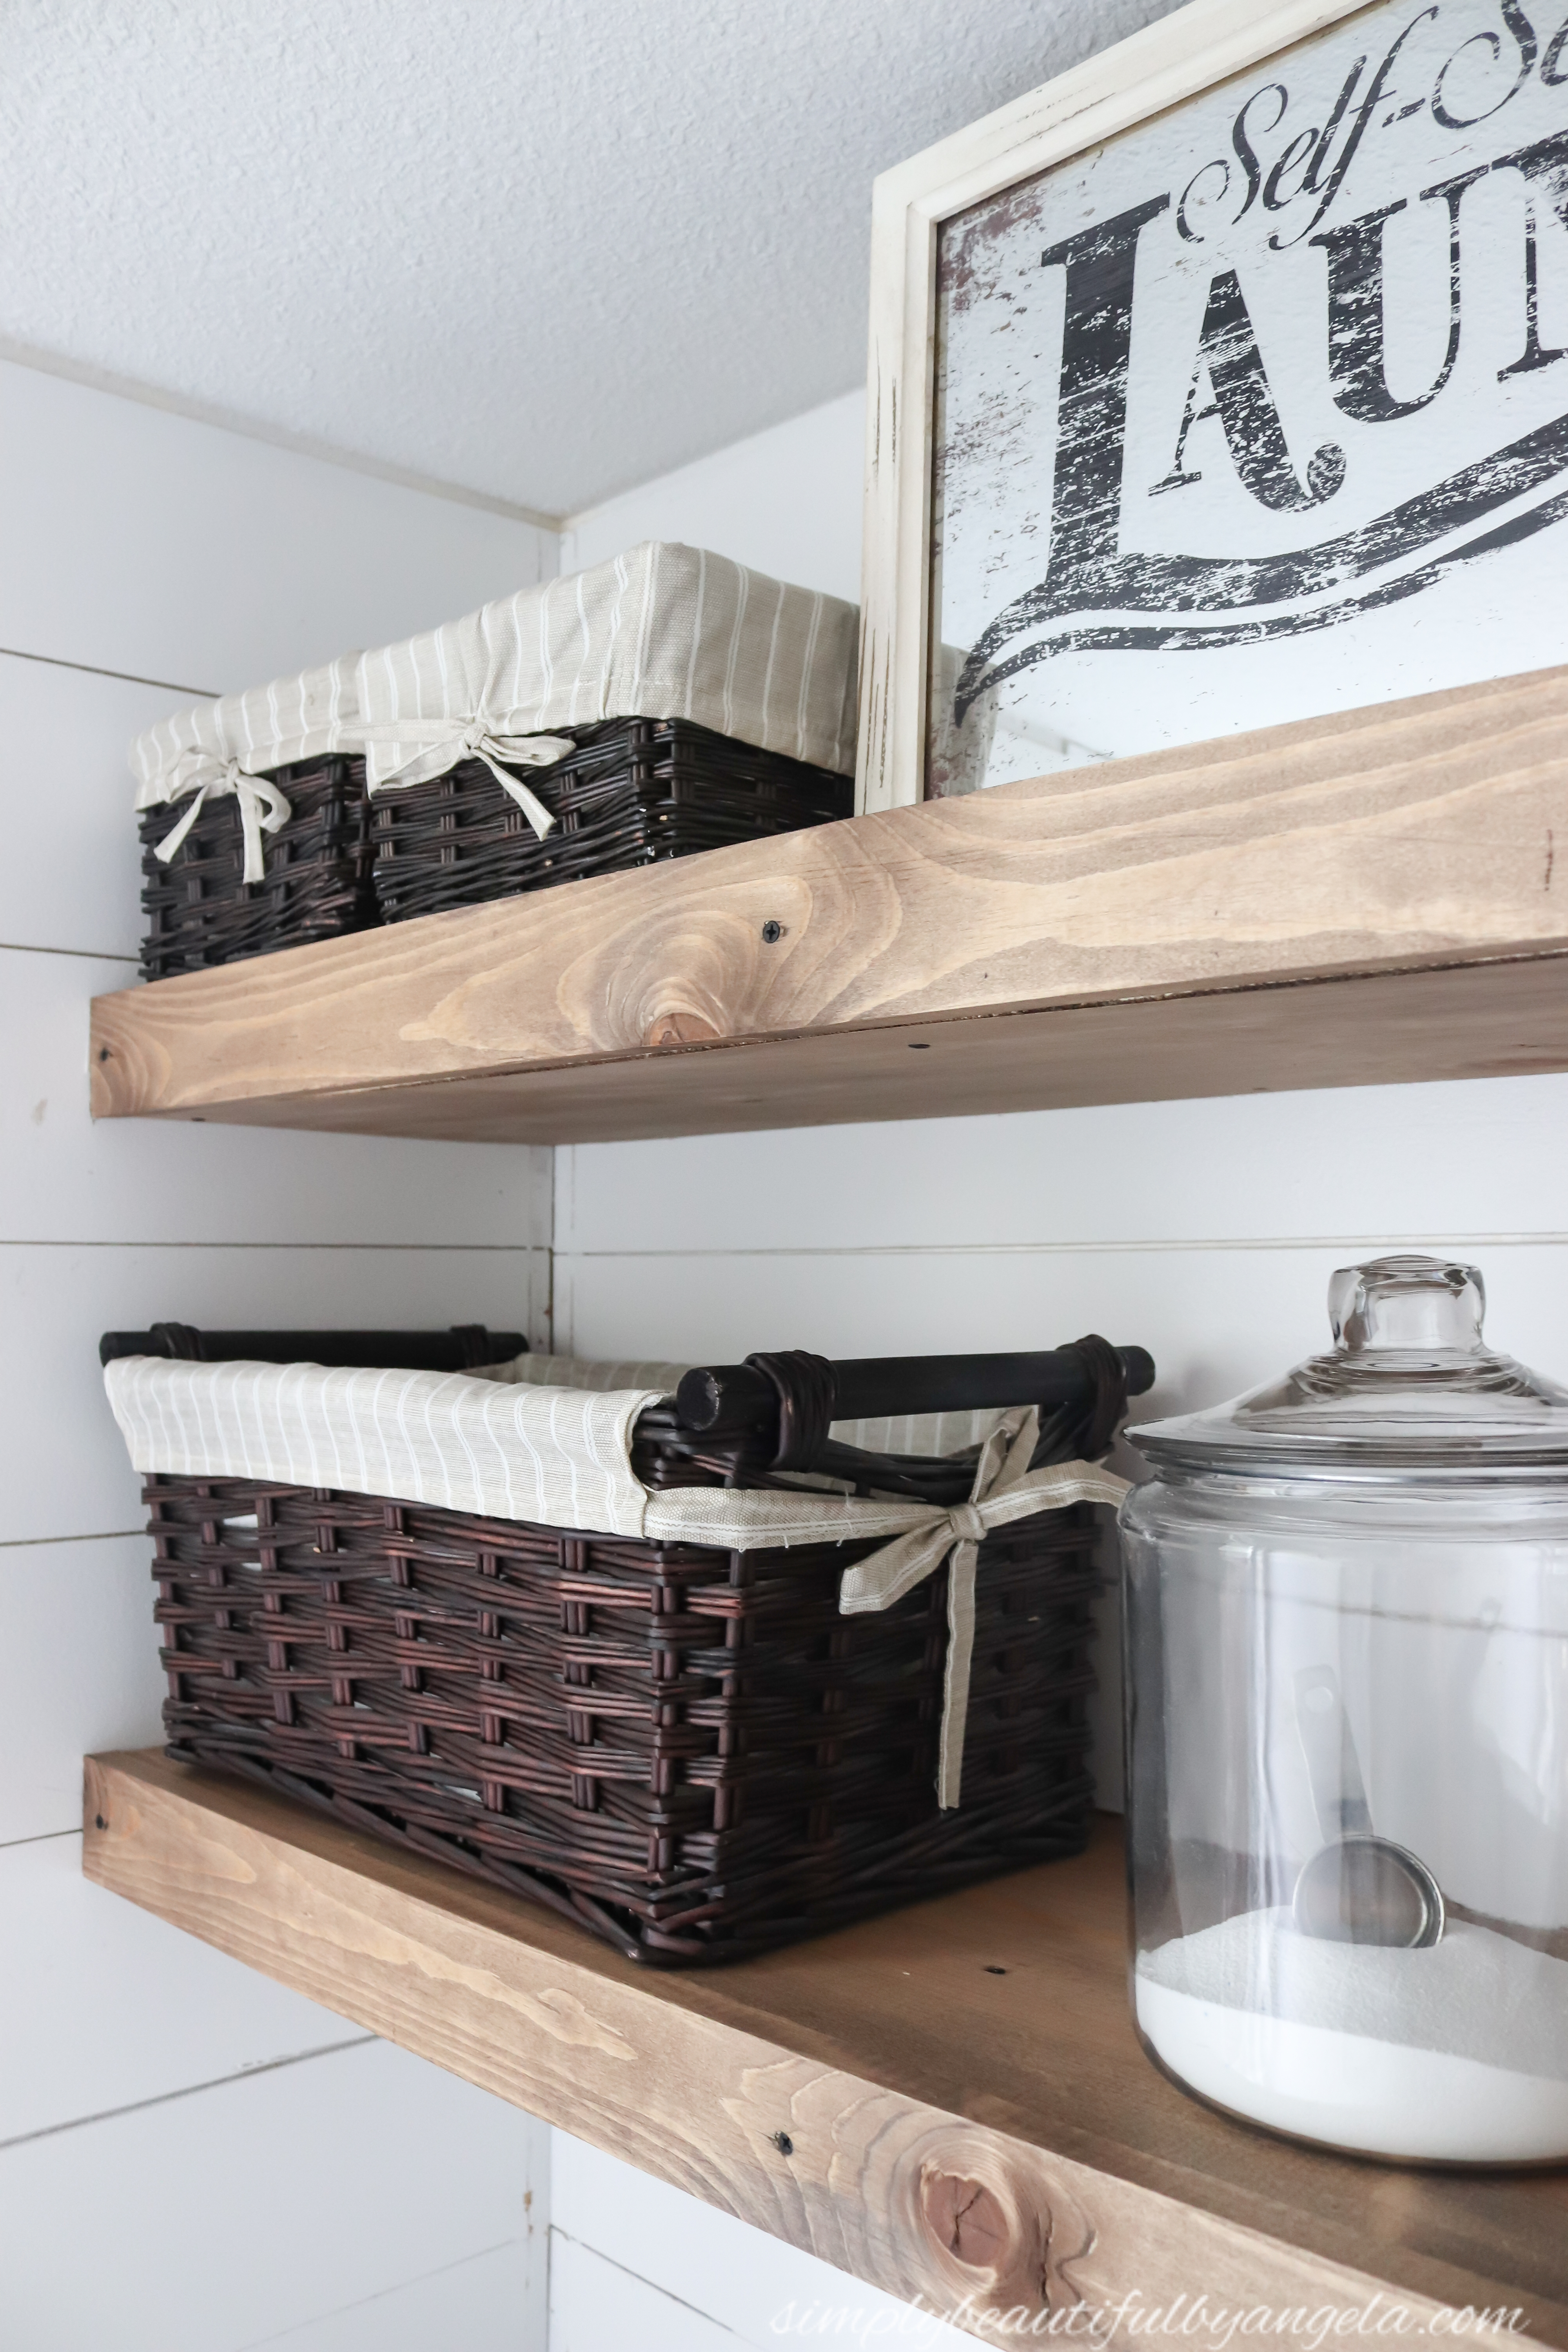
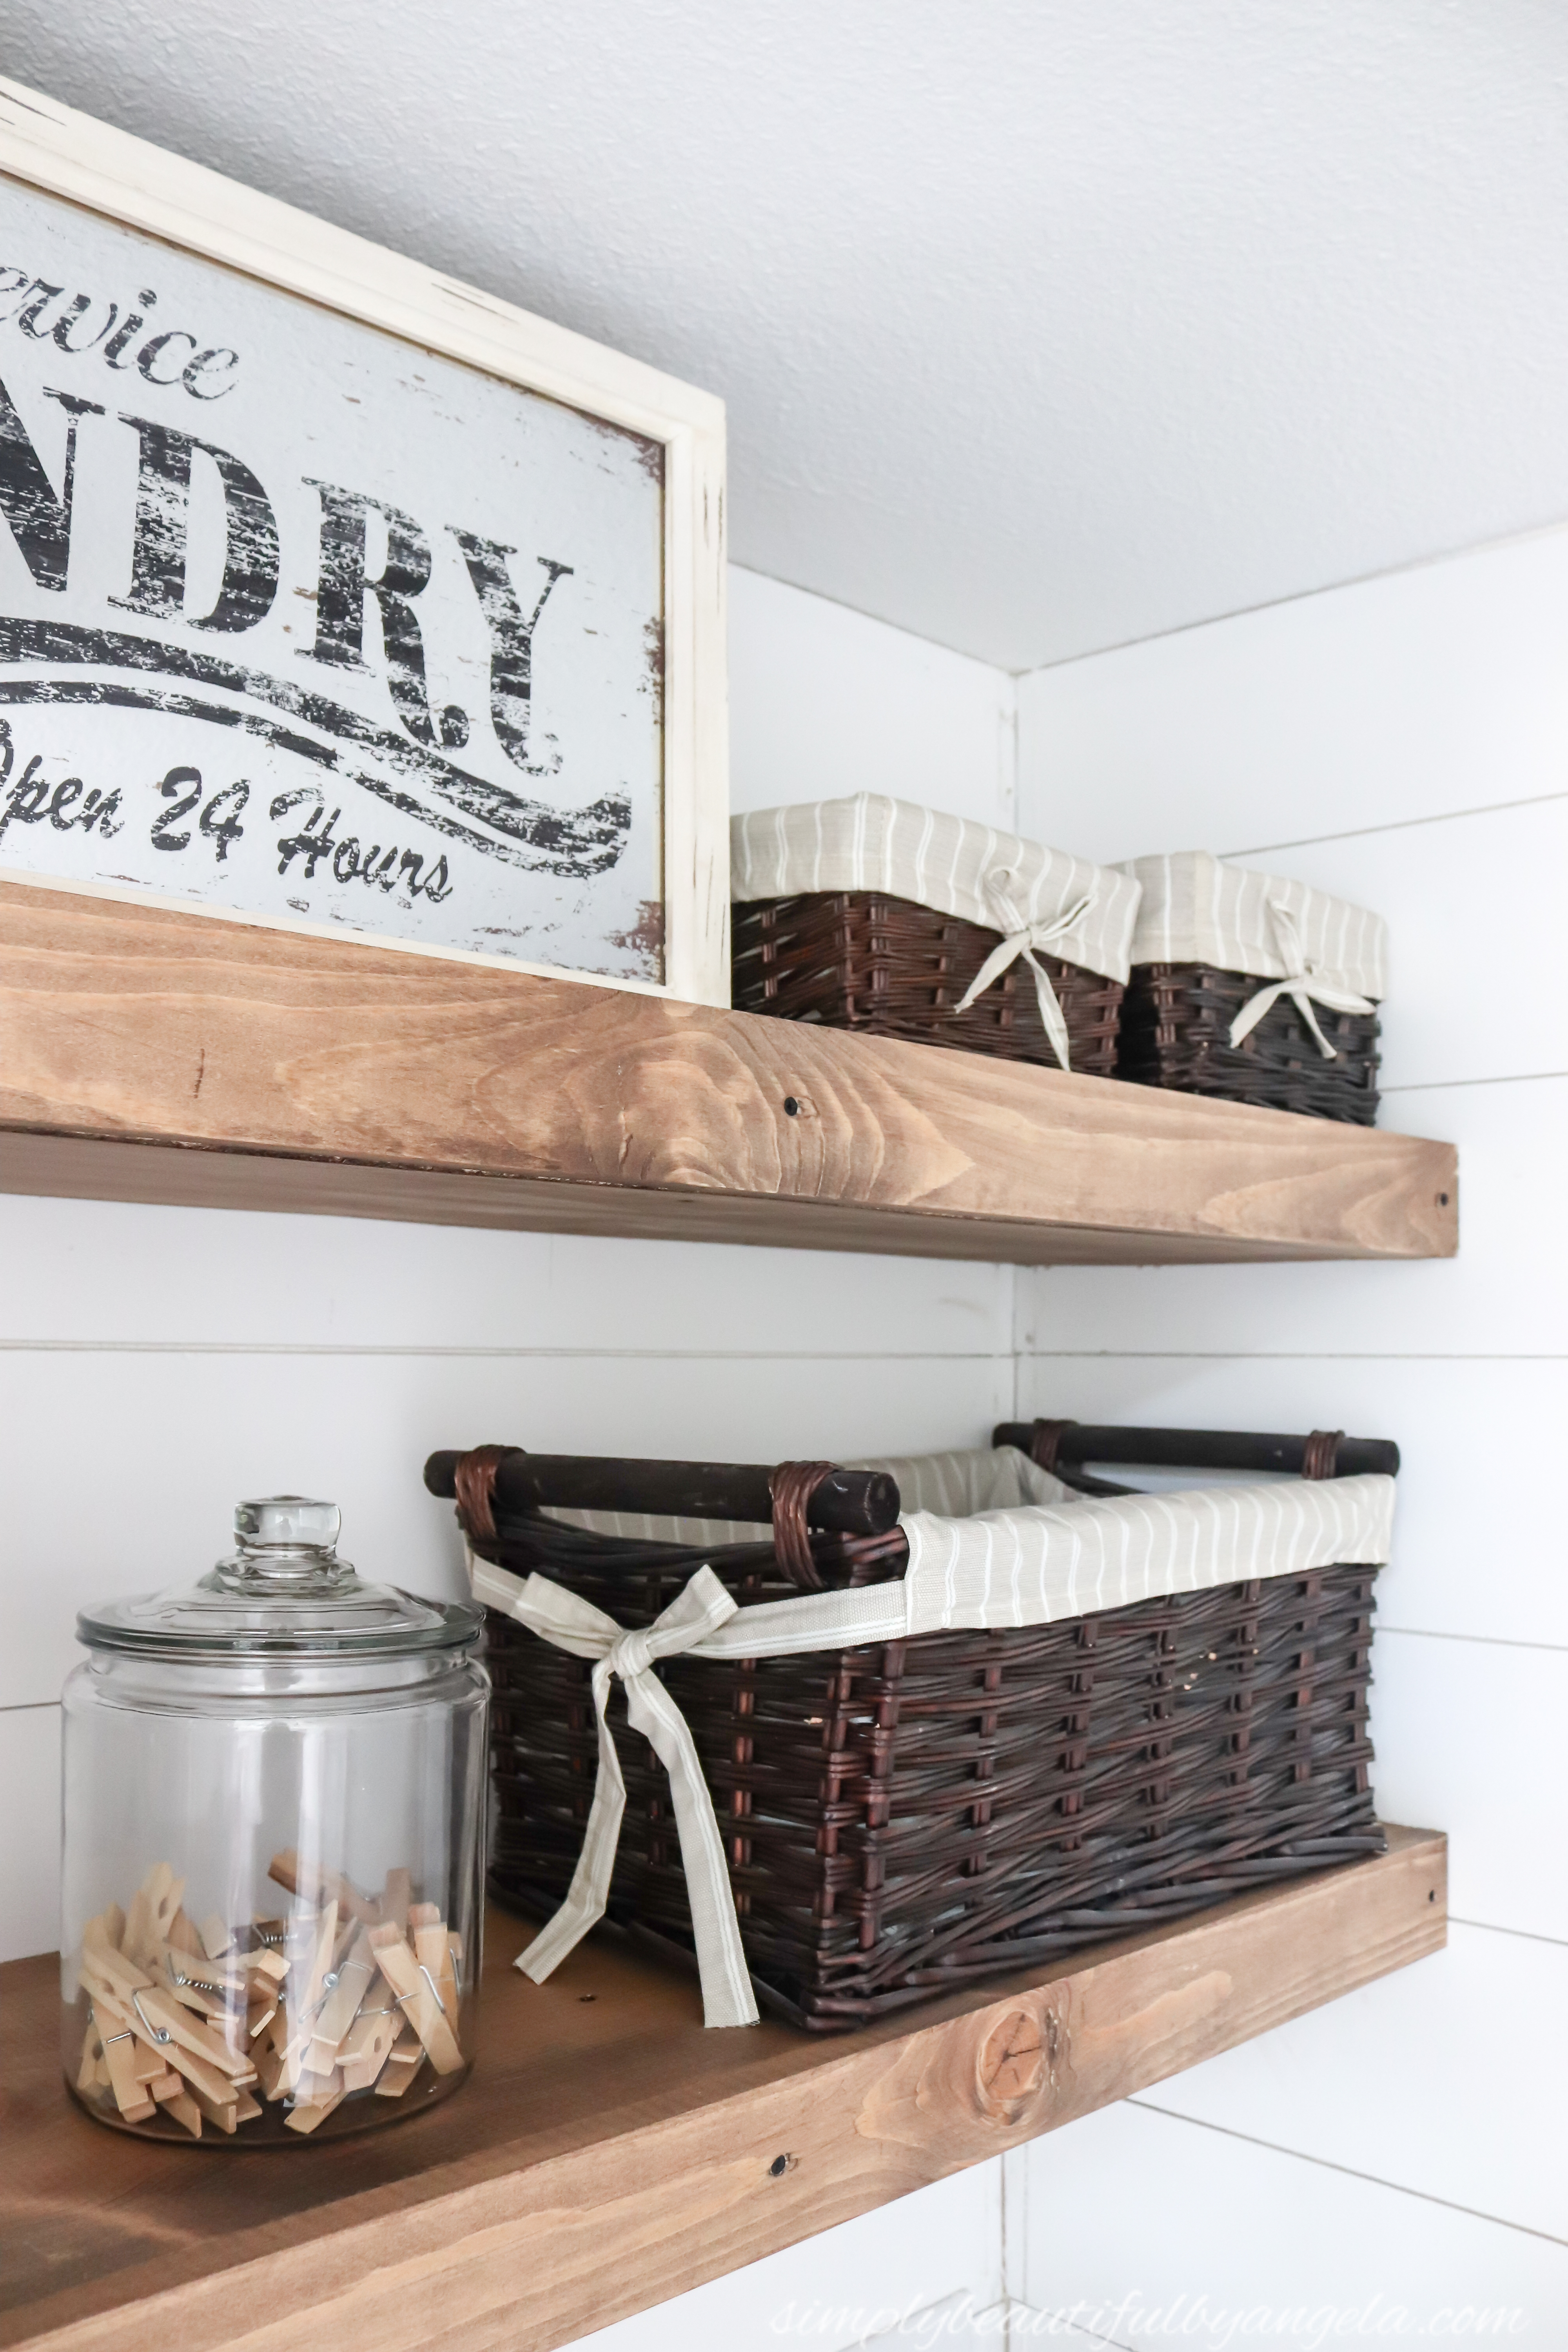
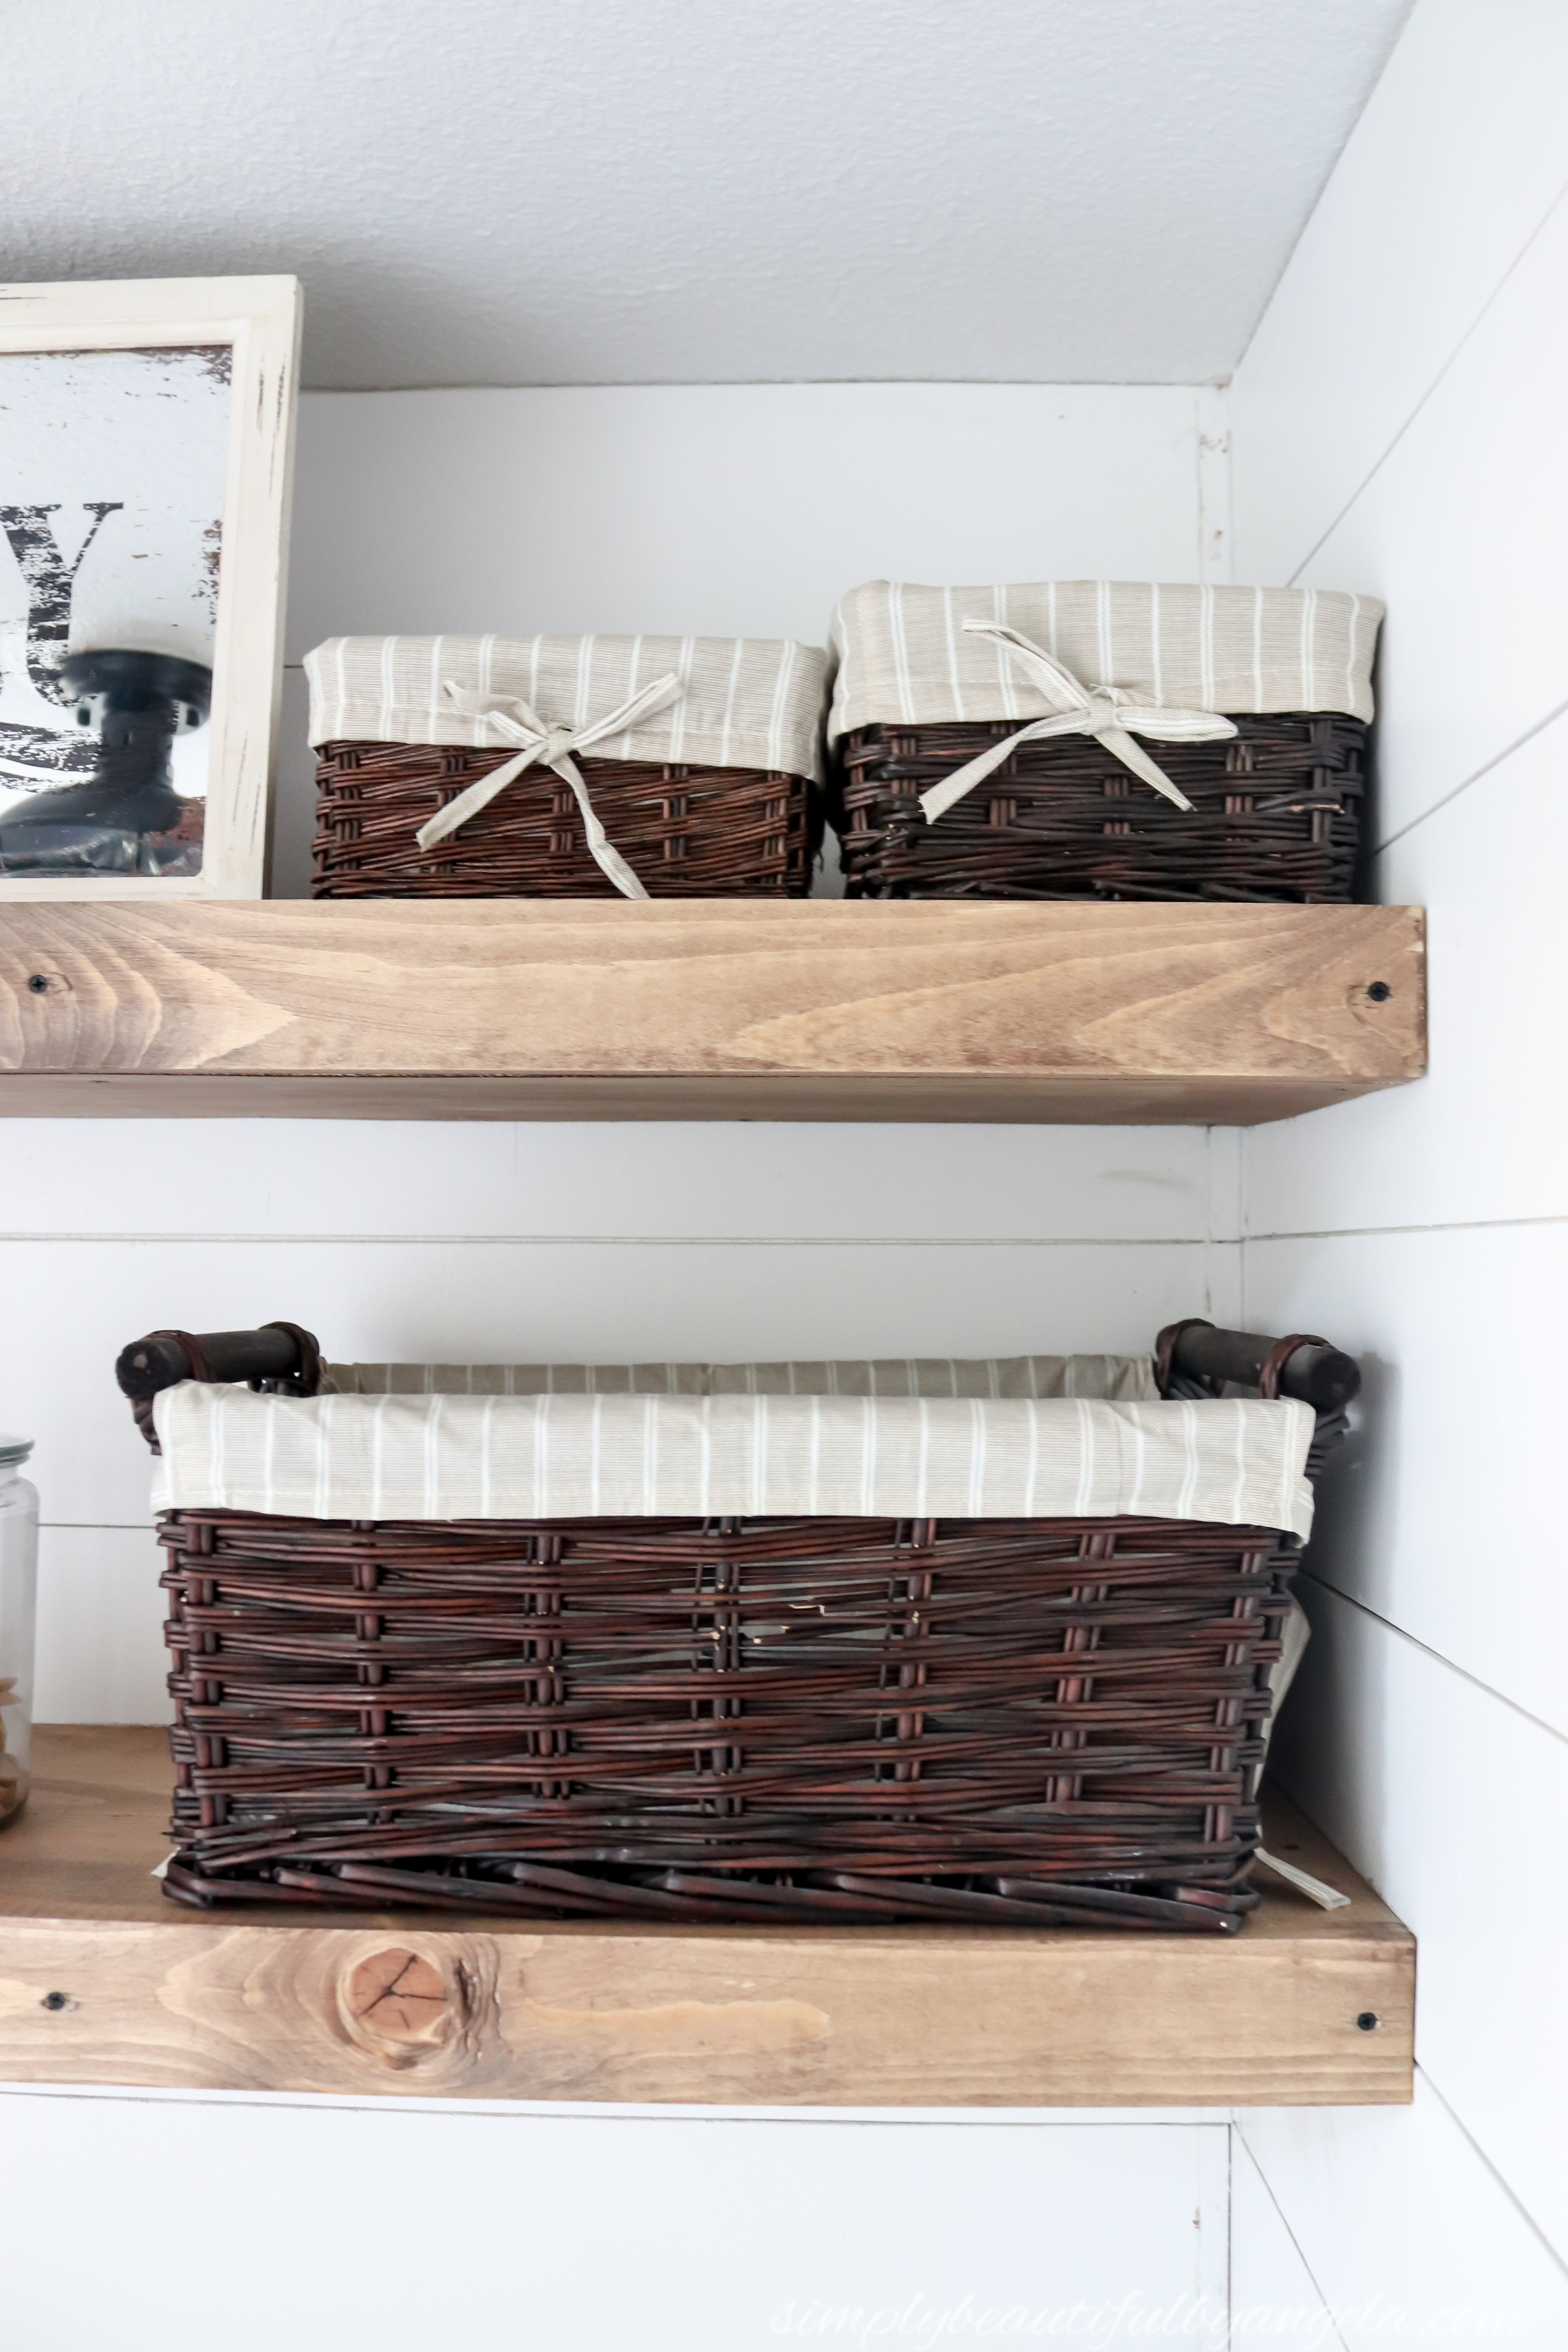
I’ve since added in a couple of fabric storage bins on top of the washer and dryer to hide the old ugly water connection box that I’ve cropped out, but I think we may end up building a counter that will help hide it better. I can’t decide if that would be too much wood though…
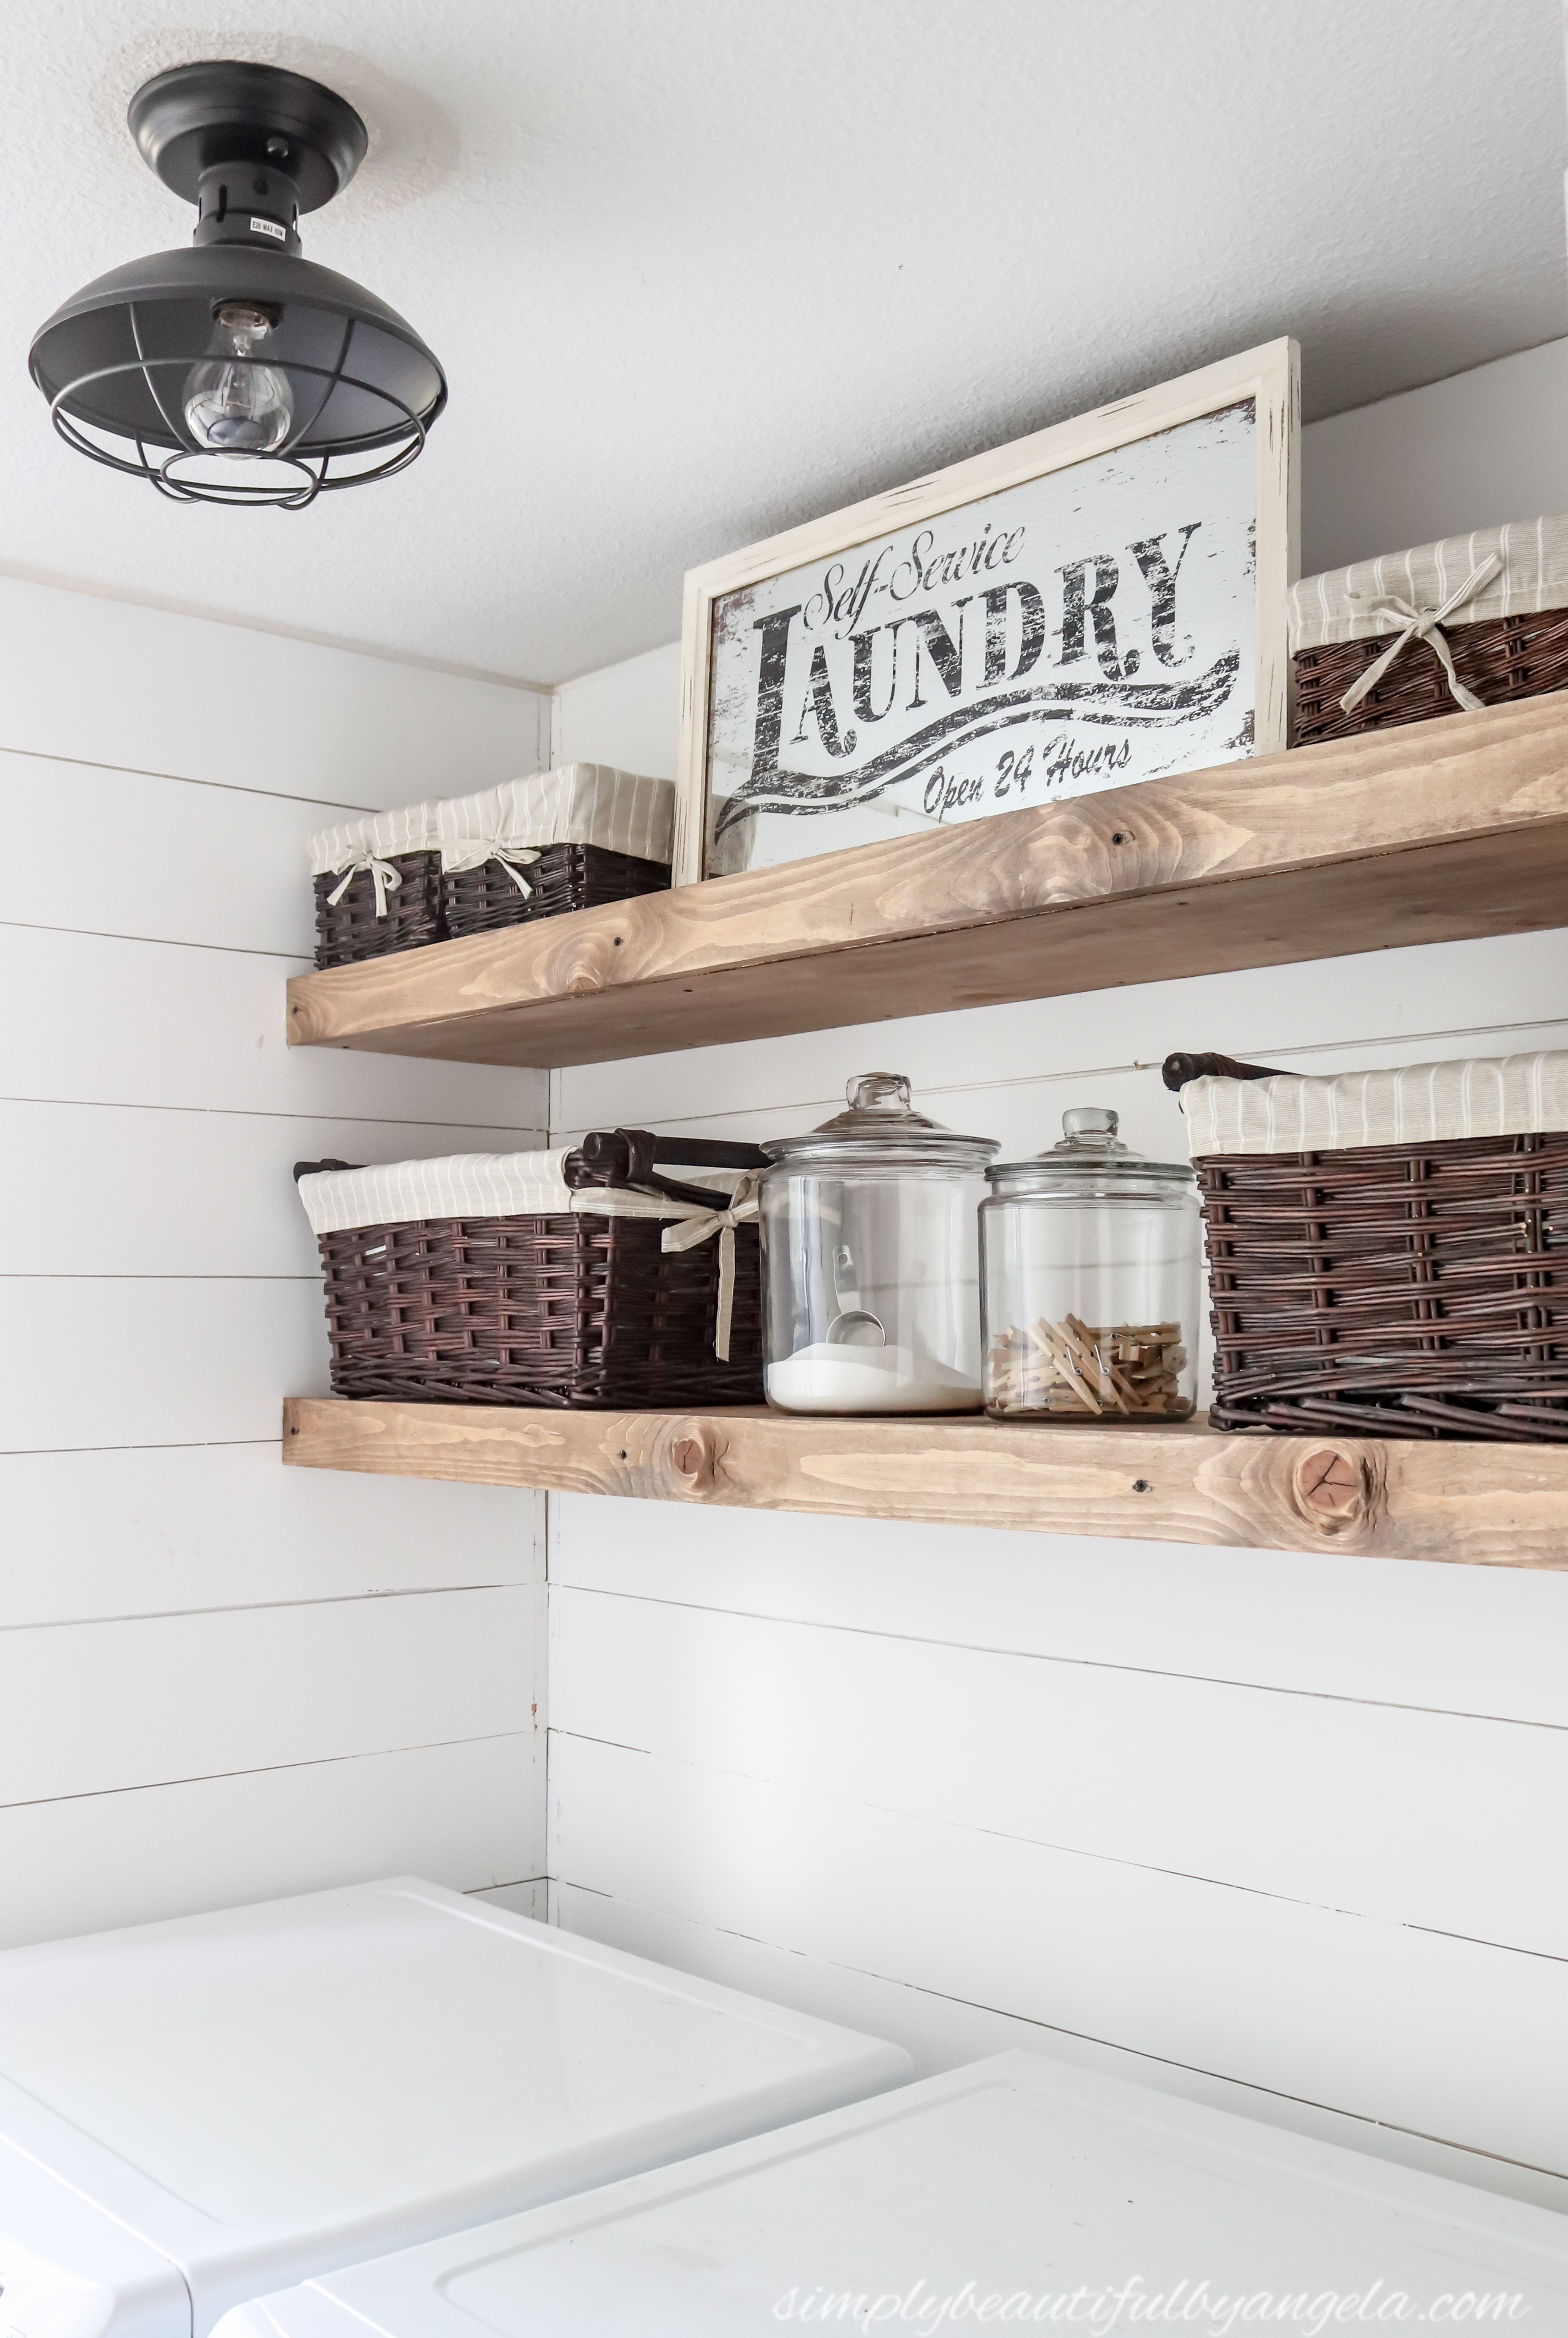
A quick reminder of how empty this space felt before the shelves went in compared to after…
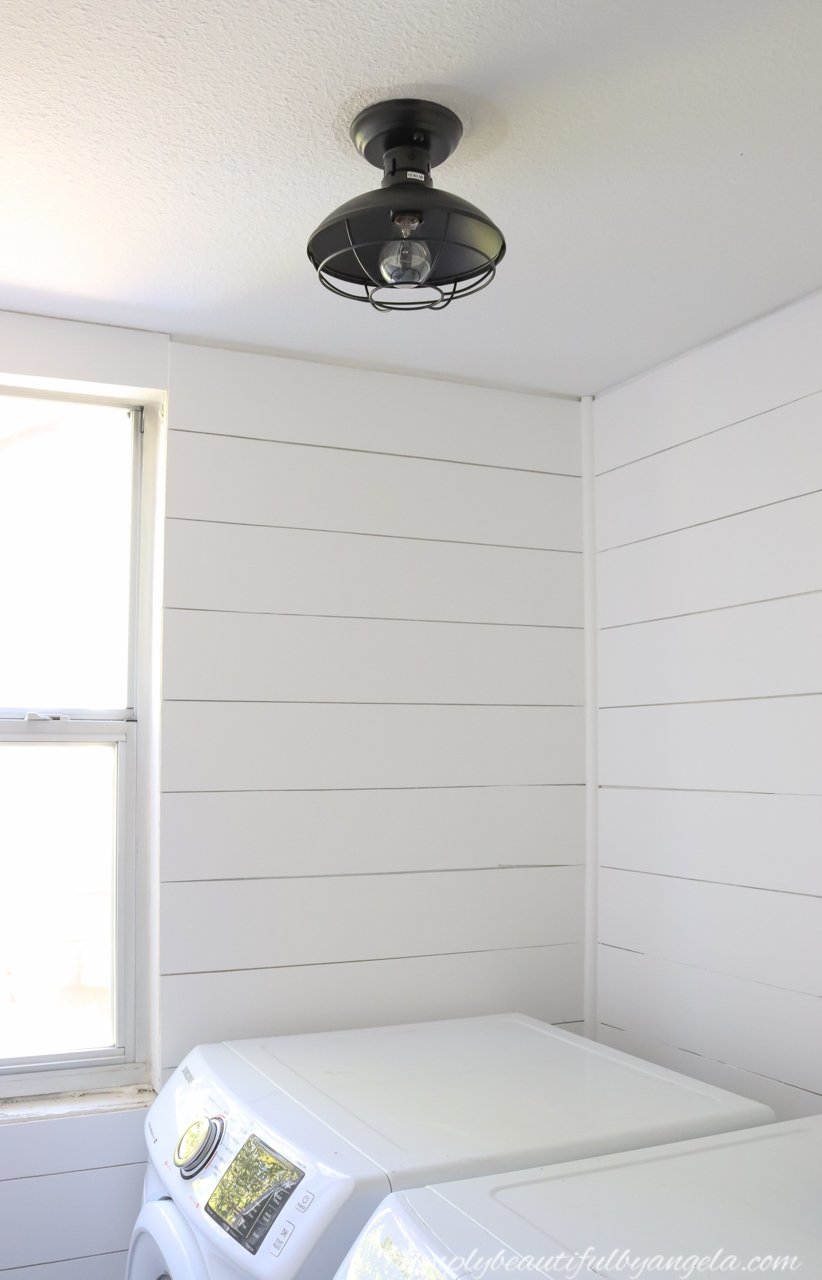
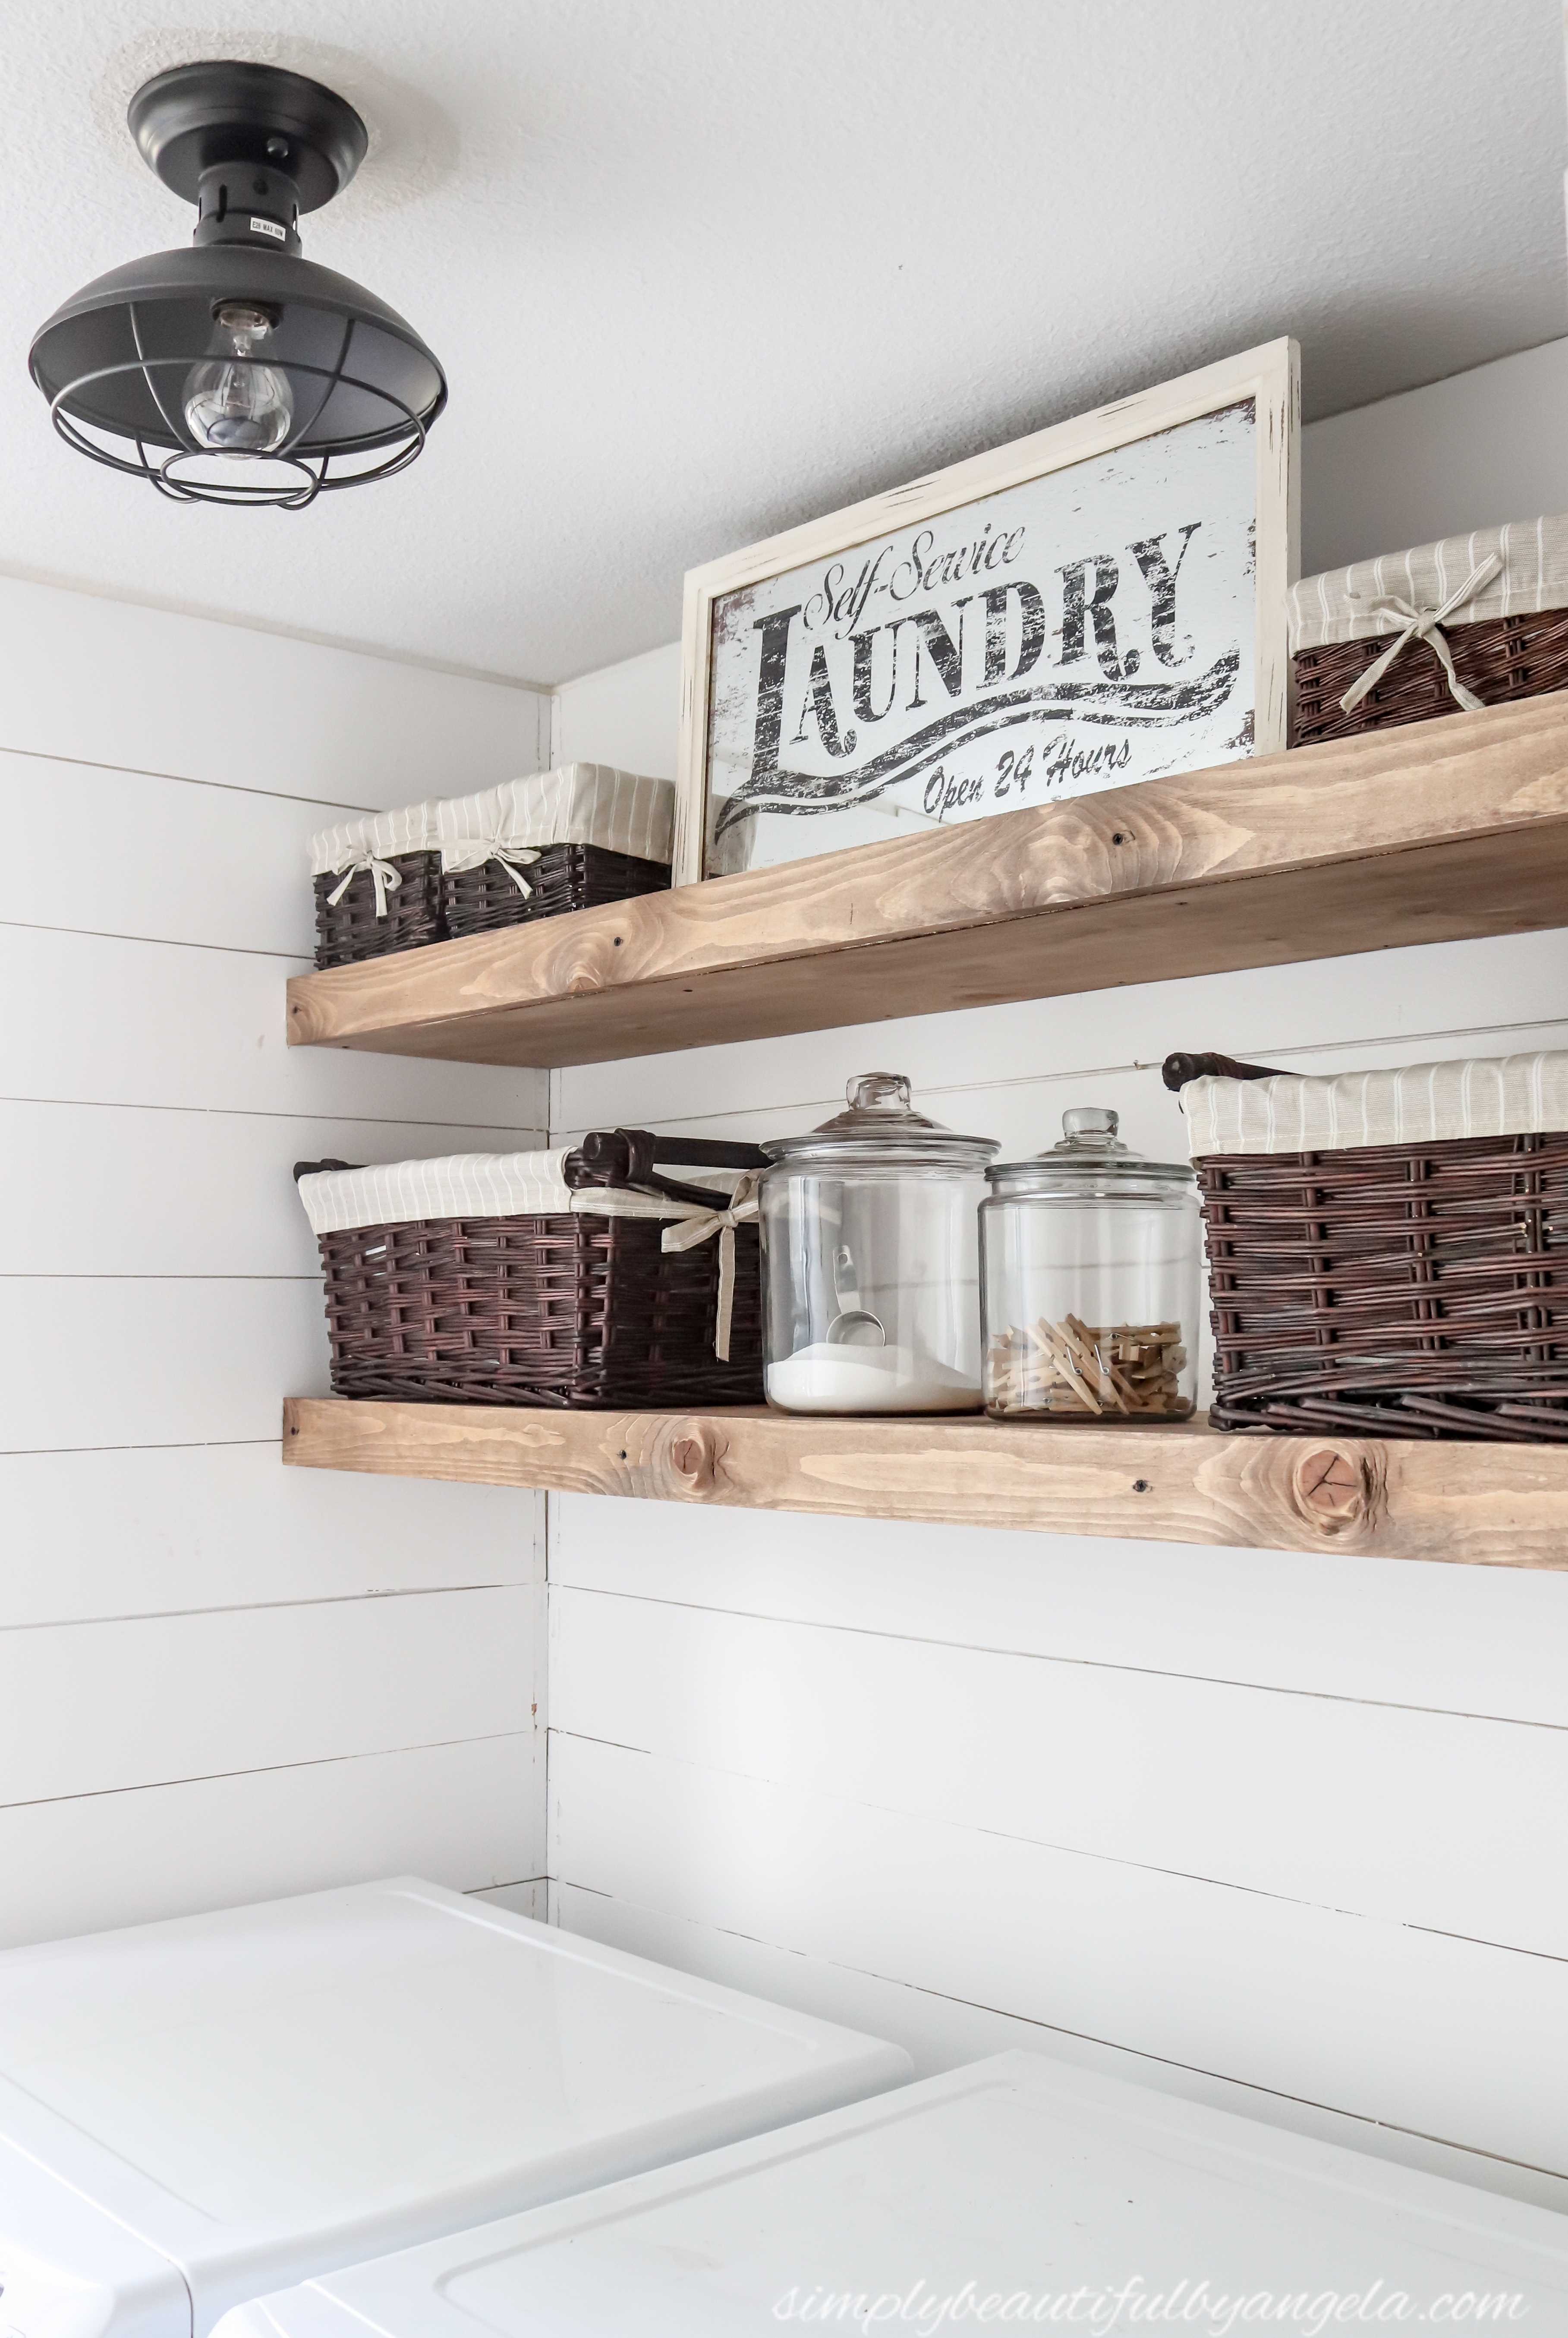
Yep. I’m pretty ecstatic with how this little space is coming together!
Thanks for stopping by today my sweet friends. I have just a couple more fun projects for this space that I’ll be sharing and then I should be ready for the big reveal. I hope you all have an amazing rest of the week!
Linking up to these awesome parties!
This is such a beautiful room! Working in here would make doing laundry so much better! Here from The Creative Circle
Thanks Candice–yes it definitely makes it not quite as painful haha!
I hope you’ll come share this at Talk of the Town on Tuesday. I’d love to feature it! The party starts 6 pm central time (1800). Angie @ Knick of Time
Sorry for the late response, I will have to add it to my Linkup list! 🙂
Such a darling laundry room!!! Thank you for the inspiration! Love it!!!
~Emily @ LeCultivateur.com
Thank you Emily!! 🙂