Hi guys! I hope you’re all having a nice week so far. Because of the three day weekend, this week seems like it’s zipping by crazy fast but I’m not complaining!
Anyways I wanted to pop in quickly today to share probably one of the easiest tutorials ever. Seriously, it was suuuuper easy! But I am so obsessed with how awesome our new “curtains” are that I had to share them with you guys.
When we first moved in to our new house, I took down all of the previous owner’s window treatments since they didn’t really fit our style. I’ve been dragging my feet on getting new ones because other things keep taking priority…#fixerpperlife!
It’s hasn’t really bothered me all that much except for in the kitchen and dining room because those windows face east and receive intense morning sun. Especially since we have no houses behind us to block it. One morning I even found Anthony cooking breakfast with his sunglasses on.

Yep. It was bad!
I took the hint and hung some bamboo shades in the kitchen to make cooking breakfast more enjoyable, but the dining room door still sat completely bare.
We would hang up an old blanket up with nails anytime the sun got to be too bright and then let it hang to the side whenever we wanted natural light. It wasn’t the prettiest of solutions, but it worked!
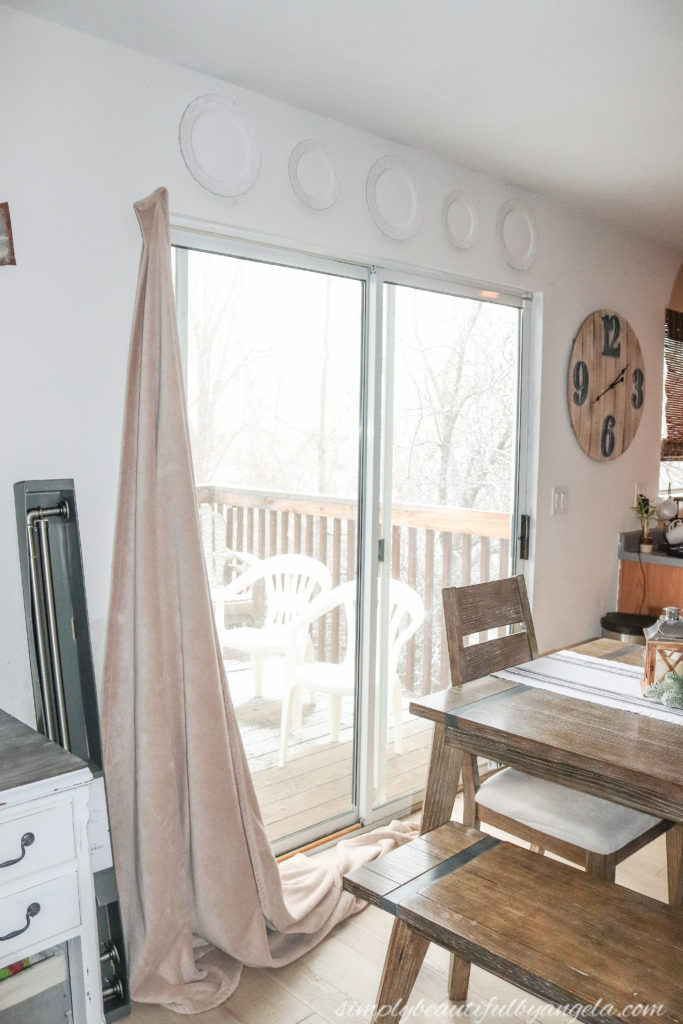
I finally got tired of looking at it so I started thinking about what to put up there. I’ve seen images all over Pinterest with drop cloths used as curtains and have been swooning over how pretty they look. Drop cloths have the prettiest color and texture, not to mention you can’t really beat the price. So this past weekend I finally got everything I needed to try it out!
Supplies Used:(Affiliate links may be provided for convenience. For more info, see my full disclosure here.)
- 2 9′ x ‘6 Drop Cloths
- Pipe Curtain Rod
- Drapery Rings
Step 1. Purchase Drop Cloths
I purchased the 6’ x 9’ drop cloths that Home Depot sells but you may need larger or smaller ones depending on your window.
Step 2. Wash and Iron
I washed my drop cloths on warm and then tossed them in the dryer for about 15 minutes. I didn’t dry them all the way because I didn’t want them to shrink. I draped them over the couch to let them air dry.
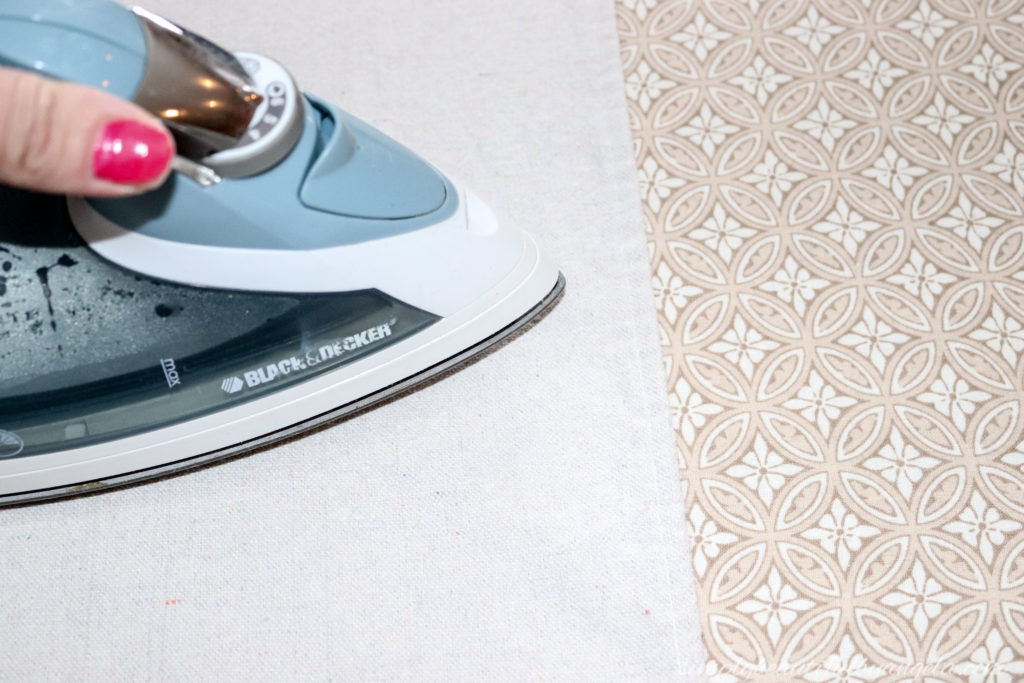
The wash took out most of the heavy creases, but they were still sort of wrinkled. So once they were dry I quickly went over them with an iron to smooth them out.
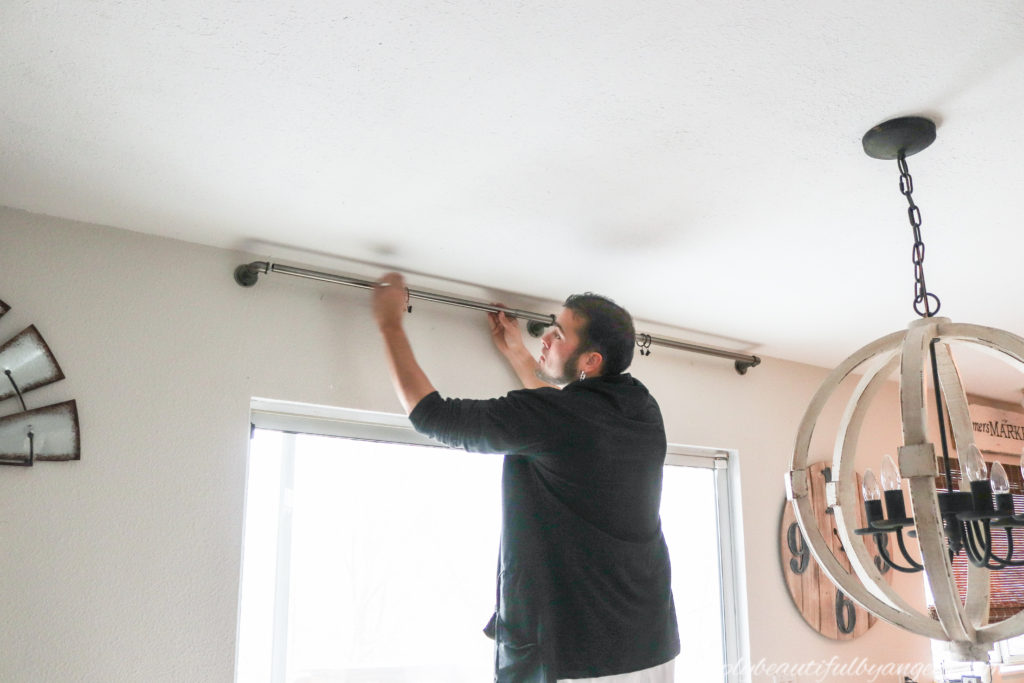
Step 3. Install Rod
I was originally leaning towards using a wooden dowel like we did in our old bedroom, however since I knew that we would be opening and closing these frequently I chose to go with metal for easier gliding. I fell in love with this pipe curtain rod from Target because it looks like real piping but without the high price tag of using real pipe pieces.
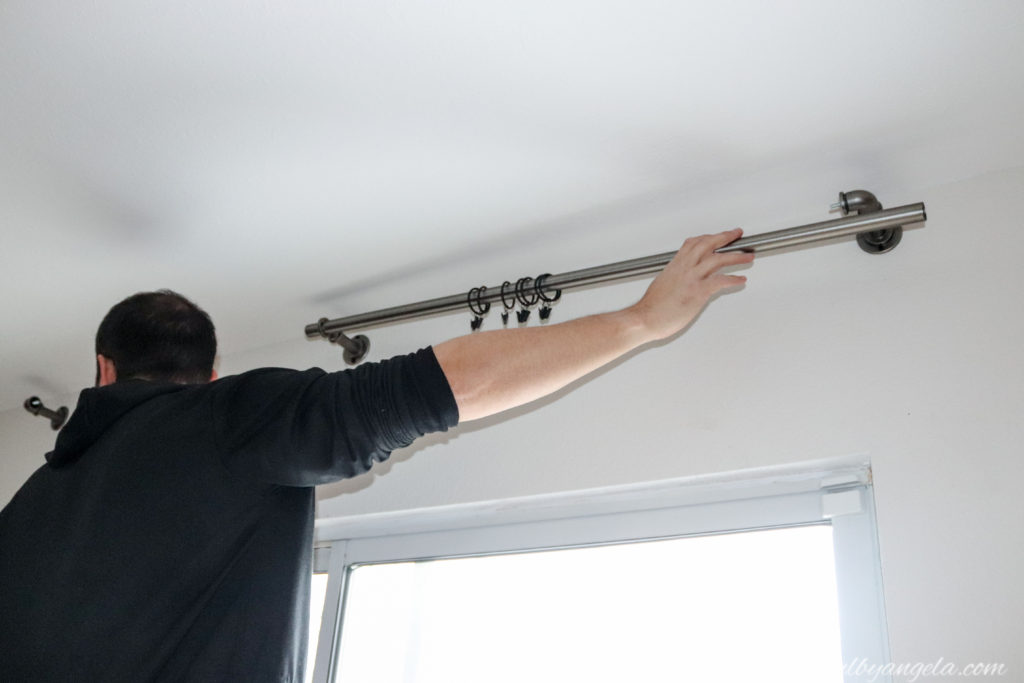
Don’t forget to slide the drapery rings on before putting up the rod!
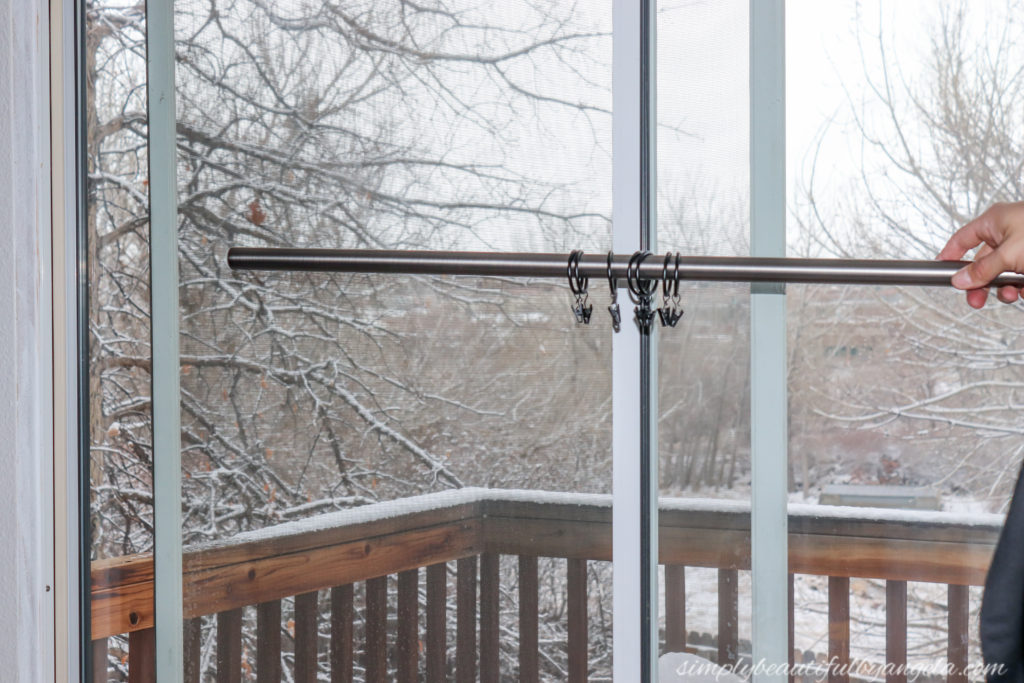
Anthony mounted it nice and high to create an illusion of heigher ceilings. One of my favorite tricks in the book!
Step 4. Fold & Clip
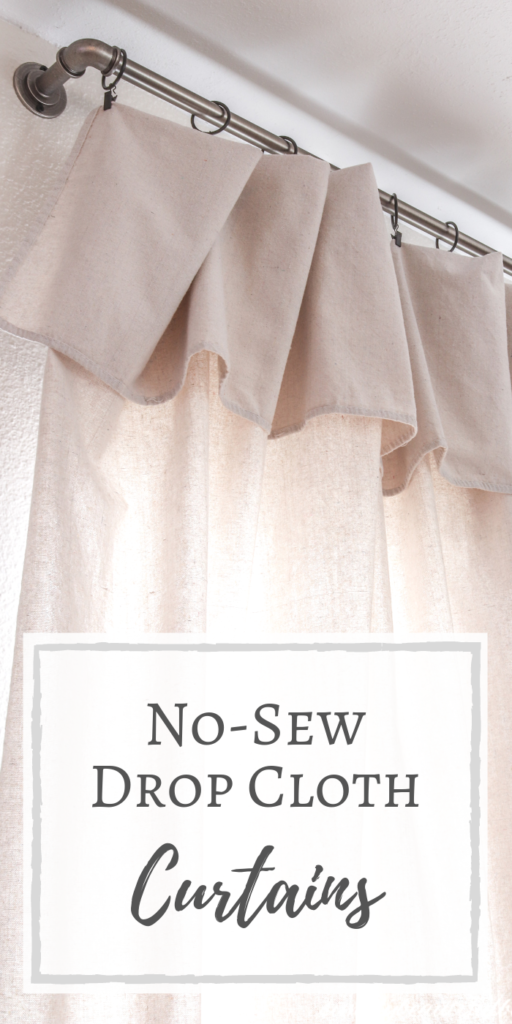
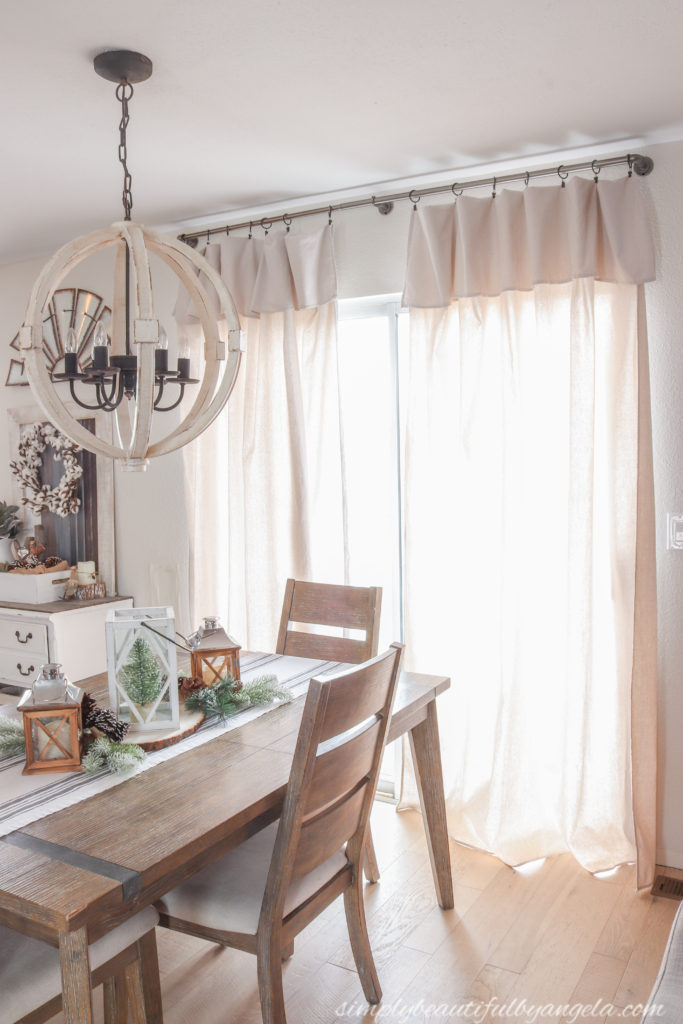
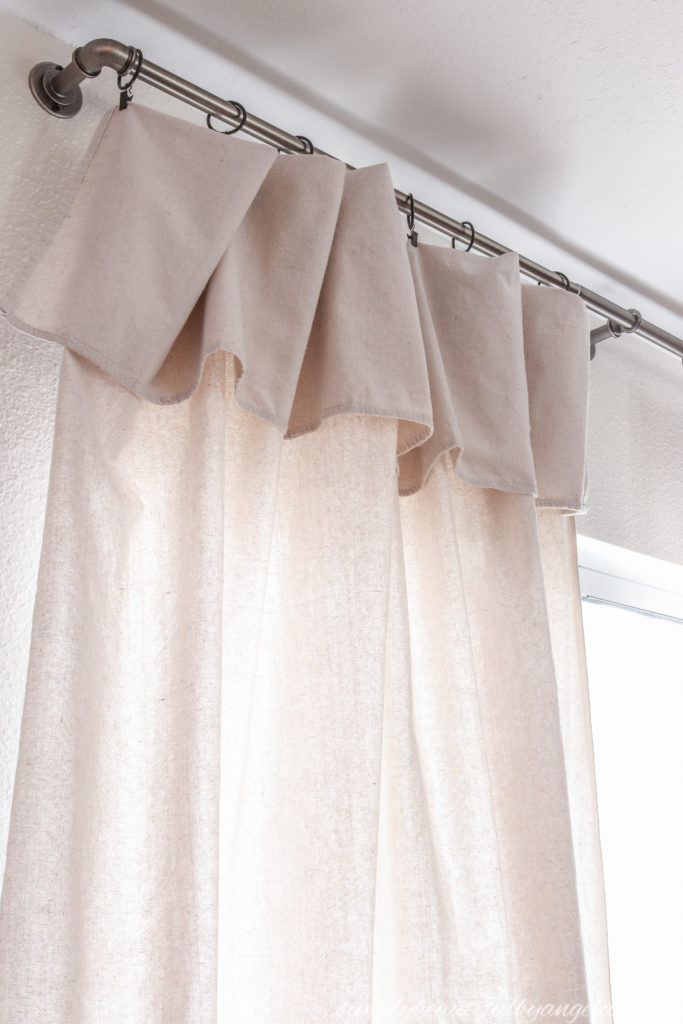
Fold the drop cloth over to achieve your desired height and clip it with your first drapery ring.
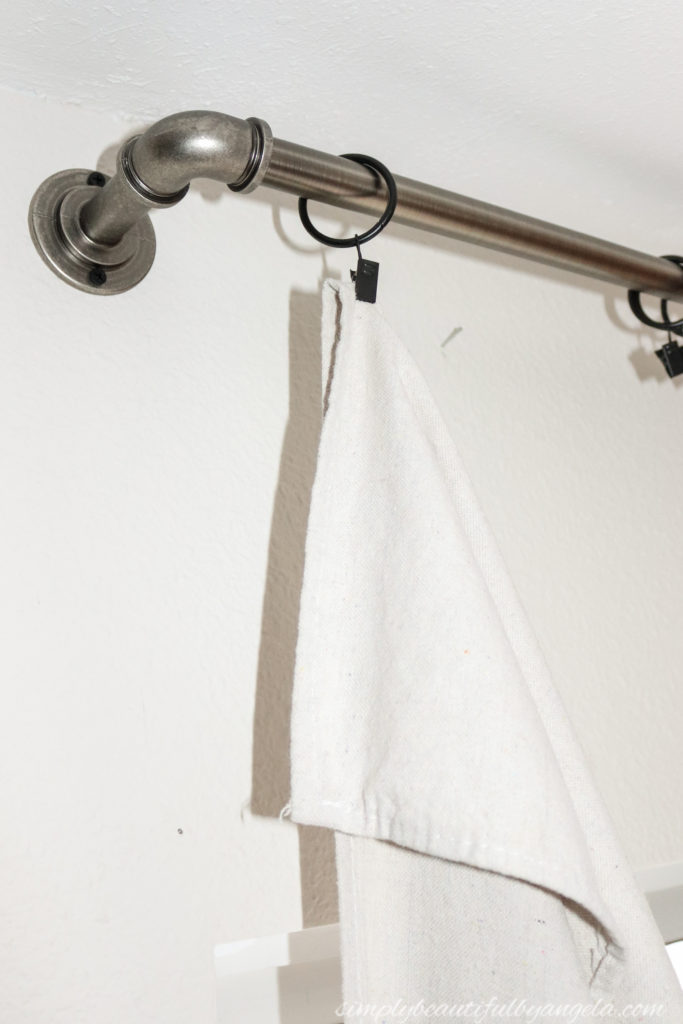
Then, fold the other side to the same width and clip that side.
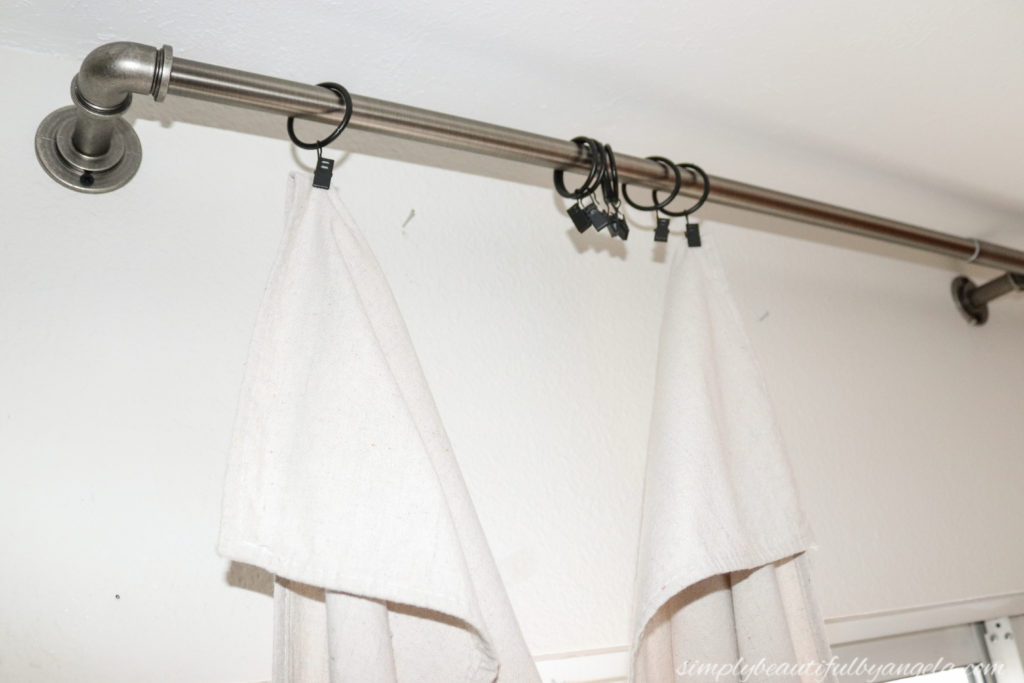
After that I clipped the center and then spaced the remaining 4 clips out between the two remaining spaces.
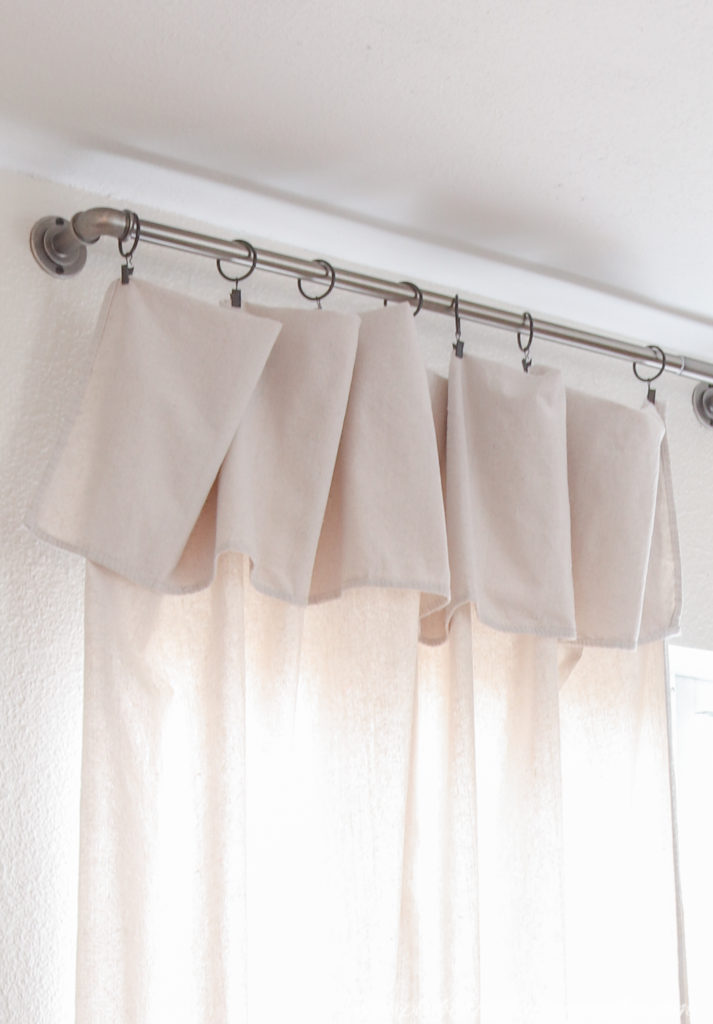
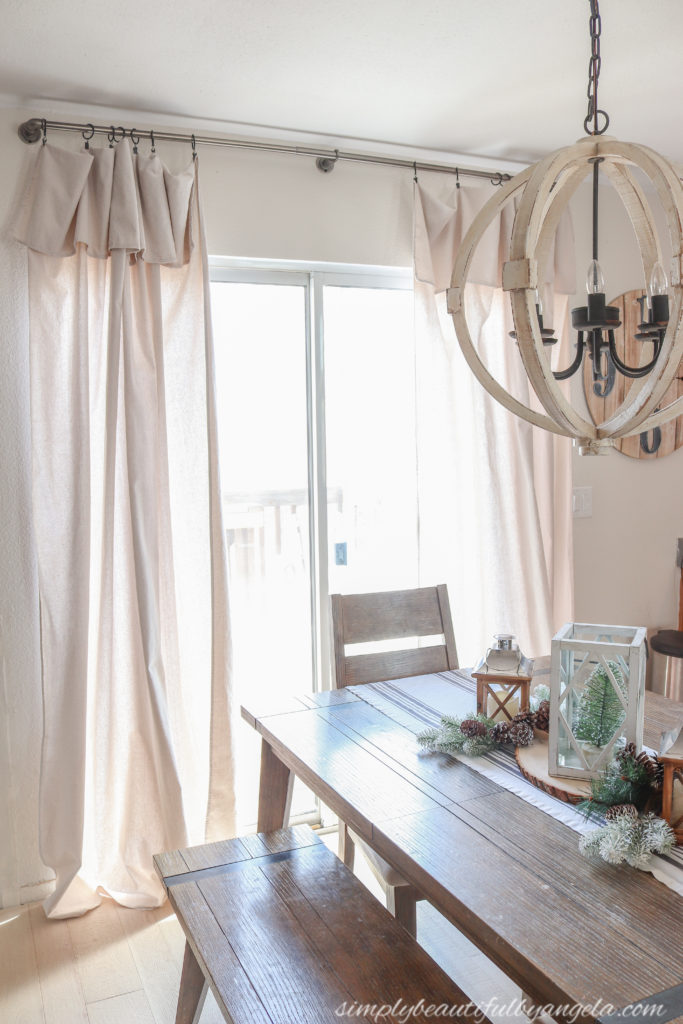
And just like that, after almost EIGHT months with no curtains we finally have some!
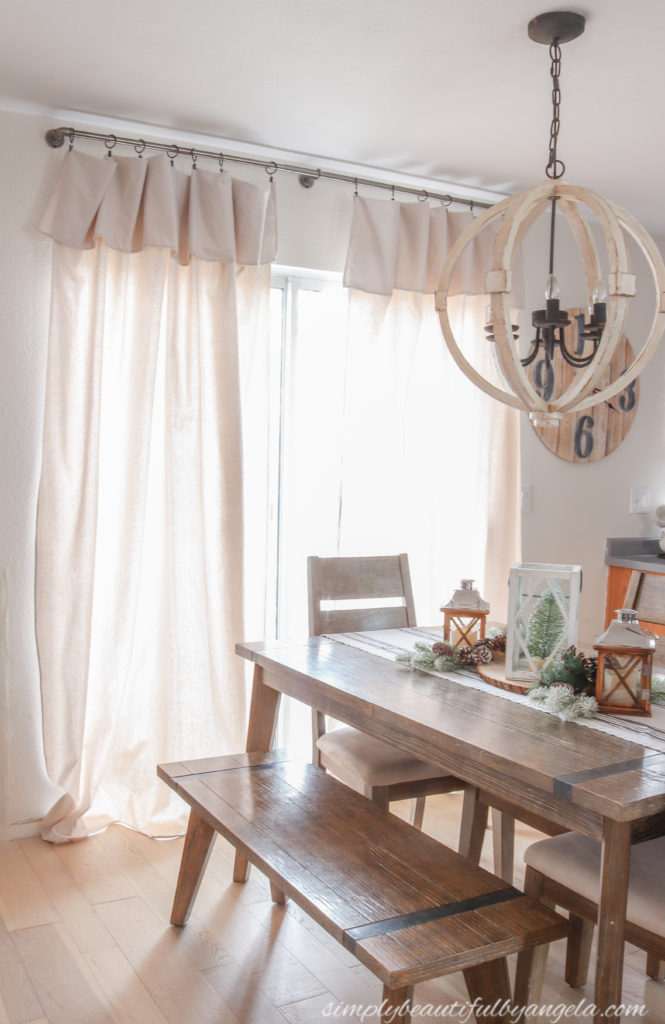
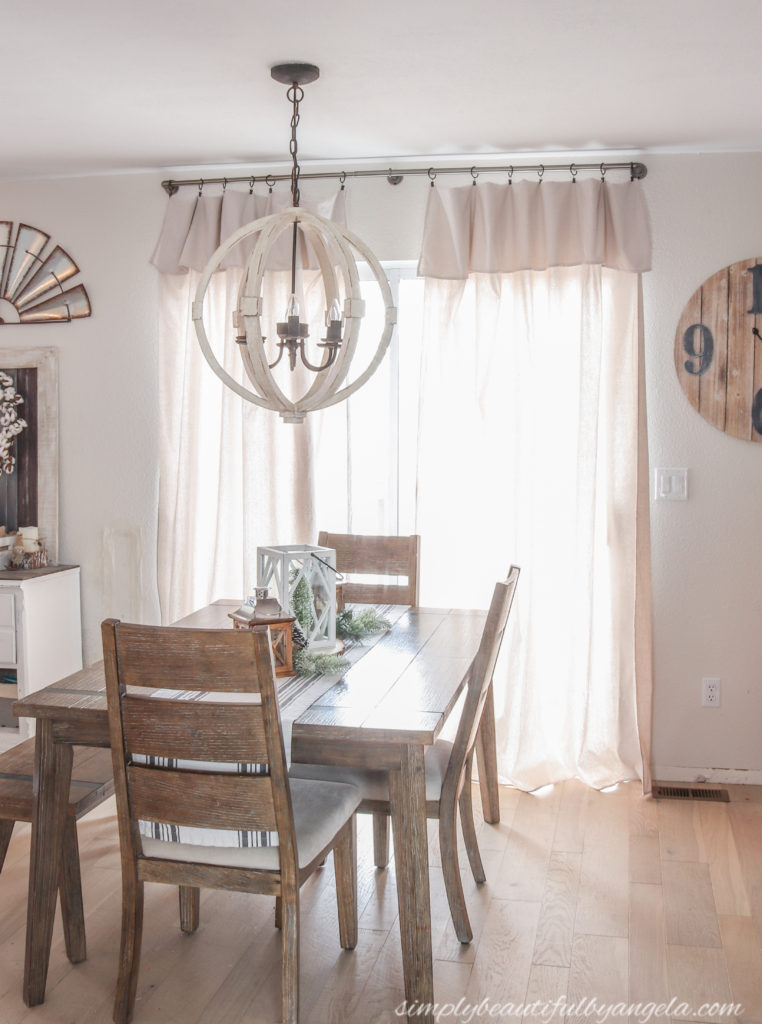
No lie, it took some serious trial and error to get the right height. Luckily it’s super easy and quick to adjust them.
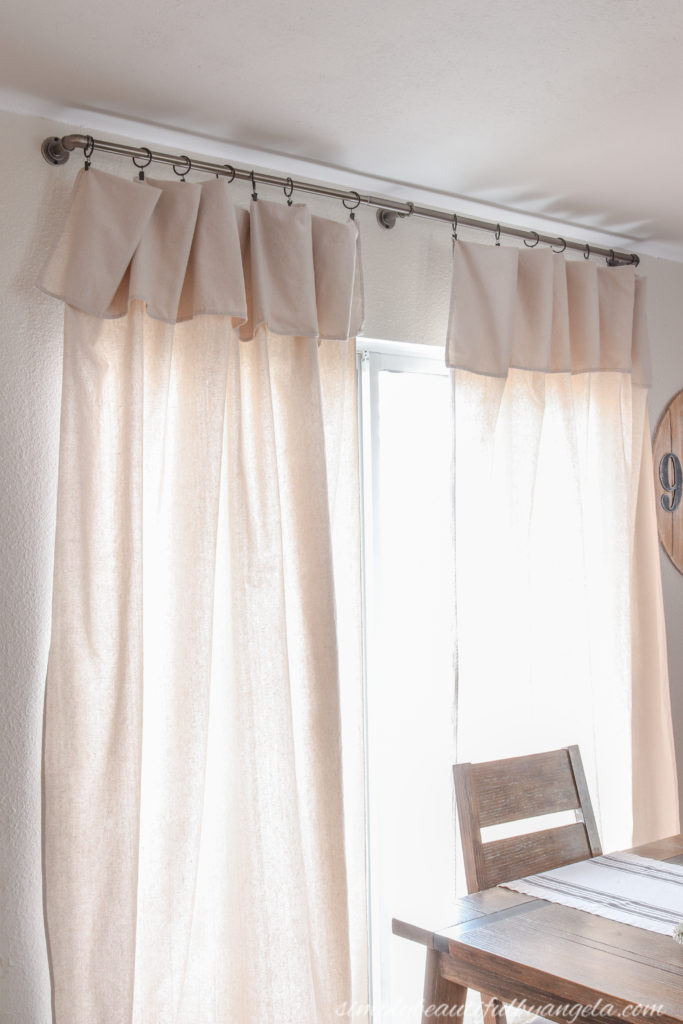
They are heavy enough to block out the harsh sunlight, but thin enough to softly filter light in.
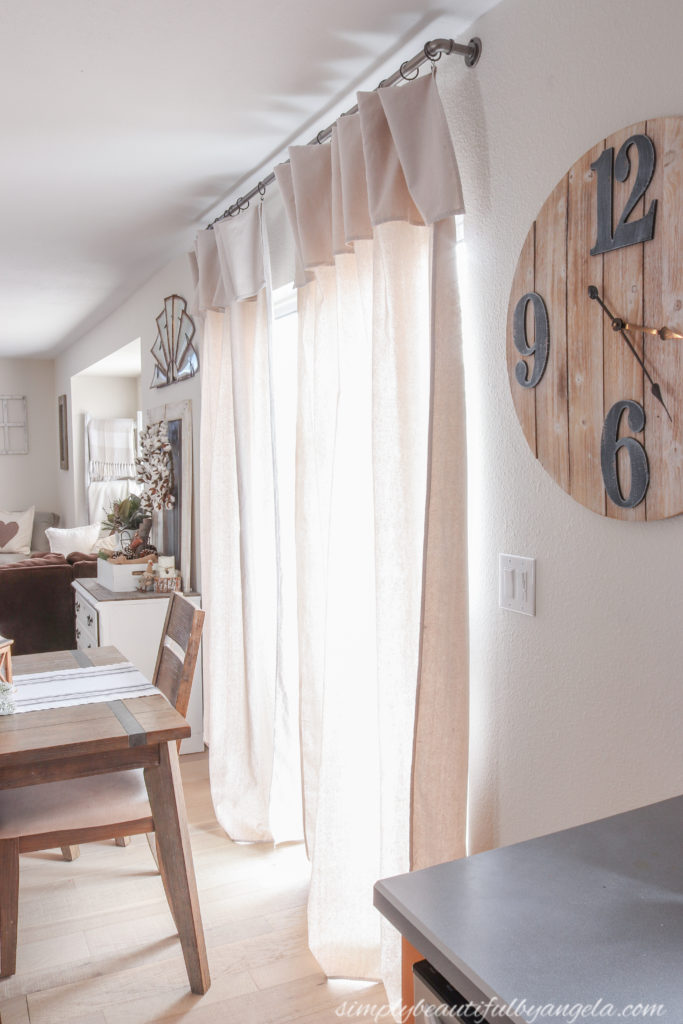
By the way, photographing windows when you don’t have a ton of light behind you to work with is probably the hardest thing ever.
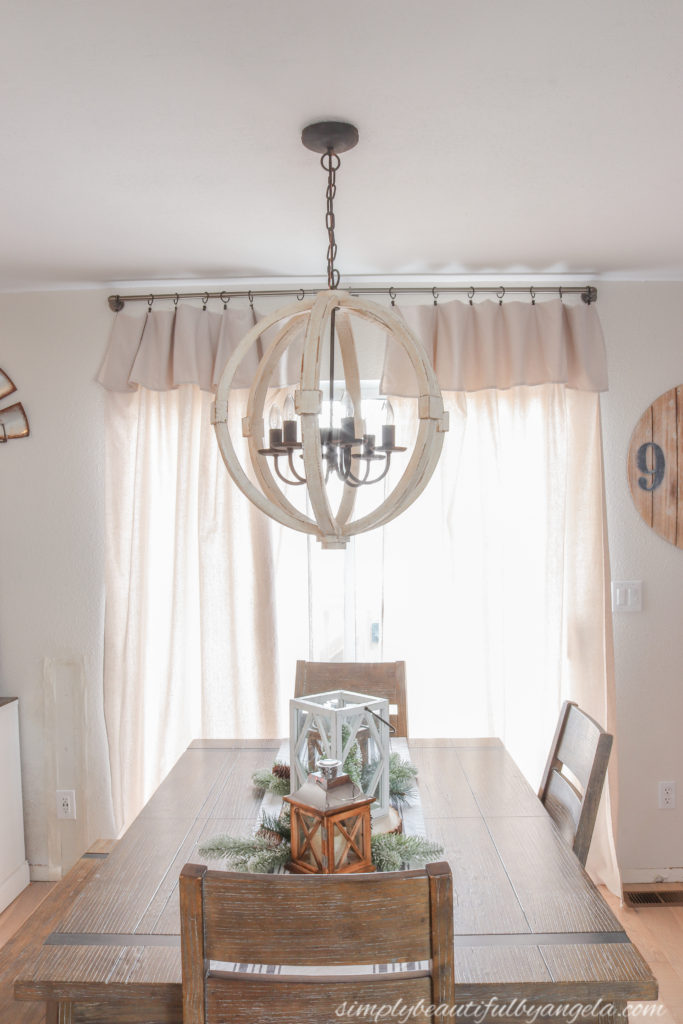
I am so happy with how affordable they were and how pretty they turned out. I am totally kicking myself for not doing this sooner!
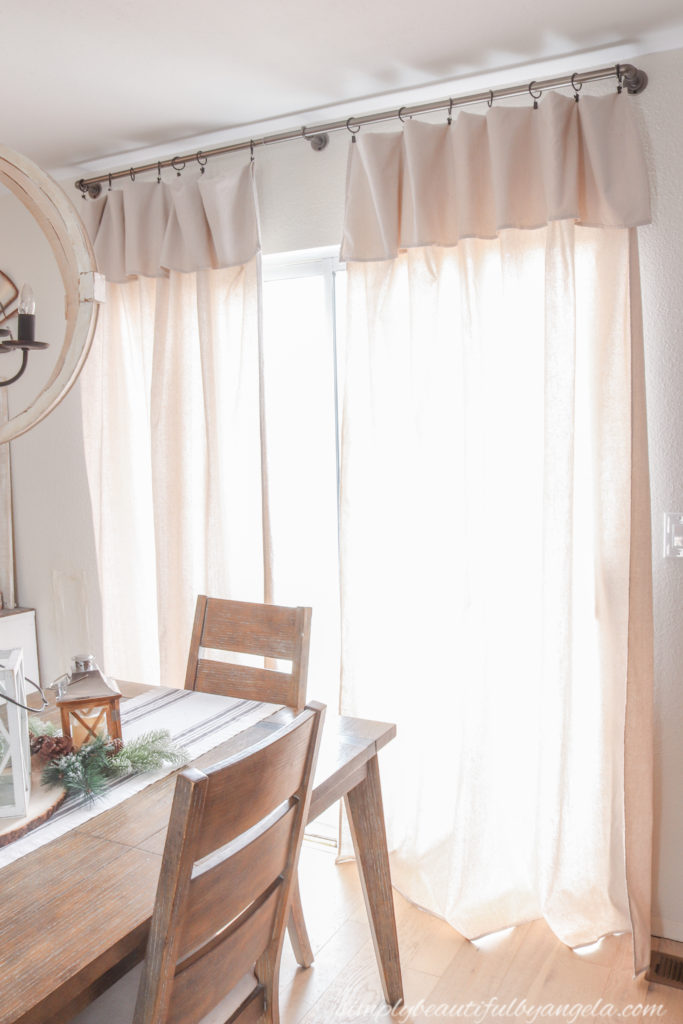
As it gets later in the day we pull them open so that we can admire the pretty open space and view from this spot. Beats the heck out of an old ratty blanket hanging to the side, don’t you think?
Thanks for swinging by today! Next week is this month’s Thrift Store Challenge, so I’ll be back with my blogger buddies to share a new thrifty flip. Have a wonderful rest of the week!
Linking up to these awesome parties!
Looks great! Maybe I’ll do this in my own dining room. We removed the curtains that were left by the previous owners years ago (literally), and have never replaced them. We do have white wooden blinds on the window in there, but curtains always help finish a room. Thanks for sharing at Sweet Inspiration!
Thanks Amy! I completely agree, I was surprised to see what a difference on the cozy factor the curtains made in the room!