Yesterday’s weather was absolutely beautiful. Warm, sunny, low 60s…it was glorious. But today we are getting hit with something called a “bomb cyclone” which is a fancy term the weather people use to describe a huge drop in barometric pressure in 24 hours. I guess it means that we are supposed to get slammed with high winds and heavy snow today. Ugh. Well, I guess it’s safe to say that springtime in Colorado is never boring!
Regardless of mother nature not being able to decide what to do, I’ve started decorating the house for spring. While I was at Joanns picking up some faux flowers for my magazine holder turned flower market basket, I spotted this super pretty fabric in the Easter section.
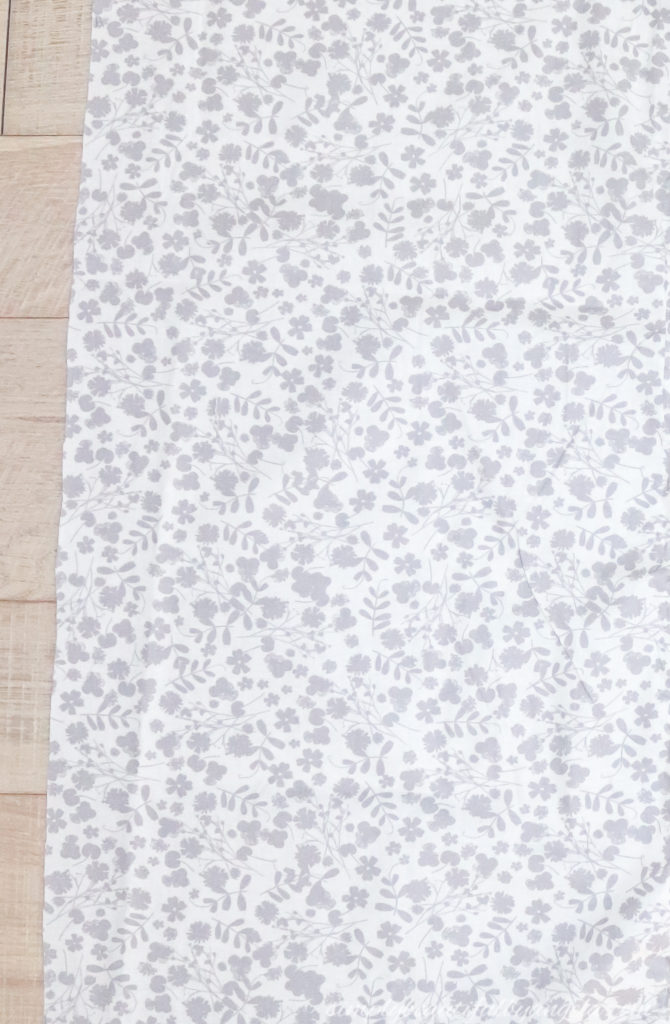
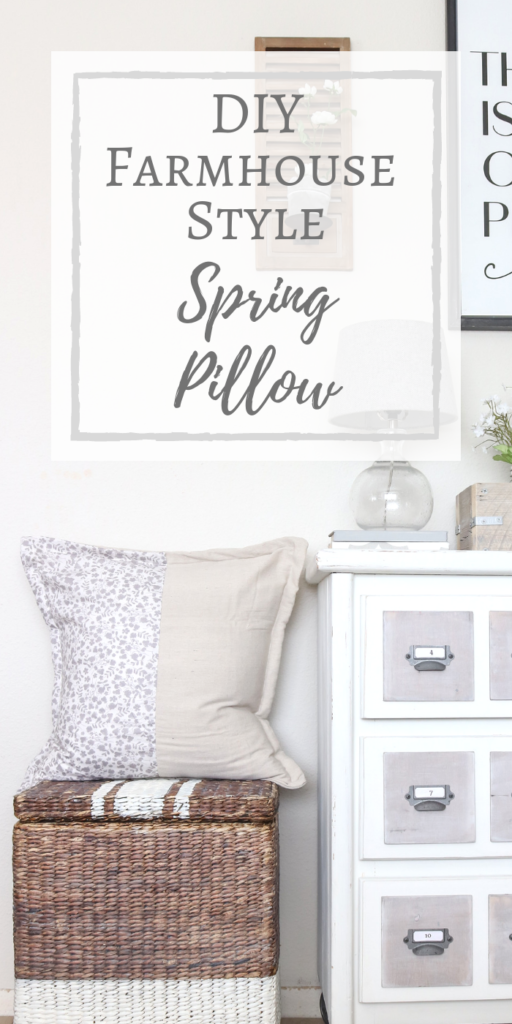
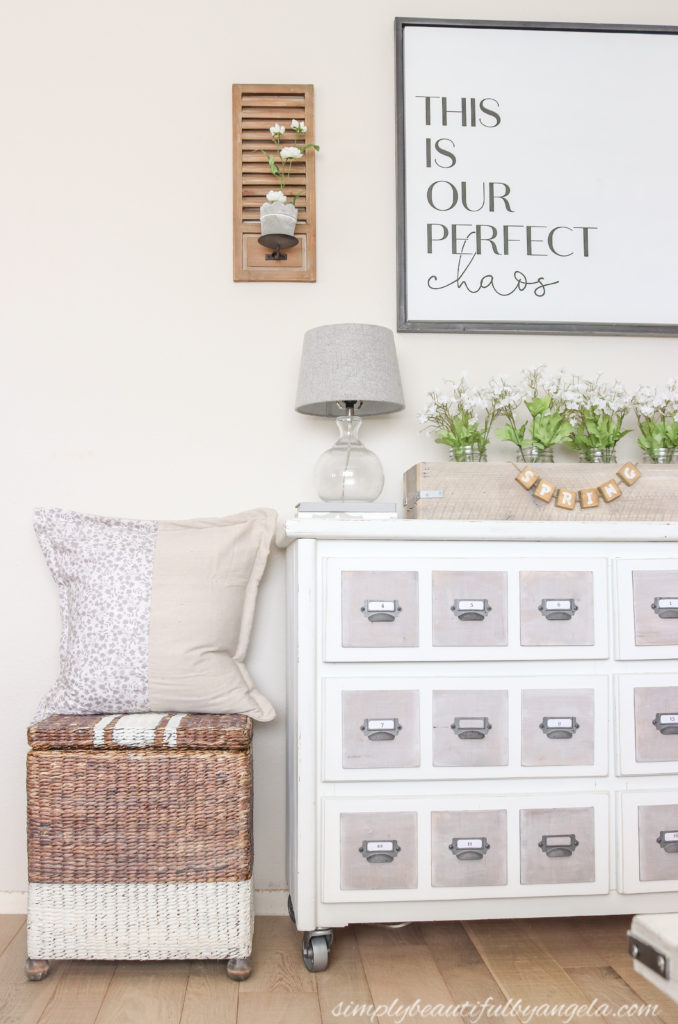
I loved how cheerful it was and I knew that the neutral colors would go perfectly with my farmhouse style. Since I had some extra pillow inserts after packing away my Valentine’s day pillow covers, I decided to use it to create some new ones for spring.
Supplies Used: (Affiliate links may be provided for convenience. For more info, see my full disclosure here.)
- 1 yard floral gray fabric
- Canvas Drop Cloth
- Coordinating thread
- Sewing Machine (this is mine and I love it!)
- Measuring tape
- Sewing pins
- 24″ x 24″ Pillow Inserts
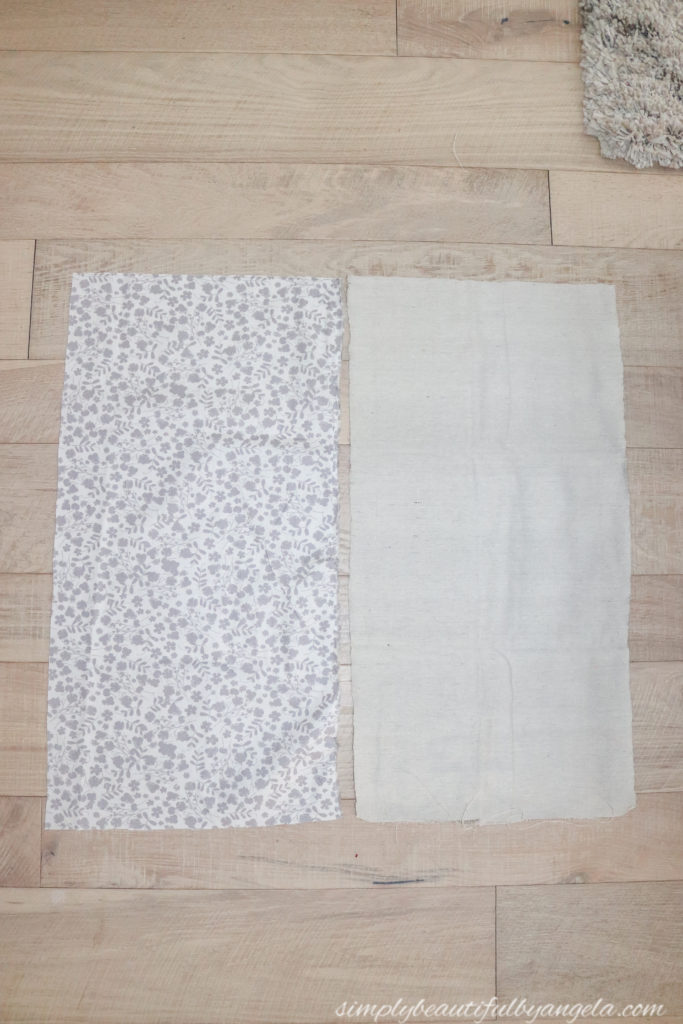
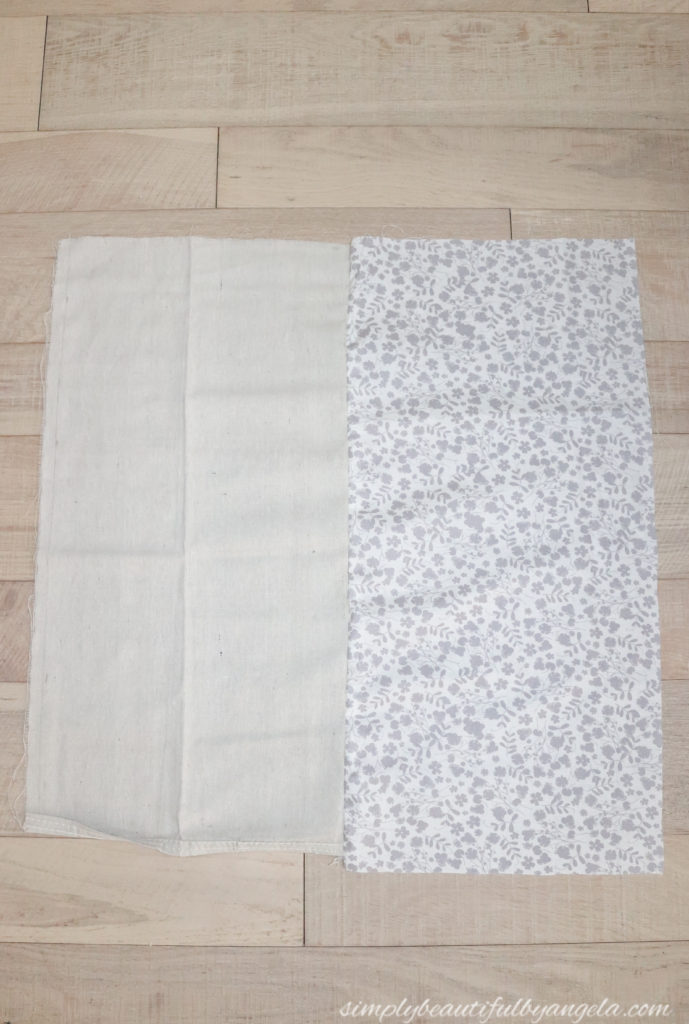
Step 1. Cut Front Pieces
I wanted to do something a little different than just a solid pillow, so I decided to create a half and half look with some canvas drop cloth. Since my insert measured 24″ I needed a 26″ square (to account for seam allowance and the flange) for the front. I cut the fabric and the drop cloth pieces at 26″ long and 13.5″ wide. The extra half inch added to the width was for the middle seam that I created in the next step 🙂
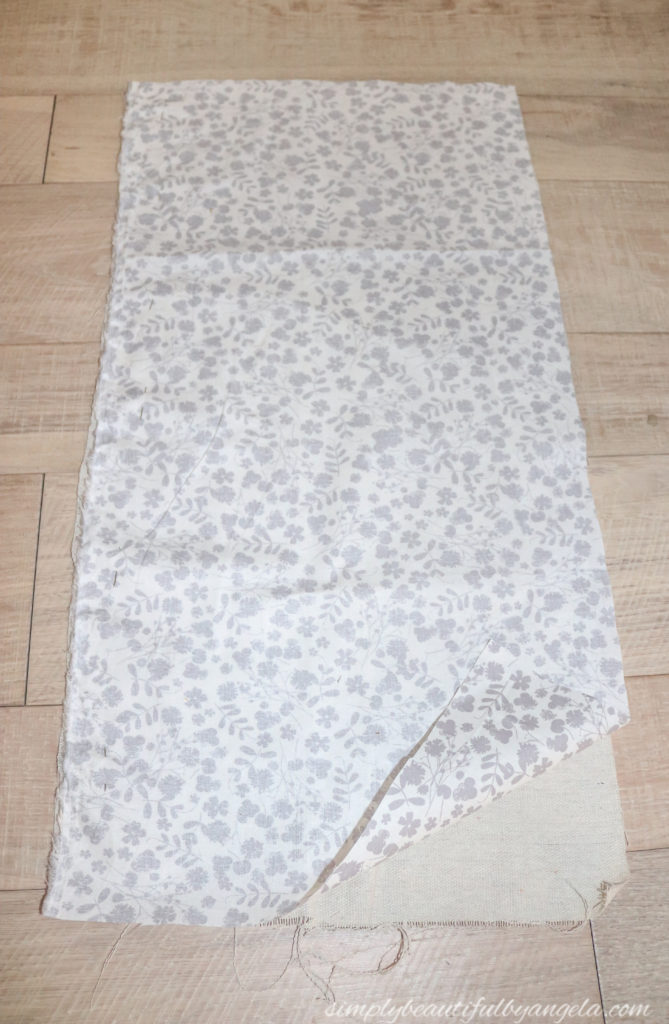
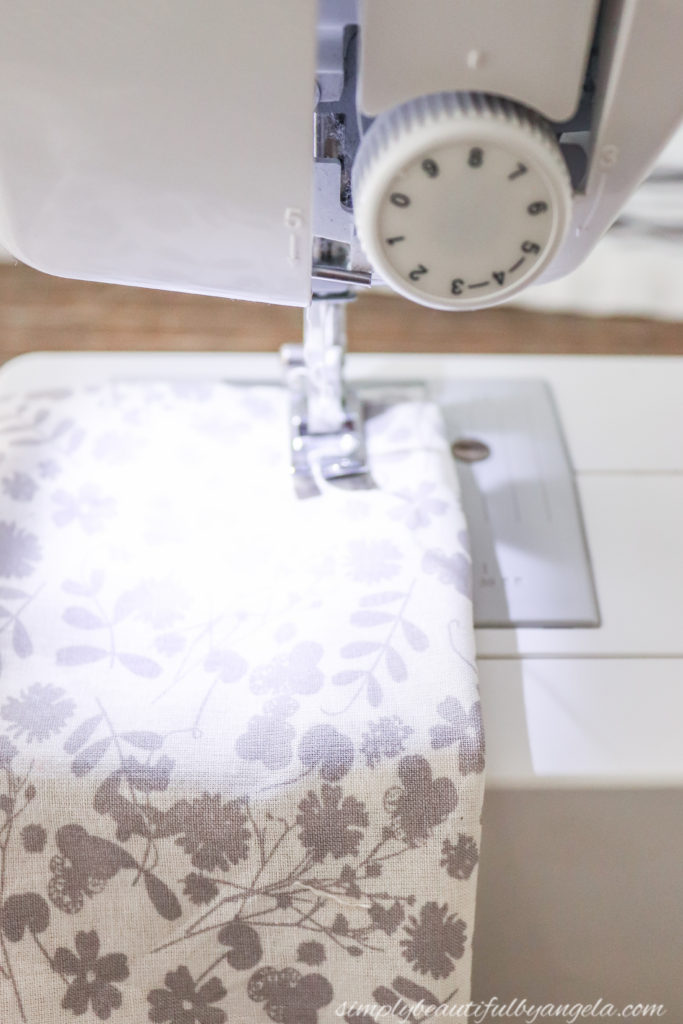
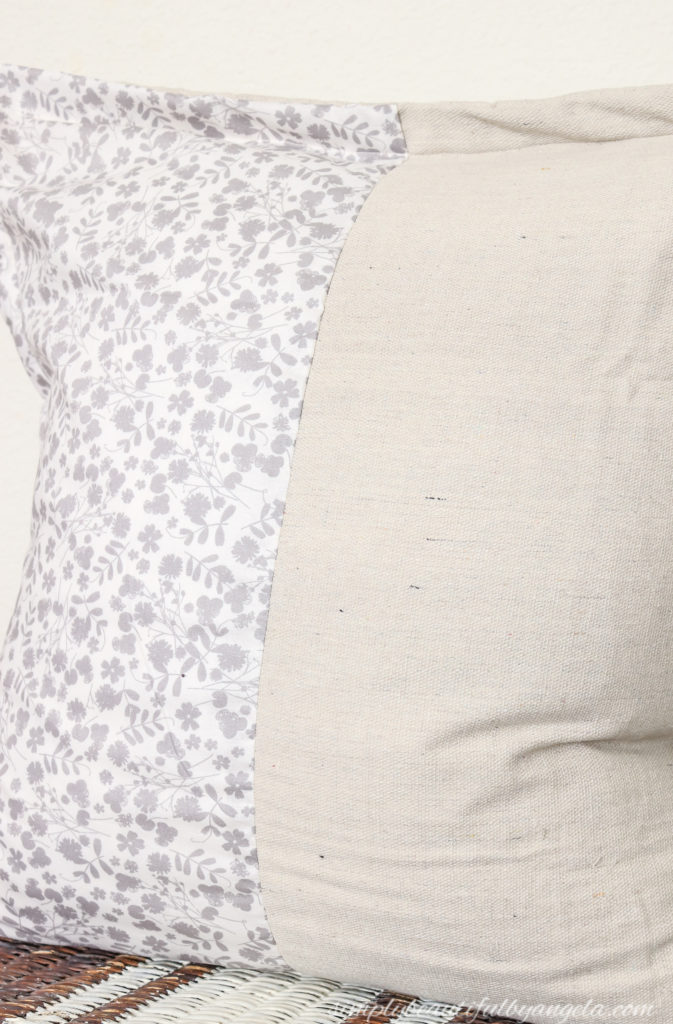
Step 2. Sew Front Together
I pinned them together with the wrong side of the fabric facing up, and ran it through the sewing machine with a half inch seam to attach them.
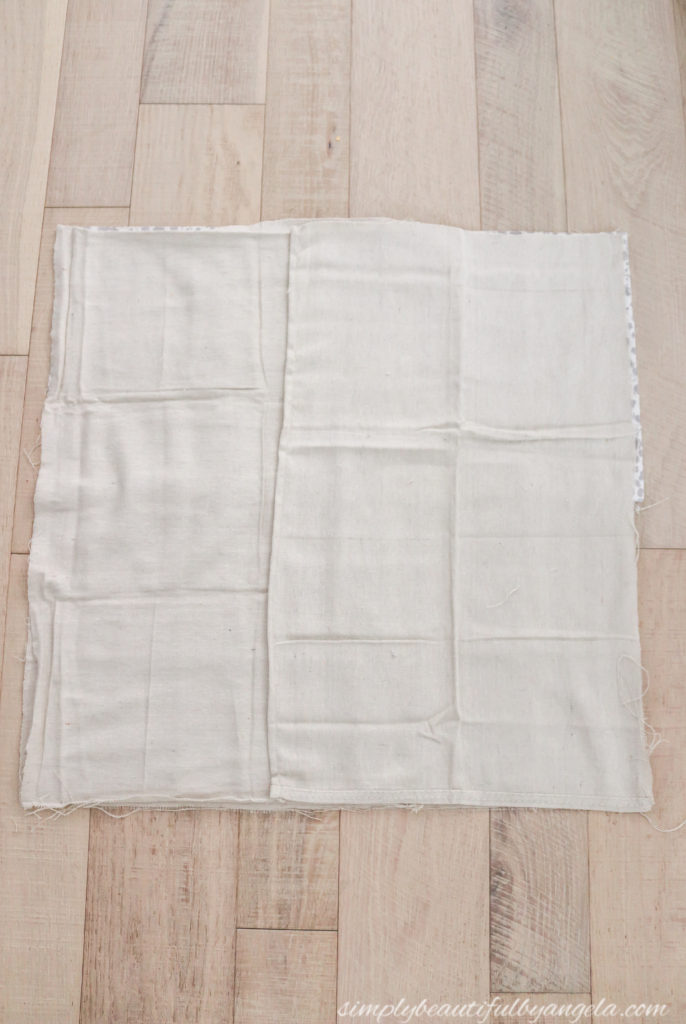
Step 3. Cut Back Pieces
I added 8″ to the pillow insert length and divided by two to figure my measurements for the back pieces and ended up with 26″ x 16″. I used the pre-sewn seam of the drop cloth to avoid having to hem the edge.

Step 4. Assemble Pieces and Sew
With my front piece face up, I laid the back pieces on top with the finished edges of the drop cloth in the middle. I pinned them together and then ran a 1″ seam around all four edges.

Step 6. Sew Flange
To create the flange, I flipped the case right side out and pushed my corners out as much as I could. I put a few pins in the center to keep the envelope enclosure in the back straight, and then ran it through the machine with a 1″ seam around all four edges.
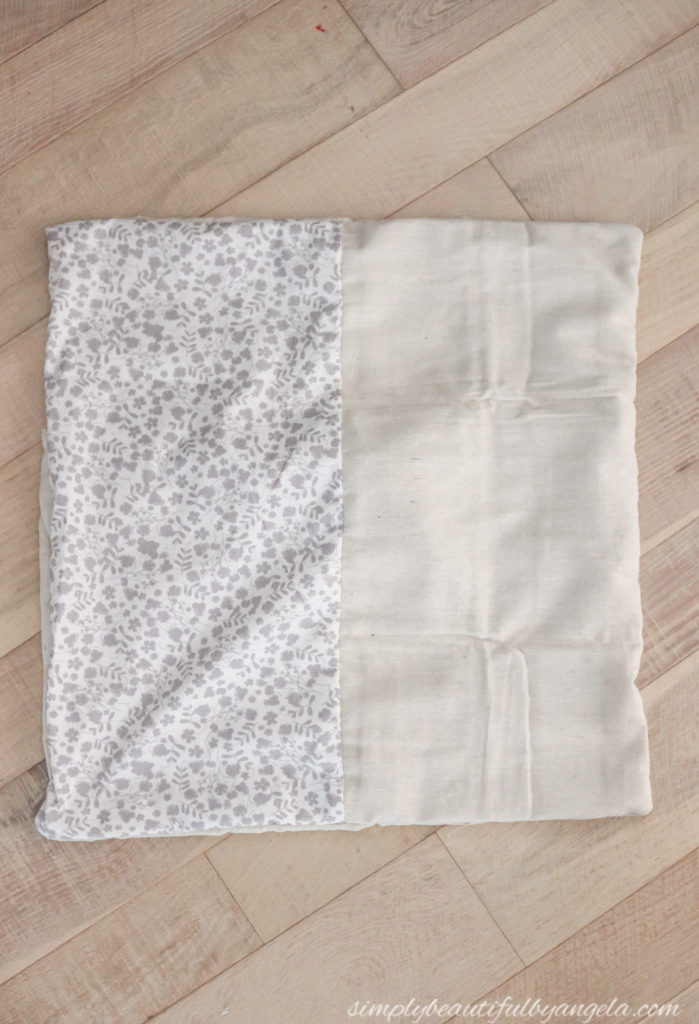
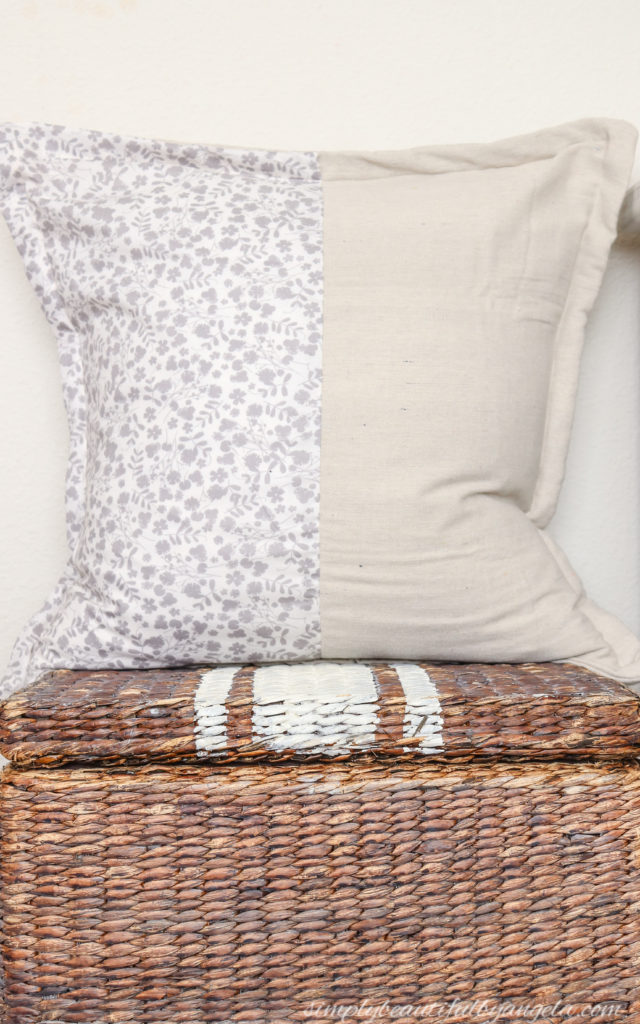
And this is how it turned out!
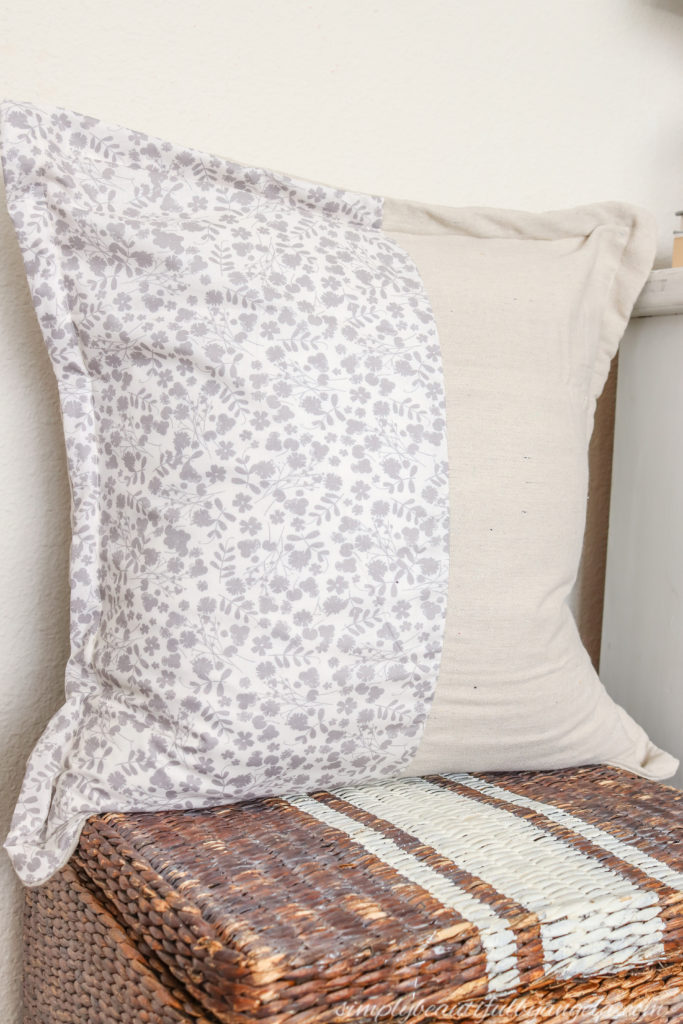
I am really happy with the way the soft pretty floral contrasts with the rough drop cloth. Such a cool combo!
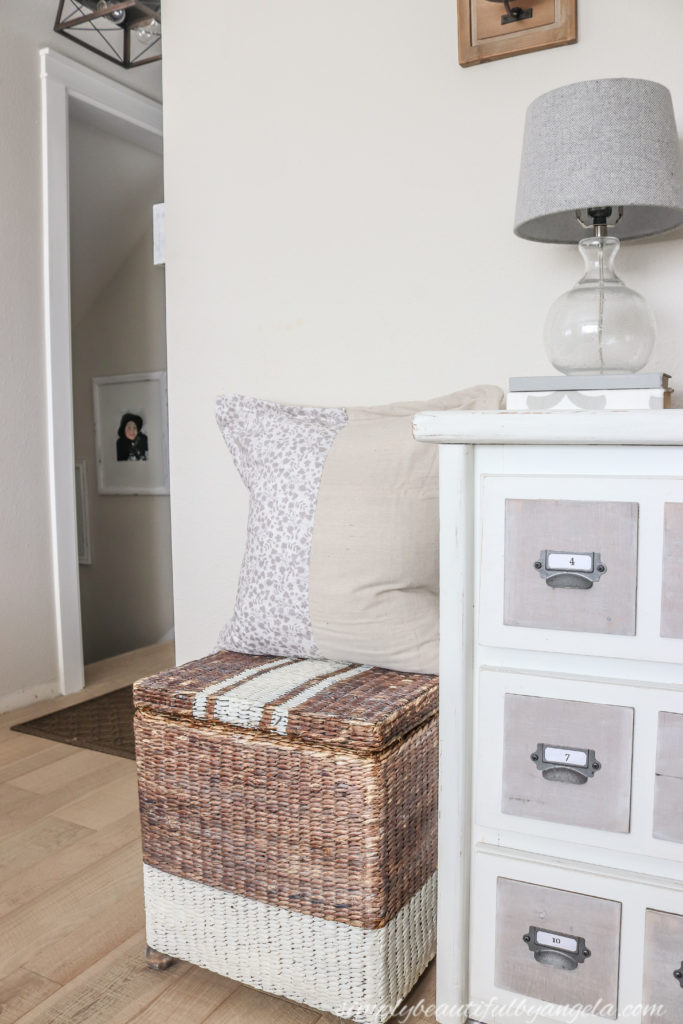
I ended up making two pillows. The other pillow is on a chair, but our living room was not in a photo worthy state so I cheated and staged just one of them for this post 🙂
Since the drop cloth only cost $6 and the fabric was $4, the total cost for both was $10. Not bad for pillows this size!

I feel like I’ve said it a million times, but DIY pillows are seriously my favorite budget decor item to add to any space!
Thanks for stopping by today my friends, I hope you have a fantastic rest of the week!
Linking up to these awesome parties!