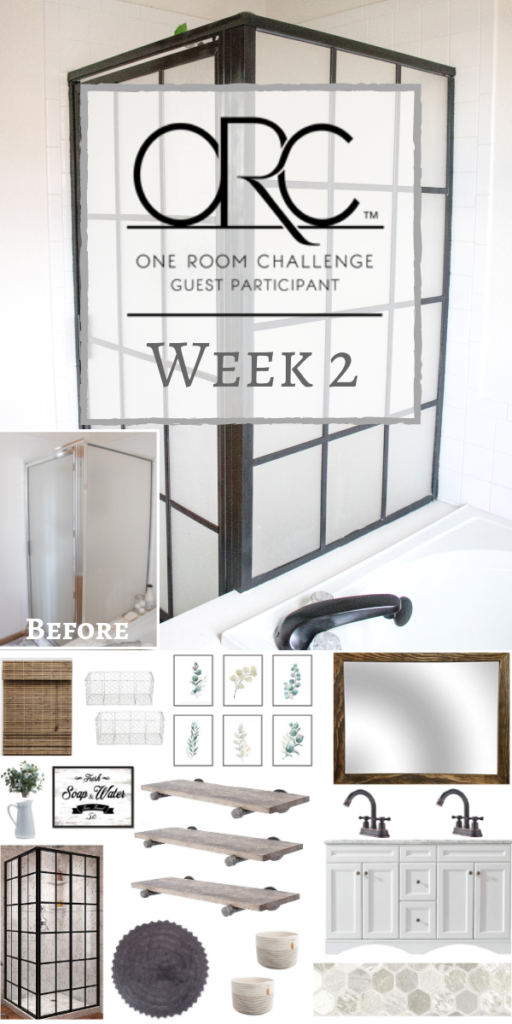
Well guys, it’s only the second week of this challenge and I’m already wondering what I have gotten myself in to and whether or not I will be able to finish this one in time. Will this be my first failed One Room Challenge?? I sure hope not–but no lie, I’m a little worried!
In case you missed last week’s post, I announced that I plan on giving our master bathroom a budget industrial farmhouse refresh for this season of the One Room Challenge. You can catch the details on the plans and see all of the before pictures this post.
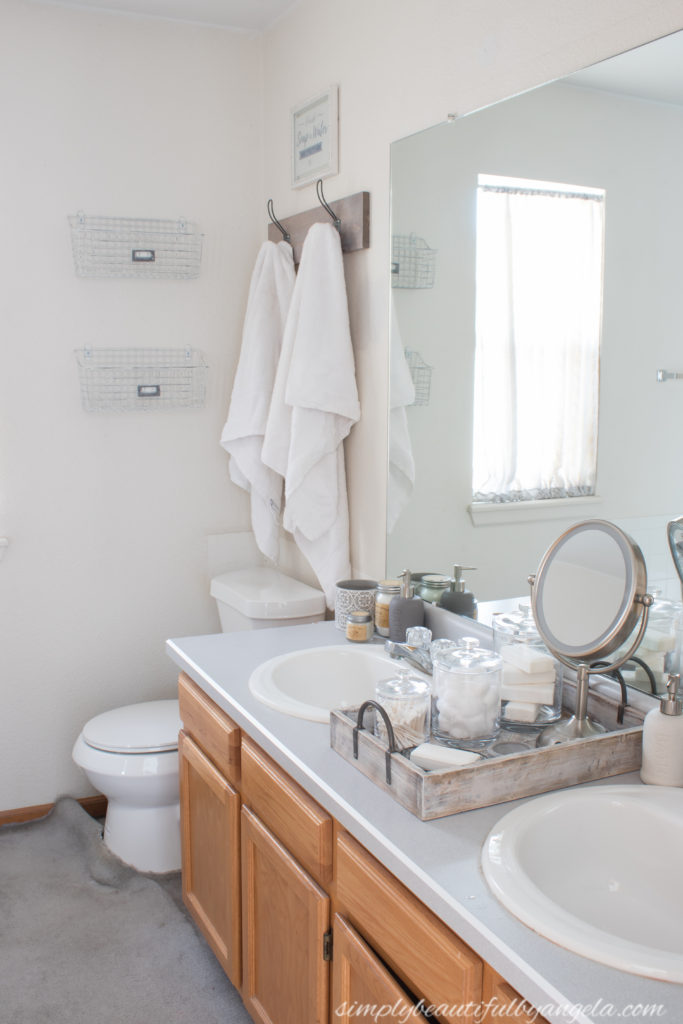
Between needing a few adjustments to those plans and the shower stall makeover taking a little longer than I had anticipated–I’m sort of freaking out over here about all of this coming together by May 9th!
But I am trying to remain focused and positive that this WILL get done and I will be looking back 4 weeks from now laughing at the fact that I didn’t think it would.
Today I am going to go over the changes that I’ve had to make and then I’ll share where I’m at with the shower makeover.
1. Flooring
As you may remember, I was super excited to rip up the nasty carpet and lay this pretty sheet vinyl as a temporary fix until we do tile down the road.
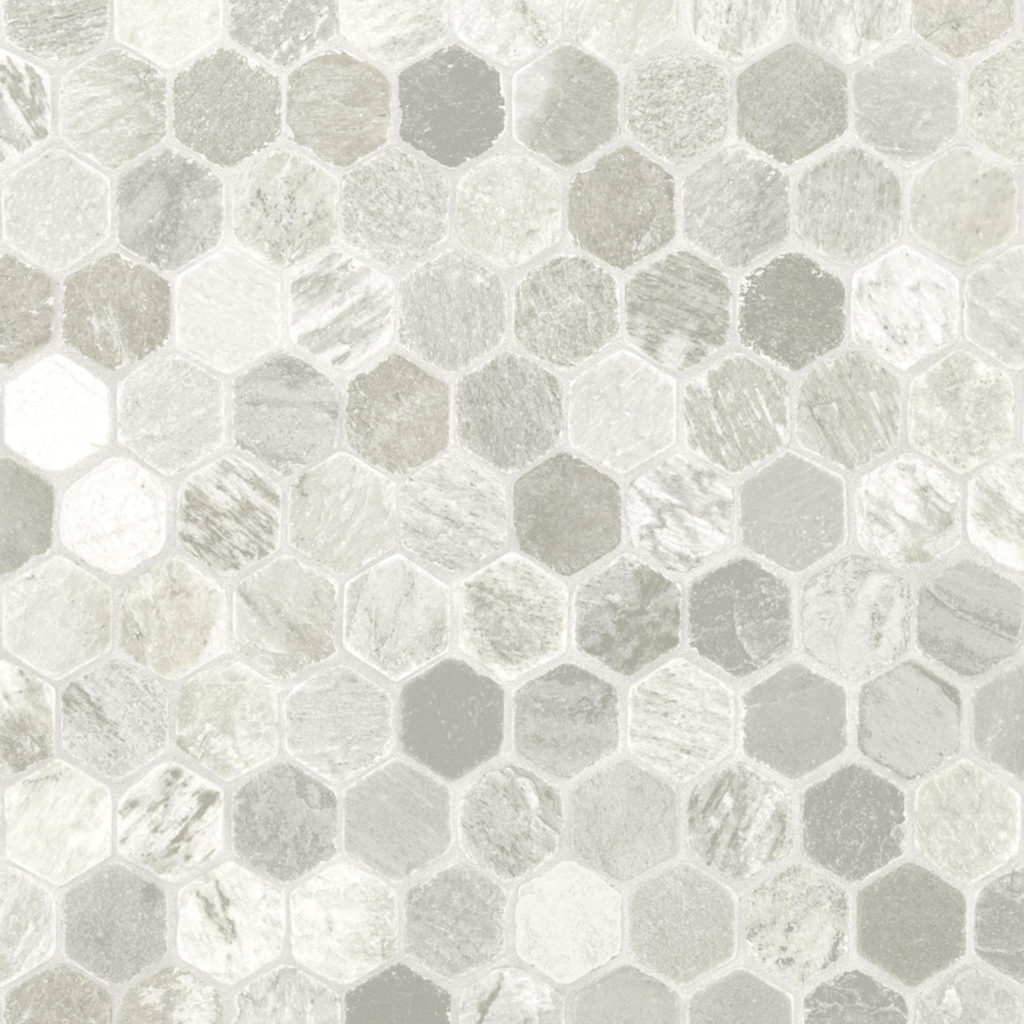
Sadly, I discovered that all of the retailers that carried this flooring would charge around $250 in shipping charges. Yikes! I love this floor, but that totally defeats the purpose of a cheap fix.
Mernards offers free store pickup, however the closest one to us is in Wyoming which is a two hour drive, so the hubby quickly vetoed the idea to drive all the way out there to just to pick up some cheap flooring haha.
So on to plan B.
I couldn’t find another sheet vinyl that I liked so the next most affordable option is vinyl tile. I installed peel and stick vinyl in both of our bathrooms at the old house (tutorial here), however we had sheet vinyl underneath so I didn’t have to worry about water seeping through to the subfloor.

I set out to look at the flooring section at Home Depot on Saturday. That’s when I saw these faux marble vinyl tiles that are groutable.
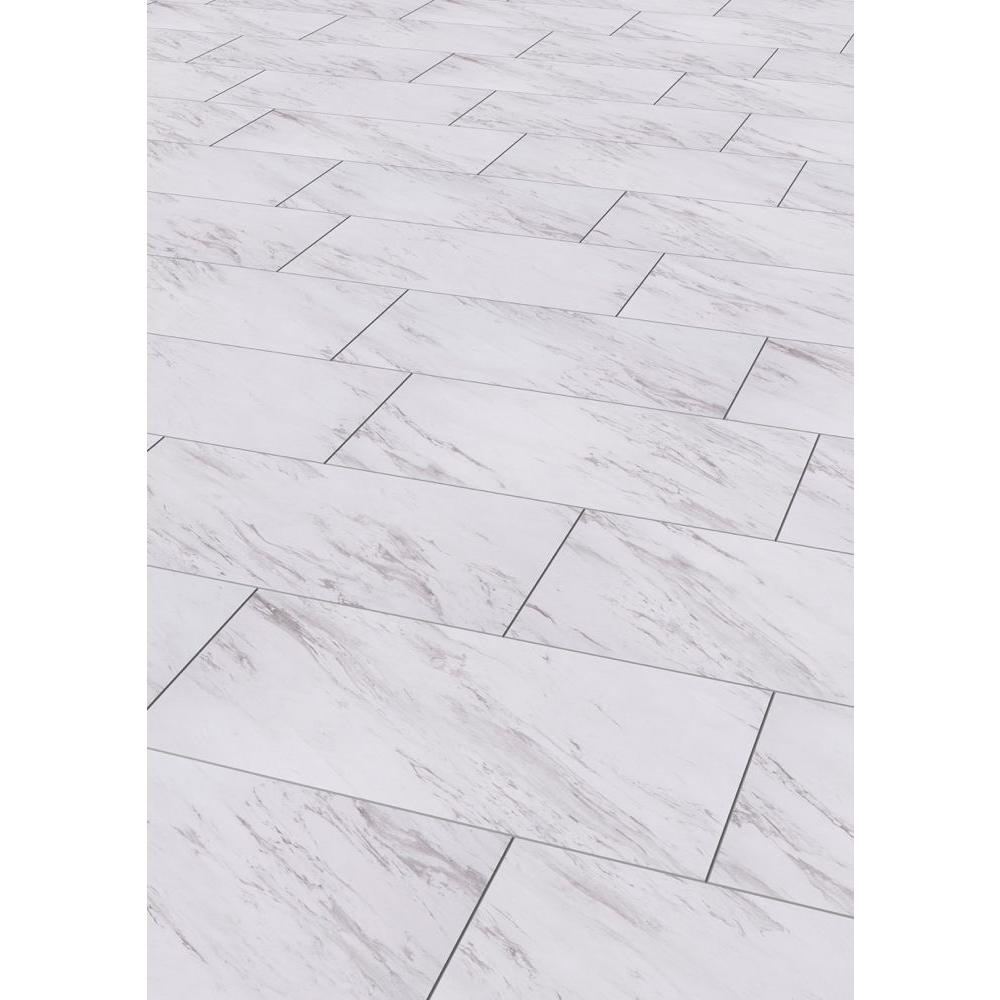
I was instantly intrigued because I knew that grout would eliminate my water concern and they are absolutely gorgeous!
At only $1.29 a square foot it will only cost about $70 for the floors ($55 in tiles and $15 in grout) so it’s about the same as what what I had budgeted for the sheet vinyl. It will take a little more time to install, but in the end I think we are going to be so happy with these. I’m super pumped to see how they turn out!
2. Countertops
The new flooring plans caused me to have to rethink the countertops. Remember how I was originally smitten with this white vanity with marble top?
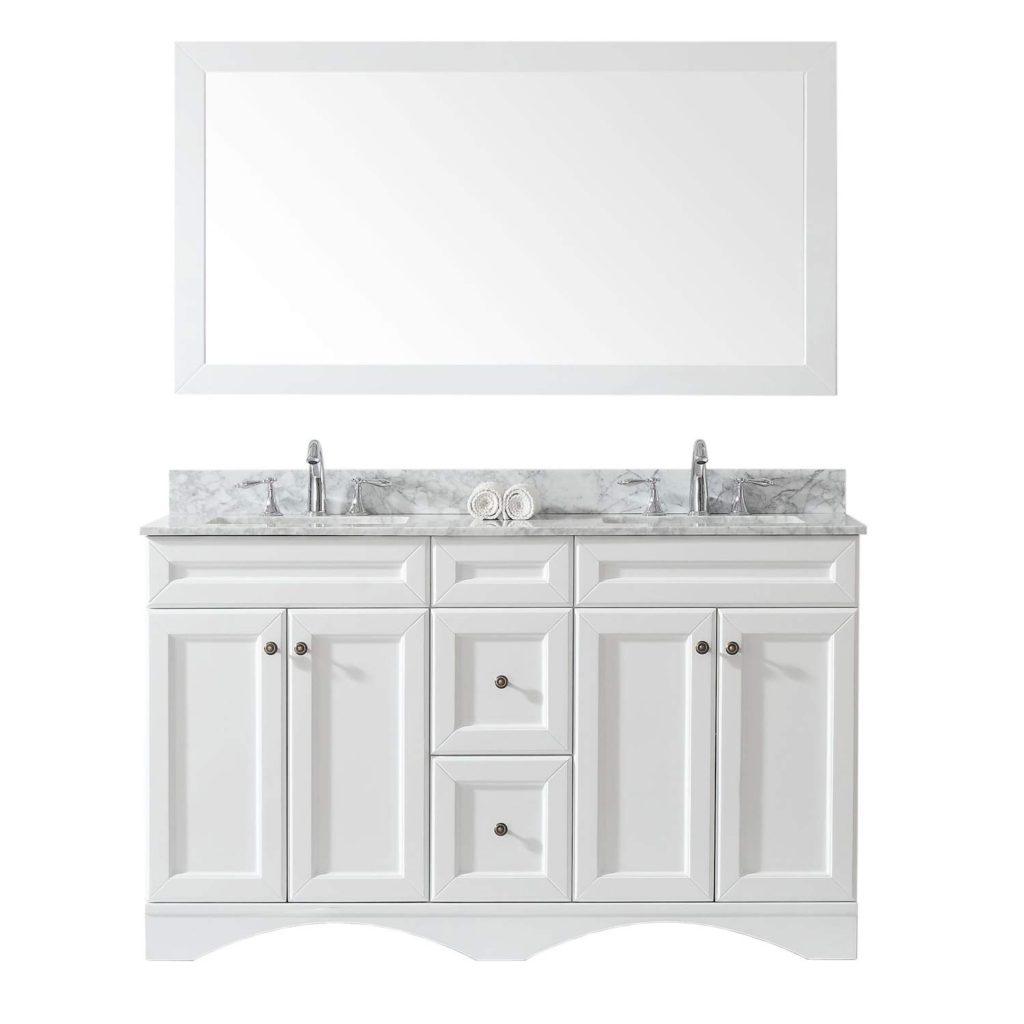
I was planning to mimic the look by painting our existing cabinets white and using this marble contact paper to cover the countertop since I had seen some amazing reviews and tutorials about it.
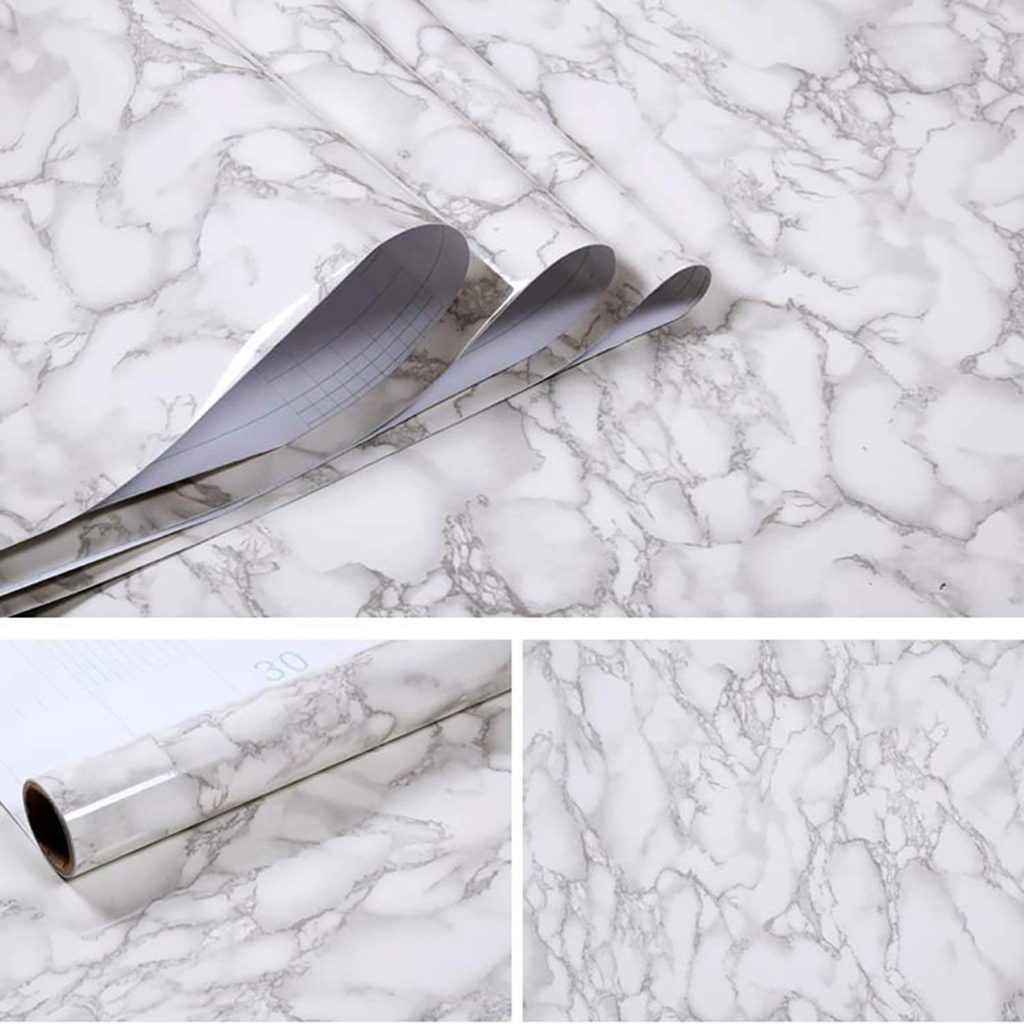
Obviously since I am going with marble floors, marble countertops would be a bit much. So it was time to figure out a plan B for the countertops as well.
I used the Rust-Oleum Countertop Transformations Kit at the old house for the kitchen and both bathrooms and really like how it turned out. However I didn’t want to buy an entire kit for just one vanity. I needed something cheaper.
I thought about simply painting it, but that was too blah for me.
Finally it dawned on me! Since I am going for an industrial vibe, I decided that I would attempt doing a concrete overlay. I was really inspired by how Karisa’s at A Petite Modern Life turned out.
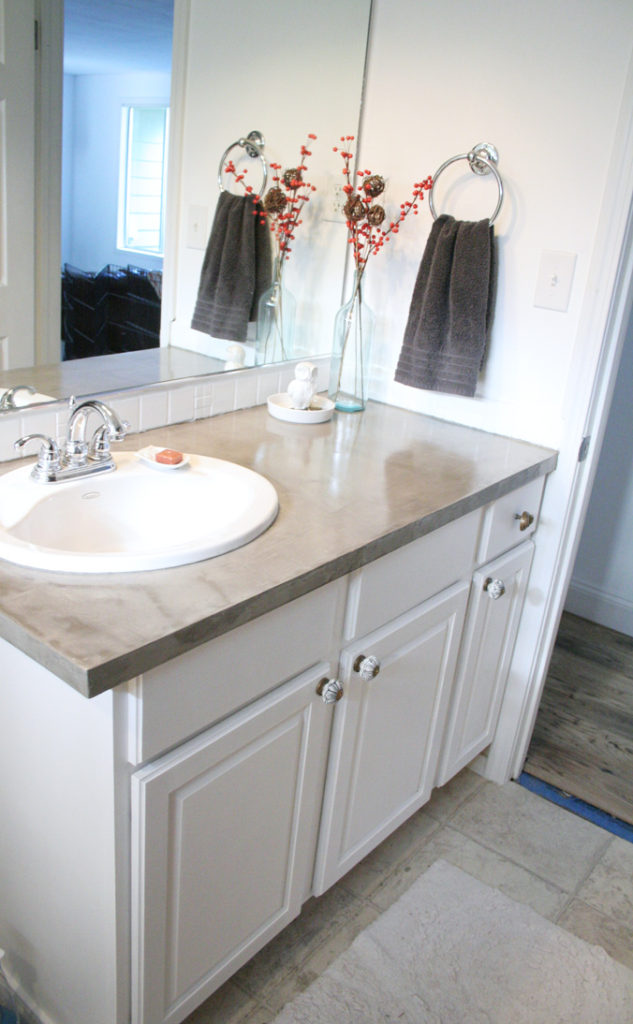
I hope to start on this next since it sounds like it could be messy. The only thing that I am torn on is what sealer to use. There is a lot of debate out there on which one works best. If any of you have tried DIY concrete counters and are happy with the sealer that you used–I am all ears!
3. Shower
Ok, now let’s talk about some progress!
As a quick recap, when I spotted this amazing shower stall I instantly fell in love with the industrial factory window look on the doors.
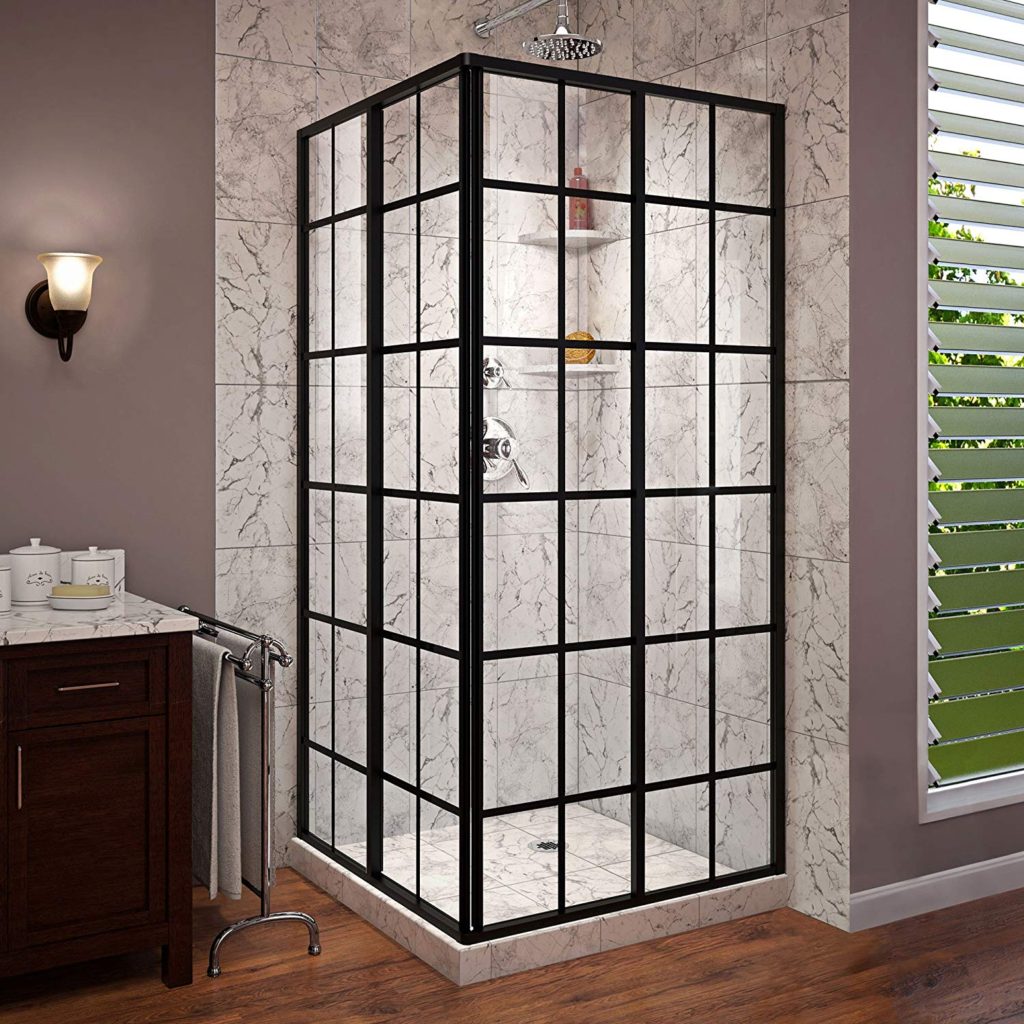
I decided to use this tutorial that Lauren from Bless’er House shared to help me achieve a similar look.
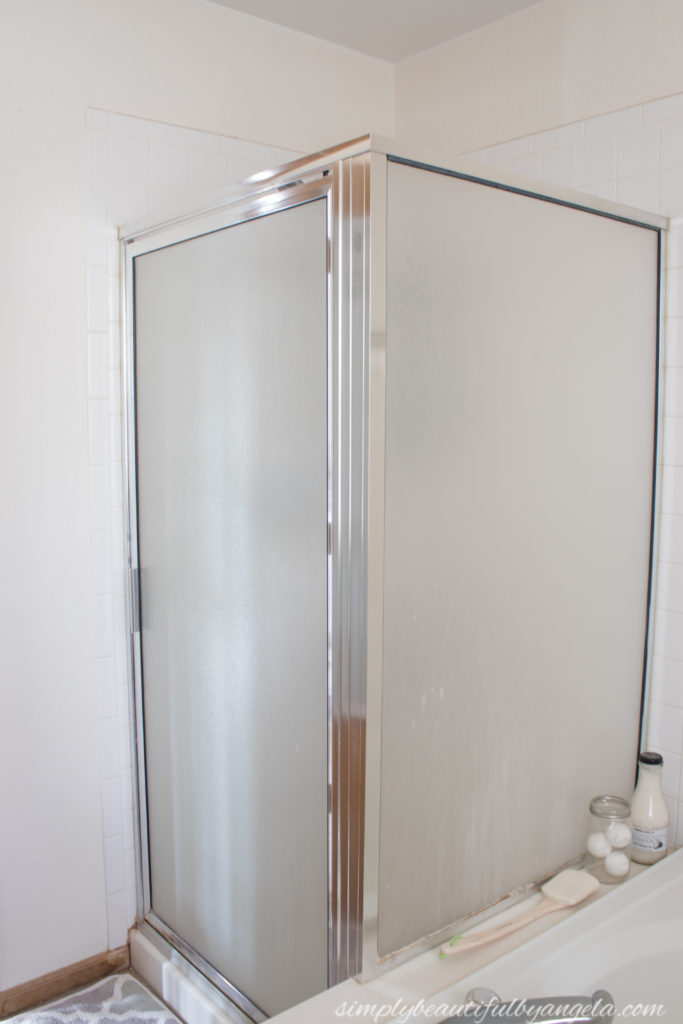
As of last week this is how our old gross shower used to look…
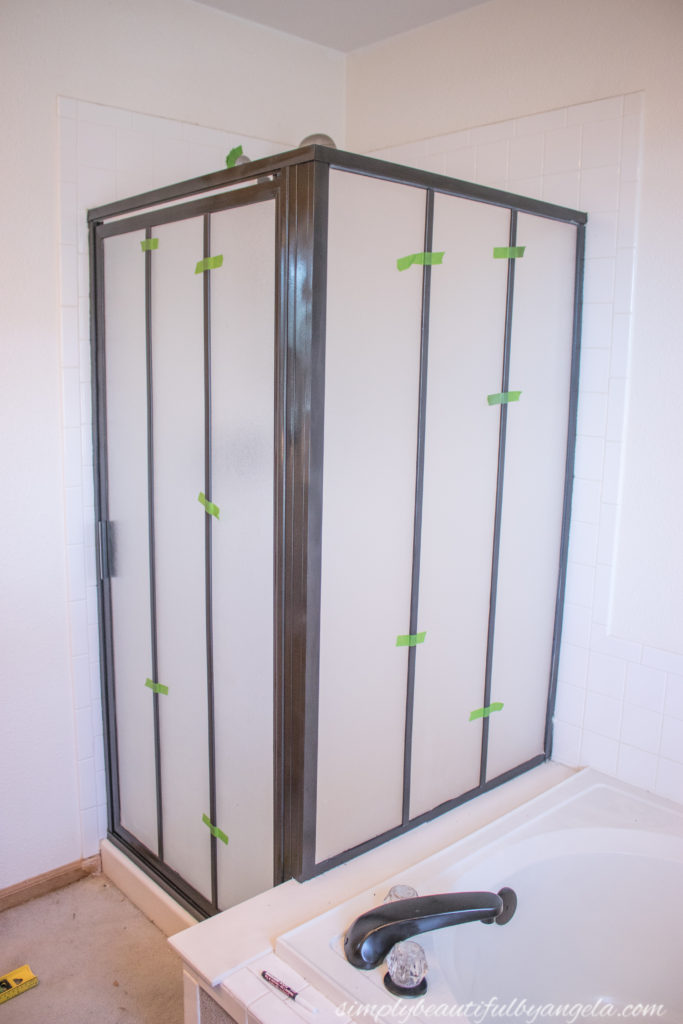
and this is how it looks currently!
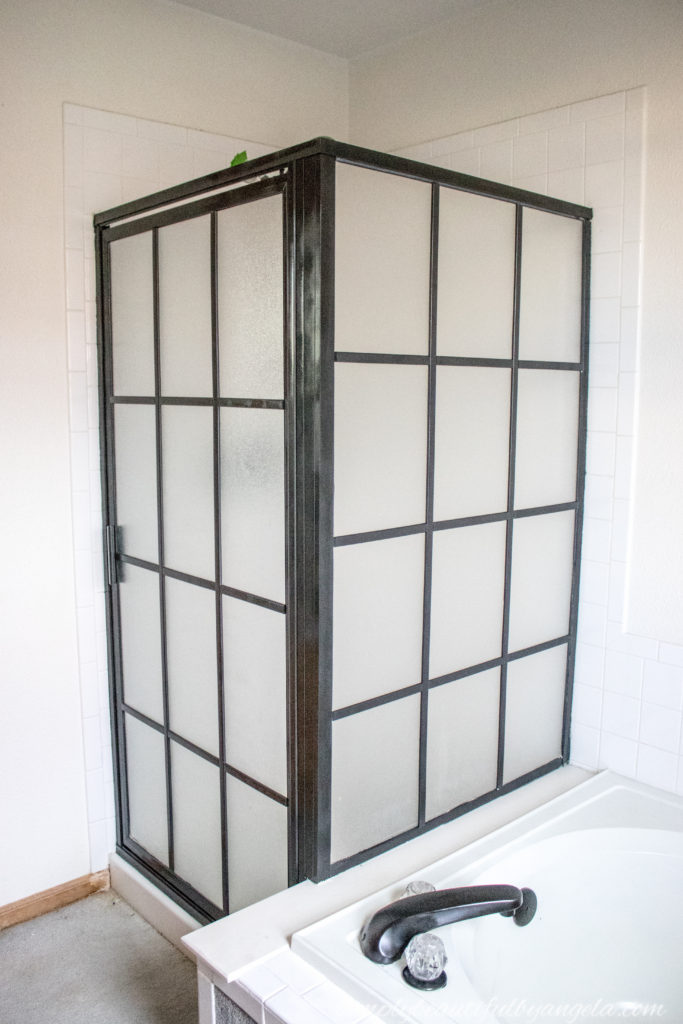
I am SO EXCITED with how it’s coming along! I also painted the tub fixtures since I already had so much plastic up already. Speaking of the plastic, our bathroom looked like quite the crime scene for awhile.
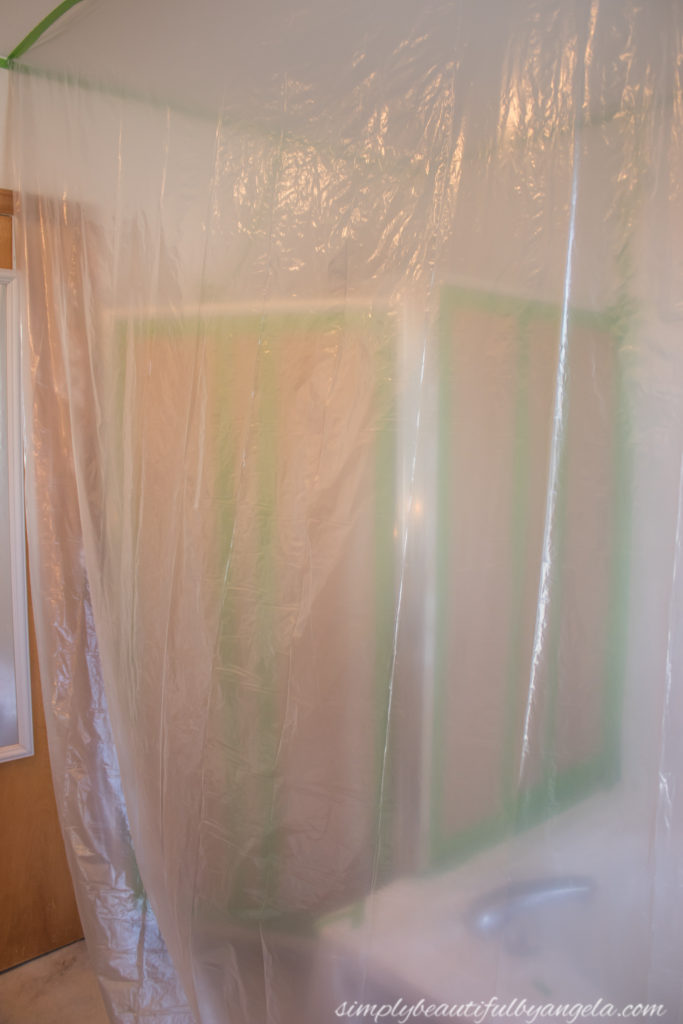
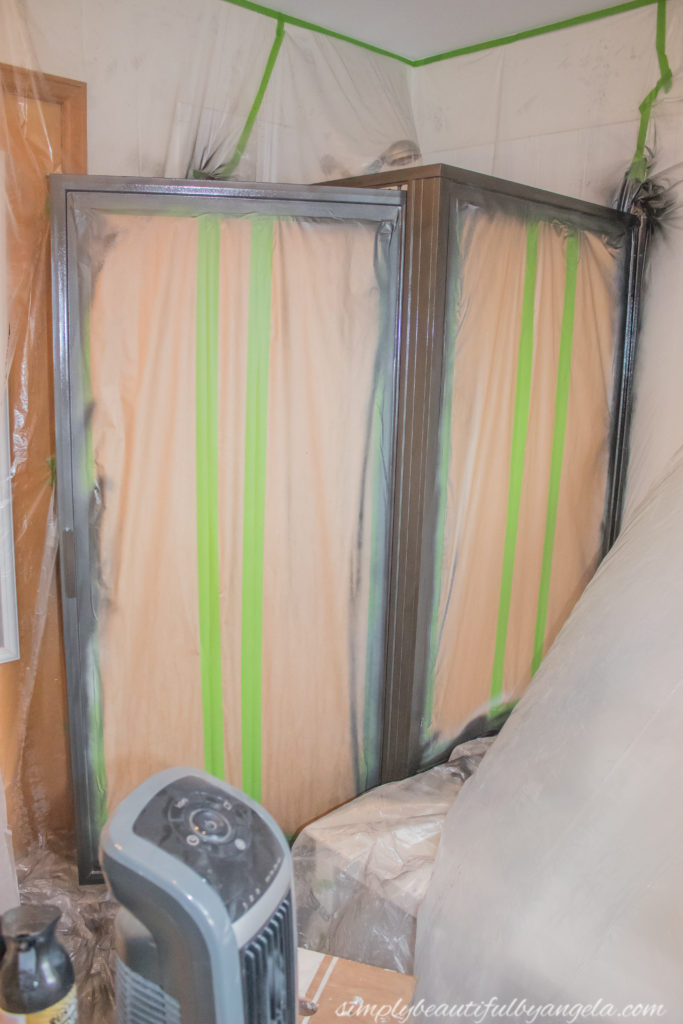
I spent part of Friday night and Saturday morning taping. It was A LOT. But luckily, the primer, paint and lacquer went on pretty quickly and by Sunday afternoon I was ready to start adding the trim pieces. Which of course turned out to be a little more finicky and time consuming than I had anticipated. I had to use painters tape to get them to stay in place.
I was feeling good about it all until Monday night which is when I started caulking around the edges. I used painters tape on the frame and when I pulled it off I was left with this horror.
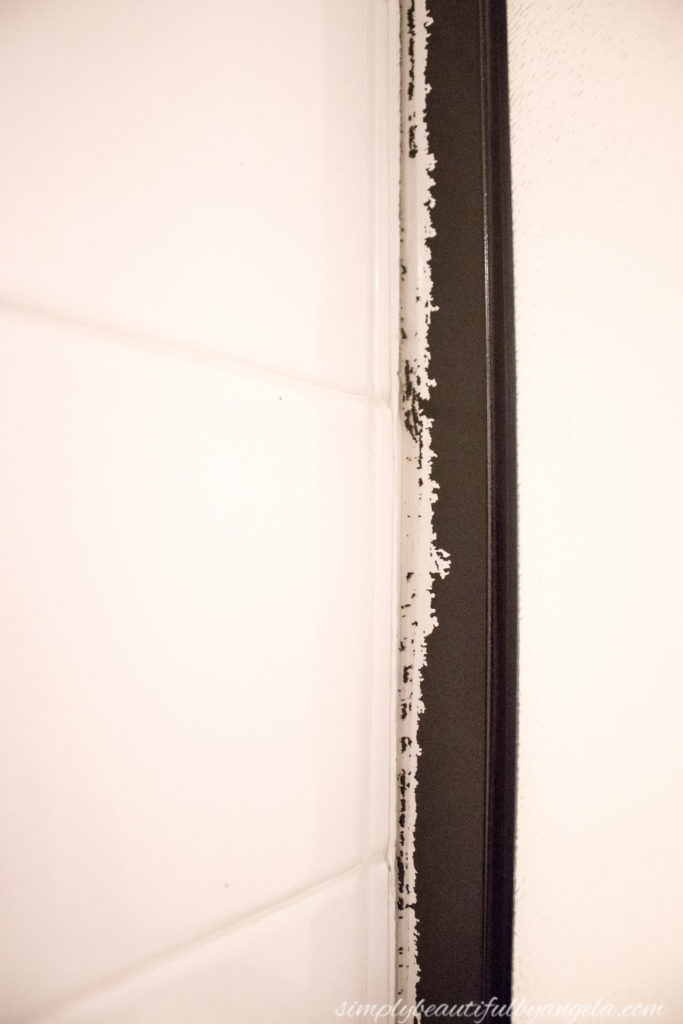
Noooooo–I couldn’t believe it! Since the paint hadn’t fully cured yet the tape peeled it right off. Luckily I had only done two areas and it was a pretty simple fix. I taped up some plastic on either side of the frame and quickly resprayed those spots.
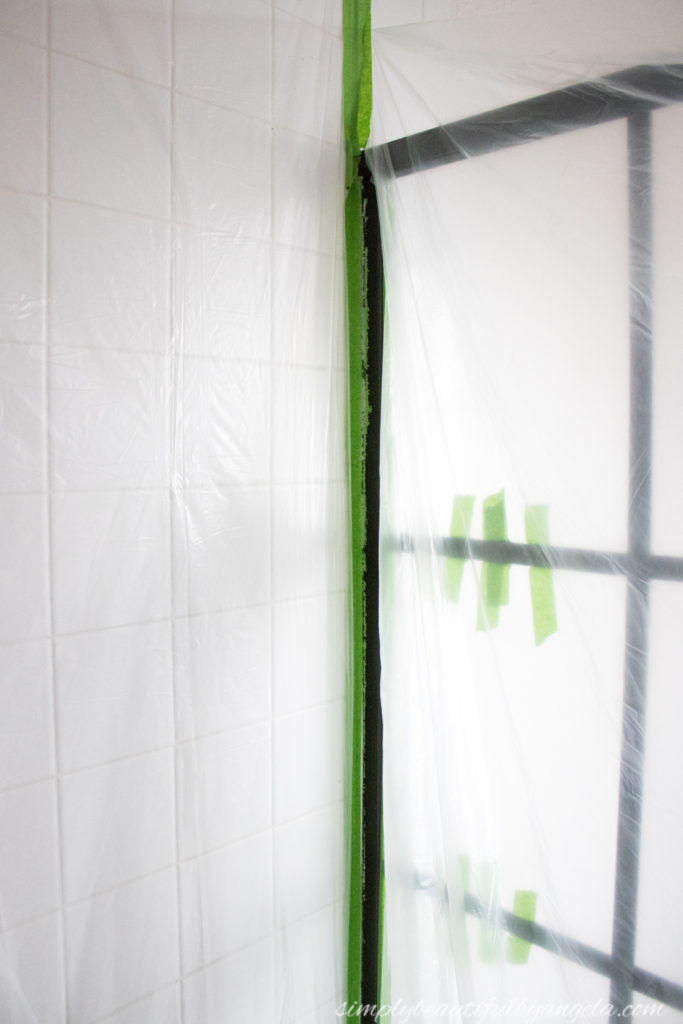
I’m still working on a few touch ups and the caulking, but I promise to share a full tutorial on it as soon as I can!
Oh! The pretty botanical eucalyptus printables that I ordered arrived last night. It was perfect timing because yesterday I also had the hubby pick up the frames that I had ordered from Michaels.
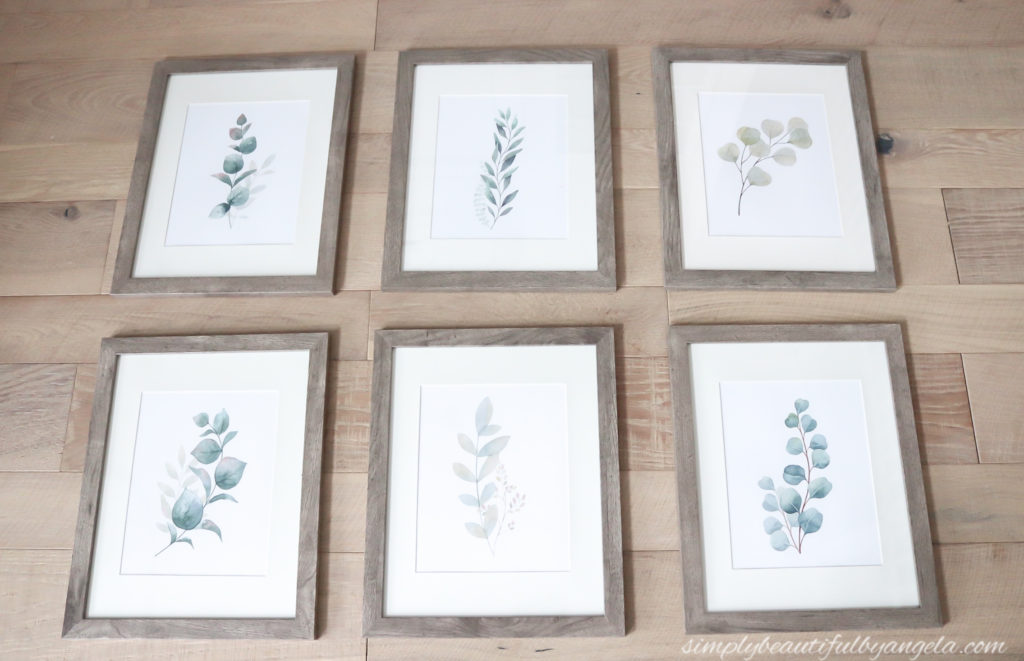
I wasted no time getting them in the frames and am so excited to see how they will look above the bathtub!
I’ve created the list below so that I have a rough guidline for myself. Hopefully this will help me keep my sanity in tact over the next couple of weeks!
Week 3 (April 12 – 18)
- finish shower/color grout
- concrete vanity top makeover
- paint vanity cabinets
- install new faucets
Week 4 (April 19 – 25)
- paint walls
- new floors
- frame mirror
- build pipe shelving
Week 5 (April 26 – May 2)
- install craftsman style window trim
- install new blinds
- build and install barn door
- hang prints on wall
Week 6 (May 3 – May 9)
- wrap up anything I’m behind on
- photograph and write reveal post!
WHEW. That list may not seem that long, but I am worried about how long some of those things may take. One step at a time though!
Be sure to swing by the link up to check out the other guest participants progress here. I’ll be back next week with updates on how the counters turn out and maybe even the vanity cabinets if I’m really lucky 🙂
Affiliate links may be provided for convenience. For more info, see my full disclosure here.
Linking up to these awesome parties!
Wow..I am truly amazed on how the shower stall looks. Though I know it takes patience and time, the end result is so worth it, not only does it look good but saving money at the same time is a bonus. Looking forward to seeing the whole bathroom finished. I give you credit for giving this challenge a go, and doing well under pressure.
Maria your kind words have made my morning! Thank you for the encouragement! 😊
I love the look of the shower stall! What an amazing transformation! I think the concrete countertop will look wonderful! Has anyone suggested a good sealer? I’m right there with you on getting things done…we can encourage each other along! Have a great weekend!
Thank you so much Benita!! After a lot of research I finally decided on one so fingers crossed it works!