Welcome to week 3 of the One Room Challenge–also known as the half way point of this 6 week event! In a perfect world I would be here today telling you that I am half done with our budget master bathroom refresh. But honestly, I can’t say that I am! I have a feeling that it’s going to be down to the wire with this one.
In case you missed any of the previous posts for this season you can catch them here:
One Room Challenge (Week 1): The Plans
One Room Challenge (Week 2): New Plans + Shower Stall Makeover
Let’s talk about what this last week has consisted of.
1. Grout Paint
I’ve spent almost half of the week working on painting the grout. It was only supposed to take me an hour, two hour tops. However I made a BIG mistake which caused me several hours to fix. I’ll get to that in a second.
When I finished painting the shower and the tub fixtures, the old dirty white grout really started to bother me.
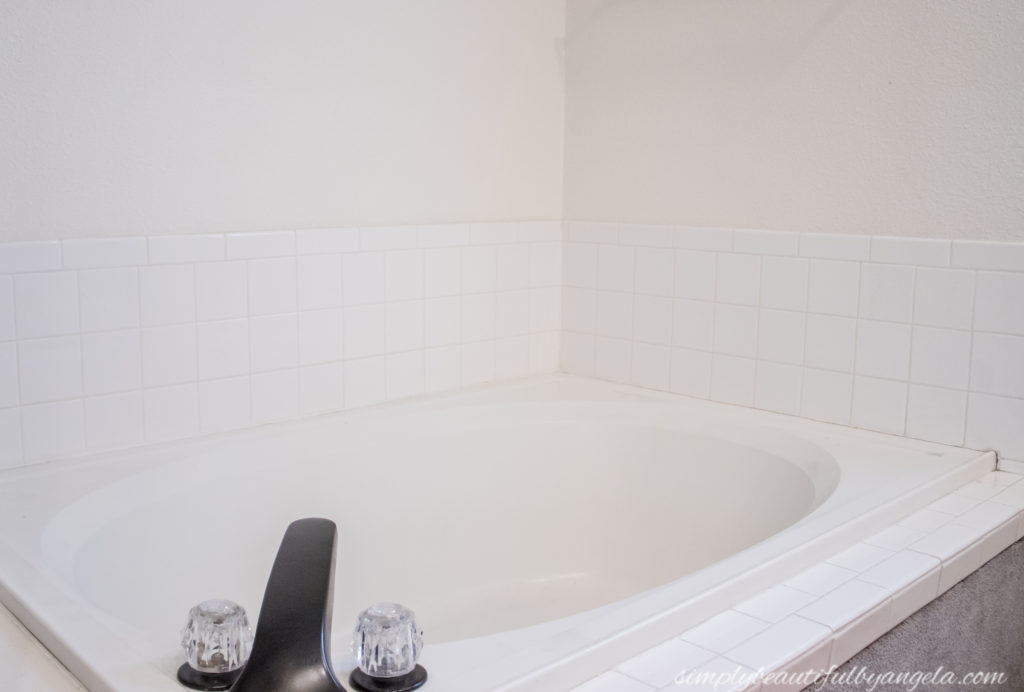
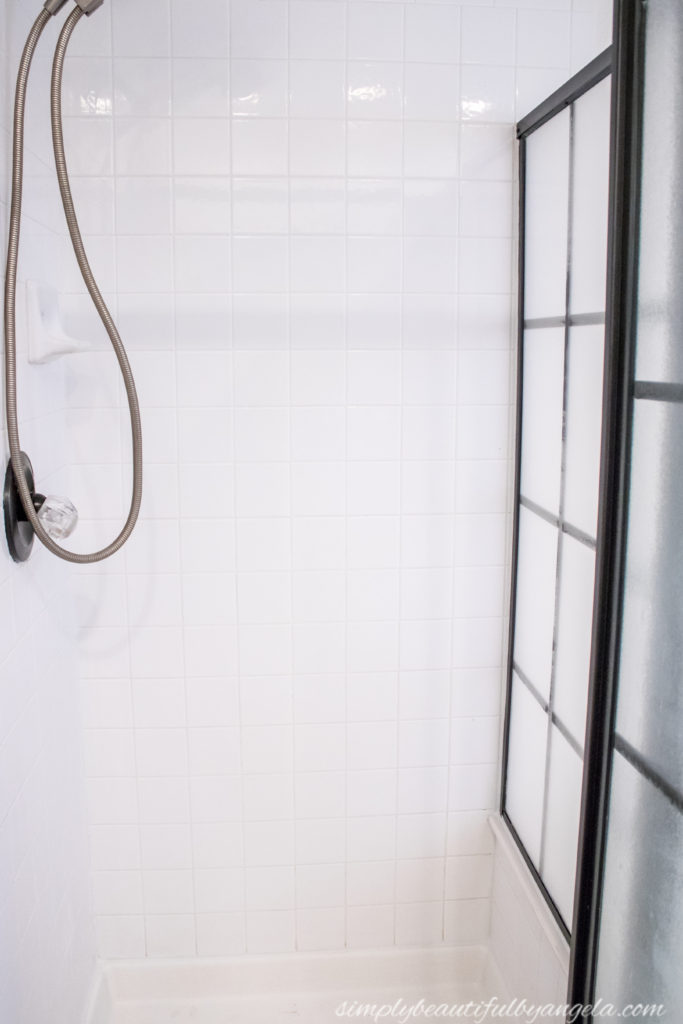
This grout is over 25 years old so it was starting to looking pretty gross and impossible to clean. I was working with some funky night time lighting which means that these pictures don’t fully capture it, so you’ll have to take my word for it!
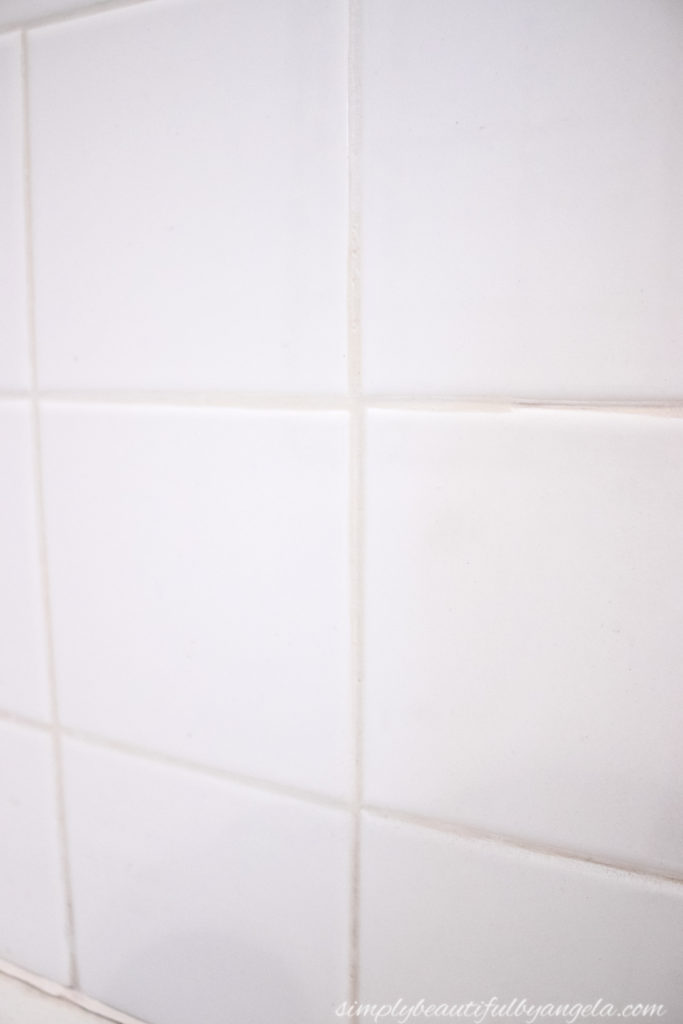
I picked up a white grout pen but it didn’t seem to make much of a difference. So I started looking online to see if they made one in gray and that’s when I discovered grout paint!
I purchased up a bottle of Grout Refresh by Mapei in the color warm gray and was so excited to start covering up that old grout!
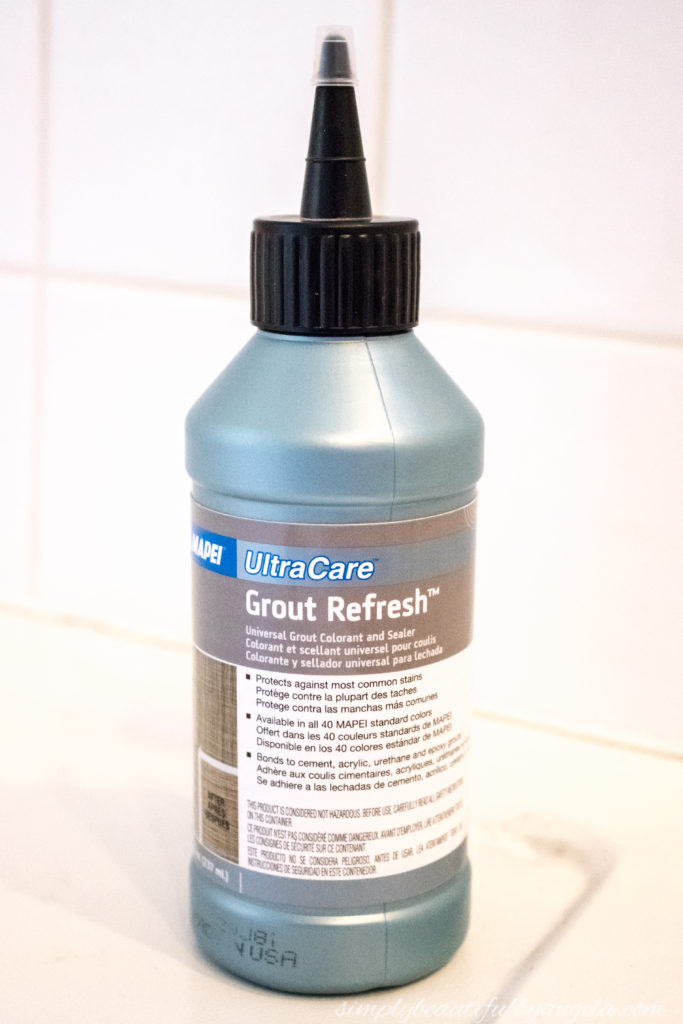
The instructions on the bottle say that you can either use the “dry method” which is where you wait 5 minutes before wiping off the tile, or the “wet method” which is where you wait 20 minutes, and then spritz it with water before wiping it off.
I chose to try the dry method on the first section above the tub. However when I went to try to wipe it away after the 5 minutes was up, I found that it had already hardened on the tile and was going to need water to be removed.
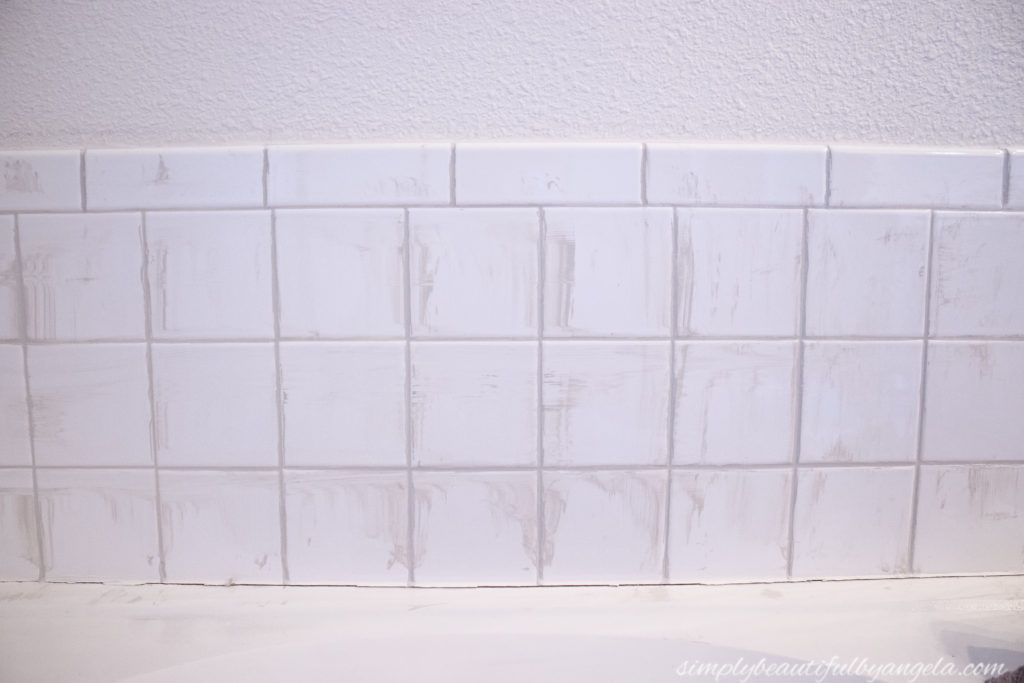
So I decided to try the wet method instead. I went around and squeezed paint on to alllllll of the grout in the tub and the shower and let it sit for the instructed 20 minutes.
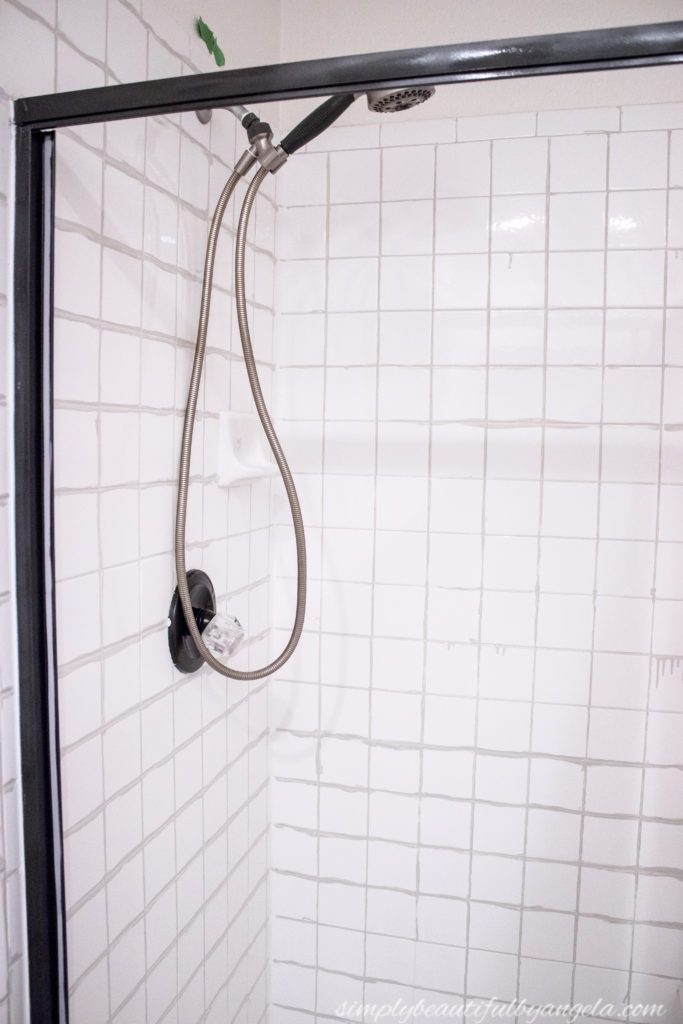
When I went back with my water bottle and rag I was horrified to see that it was peeling right out out the grout! And the paint that did stick was partly stuck to the tile so it left super uncrisp lines.
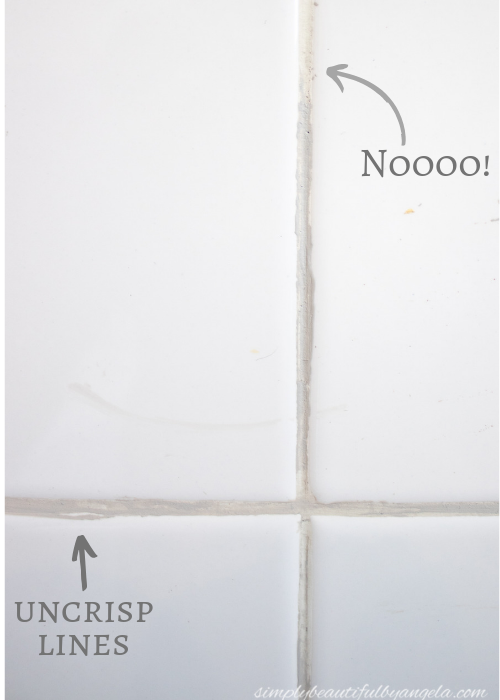
UGH!! To say that I was frustrated by this would be a huge understatement. I started reading reviews and it sounded like a lot of other folks experienced this same problem.
Hmm, now what?
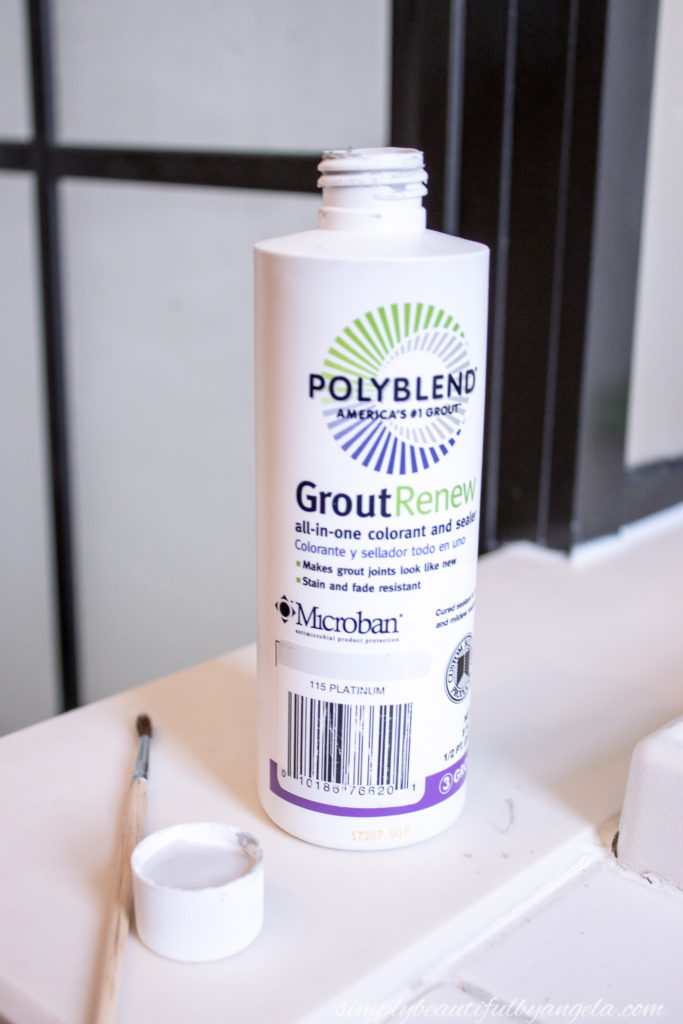
I pulled up reviews on Grout Renew by Polyblend and it sounded like nobody was having this issue, so I decided to give it a shot and picked up a bottle in the color Platinum which is really close to Mapei’s Warm Gray.
Before I could begin I had to remove the old stuff since it was stuck on the tiles. I sprayed, scraped, scoured, and scrubbed…for HOURS you guys. I should have taken a picture of the mess that it created but I was so ticked off at the time that I didn’t even want to stop to pick up my camera!
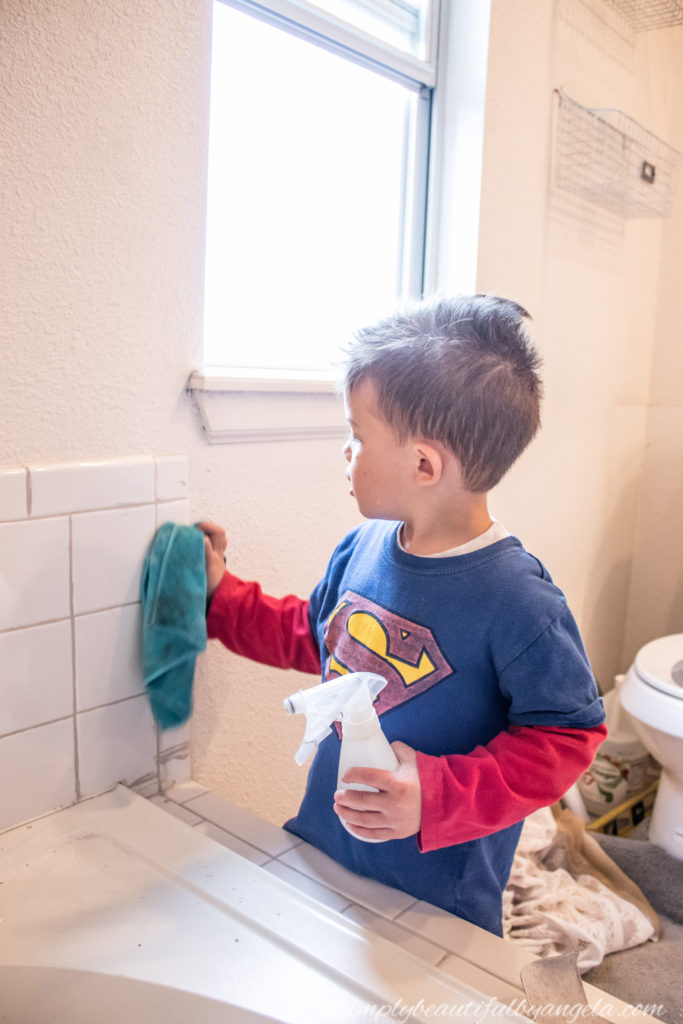
I did snap this one of my little guy wanting to help me for a bit though–too cute!!
After my fingertips were cut and sore beyond belief, I was finally rid of the old mess and ready to start applying the new stuff. Thankfully it was an entirely different story! I’m not sure if it’s so much of a difference in the product, as it is the instructions.
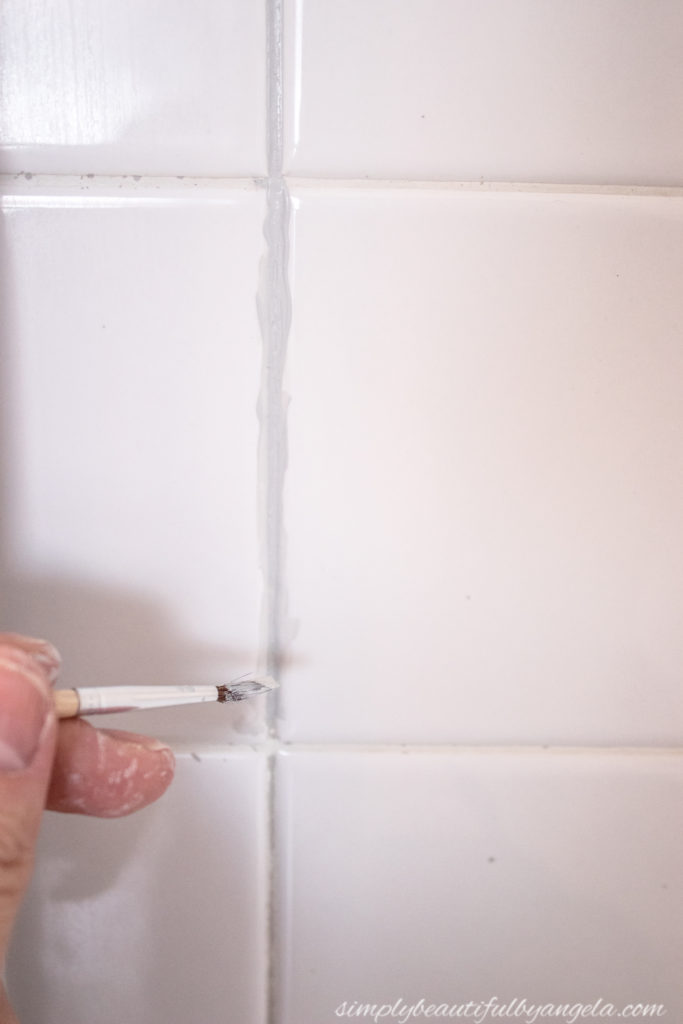
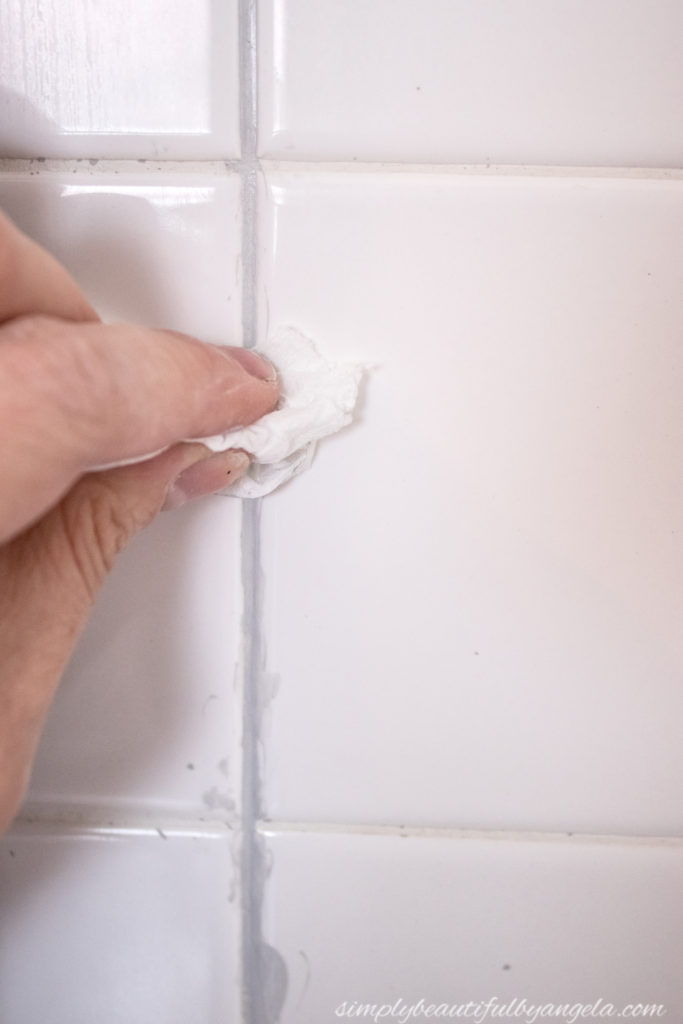
The Polyblend brands states that you should paint it on with a small brush and then immediately wipe off the tile with a piece of tissue as you go.
If only I had started with this, I would have saved myself such a hassle! I finally finished it up and absolutely love the fresh contrast of the gray.
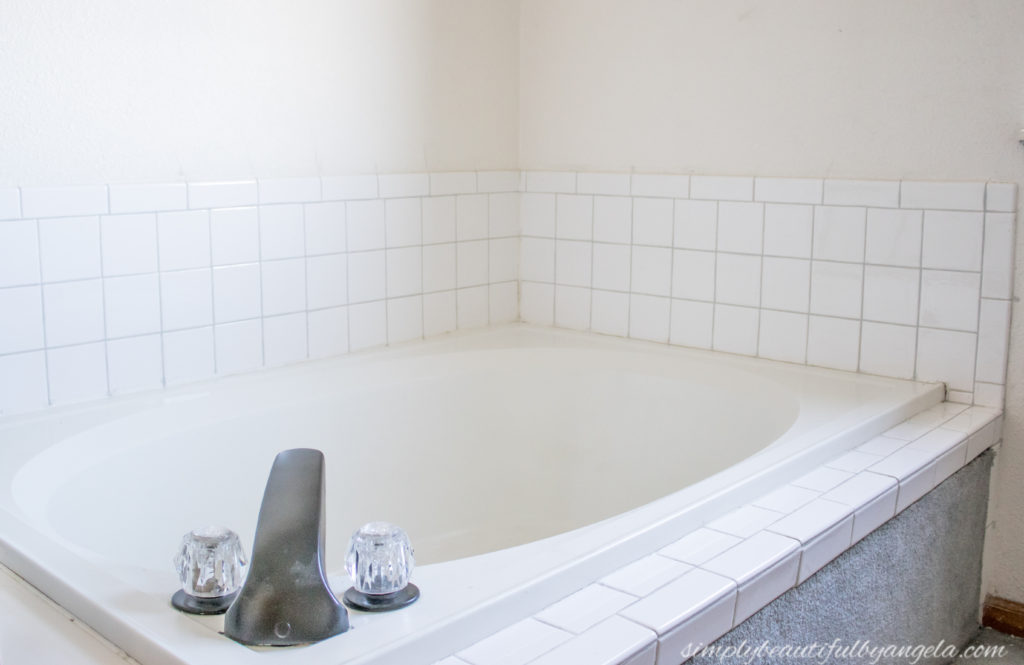
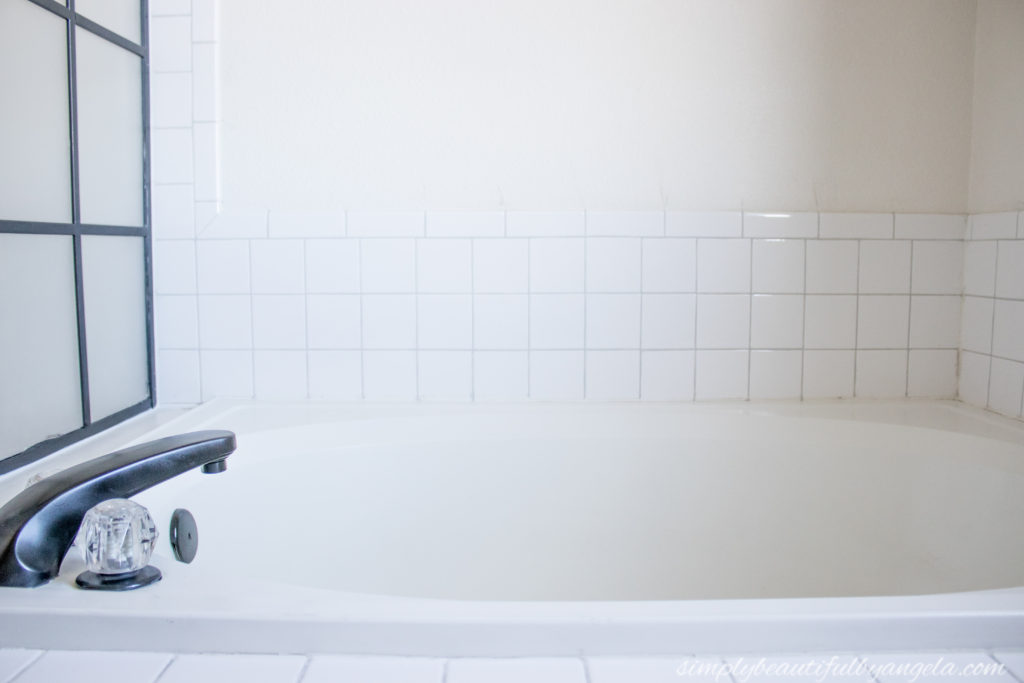
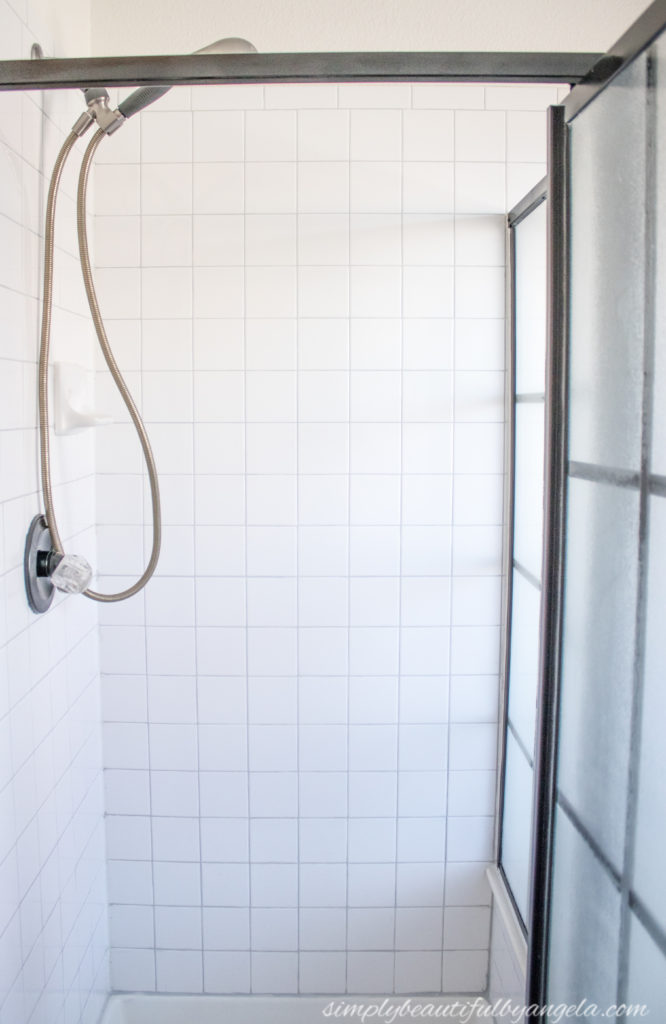
I still have some quick caulking to do, but since that takes about 15 minutes to do, I’m calling the shower and tub done!
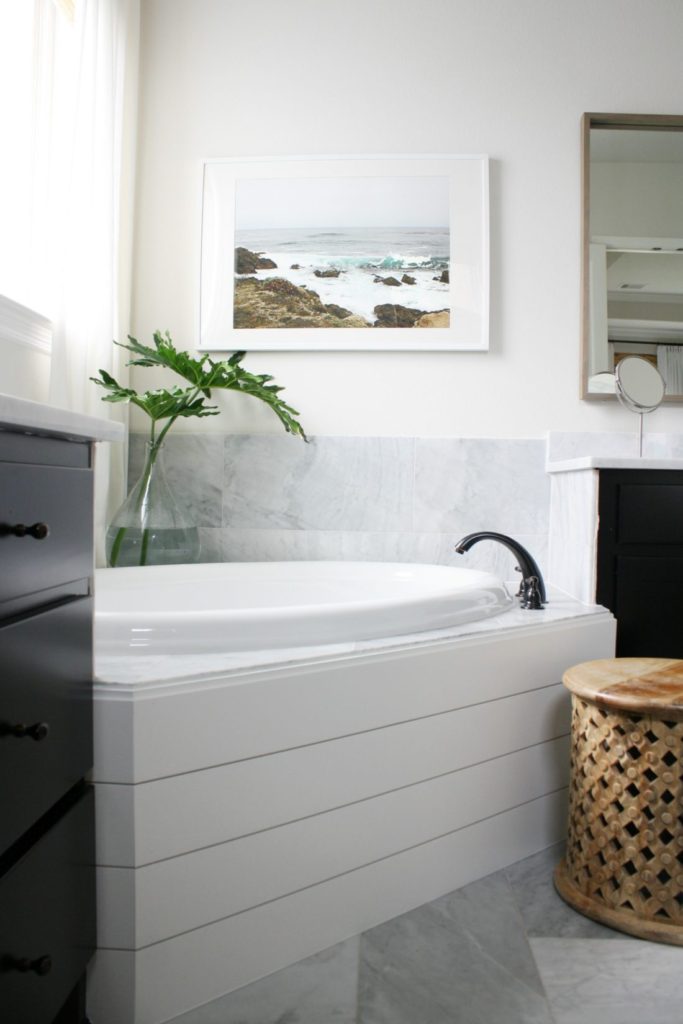
Oh quick side note–have you noticed that the dreadful carpet extends up the side of the tub? I was going back and forth between using the same peel and stick tiles that I plan on using on the floor or shiplap. But when I saw this photo I was immediately sold–shiplap it is!
2. Concrete Countertops
In other news, I started on the vanity makeover. Last week I mentioned that I decided to do a concrete overlay over the unsightly laminate.
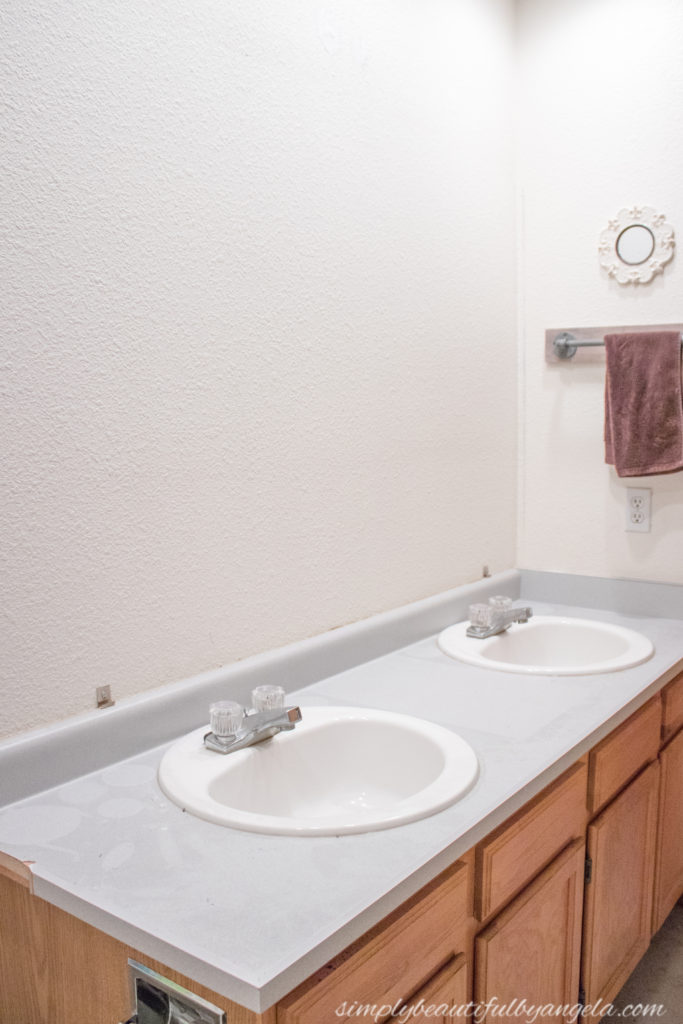
After reading everything I possibly could, I finally got the courage on Friday night to slap my first coat of Henry Feather Finish down.
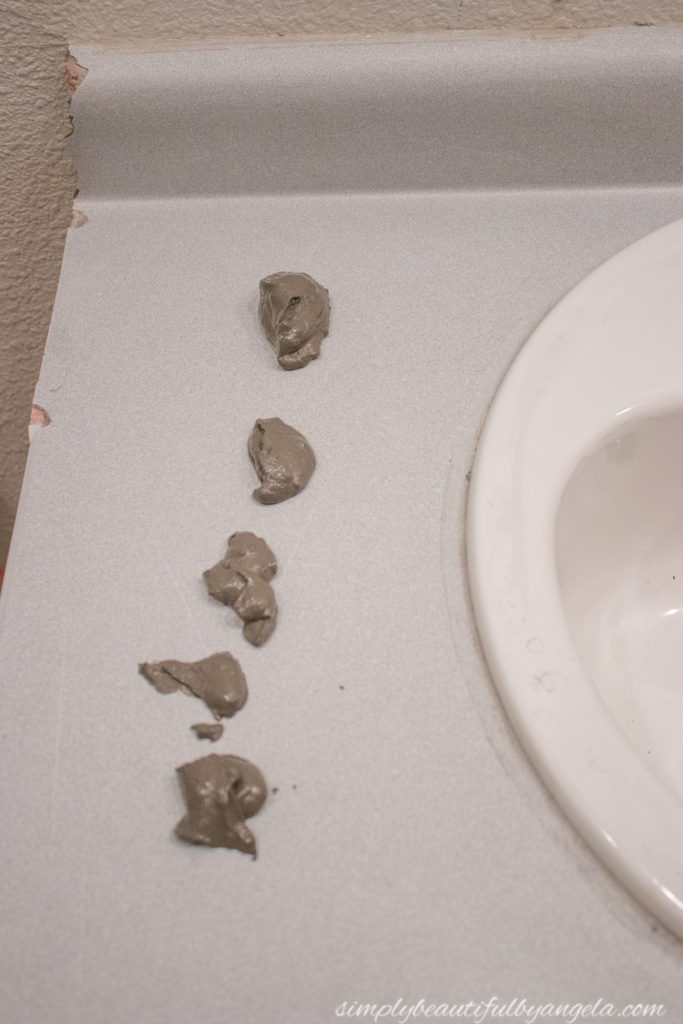
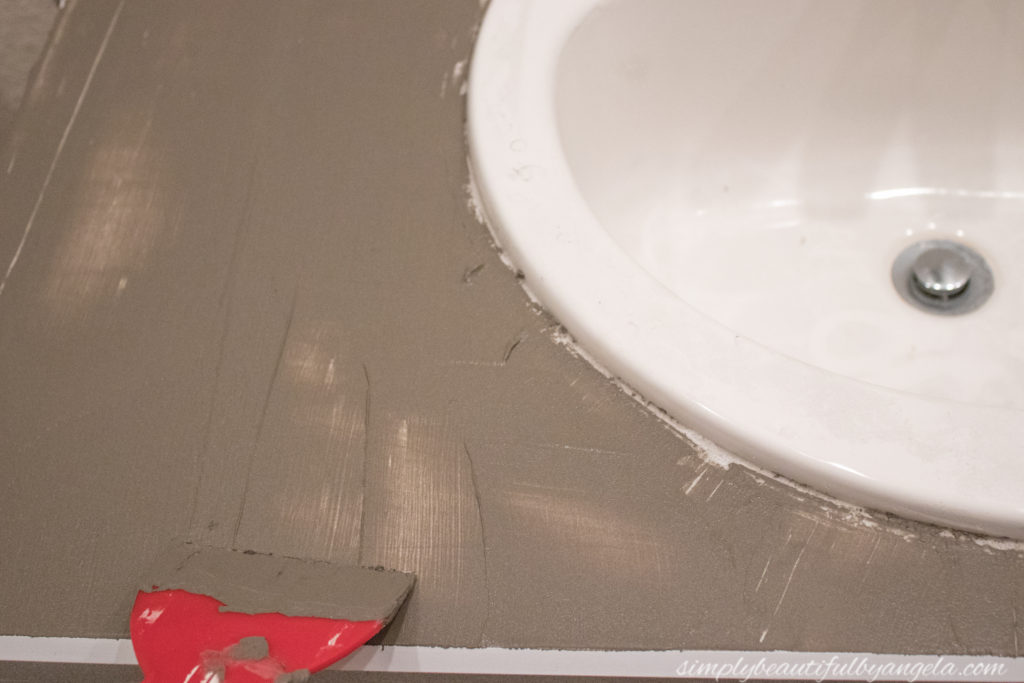
I did a total of three coats and am now in the sealing process. It actually wasn’t as hard as I imagined it to be!
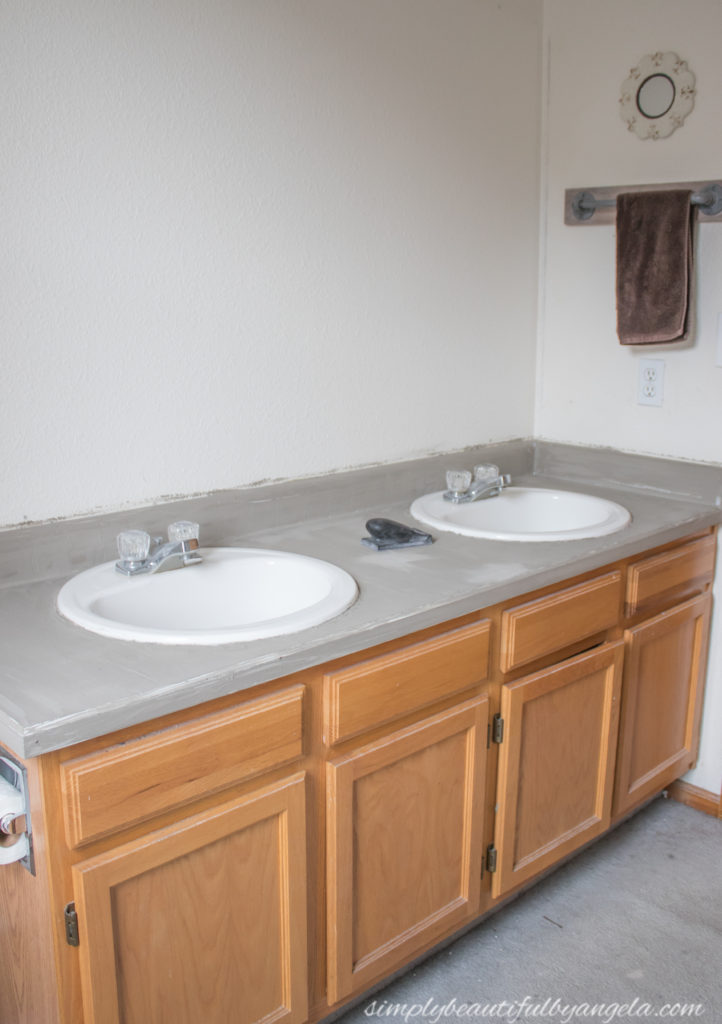
I also started painting the cabinets which has been going pretty quickly. Hopefully by this weekend I should be ready for the new hardware and faucets to be installed.
Okay let’s take a look at the updated schedule:
Week 4 (April 19 – 25)
- install shiplap on tub surround (added on)
- finish vanity makeover (behind)
- install faucets (behind because I have to wait for concrete sealer to cure)
- paint walls
- new floors
- frame mirror
- build pipe shelving
Week 5 (April 26 – May 2)
- install craftsman style window trim
- install new blinds
- build and install barn door
- hang prints on wall
Week 6 (May 3 – May 9)
- wrap up anything I’m behind on
- photograph and write reveal post!
I know, I have a mighty ambitious list for this week. Fingers crossed that I can accomplish most of it. Be sure to come back next week to find out!
All of the other guest participant’s progress can be found here.
Affiliate links may be provided for convenience. For more info, see my full disclosure here.
Linking up to these awesome parties!
