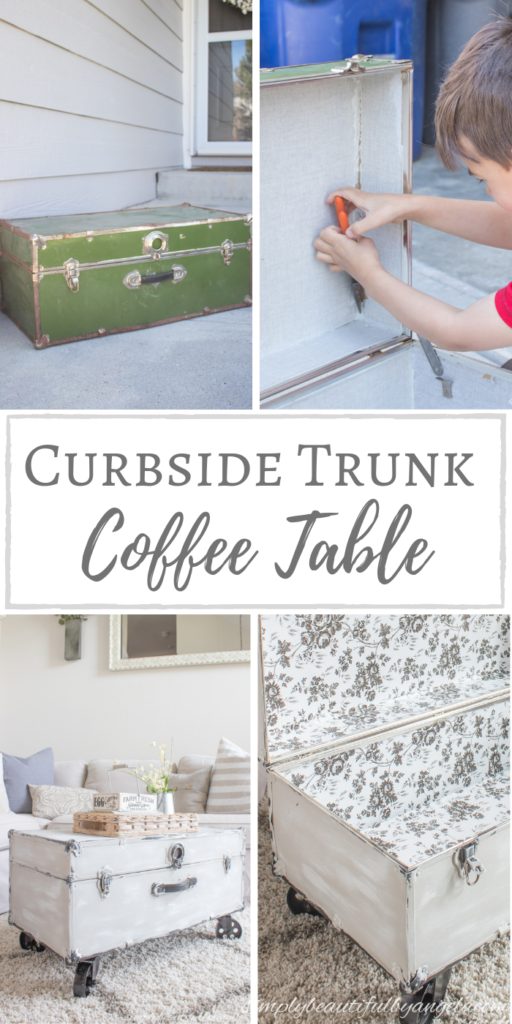
Hello my friends and welcome to the May Thrift Store Challenge!
You guys. I am soooo excited to show you this month’s flip. Of course I’m always excited to share my thrifted gems with you all, but I’m extra stoked about this one.
As many of you know, I’m my own worst critic. So it’s been awhile since I’ve looked at a finished project and really said, “WOW” which is exactly what I said about this one!

The Rules:
- Upcycle an item(s) from a thrift store, resale store, or garage sale into a new piece of decor.
- There’s no monthly theme.
- There’s no budget to stick to.
Meet the Hosts
Angela | Simply Beautiful By Angela – Meredith | Southbound Blog – Angie | Grandma Creates – Denise| My Thrifty House – Jenny | Cookies Coffee and Crafts – Molly | Just a Little Creativity – Gail | Purple Hues and Me – Michelle | Michelle James Designs – Ann | Duct Tape and Denim – Carmen | Living Letter Home
Make sure you follow our board on Pinterest for more upcycled decor inspiration!
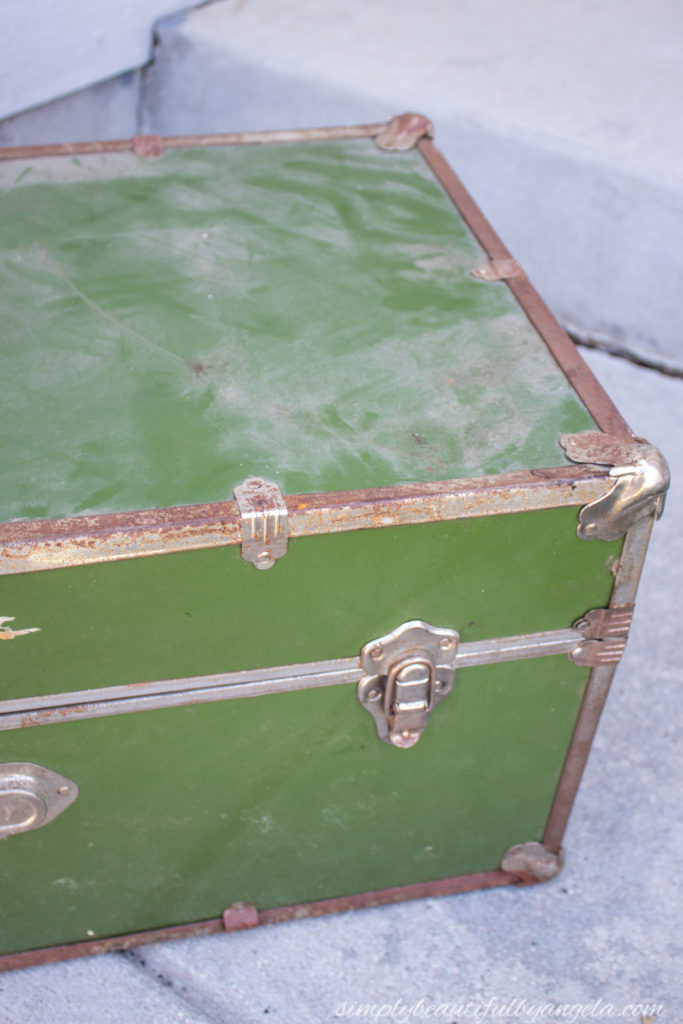
Here is what I started with.
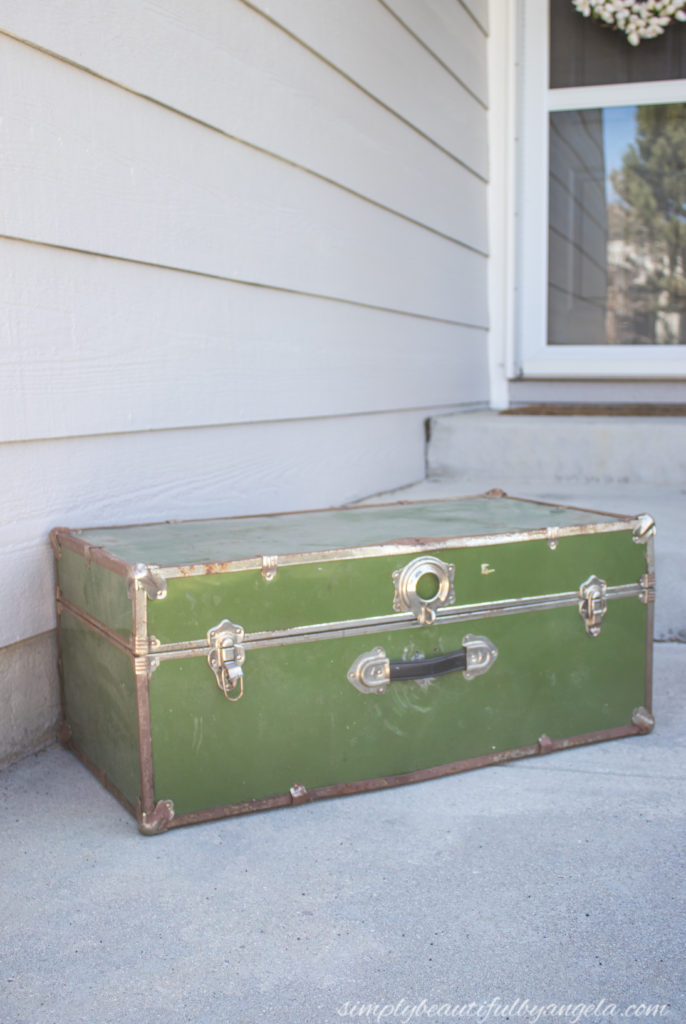
I actually see these old trunks at thrift stores all the time, but I’ve always passed them by since they are usually in pretty poor shape just as this one was.
But one day I happened to spot this guy sitting on the curb with a “free” sign in my parents neighborhood. I was feeling adventurous, so I decided to take it home to see if I could turn it into a coffee table for our front room.
Supplies Used:(Affiliate links may be provided for convenience. For more info, see my full disclosure here.)
- FrogTape
- Rust-Oleum Hammered Black Spray Paint
- DIY Chalk Paint (1 cup latex paint + 1 teaspoon Plaster of Paris)
- Petroleum Jelly
- Mini Foam Roller
- Angled Brush
- Scrap Board (cut to fit in the bottom)
- Contact Paper
- Scissors
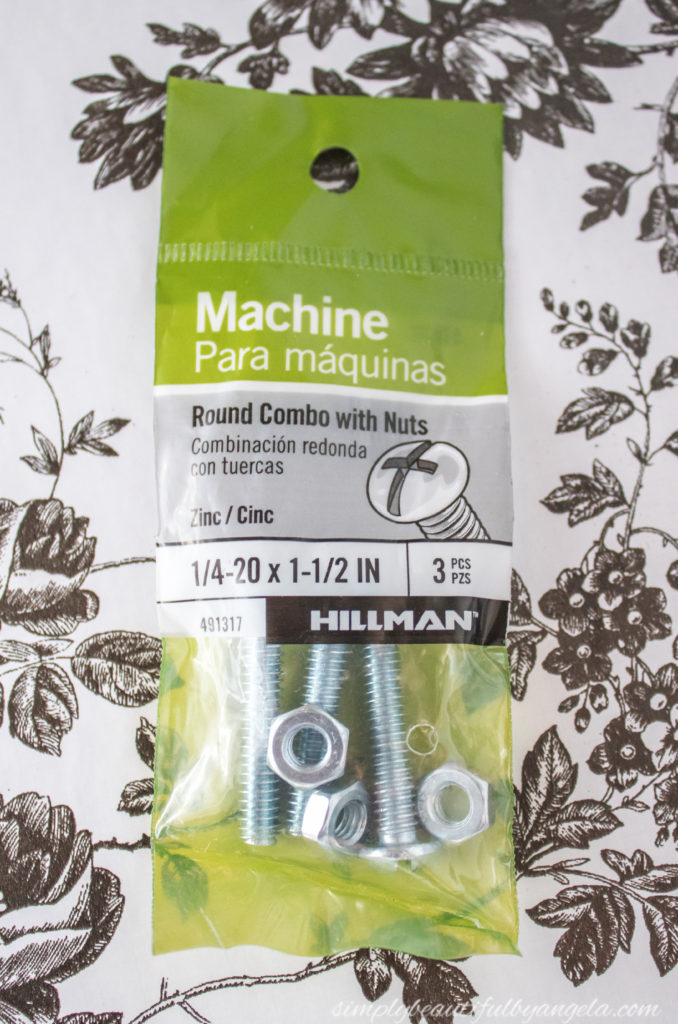
- Round Combo Machine Screws with Nuts
- 4″ Caster Wheels (similar to mine, the ones that I purchased are no longer available–bummer!)
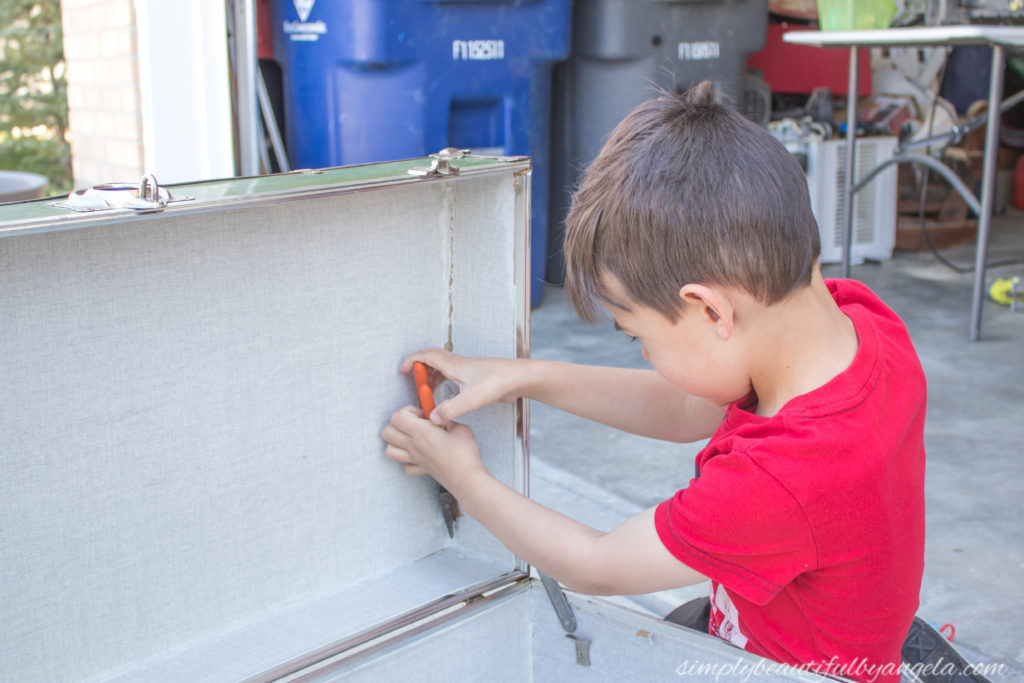
The first thing that I did was give it a really good clean! I sprayed it down with bleach on both the inside and outside to kill anything that may have been lurking on it.
I let Tristan jump in to help me pull up the old paper on the inside. We found that it tore off easily around the edges, but was pretty stuck everywhere else so we ended up leaving a lot of it.
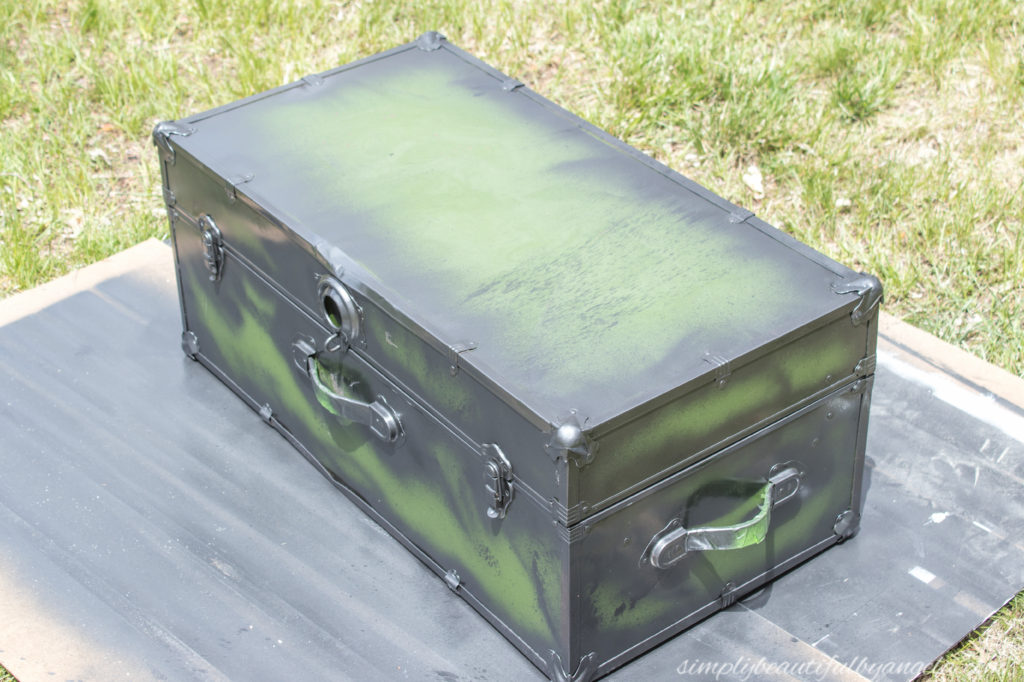
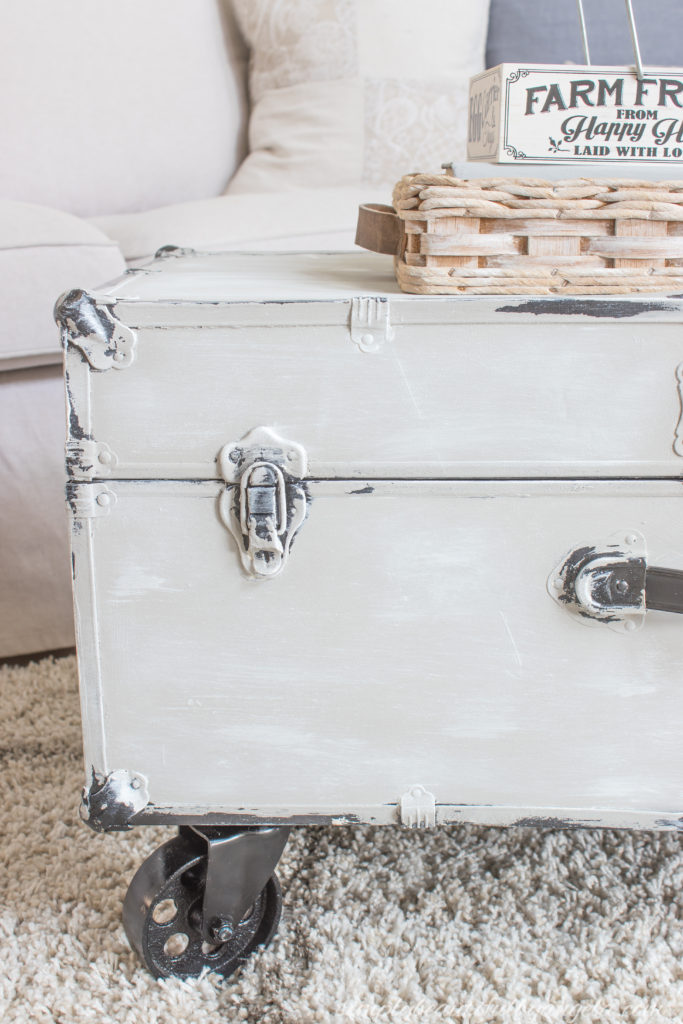
I used Frogtape to tape off the leather handles before spraying all of the trim and hardware with two light coats of Rust-Oleum Hammered Black Spray Paint.
Once it was dry, I mixed up some of my DIY chalk paint in white for the body. I originally cut in around the edges with a small brush before filling it in with a large angled brush.
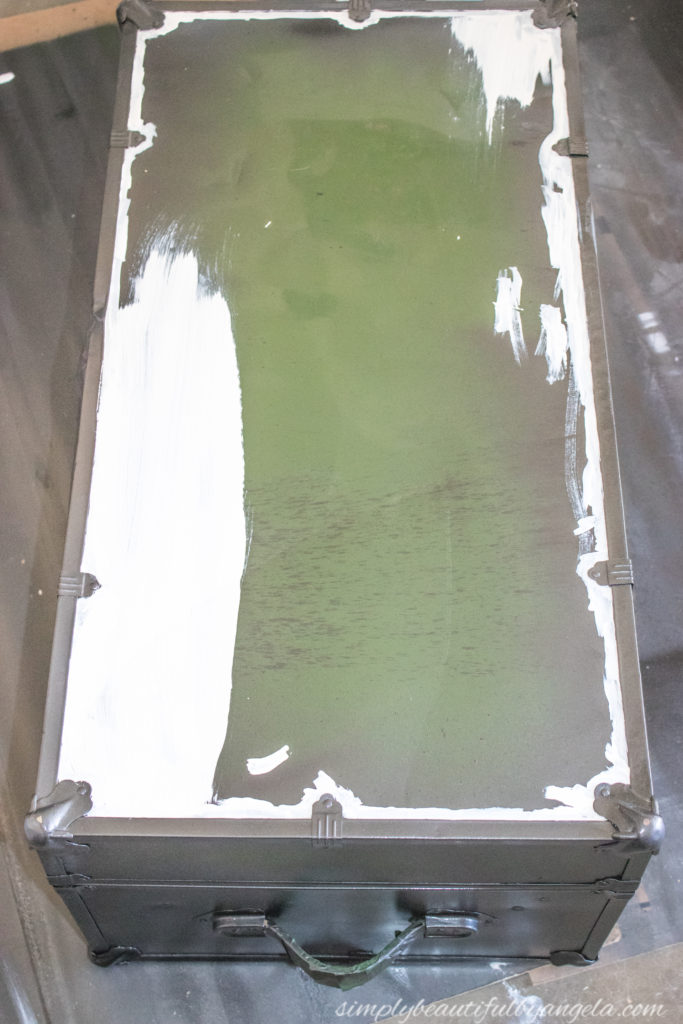
However I quickly realized that I didn’t really have the patience to do that for the entire thing. Especially because I needed multiple coats. So I decided to go for a more chippy and worn look instead.
To do this I first applied petroleum jelly on all of the pieces that I didn’t want the paint to adhere to. I wasn’t going for perfection because I wanted it to look random.
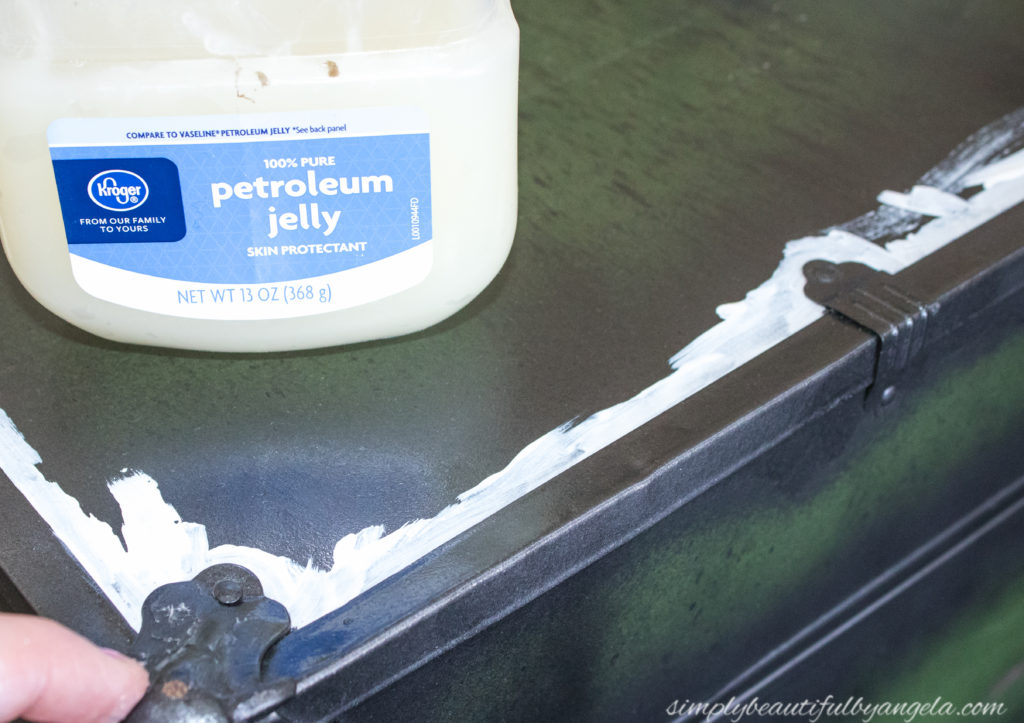
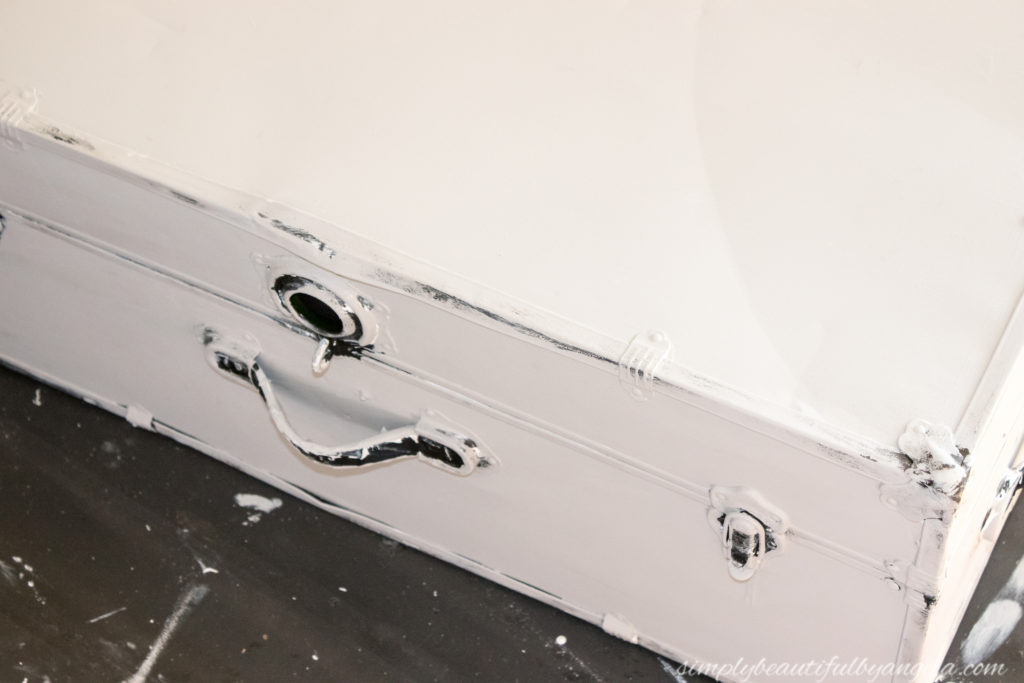
I then applied the paint in a more carefree manner, not caring whether or not it got on the trim or hardware.

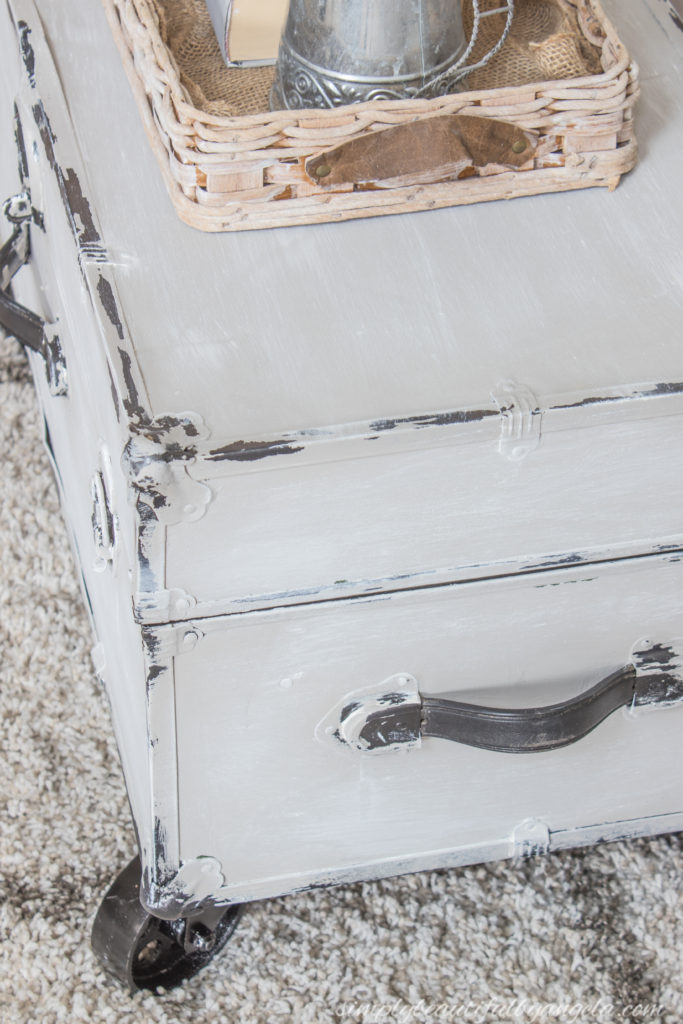
After the first coat I actually decided that I didn’t really like the white because it seemed too bright. So I mixed up more DIY chalk paint using the color Greige by Behr. I also switched to a foam roller for smoother coverage and only used the brush where the roller couldn’t reach.
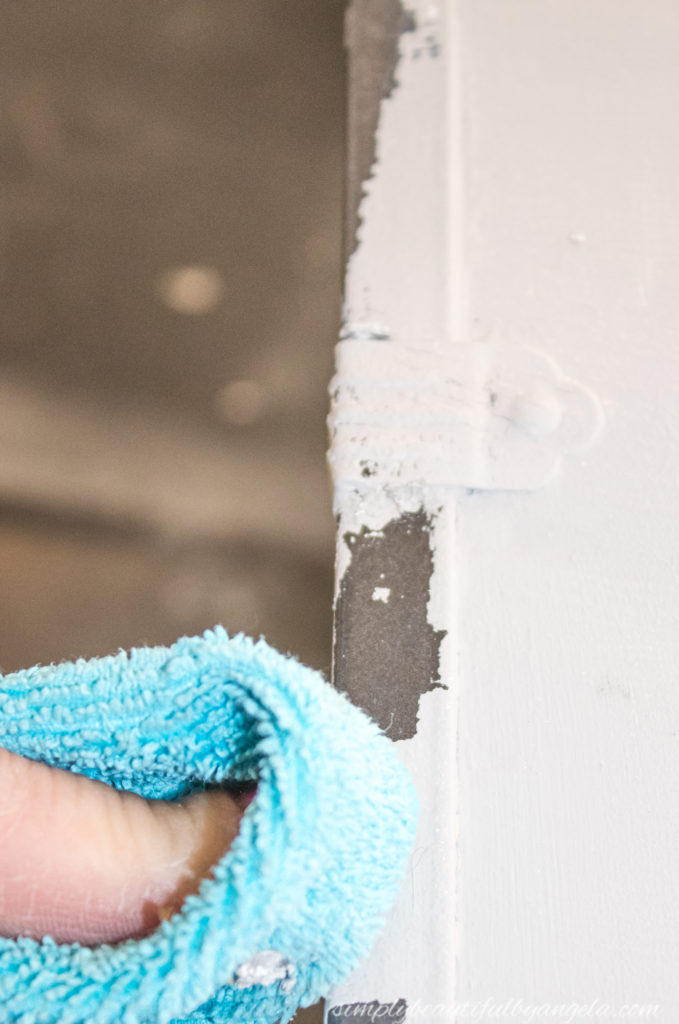
Once the paint was dry, I took a microfiber cloth and rubbed it against the places that had petroleum jelly. The paint easily wiped off and and left behind an awesome peeled paint effect!
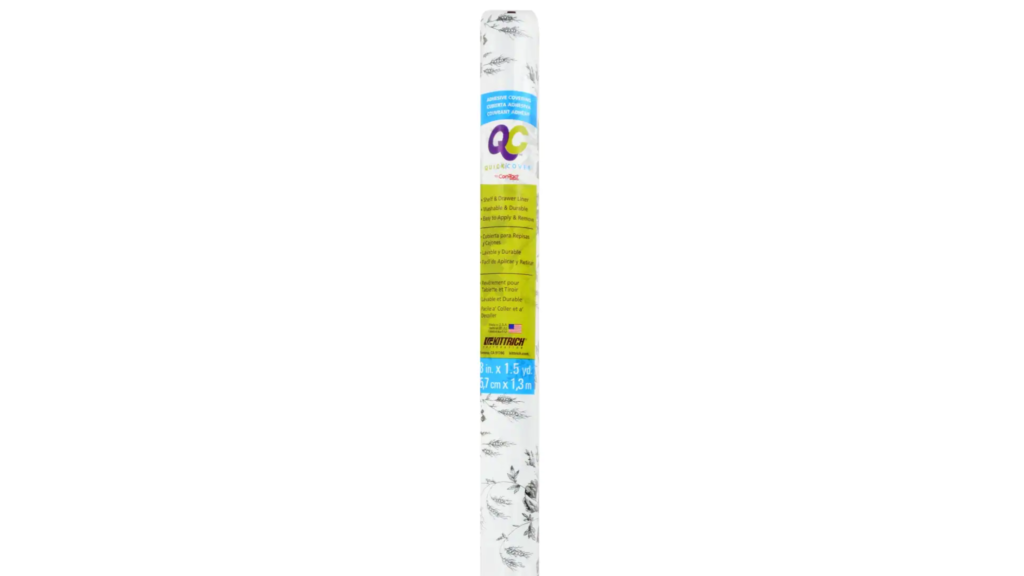
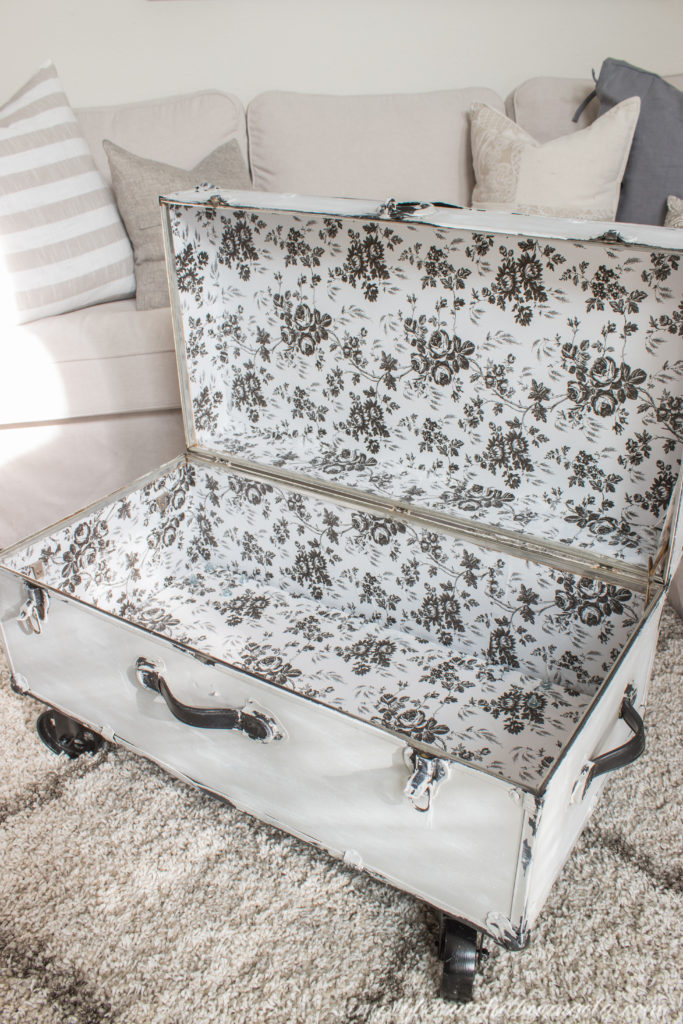
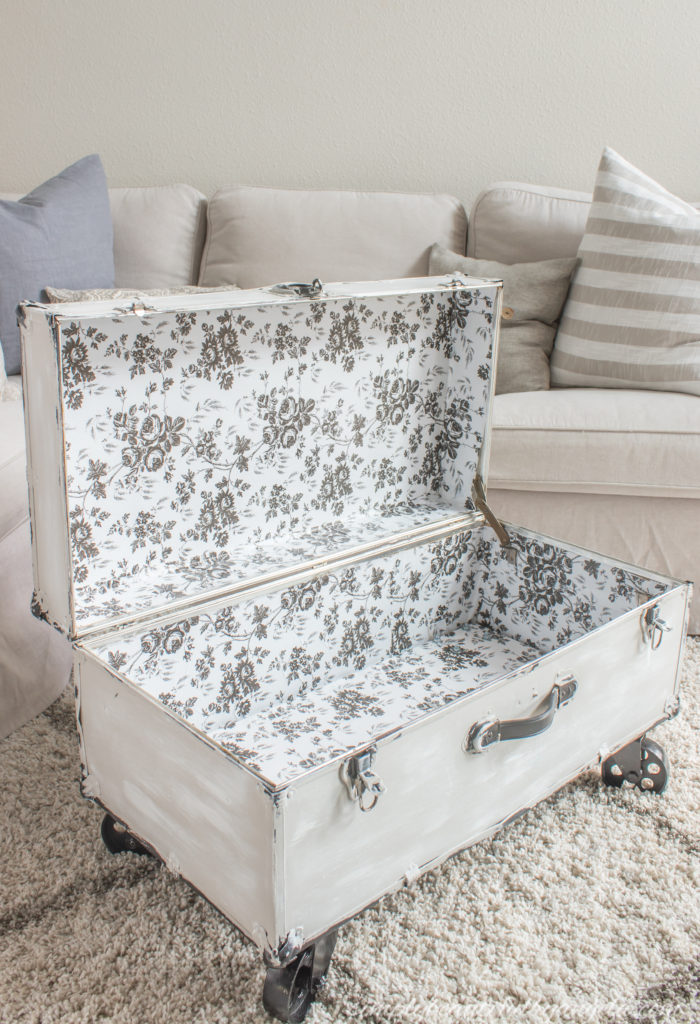
Since the outside had a cool new look, I wanted to do something fun on the inside. I picked up 3 rolls of this pretty floral contact paper from Dollar Tree. Yep you read that right–only $1 a roll! Such a great deal.
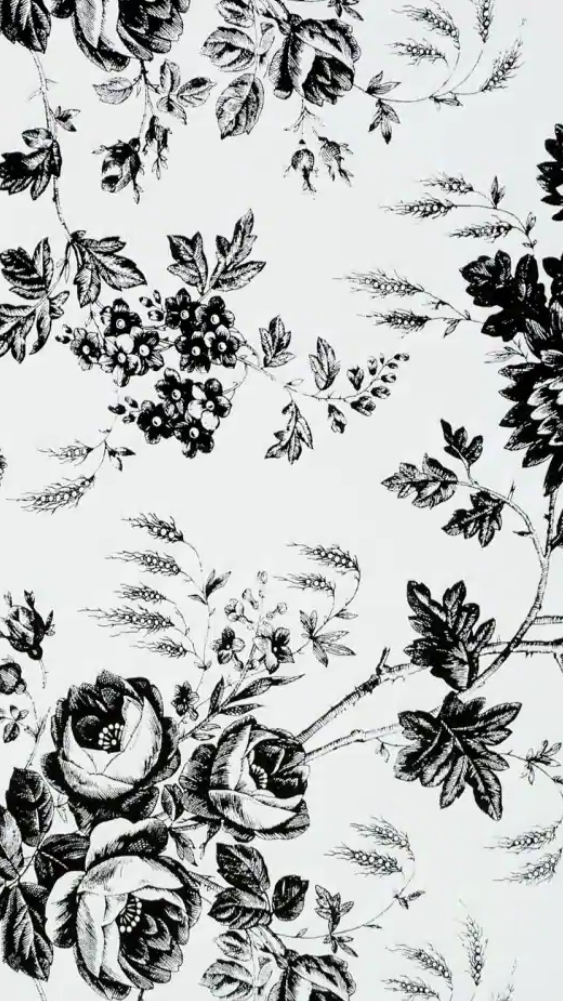
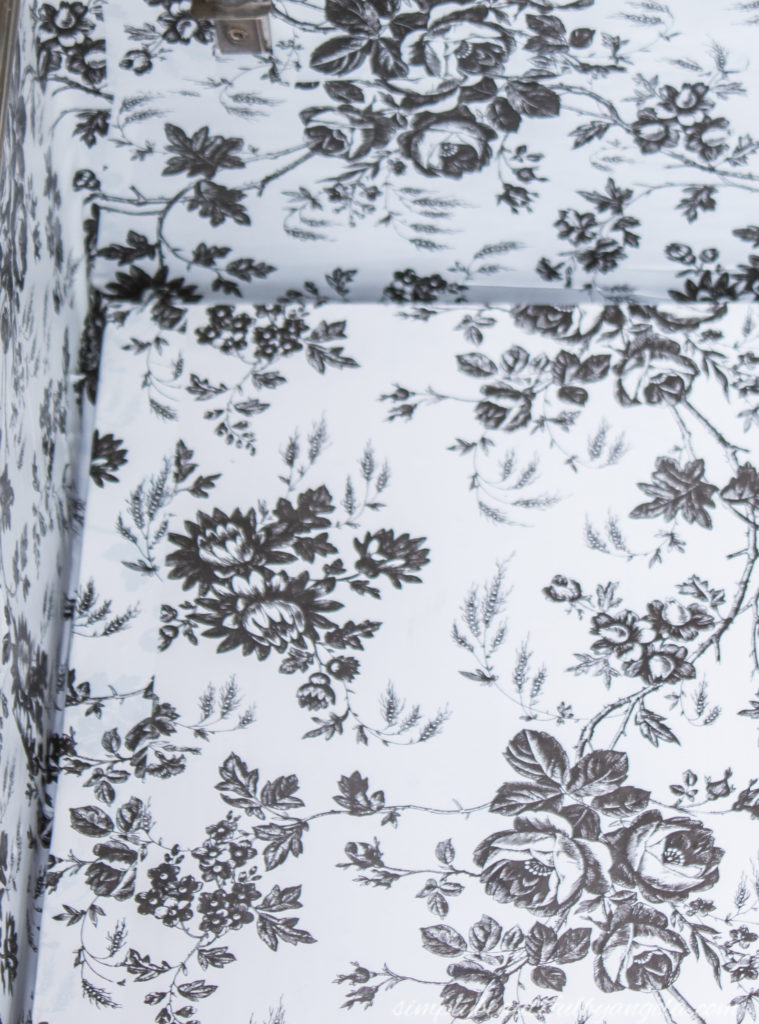
The pattern is very forgiving which is perfect for a novice like me because it made my overlapping seams and bubbles hardly noticeable.
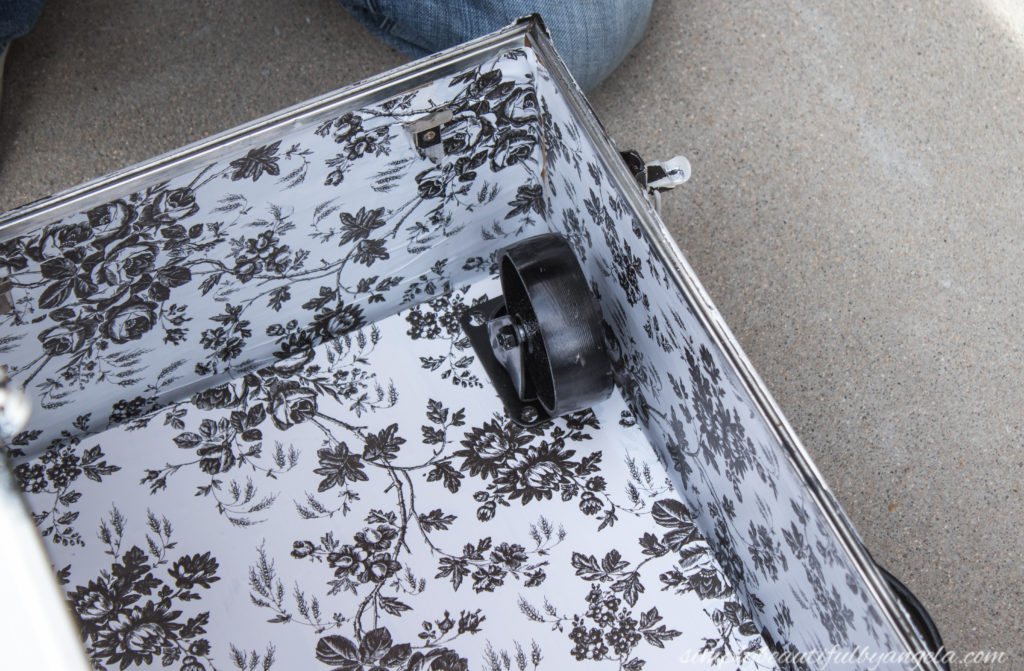
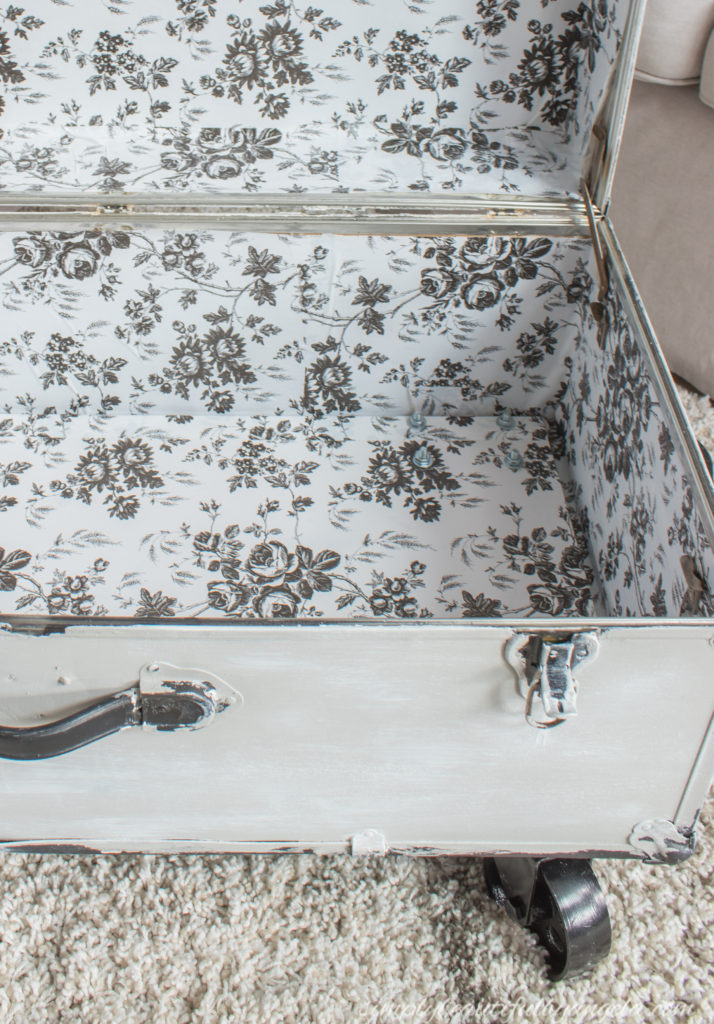
Since the metal that this trunk is made out of is super thin, I had to cut a piece of scrap wood to fit inside the bottom to attach wheels to later on. I covered it with the same contact paper so that it would blend in better.
Finally it was time to add the wheels. I knew that I wanted chunky steel ones to go along with the vintage look, and I wanted them to be BIG! I found a set on Amazon for $27 (which is a total steal!) but sadly it looks like that seller has already stopped carrying them. I did find these that are a little more expensive, but the same size.
We held the wheels up to where we wanted them to go, leaving a little room from the edge to clear the corners, and marked the holes on the board with a pencil.
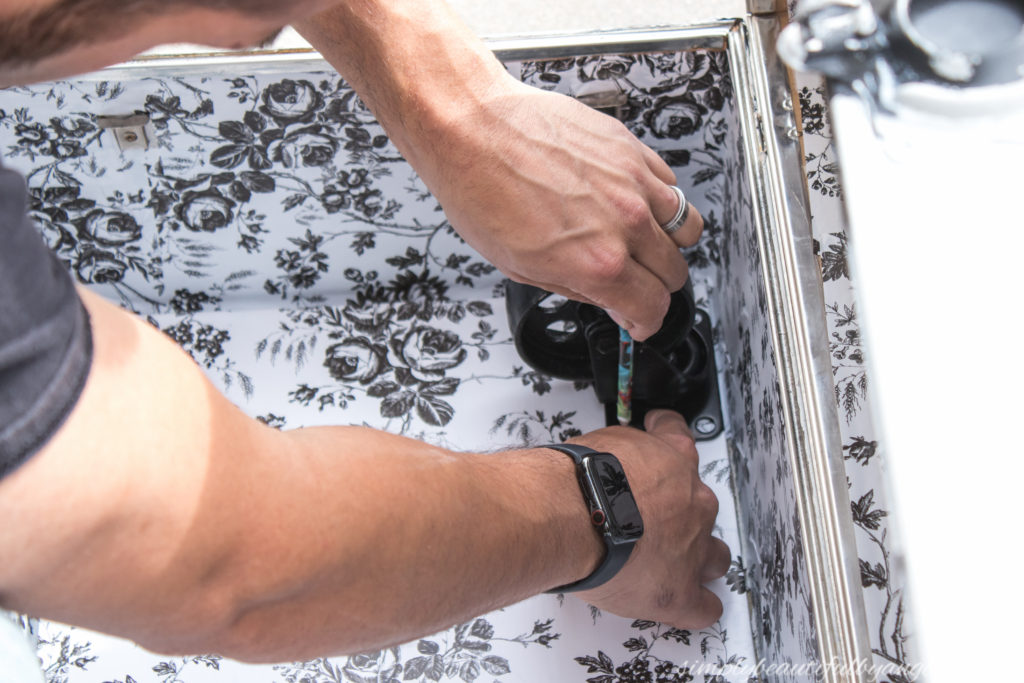
We then took the board out, laid it on the bottom of the trunk and drilled the holes through both the wood and the trunk.

This would have worked just fine if we had the board facing the right direction, or if I happened to paper both sides. But neither of those were the case, so when we put it back inside the trunk,the holes of course didn’t line up. Whoops!
So the hubby drilled through the holes to make new ones in the bottom of the trunk. We placed some scrap wood at the bottom of the board to prop it into place.

In retrospect, it would have been better to start here, and maybe even glue the board down in place so it didn’t move around. Learn from our mistakes!
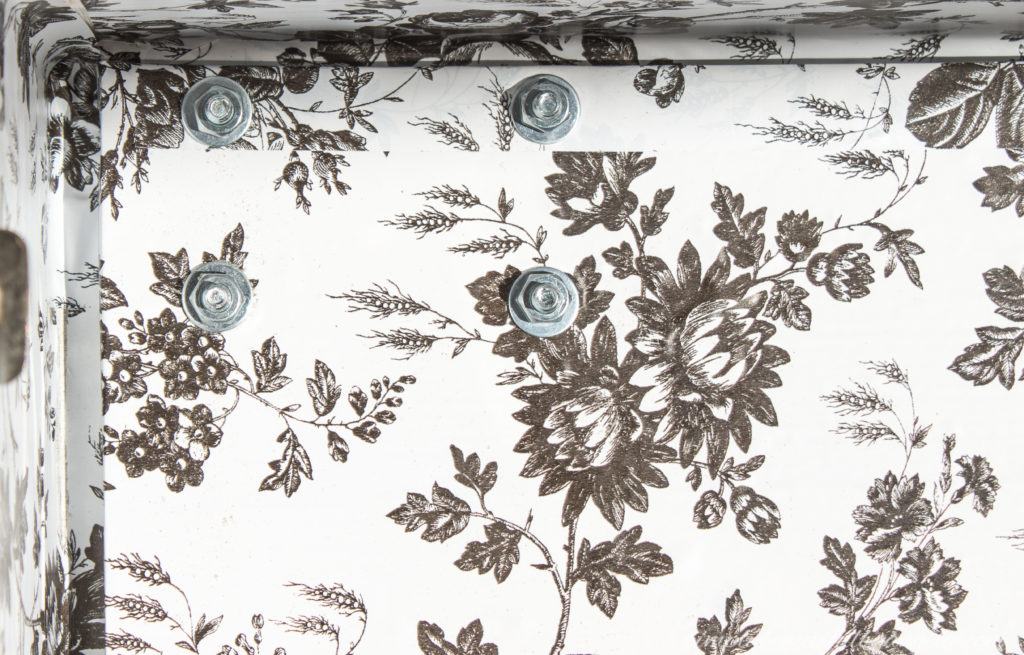
We purchased these 1/4-20 x 1-1/2 inch machine screws with nuts from Lowes.
We secured each one with a washer through the holes. These babies are nice and secure!
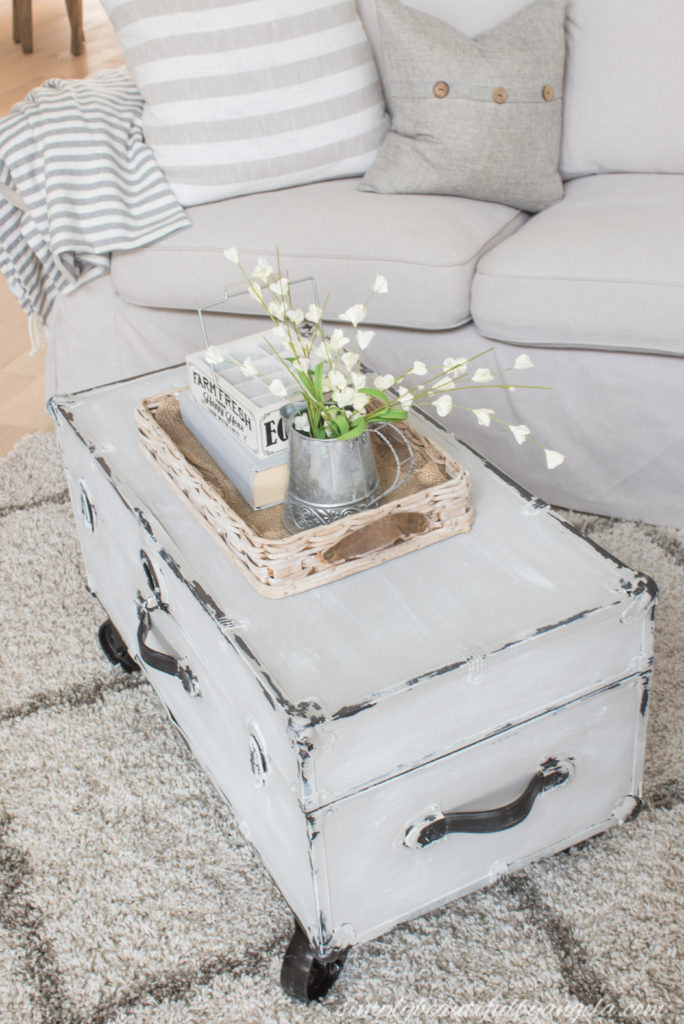
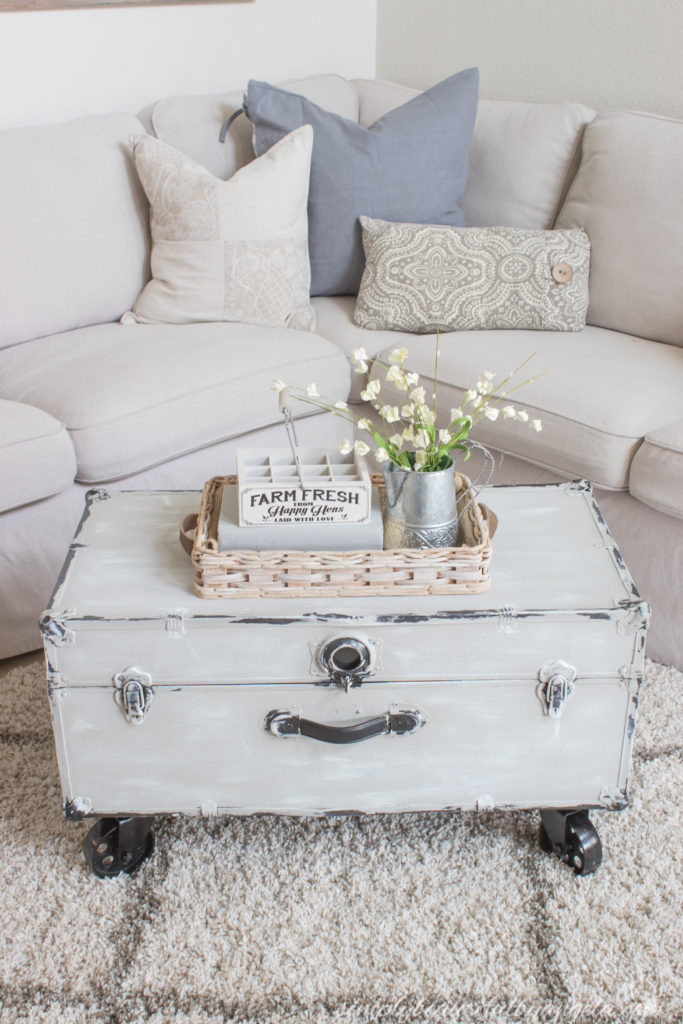
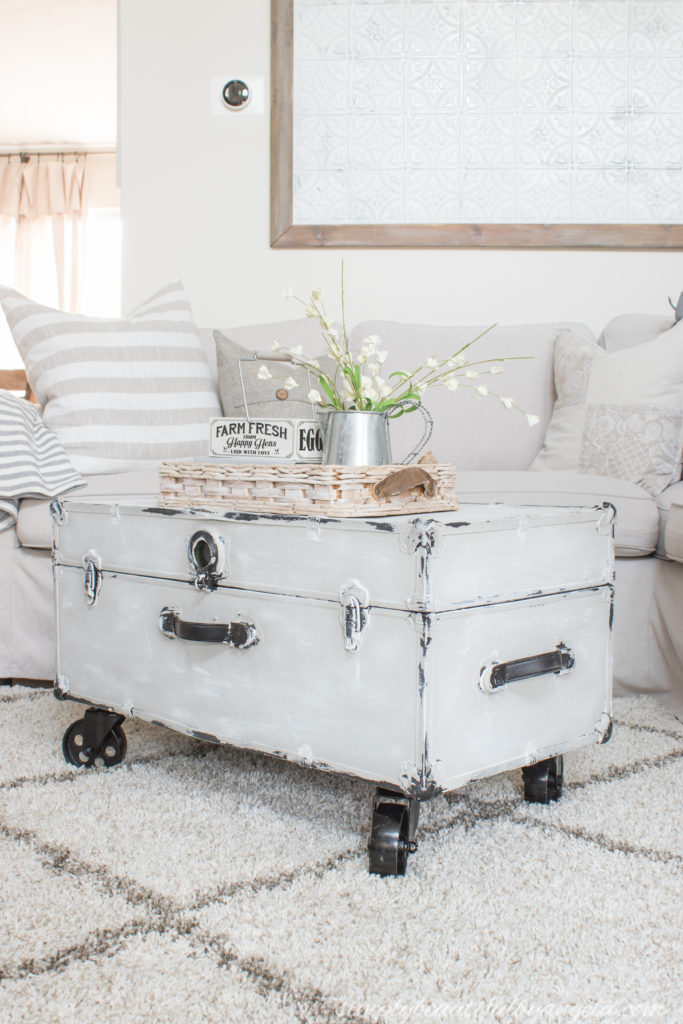
I decided to dry brush some white paint on to age it a little bit and this is how it turned out!
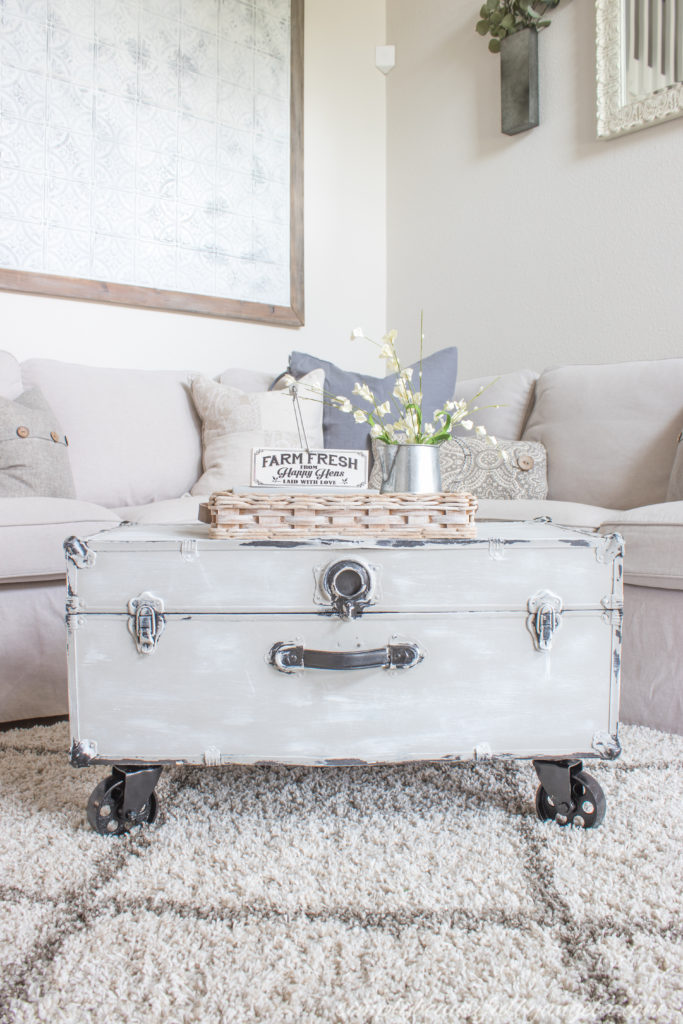

Going with the chippy paint look was such a good call. It adds so much character and I love the vintage feeling that it gives it!

The big caster wheels put it at the perfect height and I’m so glad that I decided to splurge on them rather than going with smaller less expensive ones.
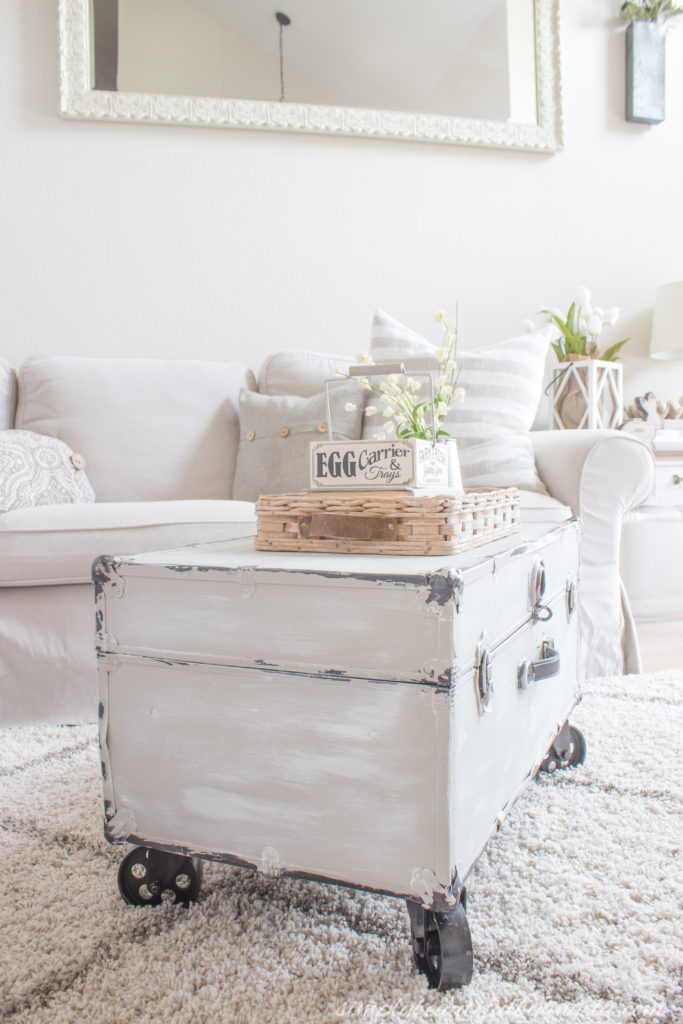
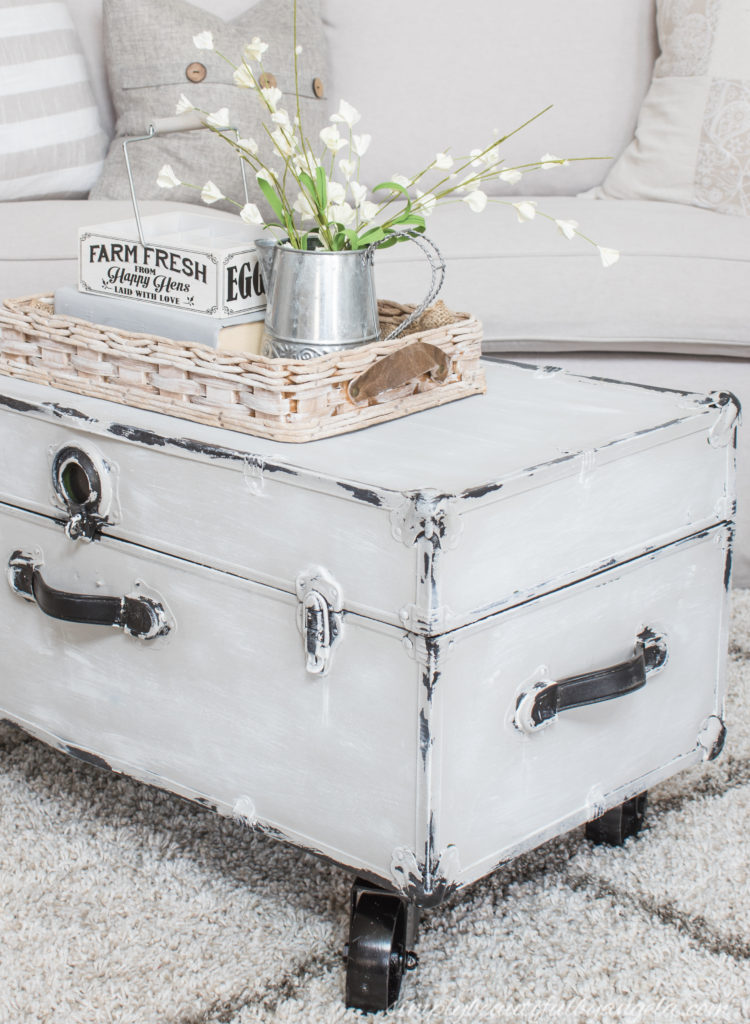
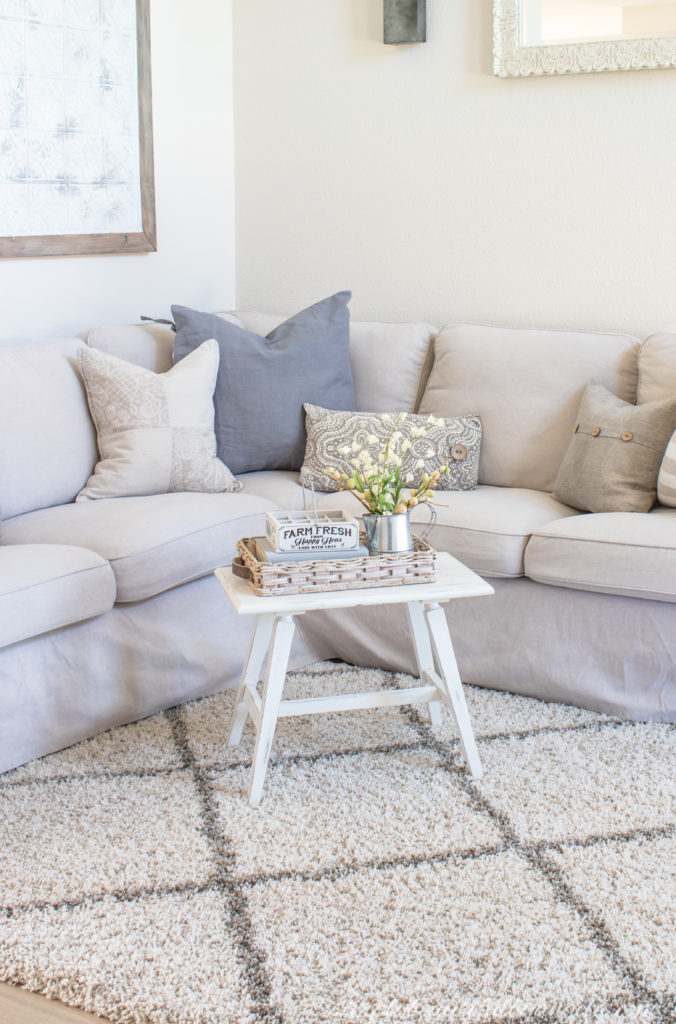
It’s a fun addition to our front room and fills the space much better than the small table that I had here previously, don’t you think?
The inside is very pretty, although I’m not sure what to put in it. I’ve thought about using it as photo album storage?
I debated whether or not I should add a wood top. I think for now I’m enjoying it like this.
Thanks for stopping by! I hope you all have a great rest of the week and a wonderful Memorial Day weekend!
Linking up to these awesome parties!
Girl you never cease to WOW me. You are amazing, so blessed with talent and the thought that you freely share your “ amazingness” is just awesome. Thank you Thank you Thank you. I look so forward to you posts. Keep up the good work 😊🎉💕
Aww thank you Tina–you are so kind!!
Ok, once again you’ve outdone yourself. I have seen other projects like this, but I just like the way the trunk looks with your simply elegant decor! Inspiration is what I look for from others and this one is surely one for the future. Keep up the good work and keep on blogging…
Thank you so much Maria!! That truly means so much!
The wheels make this coffee table, it was a great idea to use them. I like the white everywhere, it looks great. It even has storage.
Thank you Jenny! Yes I agree the wheels are definitely my favorite part 🙂
Now this is an amazing transformation, Angela! I love the contact paper interior (not an easy fete) and the chunky caster wheels you added! Great ideas!
Thank you Gail! Yes I am still learning when it comes to contact paper haha but I love how much it updates it 🙂
I love this! I have a trunk that is just sitting in the shop. This makeover is so pretty. I might have to try it on mine!
Thank you Angie!! I totally want to see pics when you do 🙂
This is so cute. I have some old suitcases that I am now wondering if I could transform. Visiting you today from the friendship friday blog hop. laurensparks.net
Thank you so much Lauren! I’m so glad I could help inspire 🙂
Wow! What a way to upcycle. It’s hard to believe it is the same trunk you brought home.
Thank you so much Michelle!
OMGEE Angela!
This trunk makeover is such a beautiful transformation! It is the perfect fit in front of your cozy sectional! I love the wheels and the contact paper liner that you added. And to think of all the metal trunks I have passed by during my vintage shopping sprees. I won’t pass another one by that’s for sure! I hope you’ll share this over at Homestyle Gathering via Serving Up Southern.
>>> Kim
Thanks Kim! Be on the lookout for sure, I see them quite often 🙂
I totally love what you did here. I have an old trunk in my home that could use a good revamp. Hmm…. the ideas are rushing in.
Thank you so much Ola! I’m glad I could help inspire you 🙂
Love this upcycle project! Thank you so much for sharing it at the You’re The Star “YTS” Blog Hop.
Happy weekend,
Kippi
Thank you Kippi!!
What a transformation! If you’re looking for a new link party to participate in we just started one today that I think your content would be perfect for. You can find it here. https://handmadeweekly.com/handmade-otherwise-link-party-week-1/ I hope that you stop by!
Thank you Hannah!! Adding it to my list 🙂