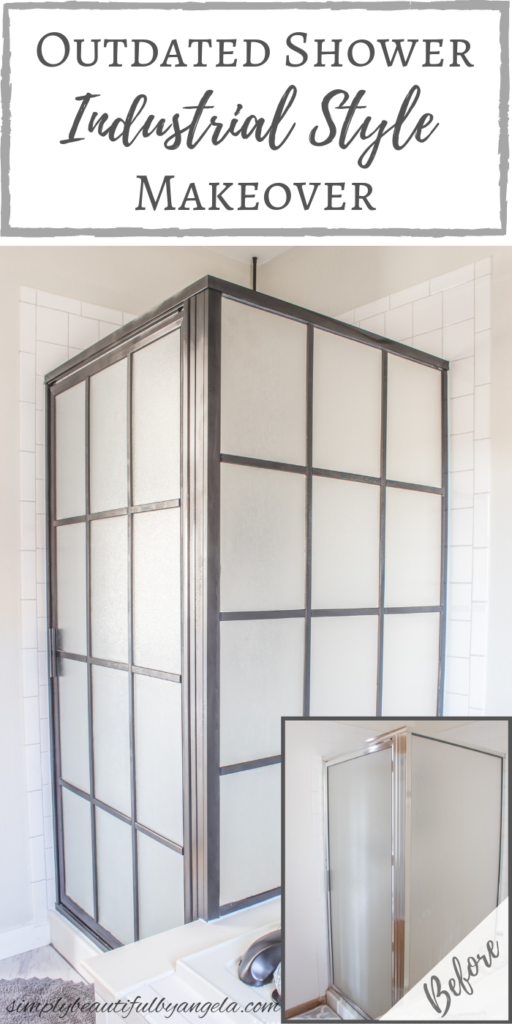
Hello and happy Thursday my friends! I hope you’re all enjoying a little bit of beautiful spring weather wherever you are. Here in Colorado, we got hit with snow and freezing temps last week, but this week has been absolutely gorgeous and I’m loving it!
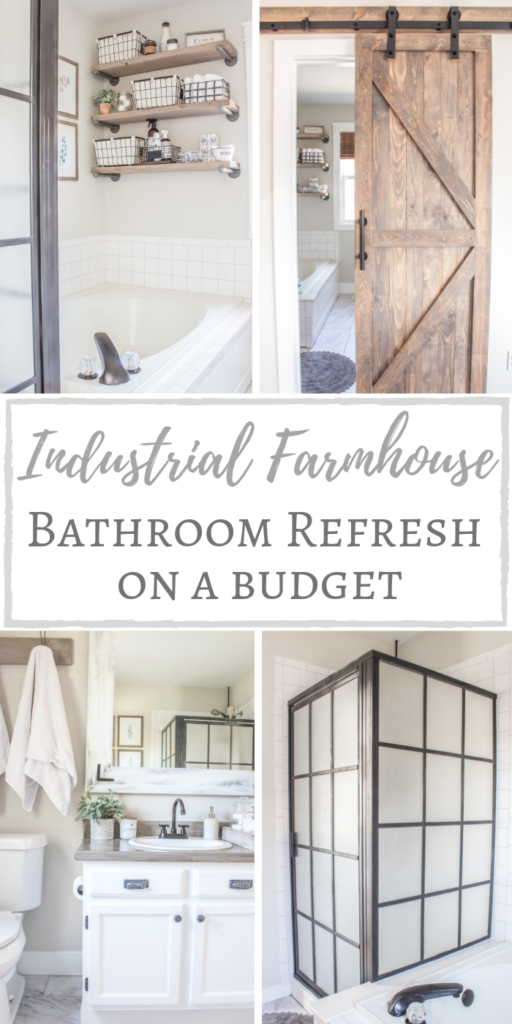
I’ve been receiving a lot of positive feedback on our master bathroom makeover and I want to shout out a big THANK YOU to each one of you! It was a lot of hard work, but the end result is so, so worth it. It’s amazing what a little bit of paint, accessories and budget updates can actually do!
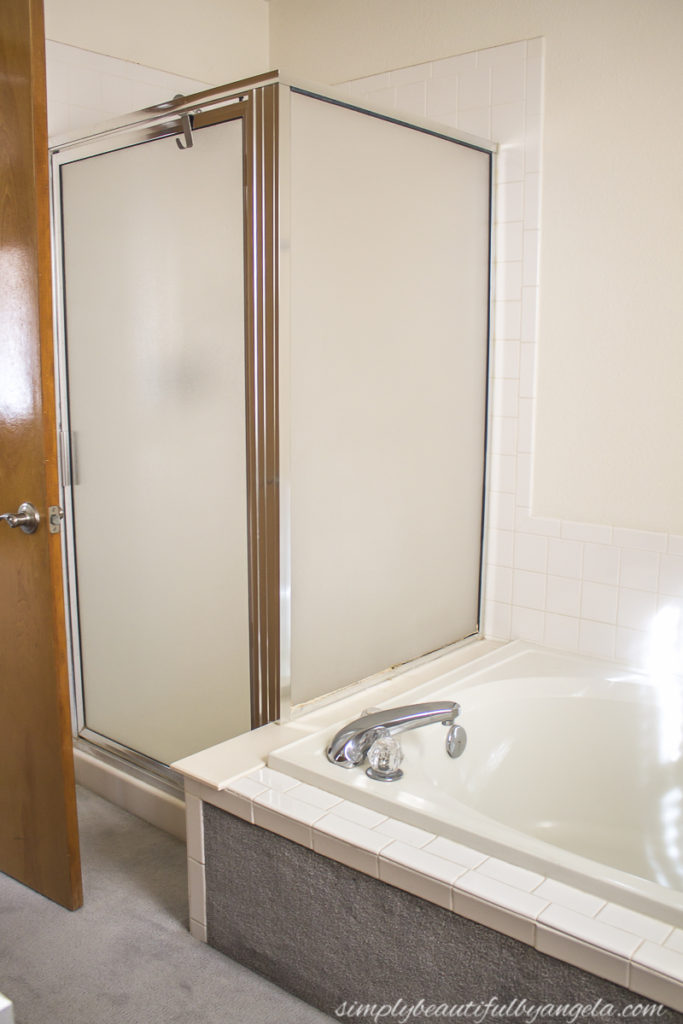
One of the most frequent questions that I’ve received so far is how I did the shower. I can’t take credit for the idea because I first spotted it on one of my favorite blogs–BlesserHouse. Ever since we moved in, I never cared for the outdated look of our shower.
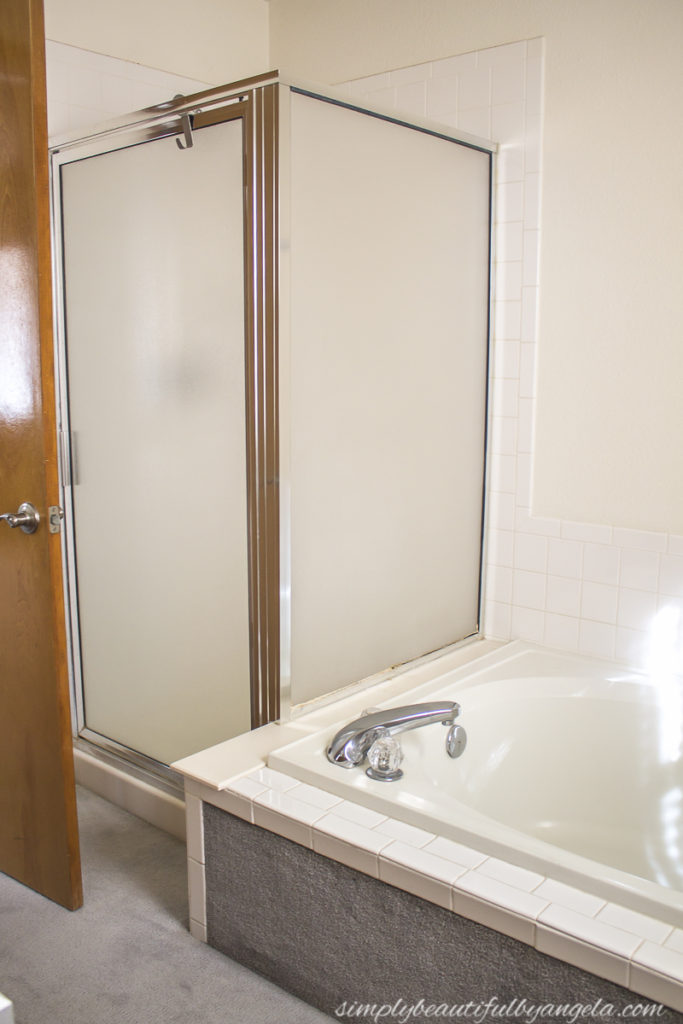
When I started brainstorming how I could temporarily update it while we save for our full-gut reno, I remembered her DIY Factory Window Shower Door tutorial and knew that it would be the perfect solution!
I followed her tutorial pretty closely, however I did have to change up a couple of things, so I decided to write a tutorial to share my experience with you guys!
Supplies Used:(Affiliate links may be provided for convenience. For more info, see my full disclosure here.)
- Plastic Drop Cloths
- Masking Paper
- FrogTape
- 3M Half Facepiece Respirator
- Rust-Oleum Auto Primer
- Rust-Oleum Hammered Black Spray Paint
- Rust-Oleum Lacquer Spray
- Polystyrene Screen Trim
- Chalk Marker
- Tape Measure
- Level
- Miter Box & Saw
- Loctite GO2 Glue
- Bath Caulk in White
- General Electric Kitchen and Bath Silicone Caulk
1. Prep
I began by scrubbing down the entire shower with a diluted vinegar and dish soap mixture just like Lauren did. The goal is to remove all of the soap scum to ensure that the paint adheres, and I found that this mixture was really good at doing just that. I scrubbed, rinsed and got it cleaner than it’s ever been! I let it dry for 24 hours to ensure that there was no moisture before I started taping.
The taping process was actually a lot more time consuming than I anticipated it to be! But it’s totally necessary to avoid a big clean up at the end. I made sure to cover everything that I didn’t want sprayed and pressed the tape down super hard. I found that masking paper worked well on the glass doors since it stayed nice and flat.
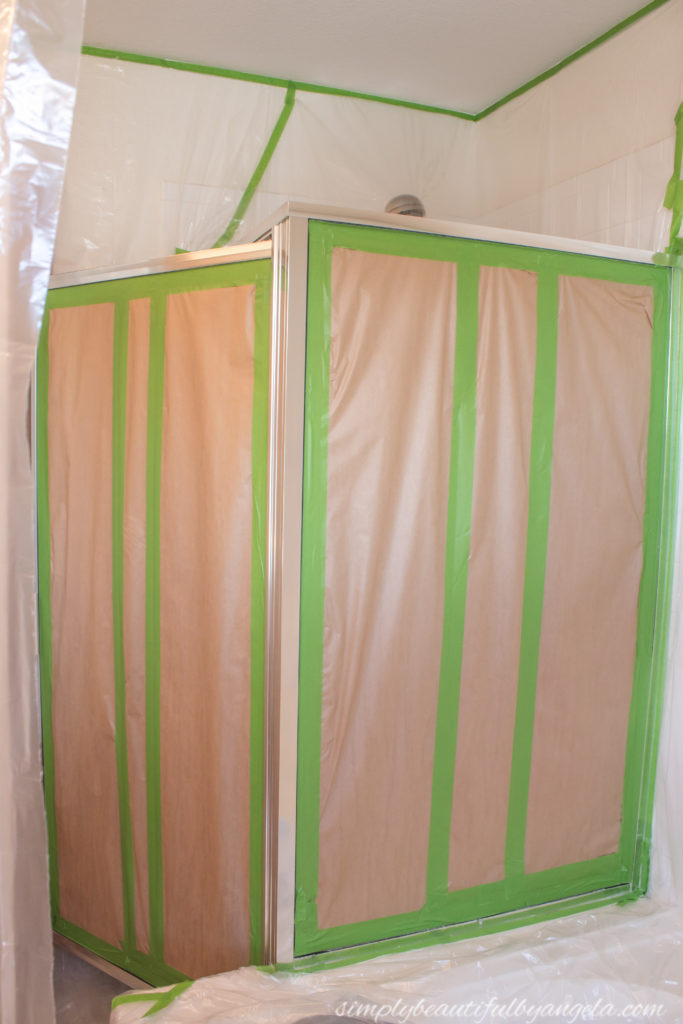
For everything else, I pressed a piece of FrogTape along the edge and left the other side up. Then I went back and pressed a plastic drop cloth on to that open edge. I taped the seams where the drop cloths met because I know from experience that overspray will find it’s way everywhere. There were still a few spots that I missed, but it cleaned up fairly easily.
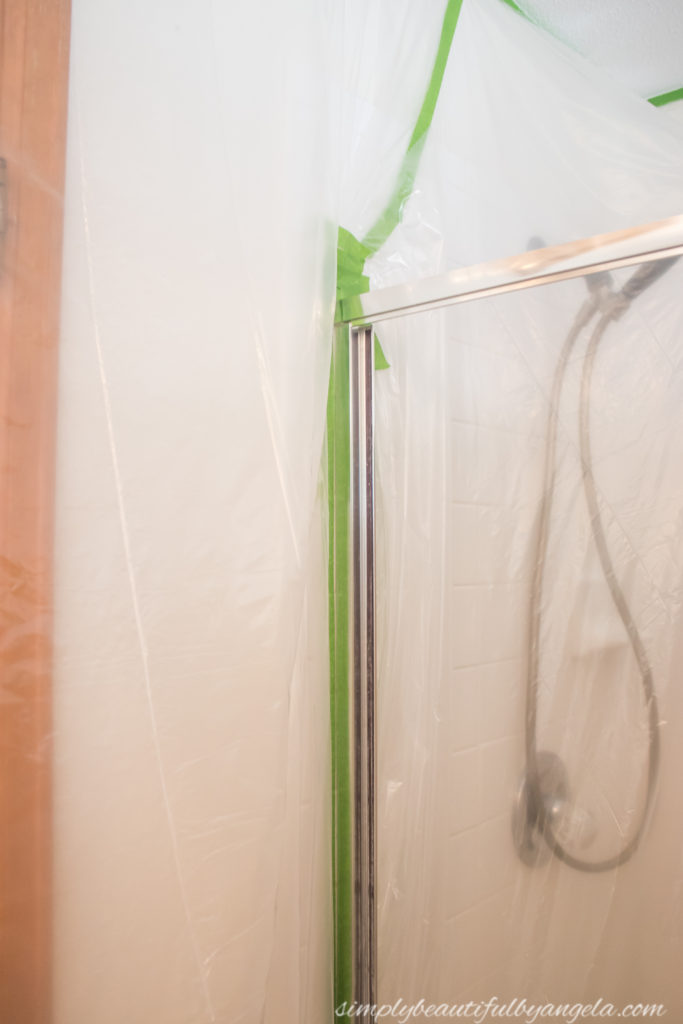
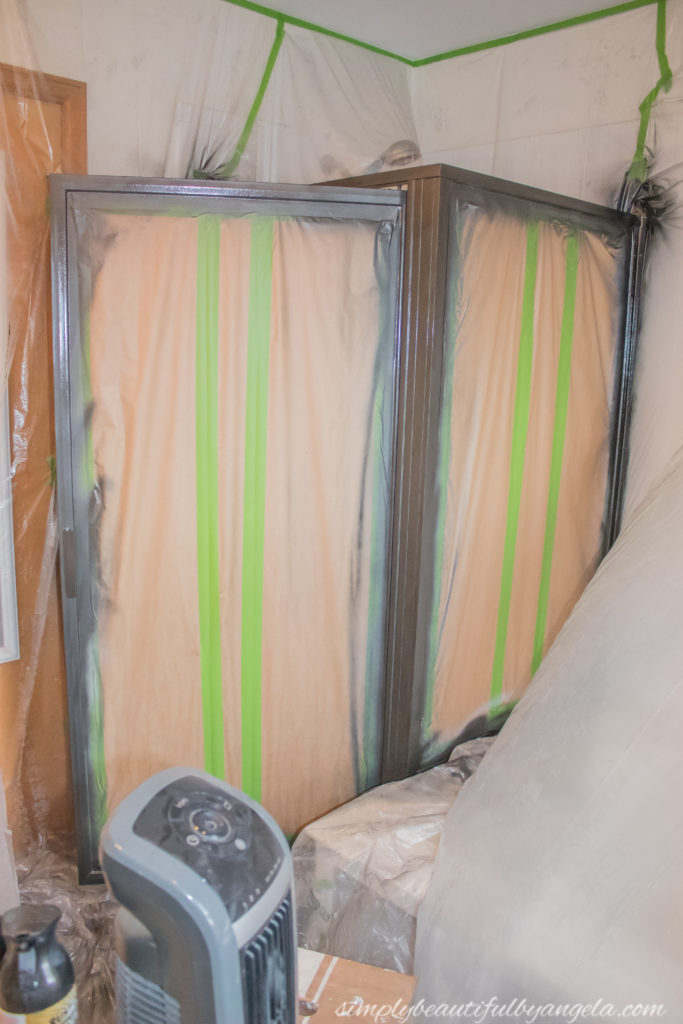
Since I still needed access to the door, I ended up making a “curtain” from the ceiling. I had to move it out a little after I took this picture because I found that I couldn’t open the shower door without it hitting the plastic. I didn’t bother covering the carpet since I planned on tearing it out later.
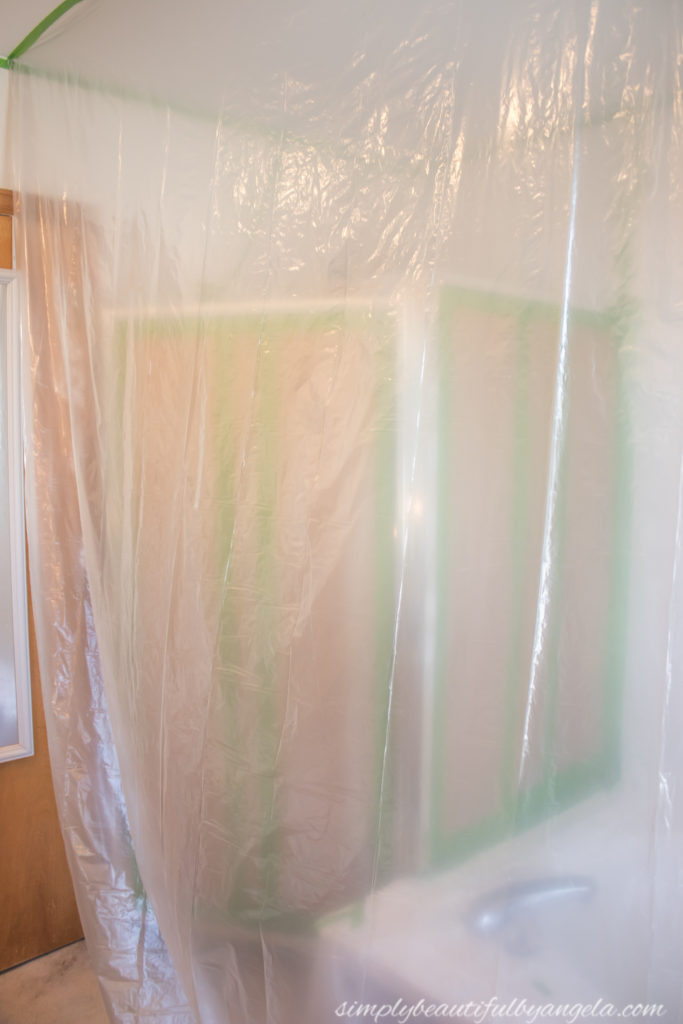
I closed and taped off the floor vent to prevent fumes from getting through the rest of house, and I opened a window with a fan propped in front of it to help push fumes outside.
And of course you can’t forget to prep yourself! I purchased this super stylish respirator and took an obligatory selfie to show you how Vogue I looked in it 🙂
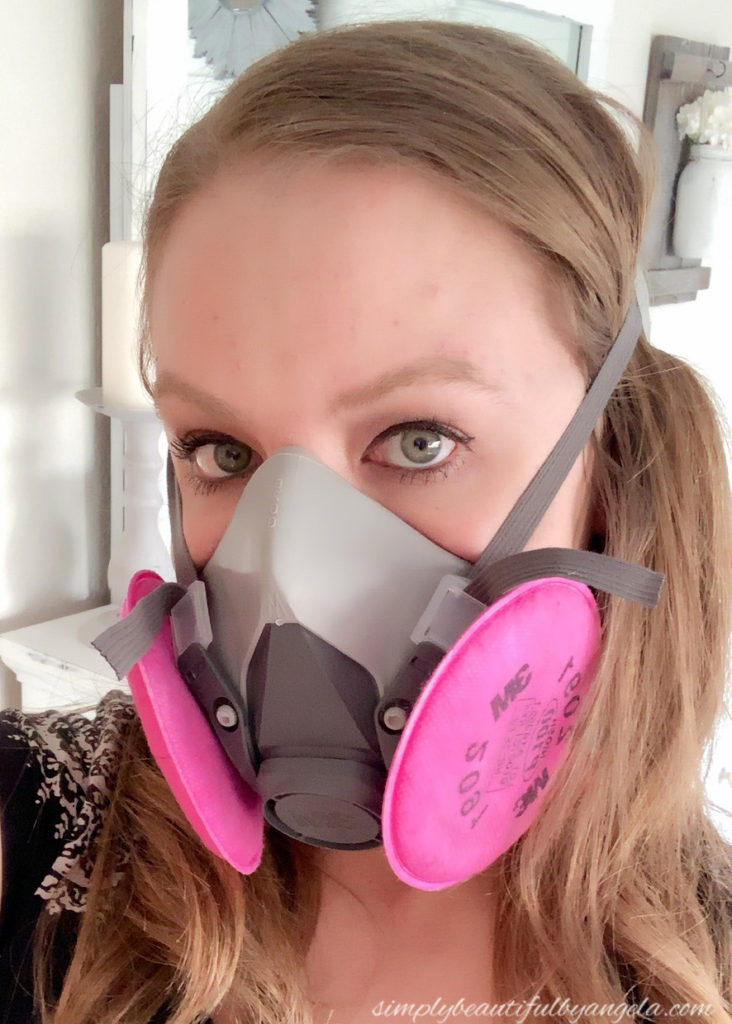
I would also recommend wearing safety glasses. I failed to do so but my eyes burned pretty bad after each spray session. So do as I say, not as I do!
2. Prime Frame
Unlike Lauren’s fairly new shower, this one is over 25 years old so I wasn’t sure how well my paint would stick despite my best cleaning efforts. Therefore I decided to go ahead and prep the surface with Rust-Oleum auto primer.
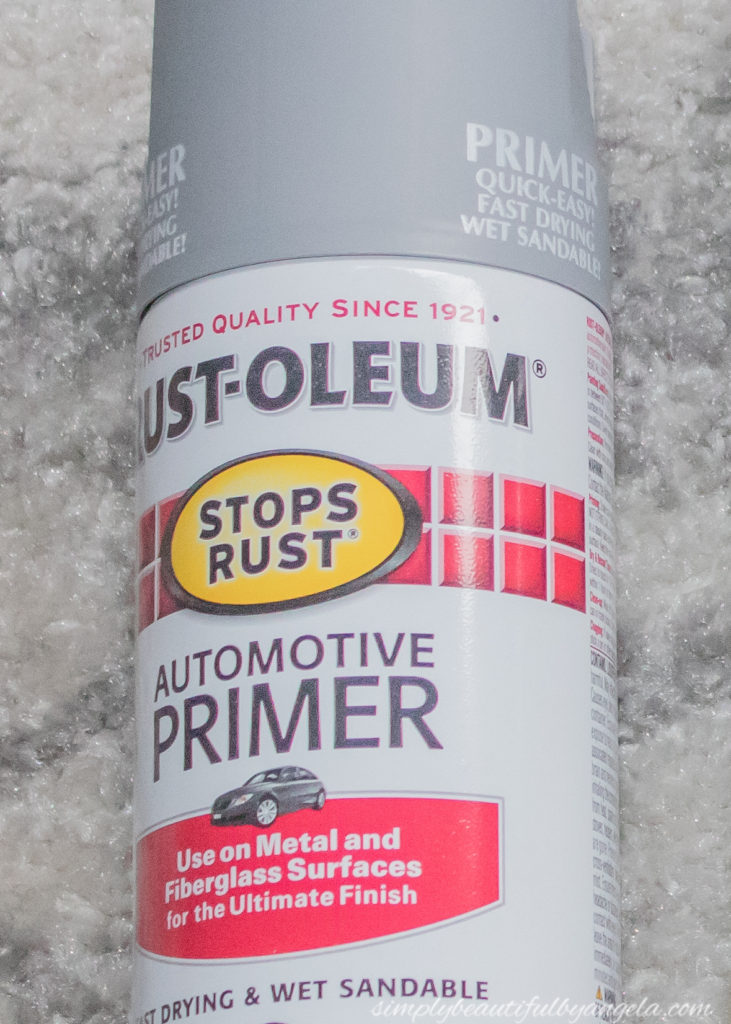
I sprayed in slow even strokes but didn’t worry about getting perfect coverage because I knew that my black paint also has primer built in to it. This stuff dries fast, I only waited about 30 minutes before I went back to apply my first coat of paint.
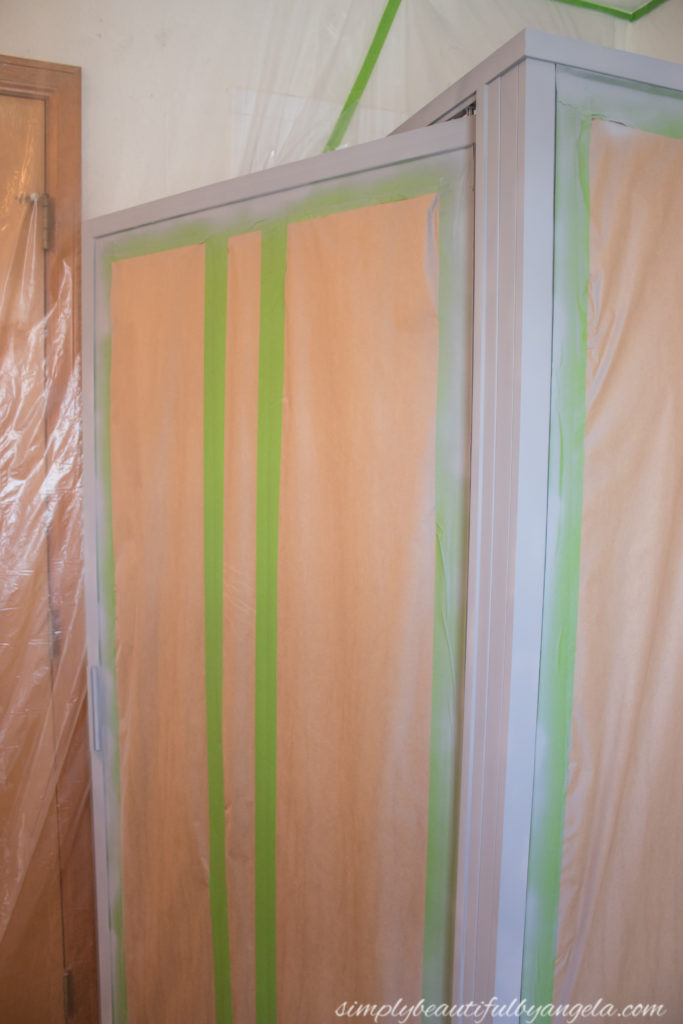
3. Paint Frame
I debated on doing a matte black, but ultimately decided to stick with the Rust-Oleum hammered black that Lauren used since I knew that hammered paint can be more forgiving with the nice texture that it has built in to it.
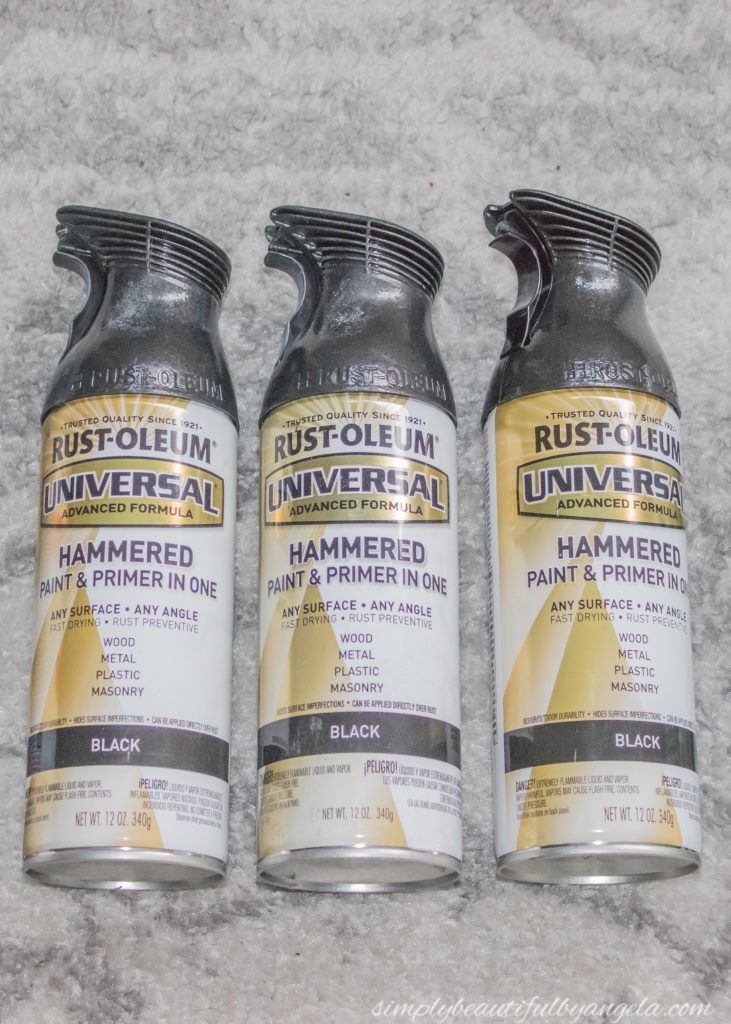
I did a total of 3 light coats and used about a can per coat. I waited at least an hour in between coats. I noticed that my first coat didn’t have the best coverage and I panicked for a bit. However, it was looking much better by the time the second coat went on.
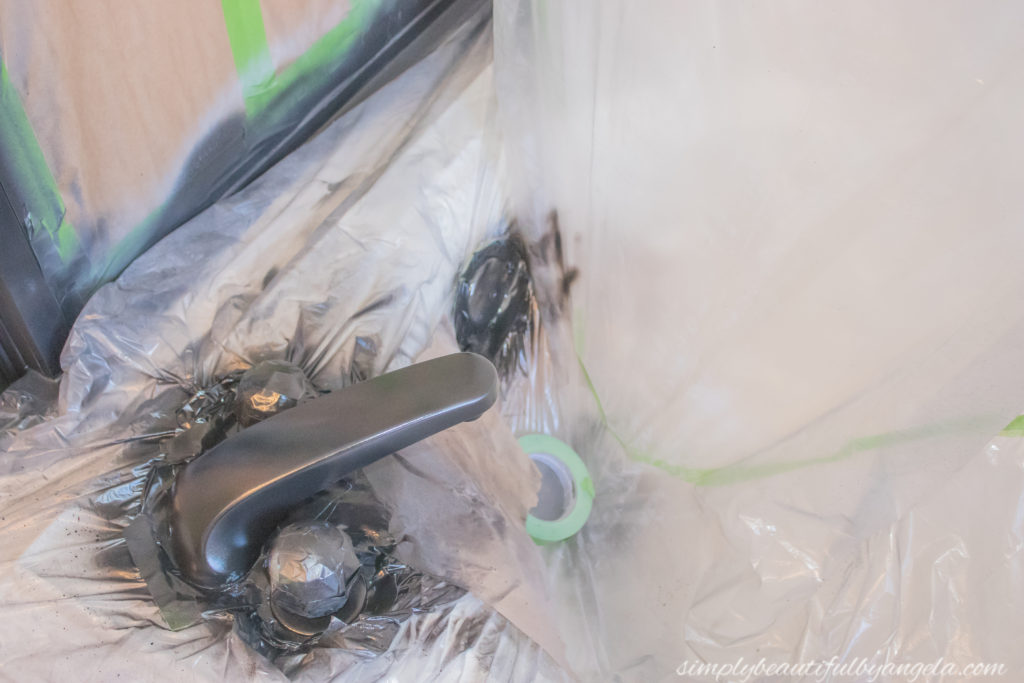
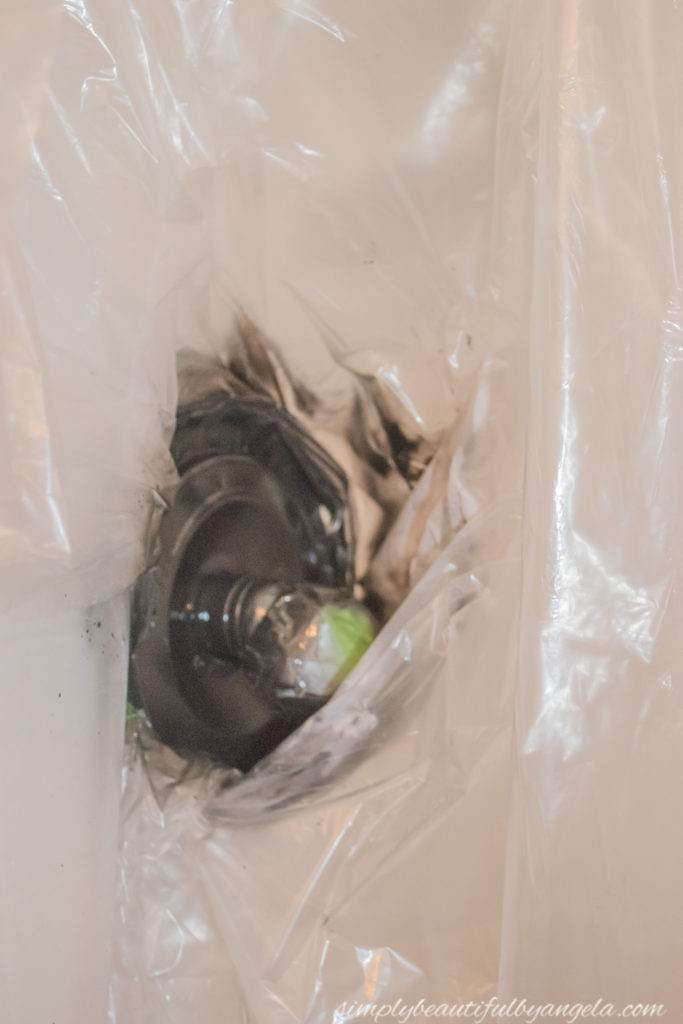
Since I already had all of the plastic up, I decided to cut a hole around the tub and shower fixtures, taped them off and painted those as well. I chose to use Rust-Oleum oil rubbed bronze to match our faucets on the vanity.
4. Paint Trim Pieces
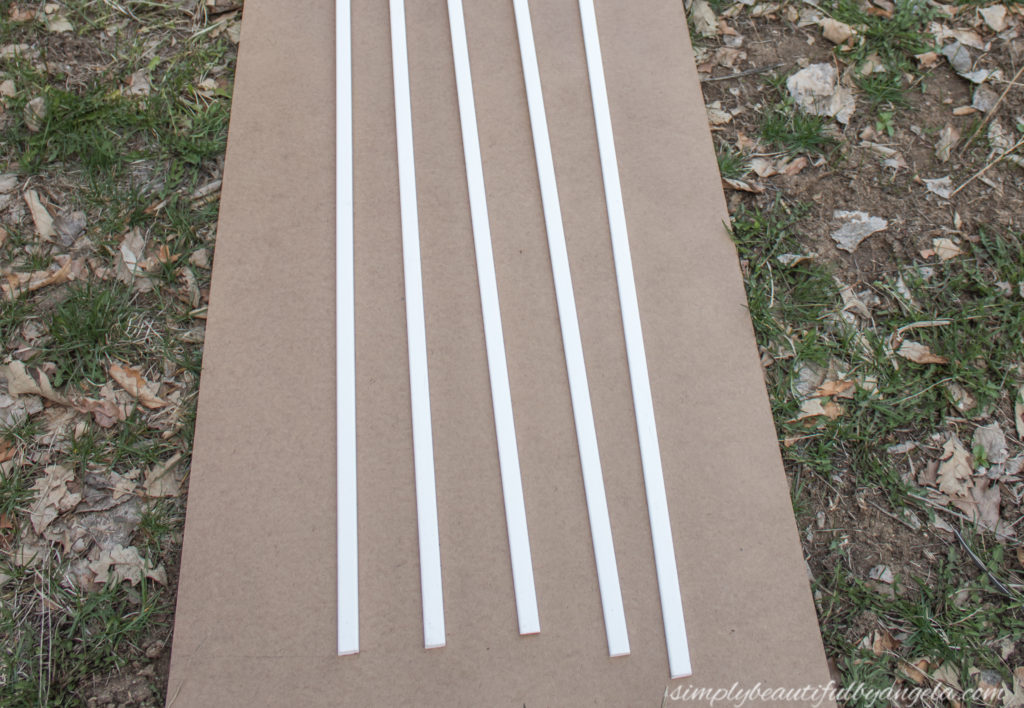
In between coats on the frame, I started painting the polystyrene screen trim pieces. I gave both sides 3 coats of the hammered black. I painted the fronts first and then unfortunately left them in the sun for too long after painting the backs, so when I went to flip them over I noticed that part of the paint peeled off. I had to touch them up with an extra coat and luckily with the hammered texture it isn’t too noticeable!
5. Spray Lacquer
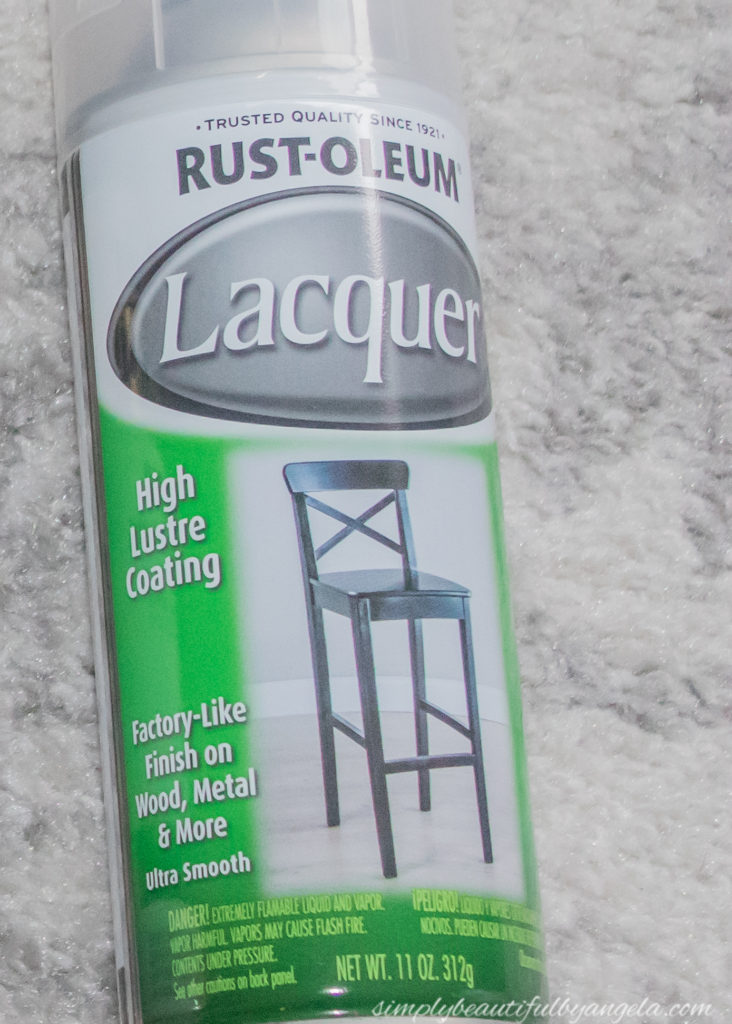
I gave a generous coat of Rust-Oleum lacquer spray to both the shower frame and the trim pieces to protect the paint from wearing away.
Once I was done, I went around with a utility knife and scored all of the tape before removing it. This is HUGE because if you fail to do so you will risk peeling some of your new pretty paint right up.
6. Cut and Attach Trim Pieces
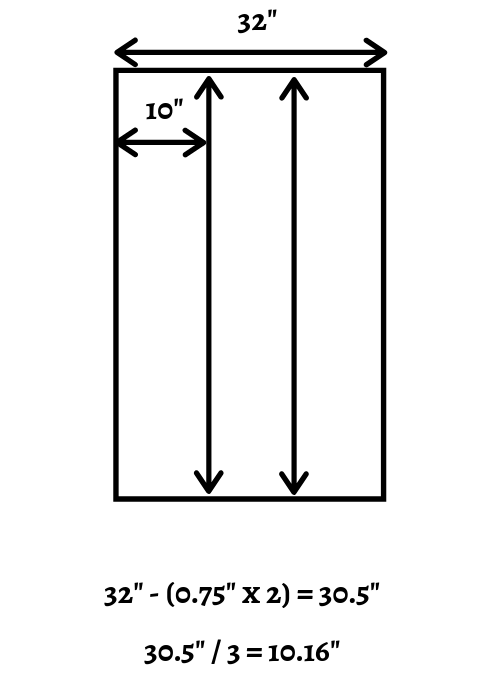
Next, it was time for the most exciting part–attaching the trim! This is where some math came in. I began with the vertical pieces. knew that I wanted to divide each side into three sections, so I took the width of the door, subtracted the width of the 2 trim pieces, then divided by 3. I ended up with a weird number so I rounded it and it’s totally not noticeable. Here’s a super fancy graphic to demonstrate:
After cutting the trim pieces to the correct height on my miter box, I used a chalk marker at both the top and the bottom of the glass to mark where each piece should lay. I squiggled a line of Loctite GO2 glue on the back before pressing them on. Even though my marks that I made helped me keep it level, I held a level up next to it to make sure.
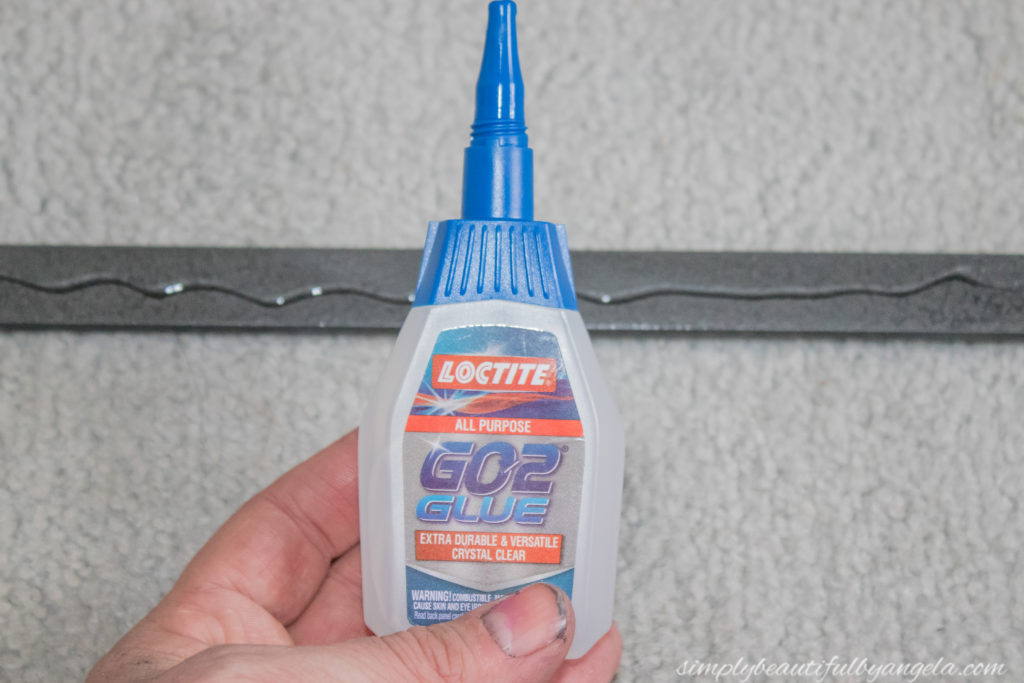
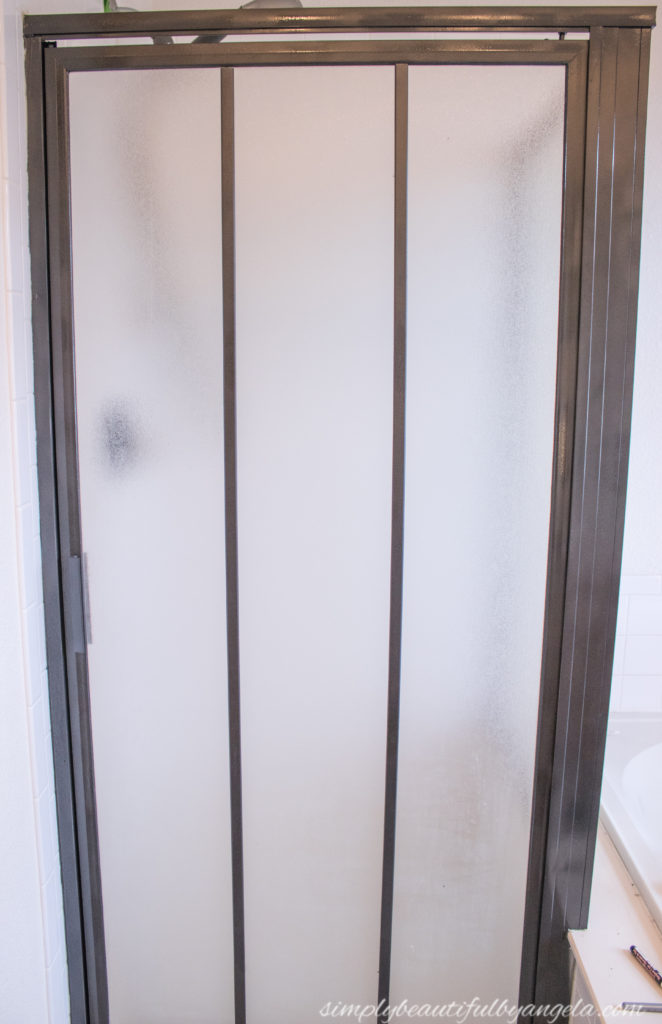
It looked great when I took the picture above, however they slowly started shifting out of place after a few minutes. I am guessing this is because I was dealing with textured glass as opposed to the smooth glass that Lauren’s shower had. So I ended up putting painters tape on each one to hold them in place while they dried.
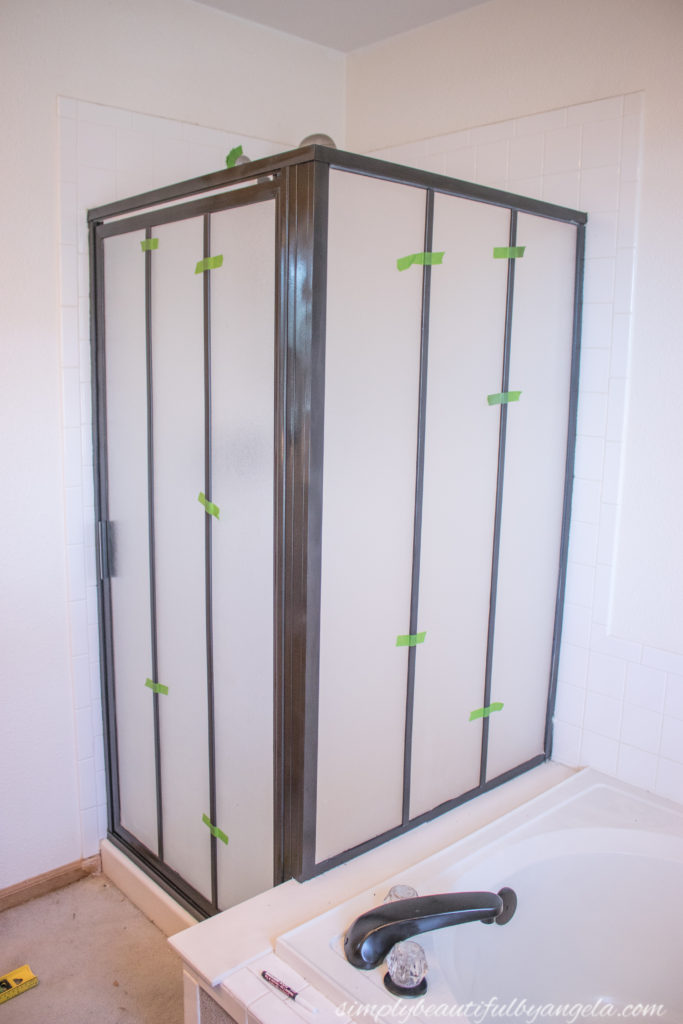
I followed the same process for the horizontal pieces. When I did the other side I actually messed up on my horizontal measurements, but I don’t really think it’s too obvious unless you’re really looking for it.
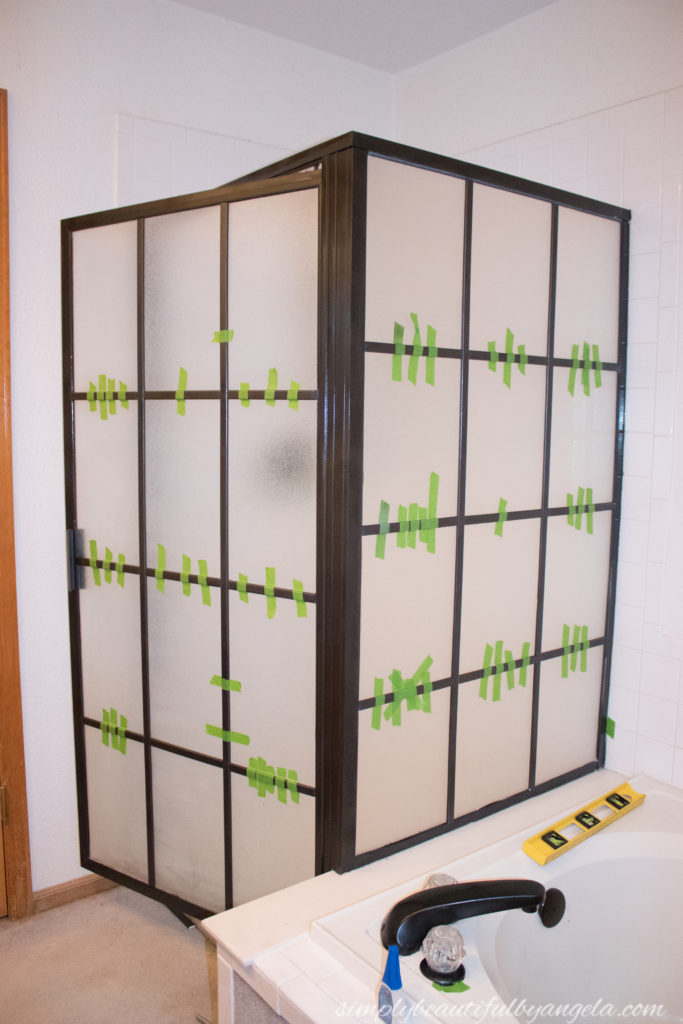
I came back 24 hours later and removed the tape. When I cut the horizontal pieces on the miter box, it left the ends white. I thought they would be disguised once they were butted up to the vertical pieces, but they weren’t.
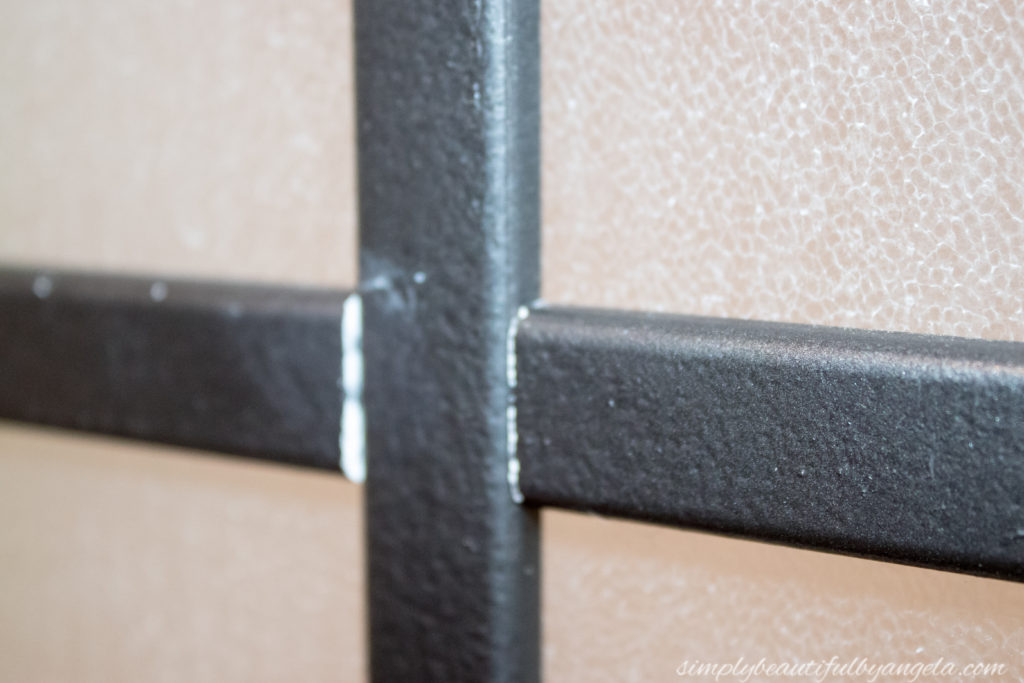
To fix this, I sprayed a little bit of paint in to the corner of a box and then used a small brush to apply it to those spots.
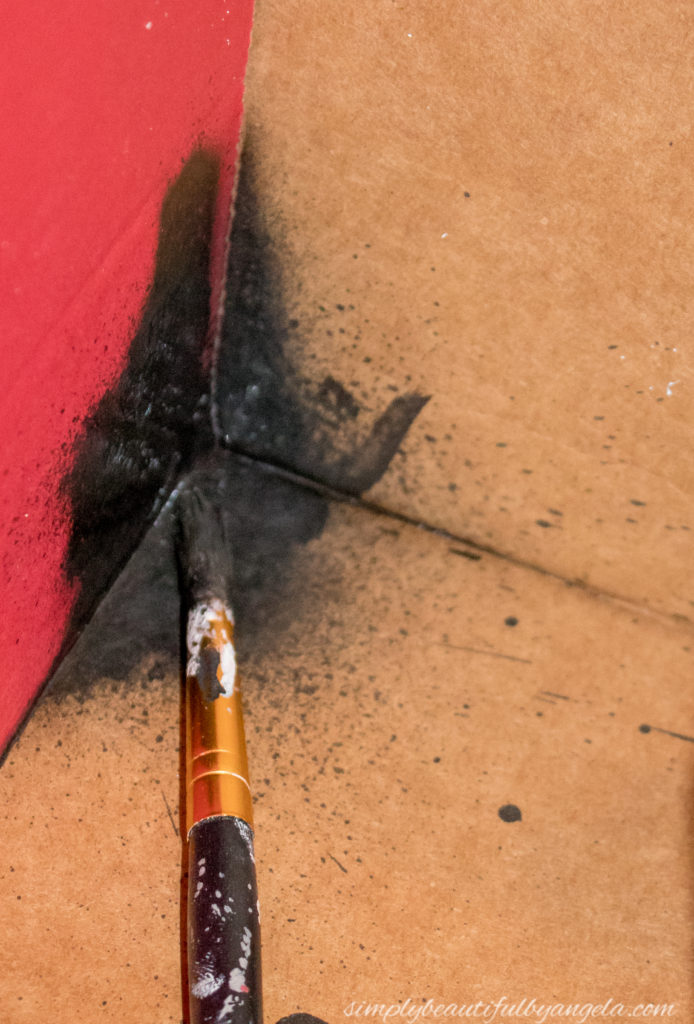
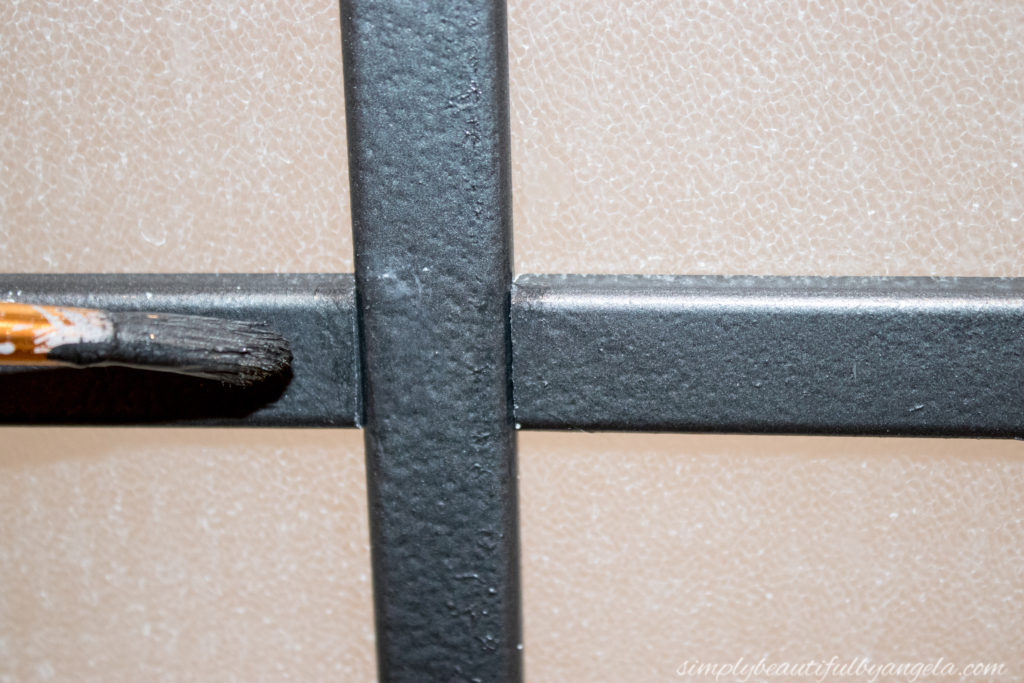
I also did this for certain areas of the the shower frame that I had missed.
7. Caulking
The final step was caulking where the shower frame meets the wall since the paint lines weren’t as clean as I had hoped they would be…
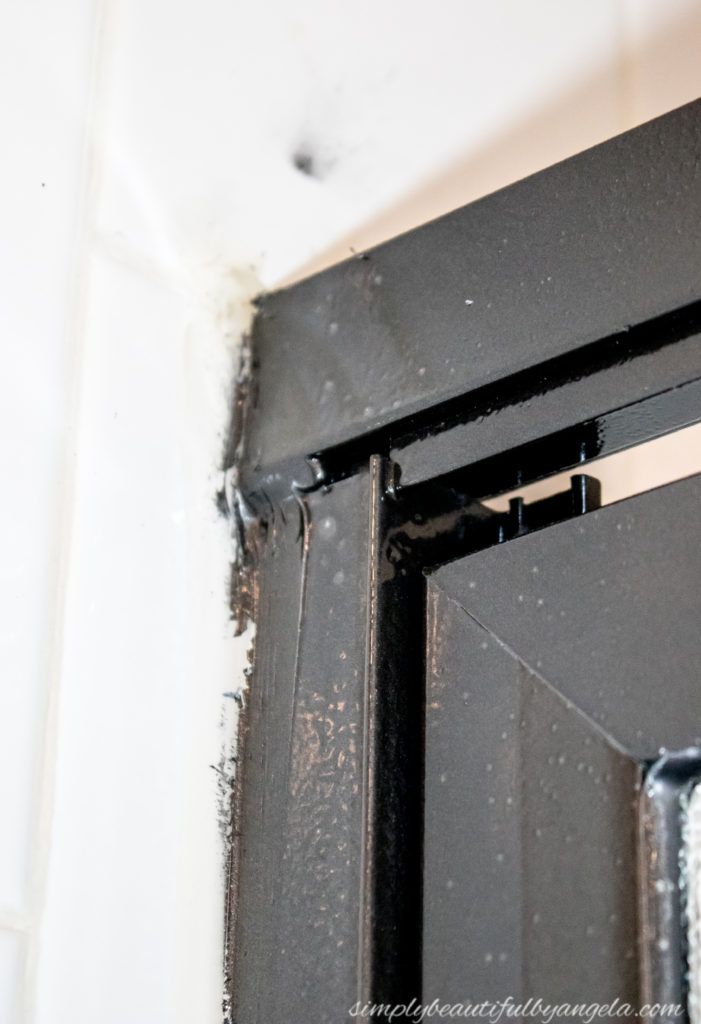
I first went along each side with some acetone on a q-tip to remove as much of the over spray as I could. What I didn’t get, the new white bath caulk hide pretty well.
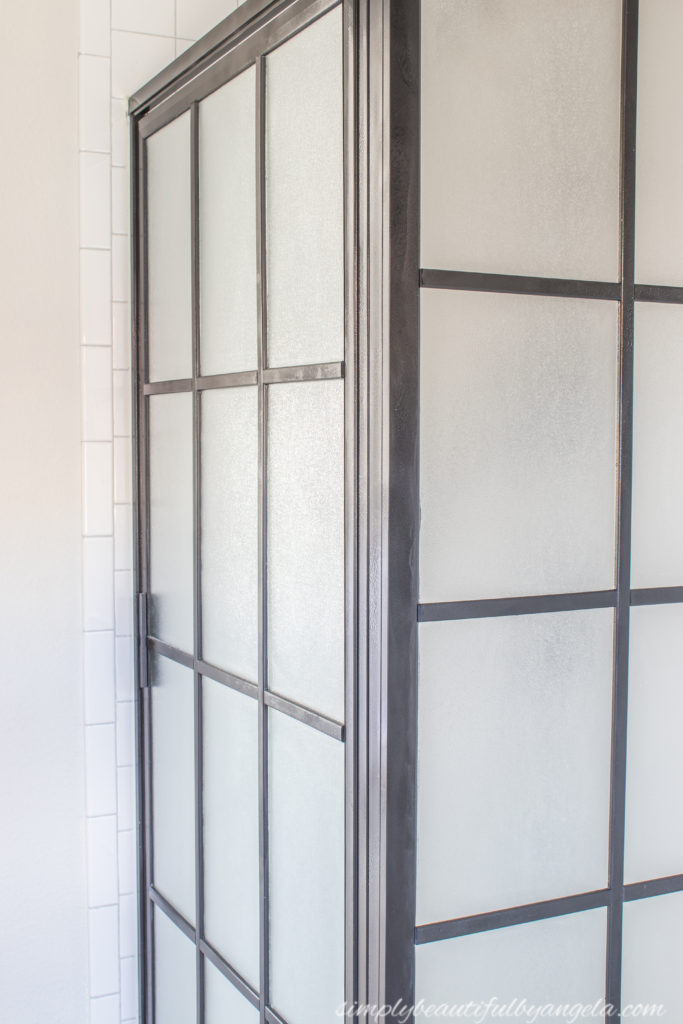
By the way, I made a big mistake by putting painters tape on the shower frame when I first began caulking. I thought that by doing so it would give me crisp caulk lines, but instead it gave me this when I removed it off…
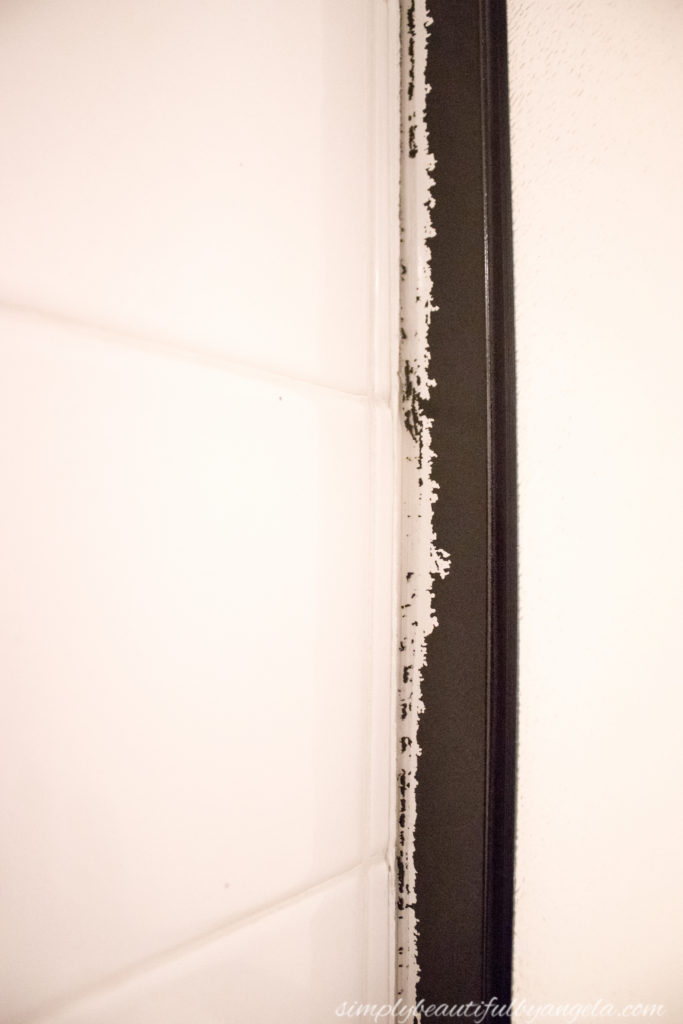
UGH!! DON’T do this! Spray paint doesn’t fully cure for a long time, so it peeled right up. I blame it on too many late nights and lack of sleep for not thinking about this!
Luckily I had only done a couple of spots before realizing my mistake, so it was a pretty simple fix. I put some more plastic up around those areas and quickly sprayed them again.
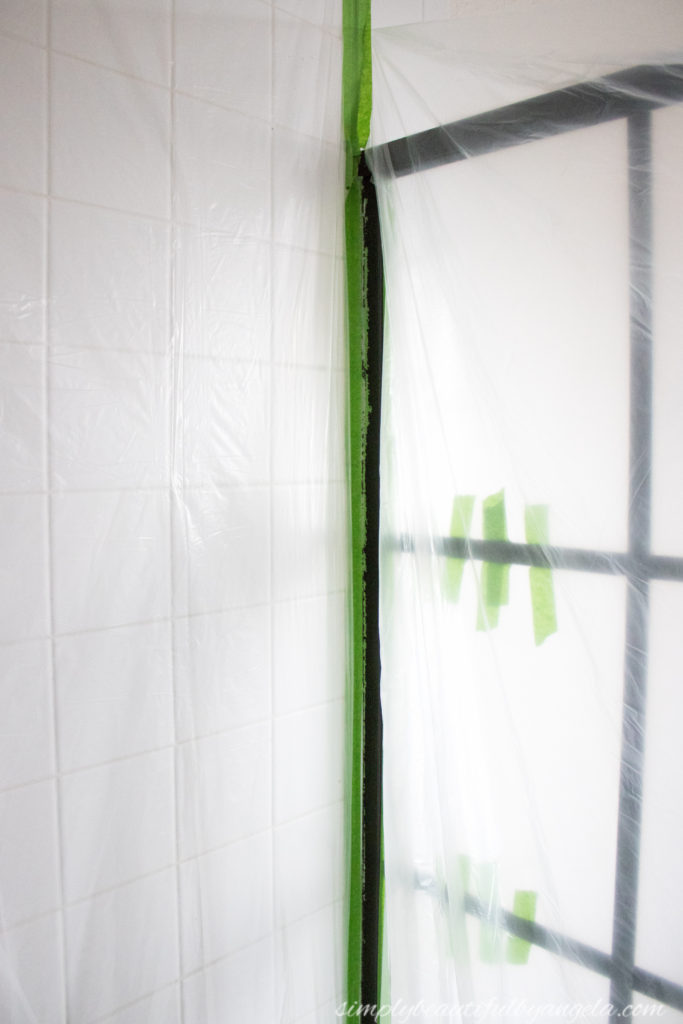
I also used some clear bath silicone caulk where the polystyrene trim meets the glass to prevent moisture from getting underneath.
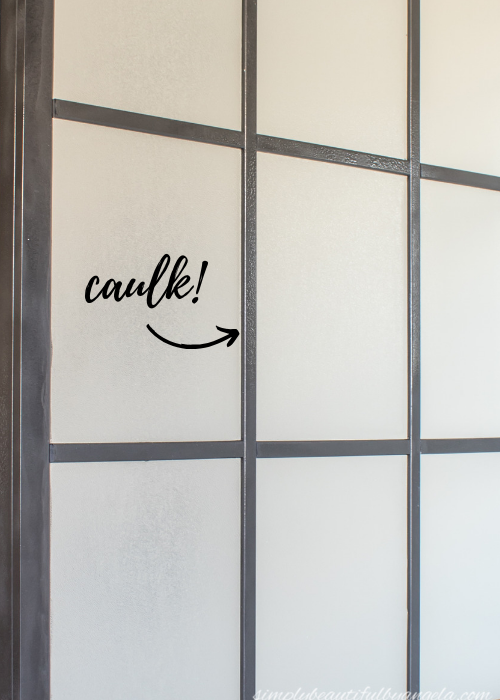
8. Admire Your New Shower!
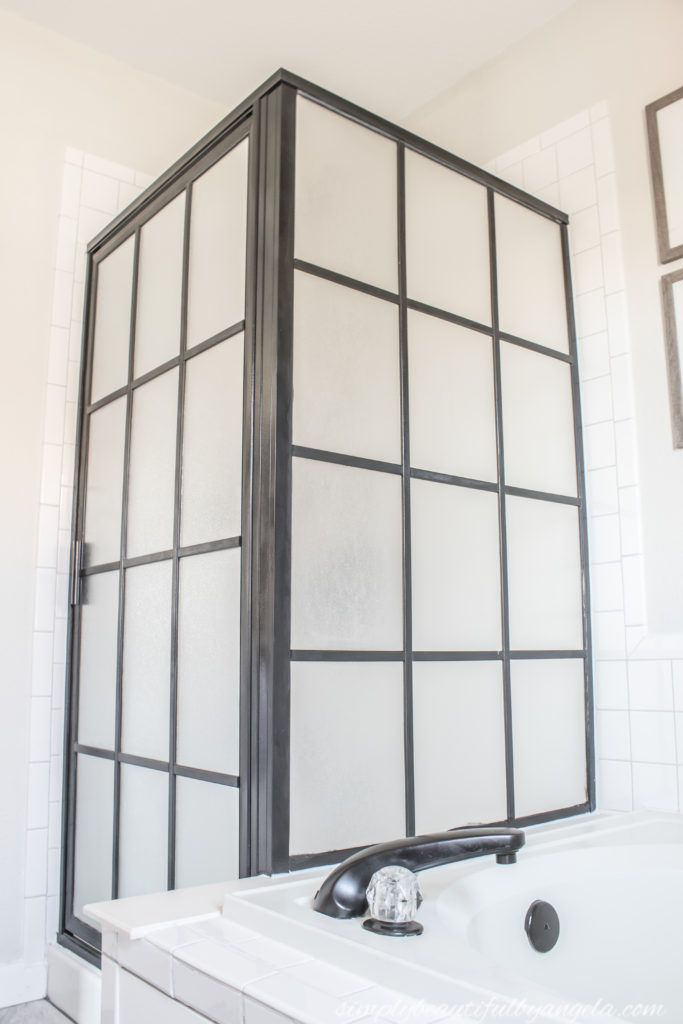
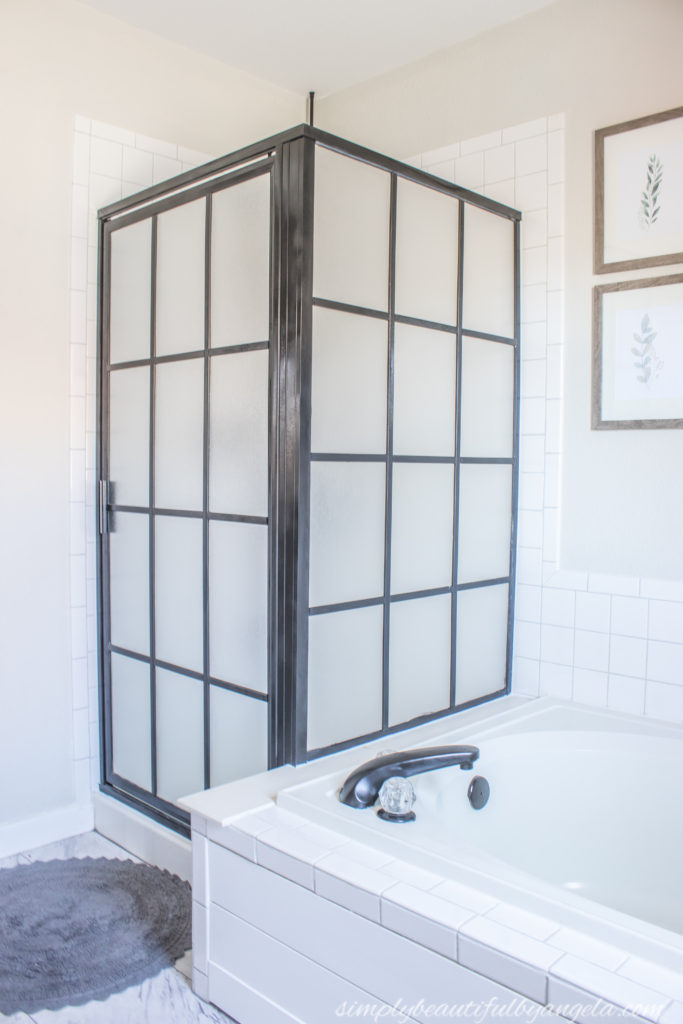
I’m so obsessed with how it turned out!
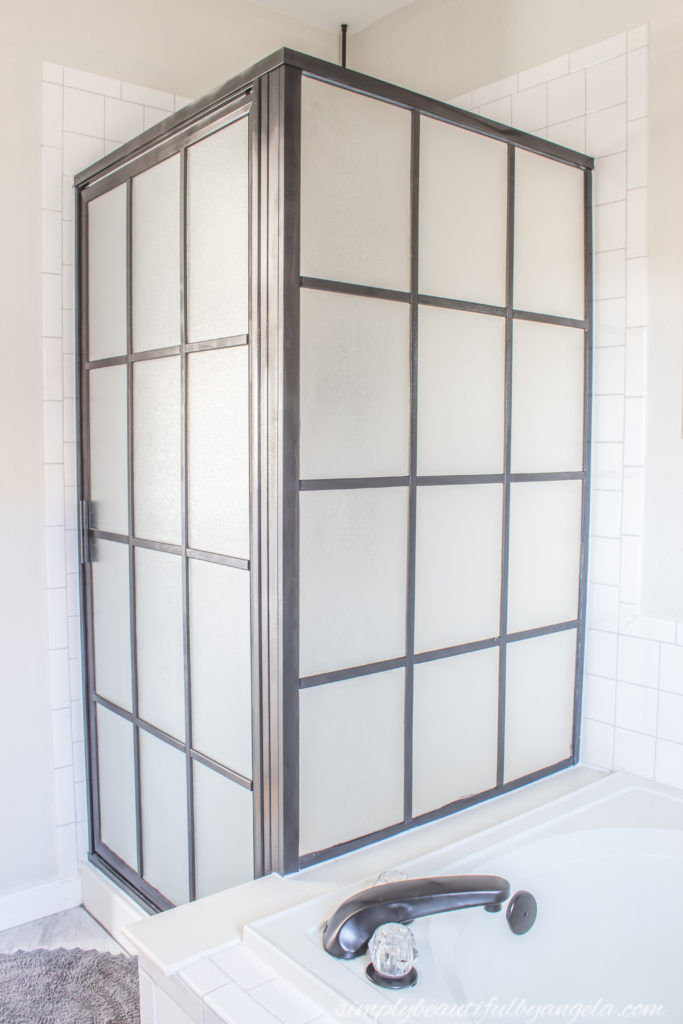
It feels like we have an entirely new shower, but minus the hefty price tag.
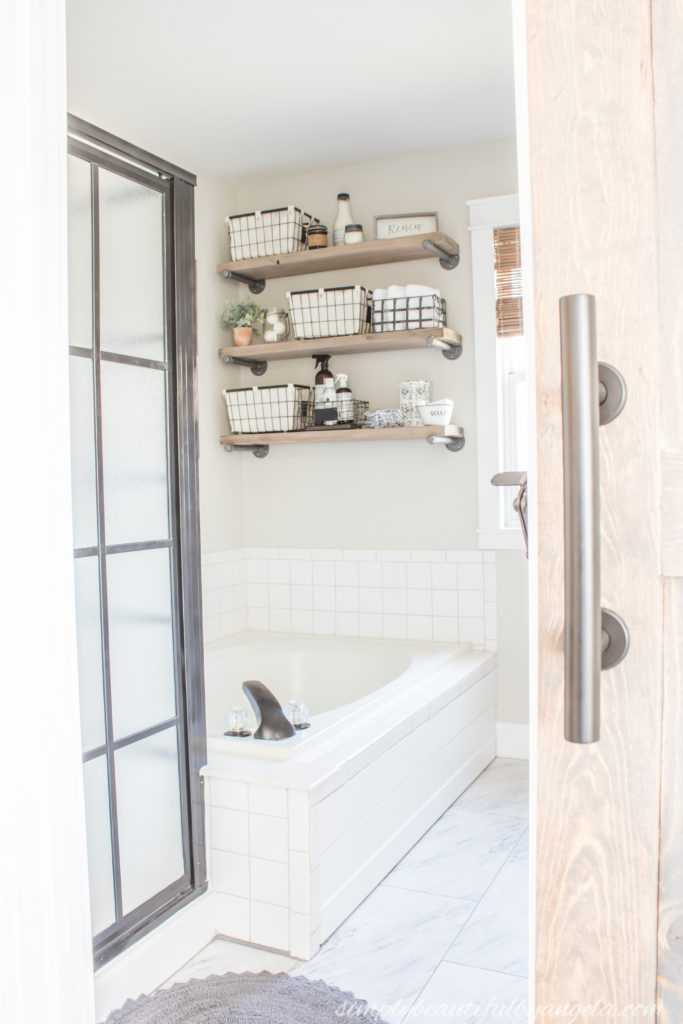
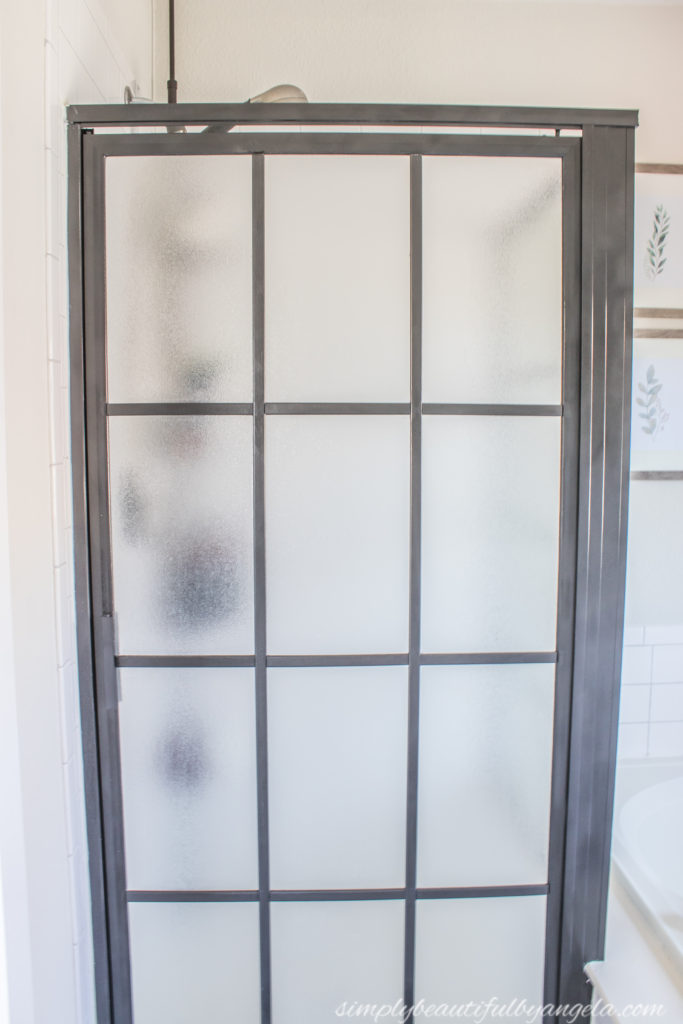
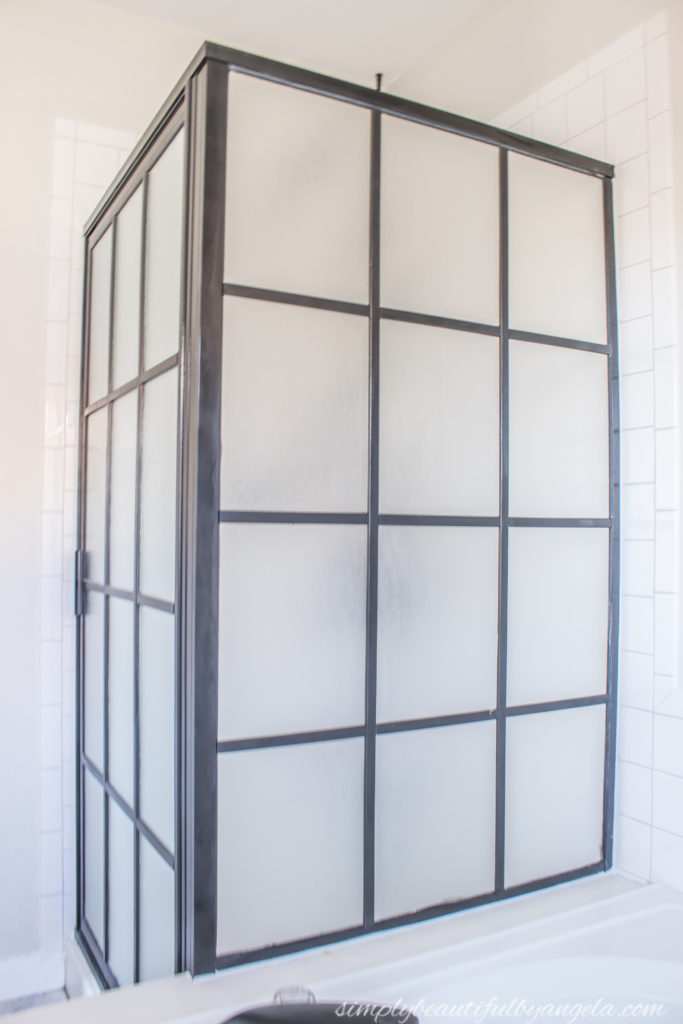
It’s definitely a statement piece and I love how the dark contrast of the black looks against all of the white that I have in here.
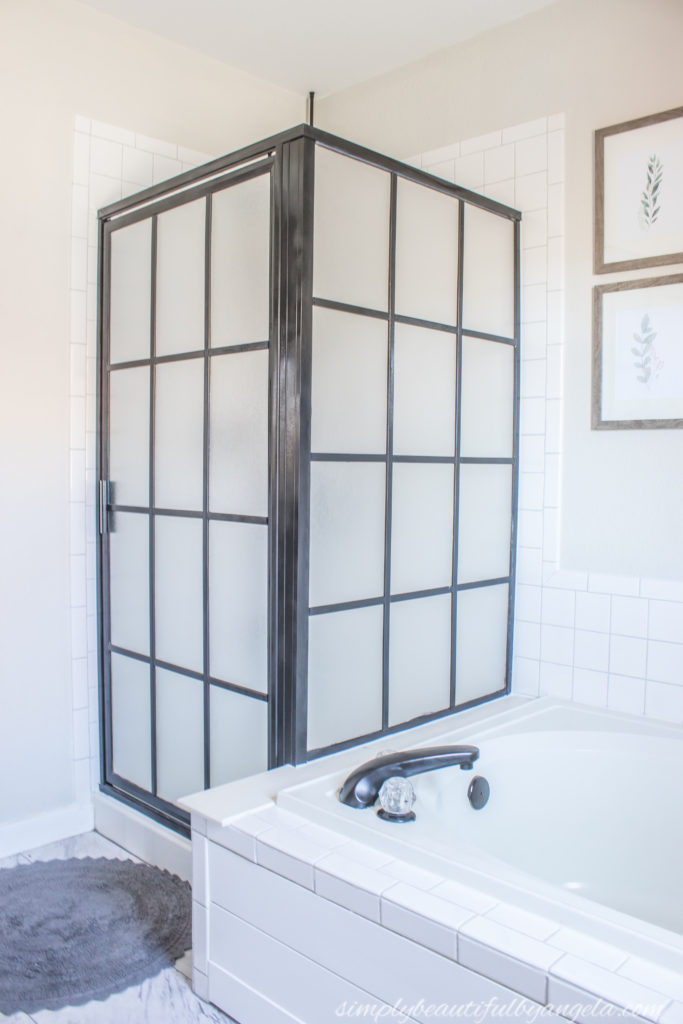
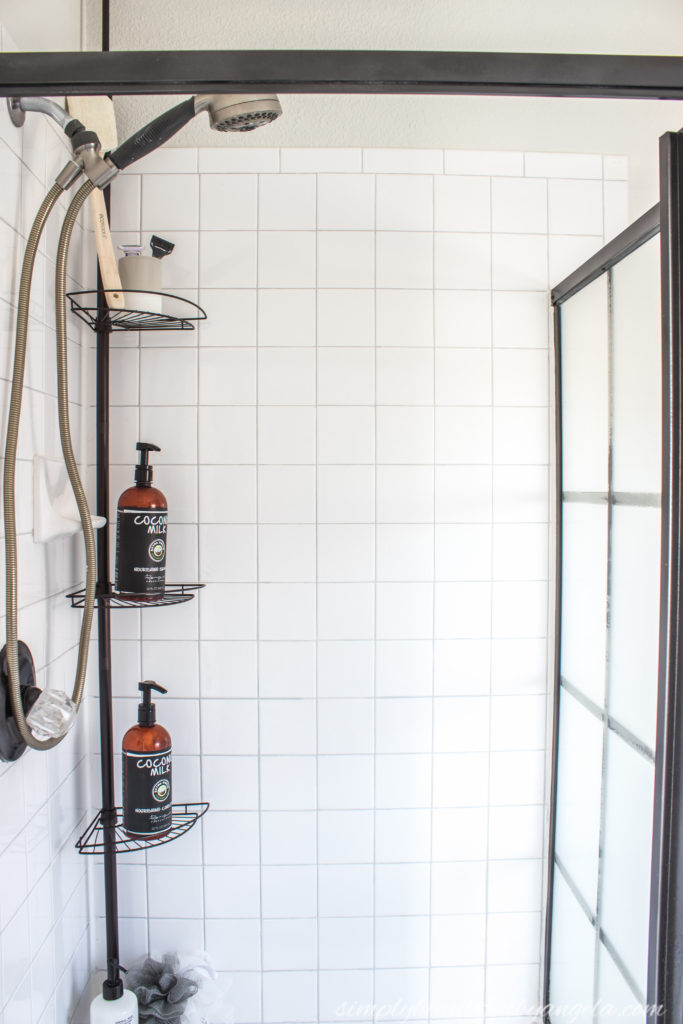
You may notice that the tile surround looks newer too! After I was done with the shower the old discolored grout was really bothering me. It doesn’t look too bad in this picture below thanks to lighting, however it was so stained and no amount of scrubbing made it clean.
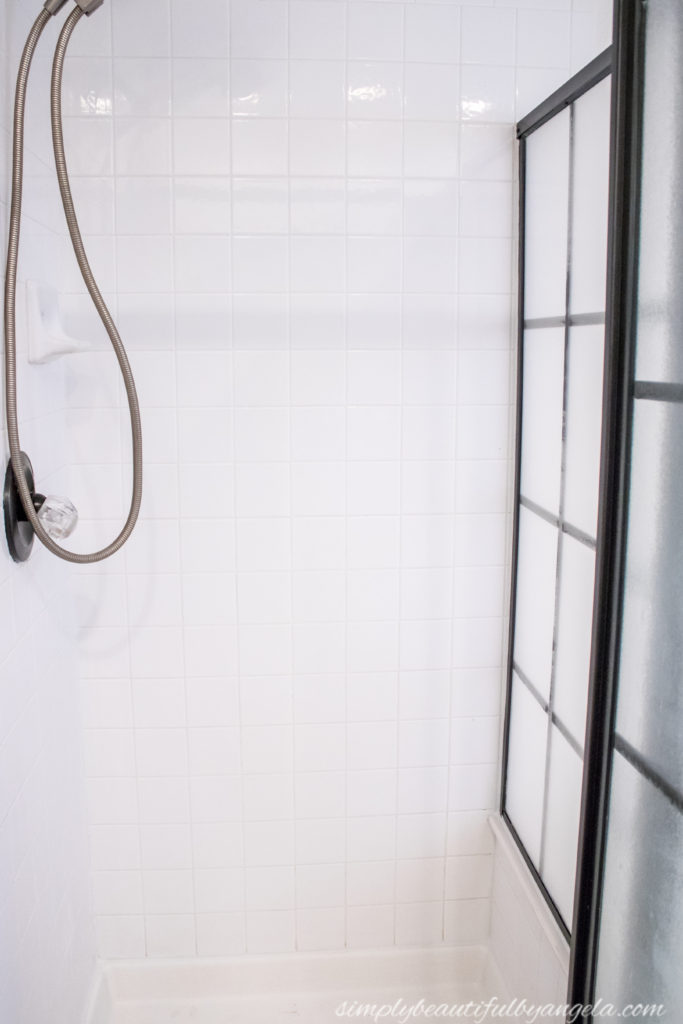
The solution? Grout Renew by Polyblend! It comes in a bunch of colors including white, but I decided to go with a nice pretty gray for a more modern look. I’ll be sharing a full tutorial on my experience with it and what I learned, so stay tuned for that!
I’m glad that I decided to paint the tub fixtures because I realize how badly they would have stuck out if it I hadn’t.
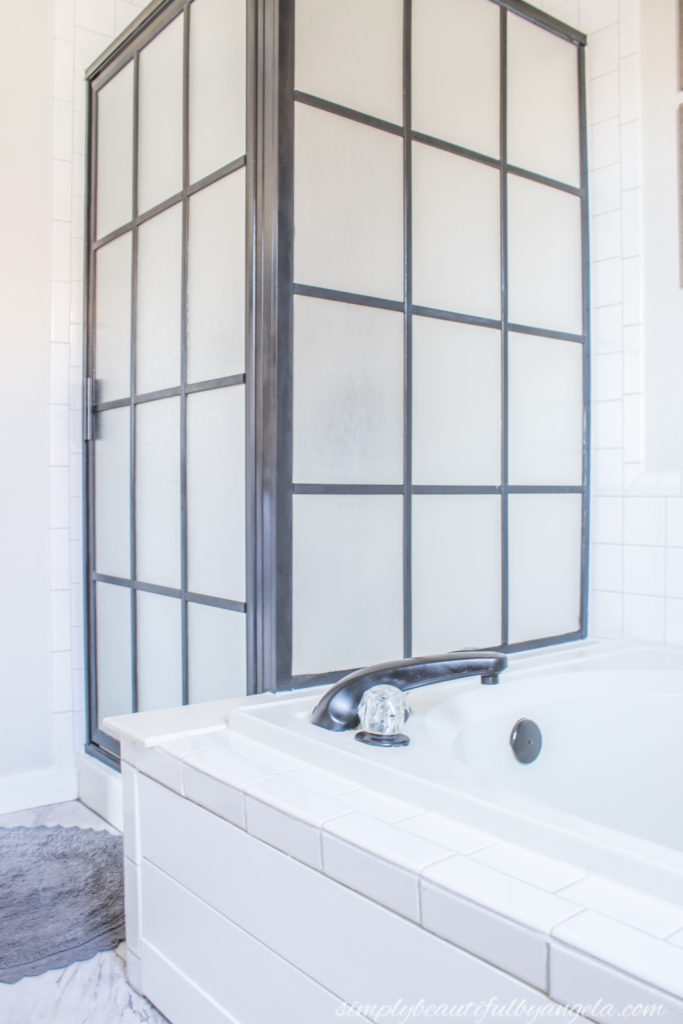
Here’s a side by side:
Once again the power of paint amazes me. Yay for budget updates!
Thank you guys for stopping by today, I hope you have an amazing weekend!
Linking up to these awesome parties!
I have been waiting for this. Woooo Hoooo l can’t wait to get started. Thank you so much for all your tips and the “what not to dos”. Have a wonderful weekend and I look forward to more amazing ideas. 👍🤛💕💕
I’m so glad I could help Tina! Let me know if you run in to any questions and I would love to see pics when you’re done 🙂
This is a super cute redo! Love it! Found you on Tuesdays with a Twist and would love to have you share your DIY ideas on Farm Fresh Tuesdays!
Thank you so much Lisa! I will have to check it out 🙂
Simple, but impressive transformation Angela! Well done! Keep up the great work. Carolina at Ironmongery Experts.
Thank you so much!!
Now that’s what I call a transformation #alittlebitofeverything@_karendennis
Aww thank you so much Karen!!
Great job!! you are super talented. I don’t think I would be able to tackle a job this magnitude. It looks spectacular. #alittlebitofeverything
Aww thank you so much Iveth!!
This looks amazing, thank you for the detailed tutorial!
Thank you Katrina!!