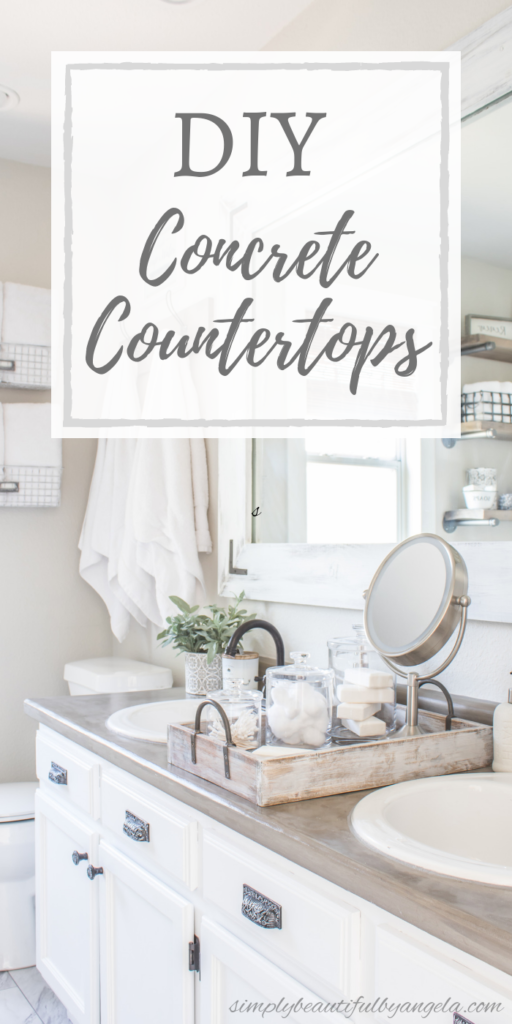
Hello and happy Thursday everyone! I hope you’ve all had a good week so far. Mine has been super busy and flying by at the speed of light. I guess I can’t complain since it makes the weekend seem like it’s approaching at lightening speed!
Last month when I shared our master bathroom budget makeover, I mentioned that I would share a tutorial on the concrete counter top. I got a little sidetracked because you know, life–but today is finally that day.!
As you may recall, at the beginning of the One Room Challenge the vanity looked like this:
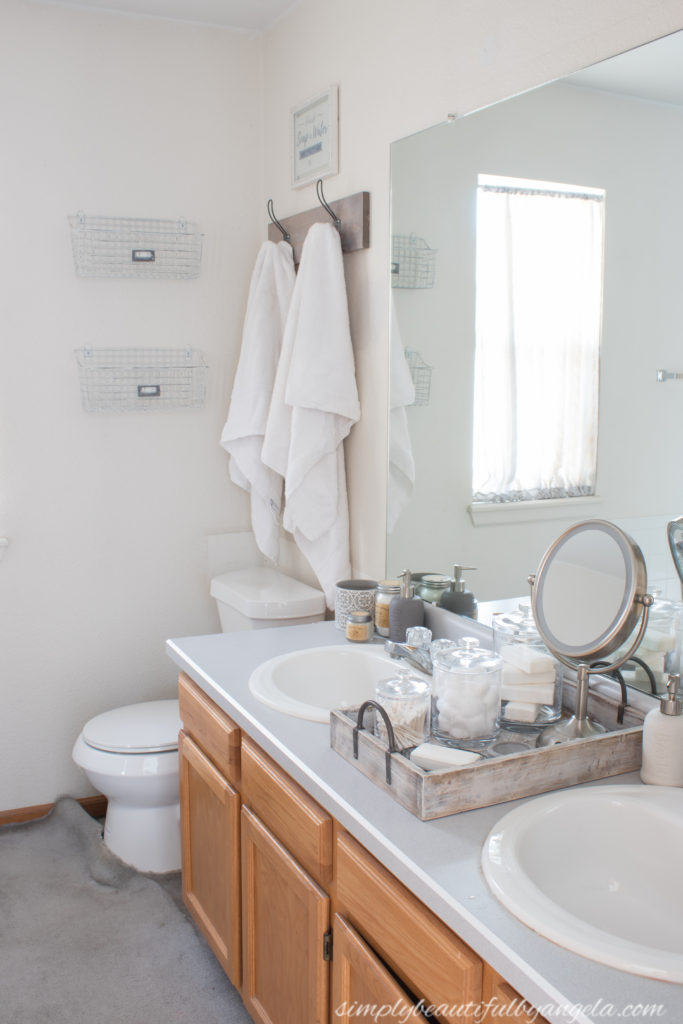
I originally planned on using marble contact paper on the counter top, however when I decided go with marble for the floors, I knew that I had to come up with something else. I’ve seen a few tutorials on DIY concrete counter tops, but I’ve always been super intimidated to try it. However since we will eventually be replacing the entire vanity one day, I figured that if I hated it wouldn’t be too devastating!
So I hoped for the best and got to work. Luckily it turned out fantastic and I absolutely love the new look. I can’t wait to show you guys how easy and cheap it was to transform our dated builder grade laminate counter top!
Supplies Used:(Affiliate links may be provided for convenience. For more info, see my full disclosure here.)
- Utility Knife
- Sanding Hand Block
- 80, 150 and 220 grit sandpaper
- Henry Feather Finish Coat
- 3-Inch Plastic Putty Knife
- Tuff Duck Concrete Countertop Sealer
- Microfiber Applicator Pad
- Tile Caulk (Dorlean Gray)
1. Scuff Surface
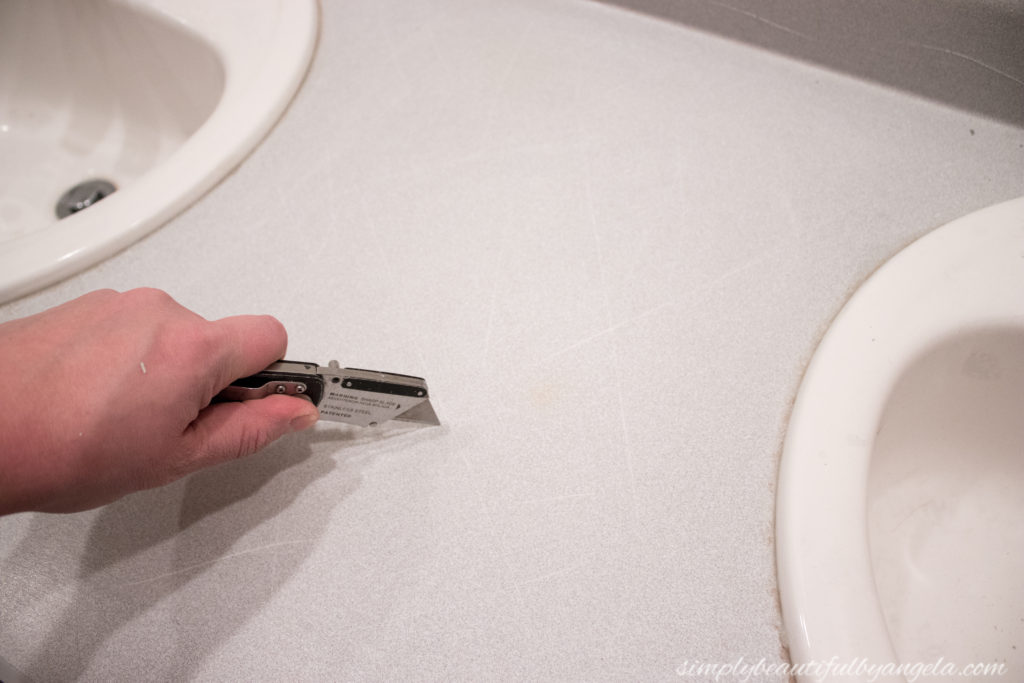
The first step is to scuff up the surface a little bit to help the concrete adhere. I began by using a utility knife to score it in random directions. That first cut was totally nerve wracking because I knew that there was no turning back!
Next, I used some 80 grit sandpaper to further rough it up and to remove the shine. I purchased my first hand block sander for this project and can’t believe that I’ve been without one for all of these years! It prevents hand fatigue and that awful friction burn that you can get after using a piece of sandpaper for awhile.
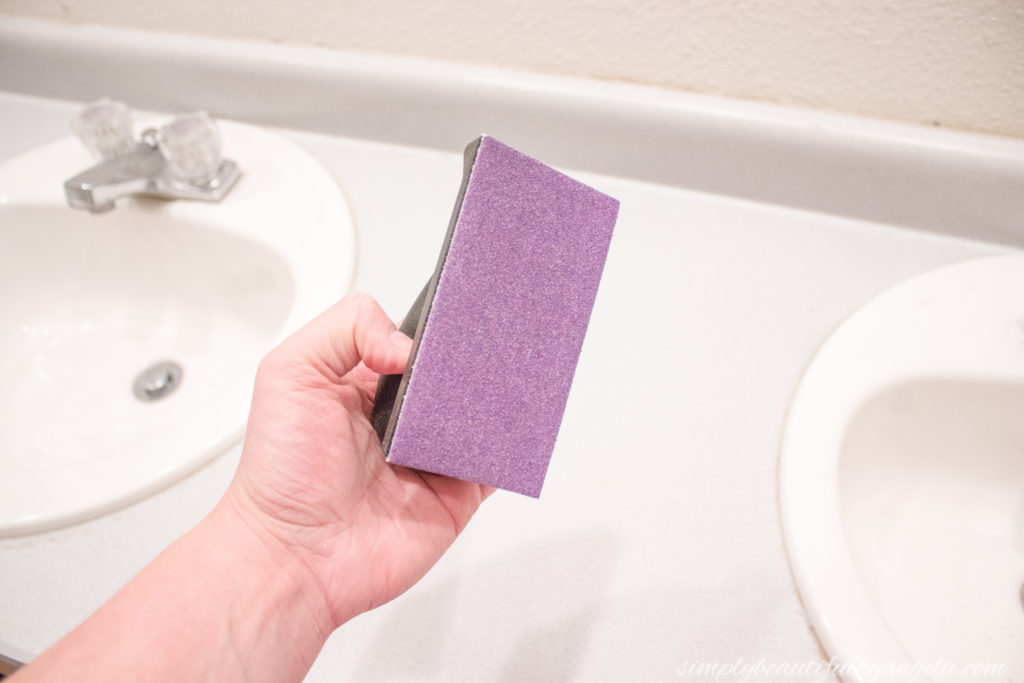
You can certainly use an electric sander but mine is bulky and tough to get in small areas. Not to mention it’s super noisy and I was working on this after the boys were in bed.
2. Mix Concrete
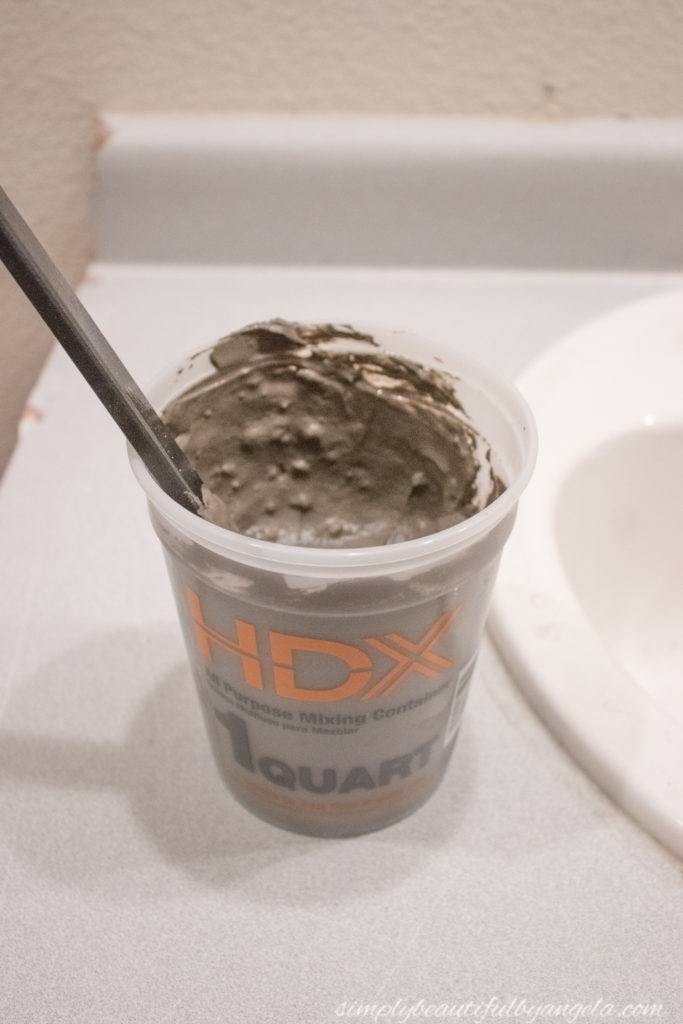
You guys, this stuff dries quick. Once it’s mixed up you can’t save any left overs for the next coat, so plan to mix a new batch for every one. I purchased 3 small plastic quart buckets so that I could use a fresh one each time.
The package says to use 2 parts water per 1 part mix, however I found that left it way too thick. So I started with 1 cup of mix and 2 cups of water and then added a little bit of water at a time until I came out with a somewhat thick pancake batter consistency. It’s normal to have a couple of clumps, but try to smooth as many as you can as you mix.
3. Apply Concrete Coat
I found it easiest to plop it down on the counter and then smooth it out with the putty knife.
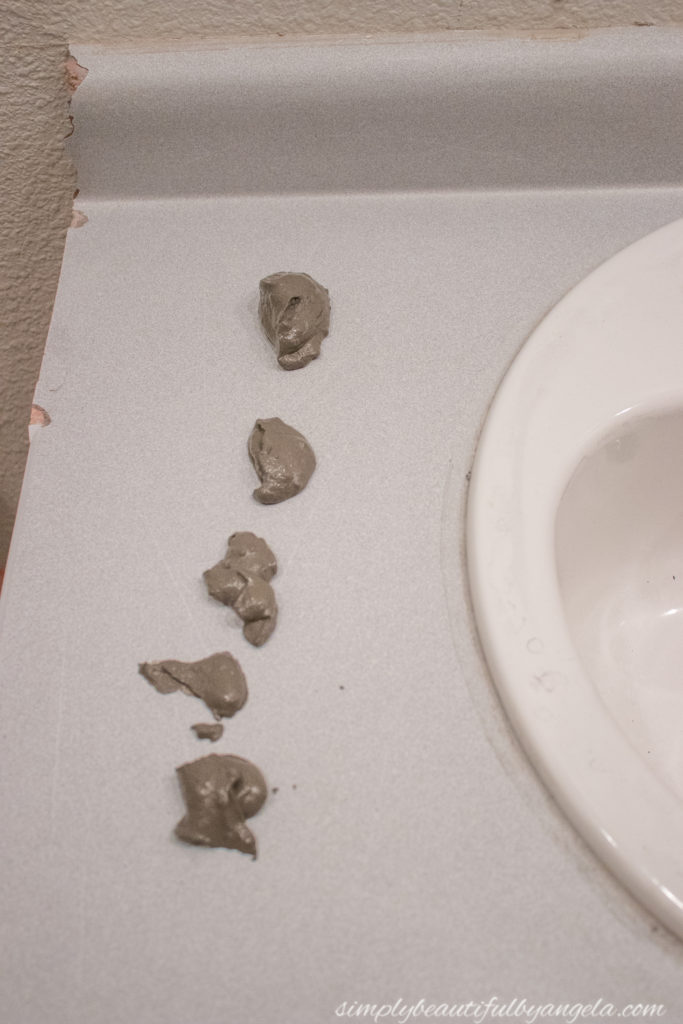
The first layer won’t provide total coverage, but it is important to get it as smooth as possible to save yourself from too much sanding later on.
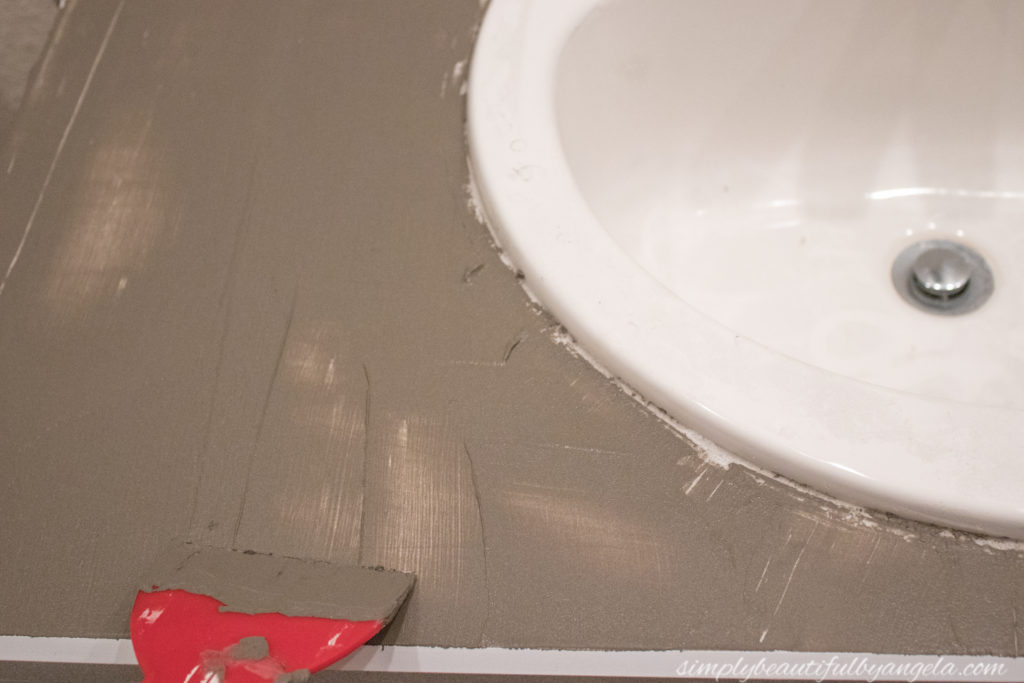
I had to smooth some places out with my hands like behind the sink and along the edges.
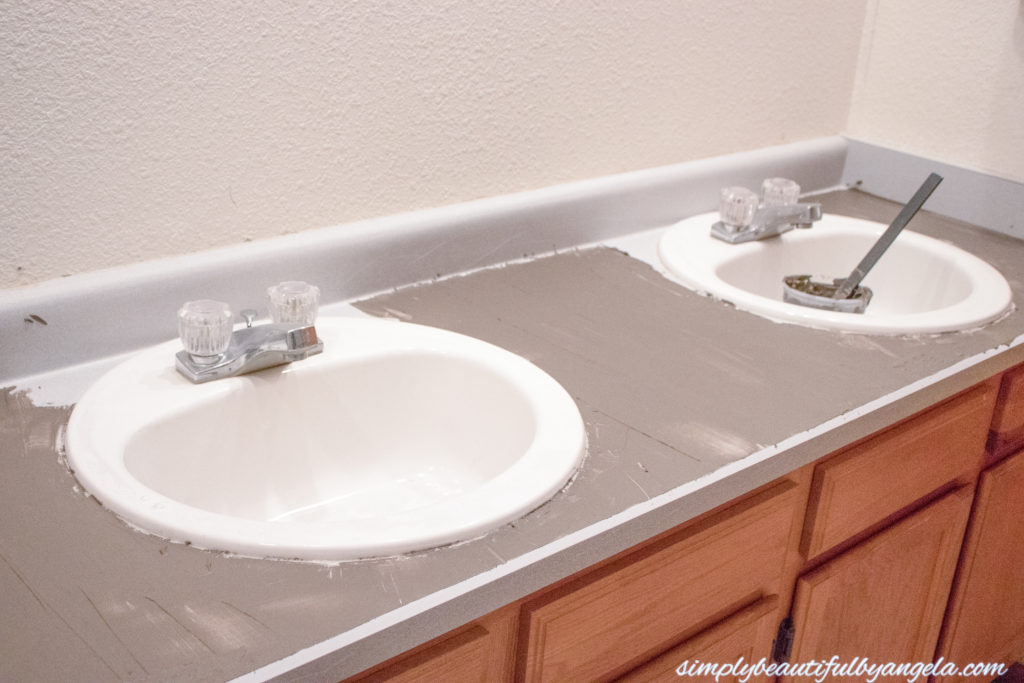
I tried to wipe up any that got on the sink (although what I missed came off easily later on), but I didn’t worry about getting any on the wall since I planned on painting it.
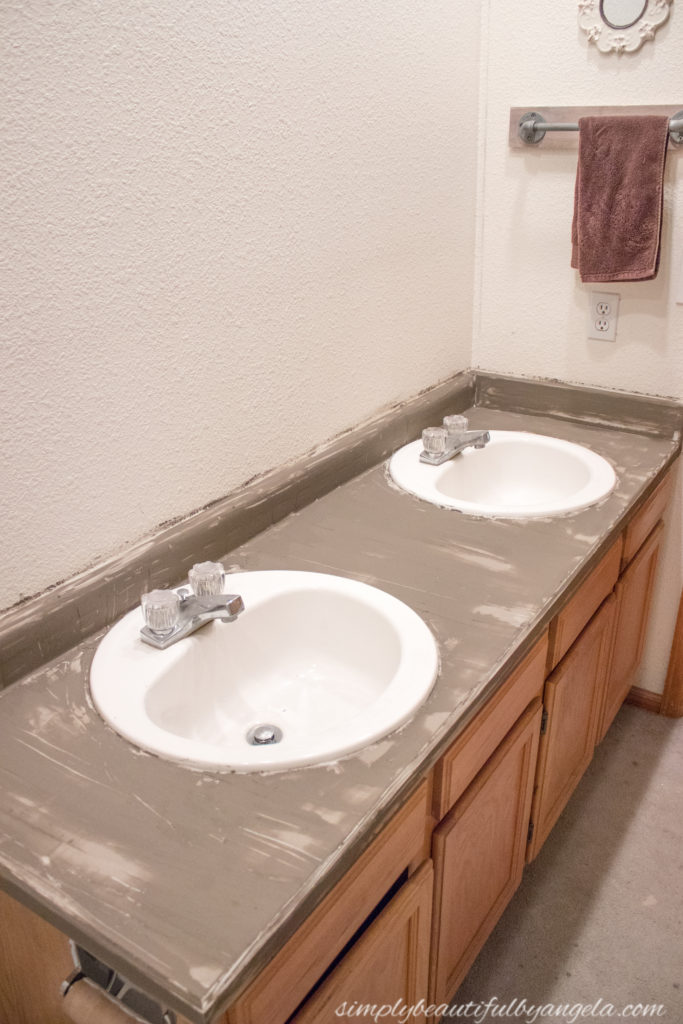
4. Sand
Once the first coat was dry I sanded with 3 different grits, beginning with the roughest which was 80 grit.
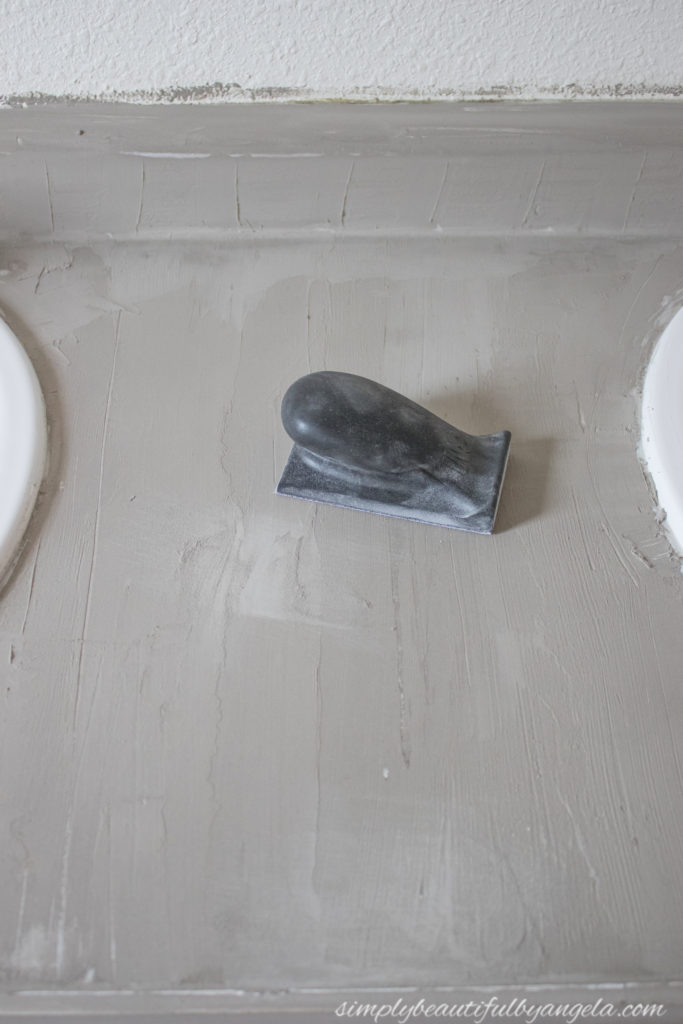
I then used a medium (150 grit) and finished with a 220 grit to smooth it.
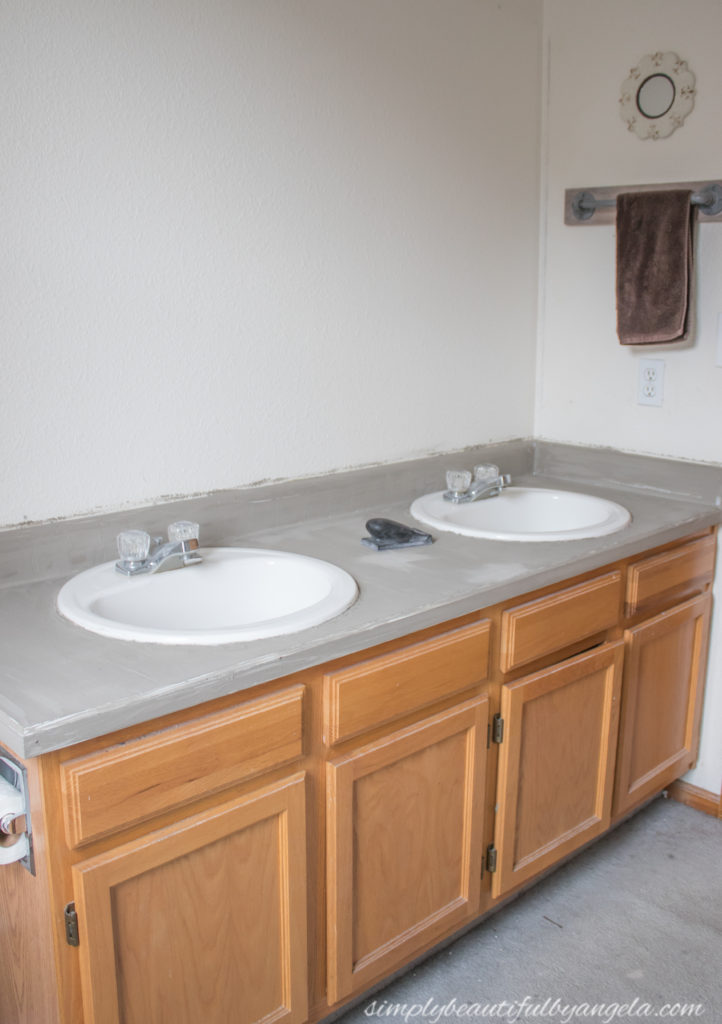
Repeat Steps 4 and 5 at least Three Times!
5. Sealer
This was the step that I was most nervous about. I researched different sealers for a couple of weeks before finally deciding on Tuff Duck Concrete Countertop Sealer. It received the most positive feedback and it was also very budget friendly at only $25.
Some of the reviews stated that they had better results with repelling water when they diluted the first coat. So I poured a little bit in a big bowl and added about an equal amount of water.
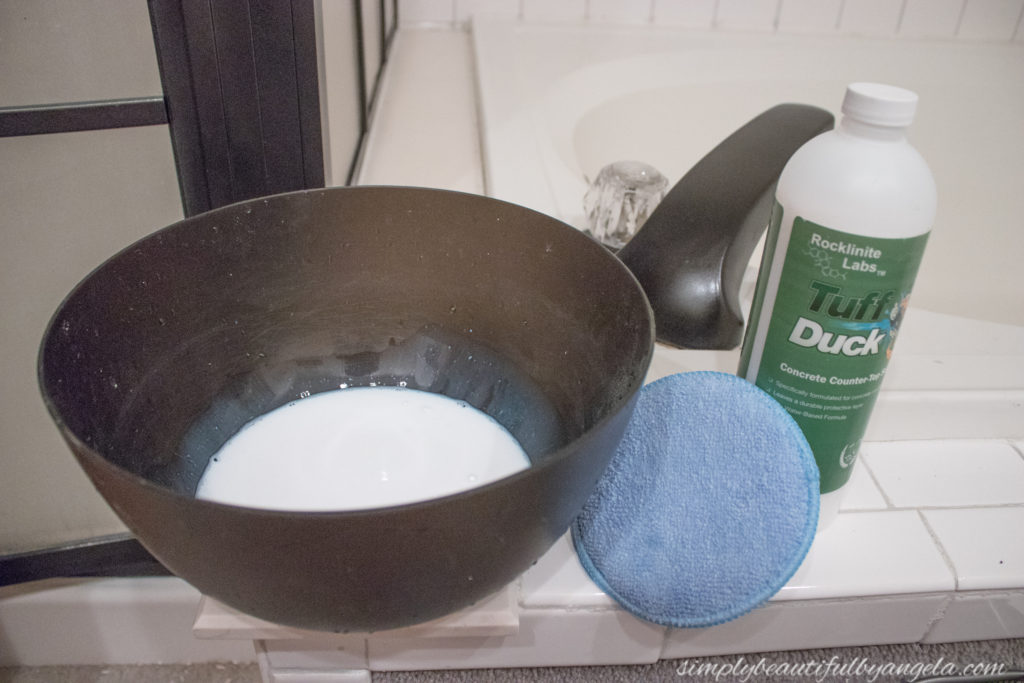
I found that a microfiber applicator pad was the best way to apply it. I simply soaked it in the bowl, rung it out a little and then wiped it along the countertop in one direction.
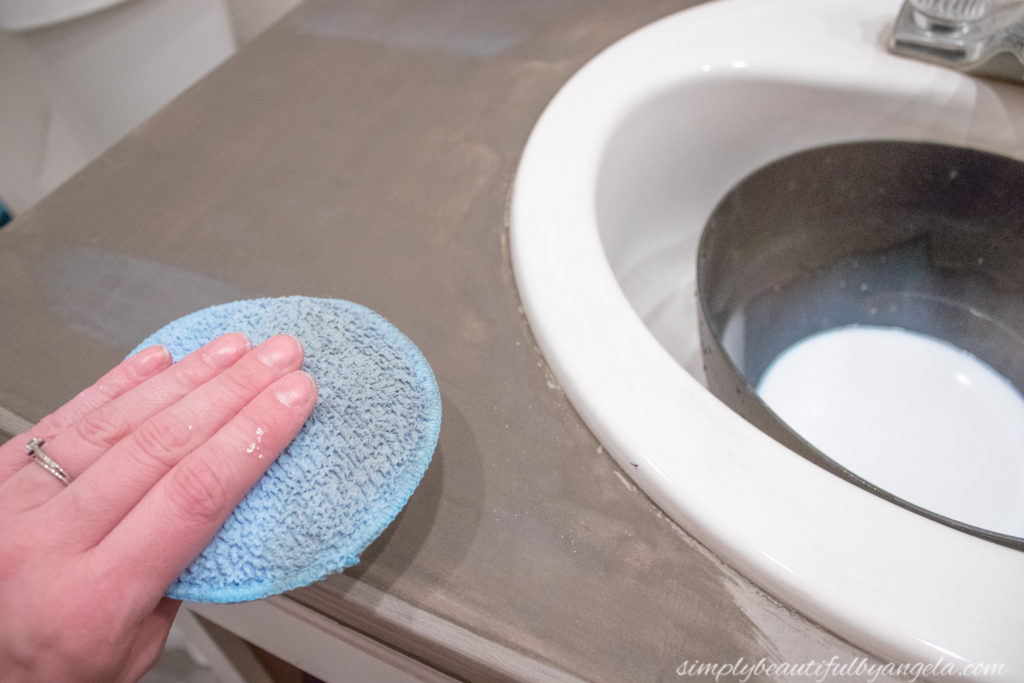
Once it was dry I went back and did another coat in the opposite direction. I applied a total of 6 coats which sounds like a lot, but it was so easy and quick to apply. I made sure to wait at least 1 hour between coats.
Some of the sealers that I researched seemed to make the concrete significantly darker and I didn’t want that. I was happy to see that this one didn’t really darken it that much.
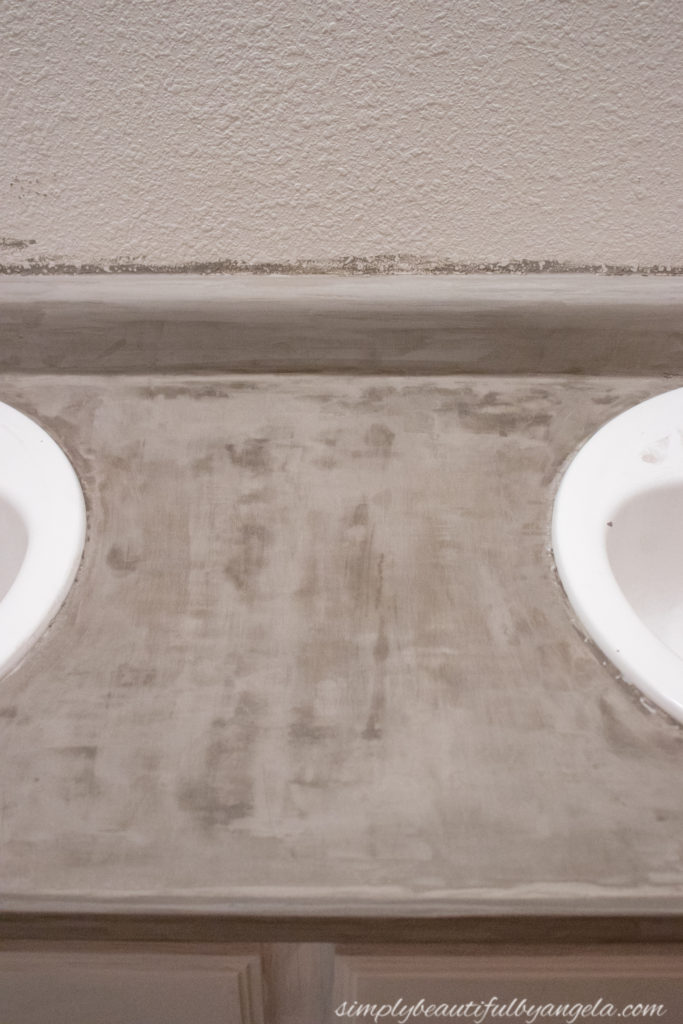
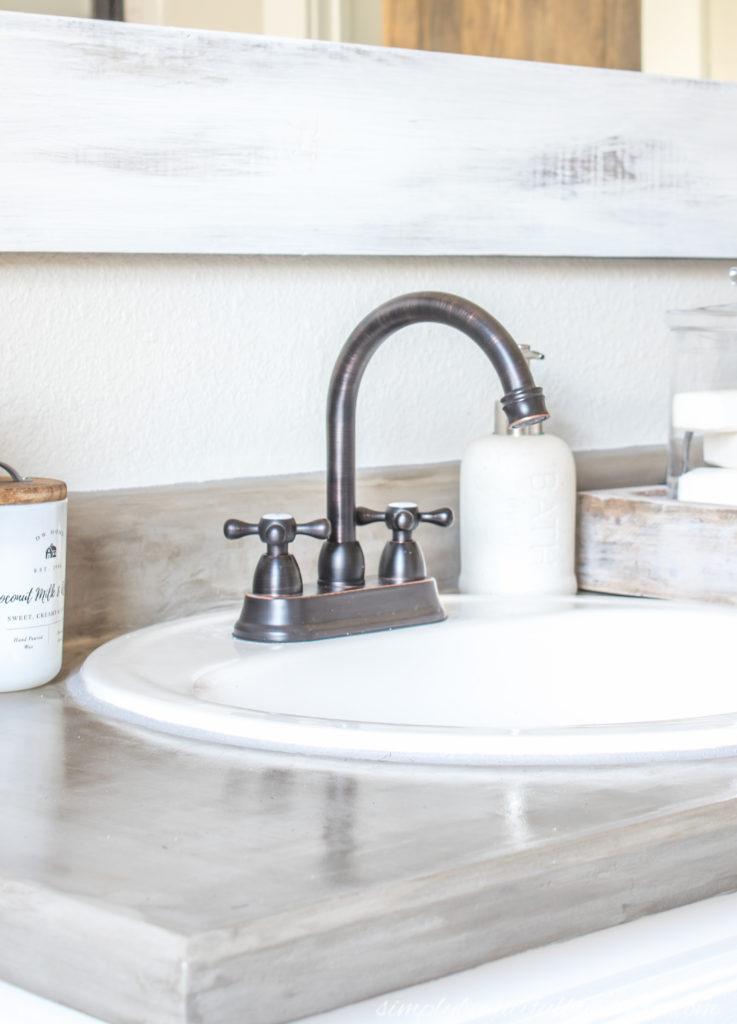
Despite being skeptical and anxious originally, I am beyond impressed with how beautiful they turned out!
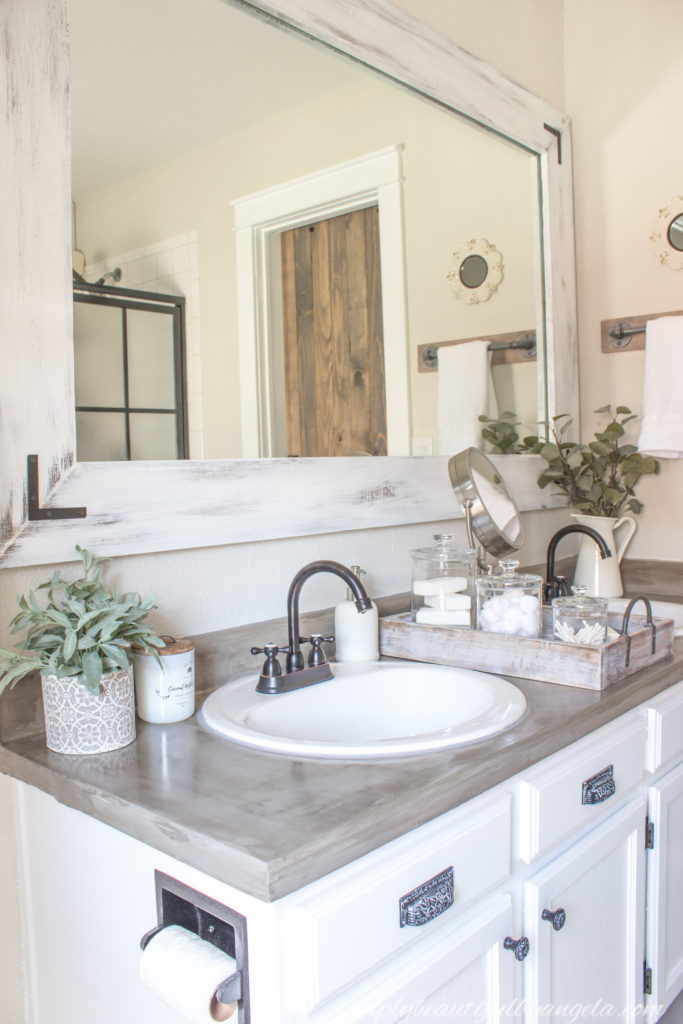
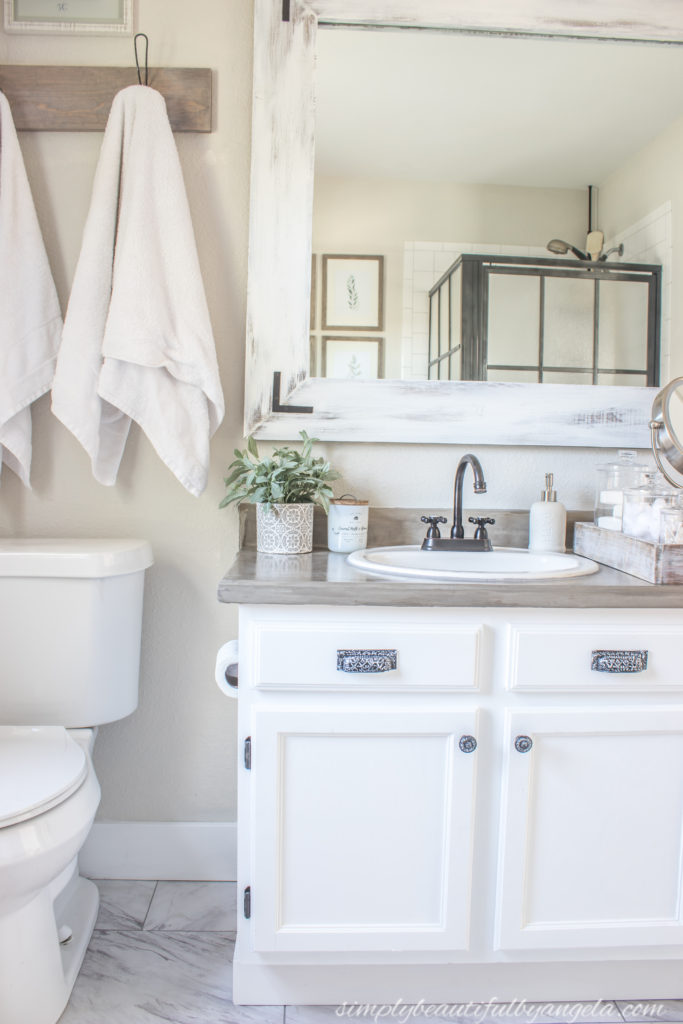
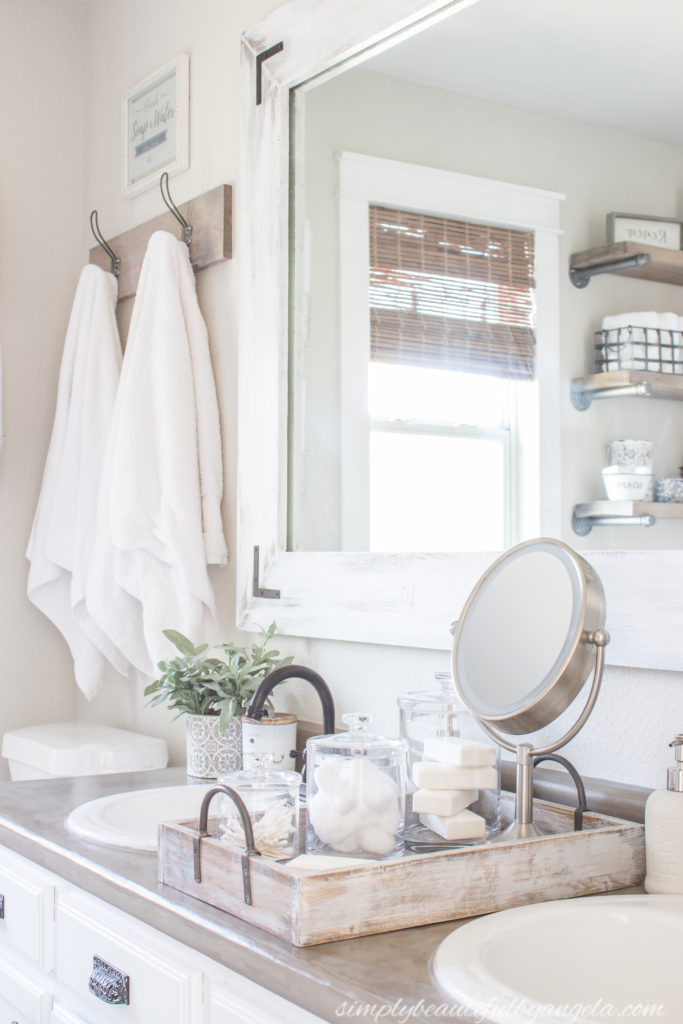
Around the sinks I used some tile caulk that I had left over from the floors. The color is Dorlean Gray which is slightly lighter than the concrete so I may go back over it with a darker shade eventually.
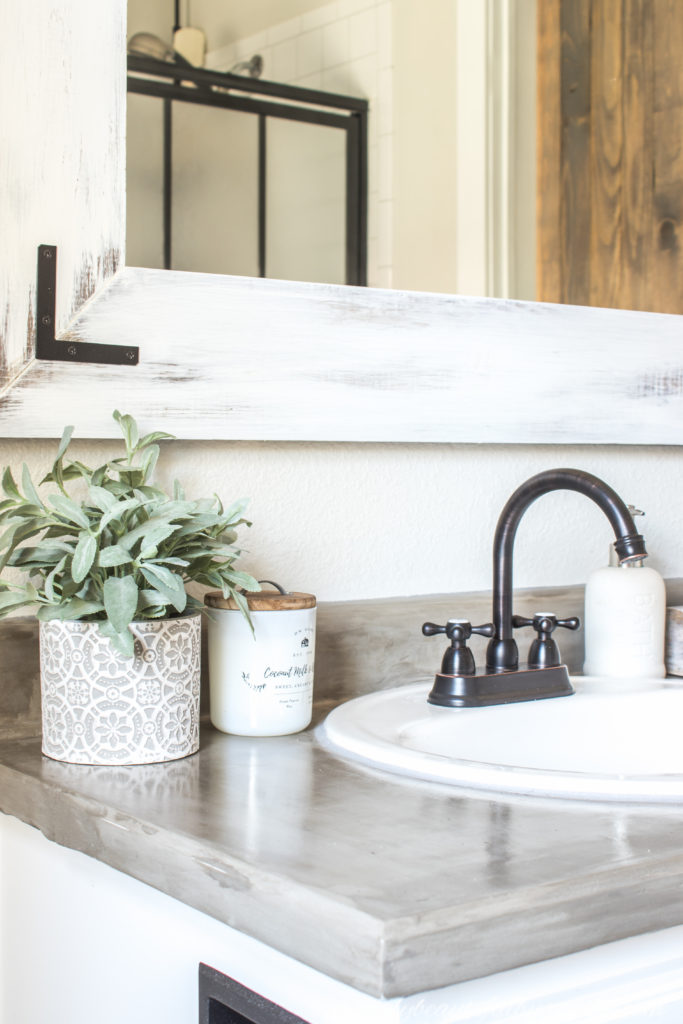
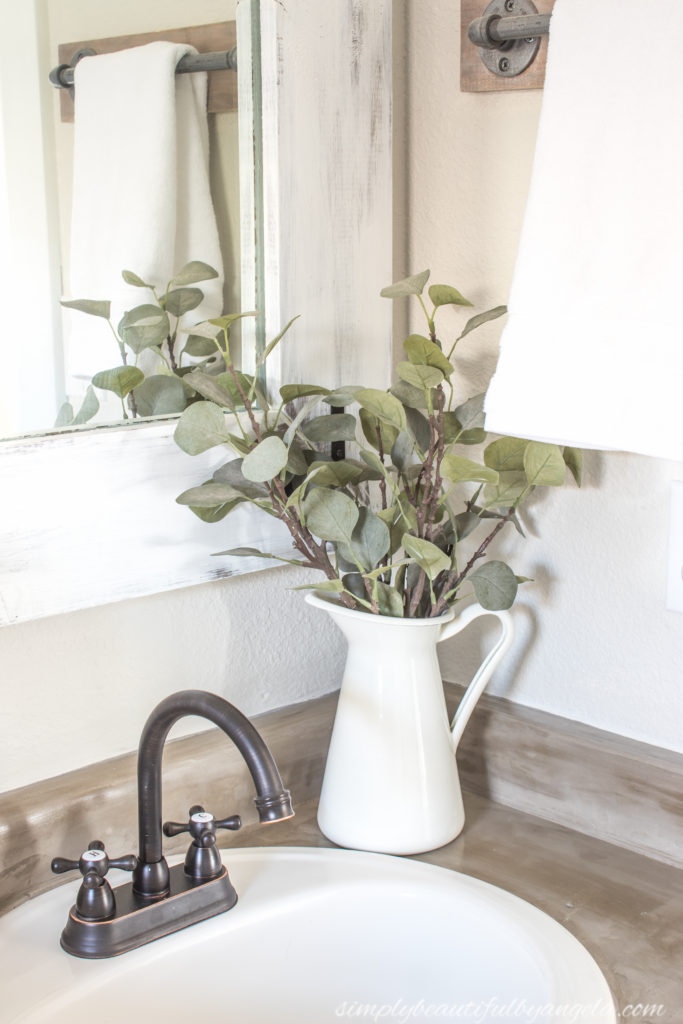
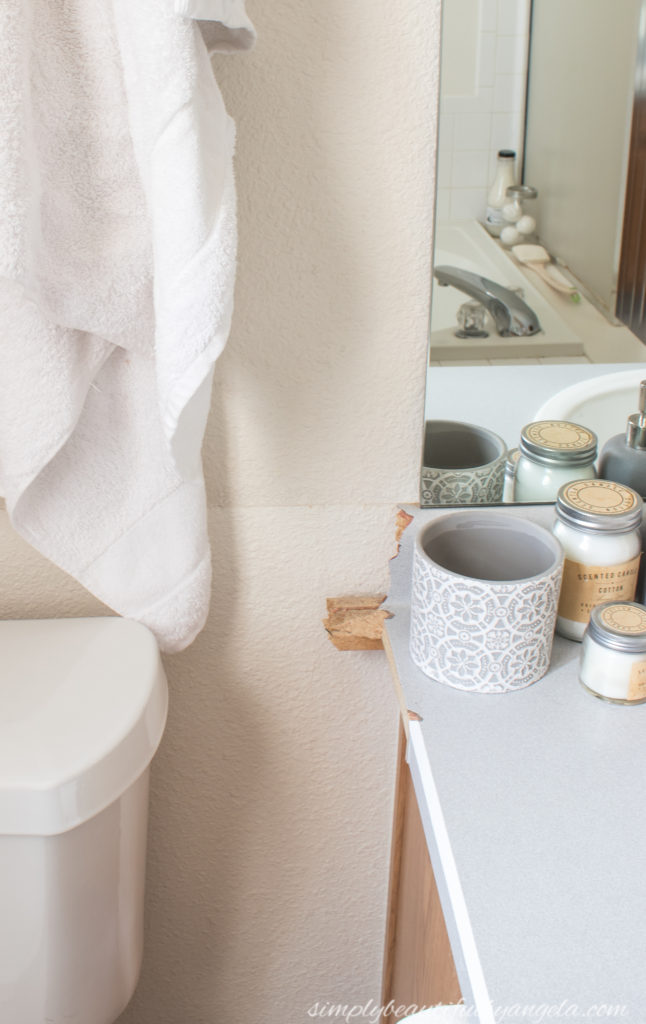
As a reminder this is how the counter top looked before:
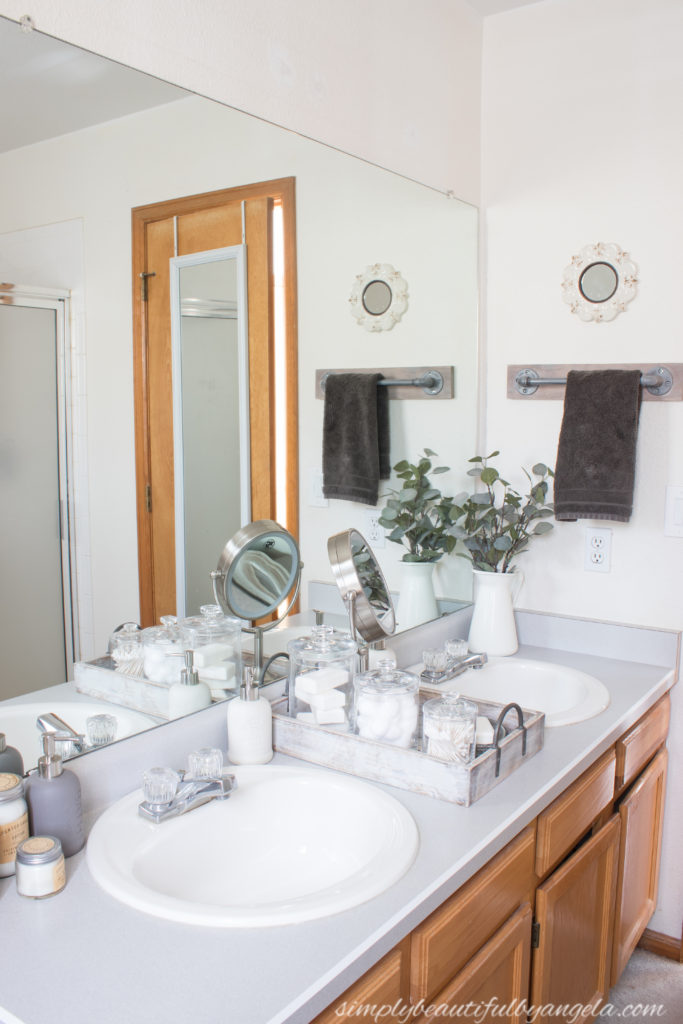
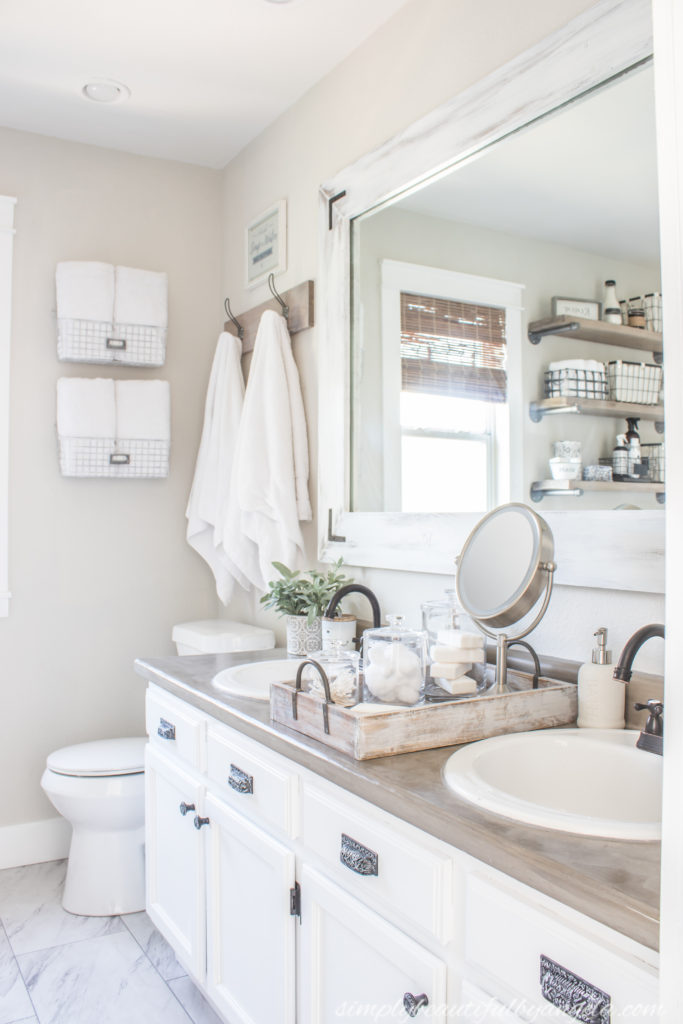
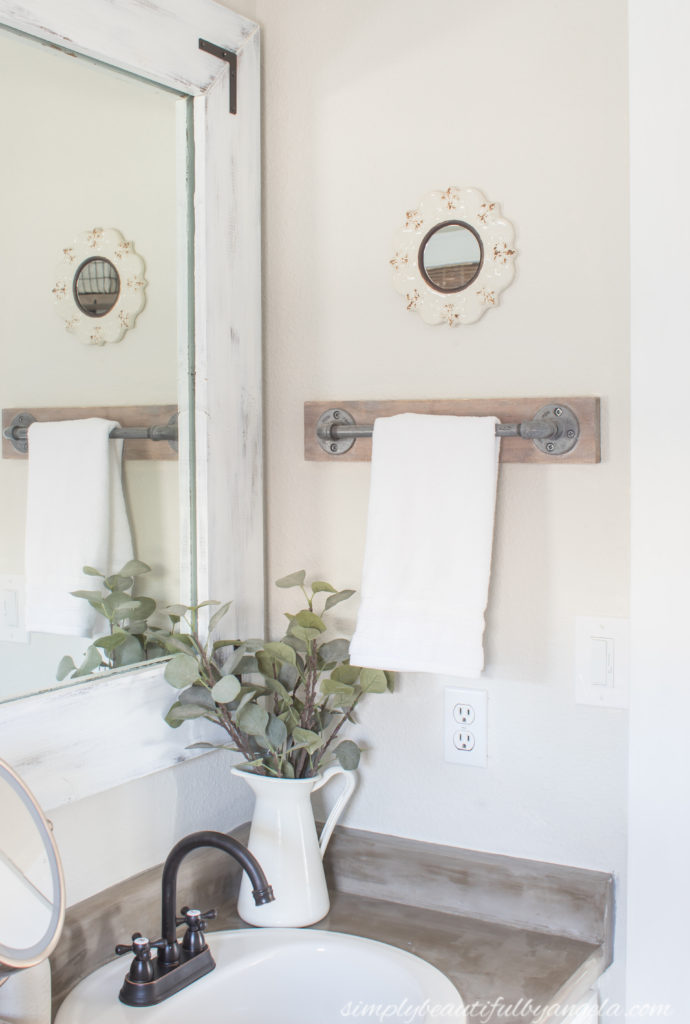
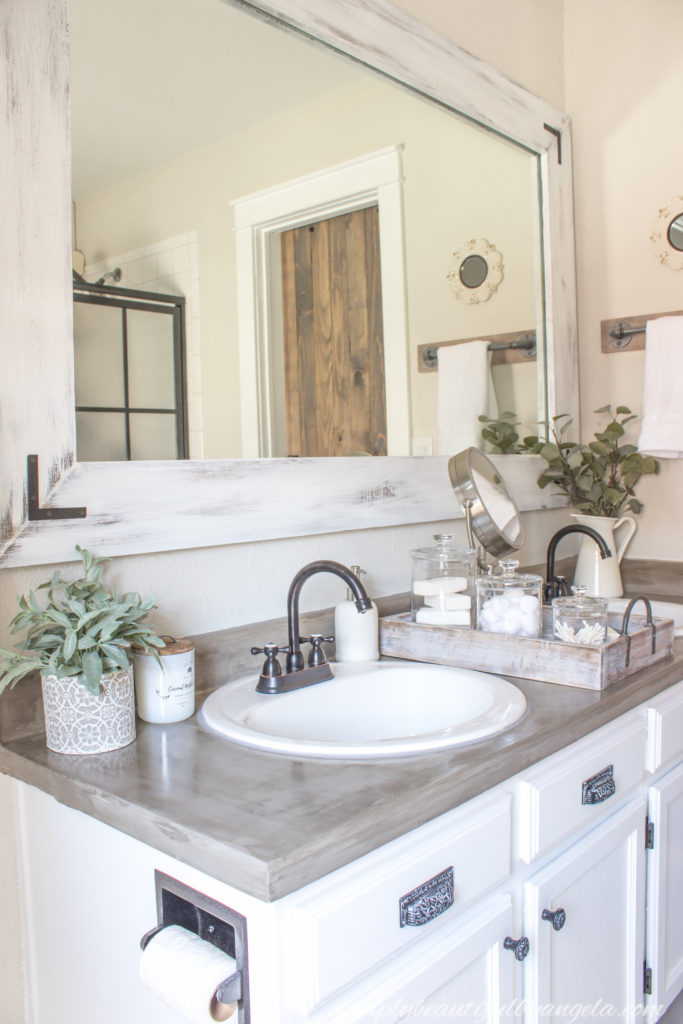
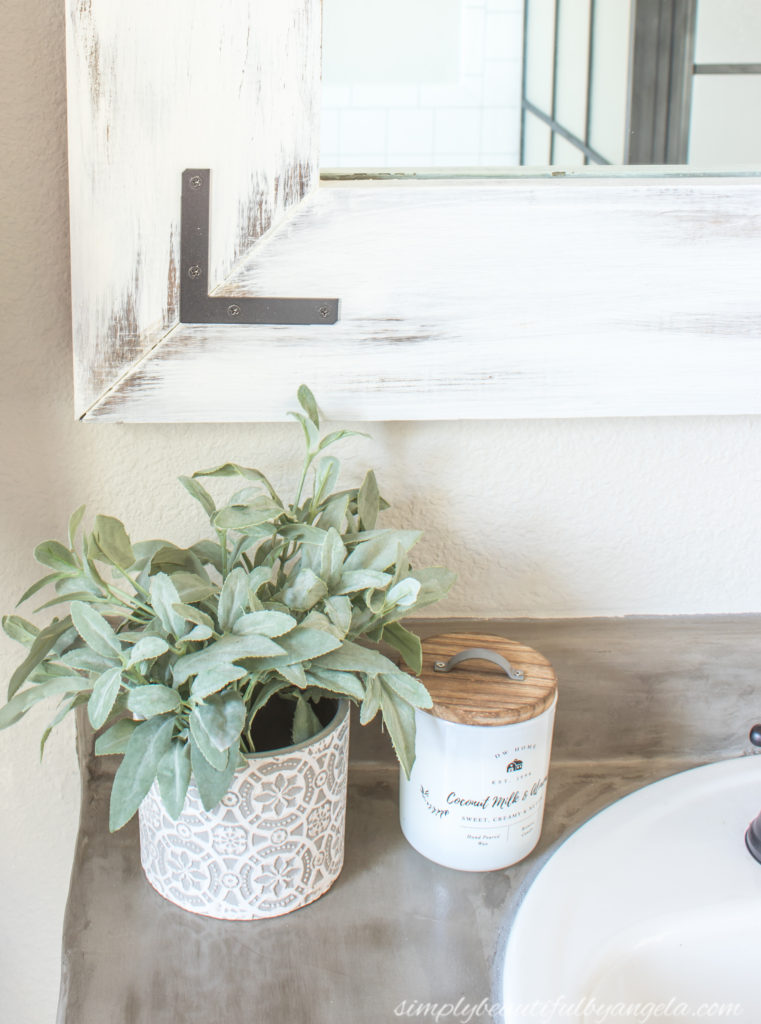
Compared to how it looks now!
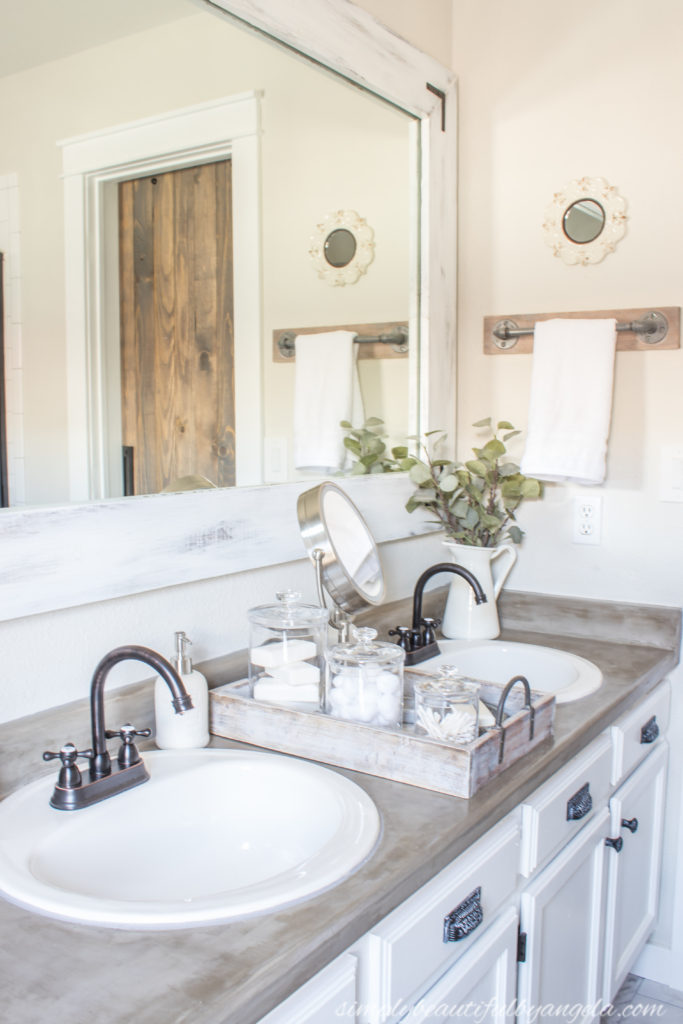
Quite the difference! Between the counter, new faucets and paint it feels like an entirely new vanity.
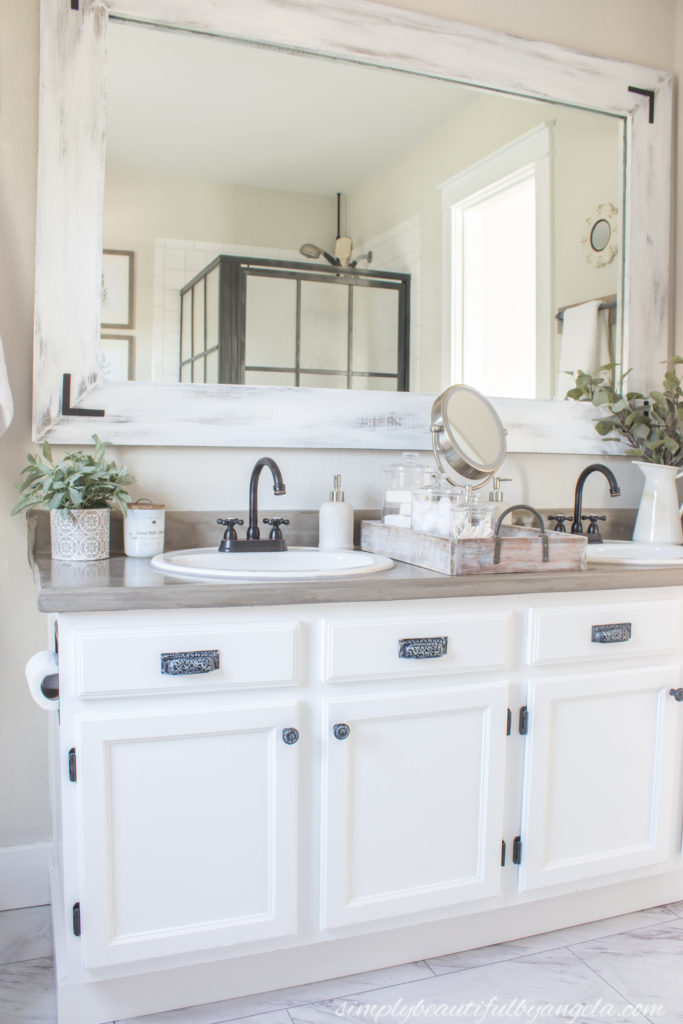
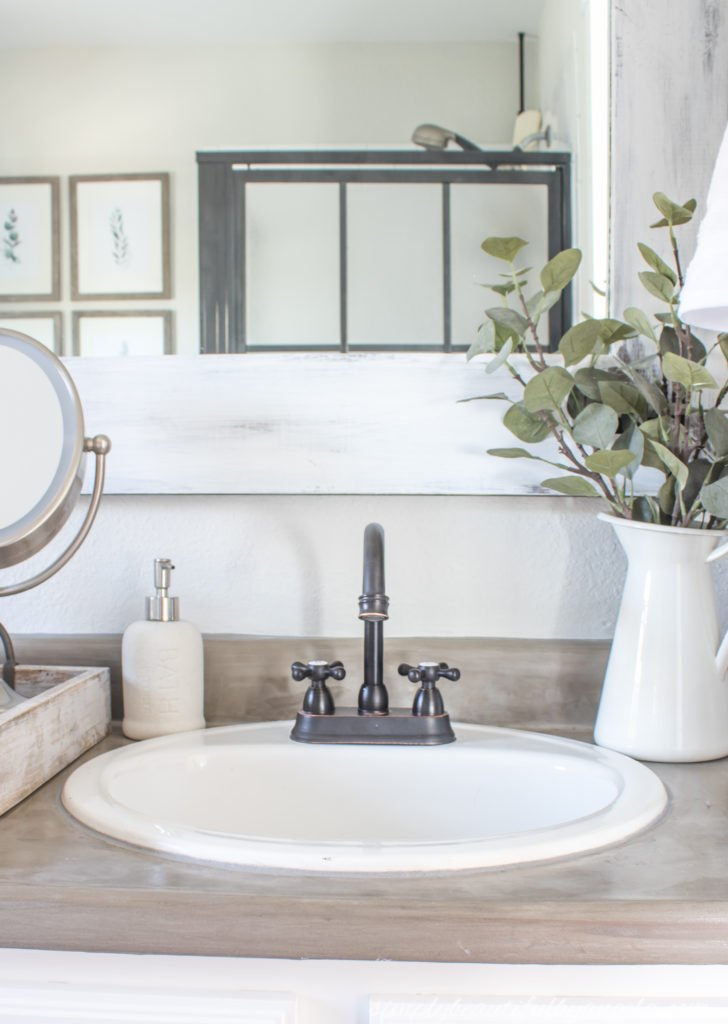
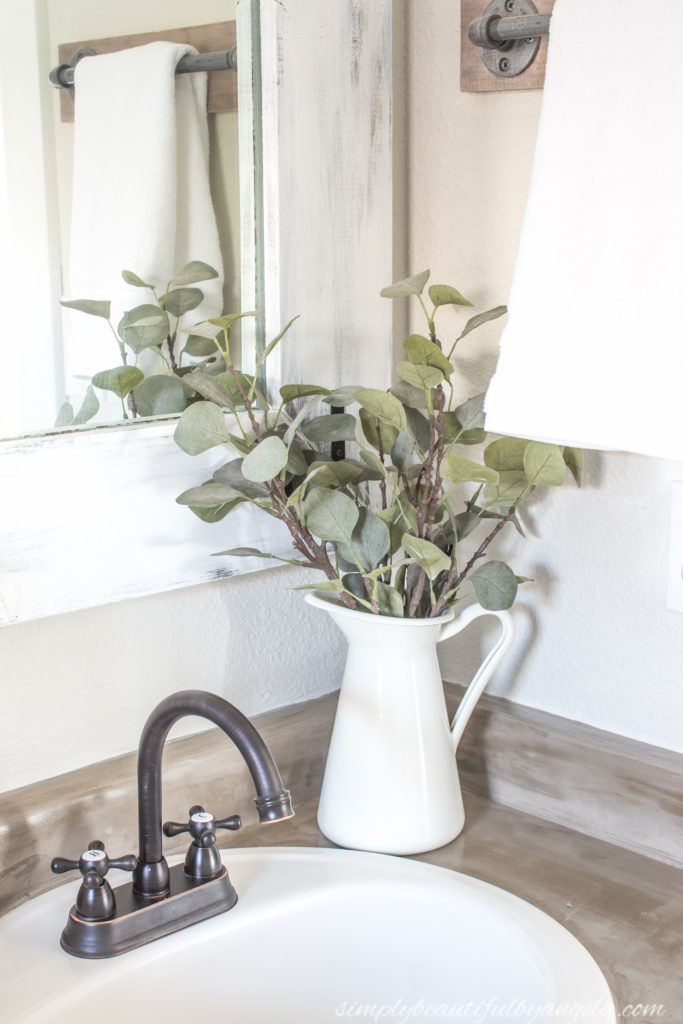
Here’s another comparison–this one between the day after we closed to today:
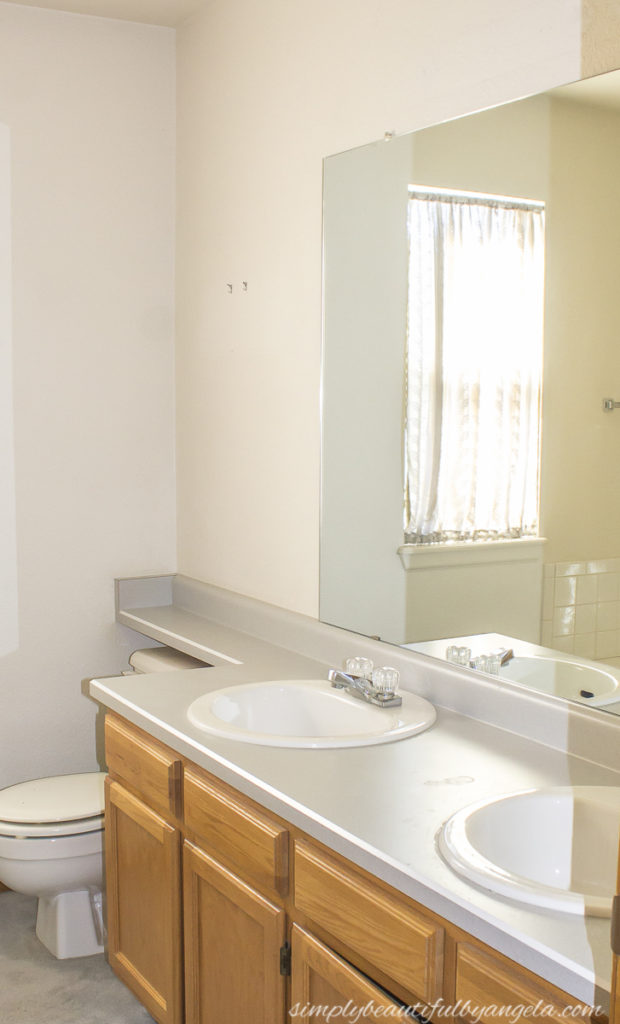
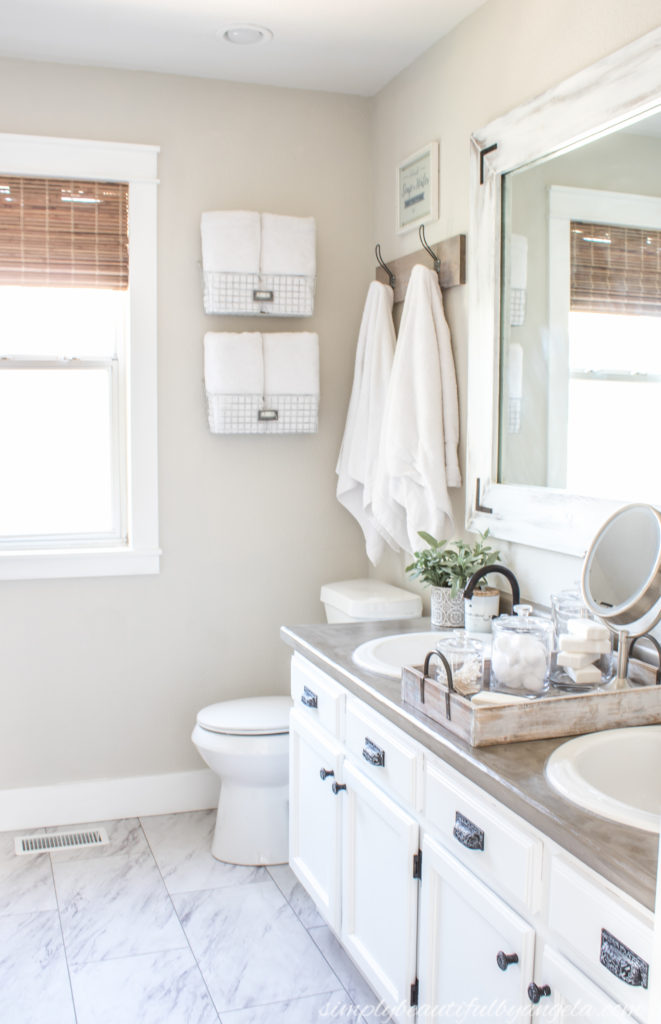
So glad that we chopped off that counter top overhang above the toilet! The hubby sawed off what he could with the power saw and I went back with a hand saw to get the rest. Then I used my high school pottery class skills to mold the edge with the concrete.
I was worried about the upkeep of them, but so far so good! The water beads right up on the surface. There are a few spots where the water has soaked through, but once it dries it totally disappears. I use a granite cleaner to wipe them down at least once a week.
I hope you have a fantastic weekend, I’ll be back next week to share some exciting progress made on our pantry turned mudroom nook! 🙂
Linking up to these awesome parties!
Hi Angela, wow you were brave but your project turned out great and I love the mirror replacement, that is so cool. The bathroom took on a different feel. Great job! My son has takled about making my kitchen counters with concrete and now seeing your project I am more inclined to move in that direction.
Thank you for sharing on #omhgff this week!!
Have a great weekend!
Thank you so much!! I say go for it and love to see pics if he does 🙂
Those are beautiful! We have concrete countertops in our kitchen (though we made a wood mold and the entire 2″ countertop is made of concrete). However I have been looking for a great way to seal them for years! I am going to have to check that sealer out. Pinned.
Thank you so much Joanne!! Send me pics if you do 🙂
That is really wild! I had no idea that something like that was even possible. Well done!
Thank you Michelle! It’s wonderful solution for “new counters” on a budget 🙂
I I wouldn’t have ever thought of concrete for a worktop, looking at your photos, it definitely works#alittlebitofeverything@_karendenbid199@gmail iz
Thank you so much Karen, that means a lot! 🙂
Your counter top looks so nice with the rest of the improvements you made. I love the shine you got on it. Can’t wait to see what you did in your mudroom!
Thank you so much Catherine–you’re so sweet 🙂
These countertops are gorgeous, Angela! I love everything about this space! It looks incredible! You have such a great eye!
Thank you Kristi! I’m still so amazed with how nicely they turned out 🙂
Wow Angela. This turned out great! I must really love your content because I keep ending up on your site 🙂 I’d love it if you would share this at our weekly blogger link party. It’s open from Friday at 8am to Monday at 8pm. I hope you stop by.
Awww thank you so much Hannah that mean a lot!! And thanks for the invite–I will add to my list right now 🙂
Wow, this is an amazing makeover!
Happy Summer,
Kippi
Ps. Please share this post on my site at the You’re The Star blog hop.
Thank you so much Kippi! I’ll have to check that out 🙂