Hi guys!! So originally I wanted to do the pantry turned mudroom nook reveal this week, but our weekend got SO chaotic that it just didn’t happen! It’s just as well because I actually decided to add some lights above it so it will be even more exciting to share once we get those babies installed.
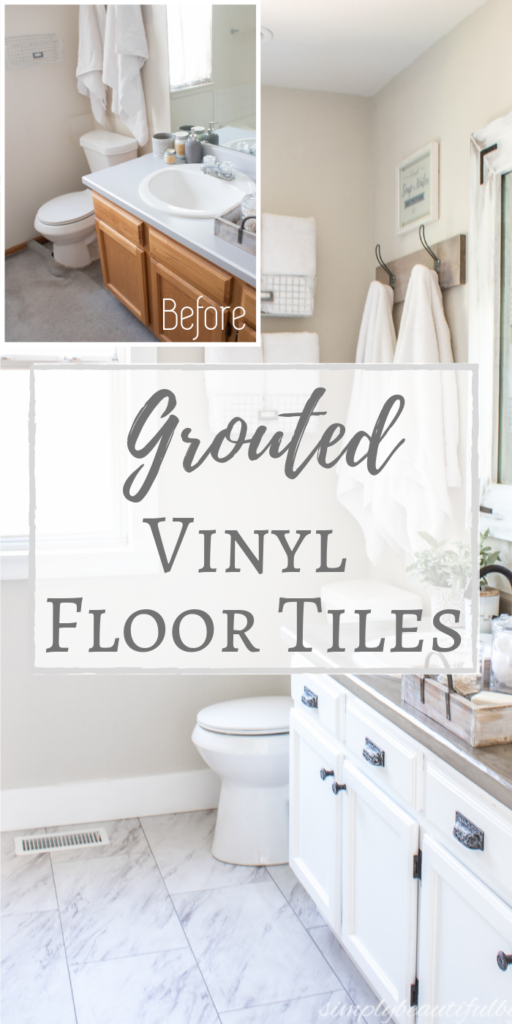
So this week I decided that it would be the perfect time to finally share a tutorial for the grouted vinyl floor tiles that I installed in our recent master bathroom makeover!
When we first bought our new fixer upper we knew that a full gut renovation was in store for the master bathroom.
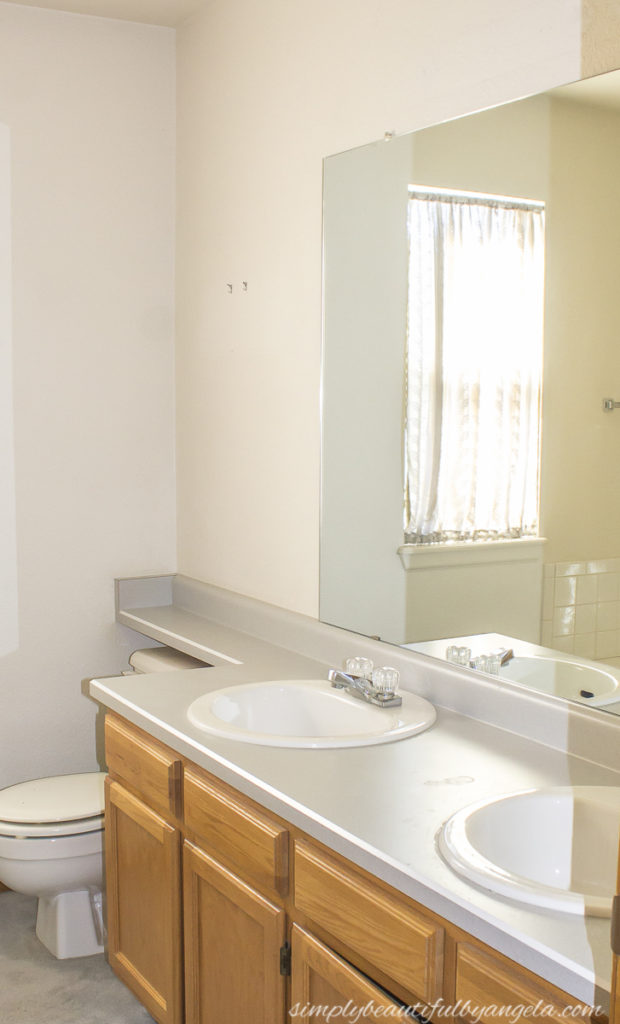
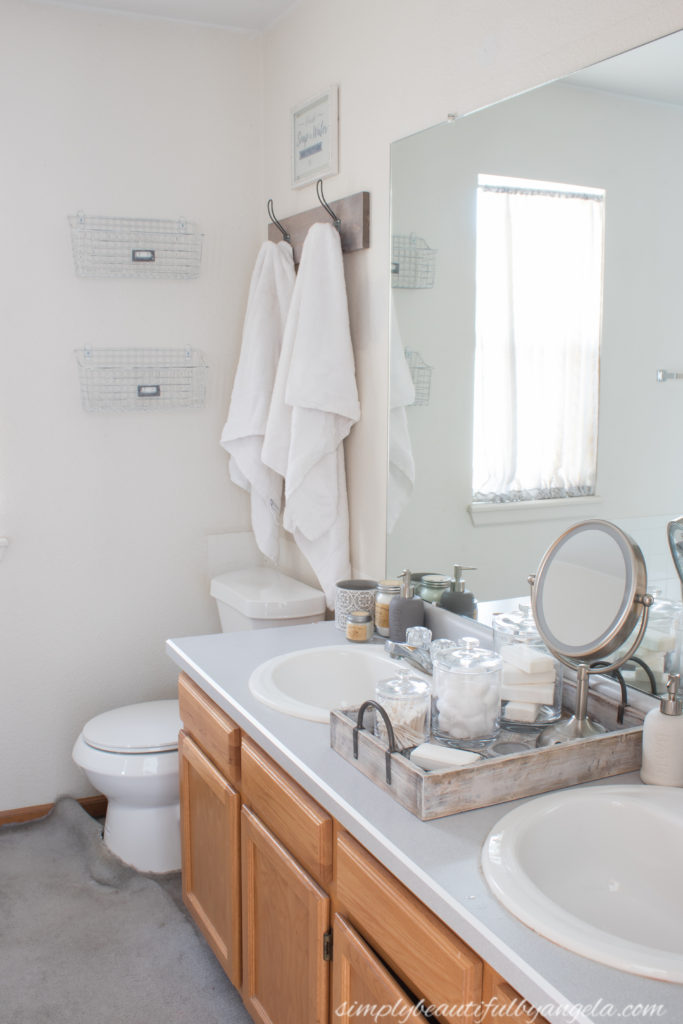
However after awhile we realized that budget-wise we probably wouldn’t be able to do it for a few years. So we tried living with it for awhile until I decided that I finally had enough–especially the dreaded carpet! So I decided to give it a budget refresh this past spring (see full reveal here).
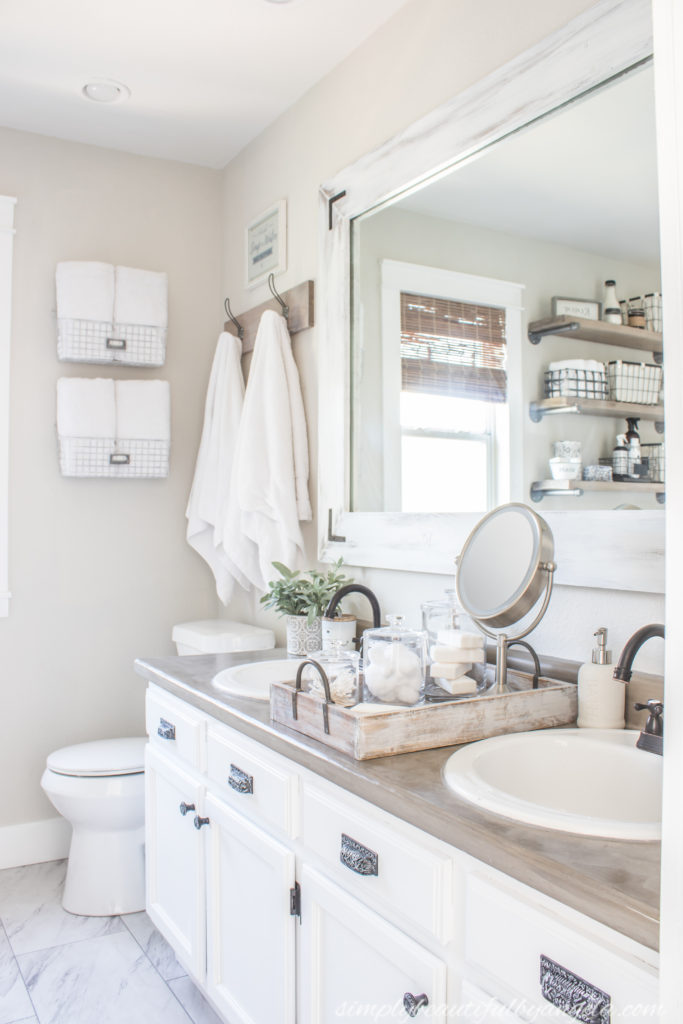
One of the things that I struggled with initially was what to do with the floors. Eventually I want tile, but since that will come with the full renovation I needed something else in the meantime. I needed:
- CHEAP
- WATER RESISTANT
- EASY TO REMOVE
Groutable vinyl tiles met all of those and were the perfect solution!
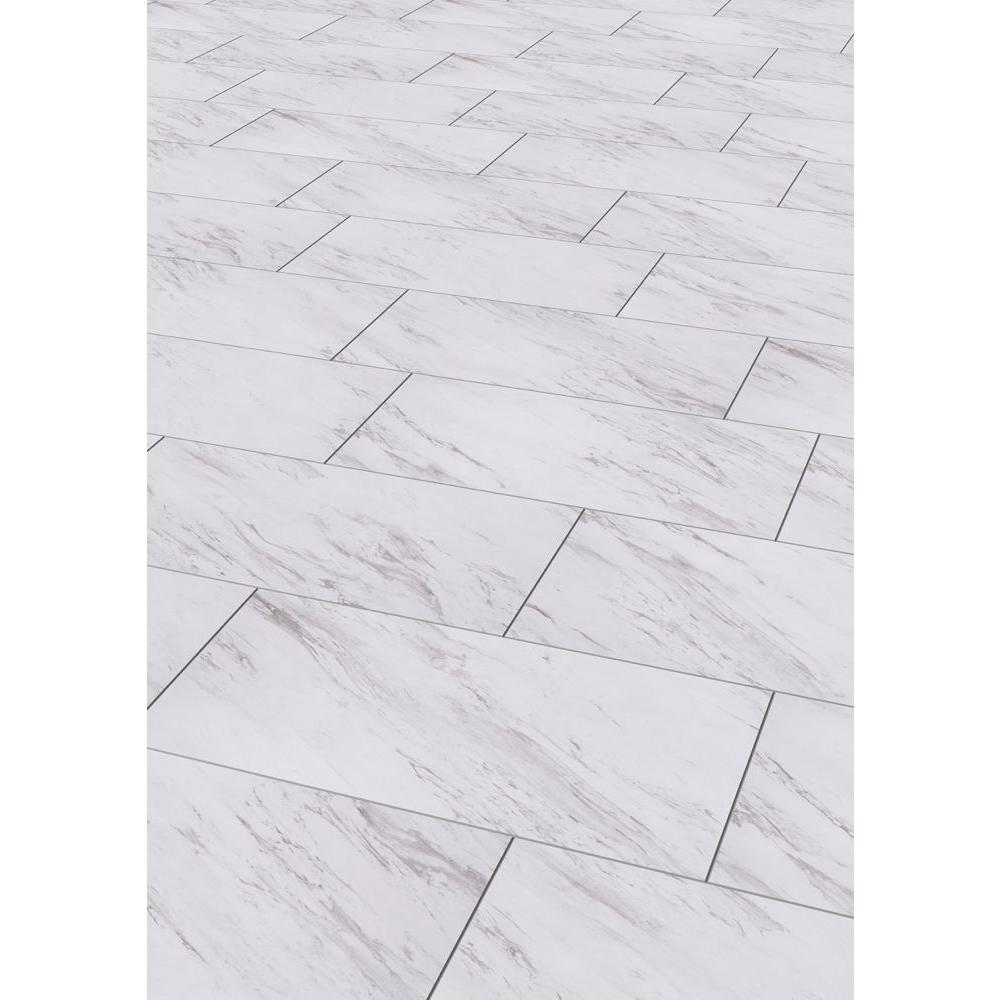
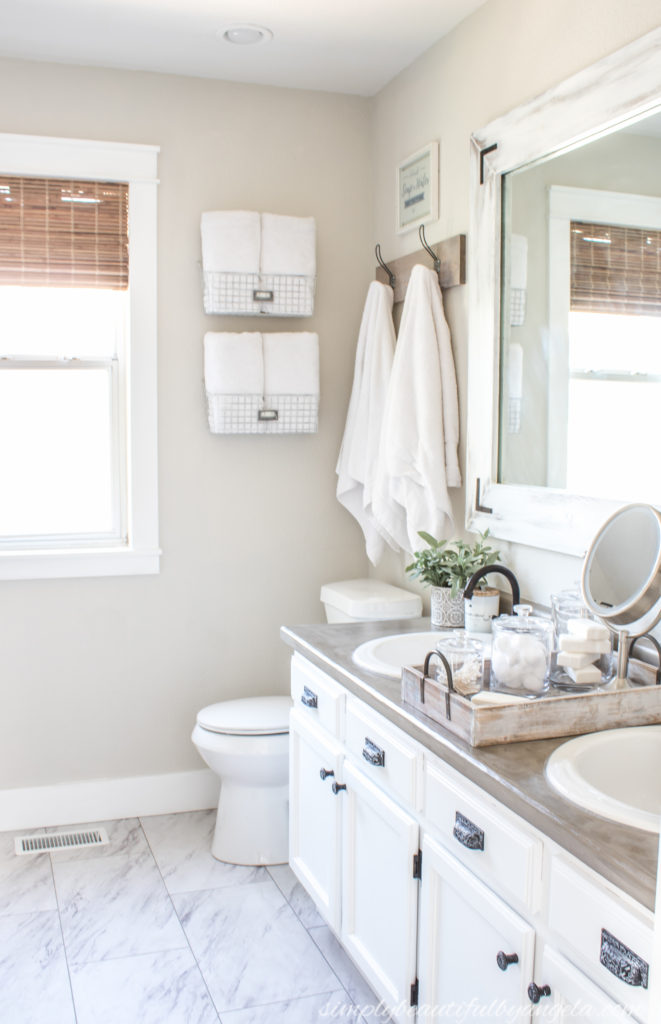
There are a lot of options out there, but when I saw these faux marble ones from Home Depot I fell in love. I liked how large they were because larger tiles = less cutting and makes a room feel bigger. I was also happy to find out that each box came with a ton of different patterns. I only needed two boxes and I don’t think I ended up with any repeating tiles–if I do it’s definitely not noticeable!
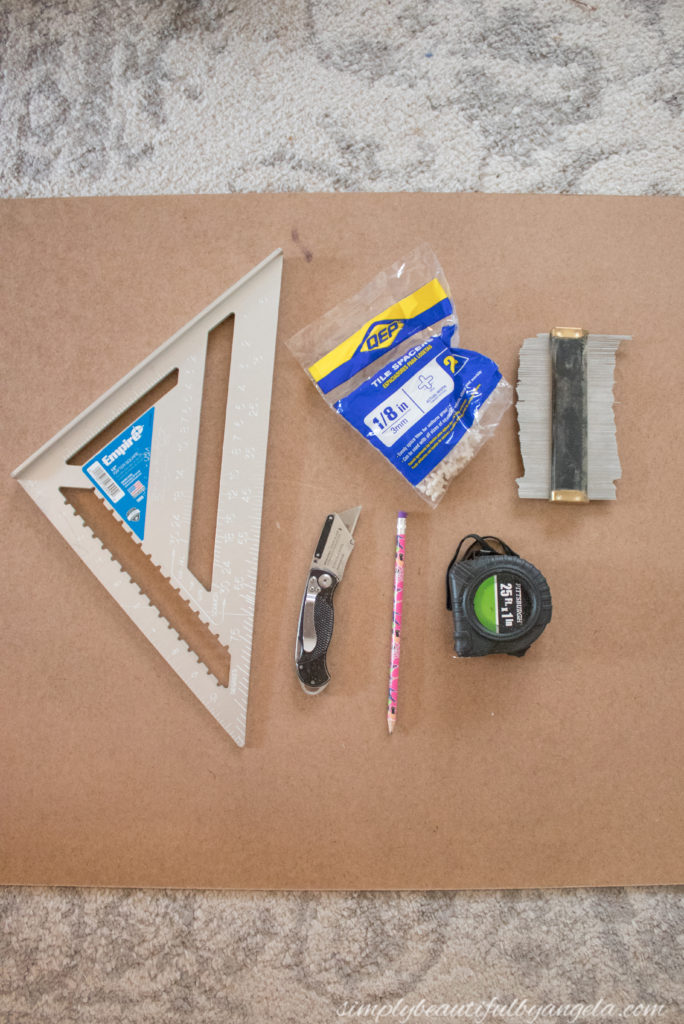
Supplies Used:(Affiliate links may be provided for convenience. For more info, see my full disclosure here.)
- Utility Knife
- Utility Pry Bar
- VISE-GRIP Pliers
- Staple Remover
- Self Stick Tile Primer
- Paint Roller
- Metal Contour Gauge
- Measuring Tape
- Speed Square
- 1/8-Inch Tile Spacers
- Wood Rolling Pin
- Premixed Grout, Delorean Gray
- Grout Float
- Scrubbing Sponge
- Grout Caulk
1. Pull Up Old Flooring
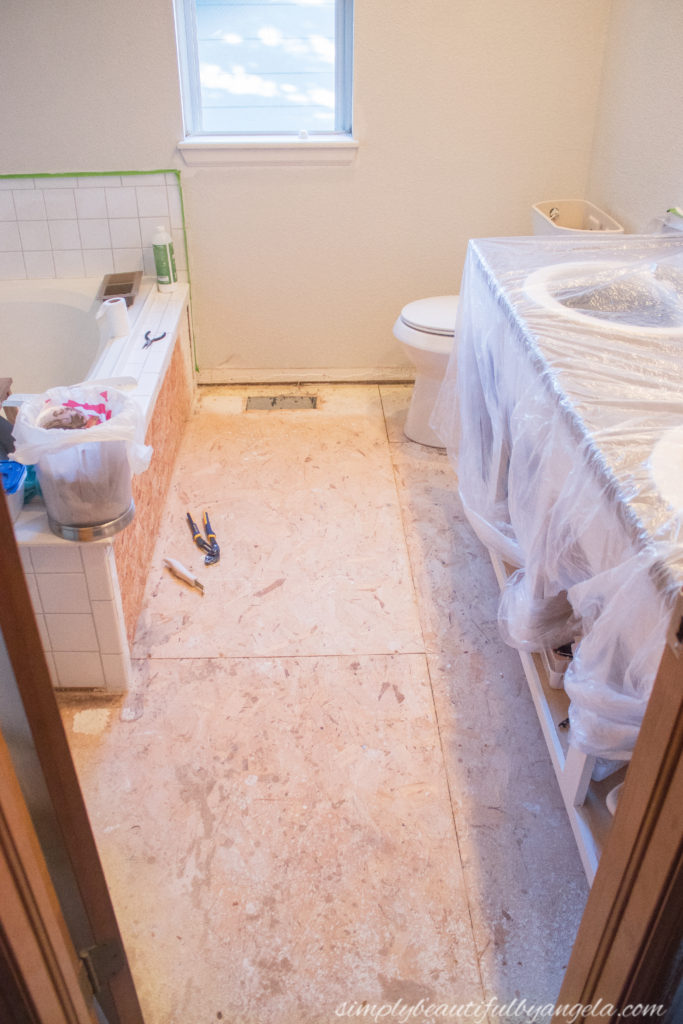
You guys have no idea how satisfying this step was! After living with that nasty carpet for months it felt sooo amazing to tear it up.
I first used a utility knife to score the caulking on the baseboards and then a pry bar to pull them off. I removed the carpet and the padding and vacuumed up the disgusting amount of dirt that was found underneath–ick!!
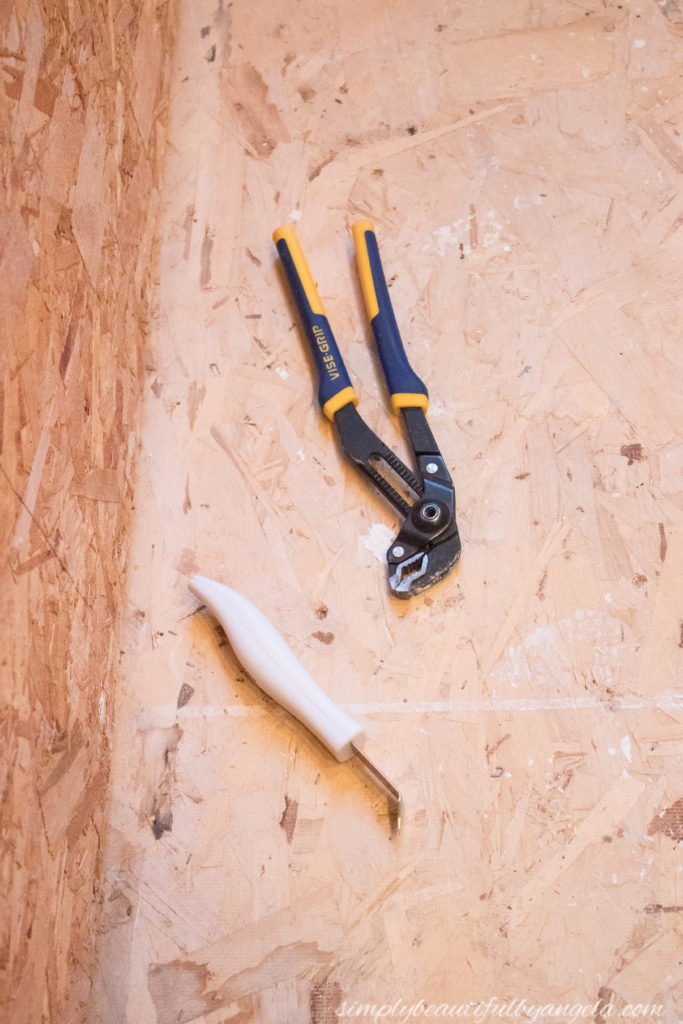
I went around with some vise-grip pliers and a staple remover to get all of the staples from the carpet padding out.
2. Apply Self Stick Tile Primer
I’ve applied peel and stick tiles before, but it was over a nice clean surface so I wasn’t worried about them sticking. Since I was applying these directly to the subfloor, I knew that self stick tile primer was a must to ensure better adhesion.
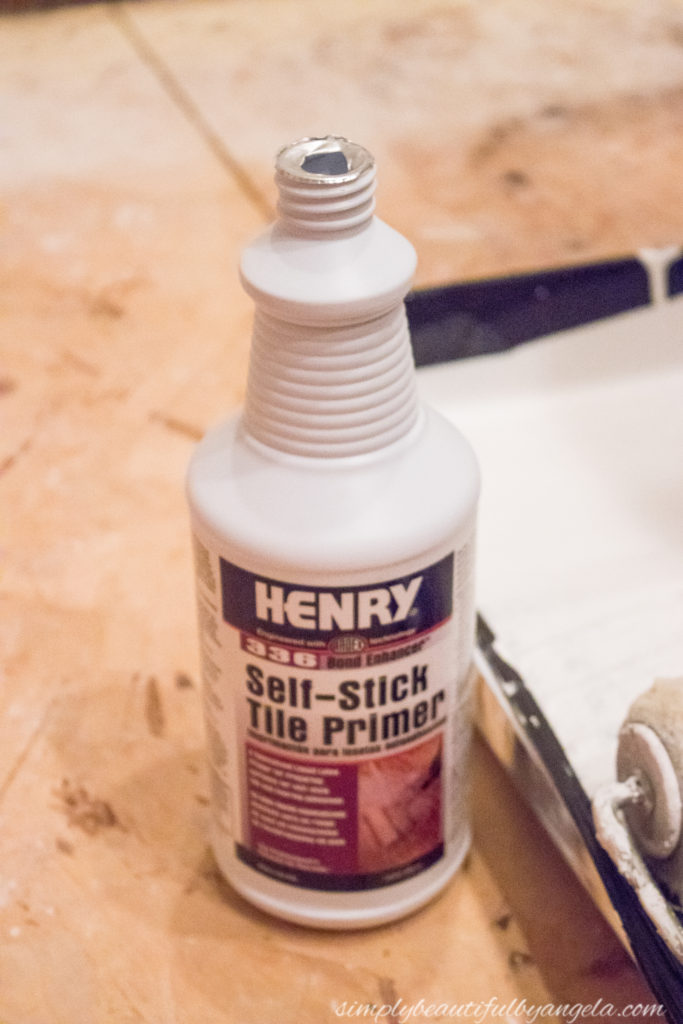
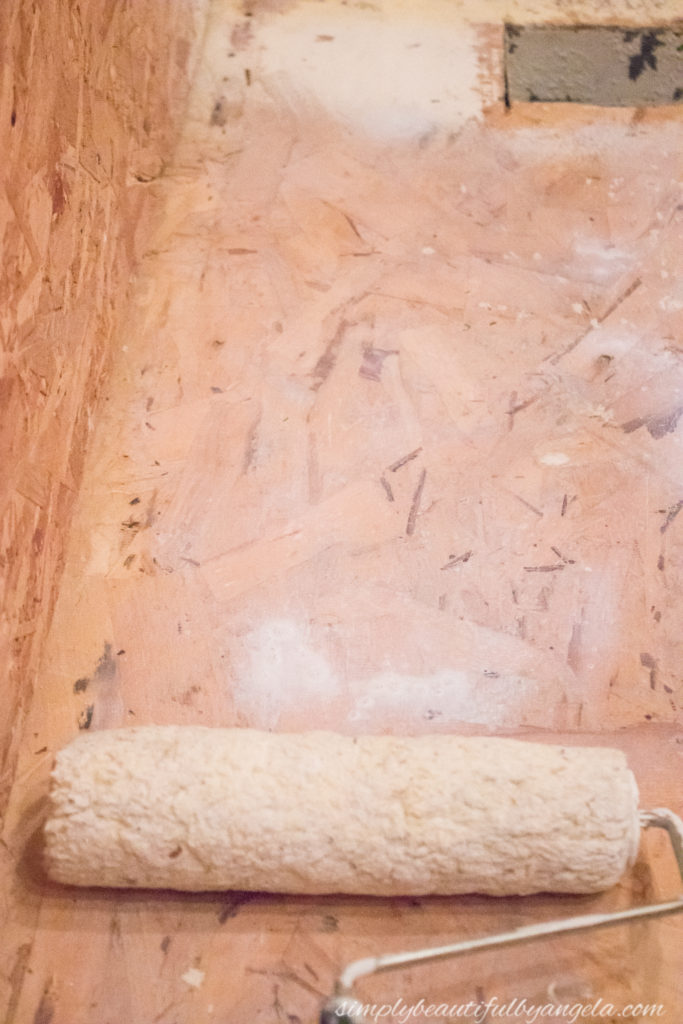
I was surprised to see how thin it was. I anticipated more of a paint-like consistency, however it was more like milk. I swept and vacuumed the subfloor to remove any loose debris and then used a roller to apply one coat and let it sit overnight.
3. Time To Lay Some Floors!
The next day I gathered my supplies and got started on laying the floors.
Cutting Around Obstacles
If you don’t have a metal contour gauge, get one! Trust me, they’re cheap and a total sanity saver!
Let me show you why. My first tile hit an obstacle–the tile from the bathtub.
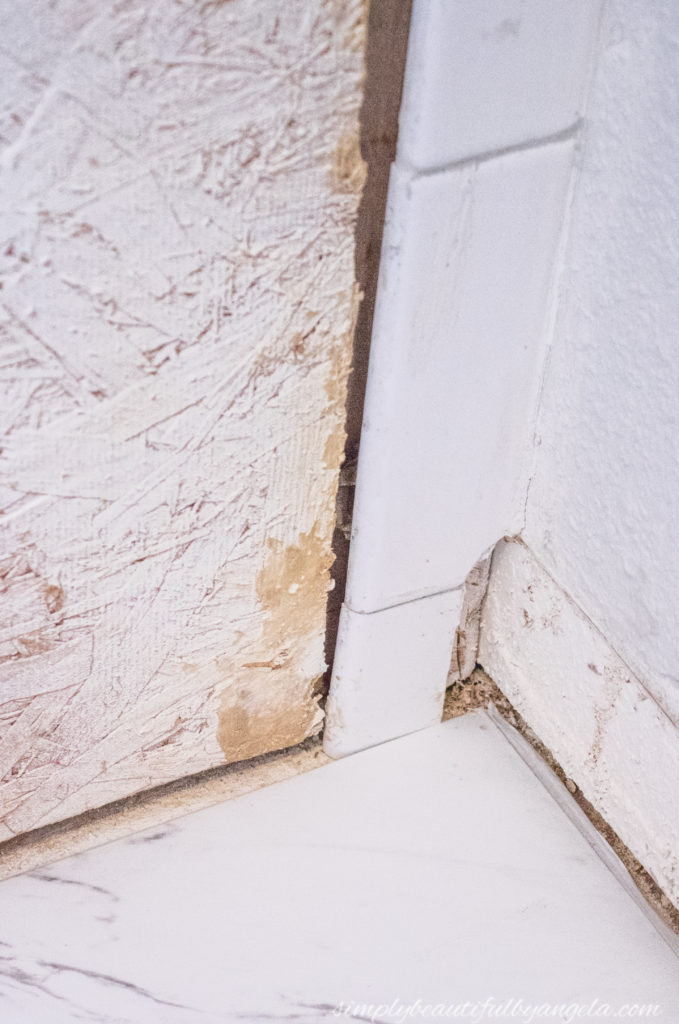
Instead of messing with crazy measurements or a flimsy paper template, I simply took the contour gauge and pressed it against the obstacle to make a perfect template for me.
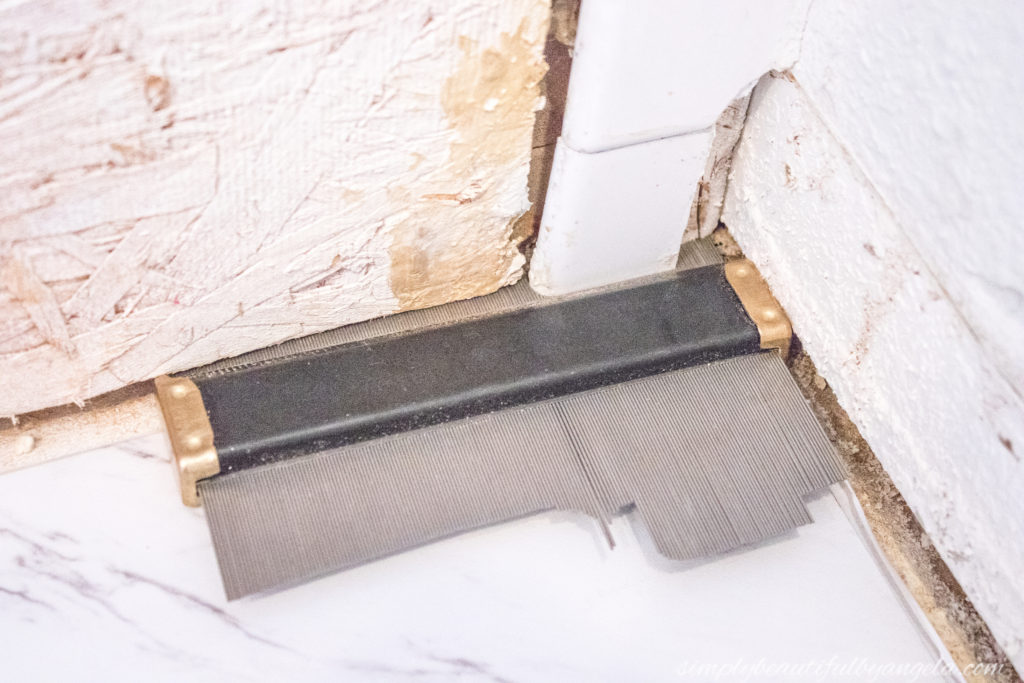
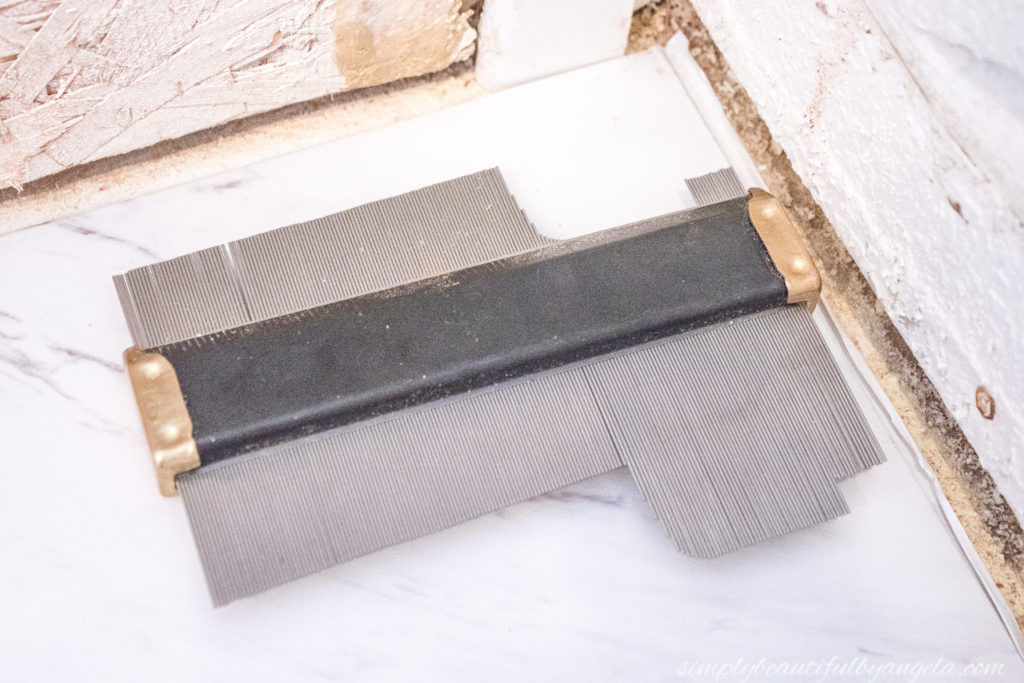
I then took it over to my tile, traced it and scored it. I decided that the little piece on the end wasn’t necessary to cut since that was going under the baseboard.
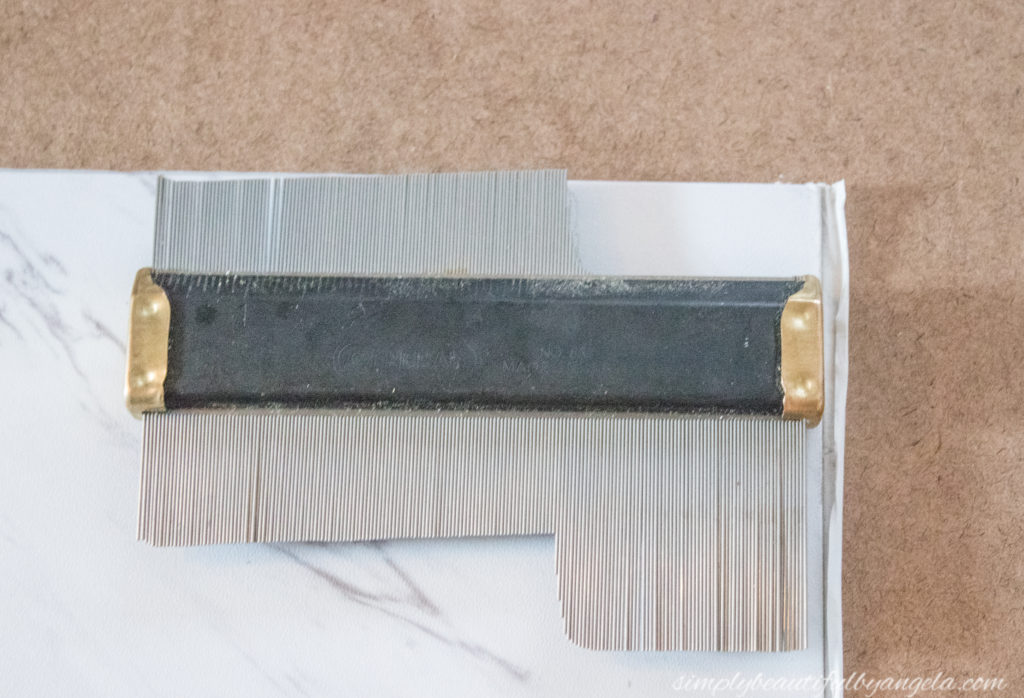
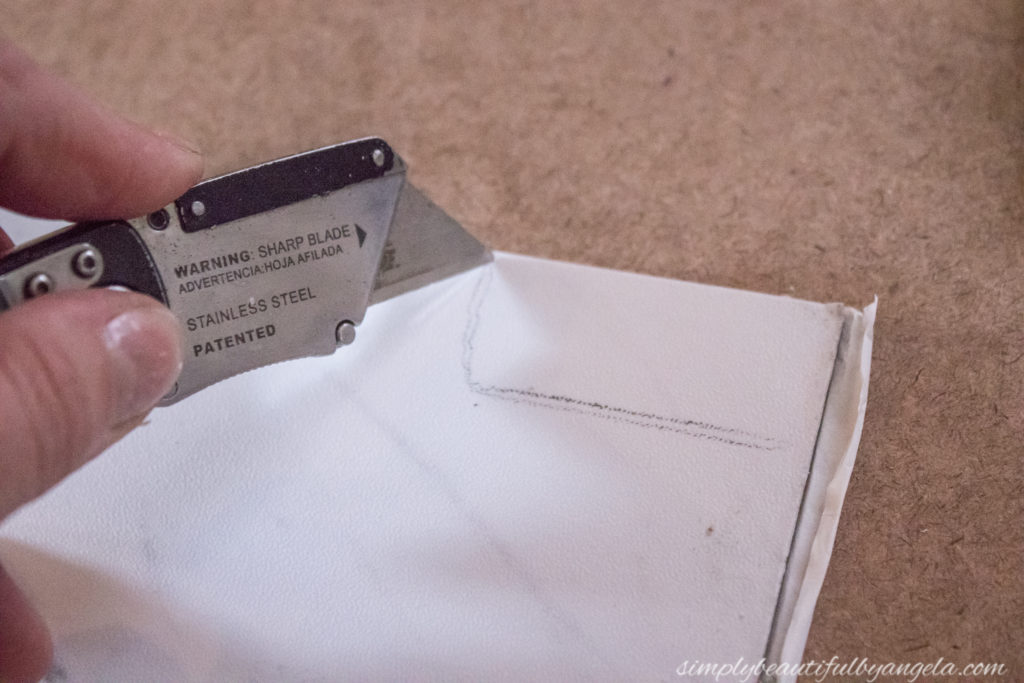
Once it’s scored it will easily snap right off. You DON’T need to use a ton of pressure while you’re scoring–I can’t stress this enough! It makes it easier to slip and cut the wrong spot, or yourself! Just a slight score is enough to make them snap 🙂
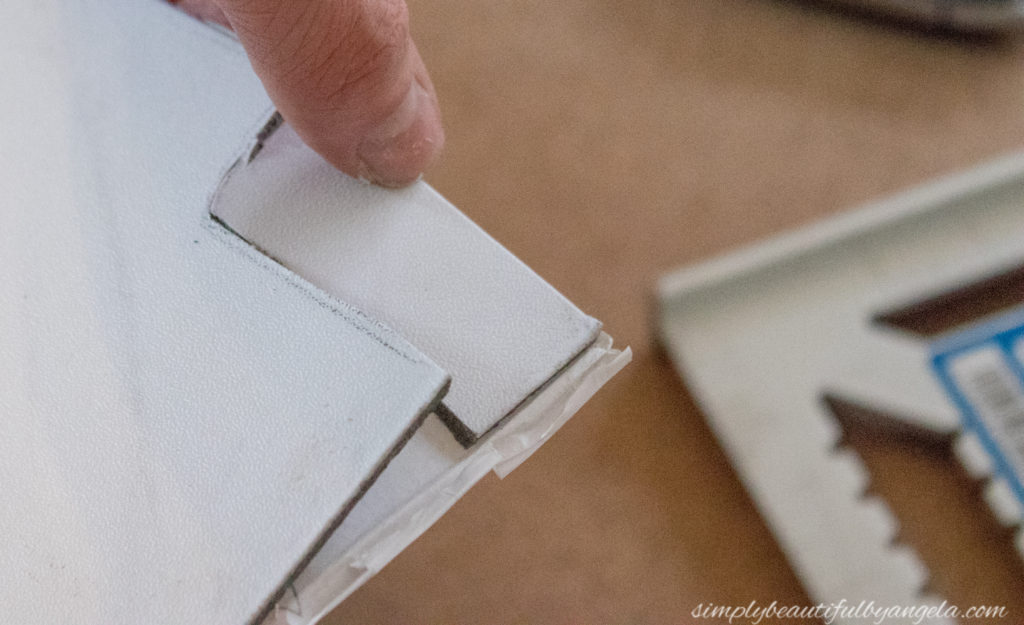
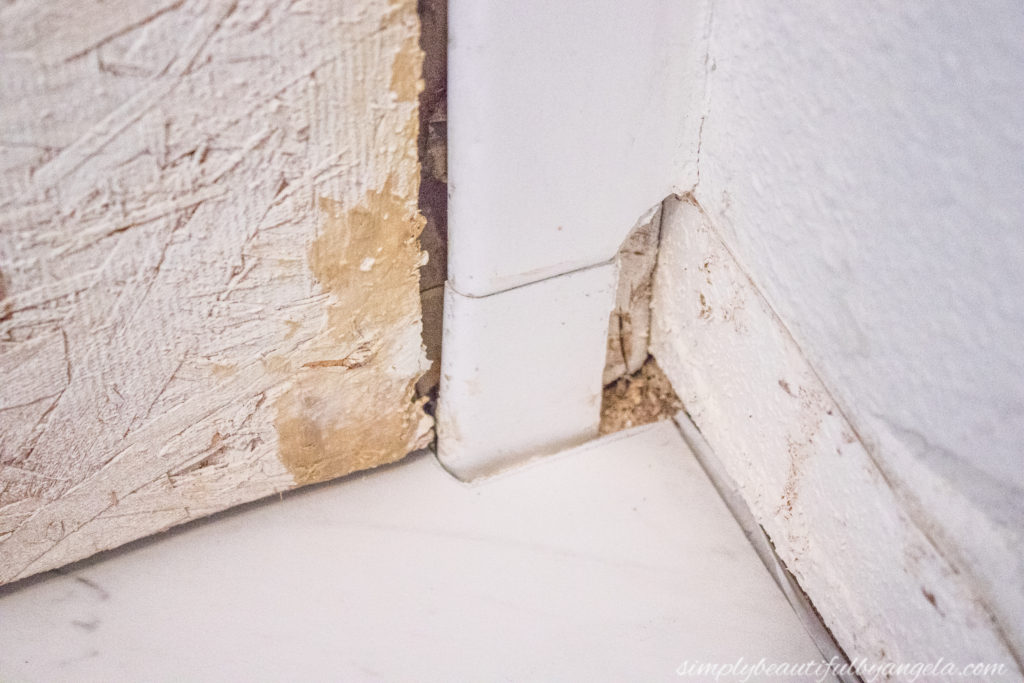
Ahh a nearly perfect fit! Don’t worry, caulk will hide any small imperfections later on.
Cutting Around Vents
My first tile also hit the vent. These are actually a lot more simple to cut than you would think! I held the tile over the vent and marked both the tile and the floor.
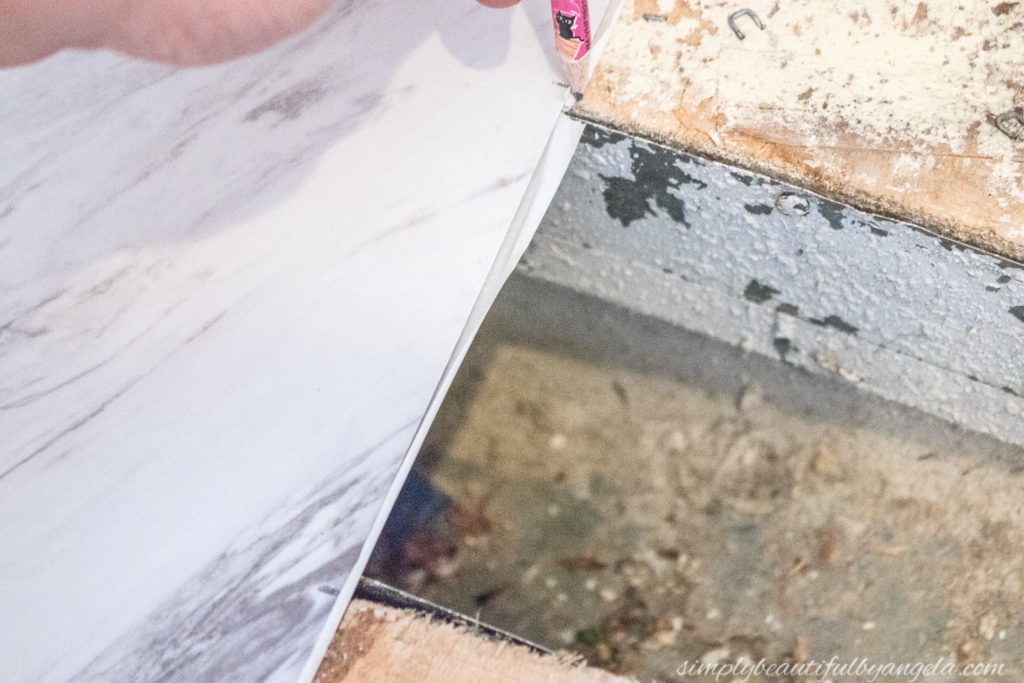
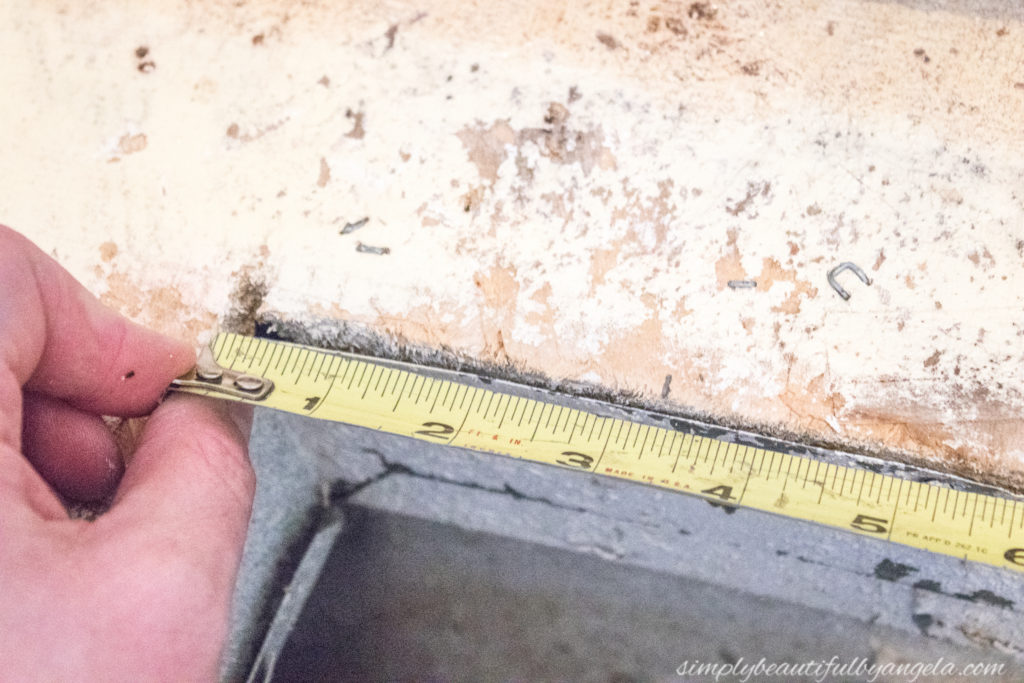
I then measured the distance from that mark on the floor to the edge of the vent to see how far back I needed to cut from my mark.
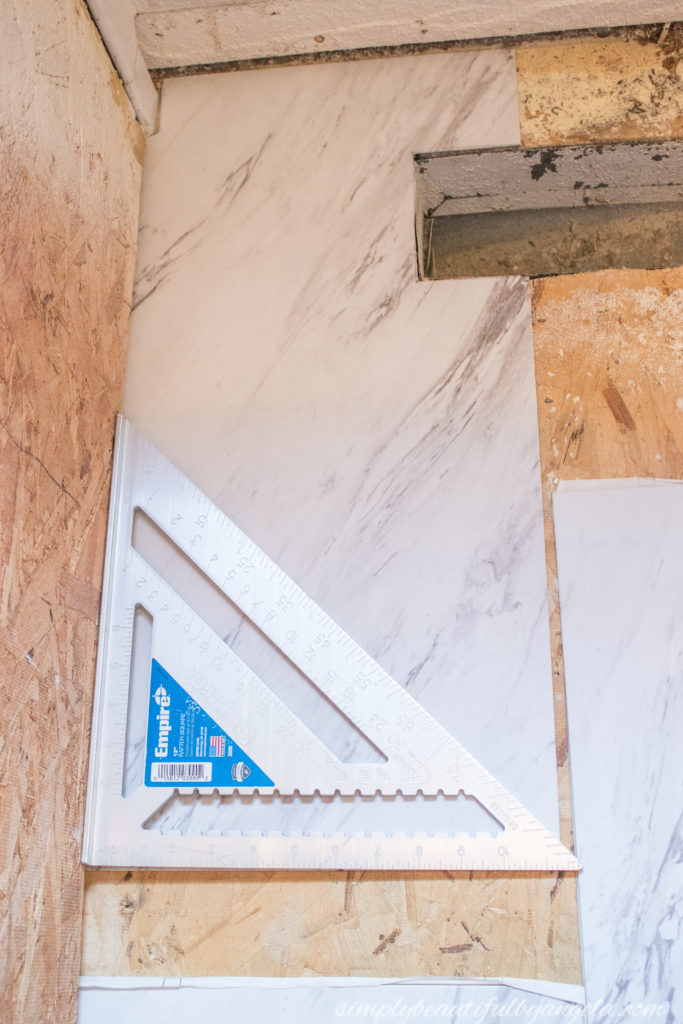
I held the speed square on my tile while I scored. Before I laid it down I also held the speed square flush with the bottom and the side to make sure that it was straight.
On the paper back of each tile, there are arrows that show which direction to lay them to achieve the most natural appearance. It was easy as pulling the paper off the back and then using some 1/8″ tile spacers between each one.
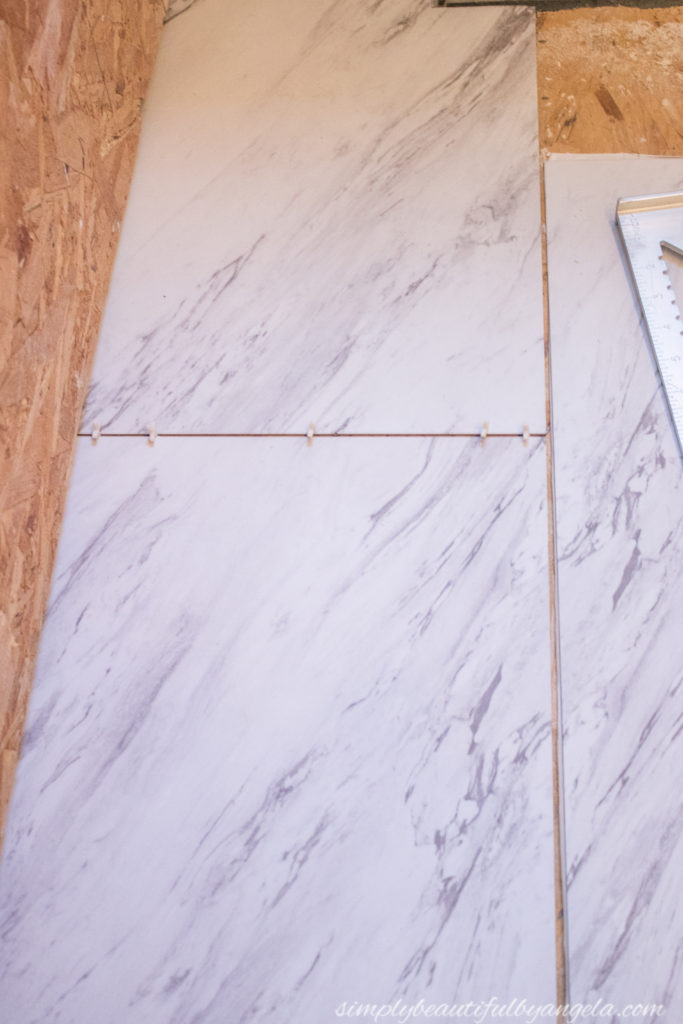
One thing to remember is that as you cut the end off of the last tile in the row, you want to try to avoid using that cut end for the start of your next row since it won’t be as pretty as the factory cut!
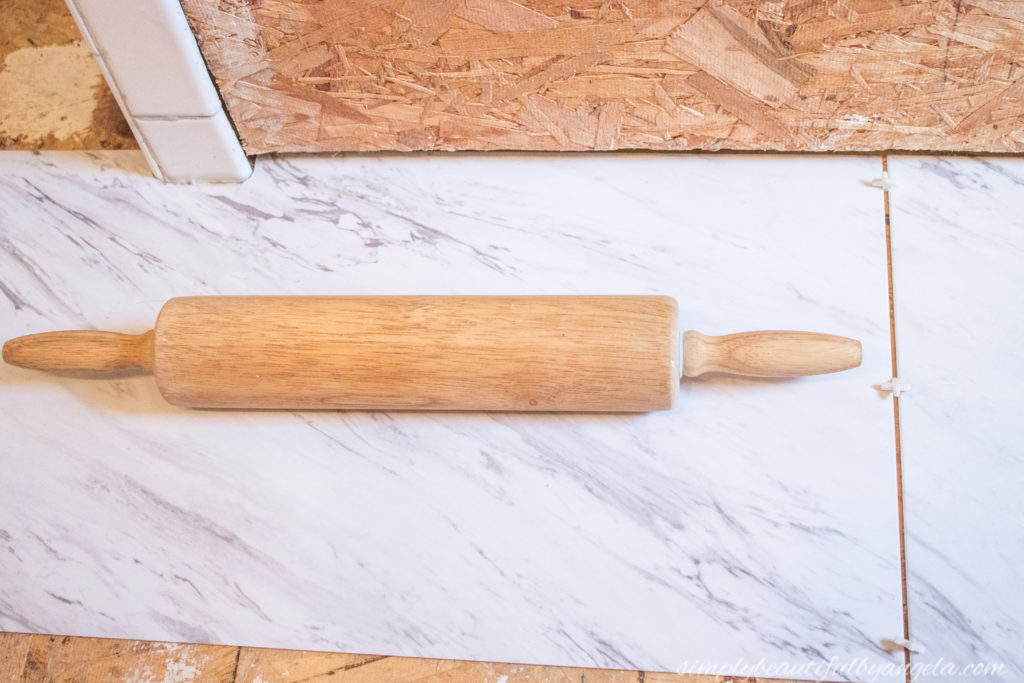
I pressed each one down with my hands and feet, but I found it helpful to roll a wooden rolling pin over it to make sure that it was really stuck. Adhesion on the subfloor wasn’t too awesome, I had to be careful moving around on them as I worked.
5. Grout
This was by far the most fun step! The grout not only locks them in and prevents them from moving, it also keeps the water from leaking through to the subfloor. I chose to use premixed grout in Delorean Gray which is a nice medium gray and complimented the gray on the tile perfectly.
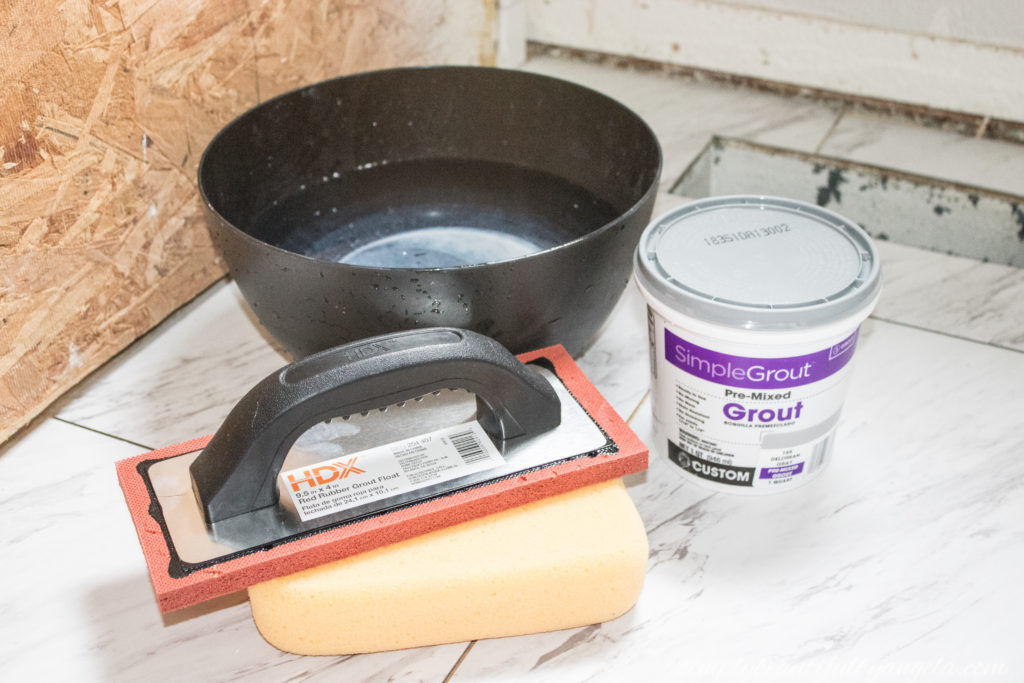
I put some grout on the float and pulled it across at a 45 degree angle. I worked in small sections so that I could go back and wipe it up with the sponge before it dried on the tile. Don’t worry if you miss some–it cleans up later on too!
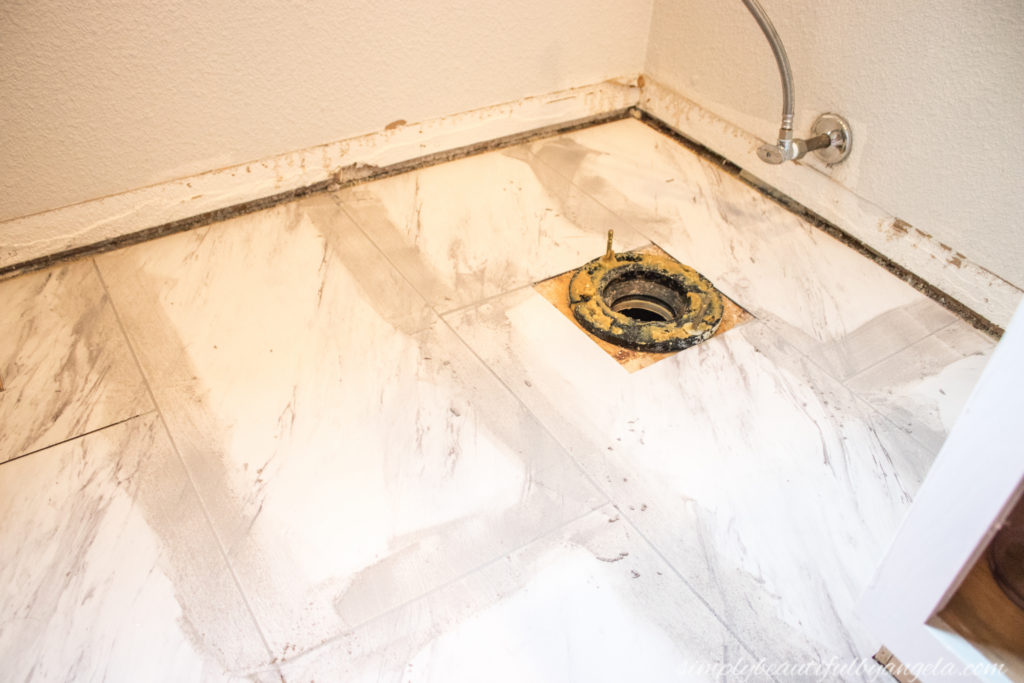
I let the grout dry for 24 hours and then went back and did clean up. I also used grout caulk around the edges where it met the front of the shower and bathtub.
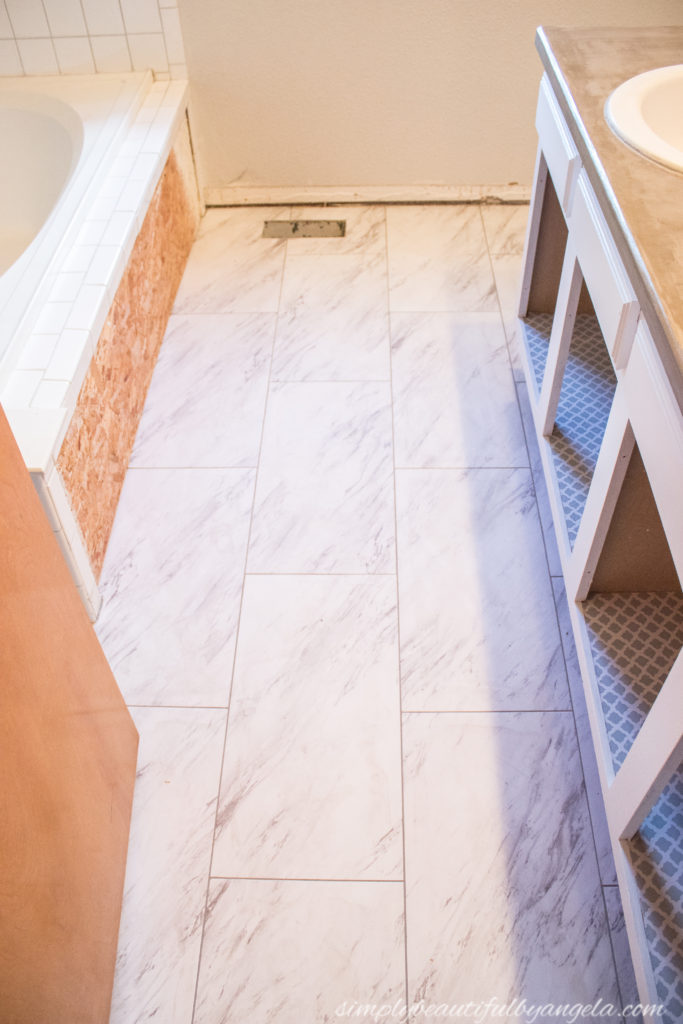
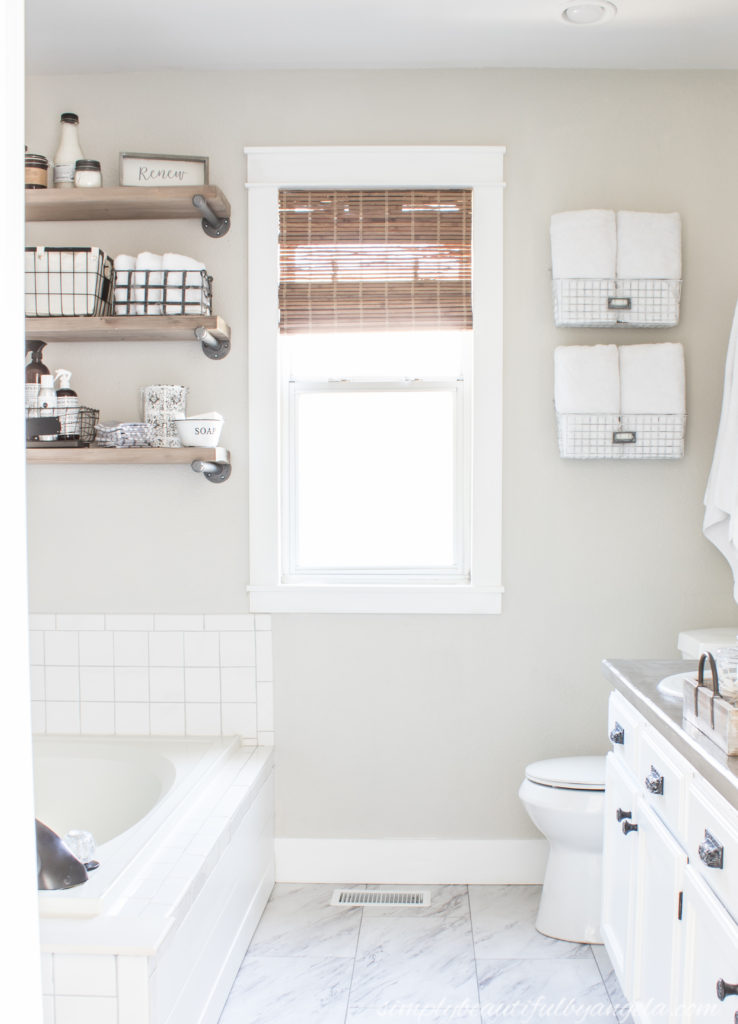
Here is is all finished up!
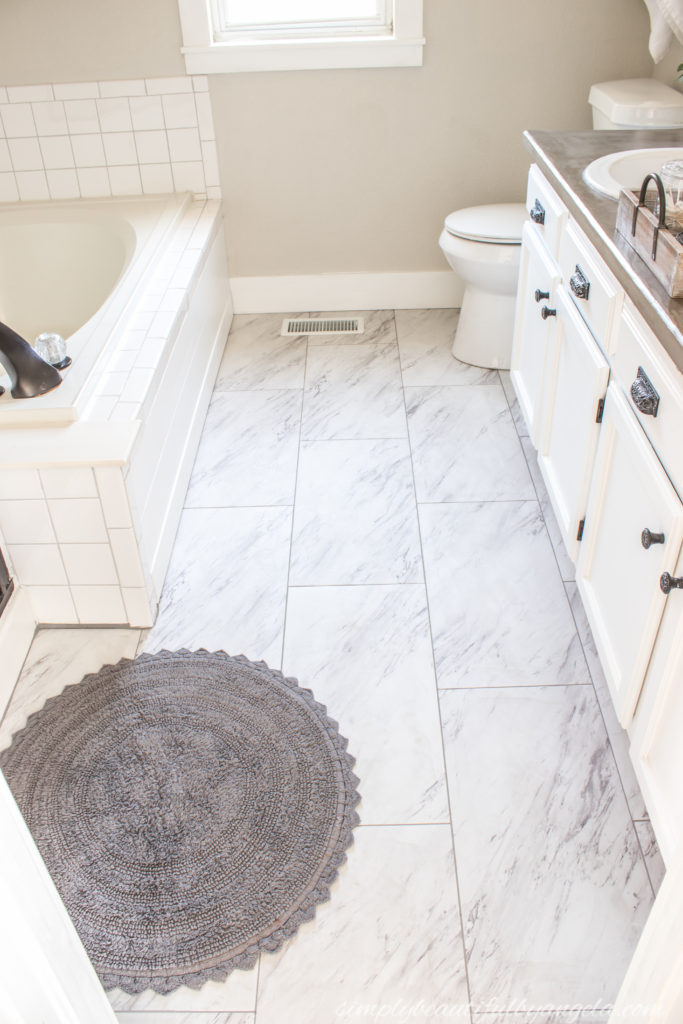
It has brightened up the space so much and makes it feel luxurious and spa like.
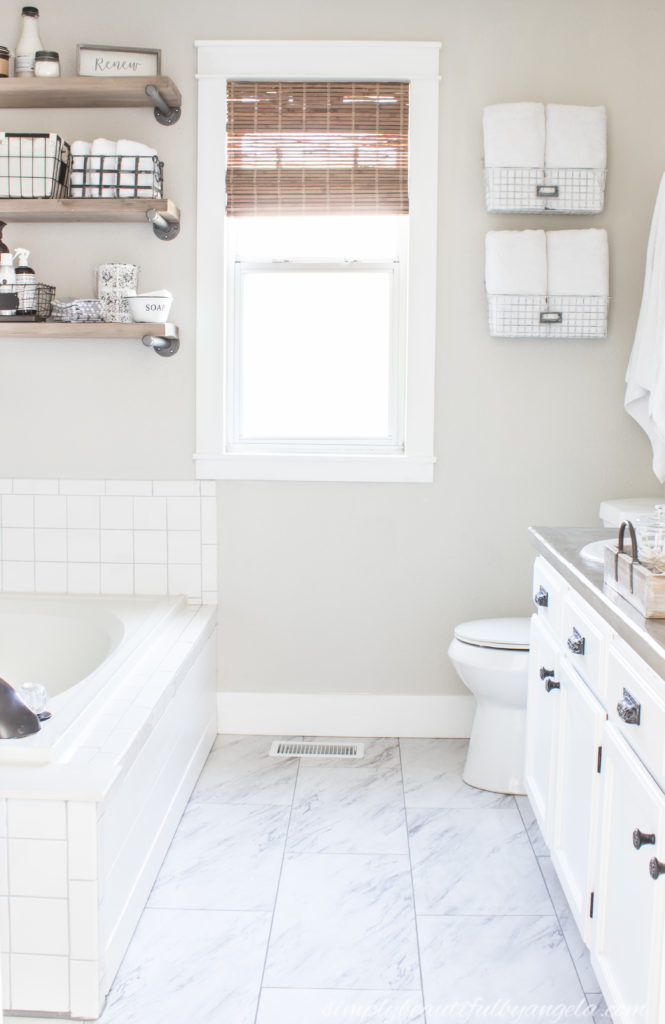
I decided to order this round bath mat because it’s the perfect size and the color coordinates with the floor perfectly.
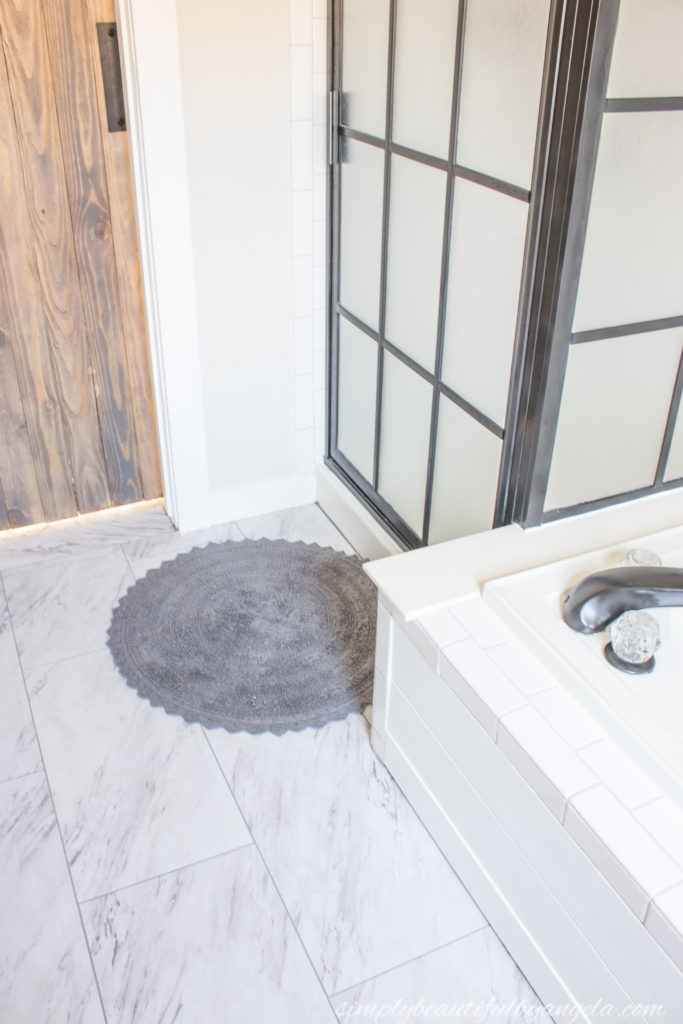
I’m still dreaming of having pretty ceramic tile in here one day, but for now this $50 fix is much better than the carpet!
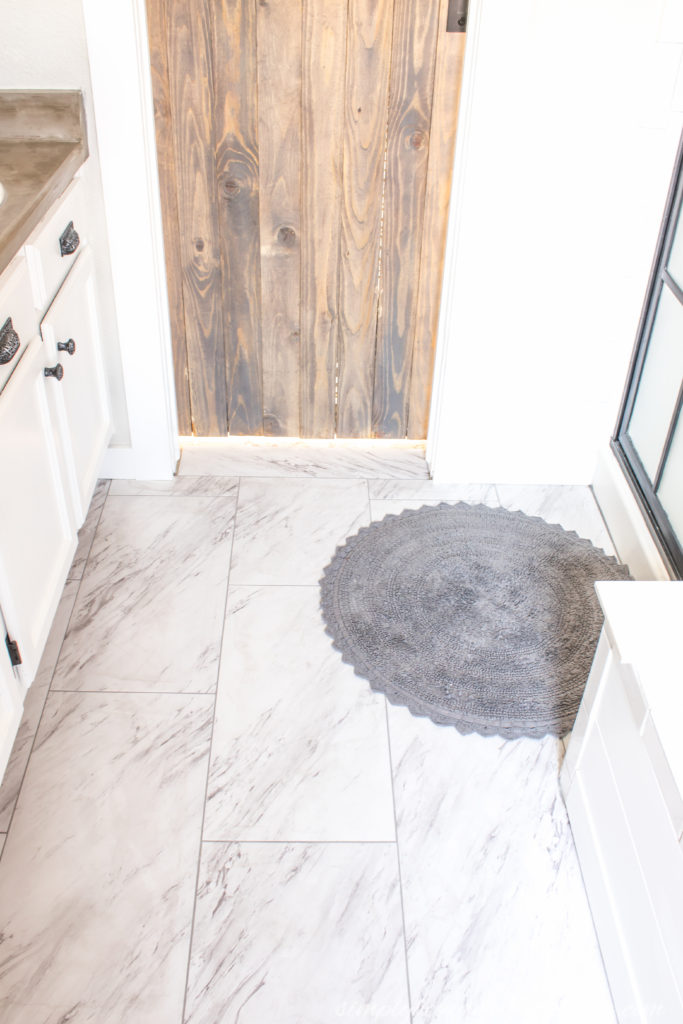
I only wish I had done this sooner!
Thanks for hopping over today. I’ll be back next week for this month’s Thrift Store Challenge!
Linking up to these awesome parties!
Love the look of your floor #alittldbitofeverything@_karendenbid199@gmail is
Thank you so much Karen!!
Very impressive my dear. Im a painter and color picker in Sarasota Fl. I wish you told what color you used. Looks very nice with white. You know how people cant see colors , and yours is a good one for every day use. Nice work.
Oh my goodness! This transformation is incredible! Absolutely stunning!
Thank you so much Kristi!
Let me tell you that this looks just like the ceramic tile I laid down two weeks ago. Your grout is the secret to making it look like real tile. I’m sure it was so much easier cutting this than cutting tile. Well done. Did you have to remove the toilet? Removing toilets is a beating. Gorgeous bathroom. Hopping over from A Stroll Thru Life. Off the see the rest of the makeover.
Thank you Katie! I’m so happy to hear that you had great results with this as well! We did decide to remove the toilet and although it was a little extra work I like the seamless look of the tile going underneath instead of having my wonky cuts haha! 🙂
I’d love to see a post about how you framed the builder grade mirror. I have two mirrors like that in my bathrooms that I’d love to update.
Thanks Tammie! It was actually pretty simple–I think I will put together a tutorial for it soon. You can be sure to catch it by subscribing to new post updates! 🙂
Your bathroom looks beautiful! I’d love to see a post about how you framed the builder grade mirror. I have two mirrors like that in my bathrooms that I’d love to update.
Stunning makeover. I am visiting from You’re The Star blog hop.
Have a great weekend,
Kippi