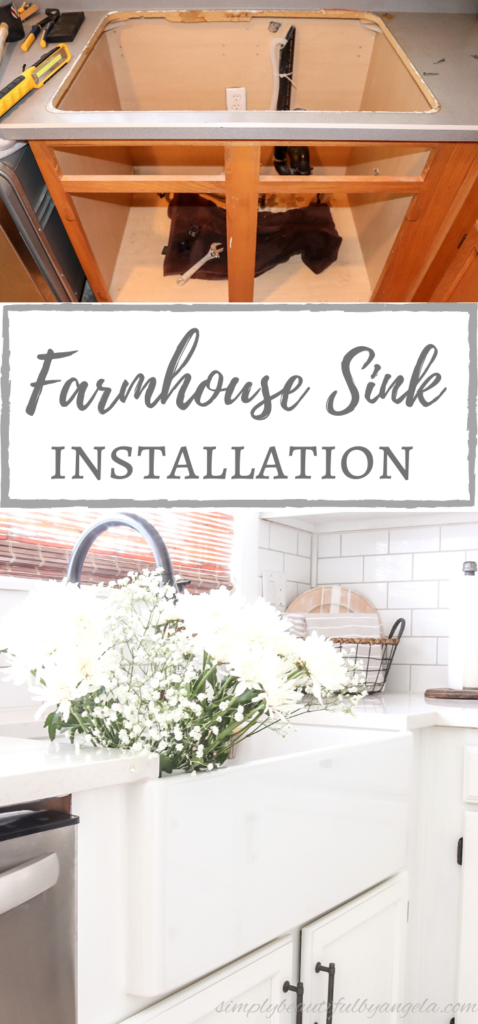
Hello friends! I hope you’re all having a nice week so far. The hubby and I both had Monday off for Veteran’s day but the kids had school, so we went out for a nice breakfast and ran a few errands kid-free which was a nice treat. I know some of you can relate when I say–it’s the small things haha!
Last week I shared the big reveal on our kitchen that we took from 90s to farmhouse.
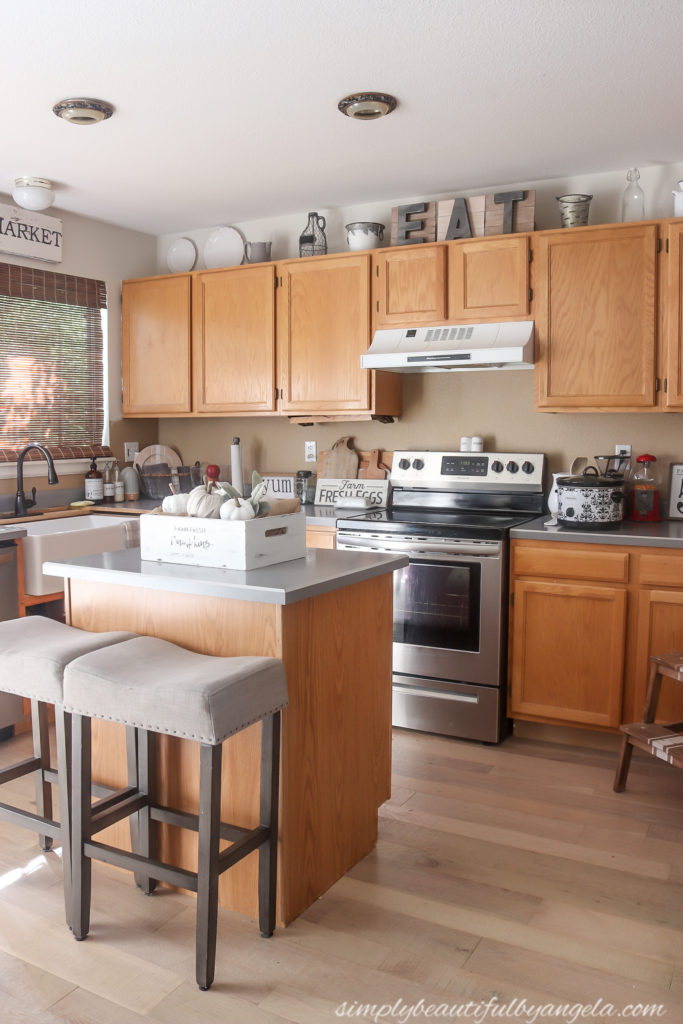
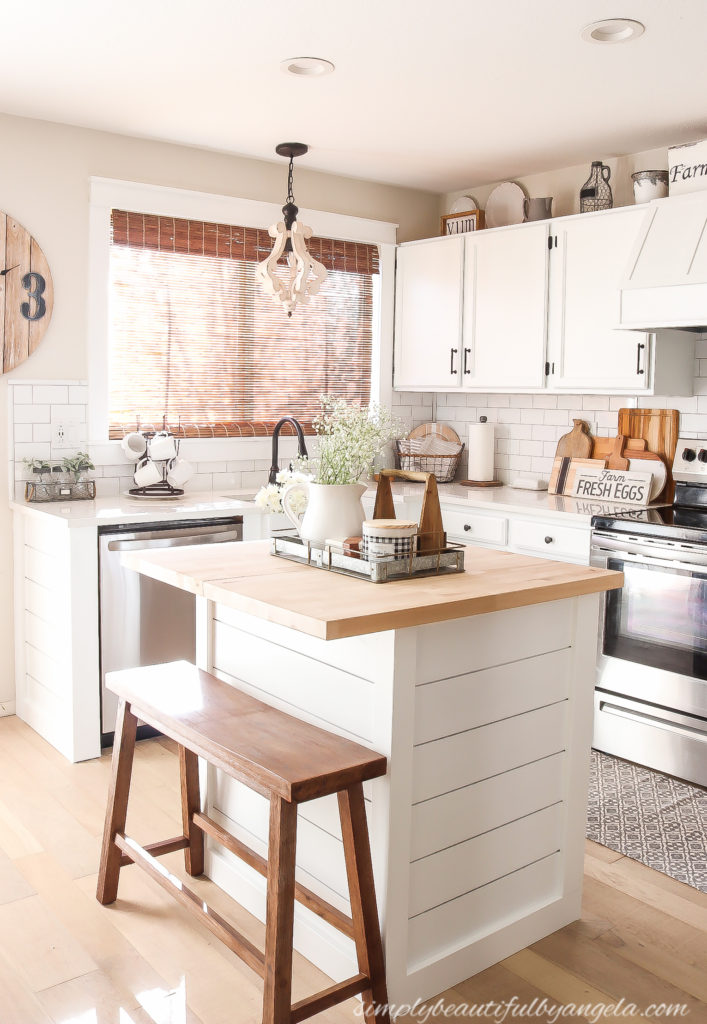
In case you missed it, you catch the full post here. Like all of our room makeovers, we did almost everything ourselves with exception to the countertop installation. Some of the DIYs that went in to this space were:
- farmhouse sink addition
- stove hood vent cover
- island makeover
- subway tile backsplash
- painting the cabinets
Over the next few weeks I plan to share a tutorial on each one in case any of you are considering to attempt a DIY kitchen makeover yourself. Today I want to kick off with the one that started it all–the farmhouse sink install!
Supplies Used:(Affiliate links may be provided for convenience. For more info, see my full disclosure here.)
- Sinkology Fireclay Farmhouse Sink
- Hand Saw
- FrogTape
- Utility Knife
- Hacksaw
- Dremel Saw
- 2x4s
- Wood Screws
- Level
- 1×4 (if installing faucet temporarily before countertops go in)
- Table Saw
- Wood Glue
- Spackle
- Sandpaper
- 1x2s or scrap wood to fit on the sides
- Wood Shims
- Latex Caulk
The entire process was surprisingly not that bad. For years I’ve thought that re-configuring the existing cabinetry to fit a farmhouse sink would be really difficult, so we kept putting it off. When I saw that this Fireclay Farmhouse Sink that I had been eyeing had gone on sale at the same time I had a 10% coupon, I saw it as fate and HAD to jump on it.
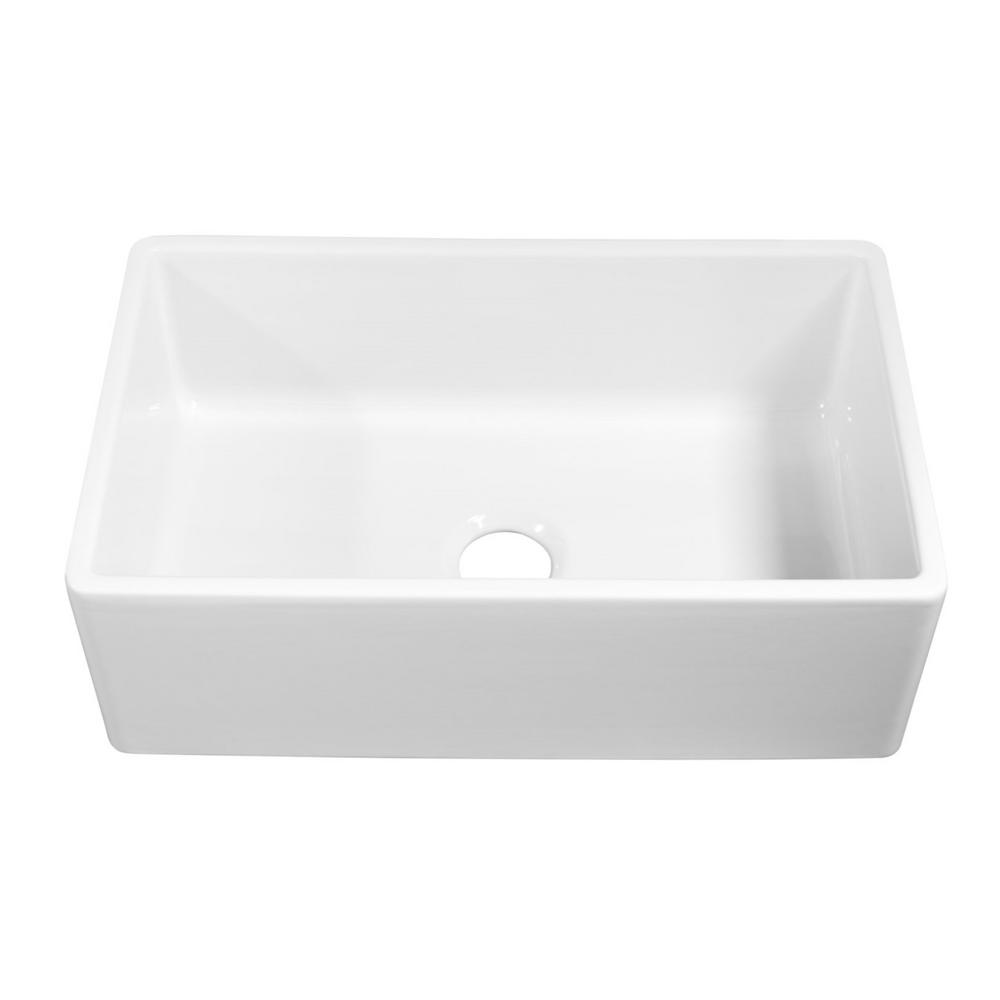
But then it sat in the garage for over a month while we worked up the nerve for the install. Finally we set aside a few hours one Saturday and got to work!
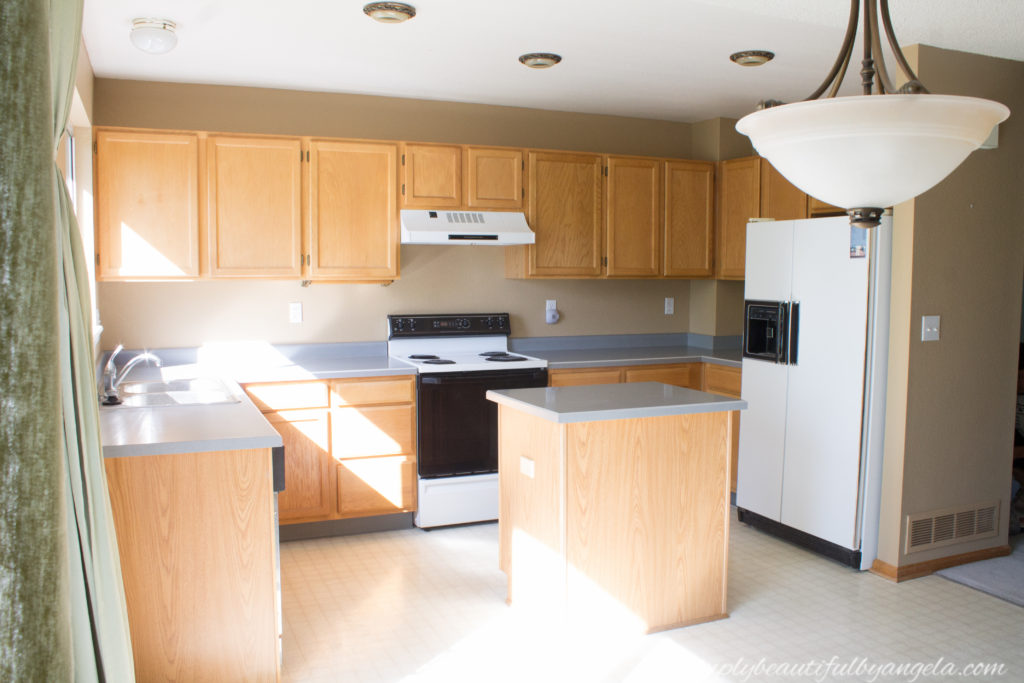
I cannot believe that I didn’t take a before picture of the old sink! I could have sworn that I did, but I guess I was just too dang excited and nervous to get started that I totally spaced it. You can kind of get a peek of our stainless steel drop in sink in this picture.
1. Remove Doors & Disconnect Plumbing
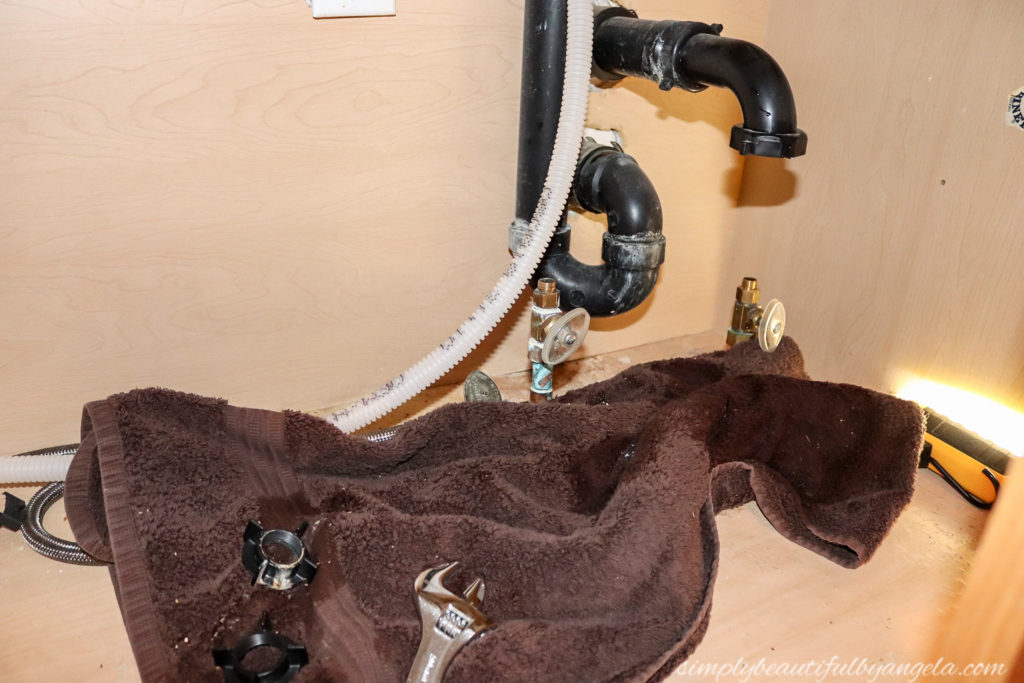
The first step is to shut off the water and to disconnect the plumbing. You’ll also pop out any faux drawers that you may have and remove the cabinet doors.
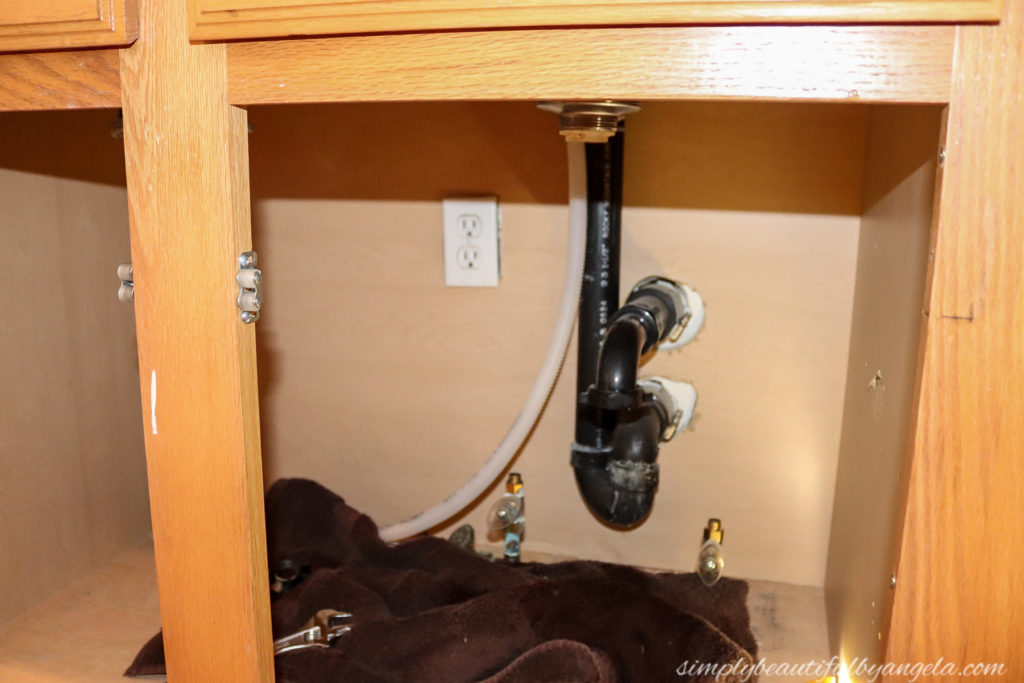
Make sure that you have a towel laid down or bucket handy catch any water sitting in the P-trap.
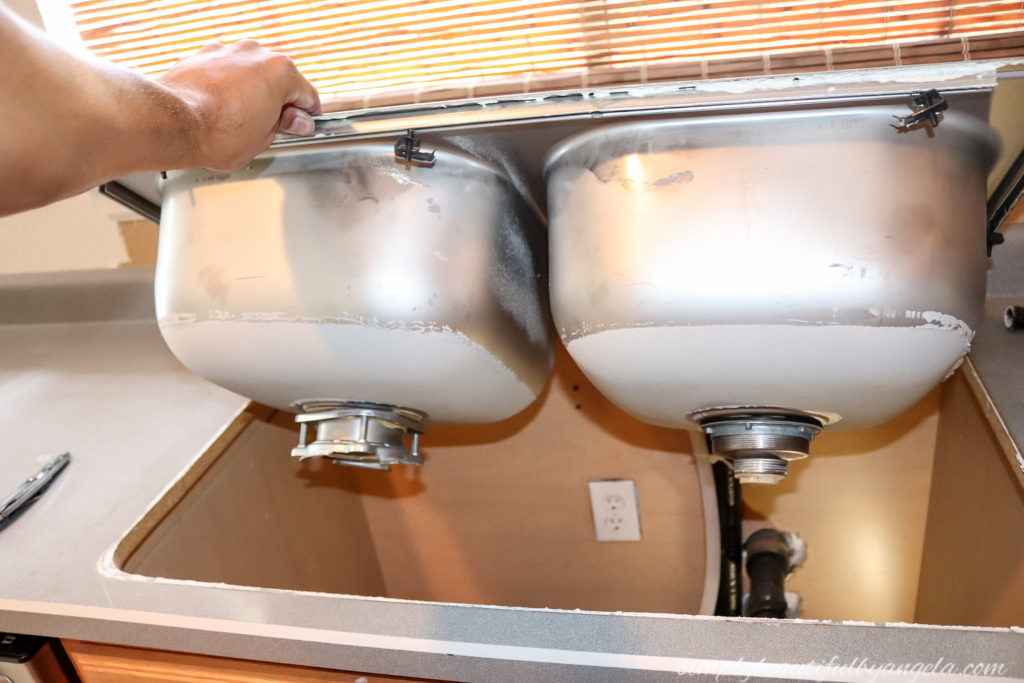
2. Remove Old Sink
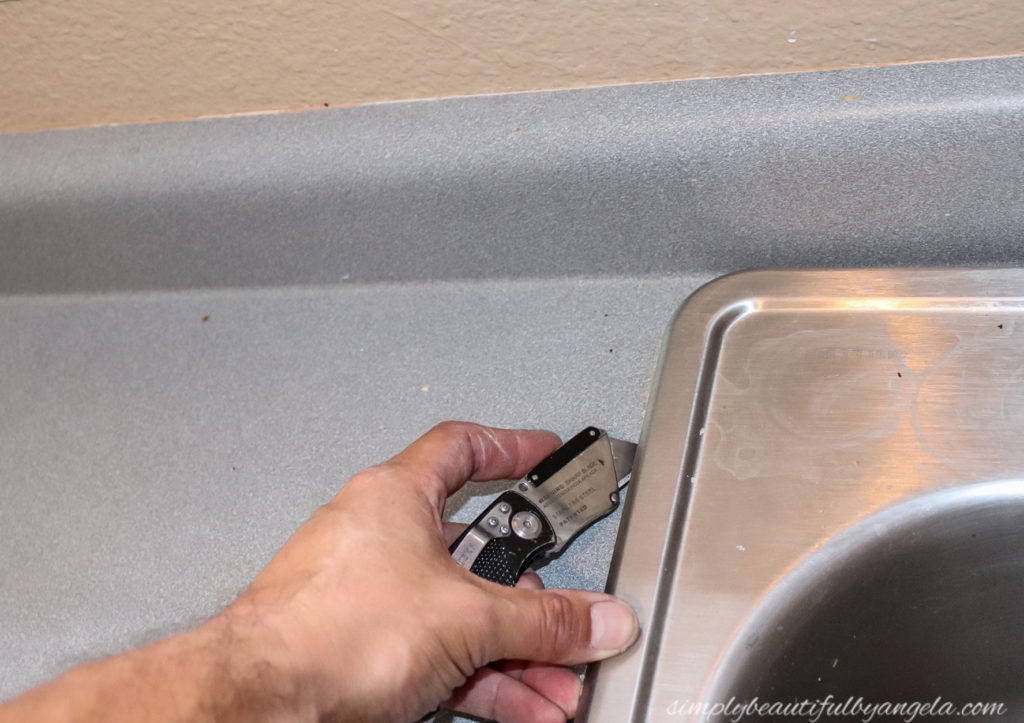
Using a utility knife, score the caulk around the edge of the old sink and pop it out.
3. Cut Countertop, Top of Cabinet and Cross Trim Piece
This next step could vary depending on what your plans are. For us, we knew that it would be at least a month before our new countertops would be installed. Therefore we wanted to keep most of the old countertop in place since we still planned on utilizing the kitchen in the meantime (otherwise you could remove the entire countertop at this point).
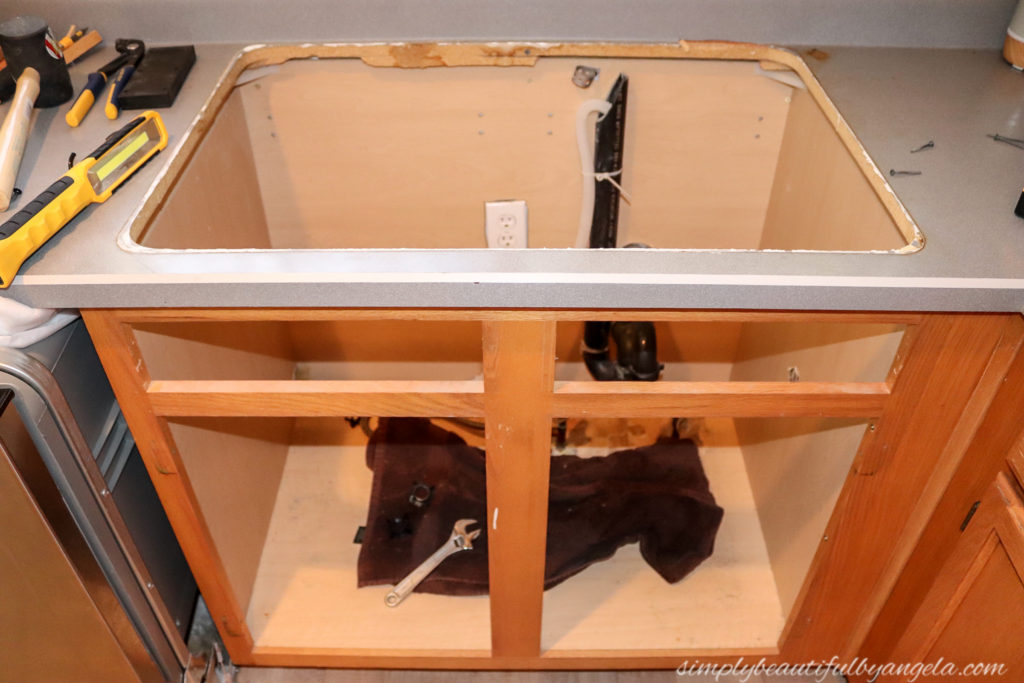
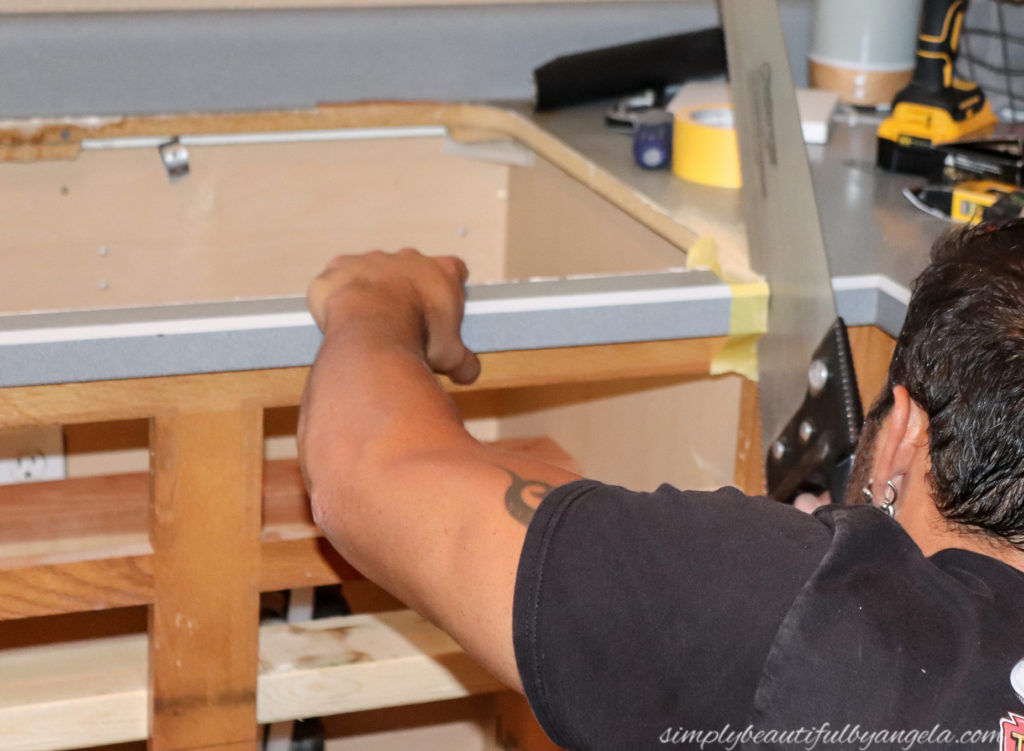
Anthony placed some painters tape along the edge and then used a handsaw to remove the front portion of the counter, as well as the top piece of the cabinet and the cross trim piece that went under the old faux drawers. The painter’s tape makes for a cleaner cut.
4. Cut Down Middle Cabinet Support
Next, you’ll measure where the farmhouse sink will need to sit. We did this by measuring down from the bottom of the countertop to the top of the cross trim piece, and added 1/4″ for wiggle room between the sink and the counter.
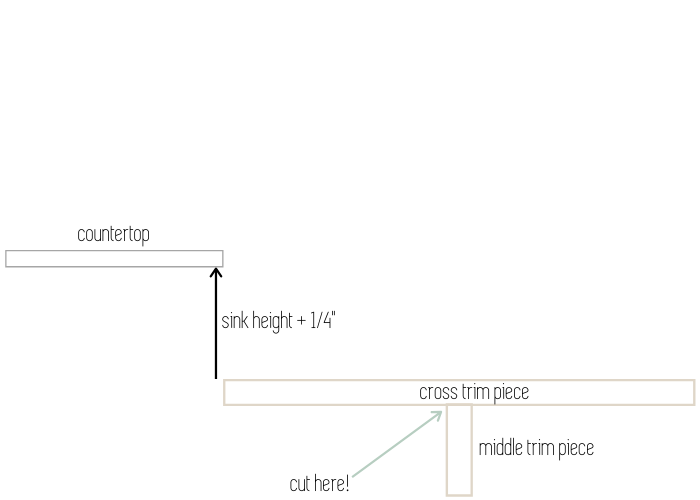
You’ll take that measurement and add the width of the cross piece support that will be reinstalled, then use a level to mark a line on the middle cabinet support before using a utility knife to score it.
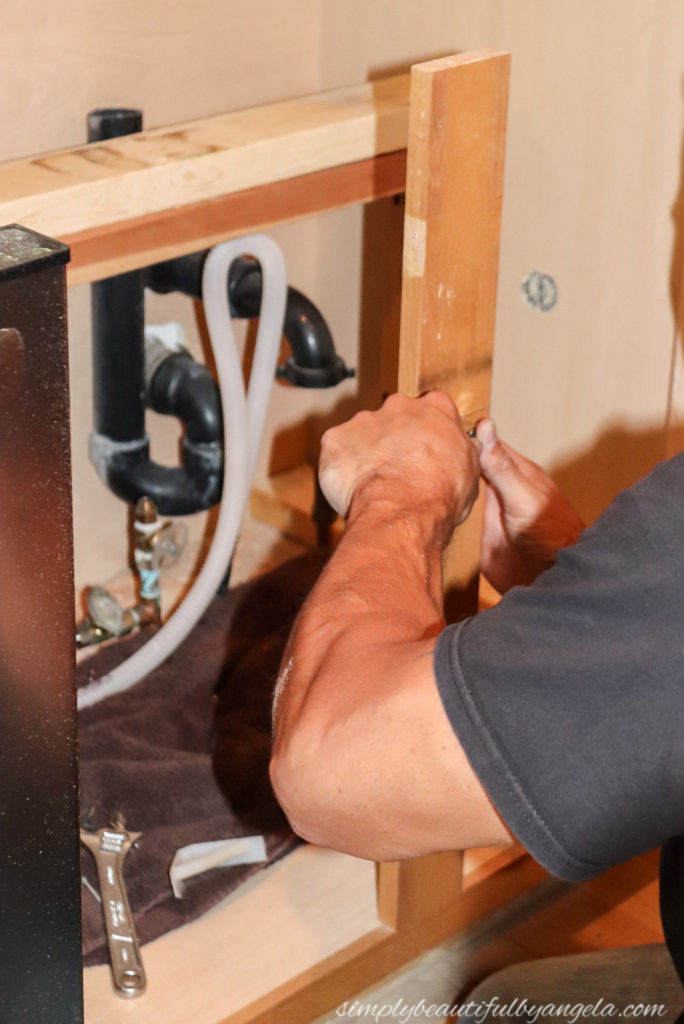
You can then use either a hacksaw or a Dremmel saw if you have one to remove it. The hubby started with a hacksaw but got impatient and switched over to the Dremmel.
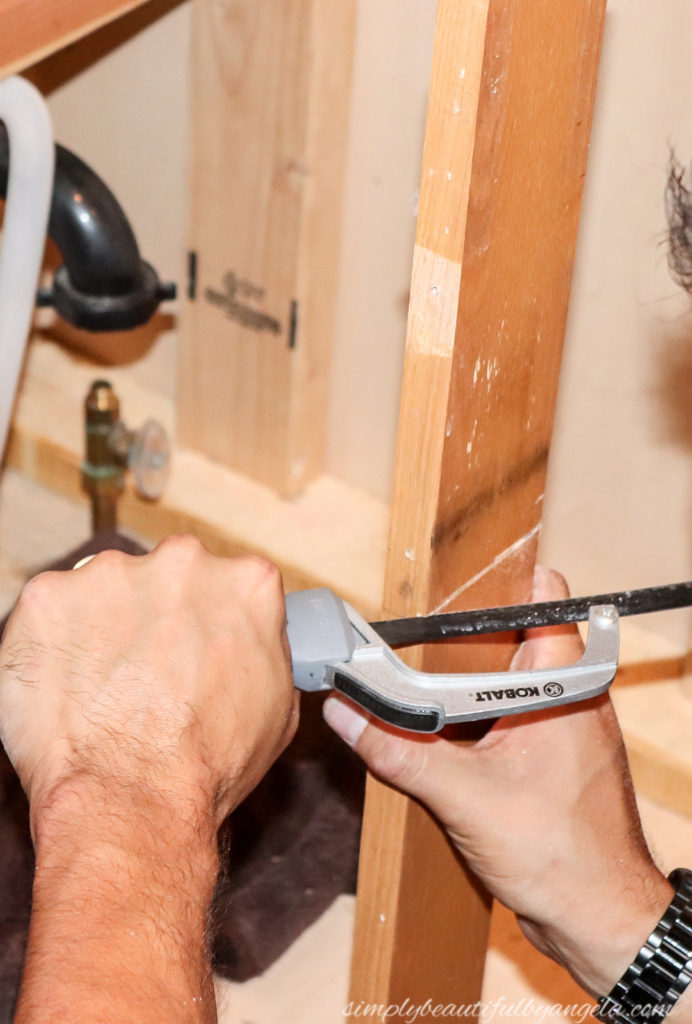
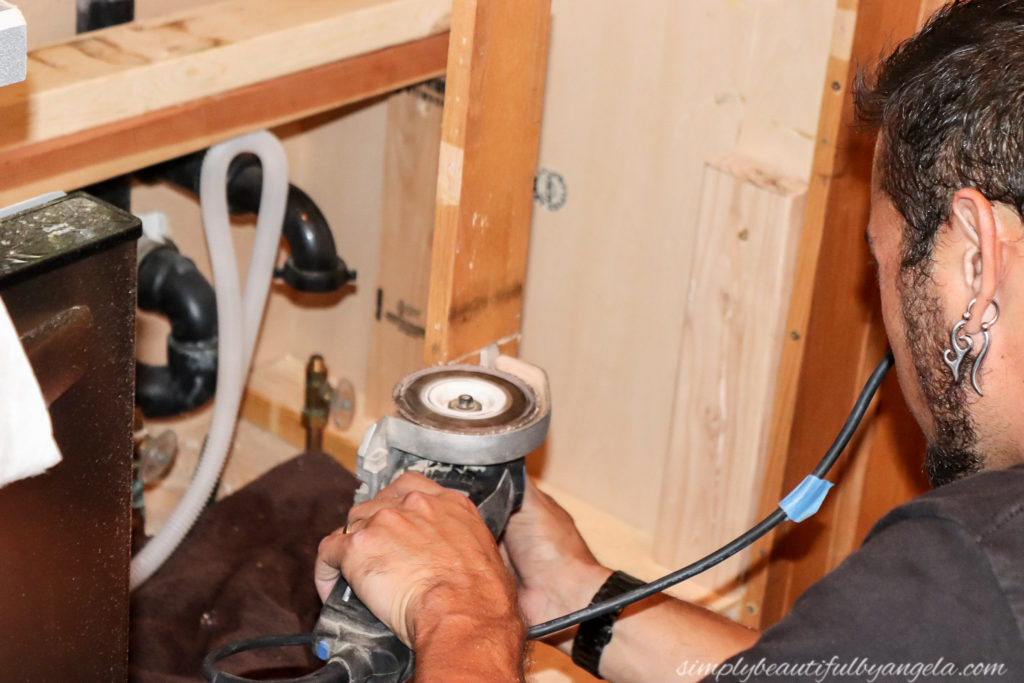
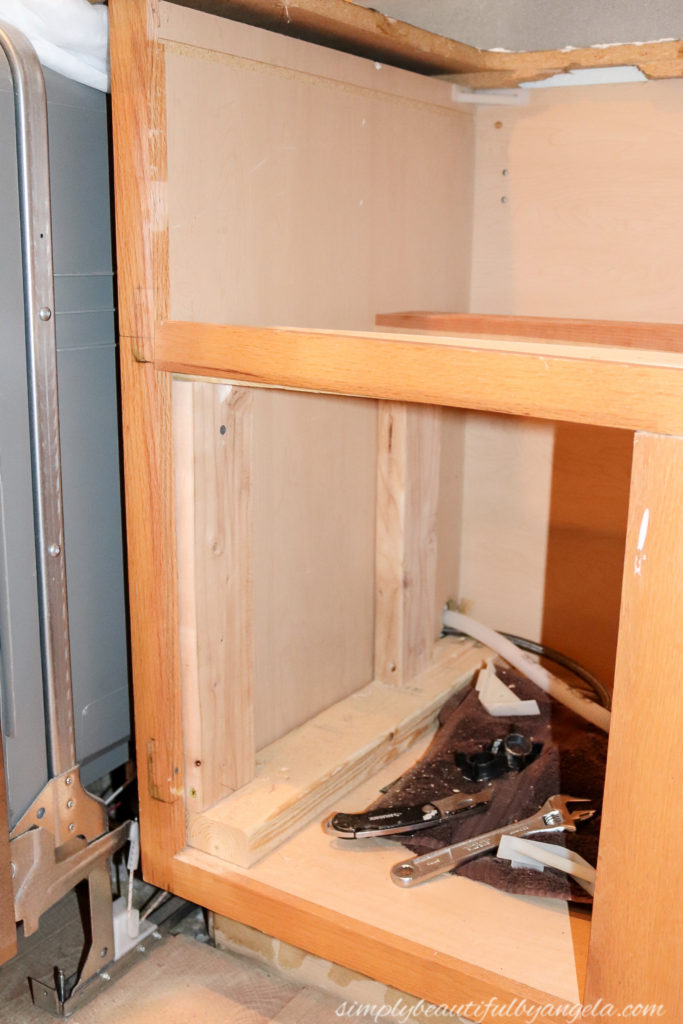
5. Build 2×4 Support System
You may have noticed in the pictures above that we actually built the 2×4 support system prior to cutting any of the cabinets, but I didn’t get a very good picture of it so I’m sharing that part here haha.
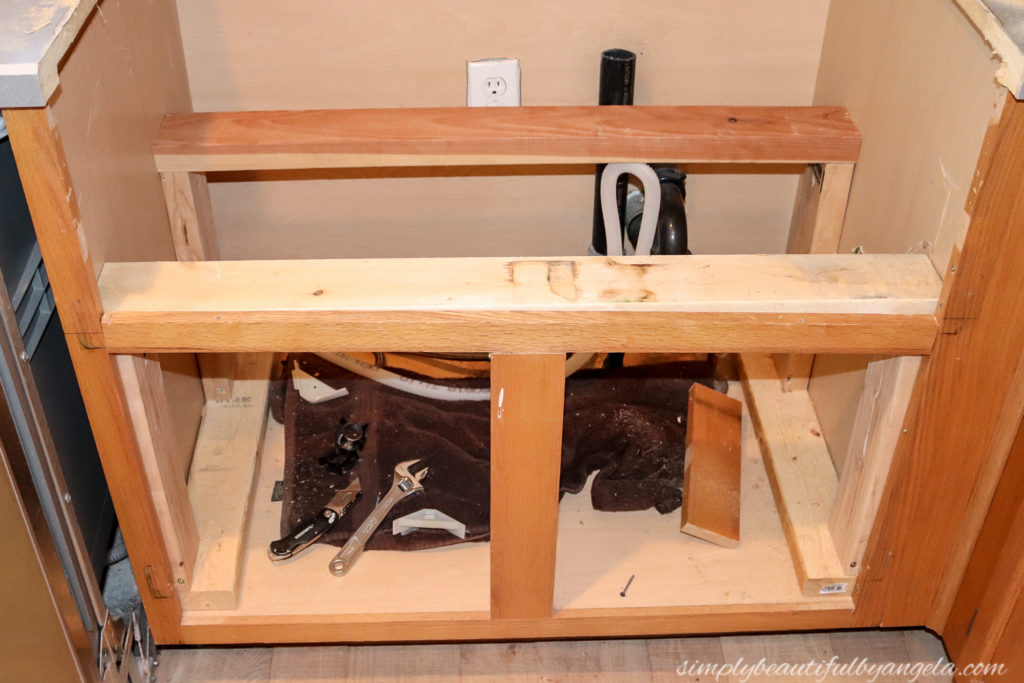
It can really be done either way that you prefer. Once the 2×4 frame built, you can reinstall the cross support piece by nailing it in to the 2×4 behind it.
6. Make Temporary Setup for Faucet
Like I mentioned previously, our new counters wouldn’t be in for several more weeks and we definitely needed running water in here in the meantime! So we stuck a 1×4 accross the back of the cabinet and used a 1-1/4 In Hole Saw to drill a faucet hole.
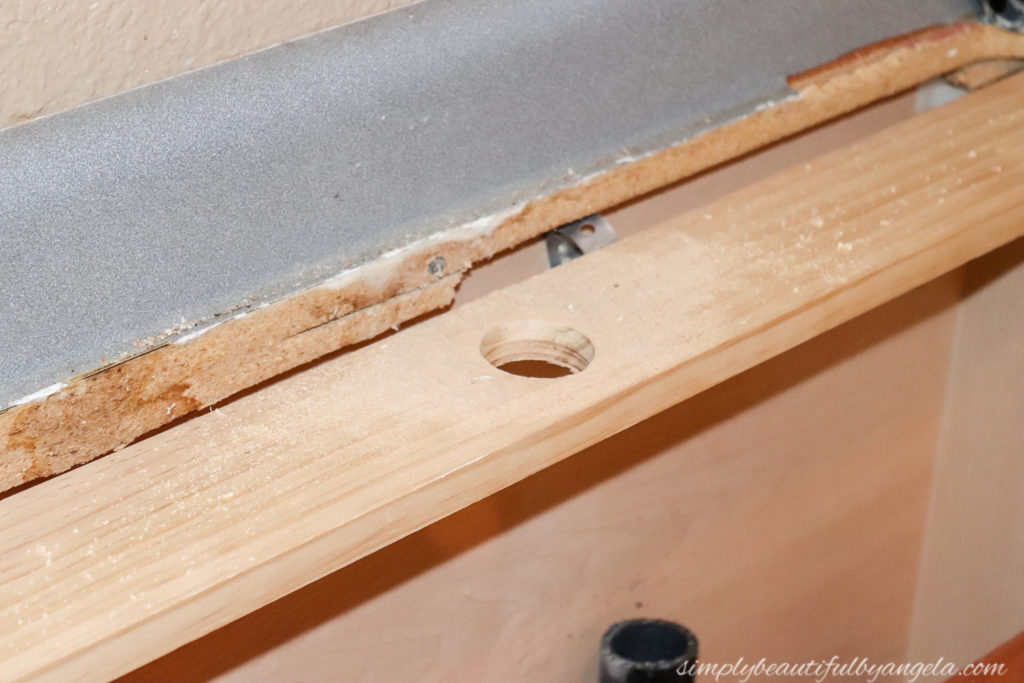
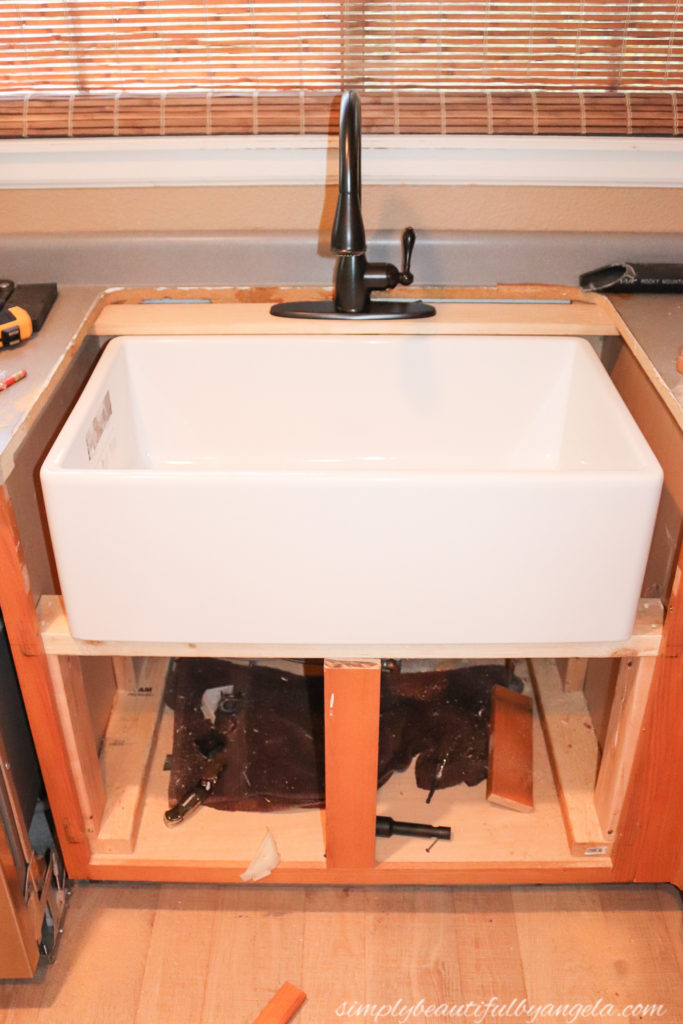
At this point you can now reinstall the plumbing and faucet, but I would recommend putting a bucket underneath until the new counters are installed. We learned that since the sink was not yet mounted in place, it had a tendency to shift which ended up loosening the connection a bit and caused it to leak.
For the faucet we chose the Pfister Canton in Tuscan Bronze and I’m soooo in love with it! The design is exactly what I have always wanted and the quality is amazing.
7. Add Filler Pieces
It was recommended by the countertop installation company to wait on putting in the filler pieces on the sides until the new counters are installed just in case they need to move the sink any.
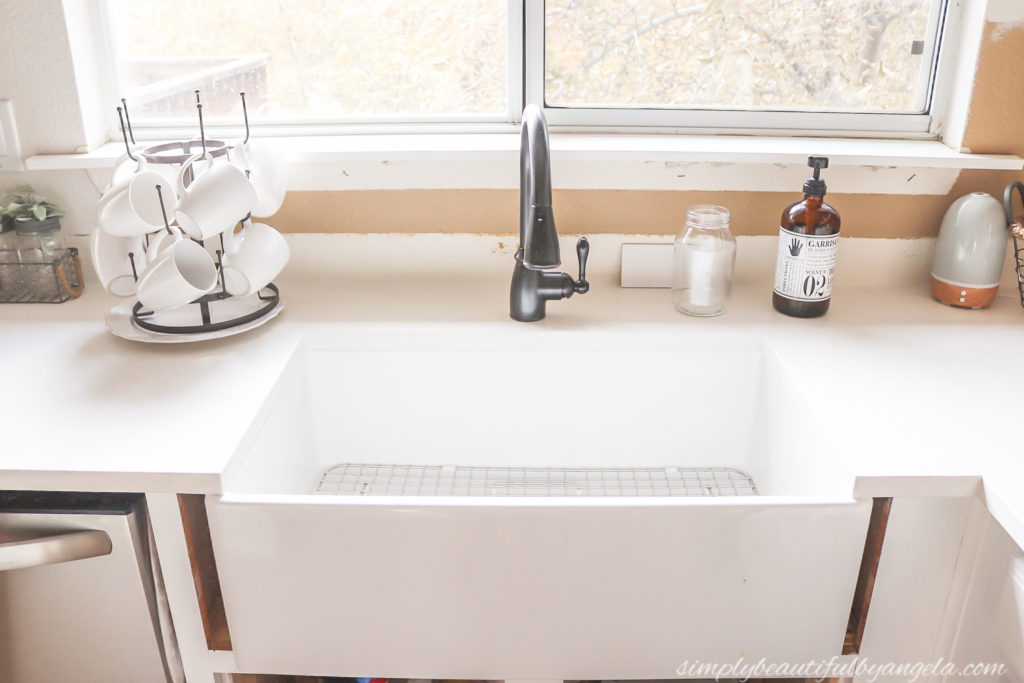
We found that a 1×2 was a good width, but it could be different for everyone. Once they are cut to size, run a line of wood glue against the side that will sit next to the cabinet frame and then slide a wood shim between that piece and the sink to create pressure as it dries.
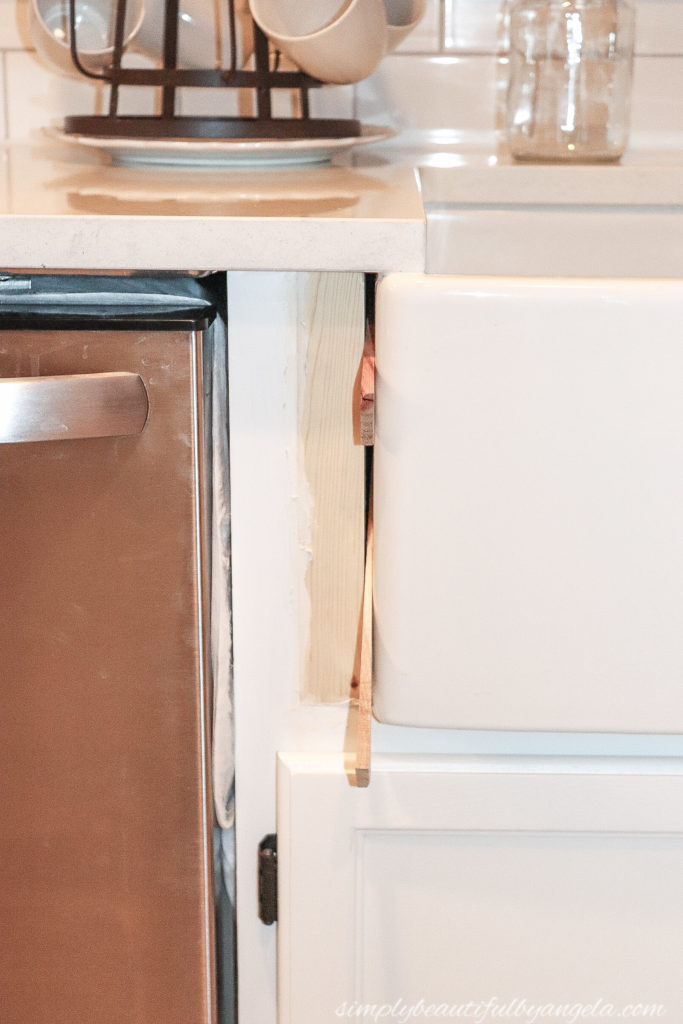
Once it dries, spackle the seam, sand and reapply if necessary to create a seamless look. Then, caulk the gap and paint.
8. Rebuild Cabinet Doors
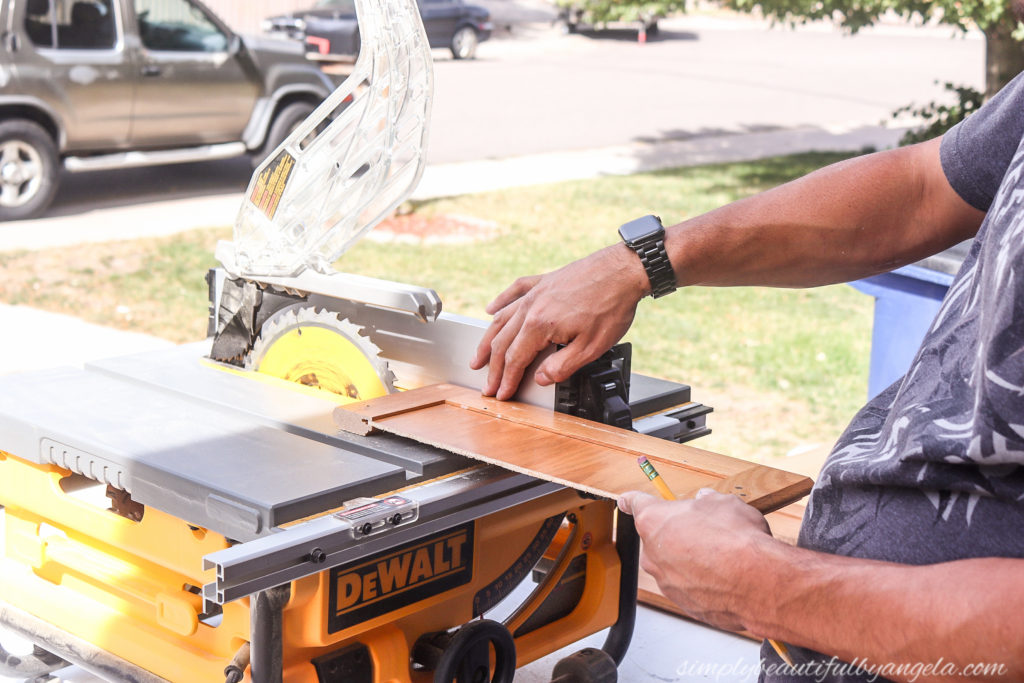
Since the size of the cabinet framing has changed, the doors need to be rebuilt. Determine what the new measurement of the doors should be minus the top of the frame, and run them through the table saw at that point.
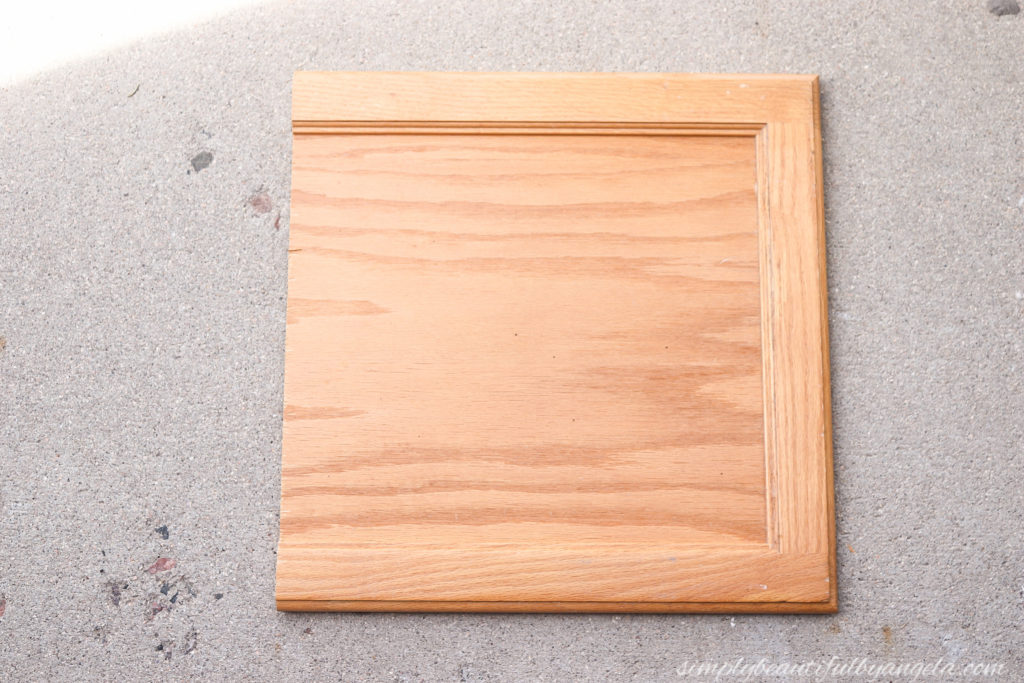
Next, run the piece that was just cut off so that you can have the top piece of the frame.
We drilled holes in each to try to join the pieces with wood dowels, but it was difficult to line them up so we decided to just wood glue them and hope for the best.
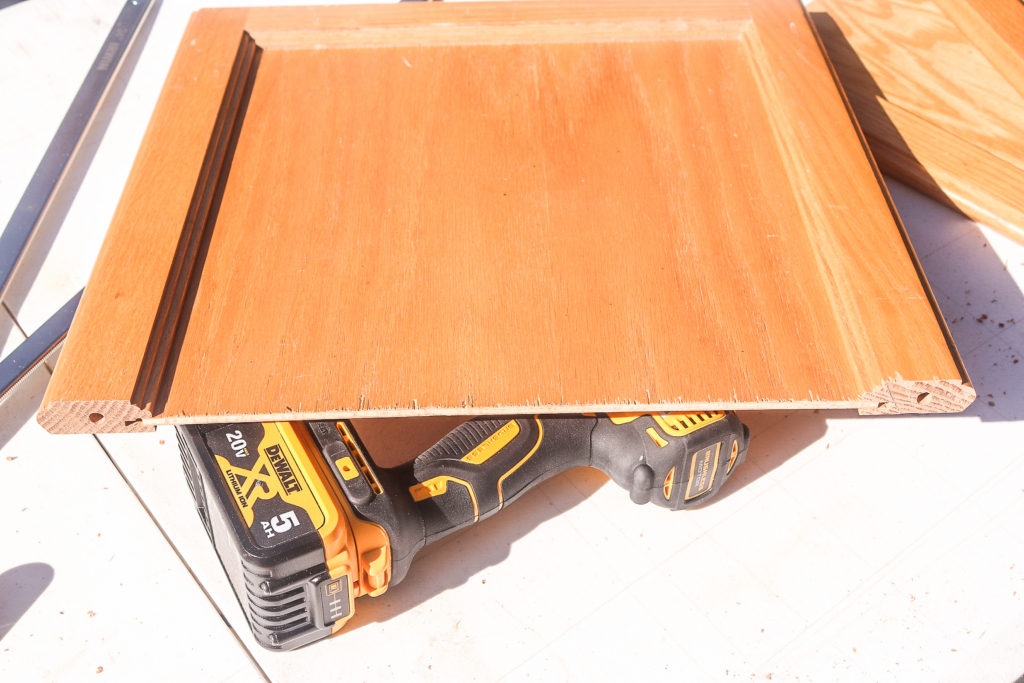
Of course later on that we actually saw this wood doweling kit that would make doing this crazy easy. So far they are holding up, but if they sver fall apart we will definitely be getting one of those kits to rebuild them.
Once the wood glue is dry all that’s left is to spackle, sand, and paint.
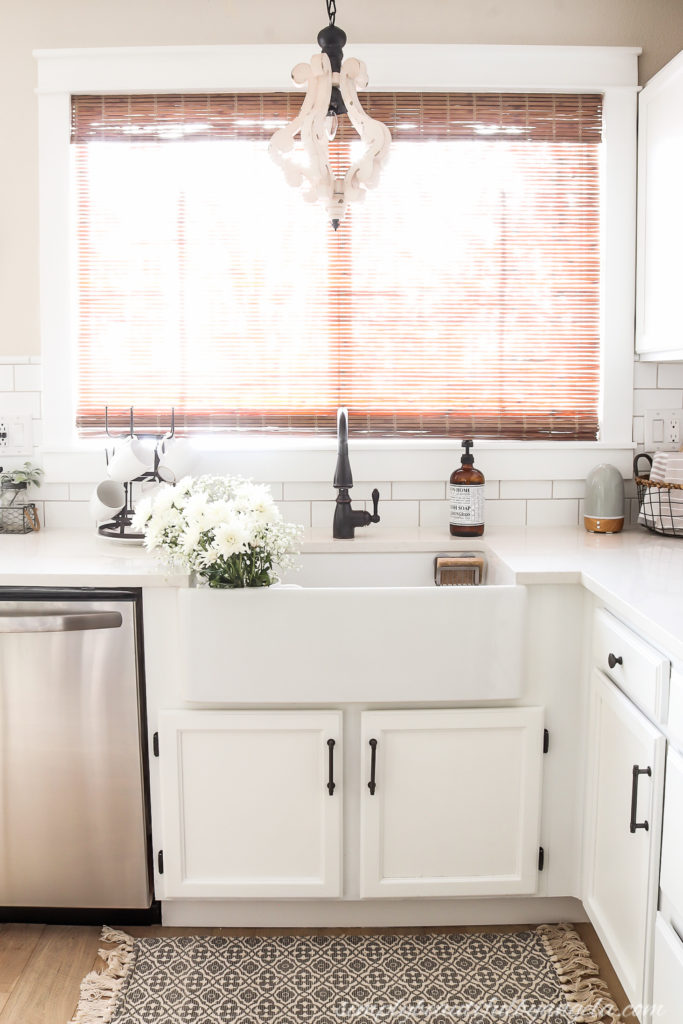
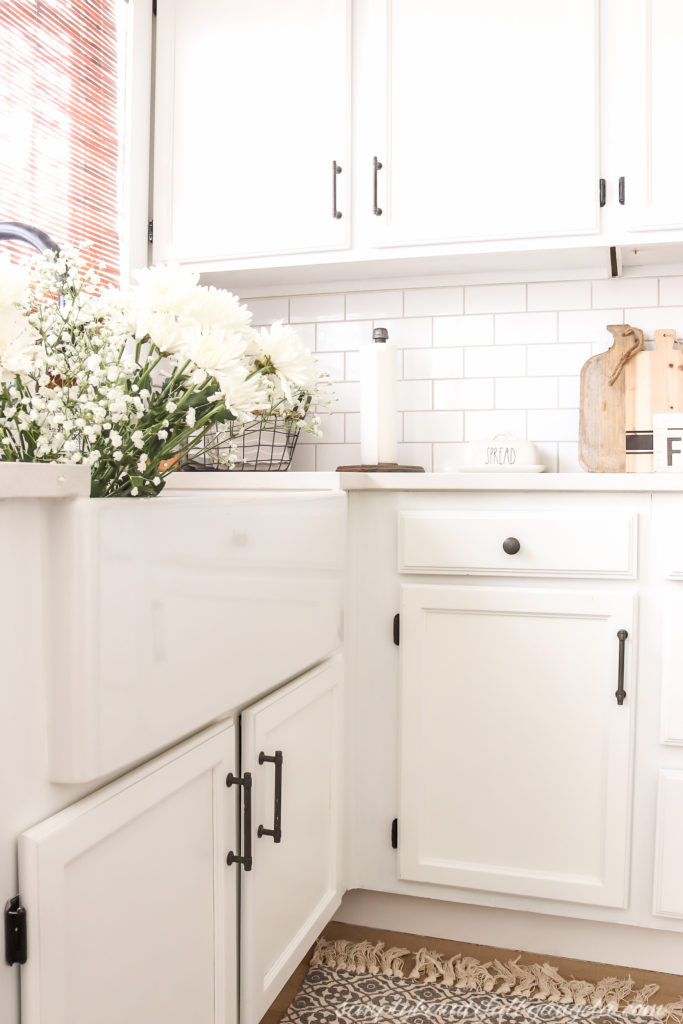
I purchased this Sinkology Bottom Grid to protect our new beautiful investment. It prevents pots and pans from bashing against the bottom.
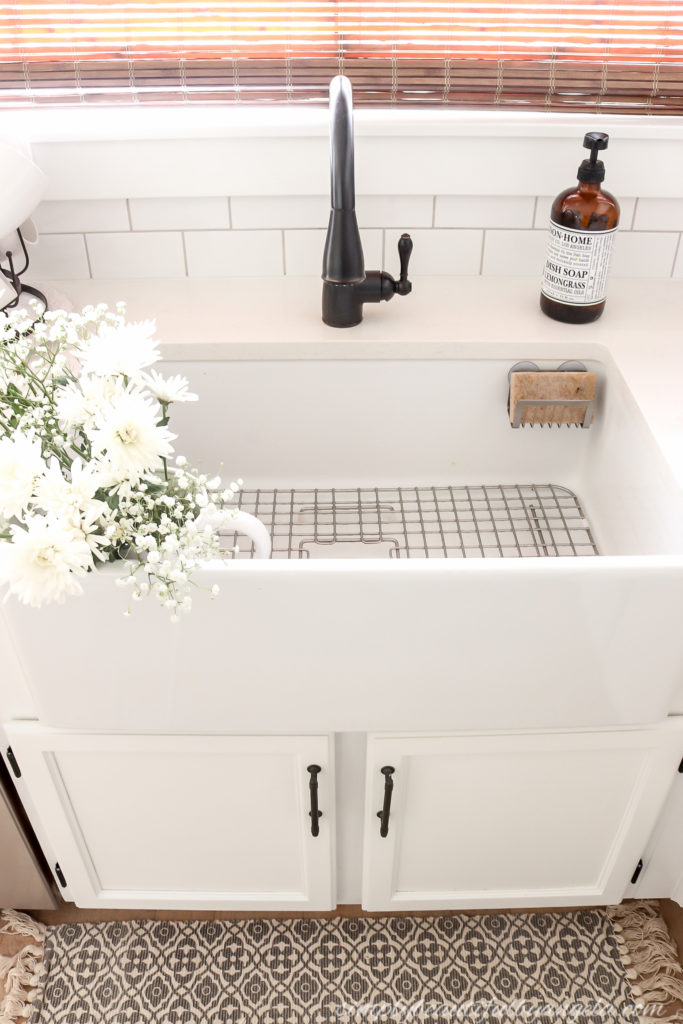
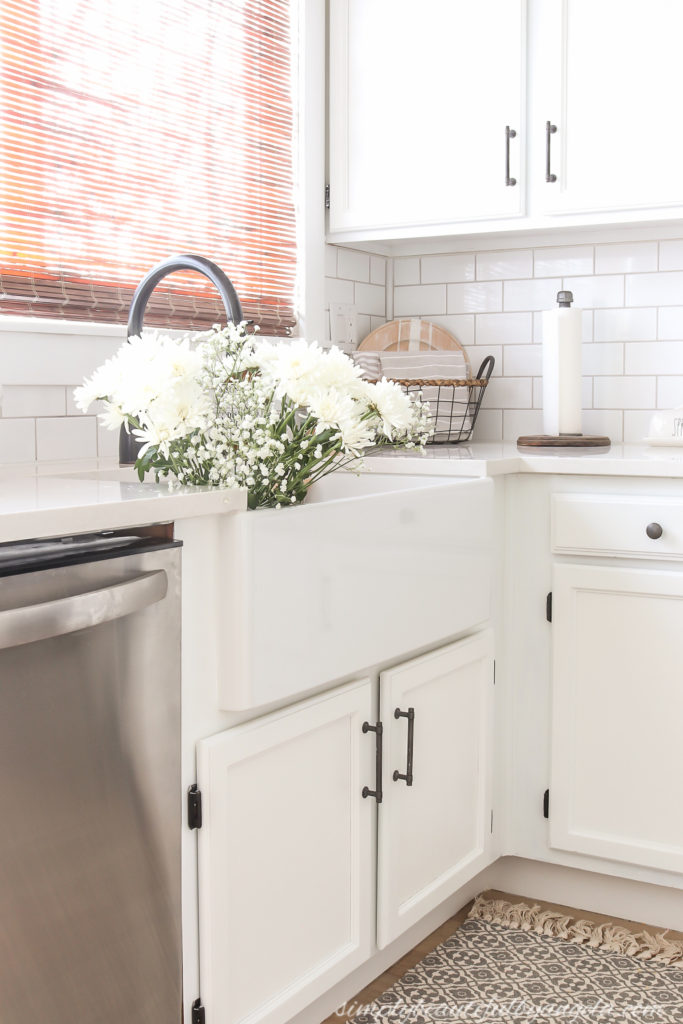
I’ve admired farmhouse sinks for so many years, it’s still so surreal that we finally our very own!
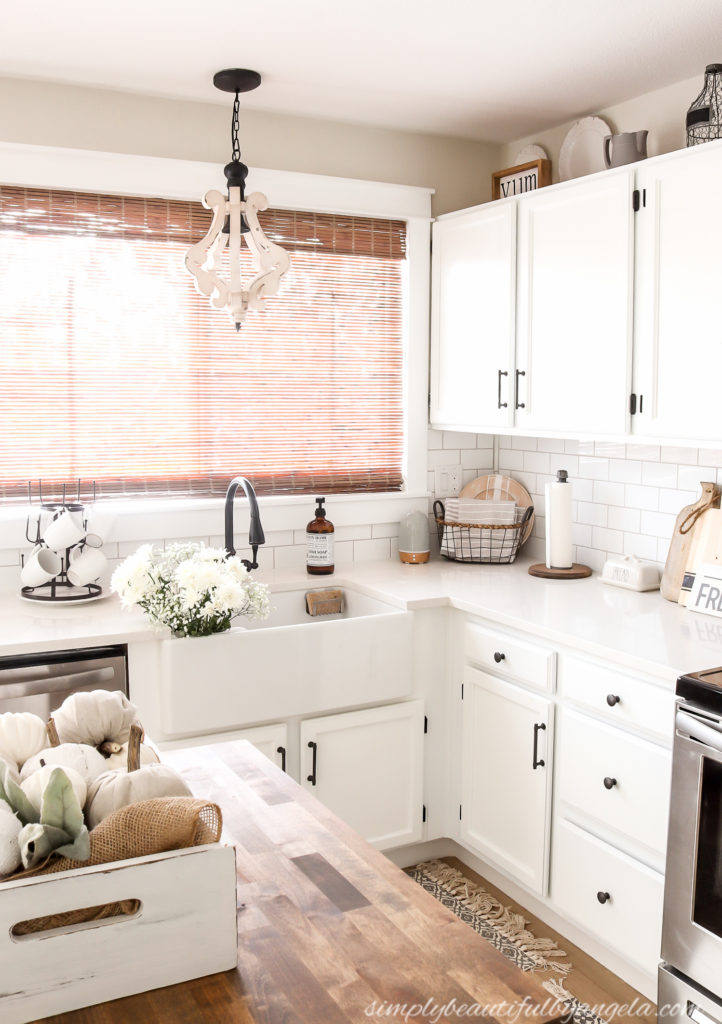
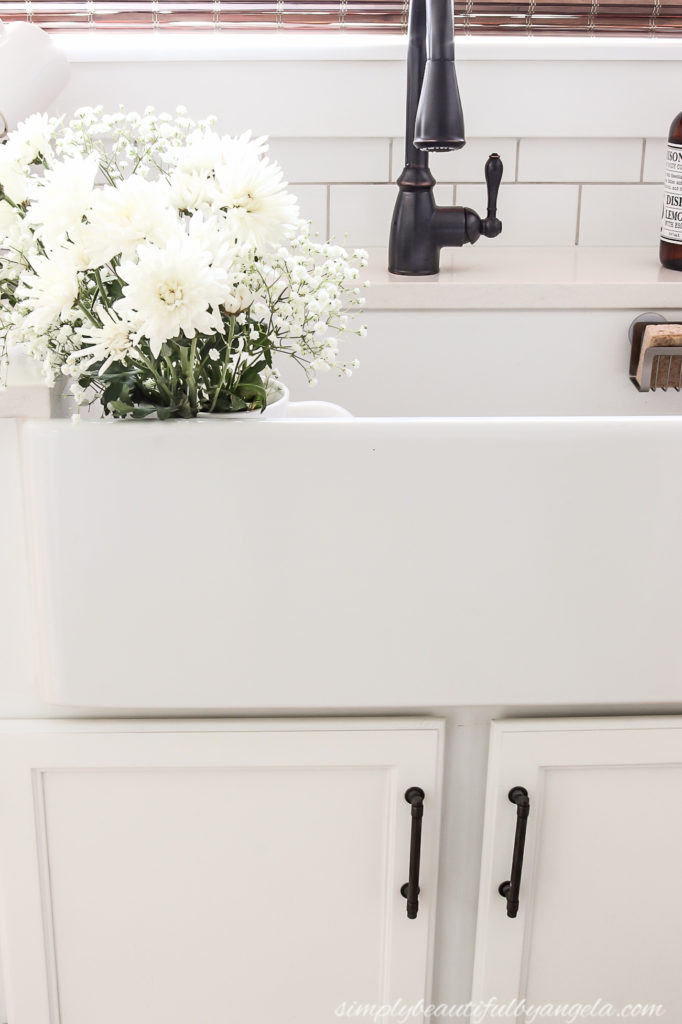
Washing dishes will always be a chore, but it’s much more enjoyable now! Between the large basin and the tall faucet, we have so much extra space to move things around compared to our old set up.
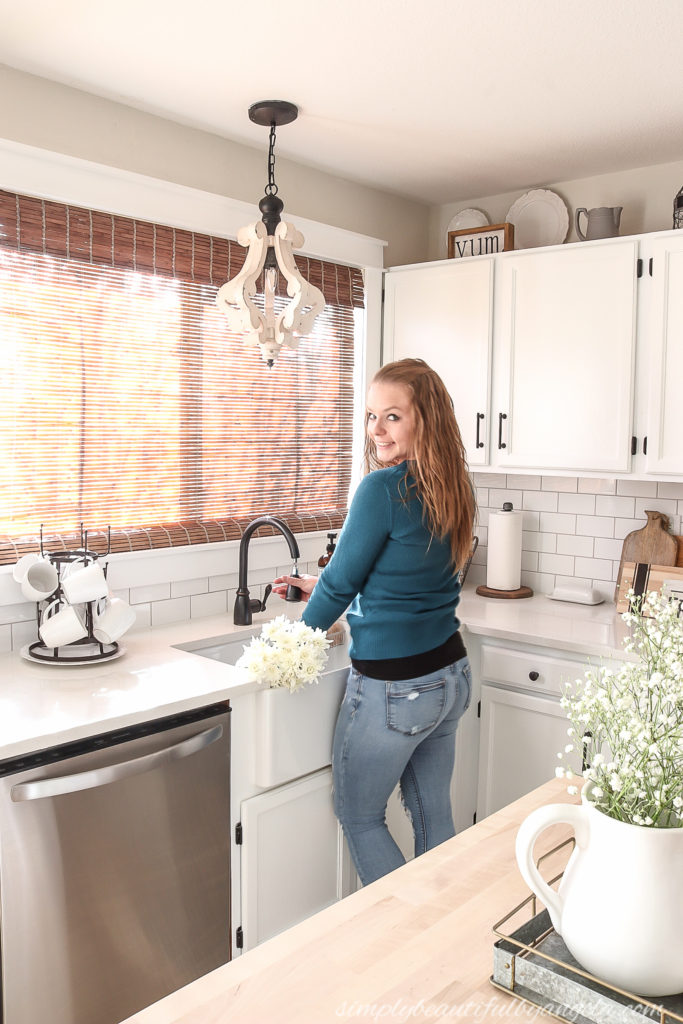
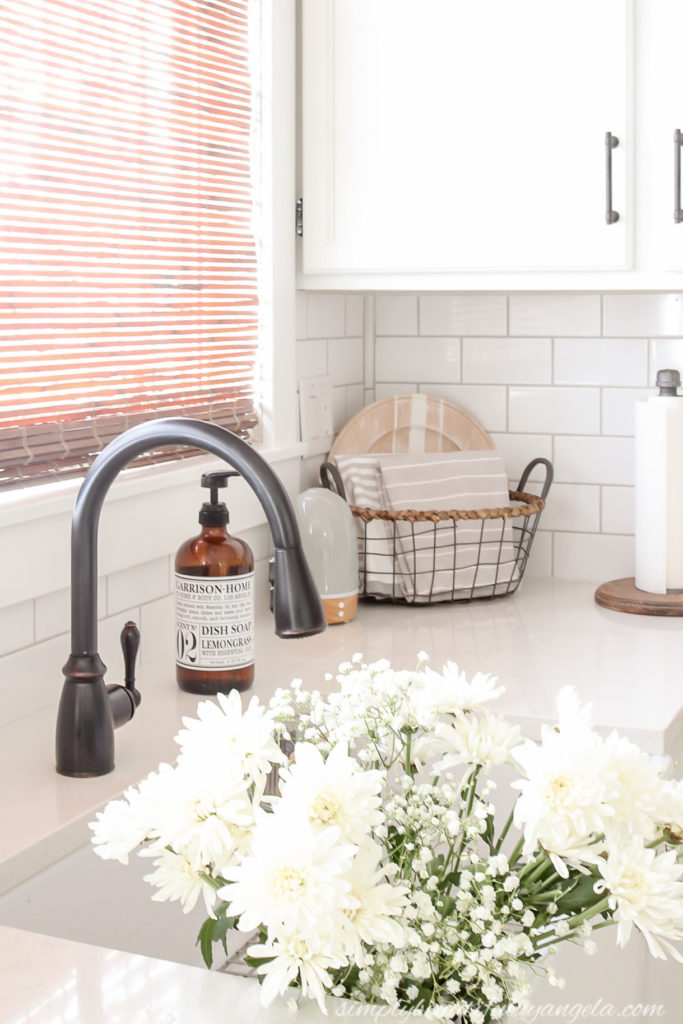
I’m so glad that we saved the money and didn’t hire out like I had started to consider because it really wasn’t as bad as I made it out to be in my mind.
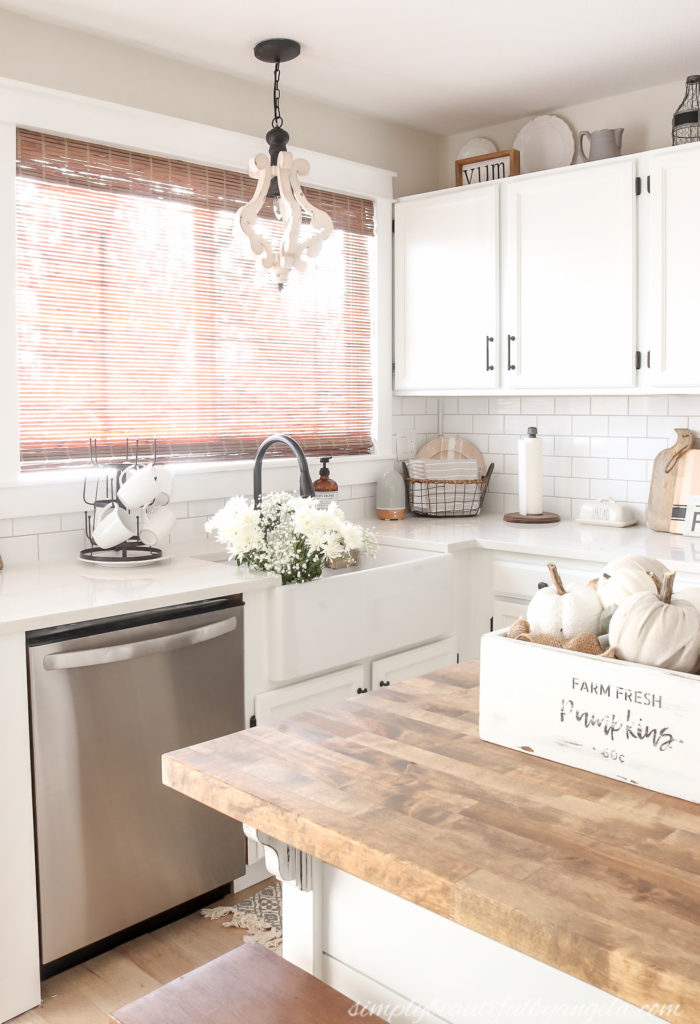
I’m so glad that you stopped by today! I hope you all have a fantastic rest of the week and I will chat with you guys next week about the island makeover 🙂
Linking up to these awesome parties