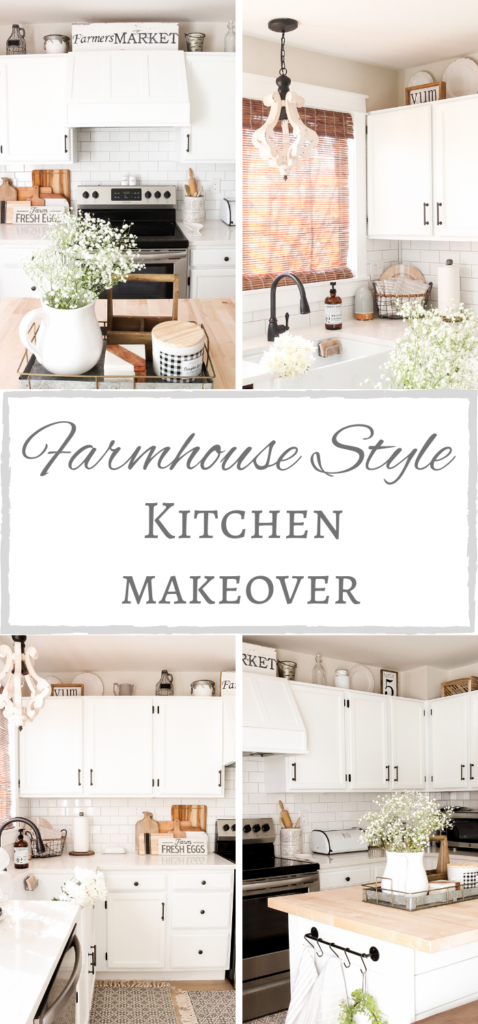
Today is THE DAY my friends! Just six short weeks ago I remember being super skeptical about being able to pull off an entire kitchen makeover in such a short amount of time. But with exception to the island (which was totally out of my control and I’ll get to in a bit…) I am happy to announce that it is done!
This was my sixth time participating in the One Room Challenge hosted by Linda from Calling it Home.

I’m glad that I decided to join this season and I’m even more glad that I chose the kitchen. If I had tackled it on my own terms it probably would have been drawn out over several months at least. You gotta love that motivation that this challenge provides!
So I took a gazillion pictures to share with you guys–seriously, it was actually really hard to narrow them down. But first let’s start by taking a quick peek back at all of the fun that we had along the way. I’ll try to be brief since I know you are all excited to see the reveal pics, but you can click on the titles to go directly to each week’s post for more info on that week 🙂
Week 1: Farmhouse Kitchen Plans
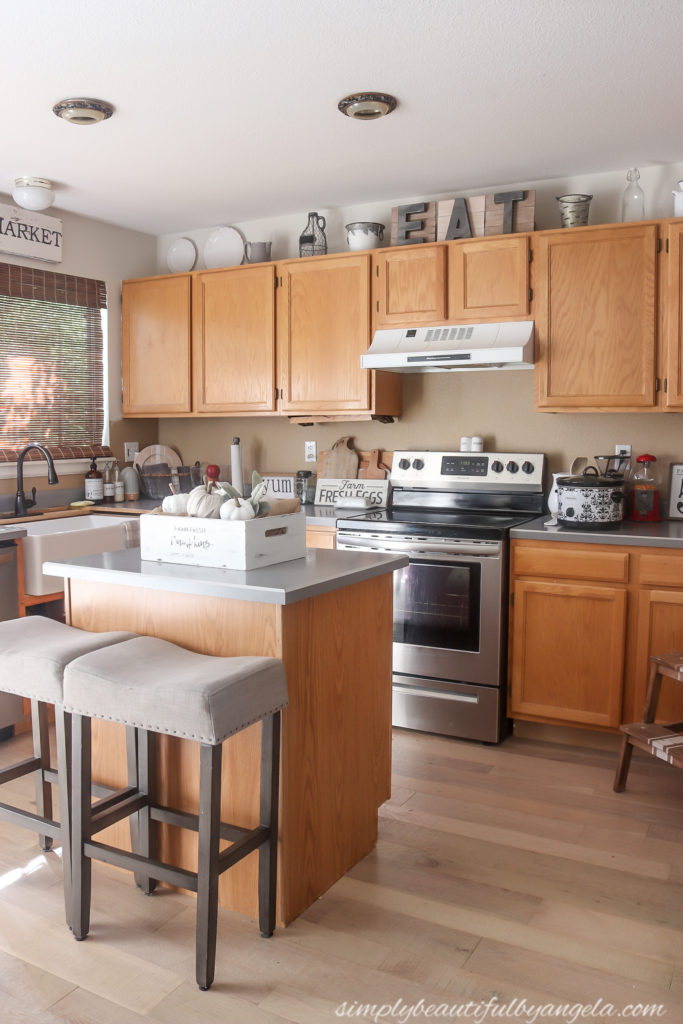
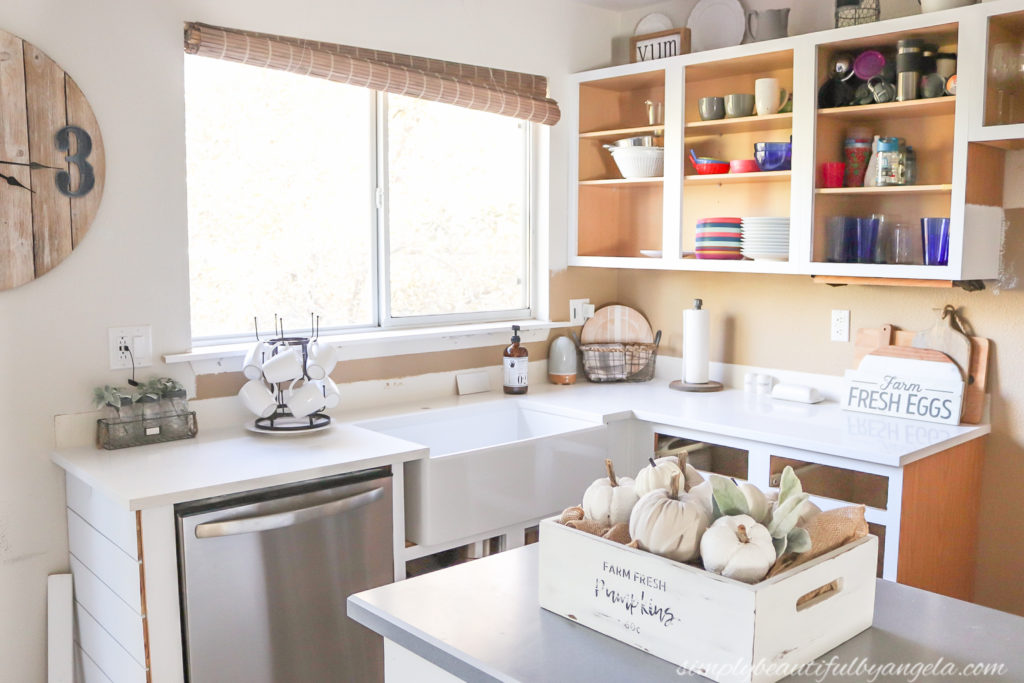
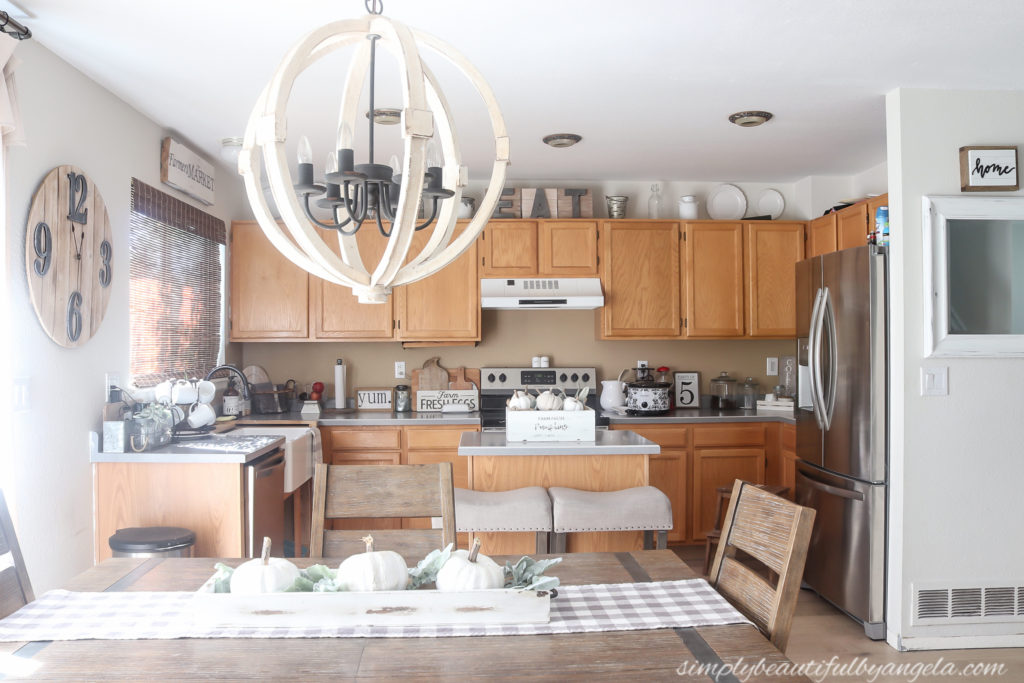
The first week I shared the before pictures of our kitchen in all of its dated glory. I mentioned that I’ve been itching to take it from 90s to farmhouse since the day we first saw this house.
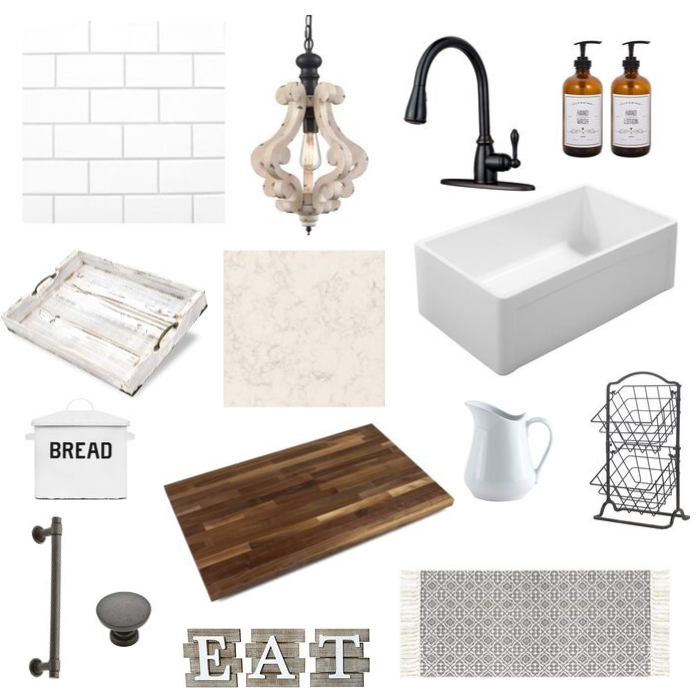
I also shared the mood board that I created to help envision how I wanted this space to look.
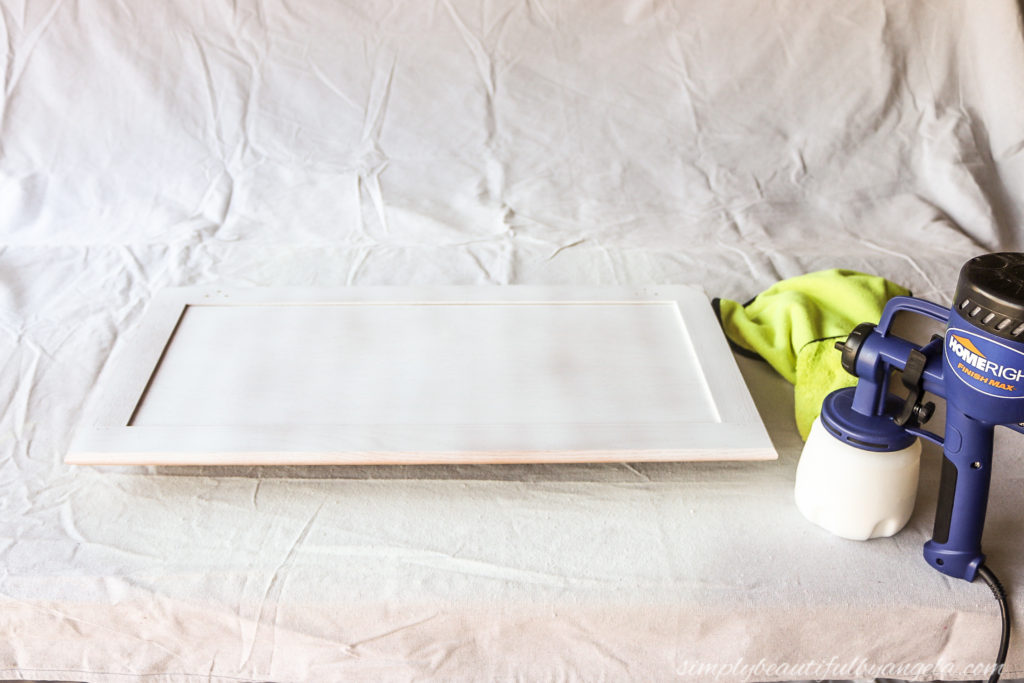
Week 2: Cabinet Progress
I started with the cabinets since I knew from my previous cabinet painting experiences that they were going to be tedious. However I happily discovered that my new HomeRight paint sprayer made the whole process go soooo much smoother and quicker than I was used to. Definitely one of my smartest purchases ever!
Week 3: New Countertops!
Week 3 was probably the most exciting because the new quartz countertops were installed! It was the only major splurge for this entire makeover and I’ve been saving for them since we bought the house. It truly felt like a dream come true to see those beauties finally installed.
Week 4: The Backsplash
This week was by far the hardest. The backsplash took a lot longer than I thought it would, setting all of those individual tiles by myself was no joke!
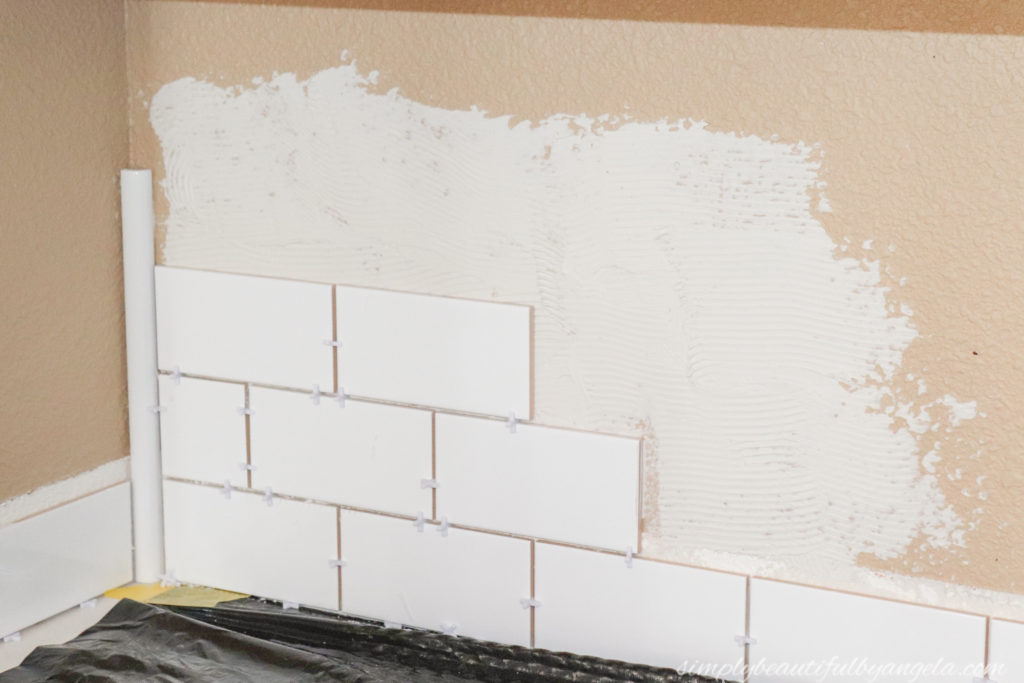
But by the time I was done I felt like it really starting bringing the whole space together!
Week 5: Wrapping Up, Sort Of?
Last week I admitted that I was freaking out just a tad about wrapping everything up in time! I also mentioned that the butcher block for the island came cracked, and that the new one wouldn’t be here in time for the pictures which I was really bummed about.
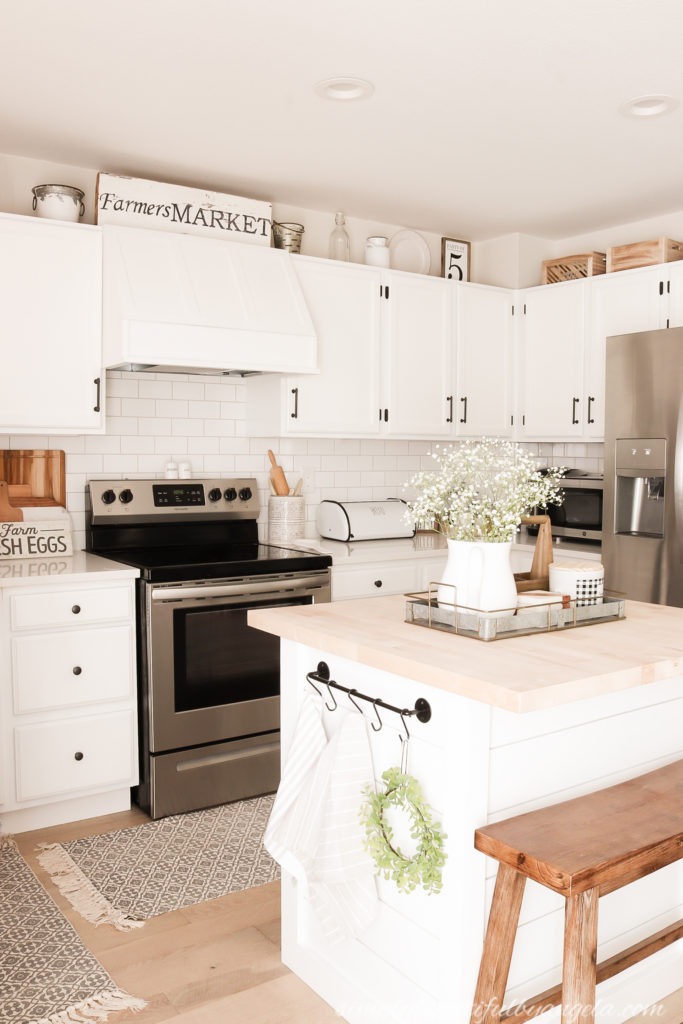
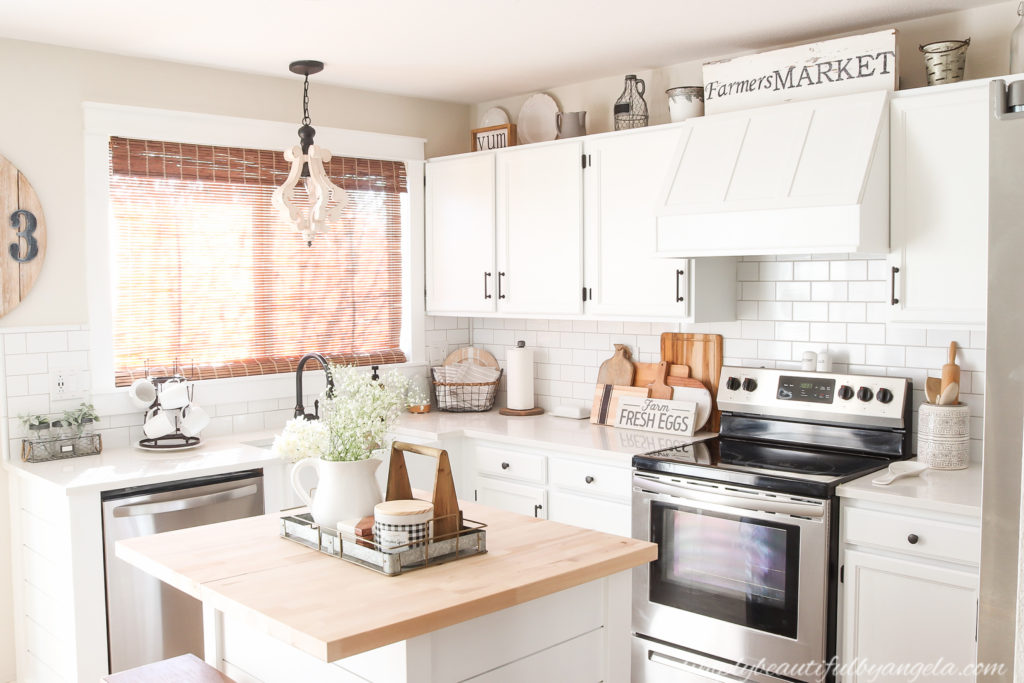
Which brings us to today. I’ve spent the last week covered in spackle, caulk and paint trying to wrap it all up in time, and I am so happy to FINALLY introduce you guys to the new kitchen!
I’m still experiencing a bit of disbelief that we have the farmhouse style kitchen of my dreams. And the fact that we did everything ourselves (minus the counters of course) is such an amazing feeling!
It’s already become somewhat difficult to recall what the old kitchen looked like. When I look back at the before pictures I’m shocked at how much it has changed!
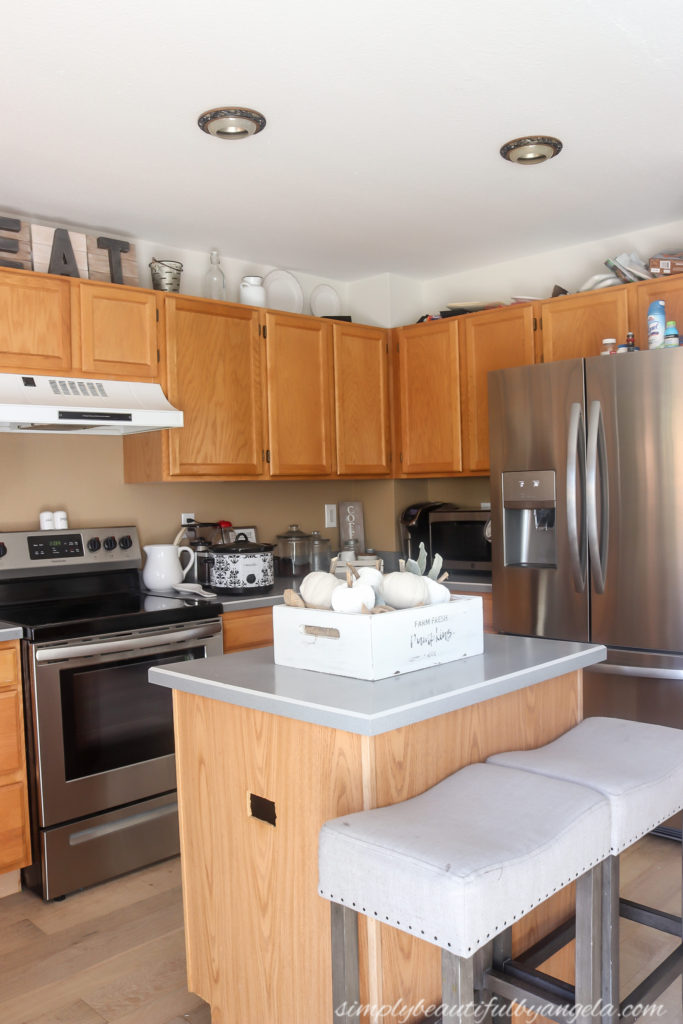
It’s so much brighter and more “me!!”
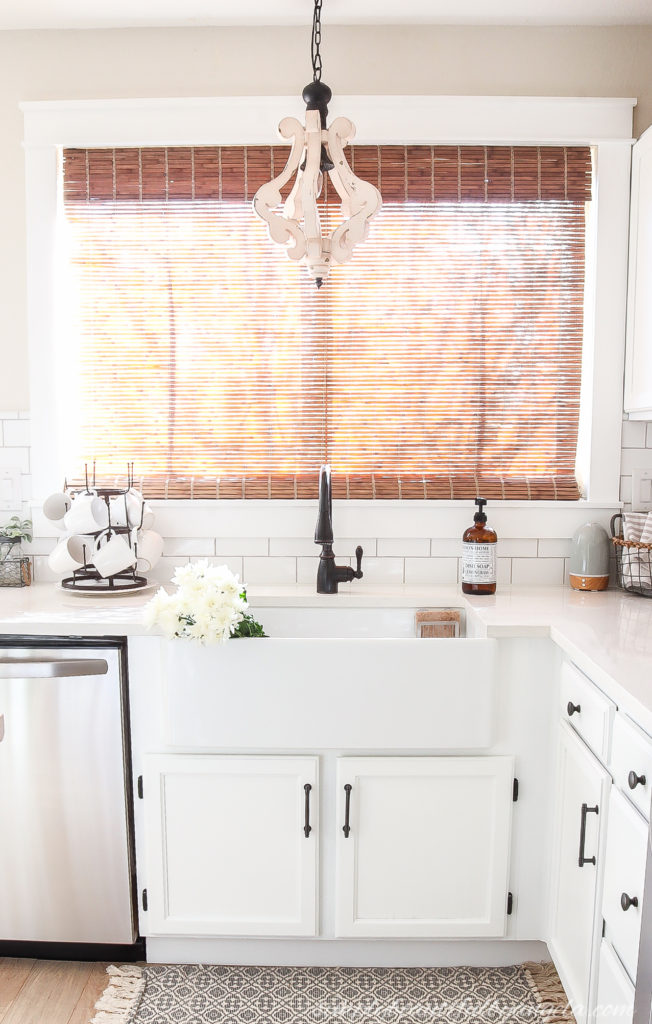
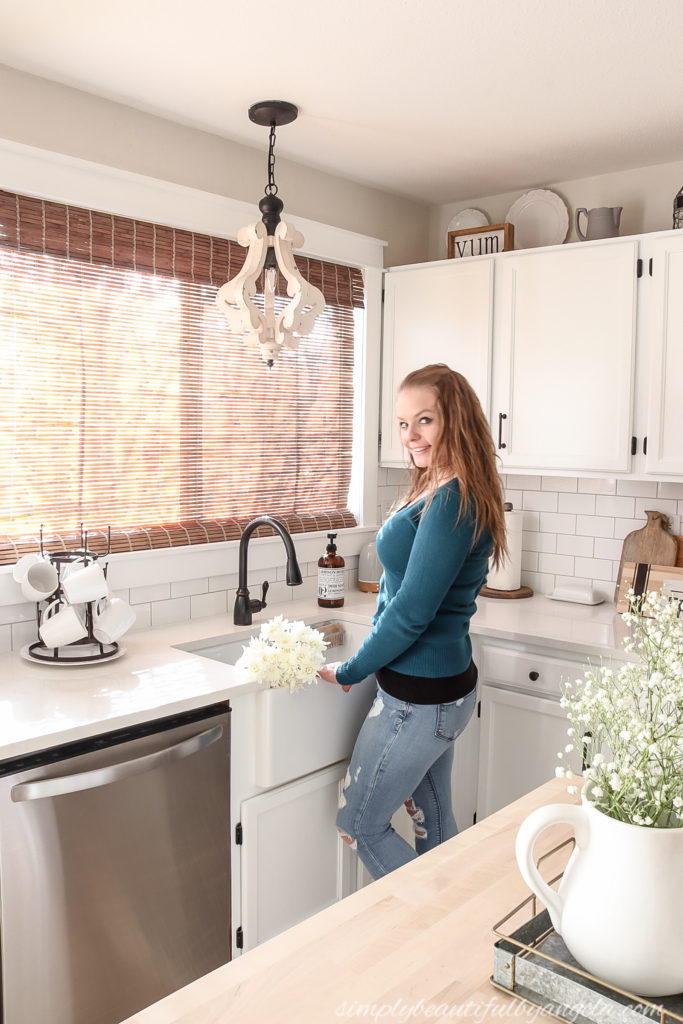
Okay let’s chat about what all went in to this makeover. The first step was installing our gorgeous farmhouse sink by Sinkology.

Installing it actually wasn’t as difficult as we thought it would be, and I took a few pictures to document it so stay tuned for a tutorial in the next coming weeks!
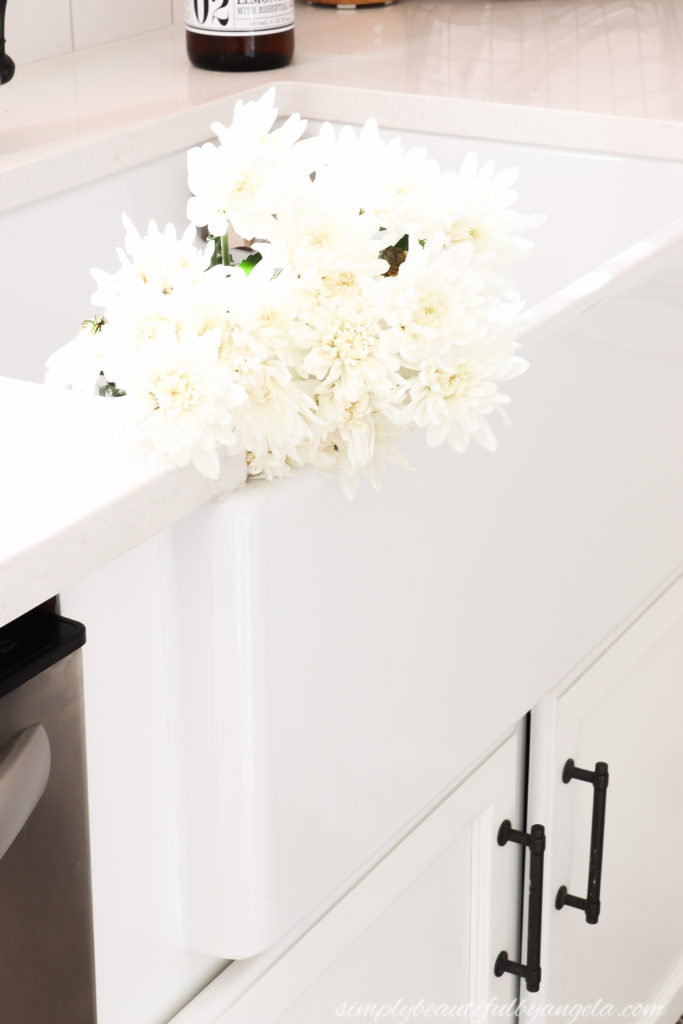
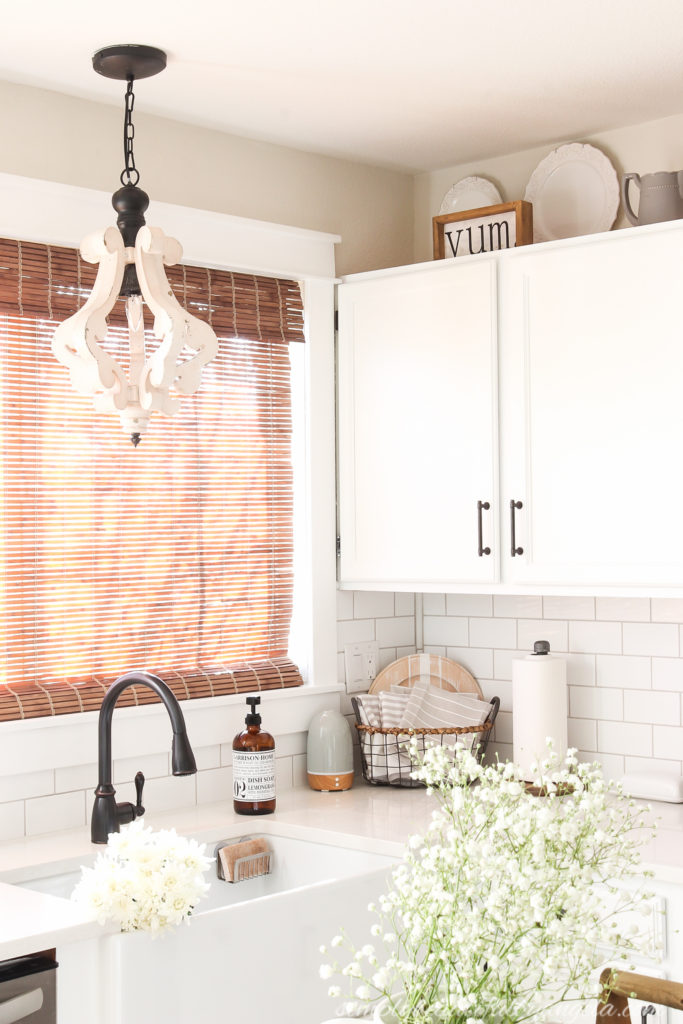
We also installed a new faucet, the Pfister Canton in Tuscan Bronze. I absolutely love the design of it.
Once that was in, it was time to order the countertops. Choosing the quartz was probably one of the most difficult decisions that I’ve ever had to make! I was very close to choosing a light gray color since I didn’t care for the stark white options that I was looking at before Tristan pointed out the color Cortina one day.

The sample on the wall at the store looked very creamy, but I noticed the sample that I brought home looked very bright and crisp, so I went for it! It has pretty light gray flecks in it that are tricky to photograph but coordinate wonderfully with the gray grout in the backsplash.
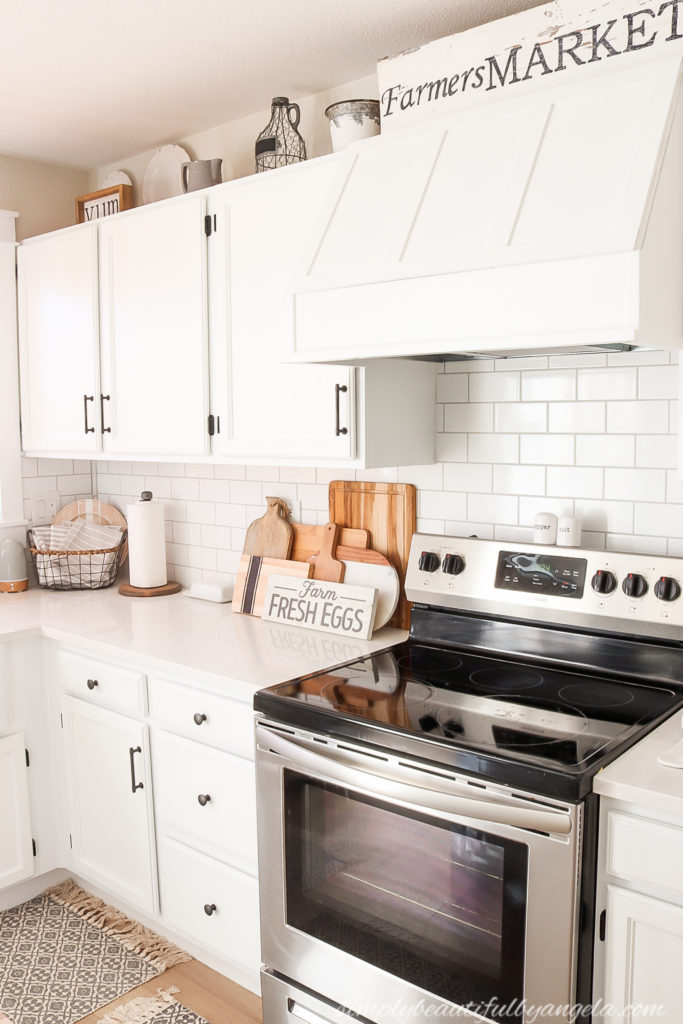
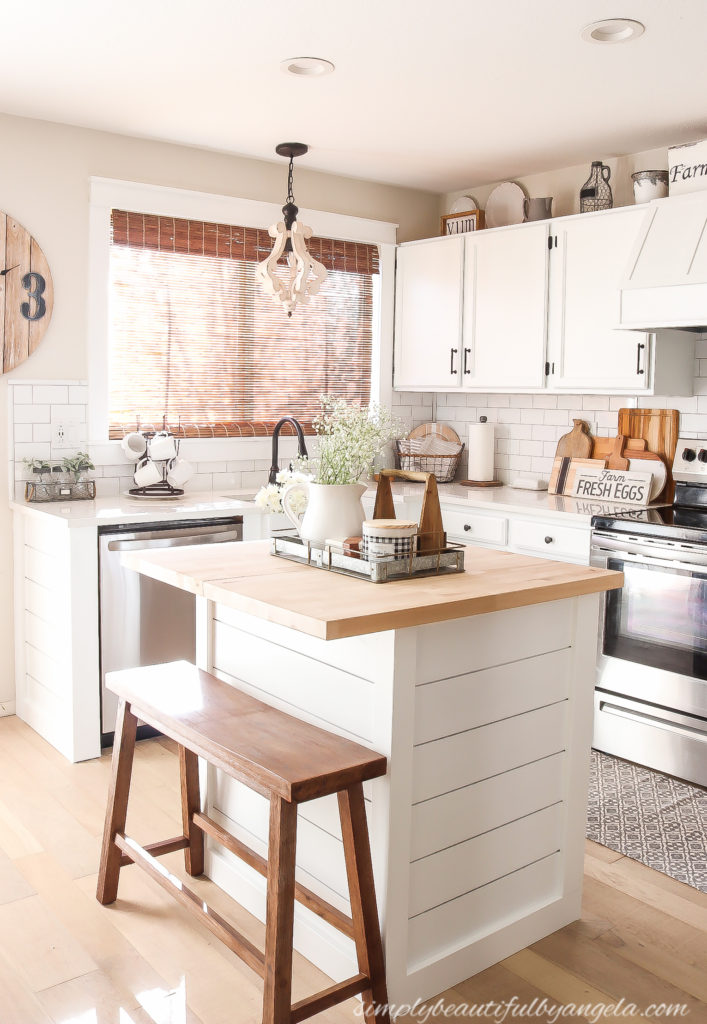
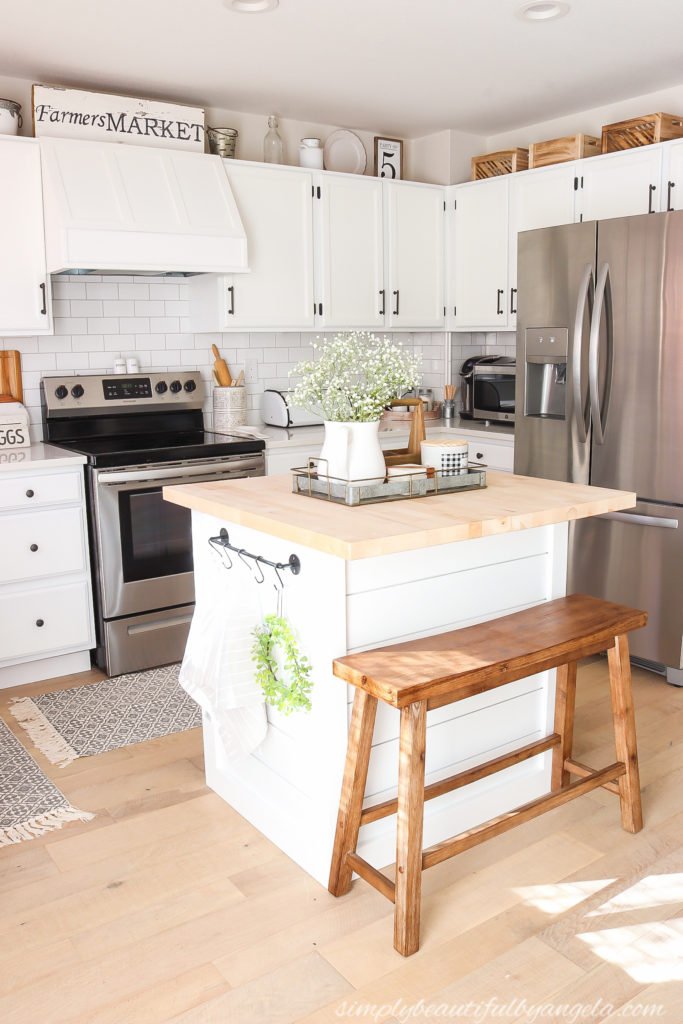
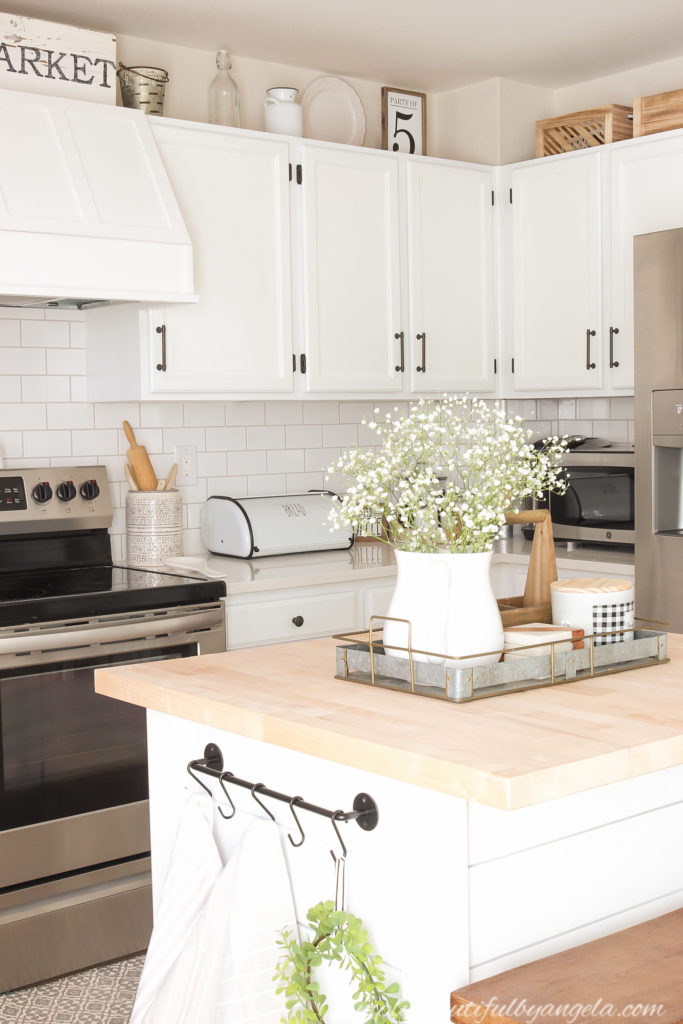
I love how pretty custom hoot vents are, but I don’t love their price tag. We would also need to hire someone to set it up to vent outside since ours is not currently set up to do so, so more money! To solve this, I got creative and we ended up building a cover to resemble one!
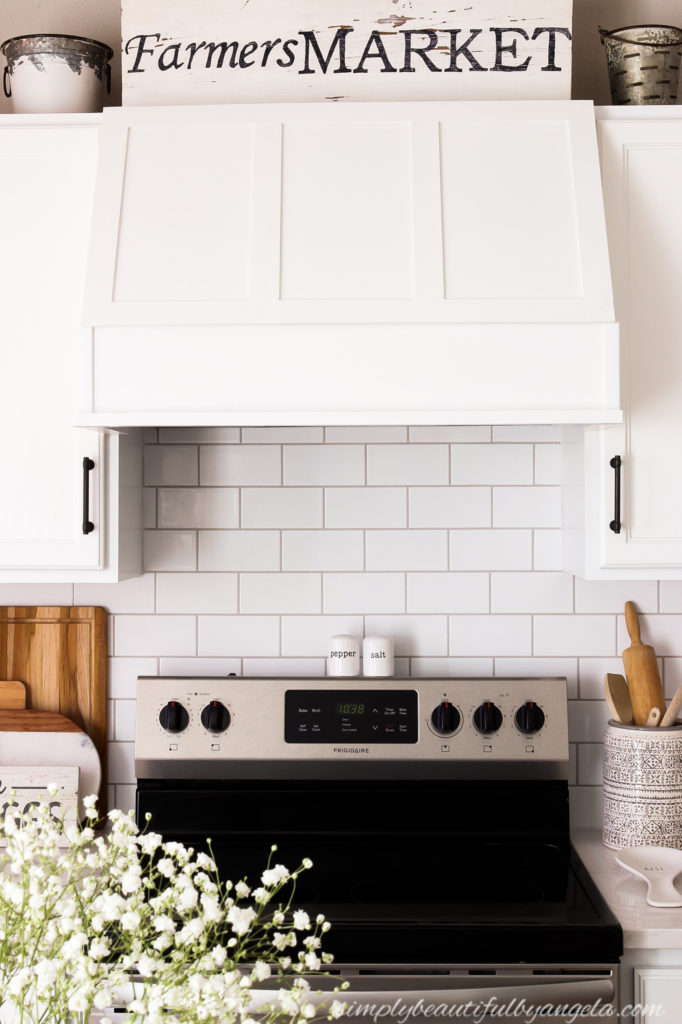
The front piece is actually a door that will lift up so that we can still access the cabinet space that’s there. We haven’t installed the hinge for it yet, but once we do I promise that I’ll have a tutorial for how we did it.
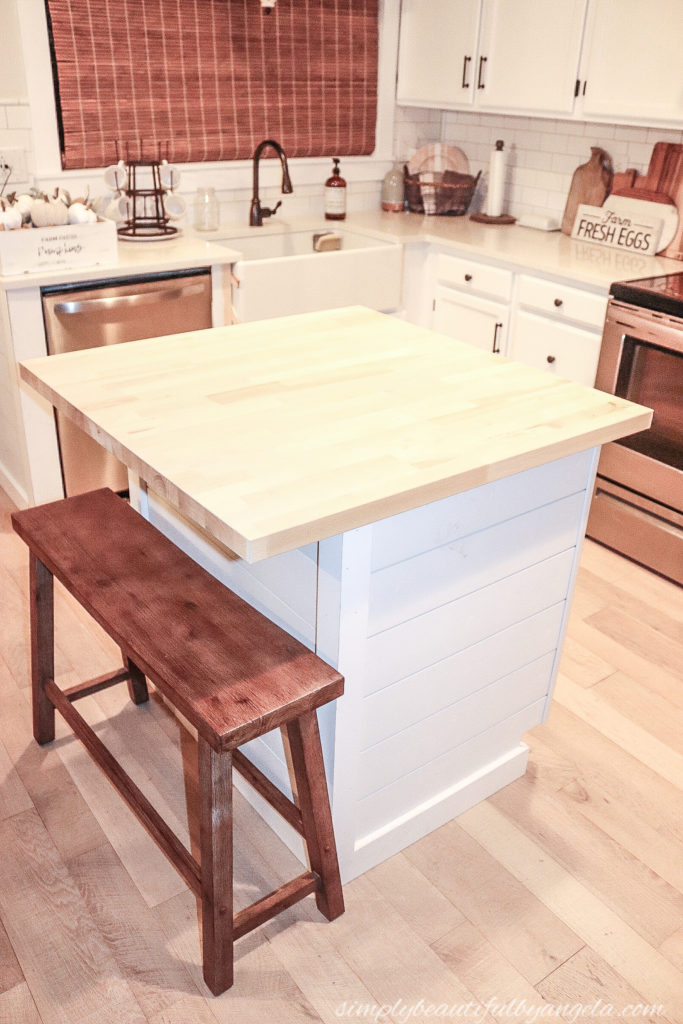
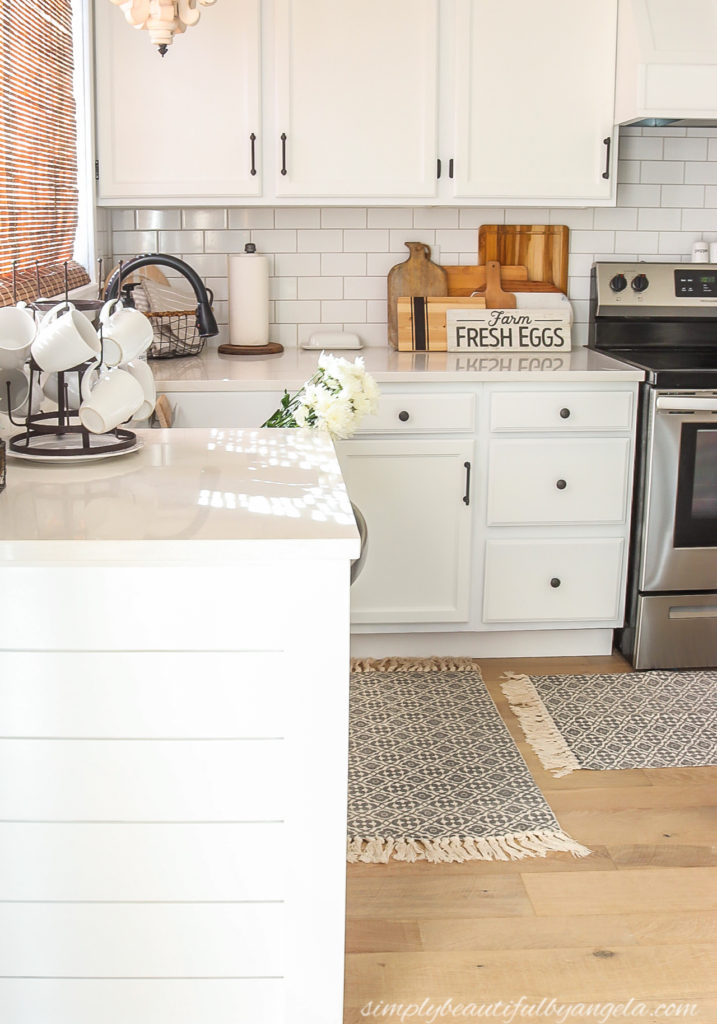
I installed shiplap and molding to both the end of the cabinet and the island and I love how much more sophisticated they look now.
The new butcher block arrived last night and I’m eager to get it stained and installed this weekend. Originally I wanted to trim it down to be the same size as the old one, but after living with this un-cut version for a week, I think I kind of like having a little bit hanging over. If I add some corbels it would look really pretty, don’t you think?
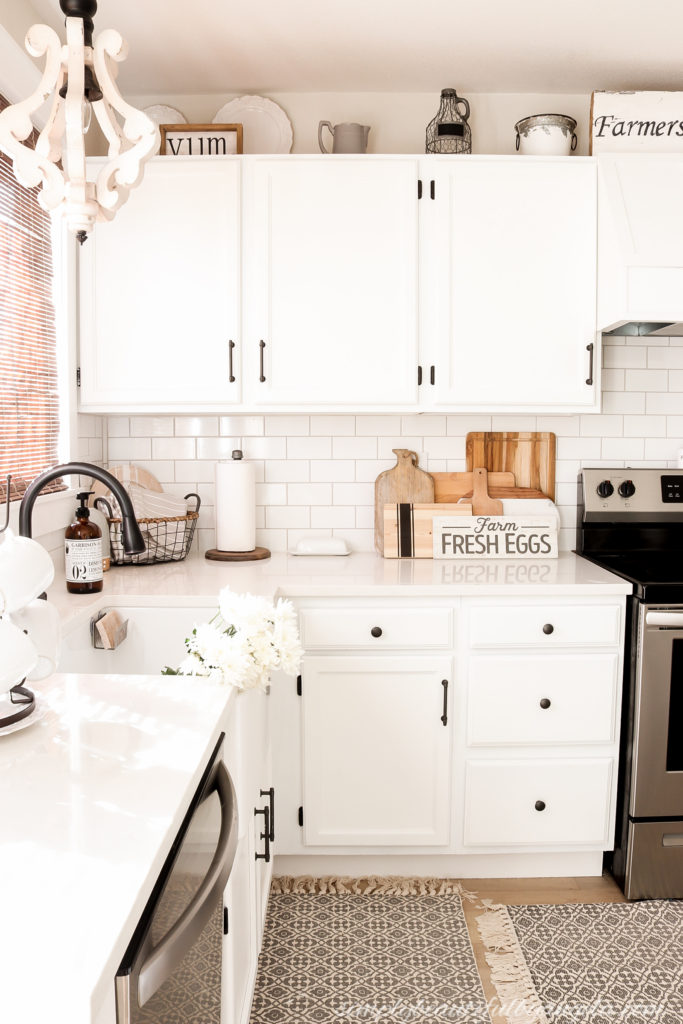
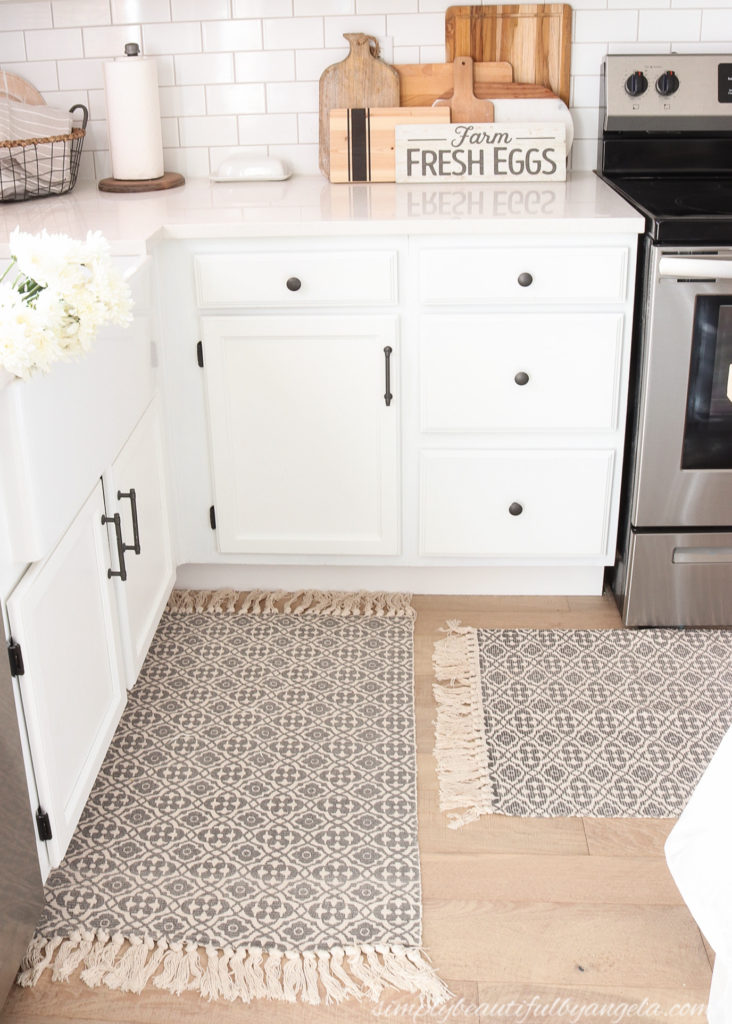
The iron pull bars and iron flat top knobs that I chose for hardware contrast nicely against the white cabinets and drawers.
These patterned rugs were such a good deal and add some needed warmth to the space.
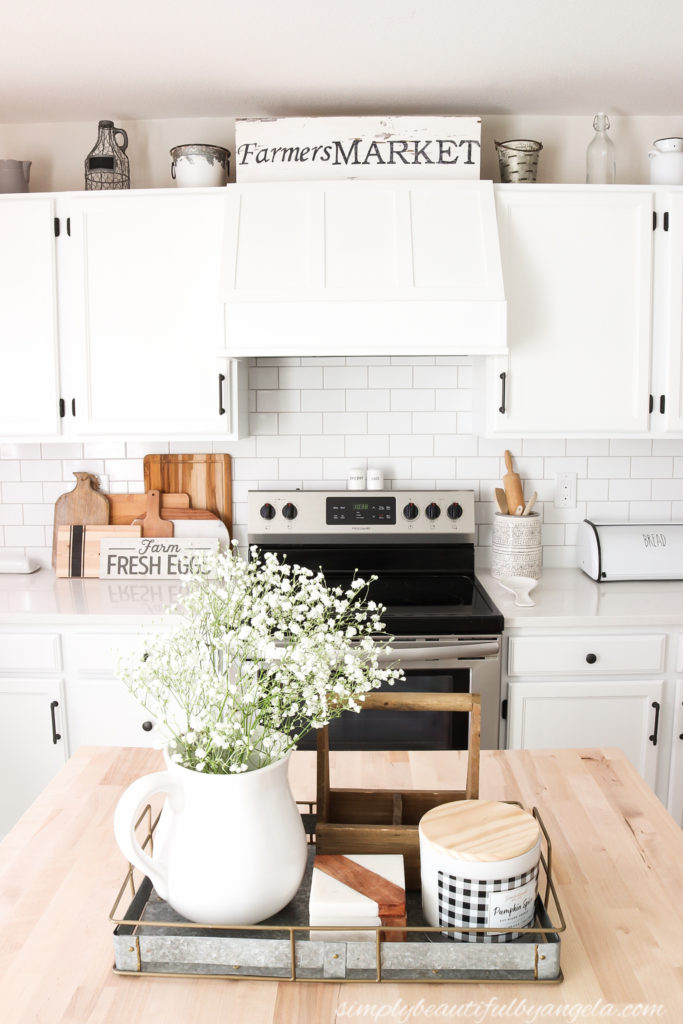
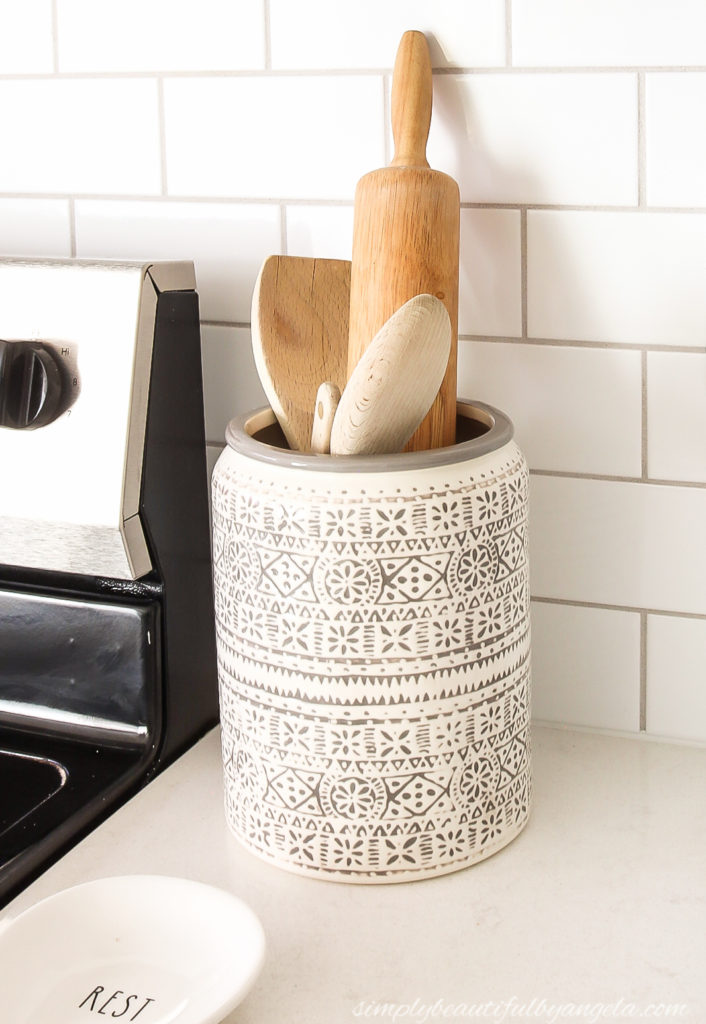
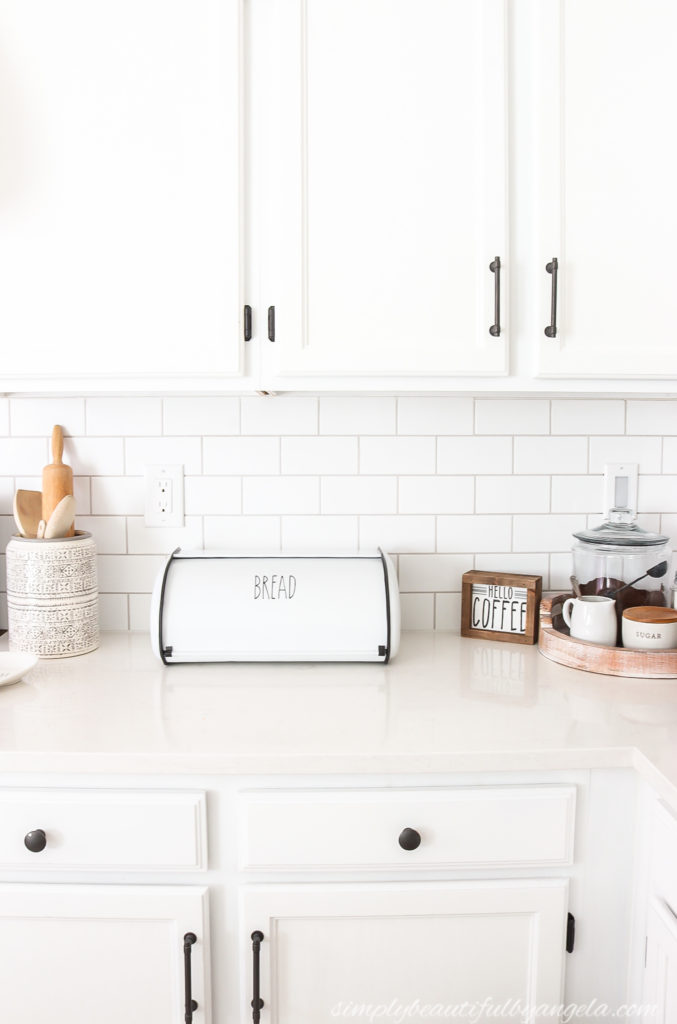
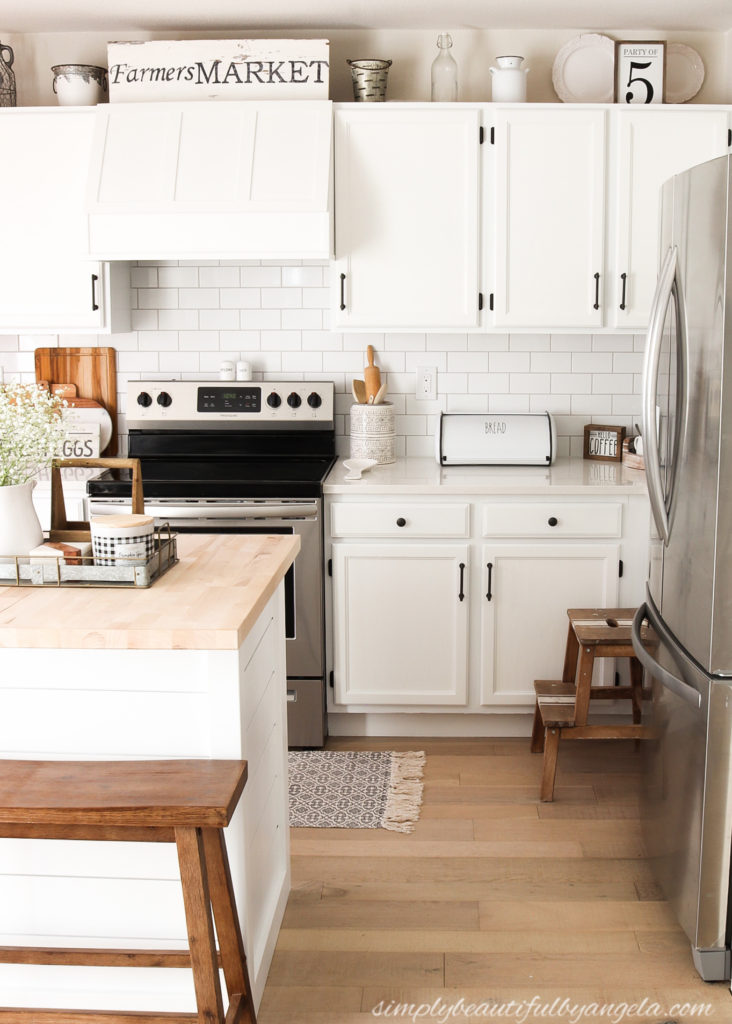
I tried to keep counter decor to a minimal to keep it from feeling too cluttered. Being the opposite of a minimalist—I think I did pretty well!
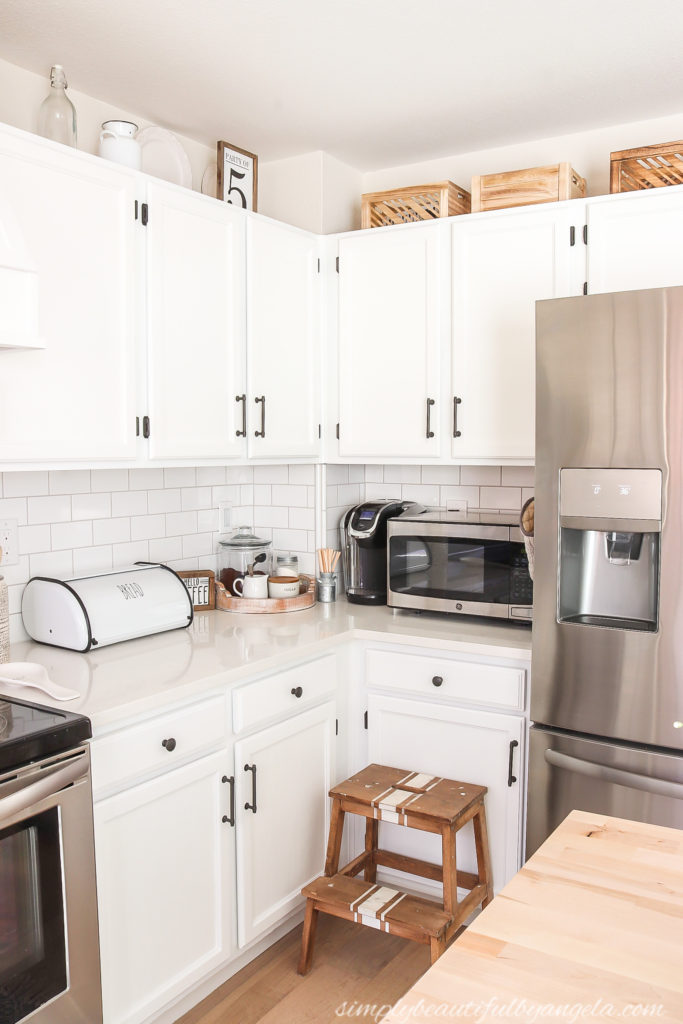
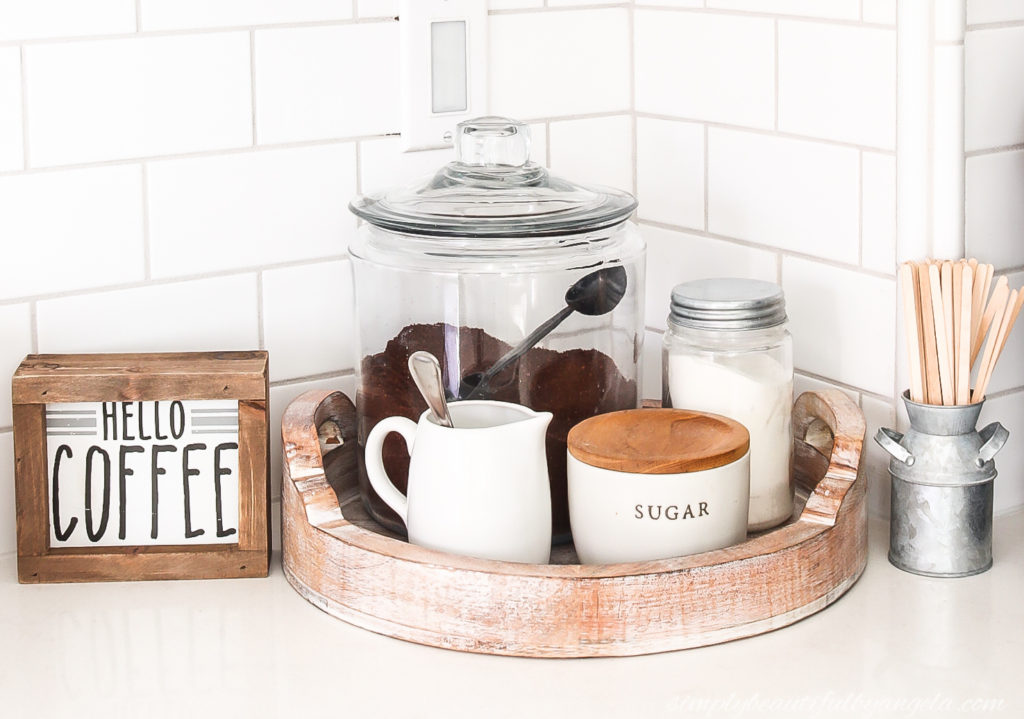
I mainly kept the essentials like this fun canister that I chose to use as a utensil holder, a bread box (I added this vinyl decal to it), and of course a small coffee station.
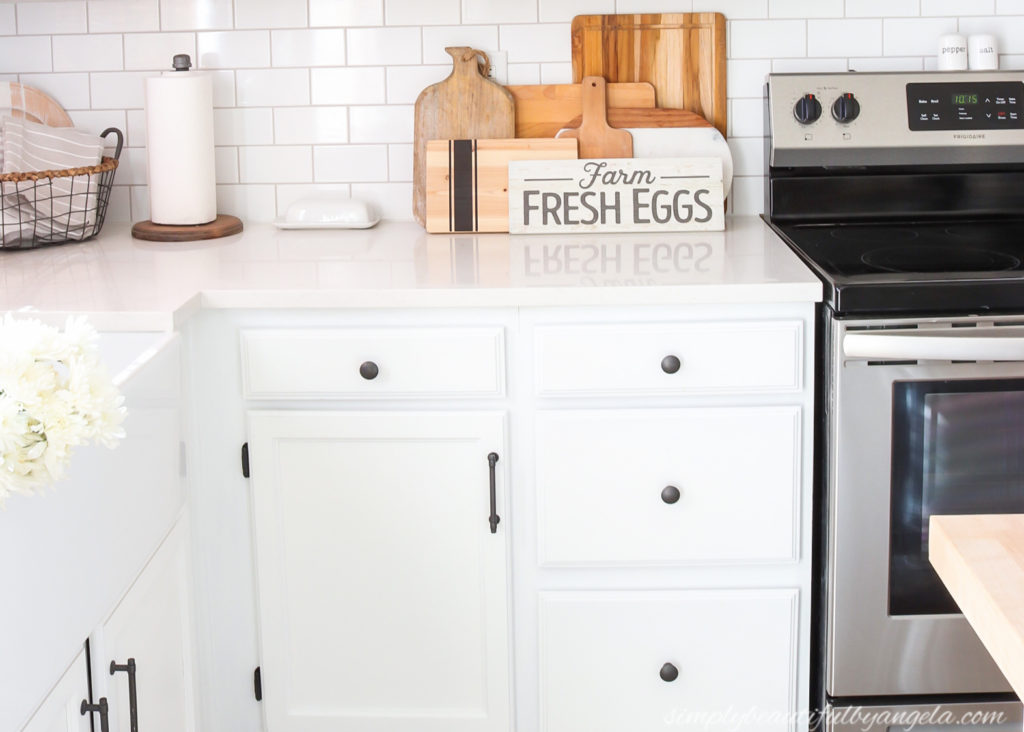
I kept the other side pretty much the way that it was, but I’m on the hunt for a new butter dish since the old one blends in too much now.
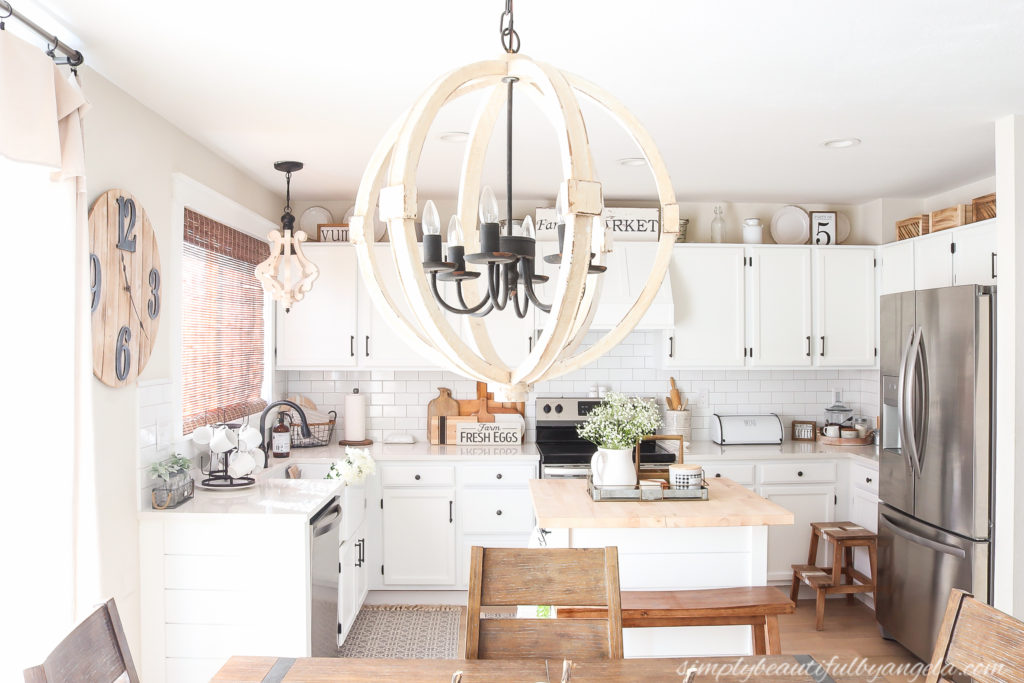
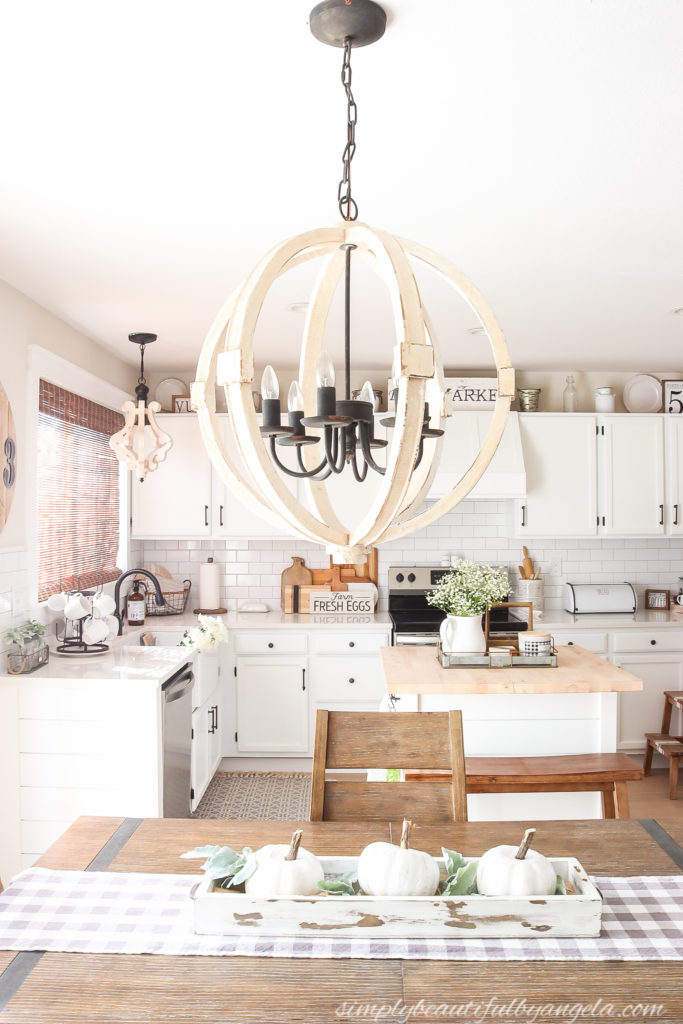
The wooden pendant light that I chose couldn’t be more perfect for this space and I love the character that it adds.
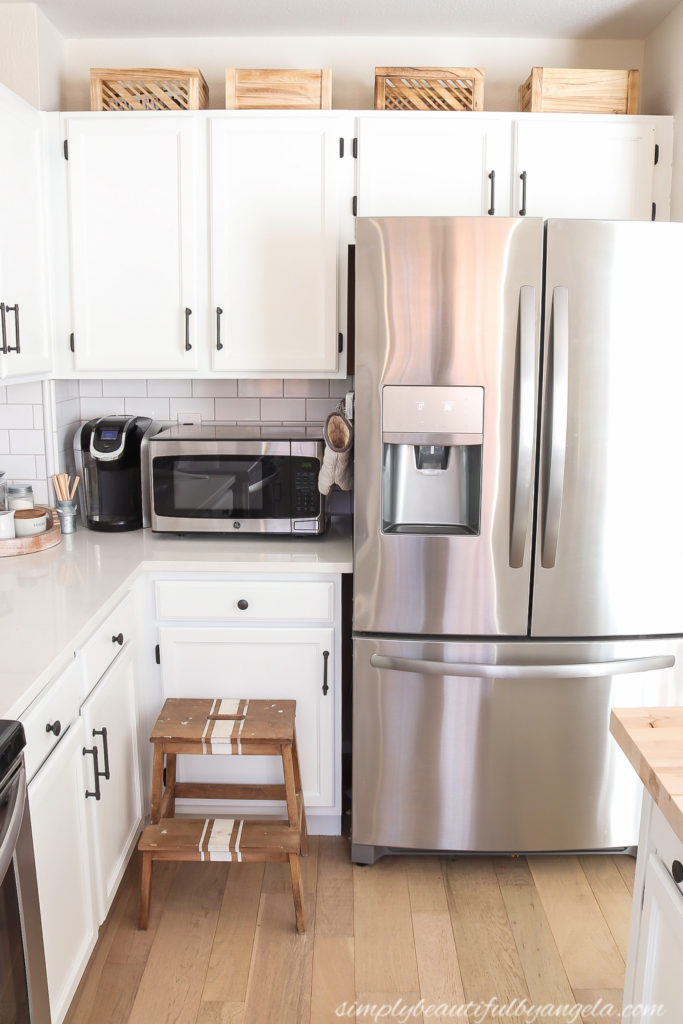
The new Sonoma saddle bench works much better than the stools that we had here previously. I like that it’s super low profile and it’s the perfect height.

Okay here’s my favorite comparison: what it looked like when we first purchased the house compared to today!

A totally different room!
I’ll leave you with a few more pictures, and at the end I’ll include a source list for anyone that’s interested!

Sources
(Affiliate links may be provided for convenience. For more info, see my full disclosure here.)
- Cabinets: Snowfall White by Benjamin Moore
- Hardware: Iron Pull Bars and Iron Flat Top Knobs
- Counters: LG Hausys Viatera in Cortina
- Sink: Bradstreet II Sinkology
- Faucet: Pfister Canton
- Blinds: Home Decorators Collection in Driftwood
- Light: A & B Home Perth Wooden Pendant Light
- Bench: Sonoma Saddle Bench
- Patterned rugs
- Bread box (I added this vinyl decal)
- Farm Fresh Eggs Sign
- Mug Rack
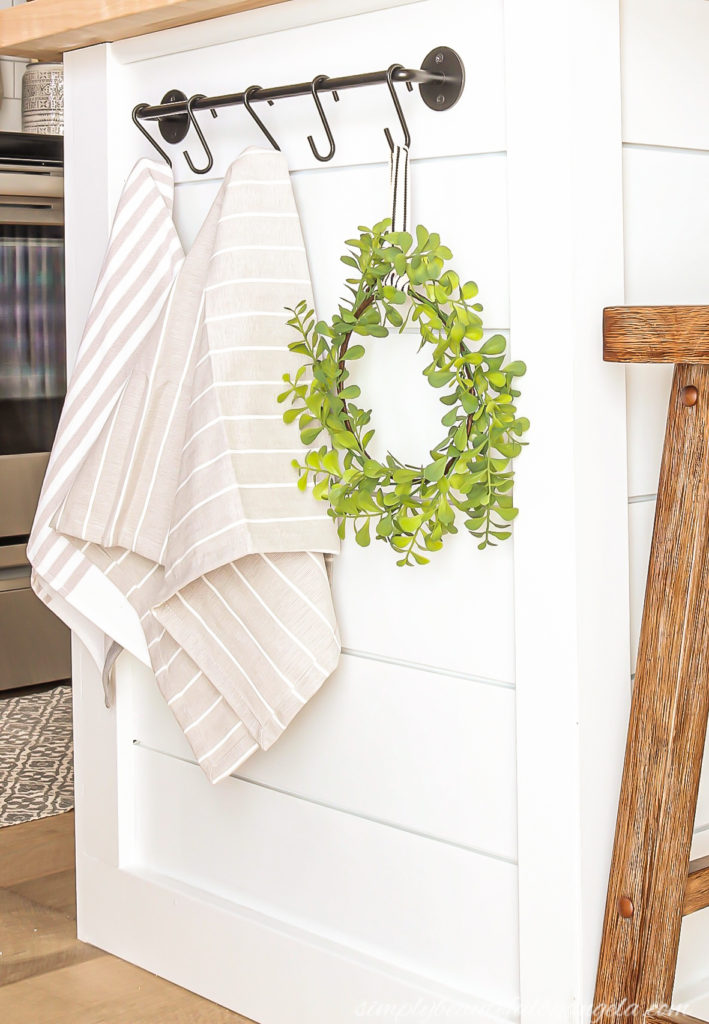
- Gray Striped Dish Towel 1 & Gray Striped Dish Towel 2
- Bar with Hanging Hooks
Linking up to these awesome parties
What a stunning transformation!! I love it.
Thank you so, so much!
Wow! This is pretty much how what I have envisioned for my kitchen before and after. Love your tips!
Thank you Amy! I’m glad I could help inspire you!!
Clean, bright, and cheerful! Cheers to a great challenge!
Thank you so much Angela!
Angela,
You did a great job. I think your decision to keep the new butcher block island top with overhangs is a good choice. It gives knee room for the people sitting on the stool and more work space for you. Congratulations on almost finishing by the reveal date. You are so close!
Judith
Thank you so much! Yes it worked out in a very happy way because I’m not sure I would have decided to go that way if I hadn’t lived with it like that for a week!
What a pretty kitchen, so fresh and bright! I’m with you on repainting the cabinets. Its a tedious task with a big pay off in the end.
Thank you so much Audra! I’m glad that you agree 🙂