It’s week 4 of the One Room Challenge which means that there’s only two weeks left until reveal day–eeek!
In the beginning I was a really worried about finishing an entire kitchen makeover in just 6 short weeks. But I’ve surprisingly stayed pretty close on track to the plan and I’m happy to admit that it’s looking good to finish on time!
In case you missed any of the previous week’s updates you can catch them all here:
- One Room Challenge (Week 1): Farmhouse Kitchen Plans
- One Room Challenge (Week 2): Cabinet Progress
- One Room Challenge (Week 3): New Countertops!
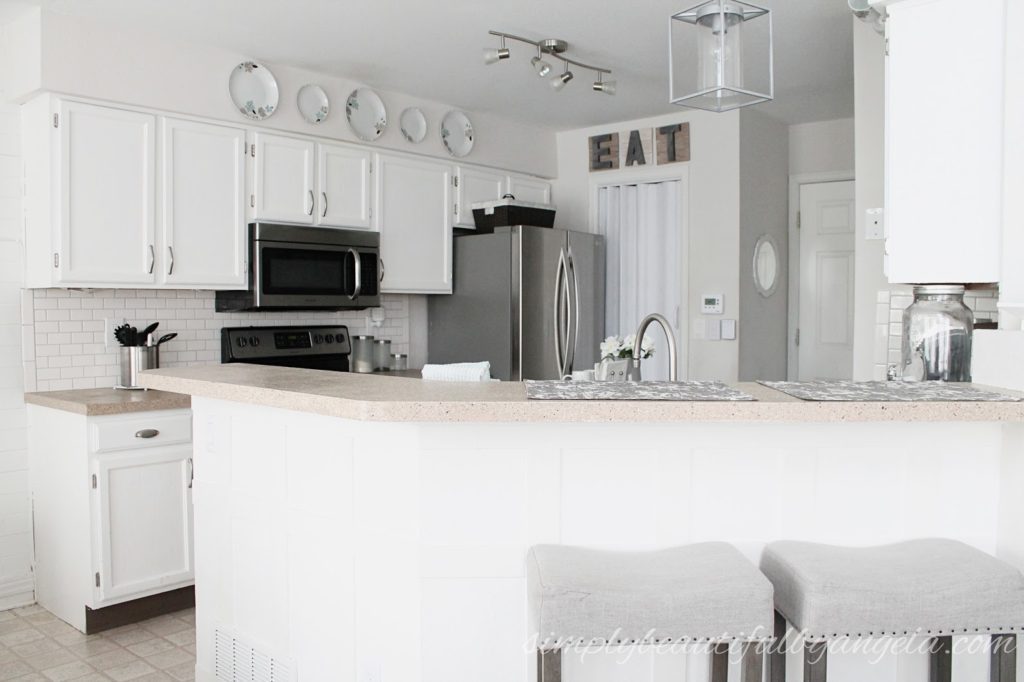
Let’s start by comparing where we started to where it’s at today.
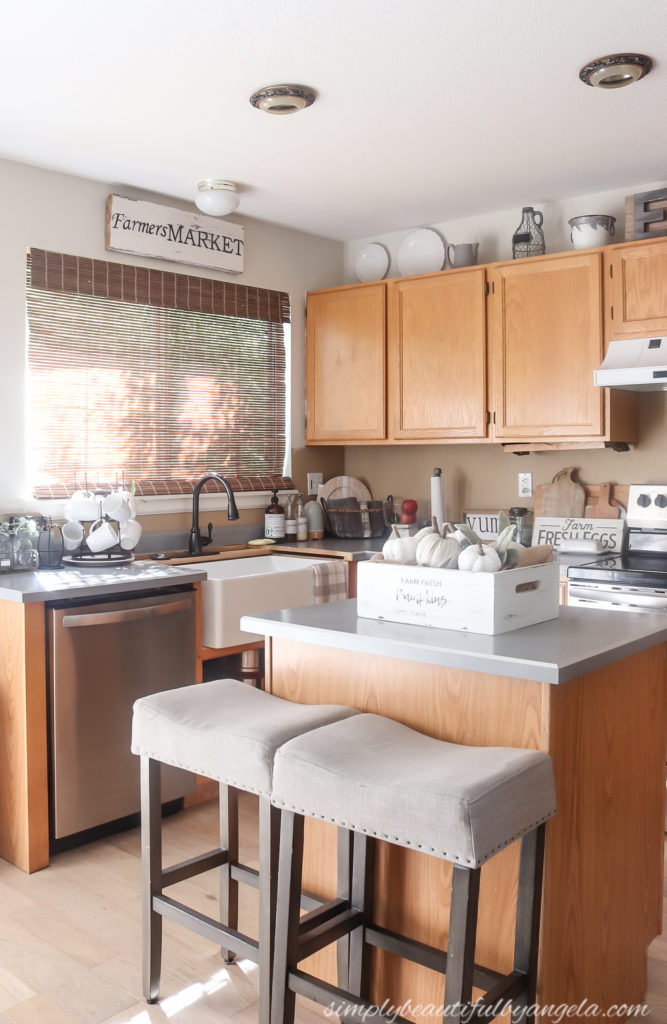

If you can look past the awkward evening lighting you can hopefully see it really starting to come together!
Most of the big items are checked off of the list and now we are down to the final details.
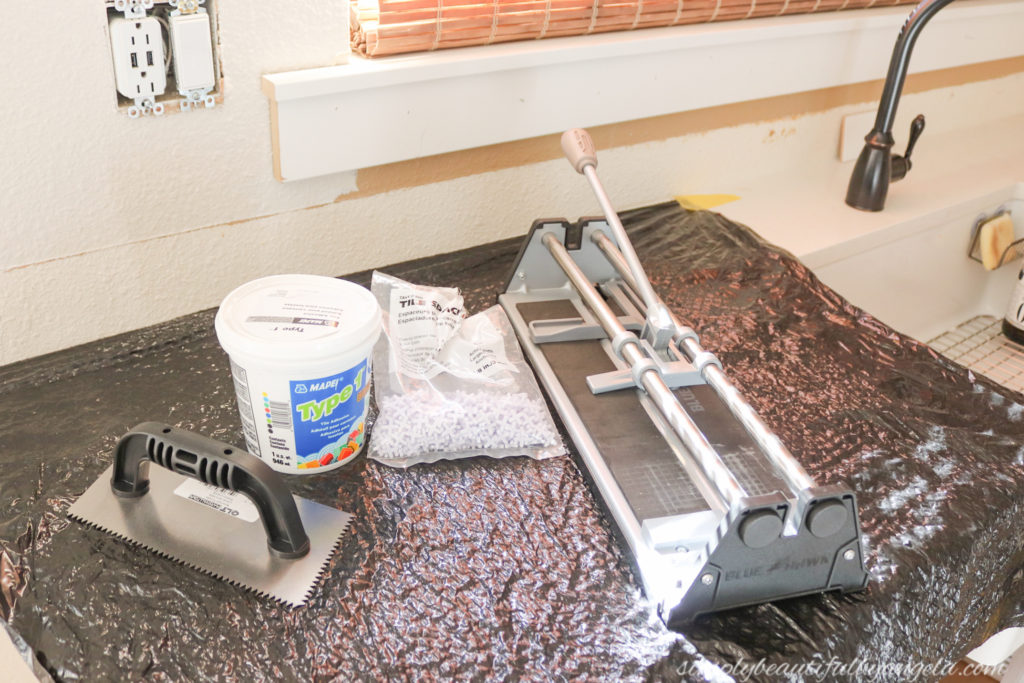
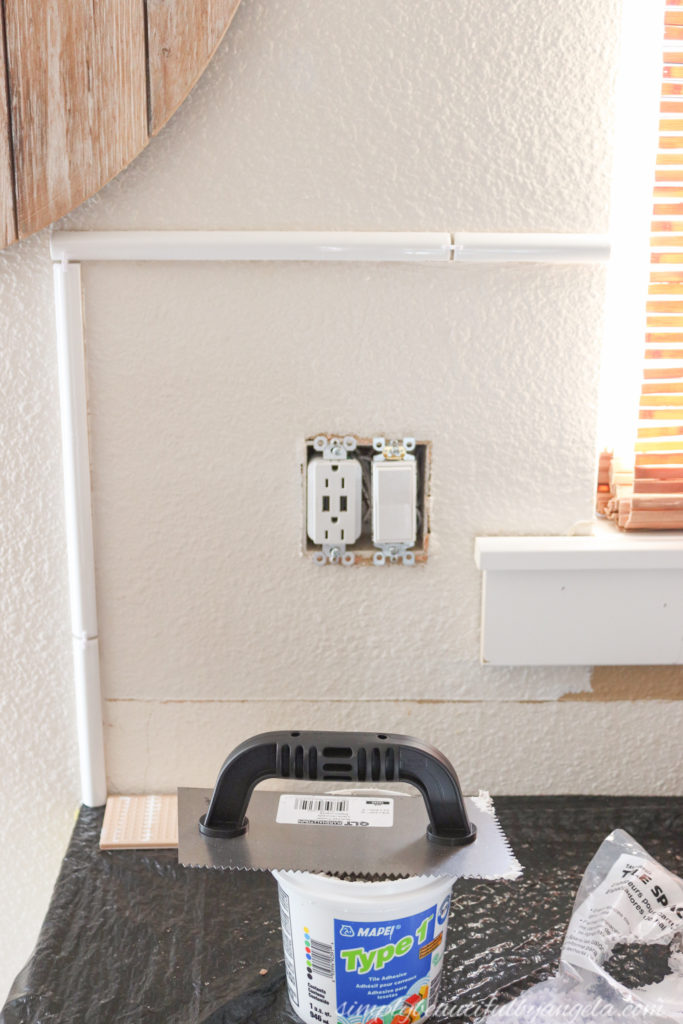
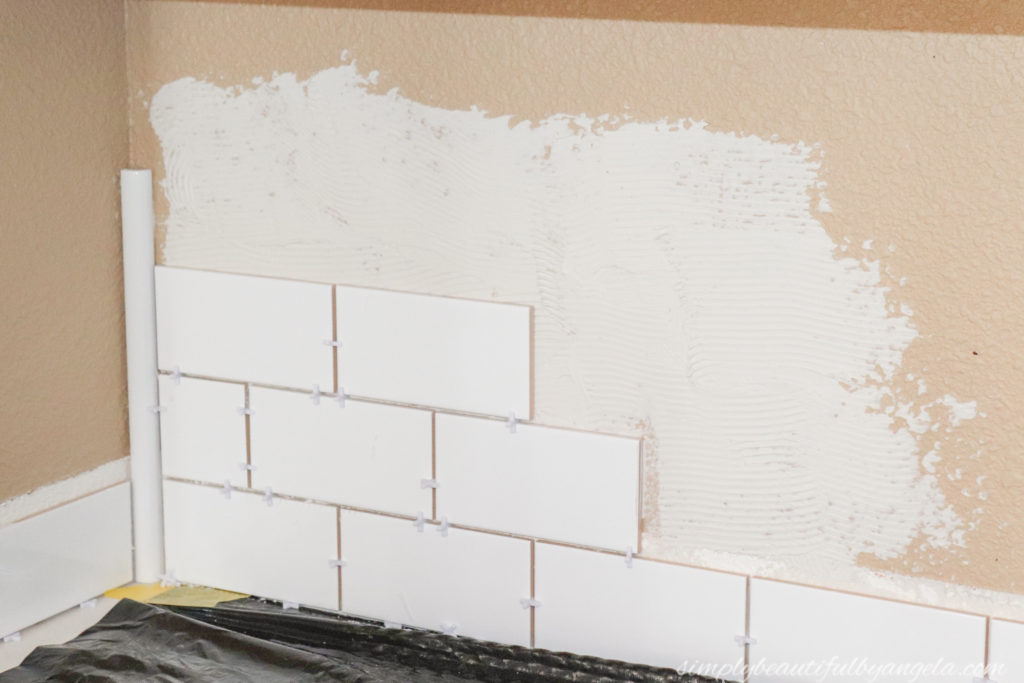
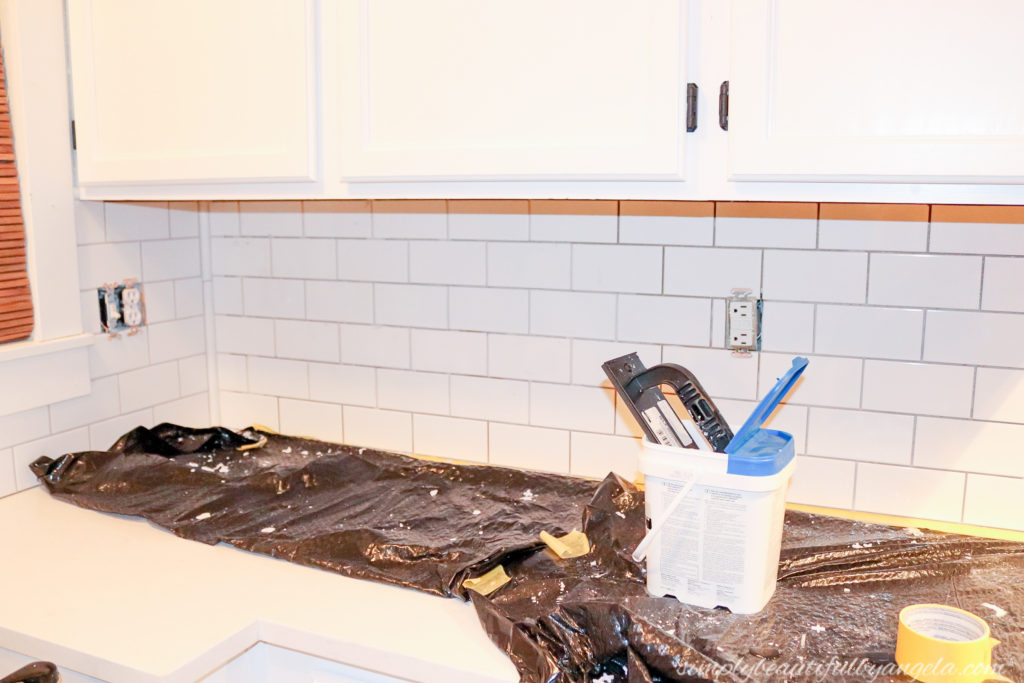
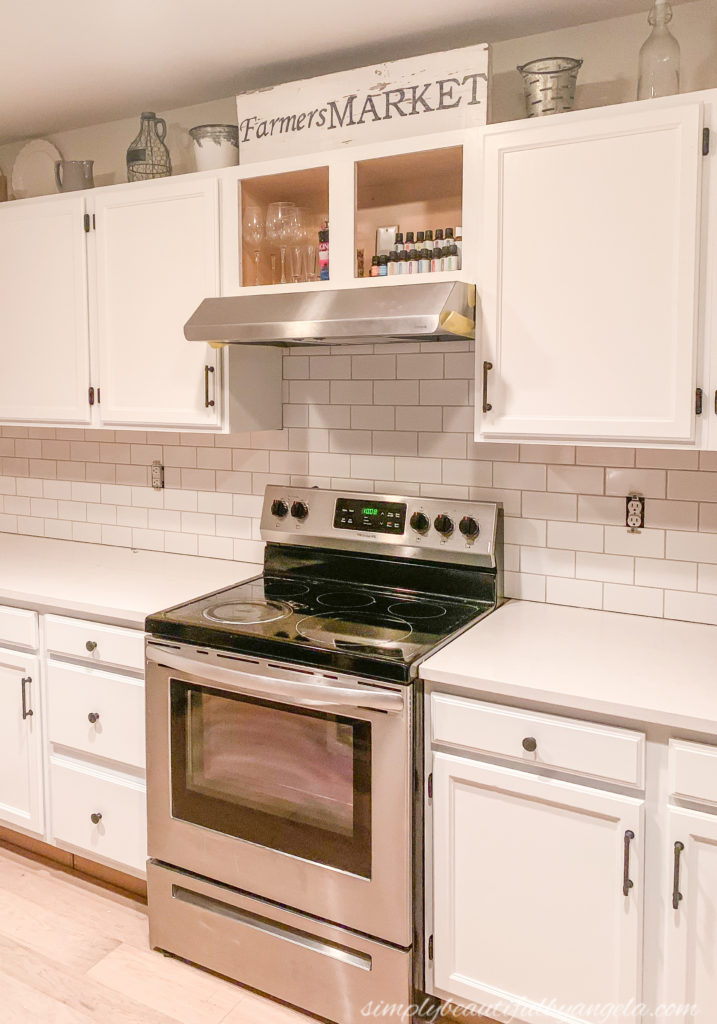
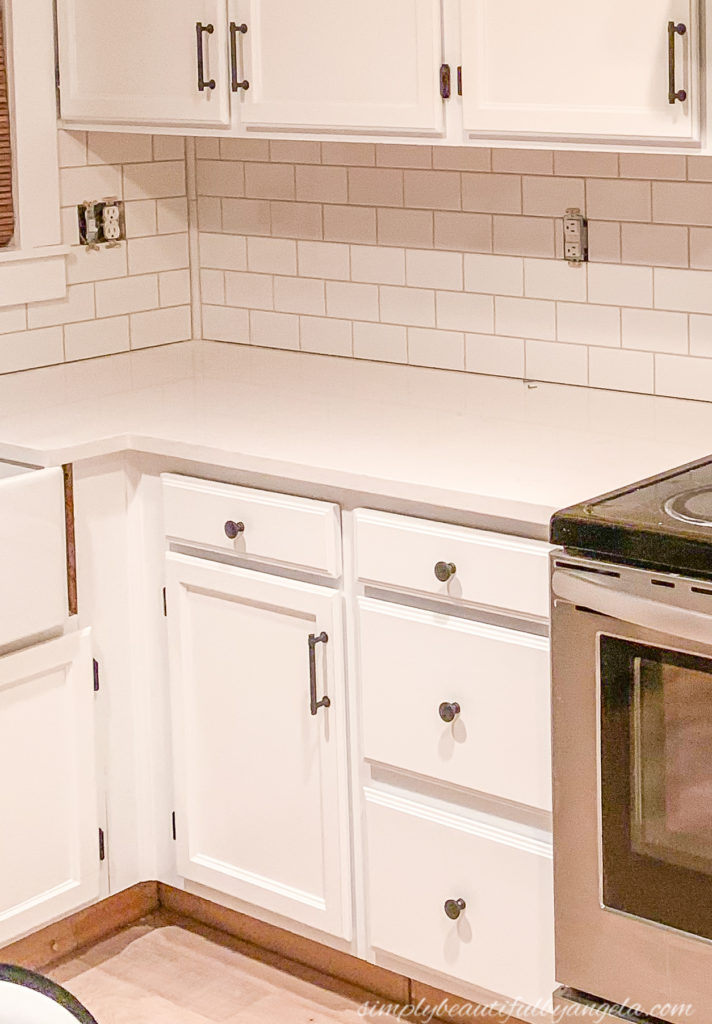
The big addition this week was the backsplash. We installed subway tile in our last house and I was really happy with how it turned out.
Back then we used 2″ x 4″ tiles that came in square foot sheets, however since this kitchen is a little bigger I decided to use 3″ x 6″ individual tiles this time around. Although I am extremely happy with the choice, I must admit that I was NOT prepared for how much more tedious individual tiles are versus sheets! Holy moly.
I hit Lowes on Friday night to get all of my supplies so that I could get started first thing Saturday morning.
I started with the trim at the edge and worked my way down from there.
Since I knew that our friend that we were borrowing the wet saw from wasn’t able to bring it by until later in the day, I had picked up a hand tile cutter for the simple cuts and let me tell you guys, this thing made those cuts a breeze!
You simply line up the tile where it needs to be cut, move the wheel to score it, press the breaker bar down and voilà!
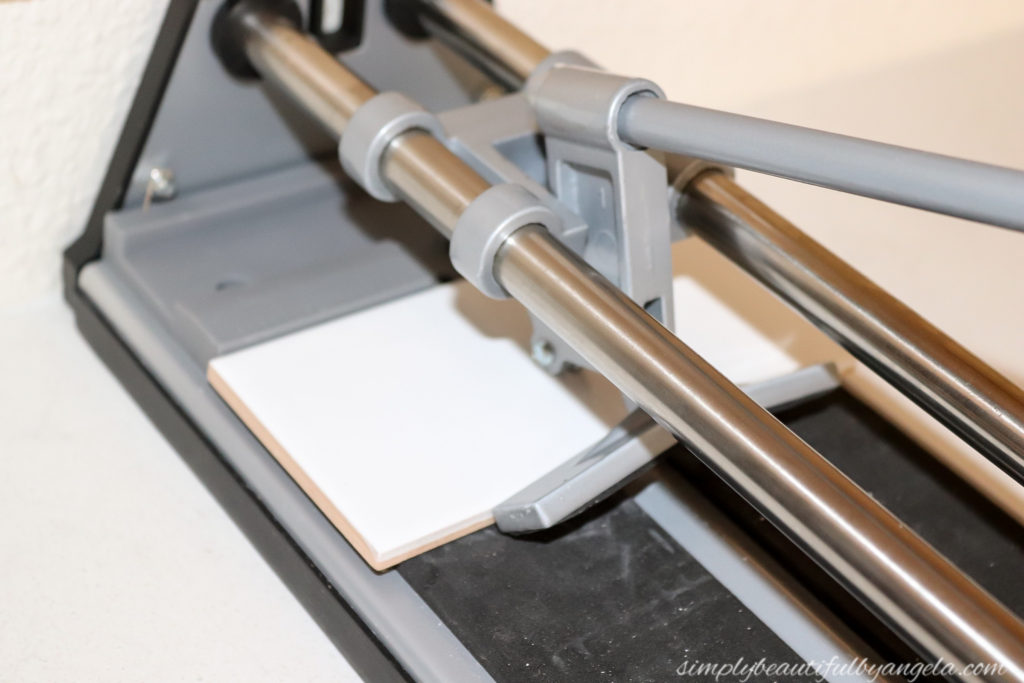

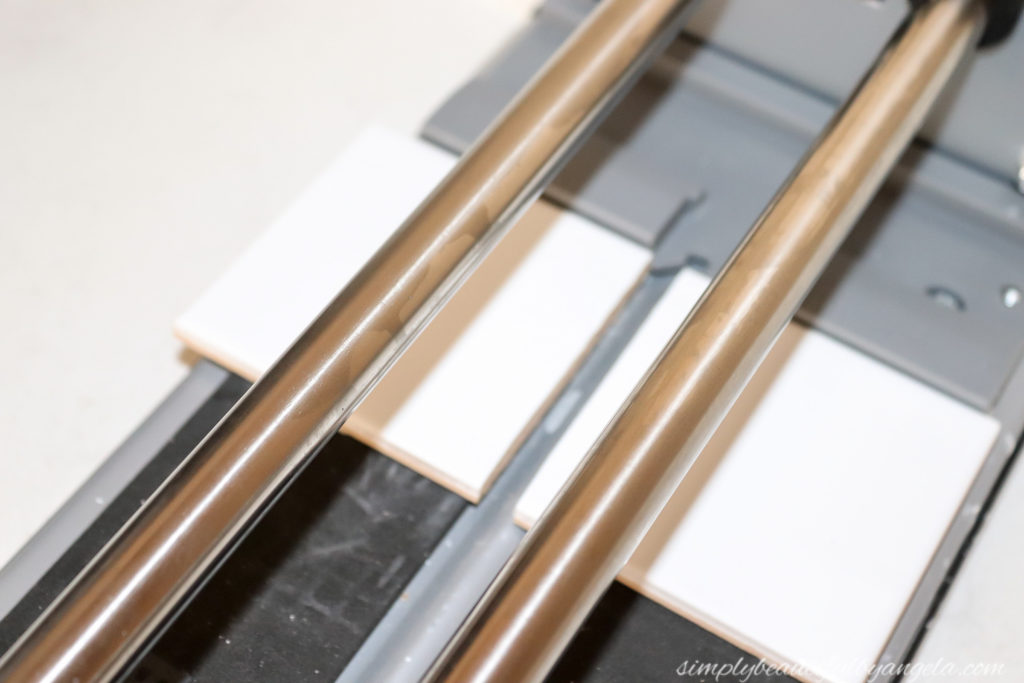
It was sooo much quicker and cleaner than using the wet saw! Unfortunately it didn’t work on the horizontal or jigsawed cuts (it just completely shattered them) so we had to use the wet saw for those.
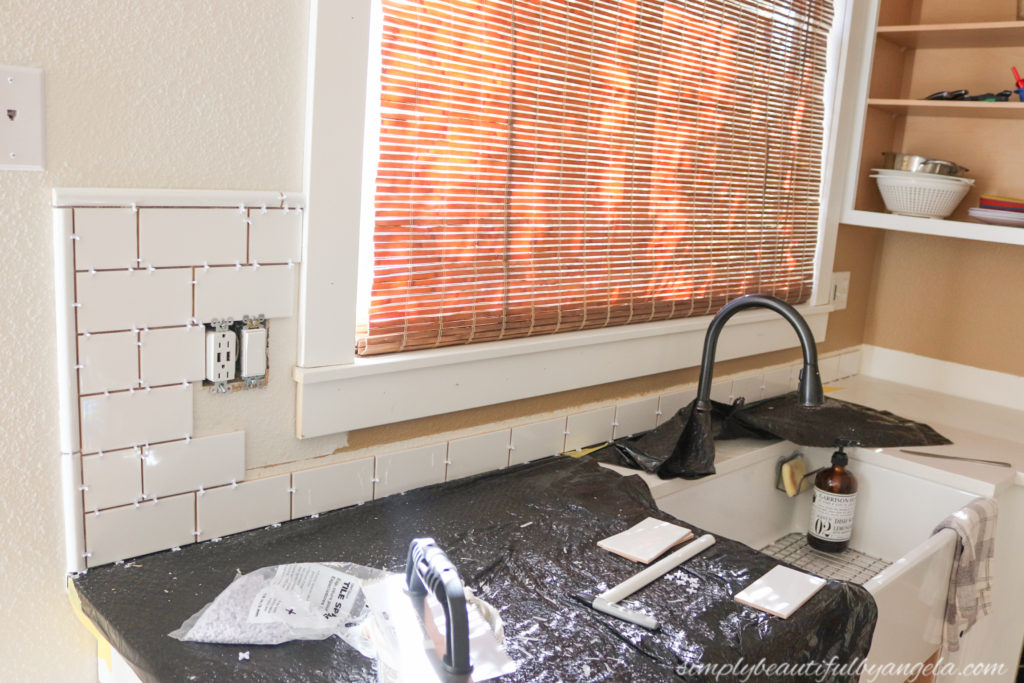
It took me the entire day on Saturday to get all of the easy to cut tiles on the wall. Getting all of those tiles up there individually was no joke! It was way worth it though, and I grew more and more excited each time I stepped back to check my work.
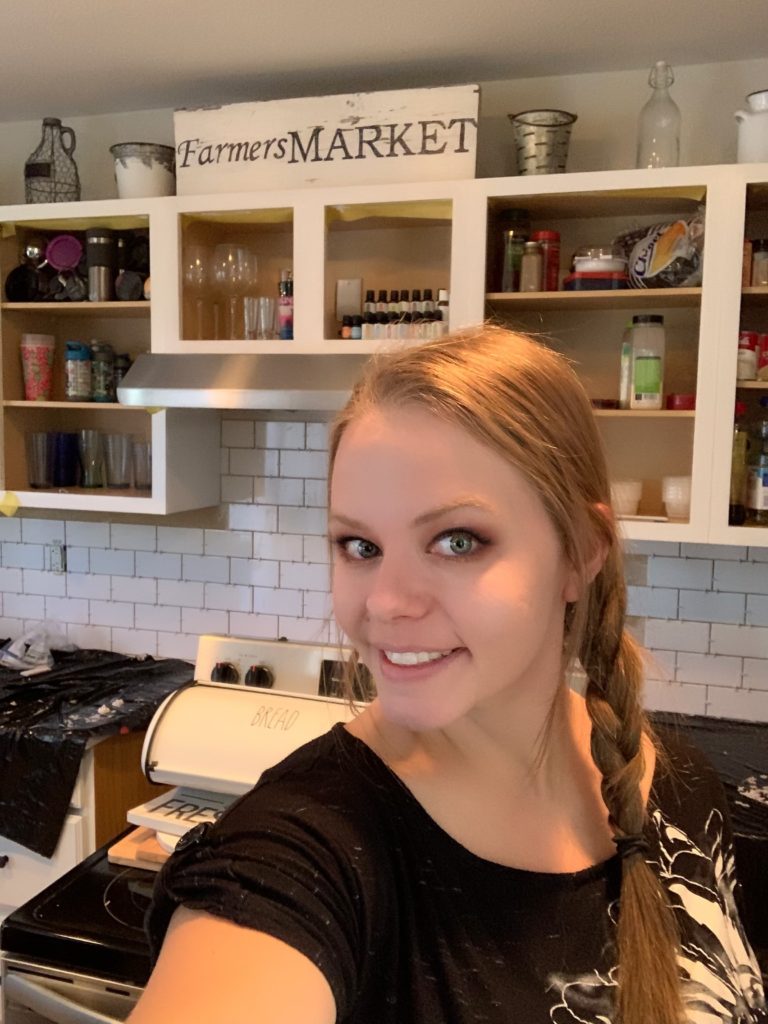
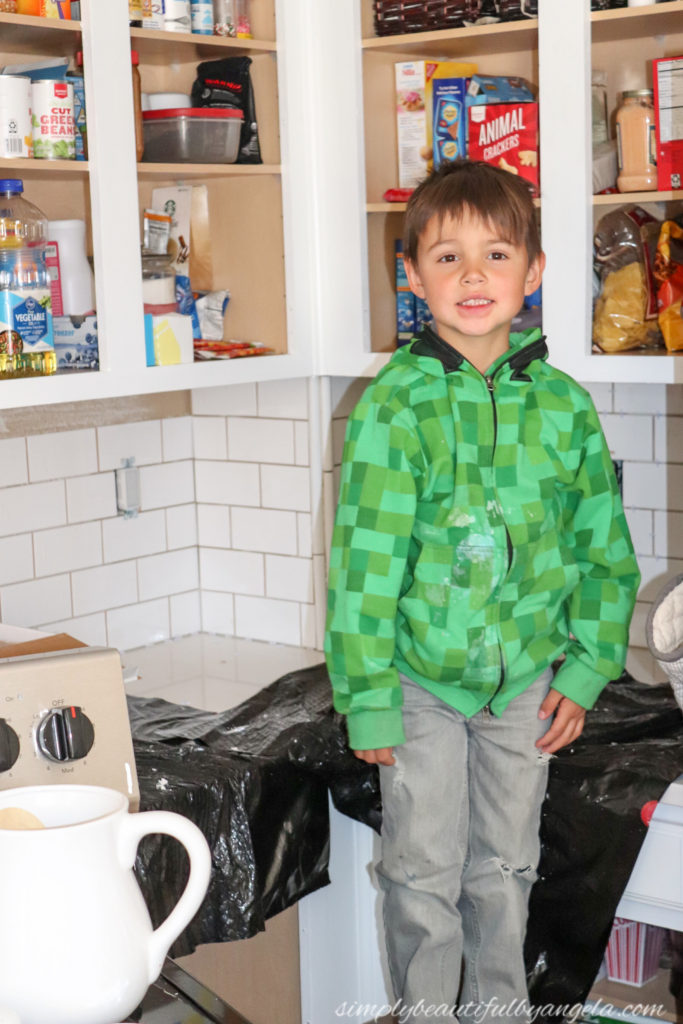
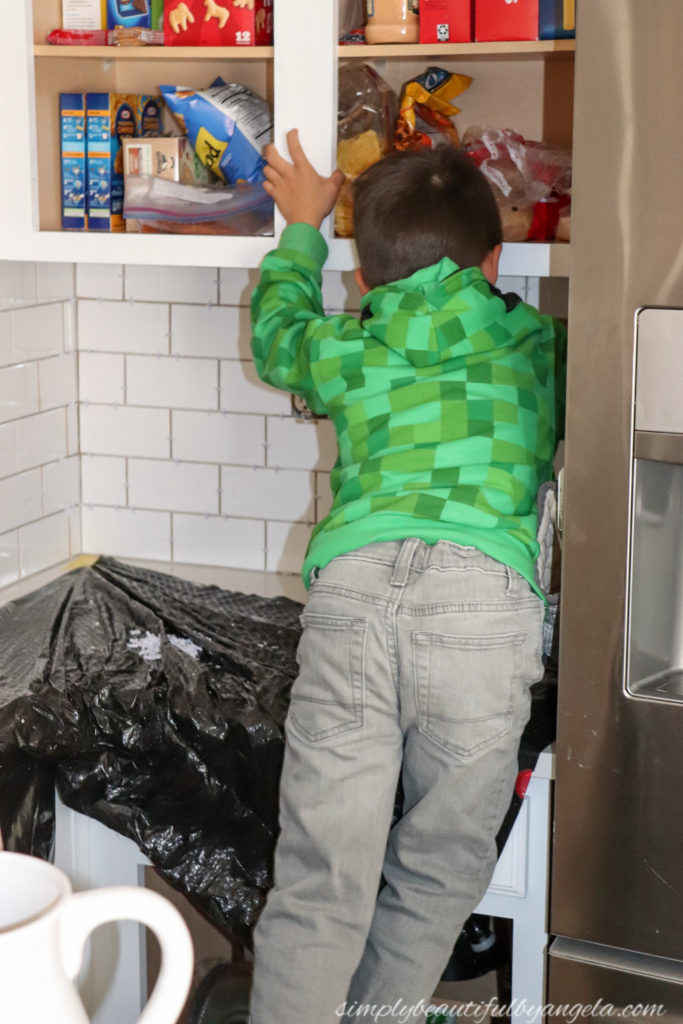
On Sunday I had the cutest assistant ever help me remove all of the spacers.
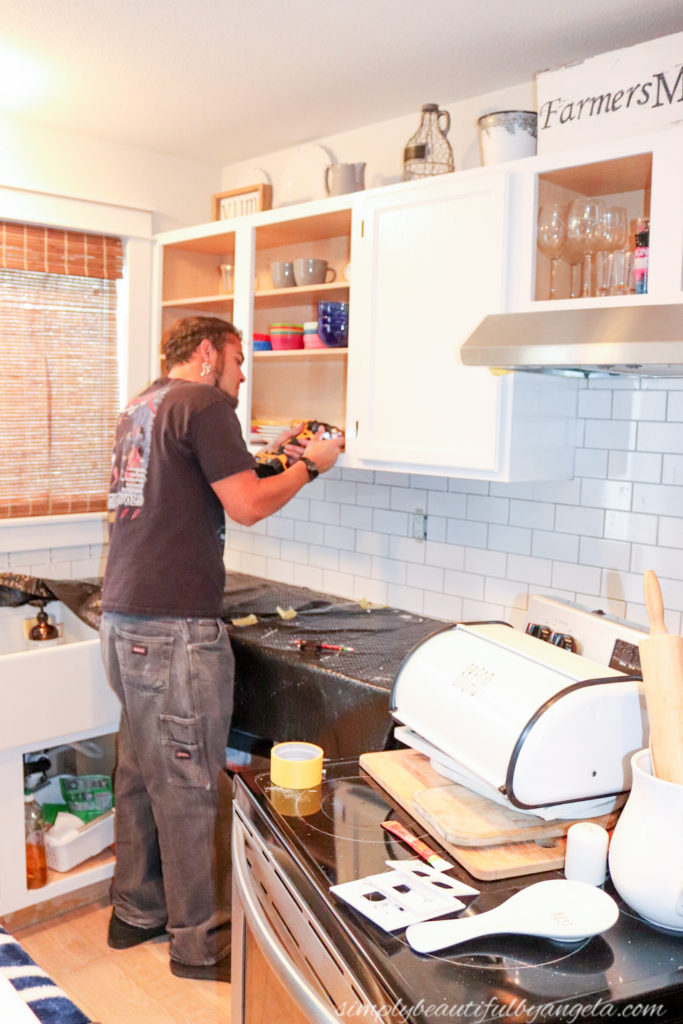
Anthony braved the cold wind that we had that day and made all of the difficult cuts on the wet saw to finish it up, and by Monday it was time to grout!
I am so thrilled with the result! I love that it reminds me of our old kitchen, yet is a little different at the same time.
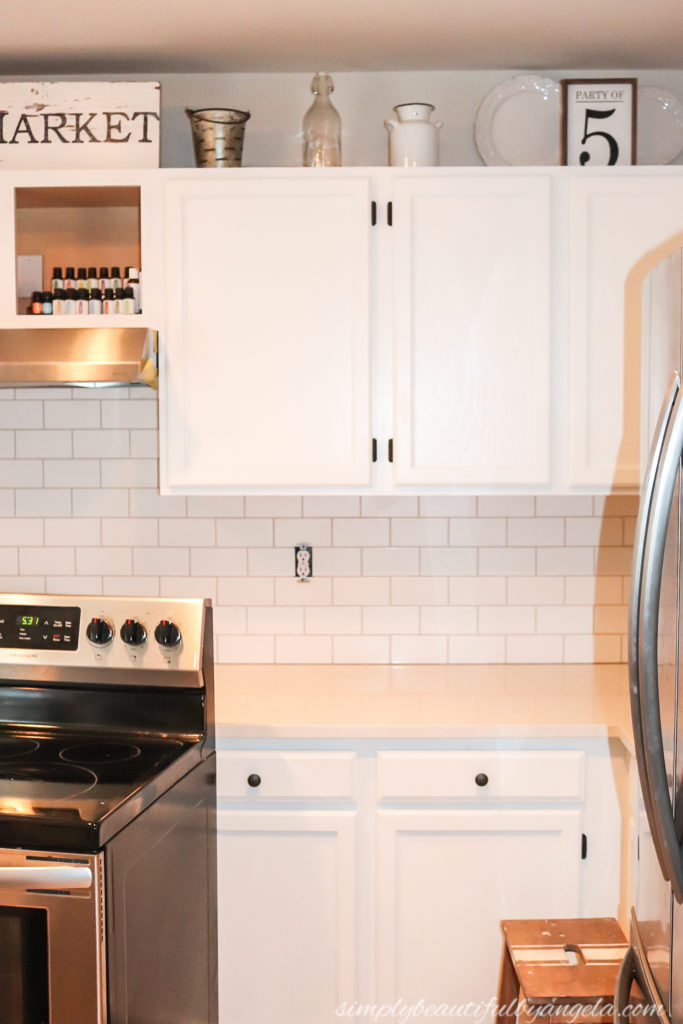
Did you notice that we have cabinet doors?! Anthony installed the cabinet doors on Sunday afternoon which ended up being a tedious task. The new hinges didn’t match the old holes, so they all had to be re-measured and re-drilled. As you can imagine he was THRILLED!
But his hard work paid off because when he was done we stood back in awe and admired what an amazing difference the doors made. It’s actually starting to feel like a kitchen again!
We also got all of the hardware on! You may recall that I was debating on using these pulls on the drawers versus using these these knobs.
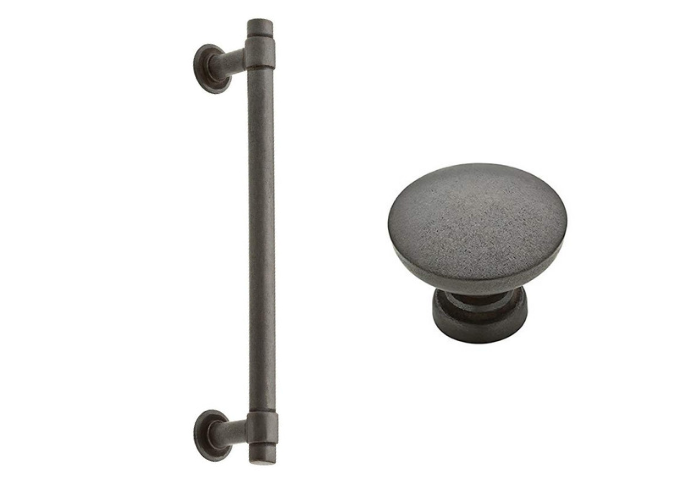
I went with the knobs and I’m super glad that I did! It’s a great visual break and I won’t have to worry about getting caught on them as much.
Well that about sums up this past week! Let’s take a peek at what’s left on the list.
WEEK 5 (OCTOBER 14 – OCTOBER 30)
- Paint window trim
- Trim/paint end of cabinet and island
- Install butcher block on island
- Install new lighting
- Build hood vent cover
WEEK 6 (OCTOBER 31 – NOVEMBER 6)
- Accessorize
- Photograph and write up reveal post!
This next week is going to be a busy one. Between taking the kids to Boo at the Zoo, hosting a Halloween party, and going to the Pumpkin Nights event, I hope I can manage to squeeze it all in!
Linking up to these awesome parties! (Affiliate links may be provided for convenience. For more info, see my full disclosure here.)
Wow! That looks so bright and beautiful already. Can’t wait to see what the next two weeks bring…
Thank you so much!! Me too!! 🙂
The cabinets are beautiful! That shade of color looks amazing and I can already see how it’ll make whole space much brighter, airy and cozy. Can’t wait to see the whole kitchen project finished, you’re really talented for these makeovers!
Thank you so much Katarina!