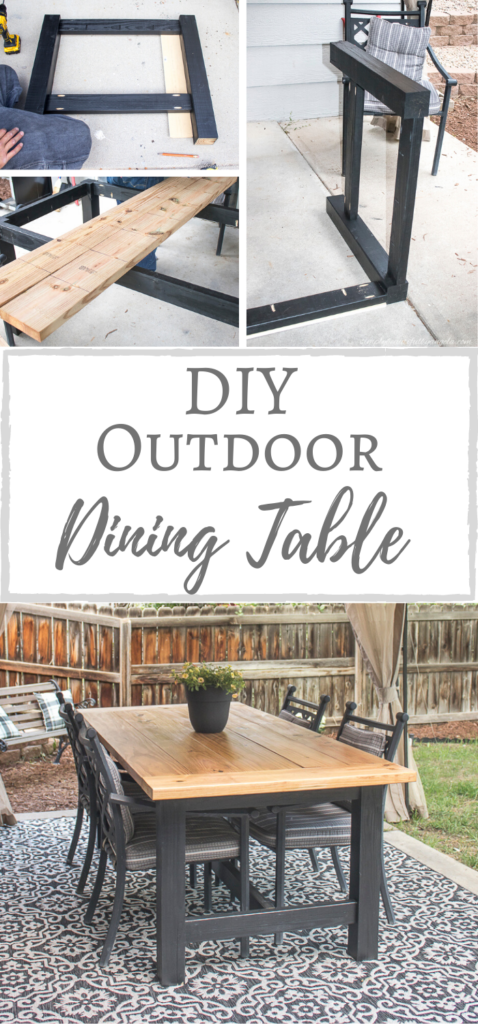
Hi guys! I hope you all had a nice week. We finished up our latest project last weekend and I’m so excited to share it with you all today!
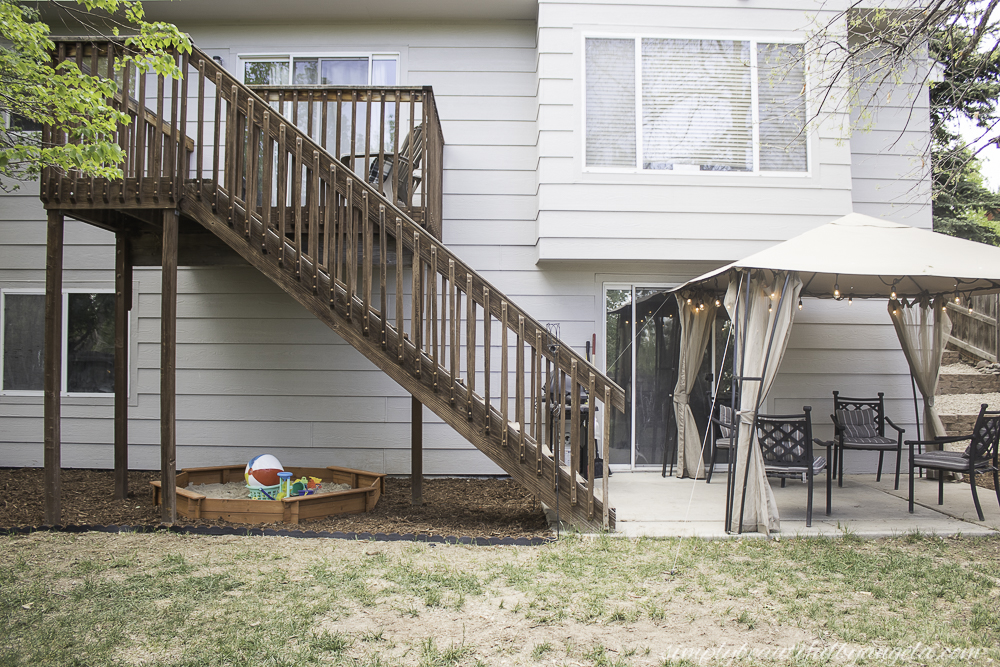
If you’ve been following along you know that I’ve become obsessed with cleaning up our backyard over the past few weeks. The boys have had an absolute blast playing with the new additions that we’ve added like their sandbox, playhouse, swing and pool and we’ve been spending a lot of time outside watching them from the patio area. It’s been nice, but there was something major missing…a table!
I browsed online for a bit but didn’t really find anything that I loved that would fit in our budget. So we decided to do what we usually do when we can’t find something from a store–build our own!
Supplies Used:(Affiliate links may be provided for convenience. For more info, see my full disclosure here.)
- 2-Pressure Treated 4x4s
- 4-Pressure Treated 2x4s
- 4-Pressure Treated 2x8s
- 1-Pressure Treated 2×10
- Kreg Pocket Hole Jig
- Kreg 2-1/2-Inch Pocket Screws
- Paint Sprayer
- Majic Indoor/Outdoor Paint
- Sliding Compound Miter Saw
- Electric Sander
- Spar Urethane in Satin
We mostly followed the plans from Ana White’s Farmhouse Table plans, however we chose to avoid the notched cuts and just used pocket holes for the 2×4 stretcher and stretcher supports. The entire process went very smoothly and I decided to document it so you can see just how easy it was!
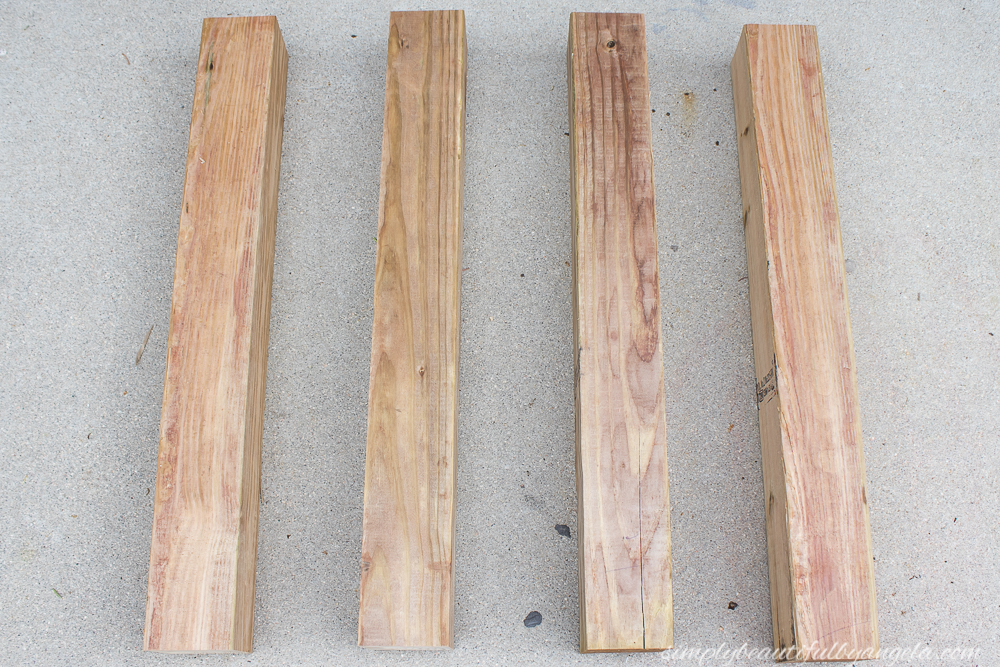
The first step was to cut the 4x4s which would be the legs. I originally thought that 29″ seemed awfully short, but when I measured our indoor dining table I saw that they were the same measurement. It was an optical illusion moment for sure!
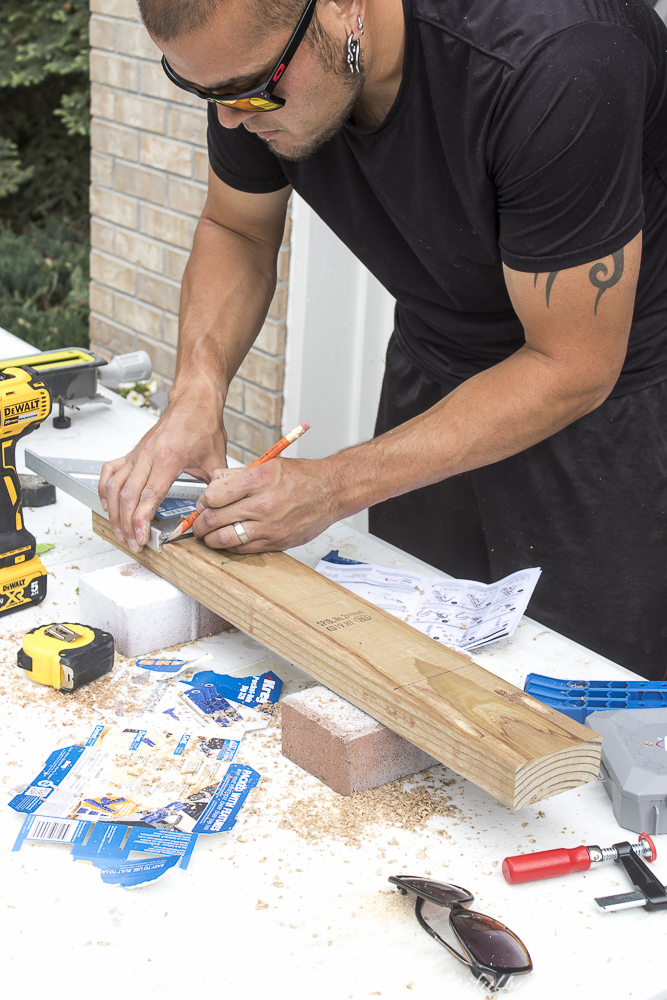
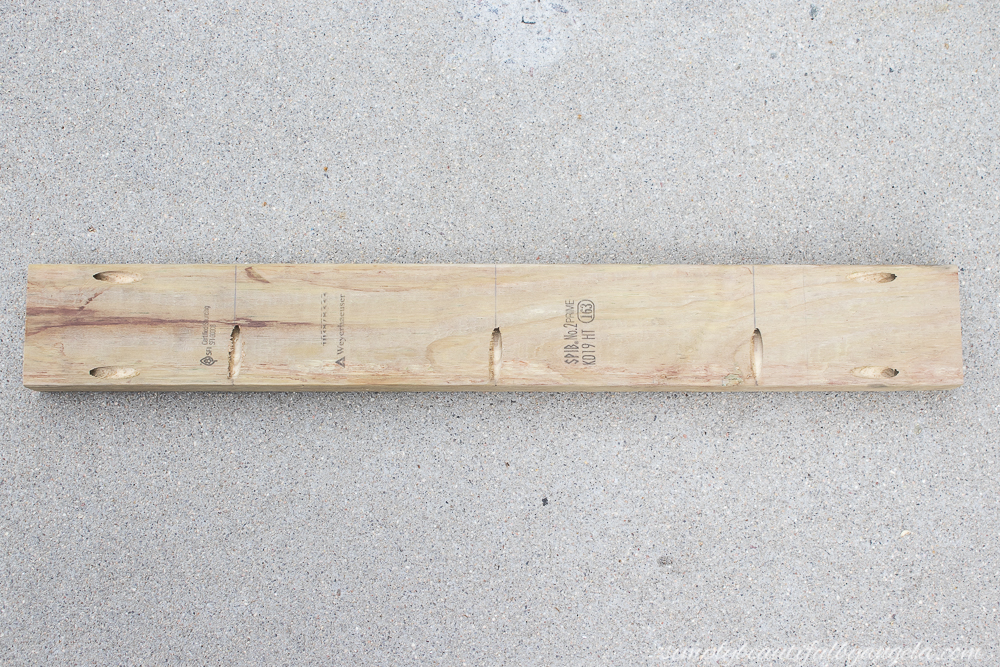
Next I cut the 2×4 aprons and Anthony used the Kreg Jig to drill two pocket holes on either side. He also made the pocket holes to attach the top and used a speed square to measure them out. They don’t need to be precise, but we figured the more evenly distributed the better.
I also cut the bottom stretcher and stretcher support pieces. The stretcher supports were the same measurement used for the side aprons, however I wasn’t sure exactly what the stretcher would need to be cut at until the table base was assembled so I cut it down to Ana’s 74″ for the time being.
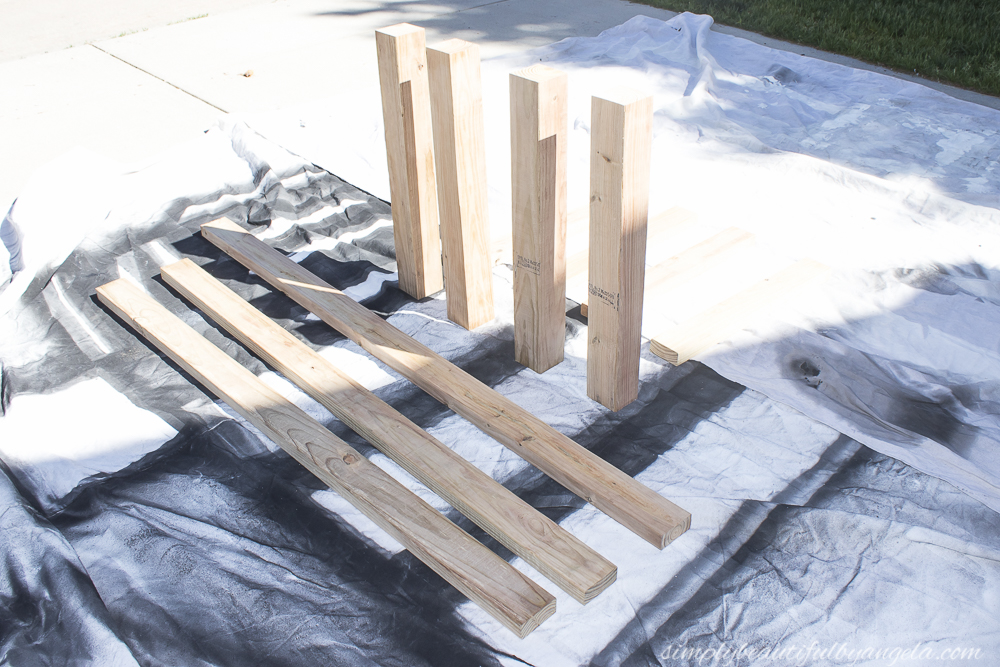
After giving each piece a brief sanding with the electric sander, I laid them all out on a drop cloth and used my paint sprayer to apply a coat of Majic indoor/outdoor paint in black satin.
Once they were dry, Anthony drilled Kreg 2-1/2-inch pocket screws to attach the side aprons and stretcher supports to the legs. You can see that the pocket holes for the stretcher supports were drilled post painting, so I had to go back and touch those up afterwards.
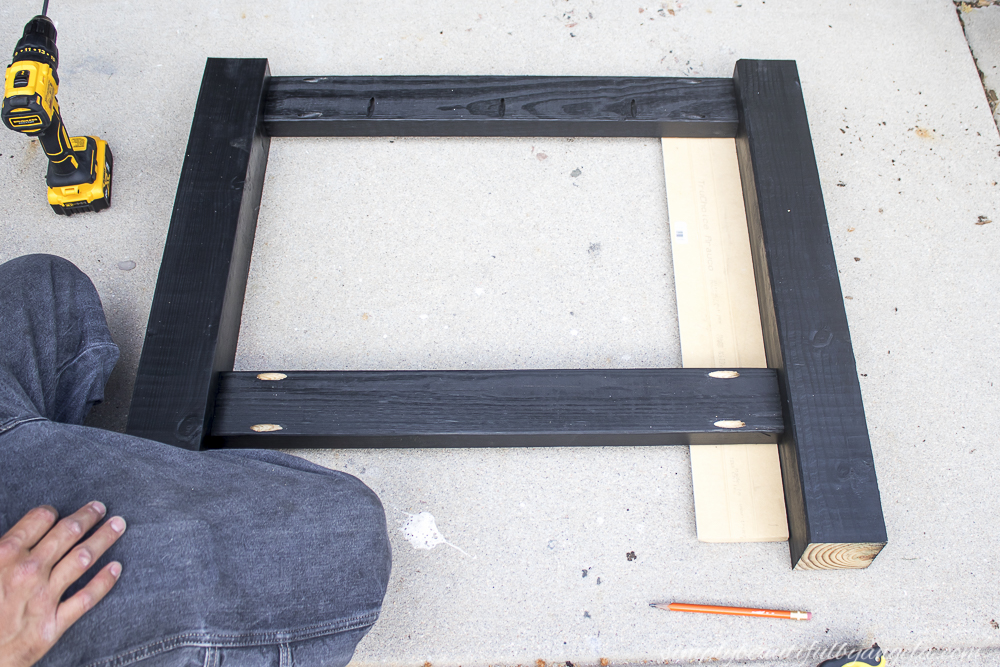
After assembling each side he screwed the side aprons in to each one to connect them.
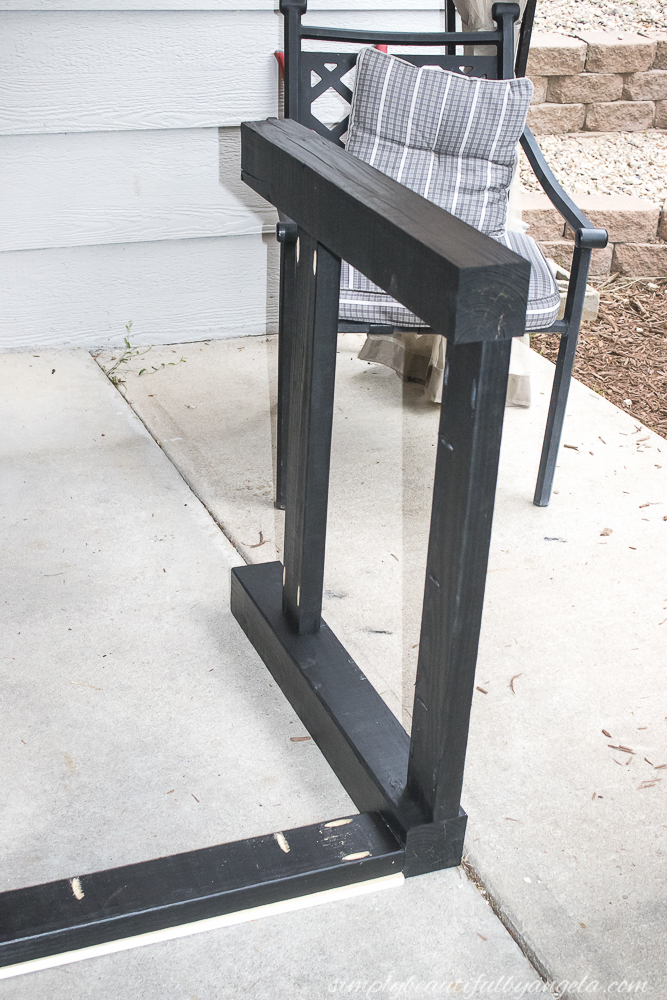
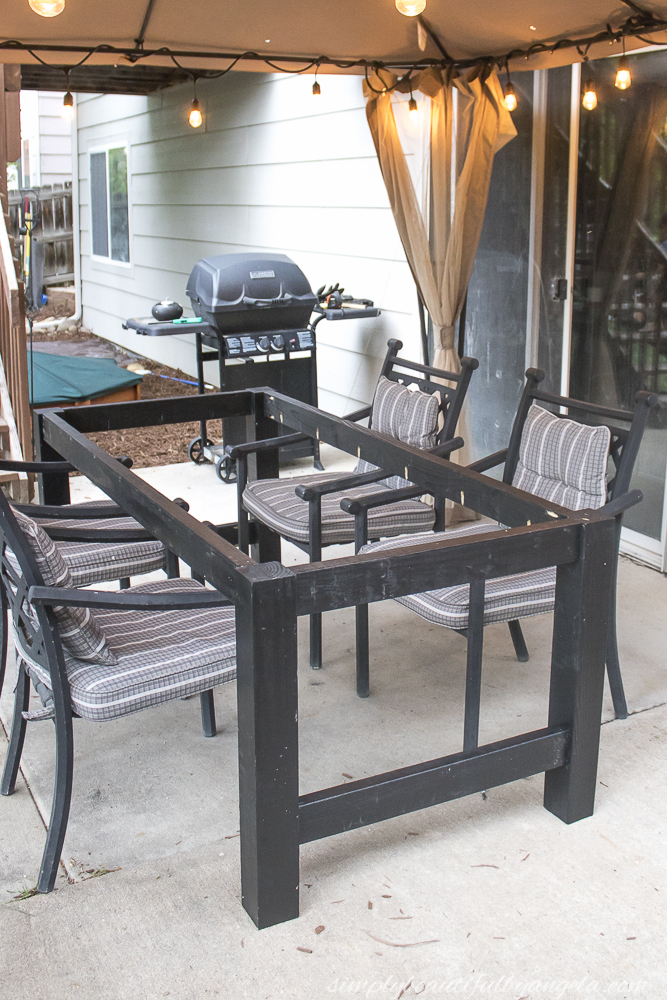
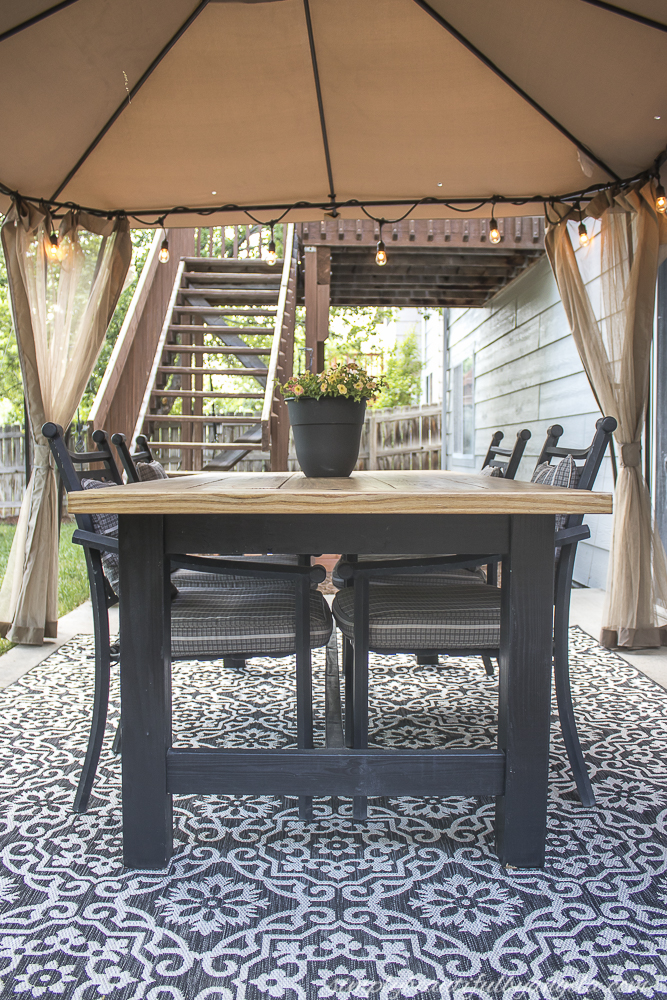
And just like that we had a table base! The stretcher was cut down and added later on with two pocket hole screws on either side.
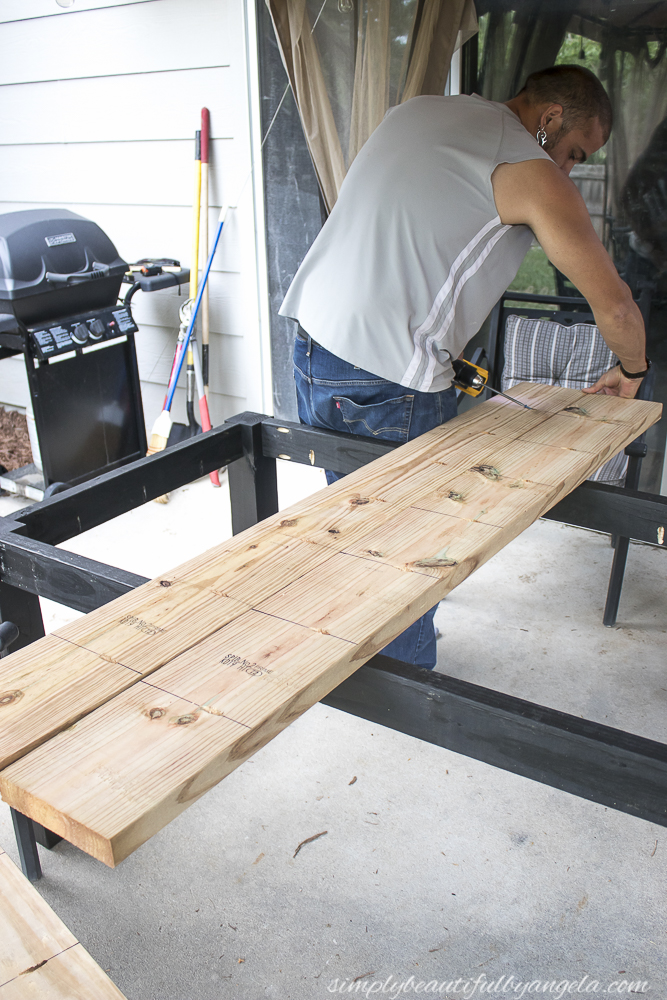
Next was the top. We followed Ana’s tutorial by securing two of the 2x8s to the 2×10 with 7 pocket holes (make sure you decide what side of each piece that you want to be the bottom since one will probably be prettier than the other!). The remaining 2x8s were then attached to the outside of these.
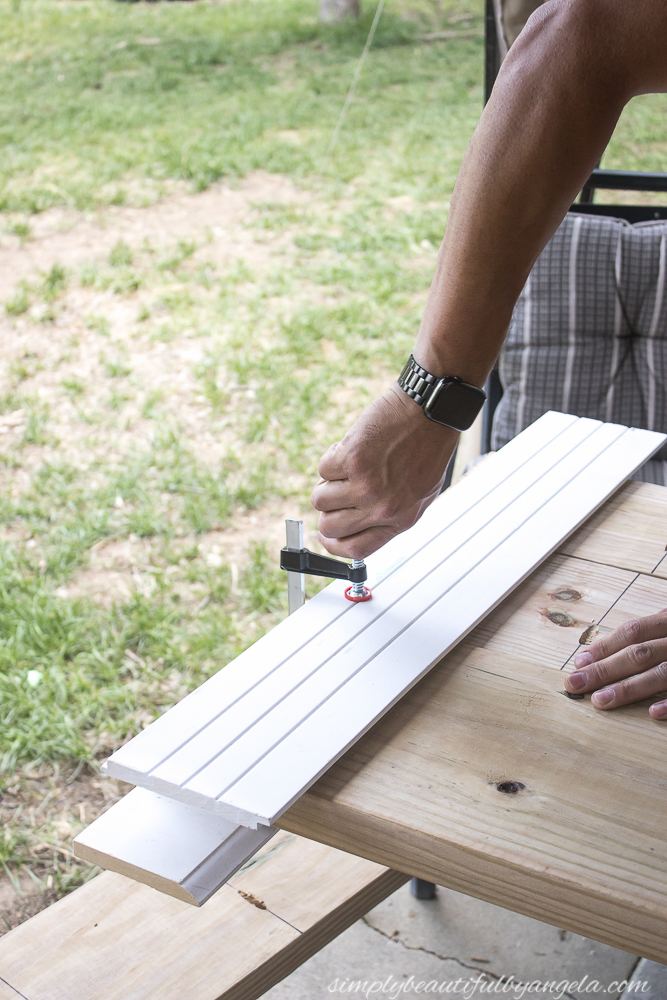
We found that a couple of our boards had a slight warp to them so Mr. Smarty Pants came up with the idea to use a small clamp and a couple pieces of scrap wood to flatten them out before screwing them together.
After the top was built we flipped it over and Anthony got underneath to attach it to the frame.
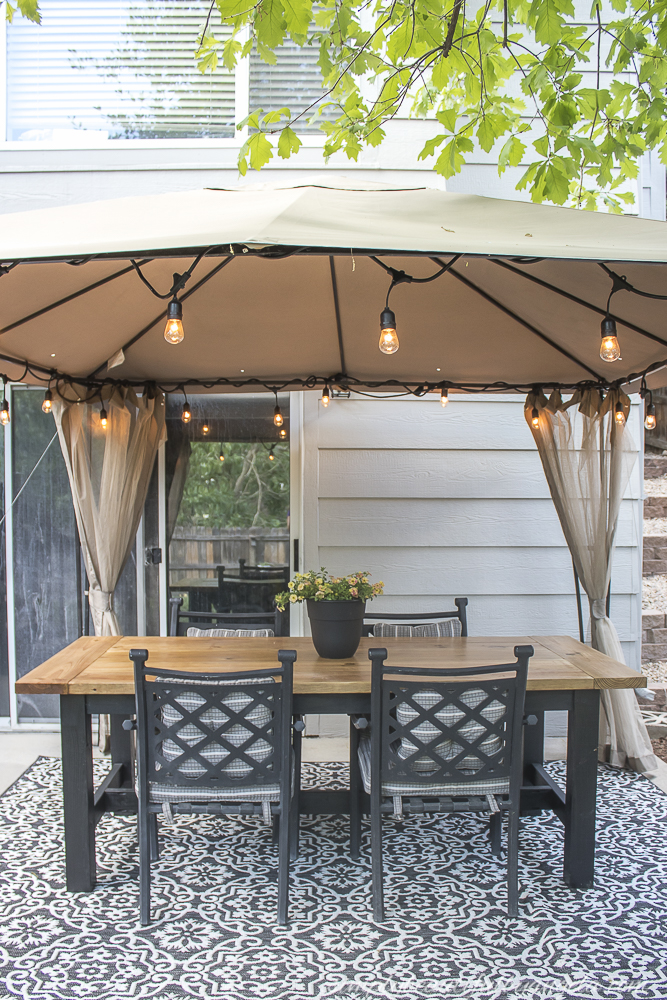
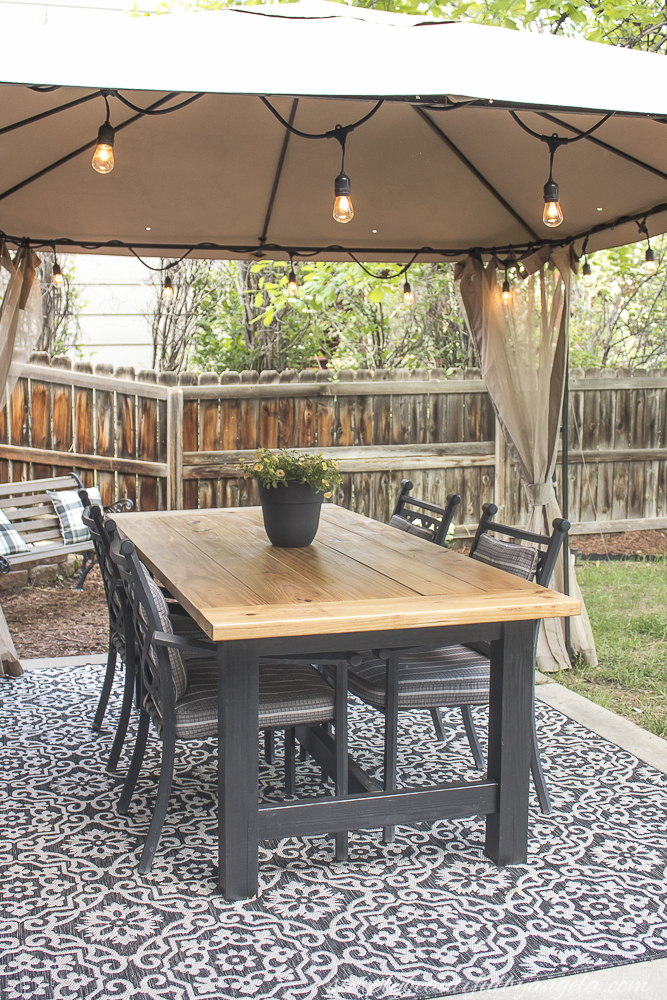
I decided that the existing wood color was pretty so I skipped staining and just sanded it well and applied two coats of spar urethane in satin to protect it.
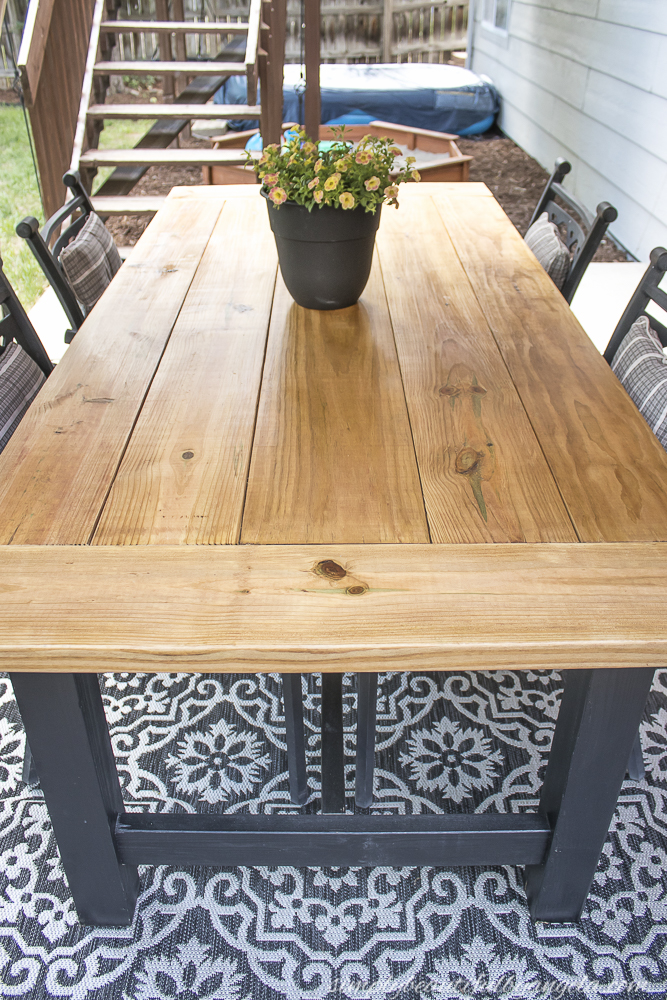
I’m soooo thrilled with how it turned out!

I still need to do a couple of touch ups on the black paint since it got dinged while we were putting it together, but I used this same paint on the playhouse and so far it’s held up to weather fantastically so I feel good about it.
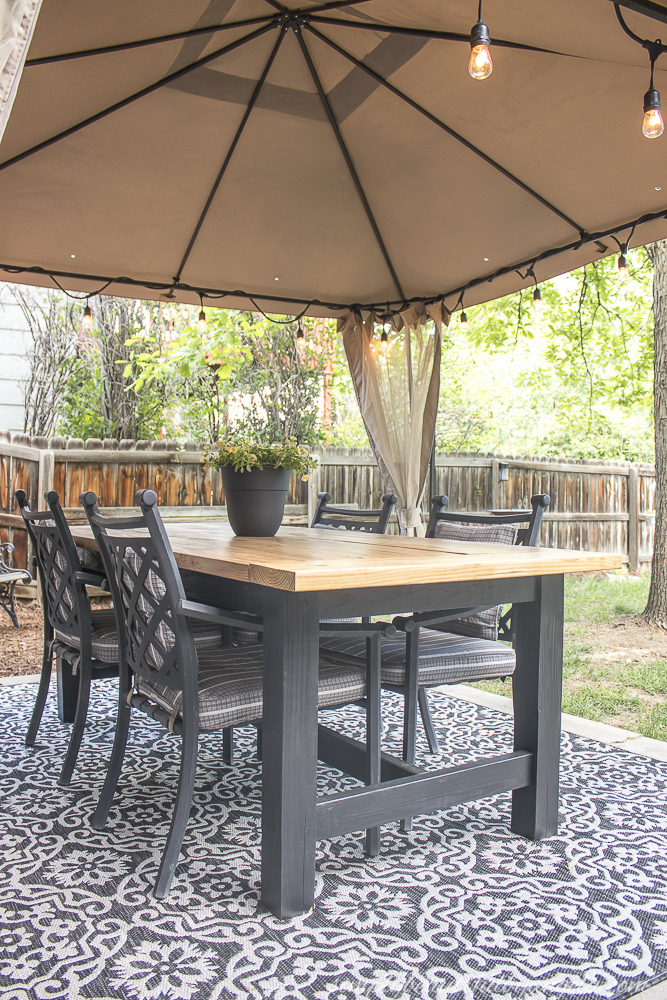
For years I’ve wanted an outdoor rug so I finally caved I got this beautiful black and gray outdoor rug.
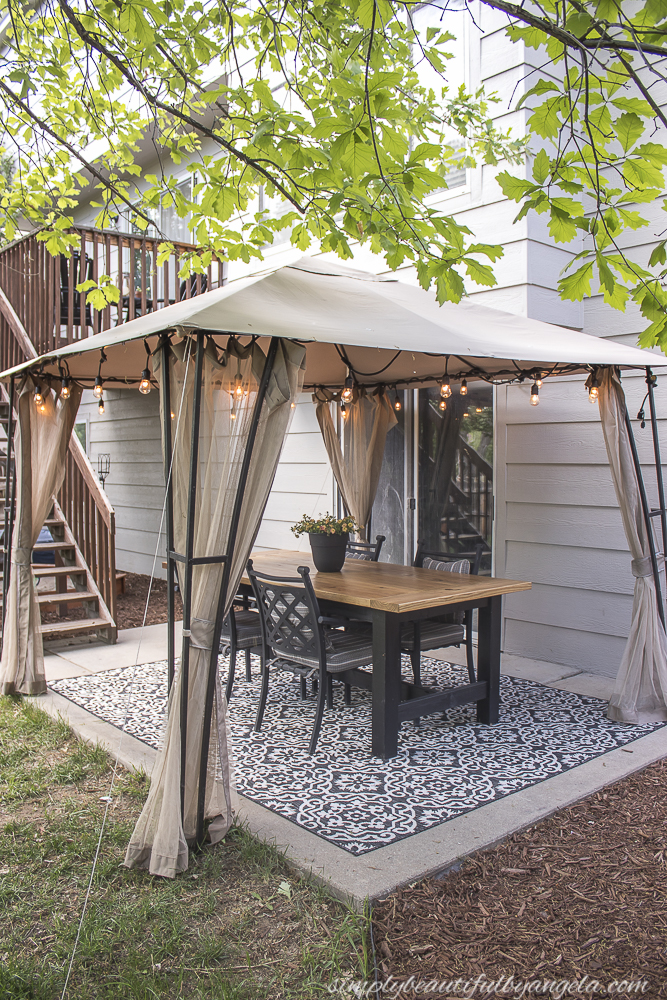
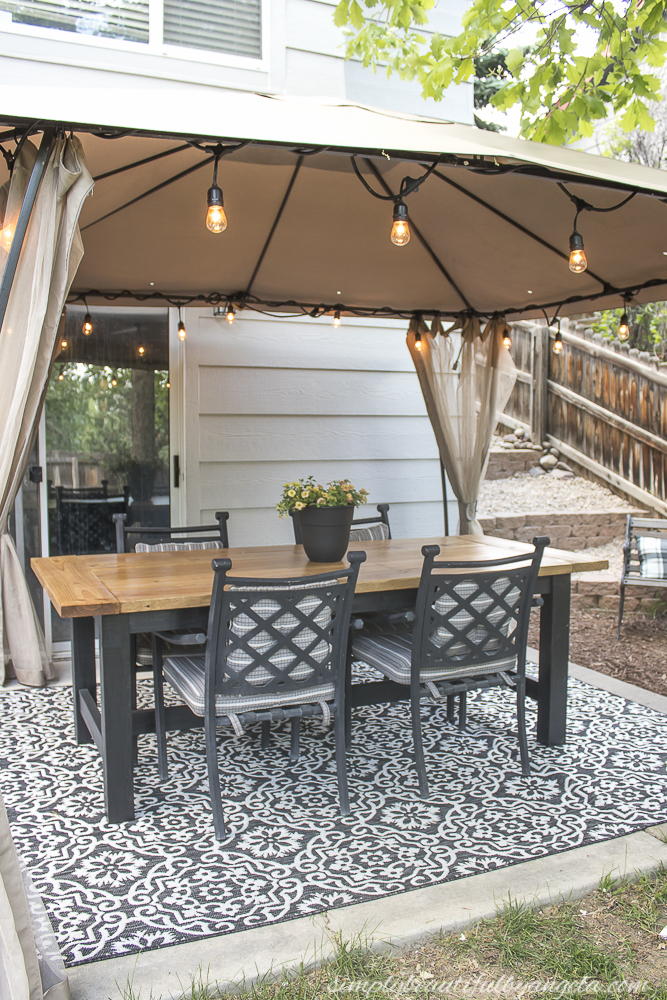
It fits the space perfectly and makes it feel like such a nice little oasis.
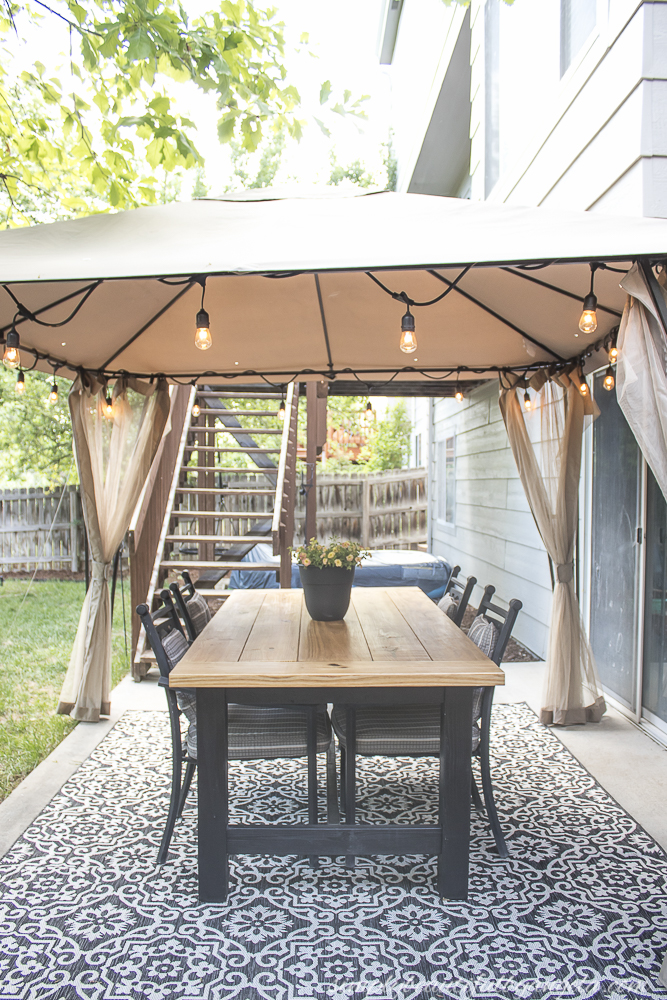
We just ordered a new grill and the Anthony is actually going to pick up right now as I type this post. Tomorrow I’m going to grab some food so that we can have our first official BBQ at this house and eat at our new table!
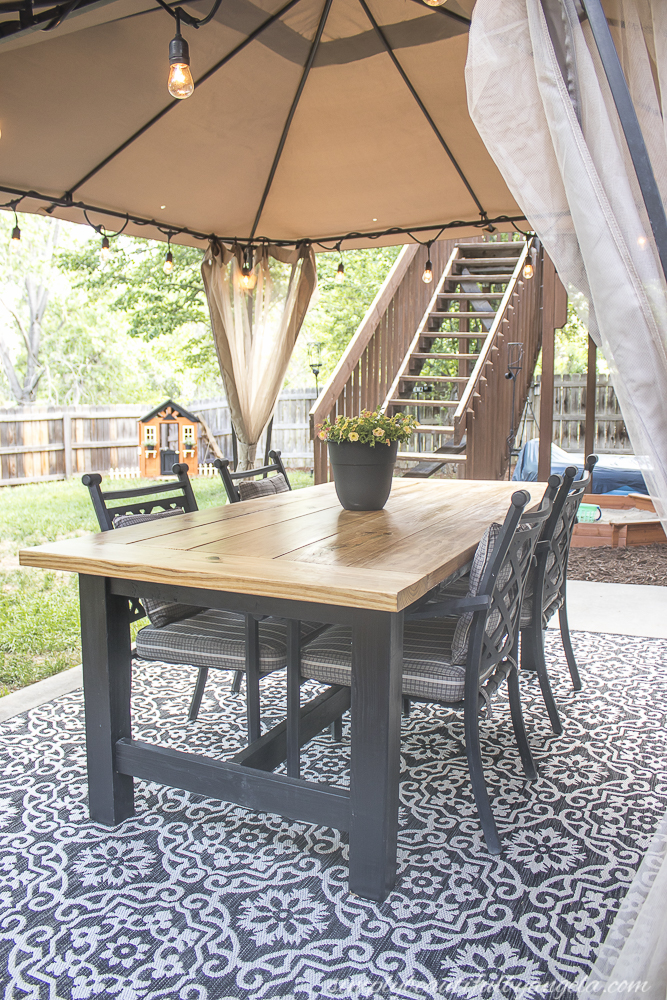
We spent about $85 in lumber which is a lot less than we would have spent on something store bought. Not to mention, this thing is SOLID and I expect that it will last us a very long time!
I hope you all have a wonderful weekend, I’ll catch up with you guys next week 🙂
Linking up to these awesome parties!
What a lovely table!