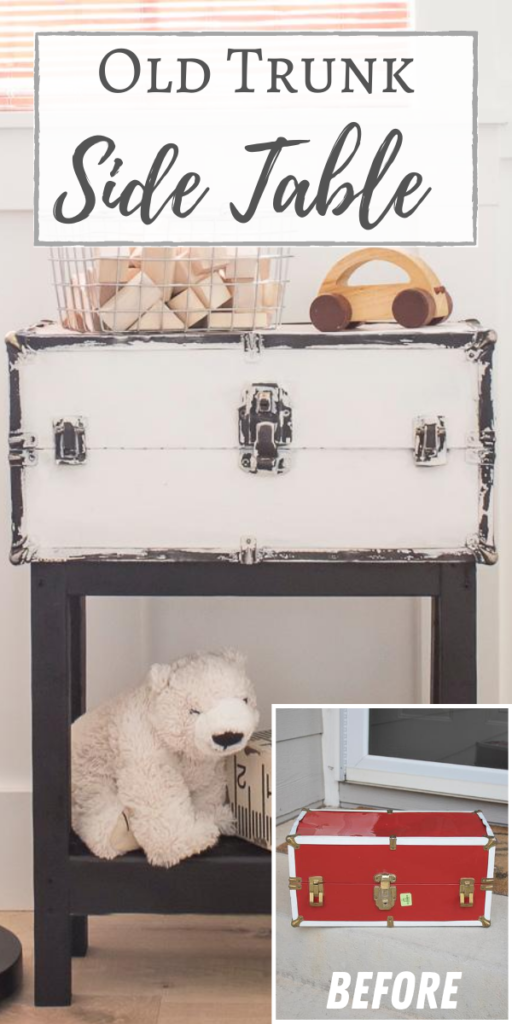
Hello my sweet friends and welcome to another fun Thrift Store Challenge day!
The Rules:
- Upcycle an item(s) from a thrift store, resale store, or garage sale into a new piece of decor.
- There’s no monthly theme.
- There’s no budget to stick to.
Meet the Hosts
Angela | Simply Beautiful By Angela – Beverly | Across the Blvd – Gail | Purple Hues and Me – Allyson | Southern Sunflowers – Marci | Stone Cottage Adventures – Kathleen | Our Hopeful Home
Our Thrift Store Upcycle group of bloggers is looking to expand — and we need your help! Why not consider joining in our thrift store upcycle challenge on the last Thursday of each month? Make some friends while having fun and share your love of DIY with the world. It’s a win-win! Sound like something you’d be interested in? Just leave a comment at the end of this post with your contact info and a link to your blog. Someone will get back to you right away. We can’t wait to meet you!
When I ventured out to the thrift store this past weekend I had nothing specific in mind. When I started eyeing this little old trunk Tristan became very interested in it and urged me to get it, so that I did!
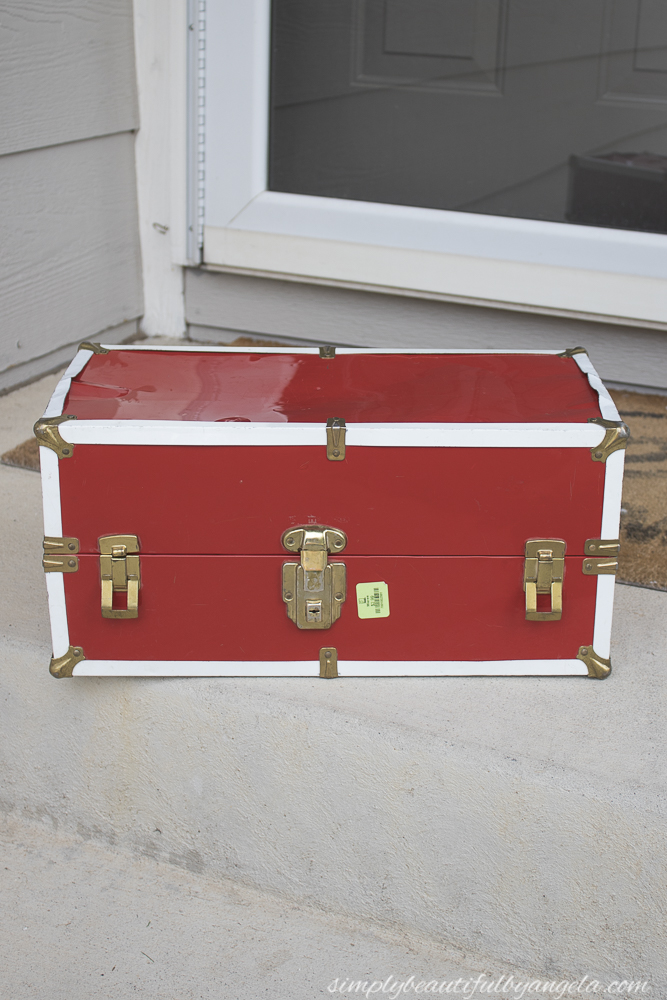
I wasn’t entirely sure what to do with it at first. You may recall that I did this fun trunk turned coffee table flip a couple years ago.
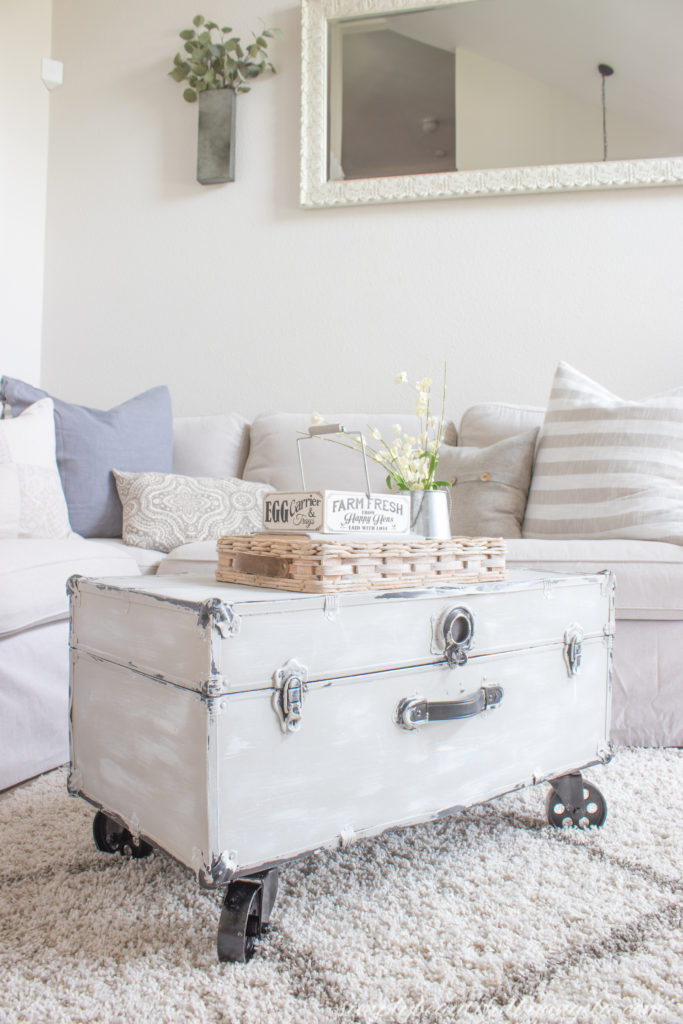
I wanted to do another table, however since this one was smaller I decided to try to to make it a side table.
Supplies Used:(Affiliate links may be provided for convenience. For more info, see my full disclosure here.)
- Matte Black Spray Paint
- Vaseline
- White Latex paint (mixed with Plaster of Paris)
- Sanding Sponge
- Scrap Wood
- Wood Screws
- Wood Filler
- Contact Paper
After wiping it down with some Simple Green I sprayed all of the trim with oil rubbed bronze spray paint. Afterwards I changed my mind and went over it with black matte instead so that it would pair better with the table base as you’ll see later on!
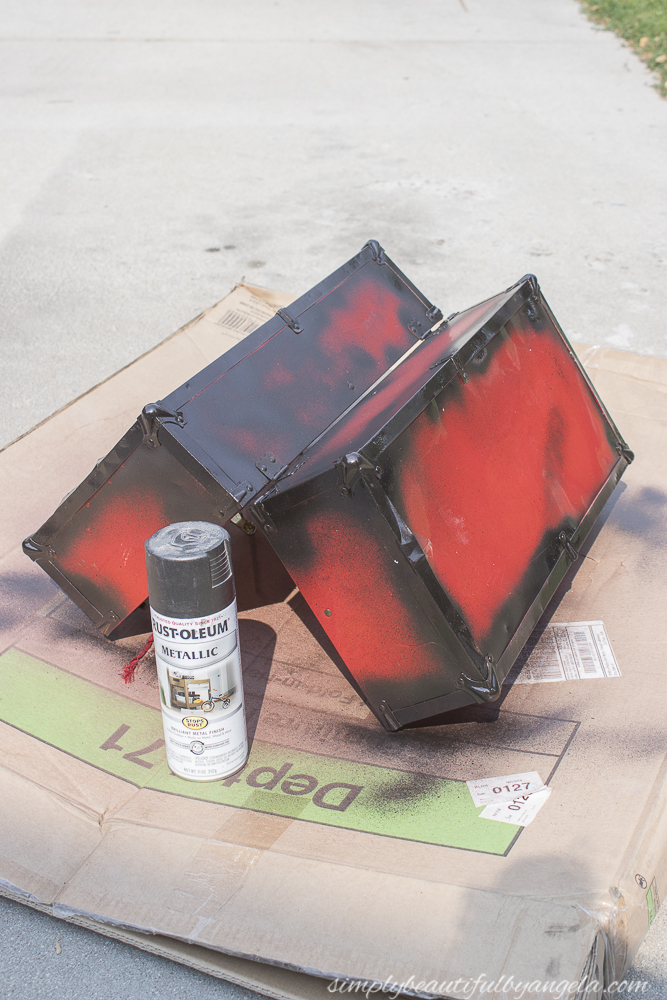
Next, I started building the base. I began by marking where I wanted the 2×2 legs to sit and then measured between those marks to determine how big the 1×2 sides needed to be cut.
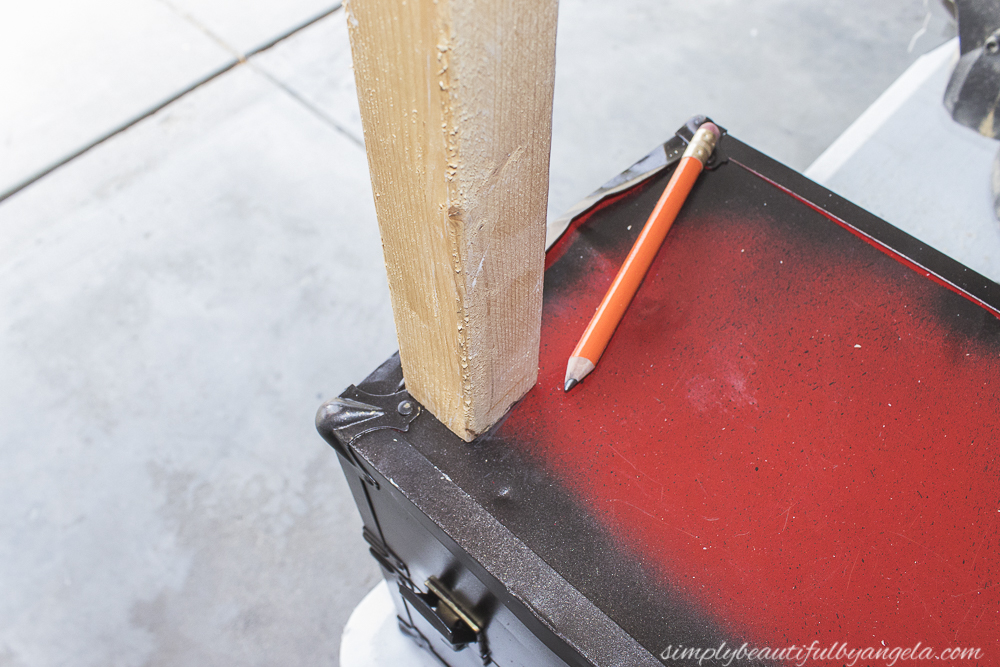
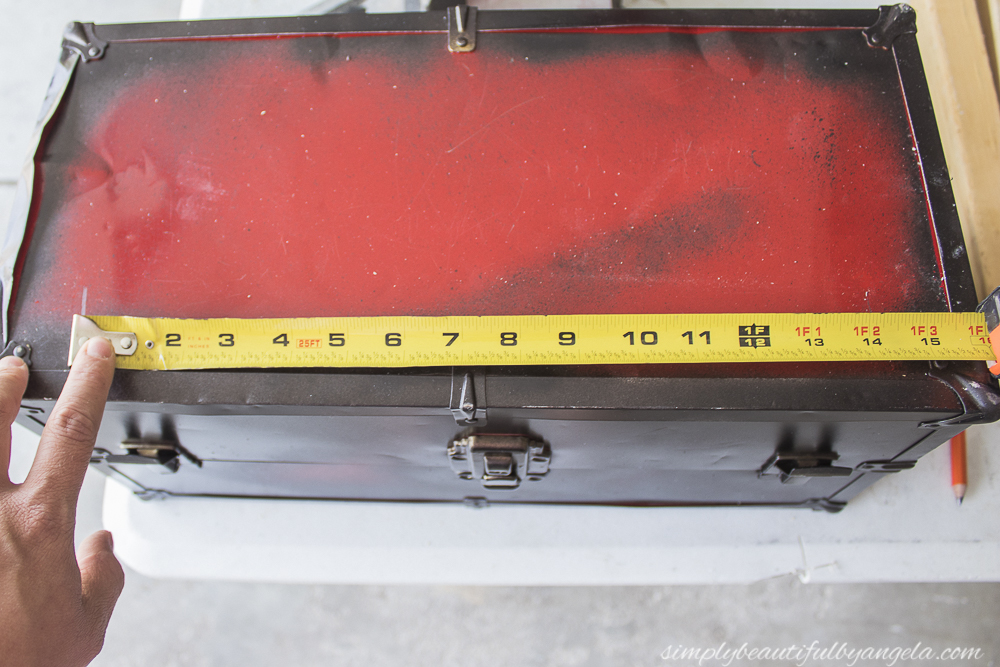
Once I had those pieces cut, I used wood screws to attach the legs to each side.
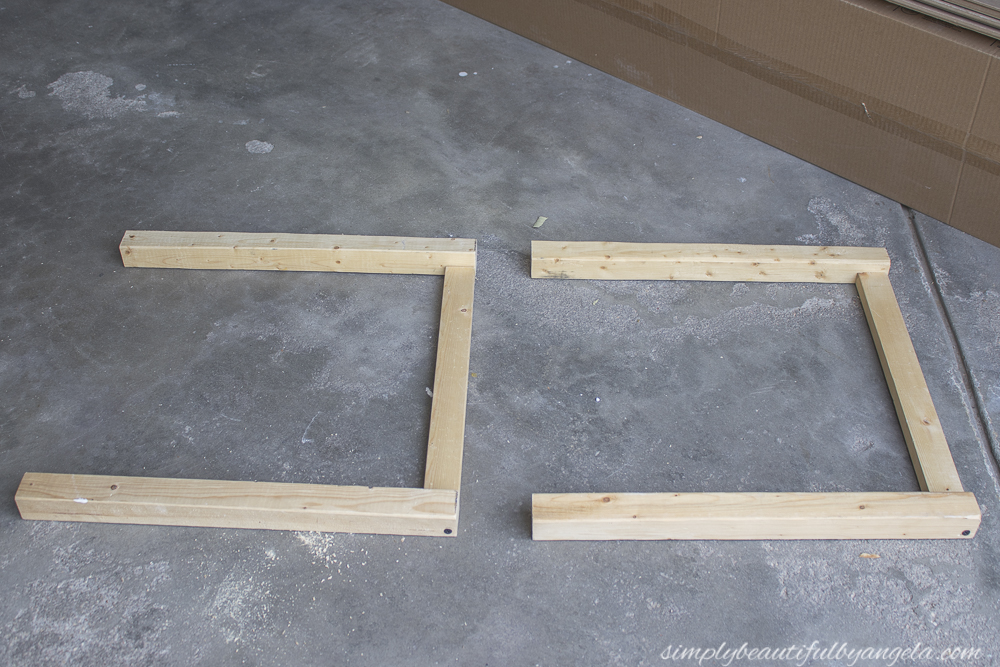
After those were assembled, I held each one on the trunk so that I could mark and measure how big the small sides needed to be.
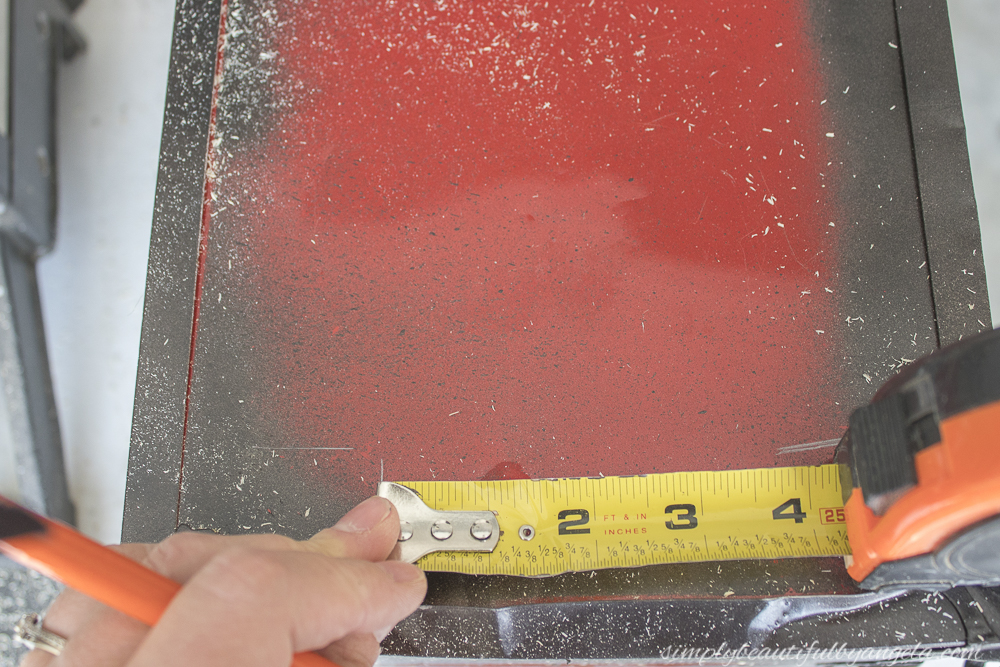
I attatched those together and at last I had a table base! Well, almost.
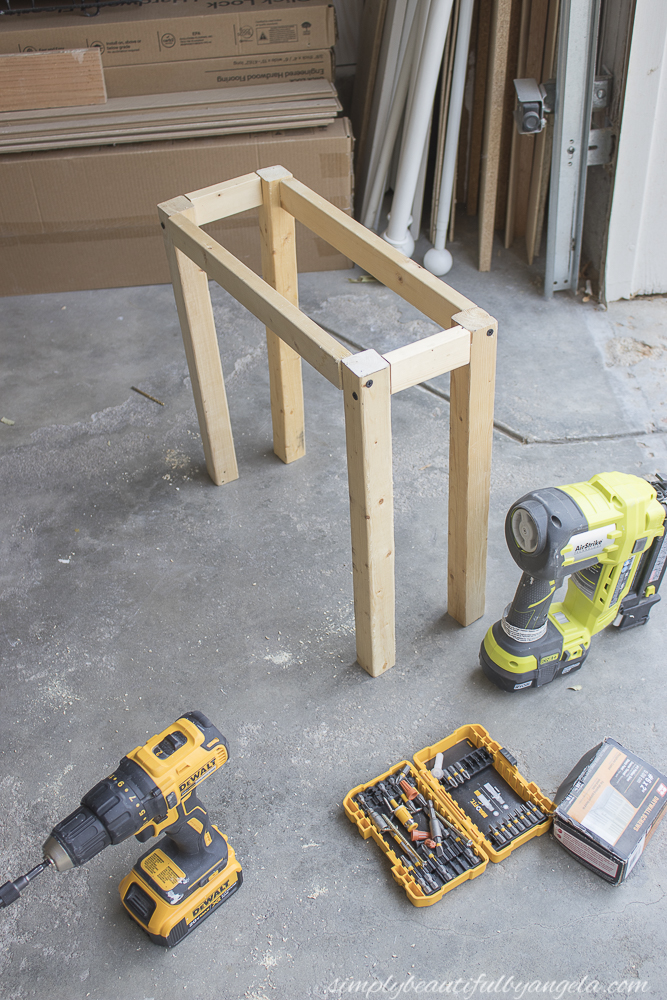
I decided to cut down some 2x3s and attached them about 3.5″ from the bottom to add extra stability.
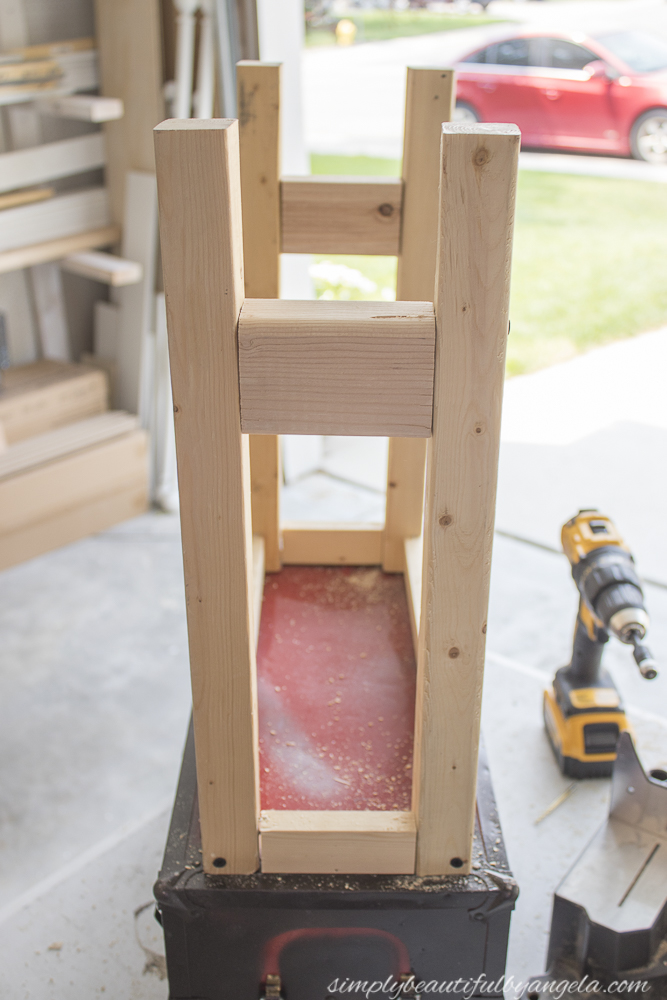
I also decided to attach a 2×4 in the middle to create a shelf.
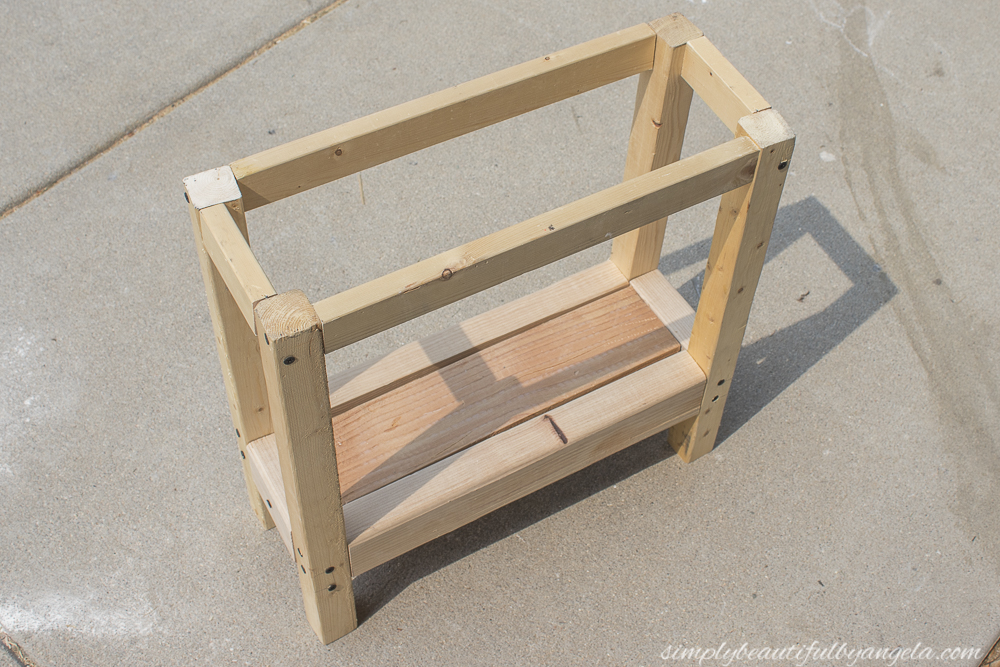
I filled in all of the gaps with wood filler
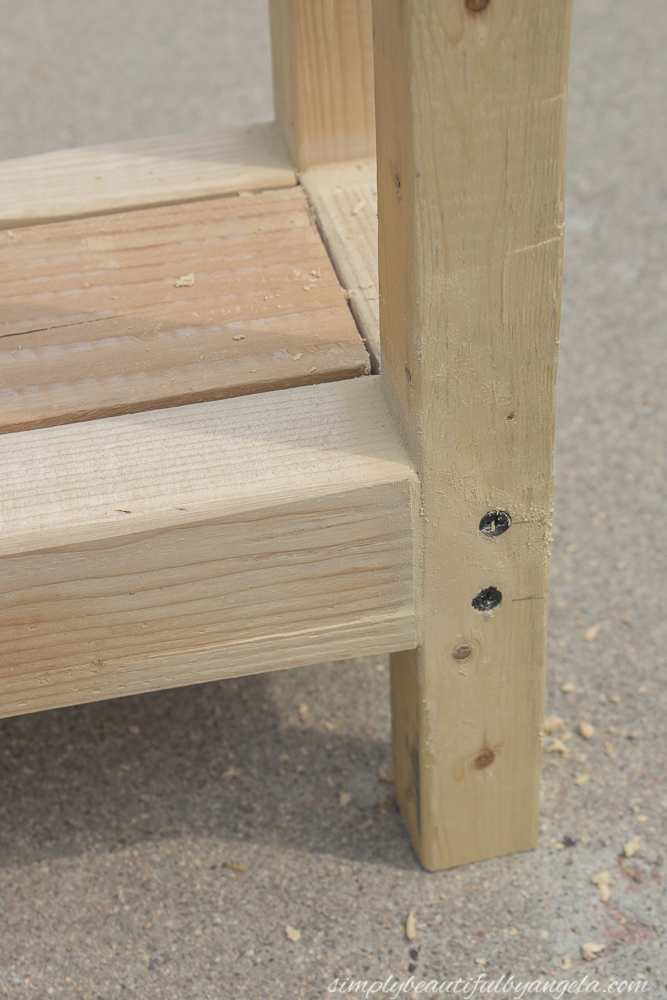
I let the wood filler dry for a bit, then I went back and sanded it down before painting it with matte black spray paint. While that was drying, I gave the trunk a coat of white paint with my new paint sprayer. (Yep–after a ton of use my old one finally gave out on me. I am actually liking this one a lot more)
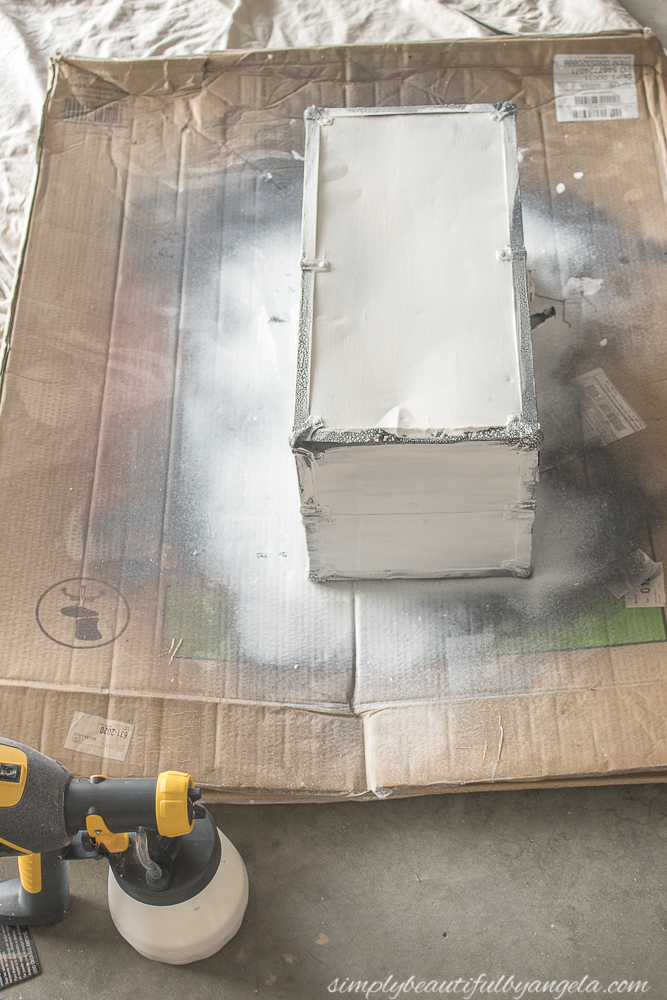
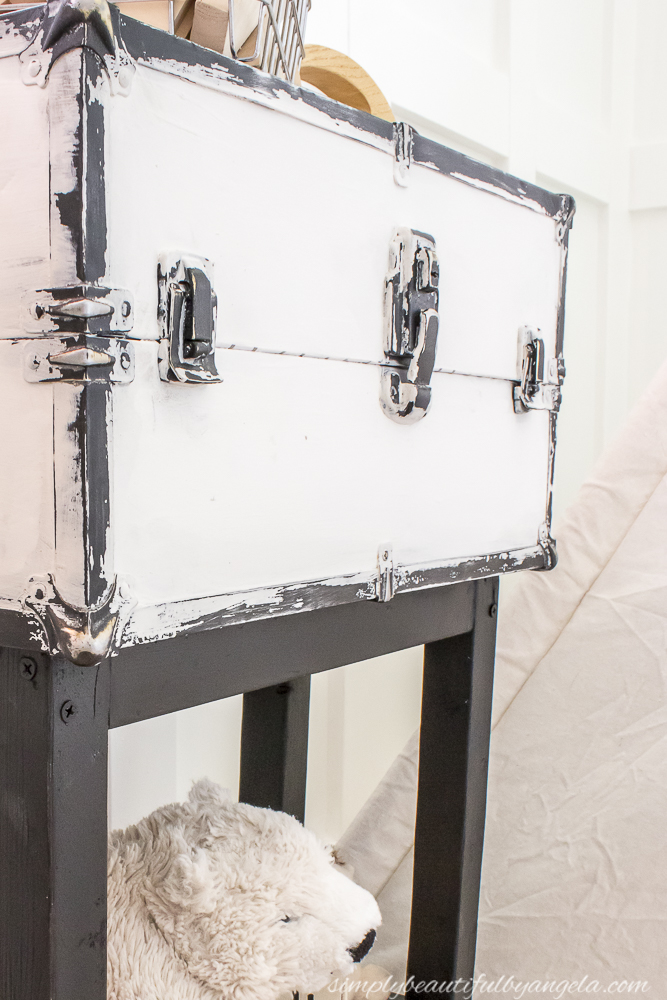
Two things to note here. First, I mixed in a small amount of Plaster of Paris to the paint to make it a chalky consistency that adheres to surfaces better. Second, prior to painting I went around and applied Vaseline to the trim pieces to keep the paint from really sticking to those parts. After the paint was dry I was able to go back around and use a sanding sponge to pull up the paint on those spots.
Next it was time to work on the inside. I began by wiping it down with bleach and letting it dry in the sun for a few hours.
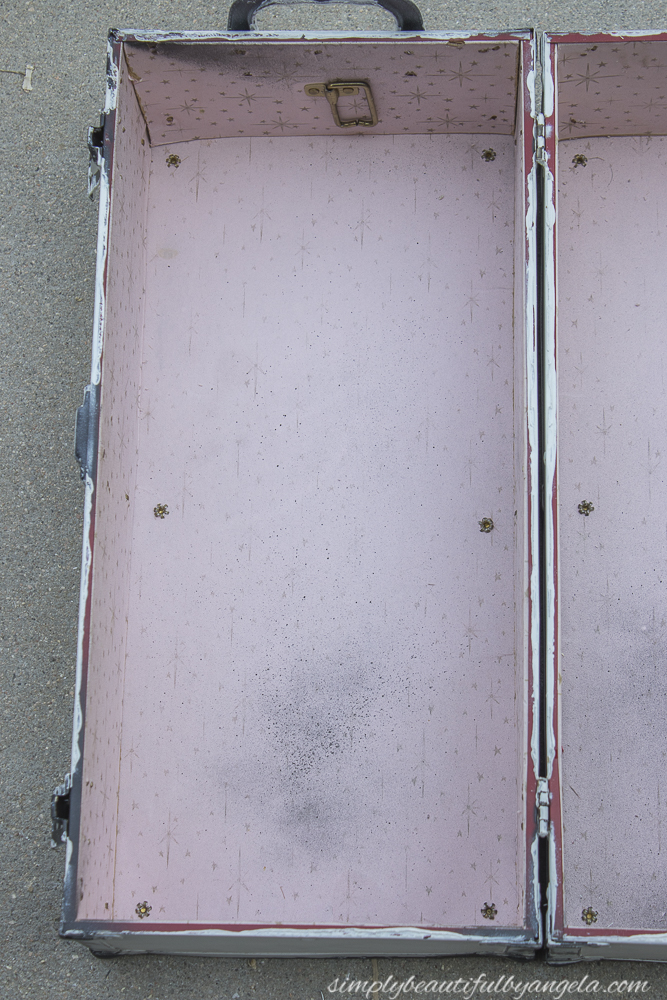
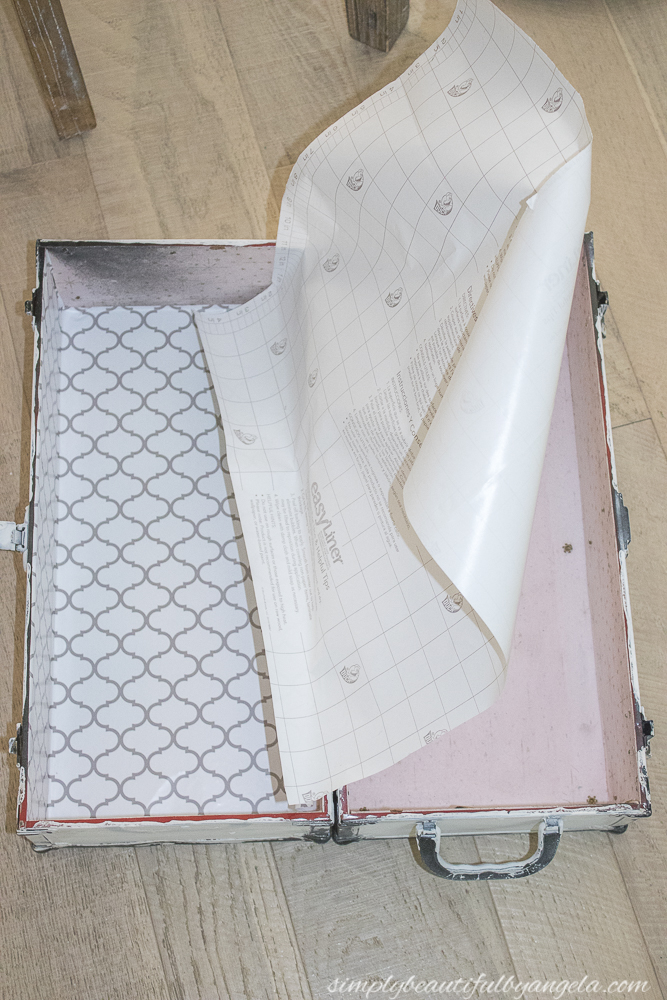
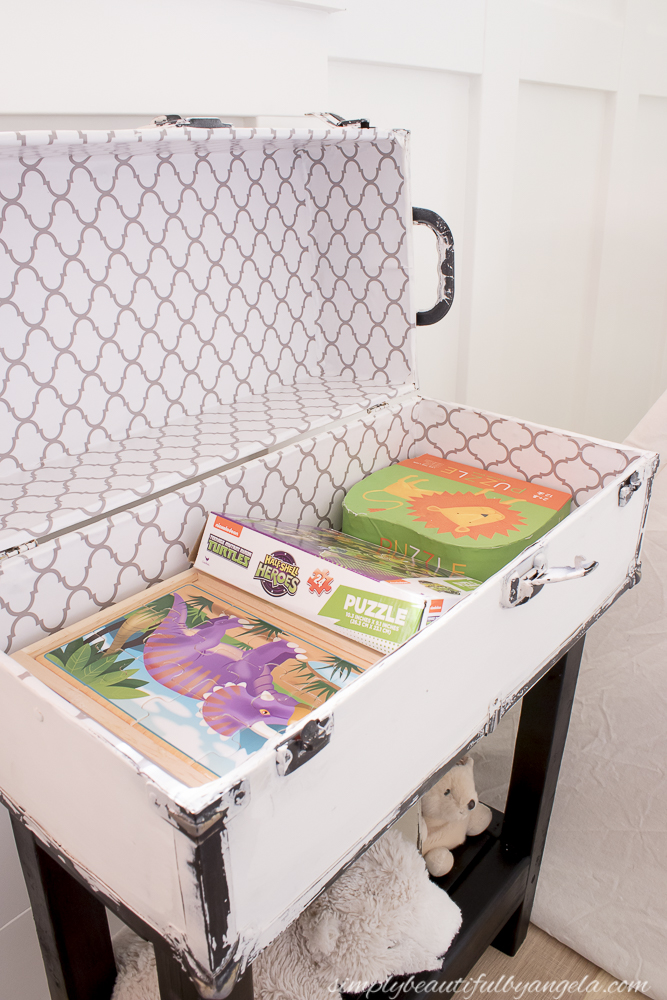
I picked up this pretty Contact Paper and applied it right over the old. I’ve learned from my prior trunk makeover that getting the old paper off can be super tedious and isn’t even worth it in the end!
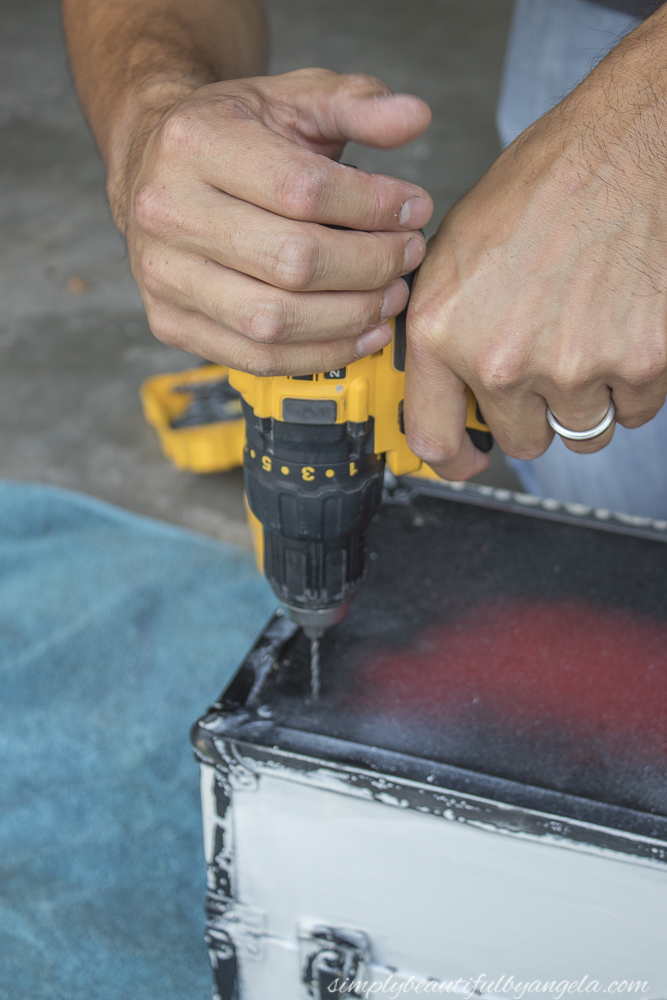
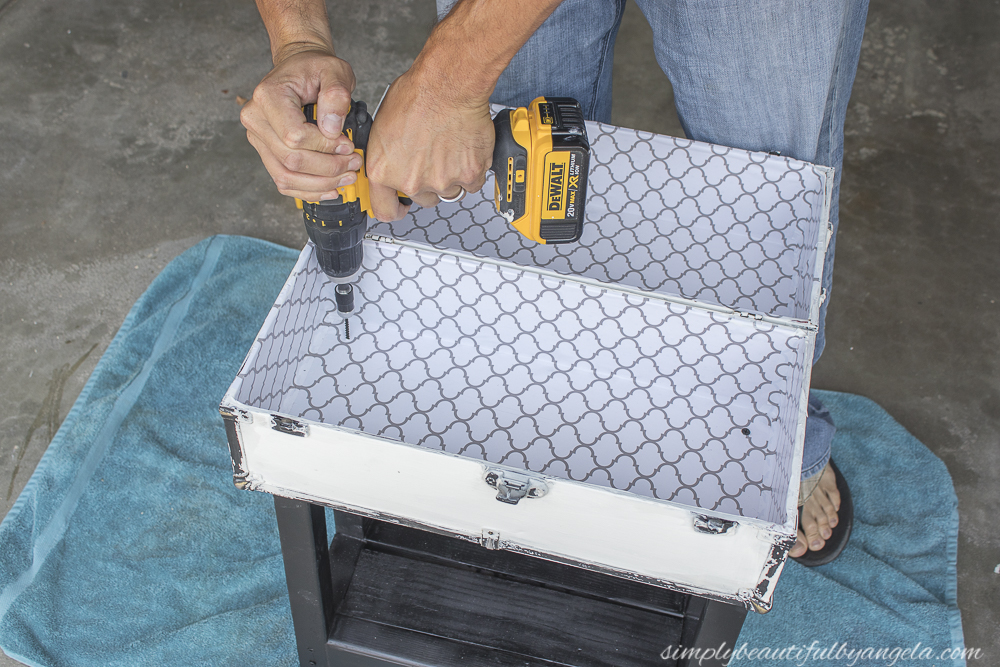
The hubby happened to be home since he took his birthday off, so he offered to help me get the trunk attached to the base. Since I’m still learning my way with a drill I didn’t argue! He first drilled holes through the bottom of the trunk where the legs would go.
We then put the trunk in place and used wood screws to attach it.
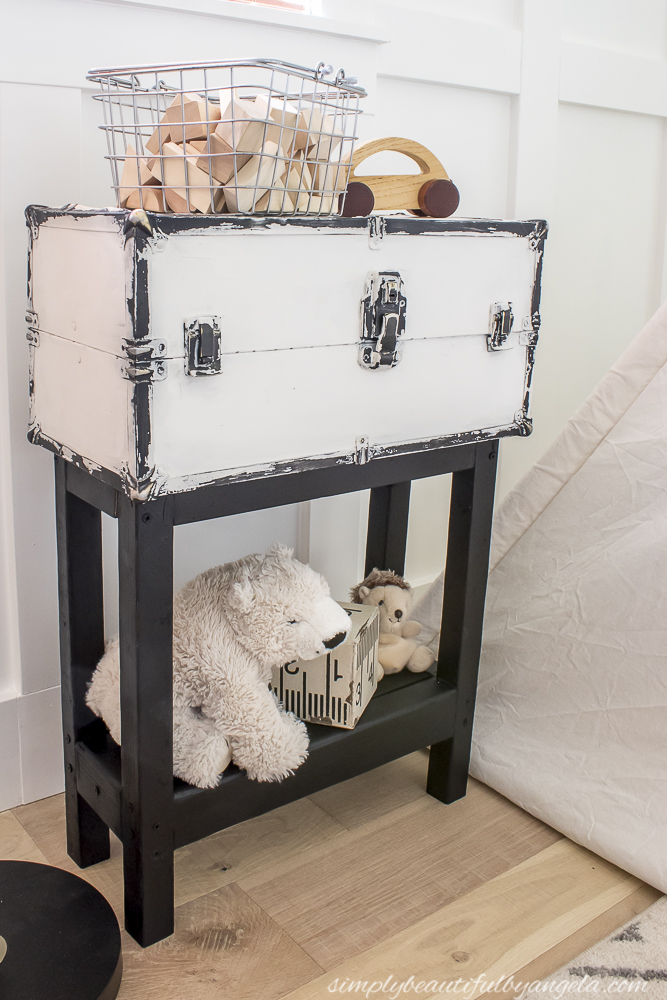
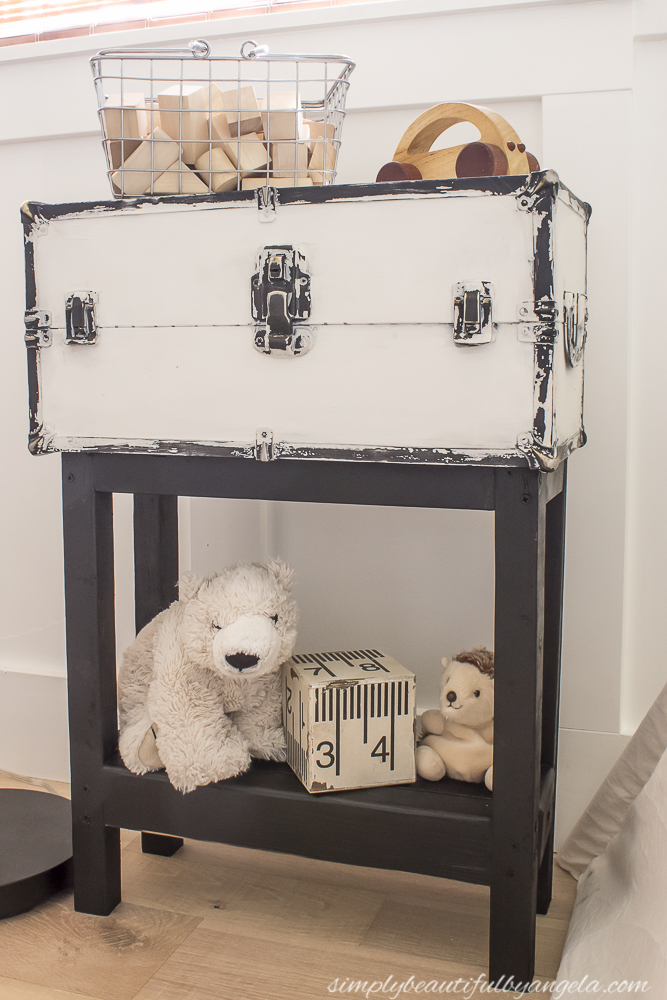
Here is the finished product!
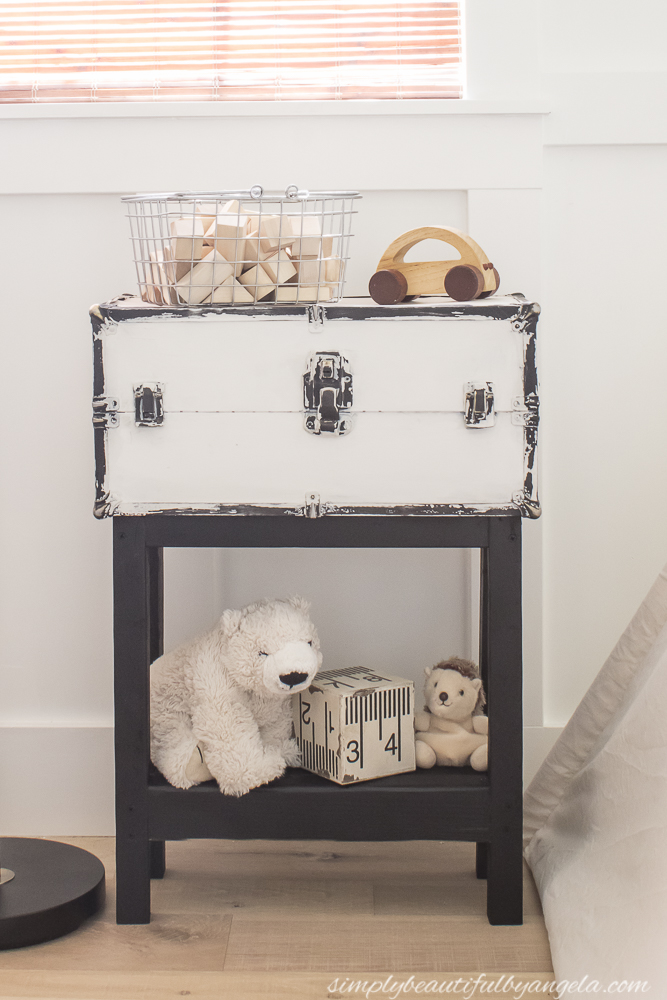
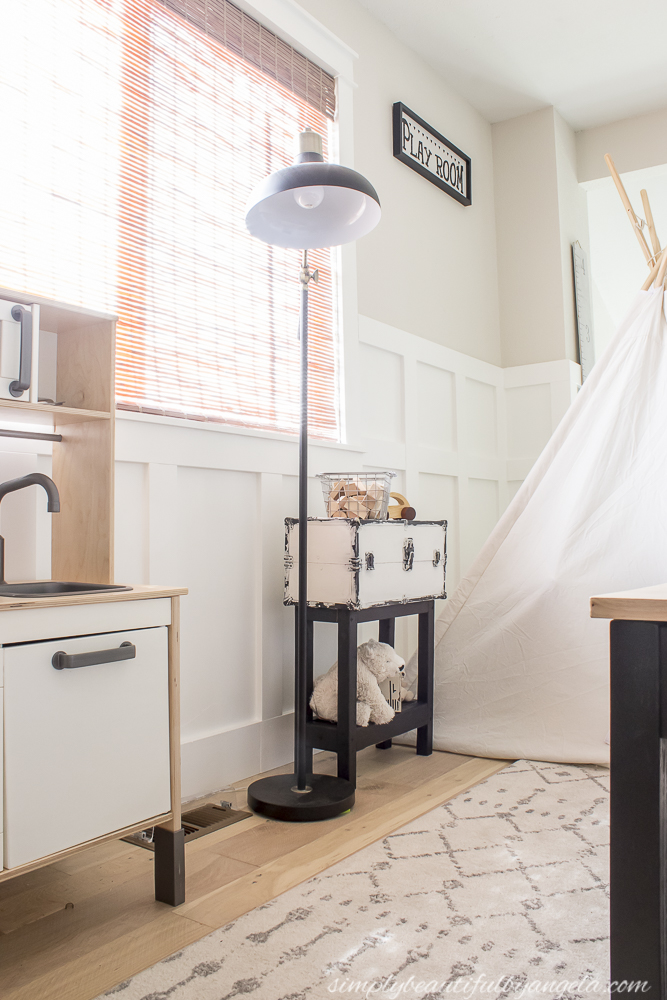
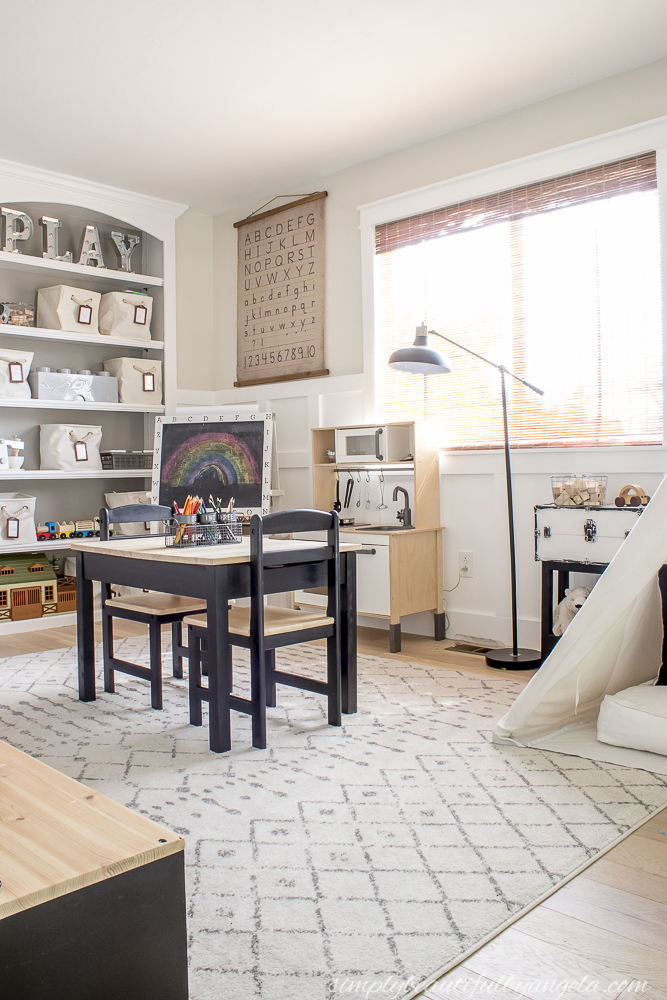
We are running out of room on the main level, so I had a hard time figuring out where I could put it. Then suddenly it dawned on me that the black and white would look great in the playroom, and it does!
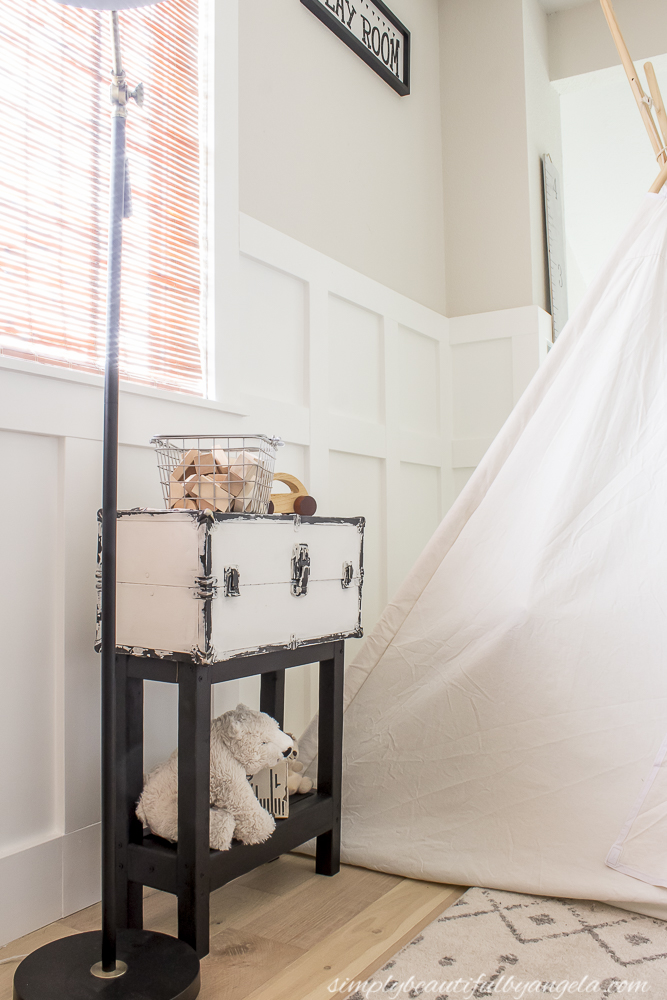
I tucked it next to their teepee and it fits perfectly there.
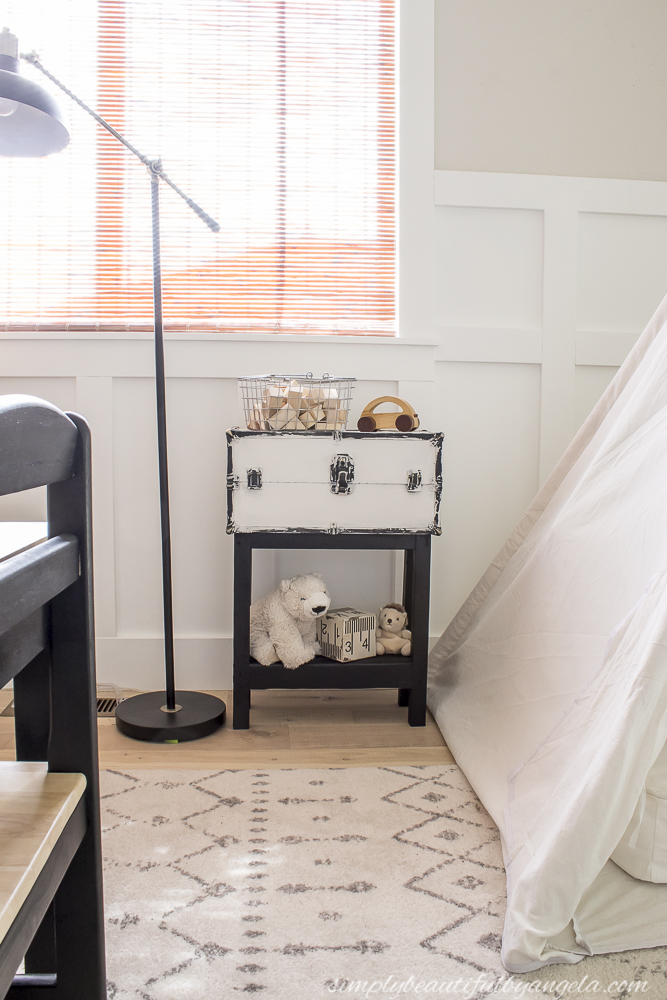
It looks fun when it’s closed…
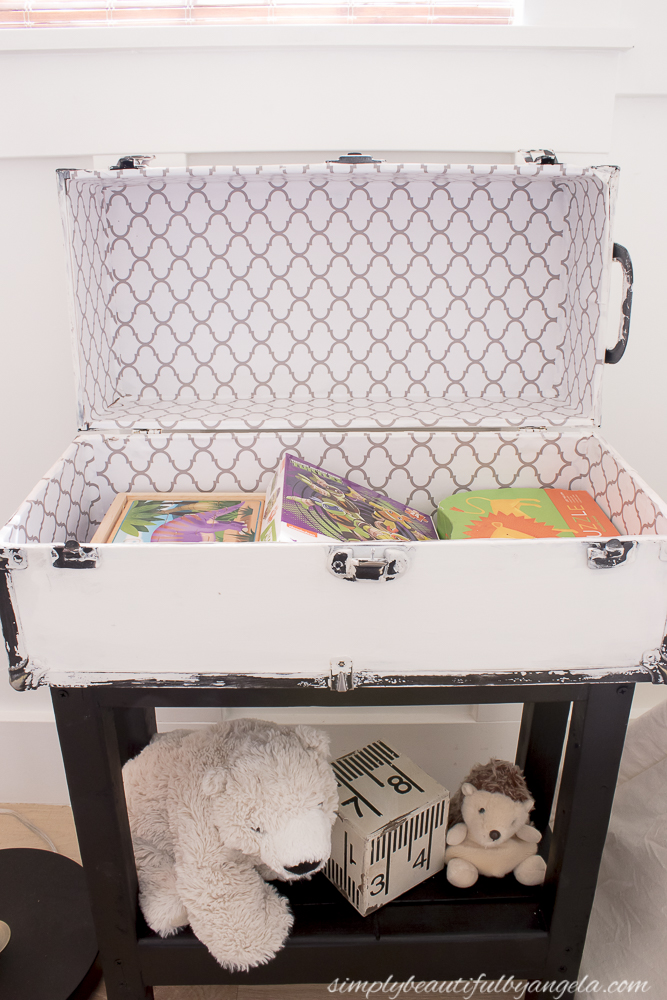
And it opens up to provide puzzle storage!
The chippy paint is so charming and I’m so glad that I didn’t just paint it one solid color like I had thought about doing at one point.
I actually just finished it up shortly before writing this post and the boys aren’t home from school yet so they haven’t seen it.
I can’t wait to see their reactions when they discover their new addition! Especially Tristan’s since he helped me pick it out in the first place.
Another fun flip in the books! I hope you all have a beautiful rest of your week and I’ll catch up with you guys next week 🙂
Linking up to these awesome parties!
And now for more thrifty goodness!
I love how this turned out, Angela! I would never have thought to build a base for the trunk. It looks wonderful.
Your table looks amazing, Angela! You have a great eye and a plethora of ideas on how to update thrift store finds. I always love seeing what you create!
I love both your coffee table and side table. The kids’ trunk really does look perfect in the play room! xo Kathleen
What a darling table! I love that it doubles as storage for puzzles! Great find and wonderful transformation! -Marci @ Stone Cottage Adventures
Wow, your makeover looks so good and was such a great idea! I like that you were able to add a shelf. I’m bet your son was over the moon to see how his thrift find gives him more space to store his play stuff ~ lol.
Thank you Allyson! Yes there was much excitement haha!
Sharing on Facebook today! -Marci @ Stone Cottage Adventures