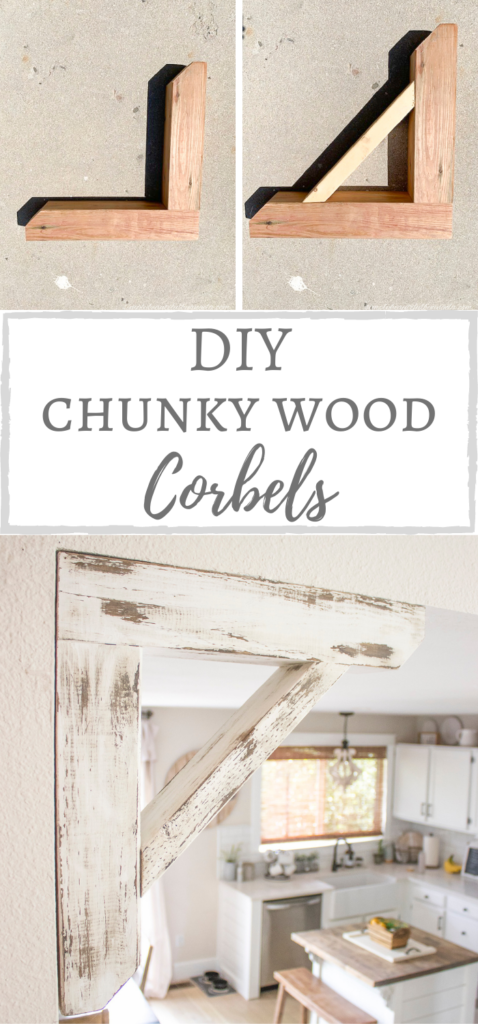
Hello everyone and welcome to September! Are you ready for fall? As much as I love summer I am definitely ready to enjoy some cooler temps and of course, pumpkin spice everything! 🙂
A few weeks ago on Instagram I shared some wood corbels that I purchased for the opening in to the front room.
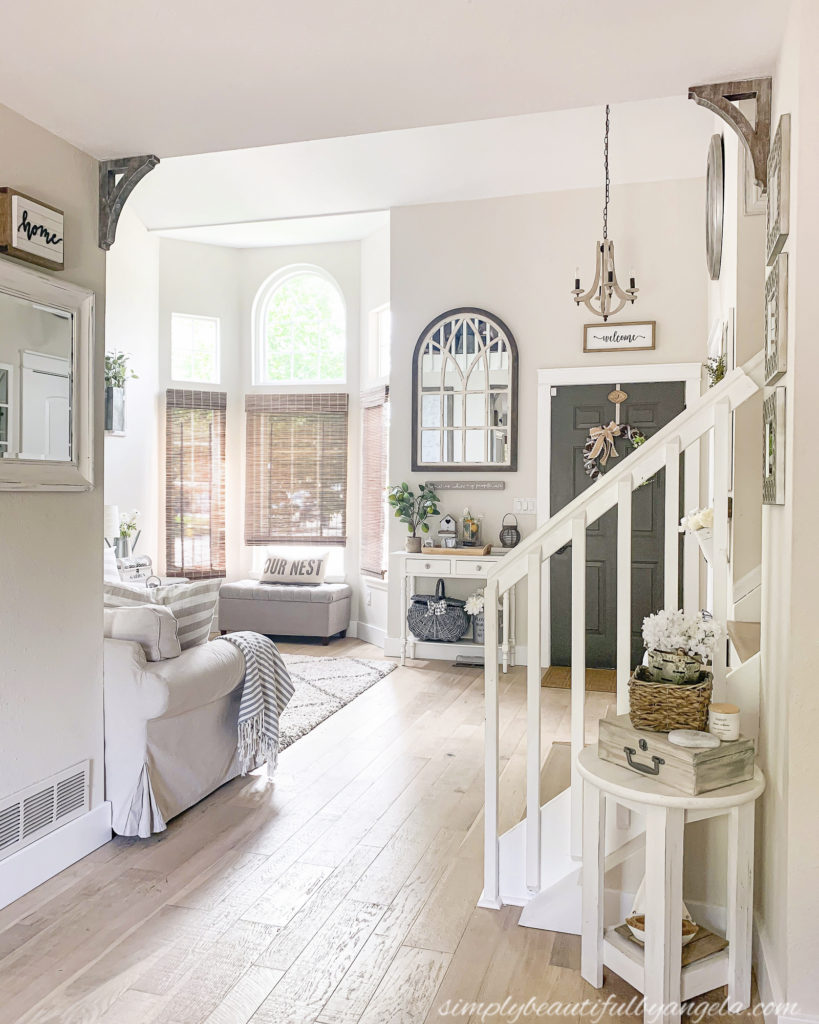
As soon as I hung them up I stood back to look at them and something just didn’t feel right. I didn’t know if they should be painted white or if they just needed to be larger. I asked for advice and the majority of you said they needed to be larger and I couldn’t agree more!
I started browsing online but discovered that large corbels are actually very hard to come by for a decent price. Since we have a lot of scrap wood, I decided to attempt making my own.
Supplies Used:(Affiliate links may be provided for convenience. For more info, see my full disclosure here.)
- 4×4
- 2×4
- Miter Saw
- Drill
- Kreg Jig
- 2-1/2″ Kreg Pocket Hole Screws
- Nail Gun
- Wood Putty
- Special Walnut Stain
- Vaseline
- Flat White Latex Paint
- Wood Putty
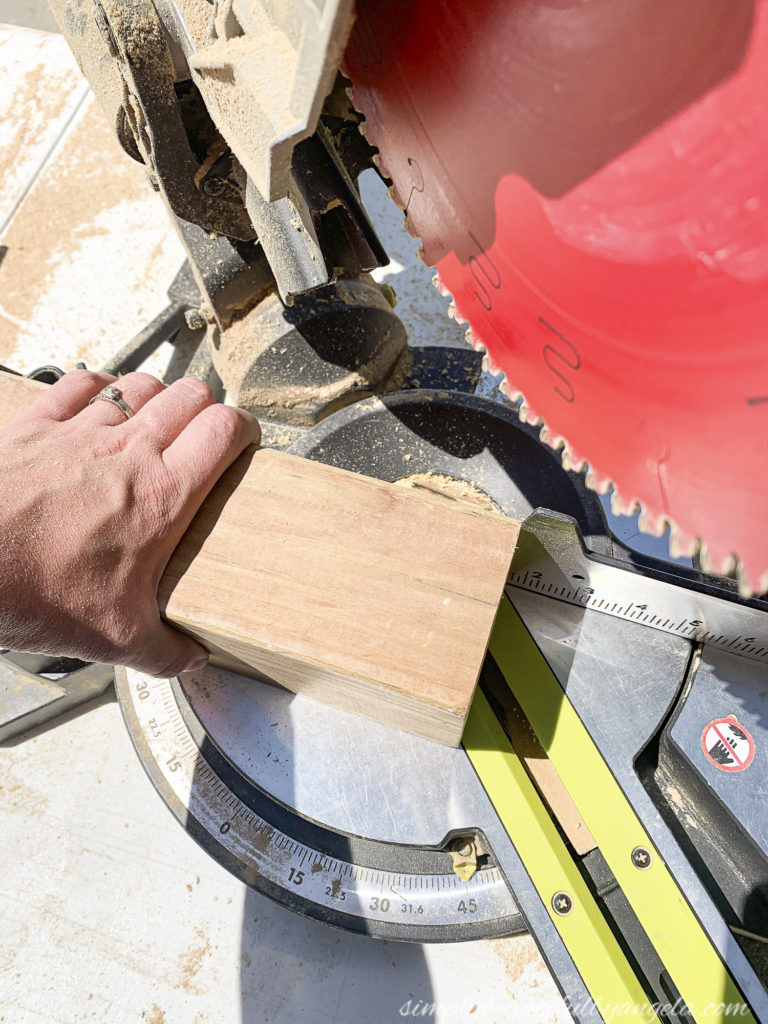
I began by marking the 4×4 at the halfway point (1-3/4 inches) and cut that mark on the miter saw at a 45 degree angle.
I then measured out 17″ down and made a straight cut. For the second piece I did the same thing only I subtracted the width of the first 4×4 (3.5″) so I cut it at 13.5″. When I placed the two pieces together I had this.
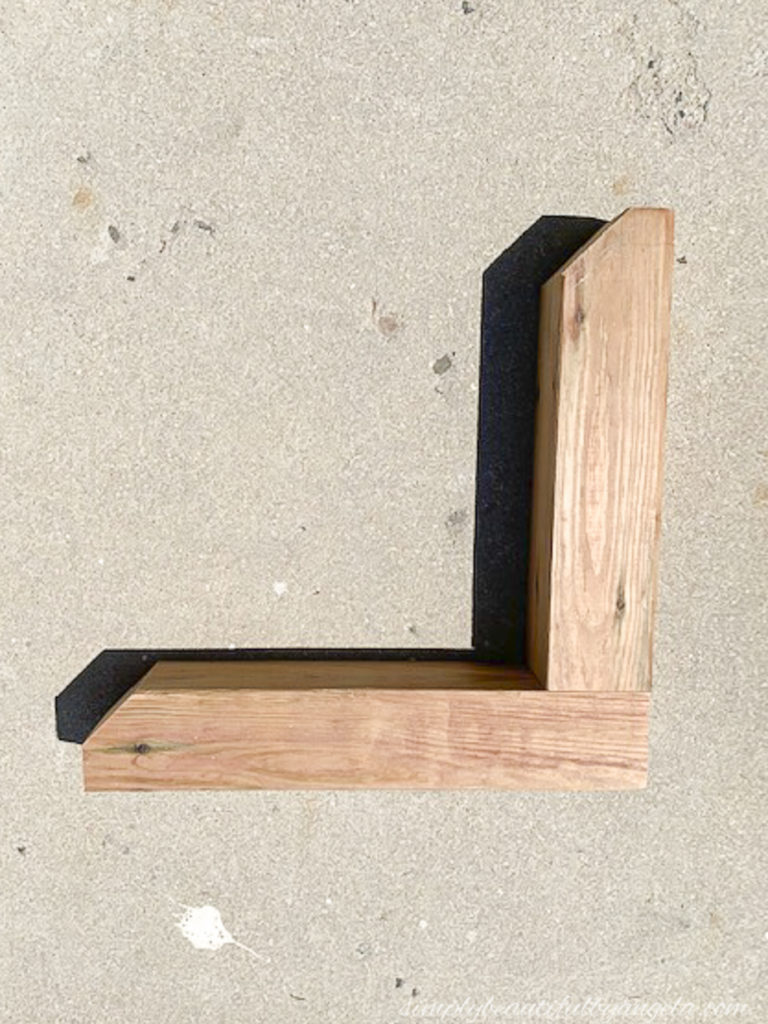
I enlisted the hubby’s help to secure the two pieces with pocket holes using our Kreg Jig. We drilled the holes in the shorter piece and used 2-1/2″ pocket hole screws to attach it to the longer piece.
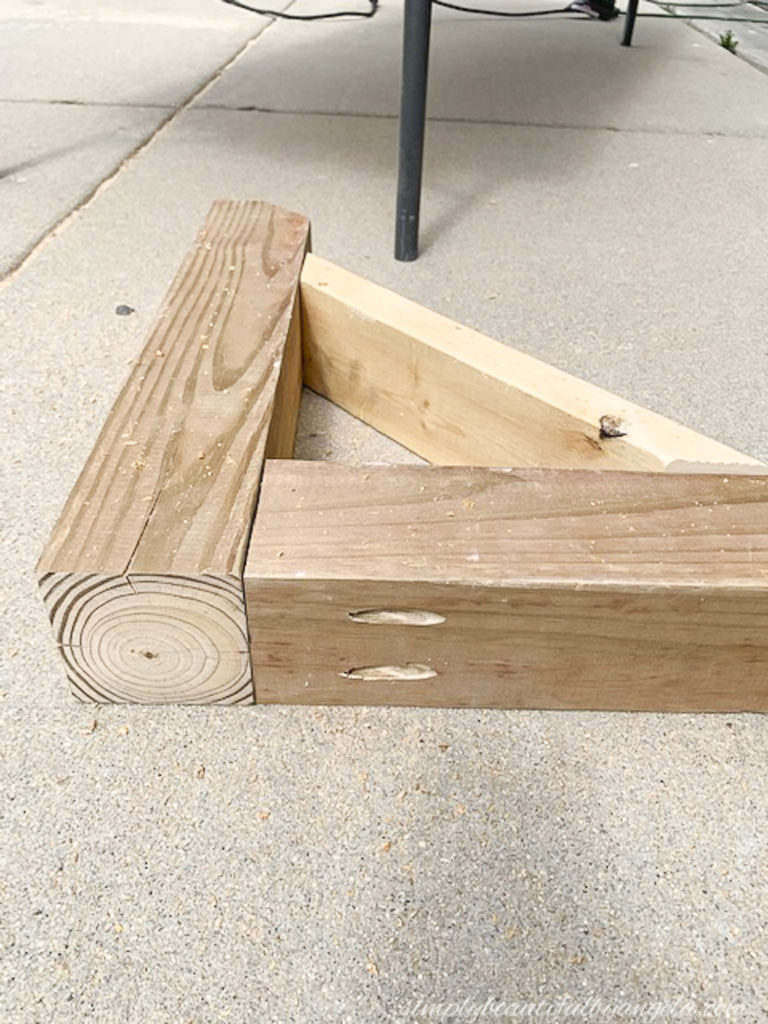
I then cut a 2 x 4 with a 45 degree angle on both ends (opposite directions) at 14.5″.
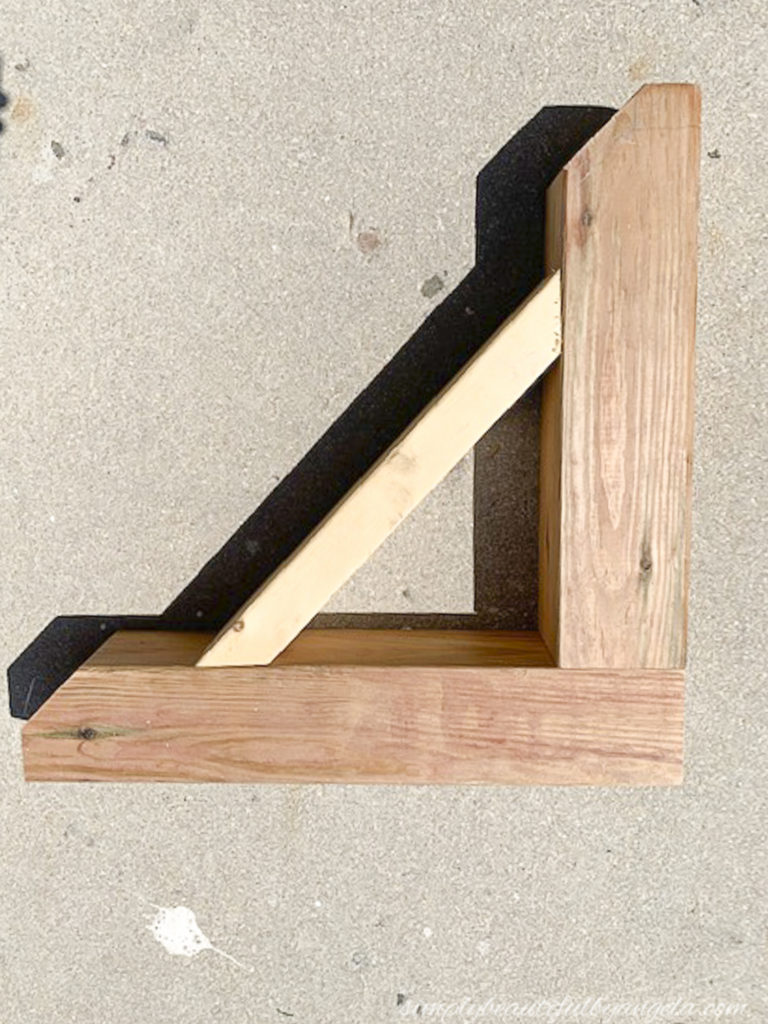
I used my nail gun to secure the 2×4 to the 4x4s on either end and filled the holes up with wood putty.
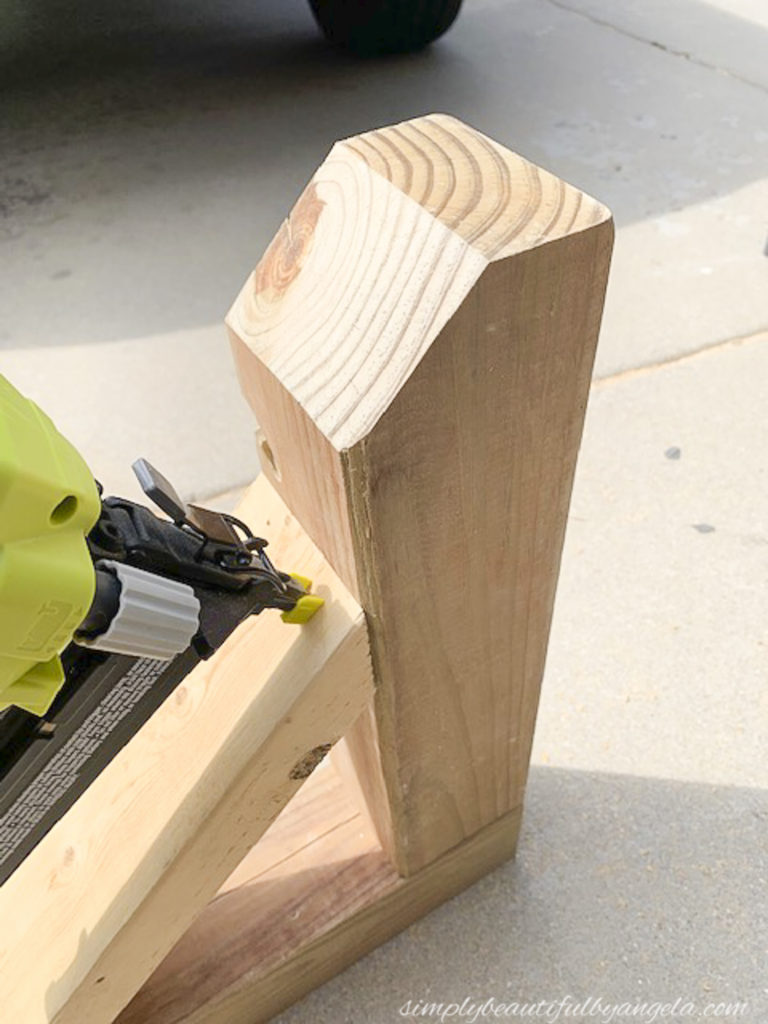
At this point I was honestly worried that they may be TOO big–they looked massive!
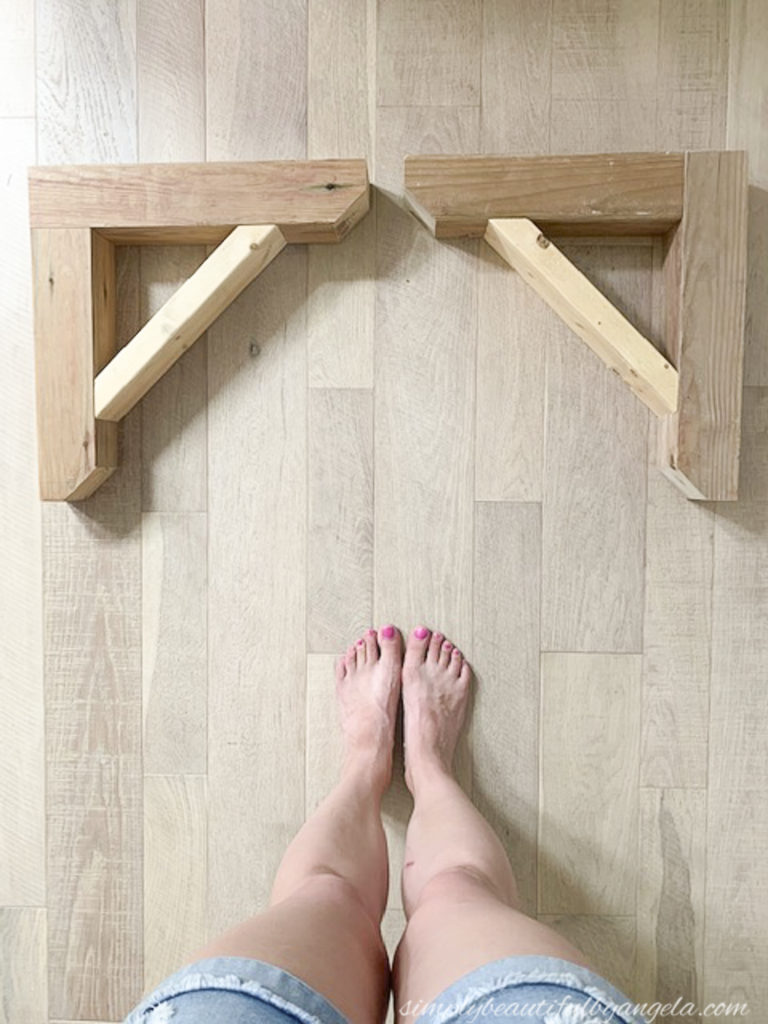
Not to worry, they ended up looking perfect once they were hung up!
I knew from the previous corbels that I didn’t like the feeling of stain since it seemed too dark. I also knew that if I simply painted them that they may blend in and get lost. So I decided to do a mixture of both and create a chippy paint look!
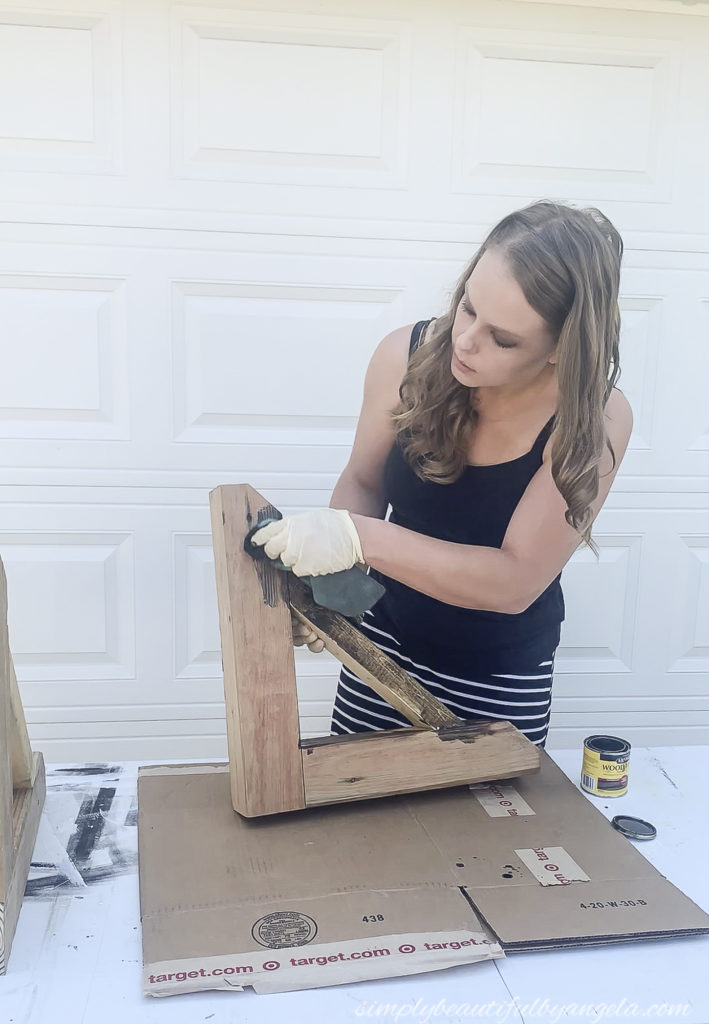
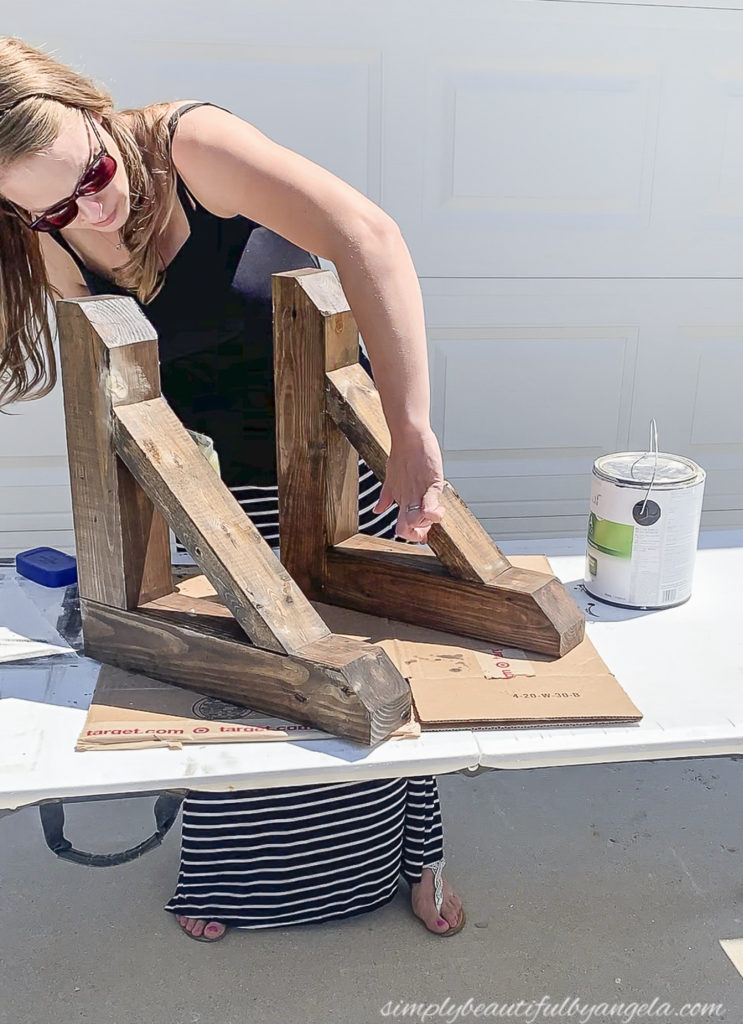
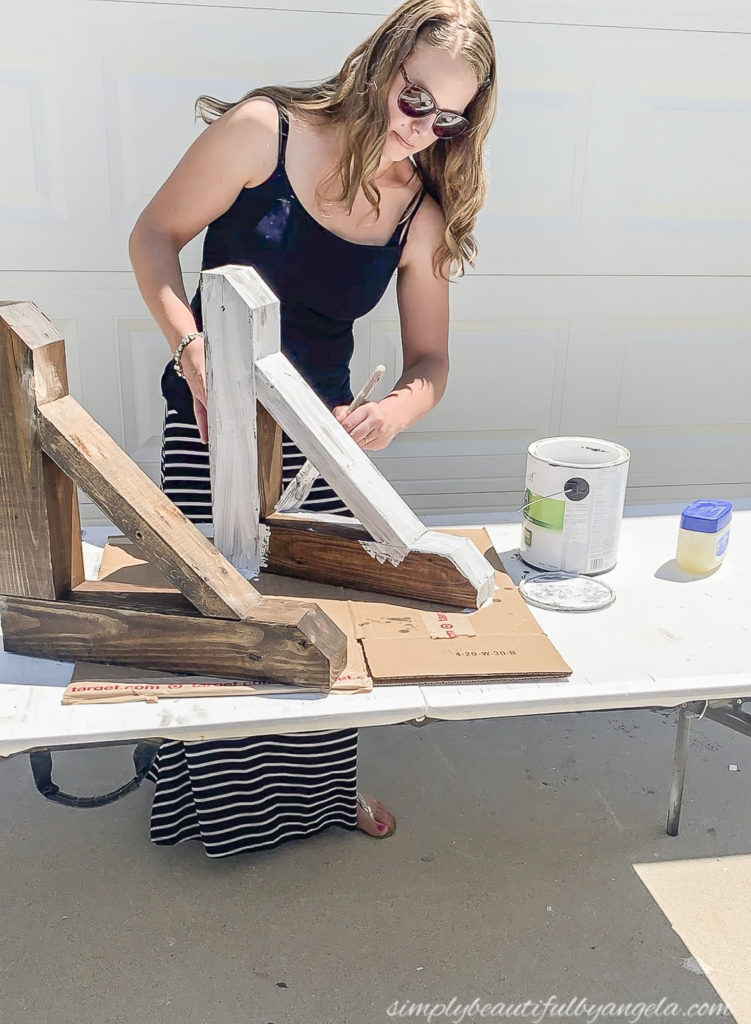
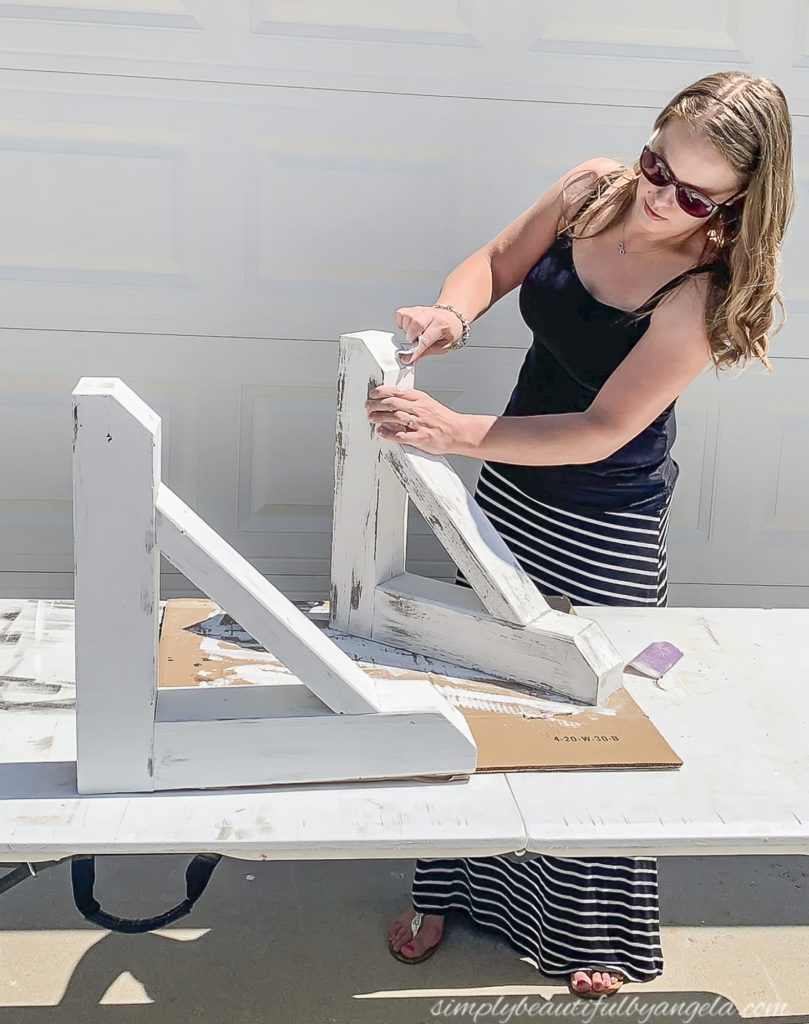
I first stained them with Special Walnut. I let them sit for about an hour and then went around and rubbed some Vaseline along some of the edges and random spots that I didn’t want the paint to stick to. I immediately went over each one with two coats of flat white paint. Once they were dry I used some medium grit sandpaper to distress them.
I documented the process on my Instagram stories–here are a few crummy phone screenshots to give you a visual!
We installed them to the wall by drilling 3″ wood screws with drywall anchors in through the mitered edges. I then filled the holes with wood putty and painted over them.
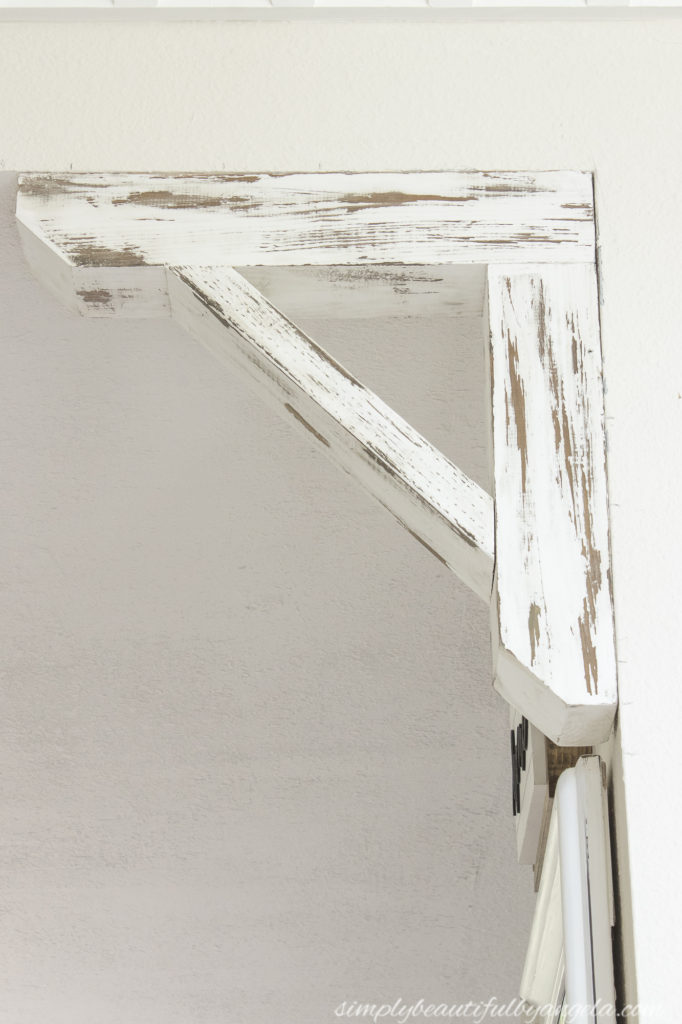
They add so much character and charm to what was once a plain little passage!
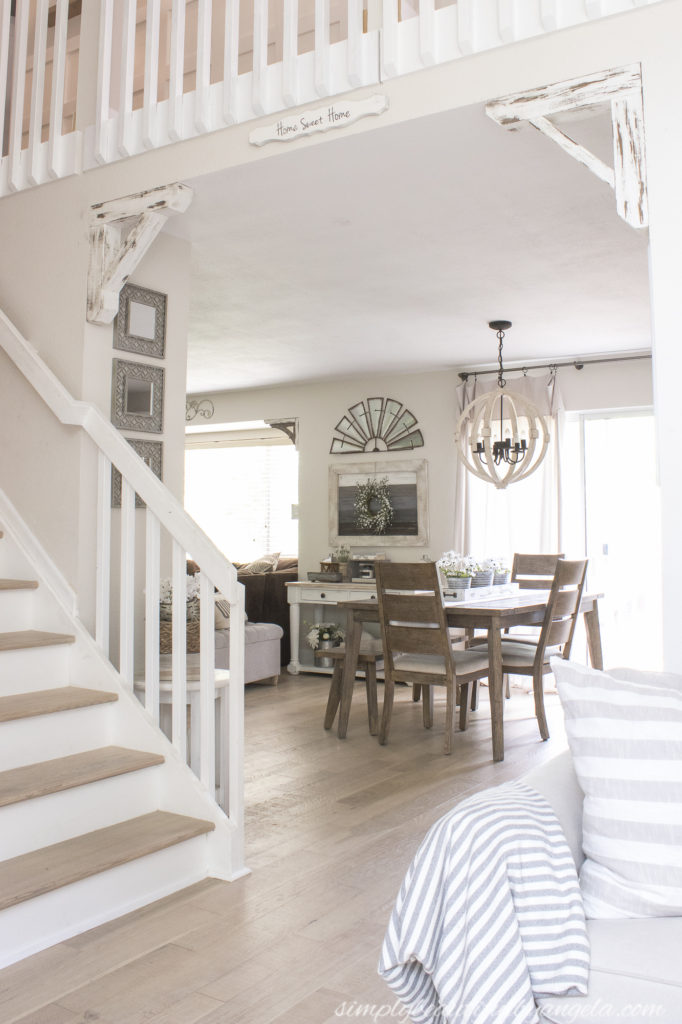
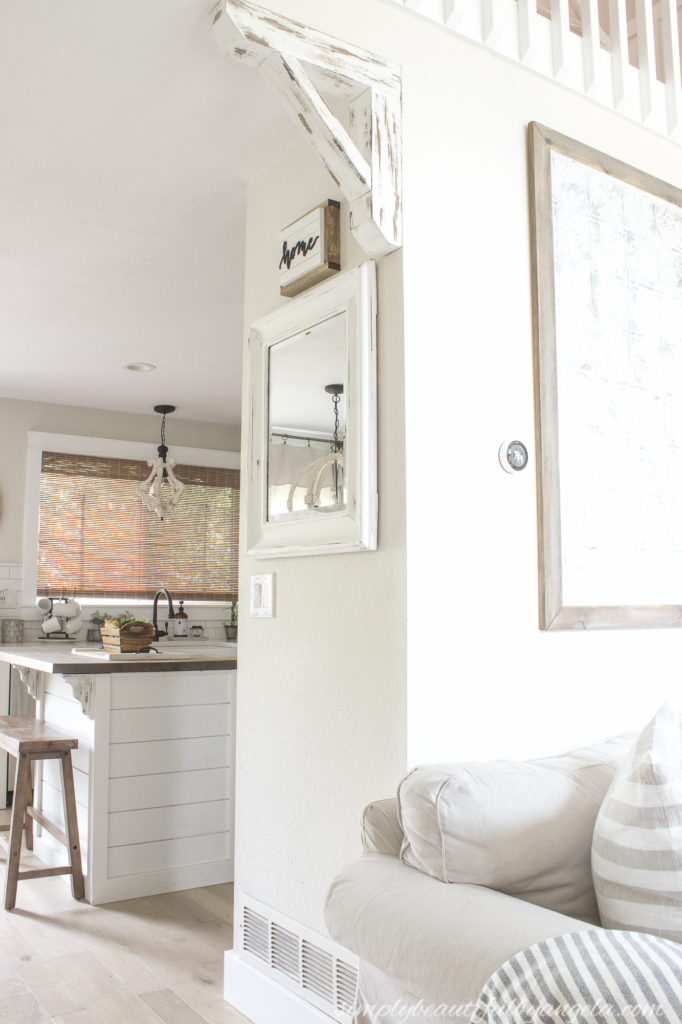
They fit so much better than the first ones, don’t you think? I actually built a 2×4 base for those ones and they ended up working great in the living room.
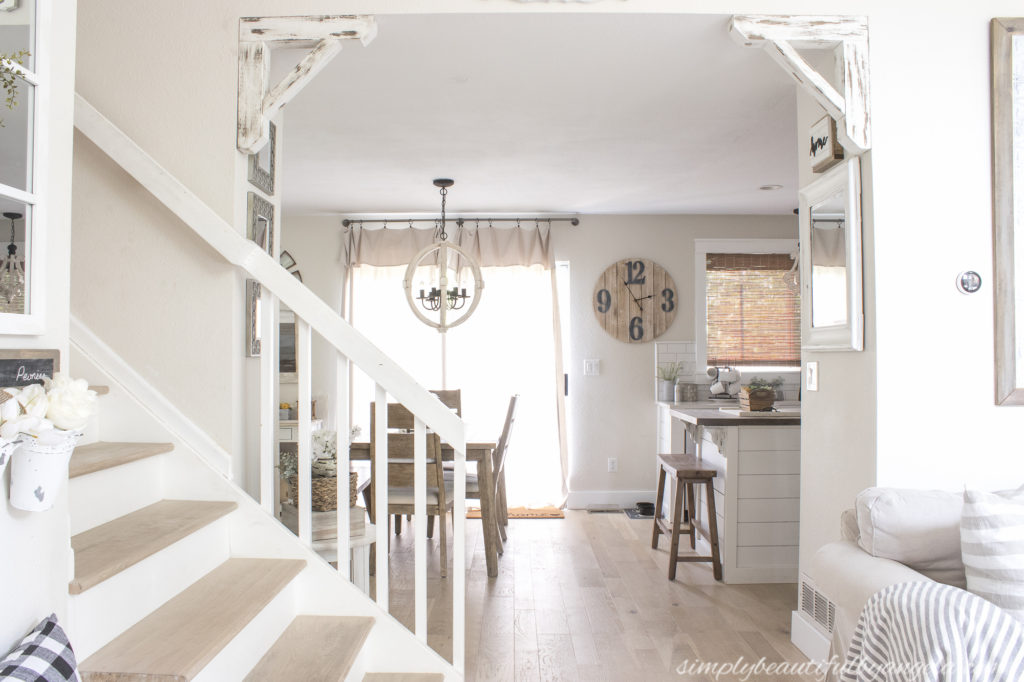
They really attenuate my farmhouse style and I’m so glad that I decided to go the chippy paint route because it makes them look like they are made out of real barnwood.
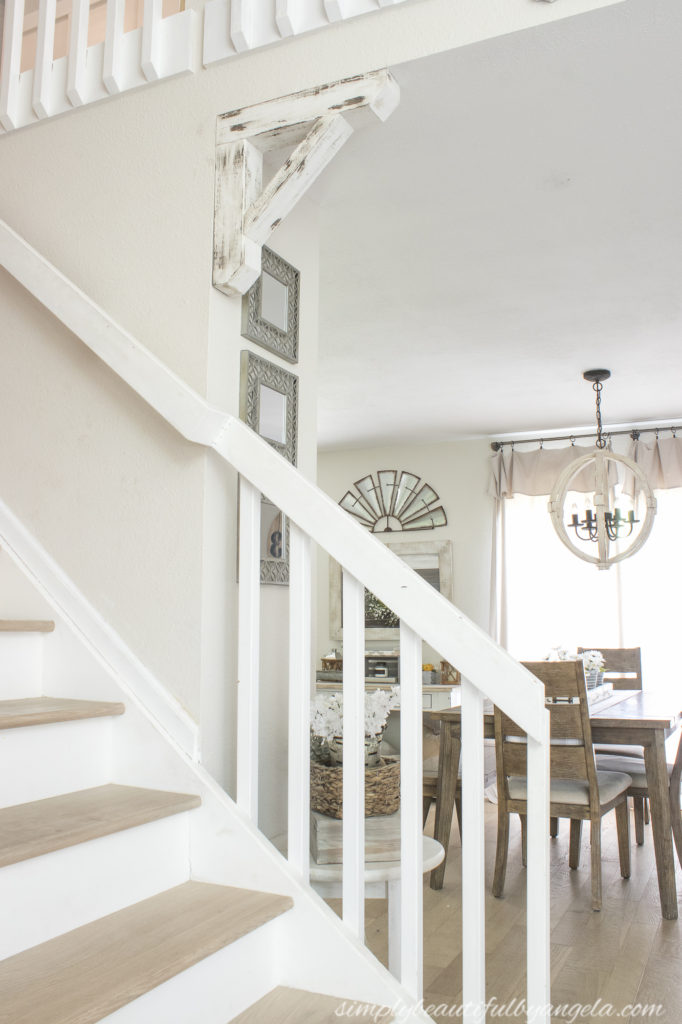
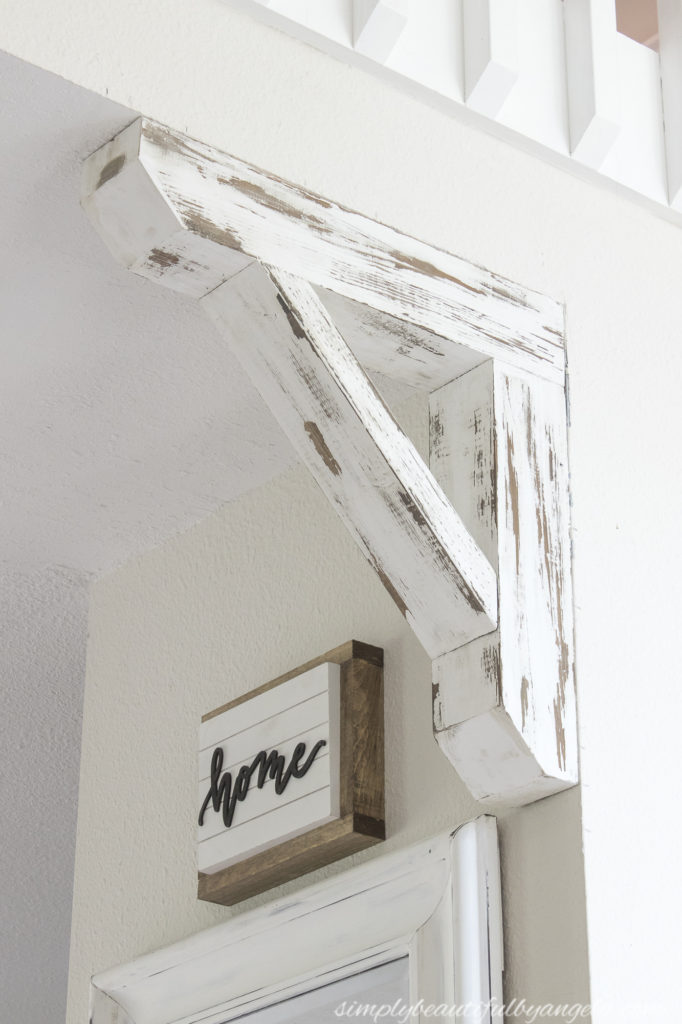
Isn’t it amazing how something so simple can make such a big impact?
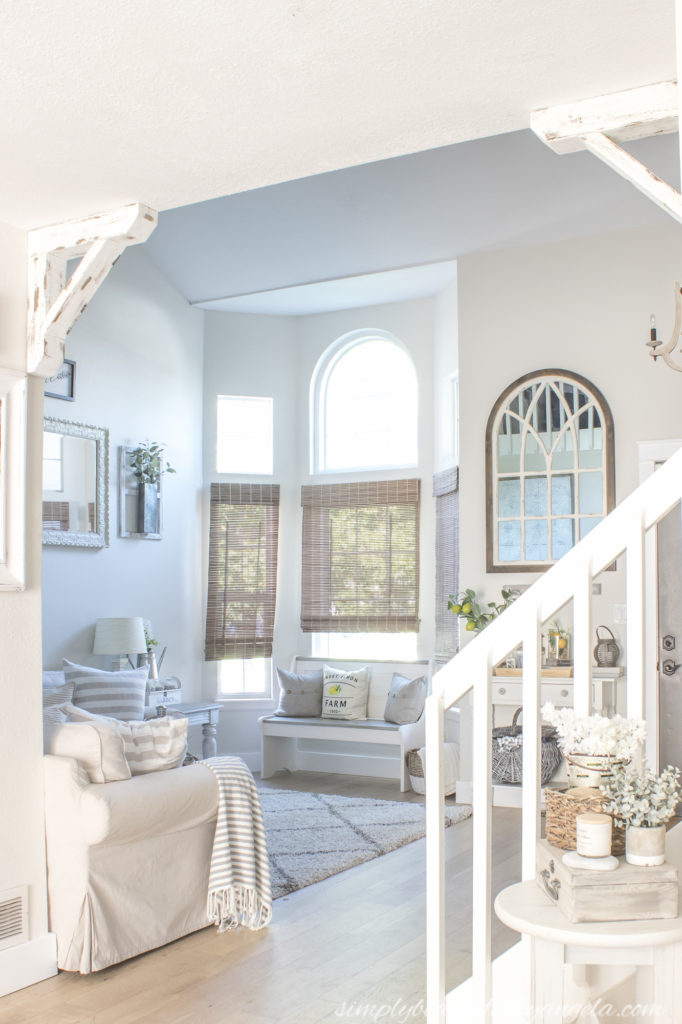
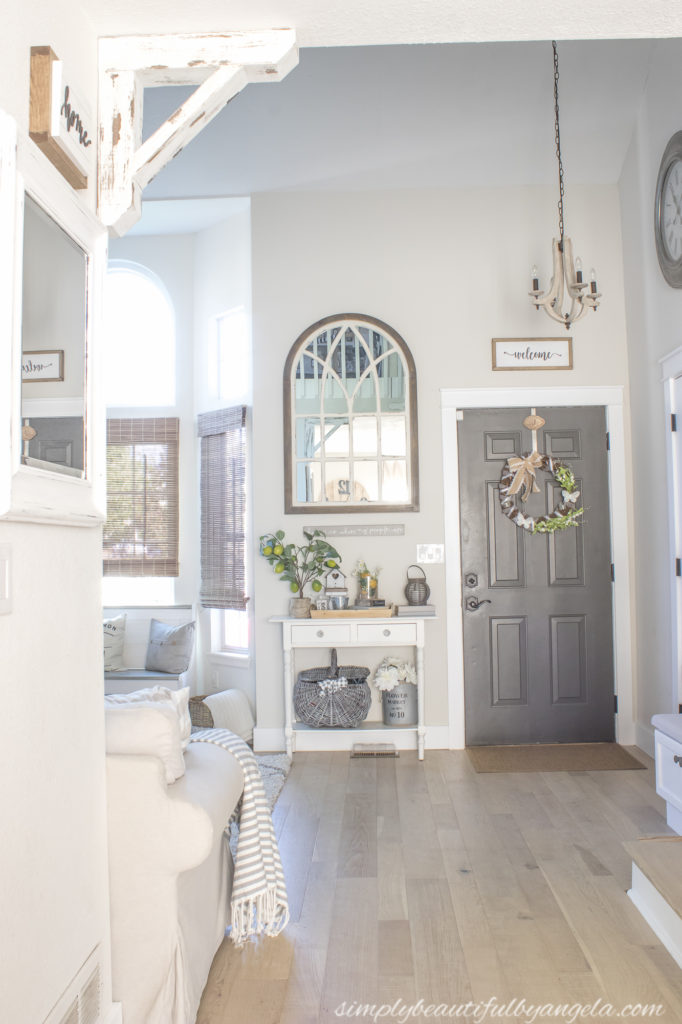
I was slightly worried about how sturdy they would be since these guys are so heavy, but the drywall anchors keep them nice and snug and they aren’t going anywhere!
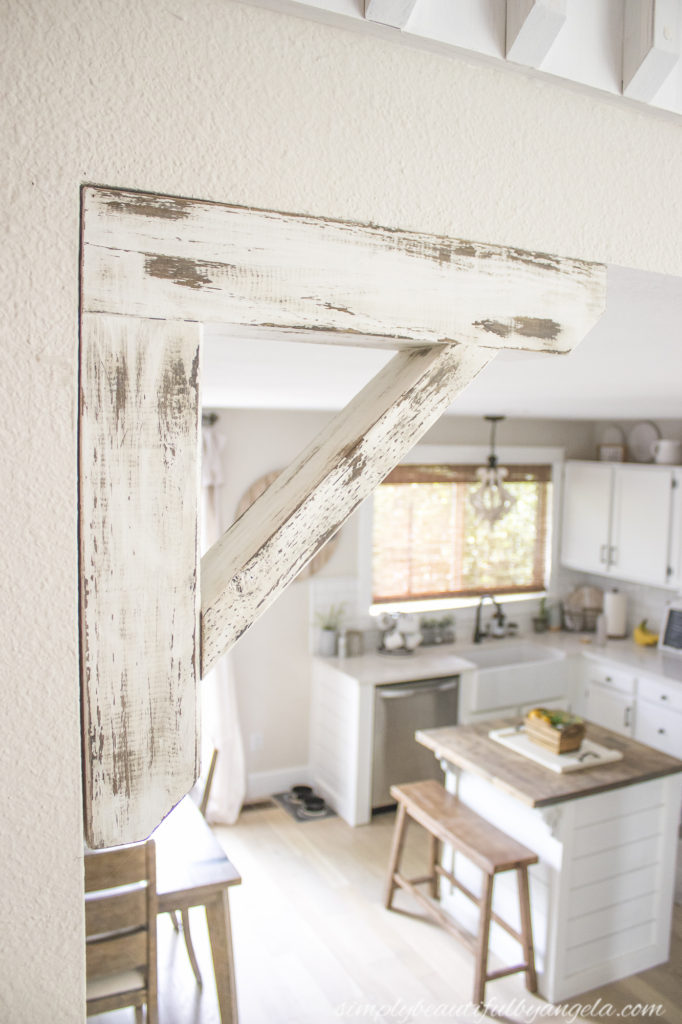
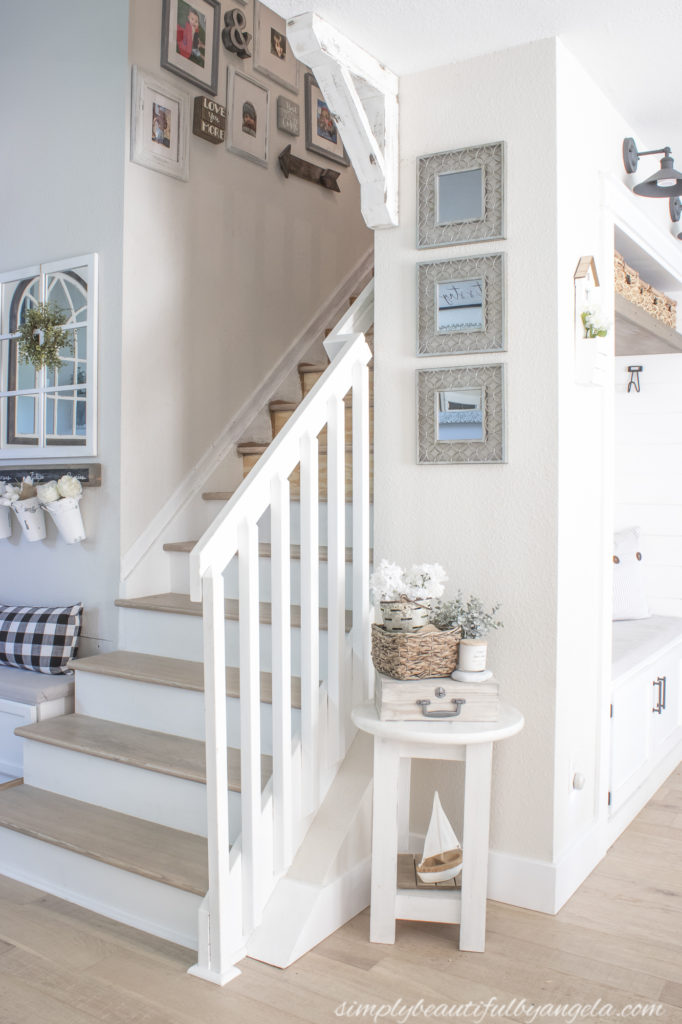
Now that they are there it’s hard to imagine what this space looked like without them and I wish I would have made these a long time ago!
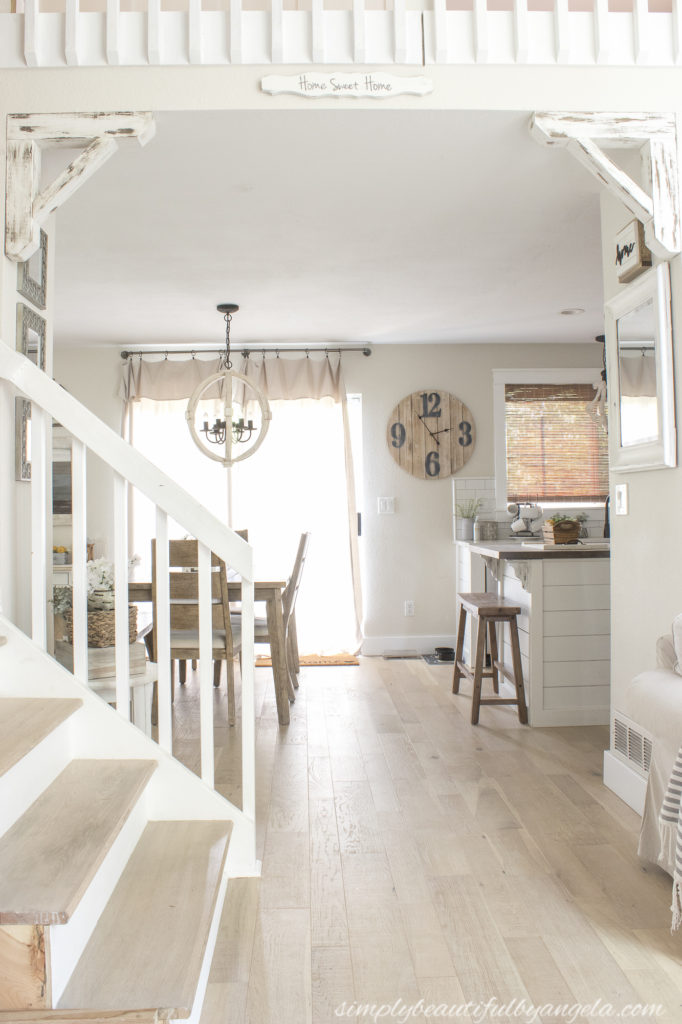
Thanks for swinging by today, I hope you all enjoy your nice long weekend and I’ll be back next week to share a fun fall craft that I just finished this week!
Linking up to these awesome parties!
These are great. Pinned to Funtastic Friday and my new house idea board. Corbels can be soooo expensive. Thanks for posting at Funtastic Friday.
Thanks Michele! I couldn’t agree more, and these turned out even better than the ones I had been looking at 🙂
Looks very good i need to do this in my house saw your post at Fortheloveto Link-Up will be following your blog thanks for a great way to upgrade our house
Thanks Maria! They really do add so much charm 🙂
This is the perfect way to frame the entry to a room. Thank you for sharing at Party In Your PJ’s.
Thank you Ann!