Hello friends! Hope you’re all having a great week so far. Can you believe that Easter is already this weekend? I feel like it really snuck up on us this year, but we are ready and looking forward to it 🙂
A couple of weeks ago we got hit with a massive snow storm that had us stuck inside for a couple of days and I decided that I needed a project to keep me occupied. That’s just how I’m wired, I can’t sit idle for too long or else I go completely nuts!
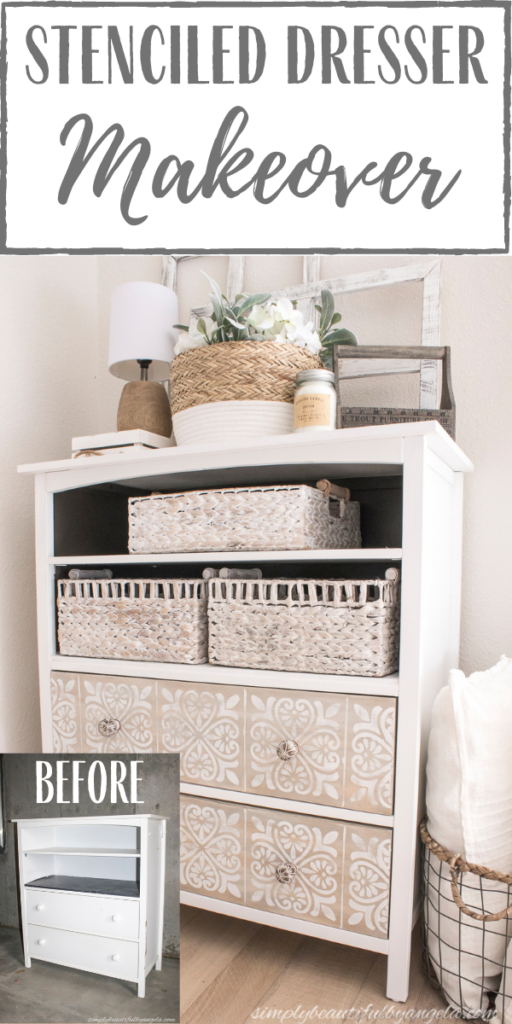
I immediately thought about this dresser that’s been hiding in the basement ever since we moved in. We originally bought it for Tristan’s nursery and then passed it down to Lucas. Since it has such a huge sentimental factor I have been hesitant to get rid of it.
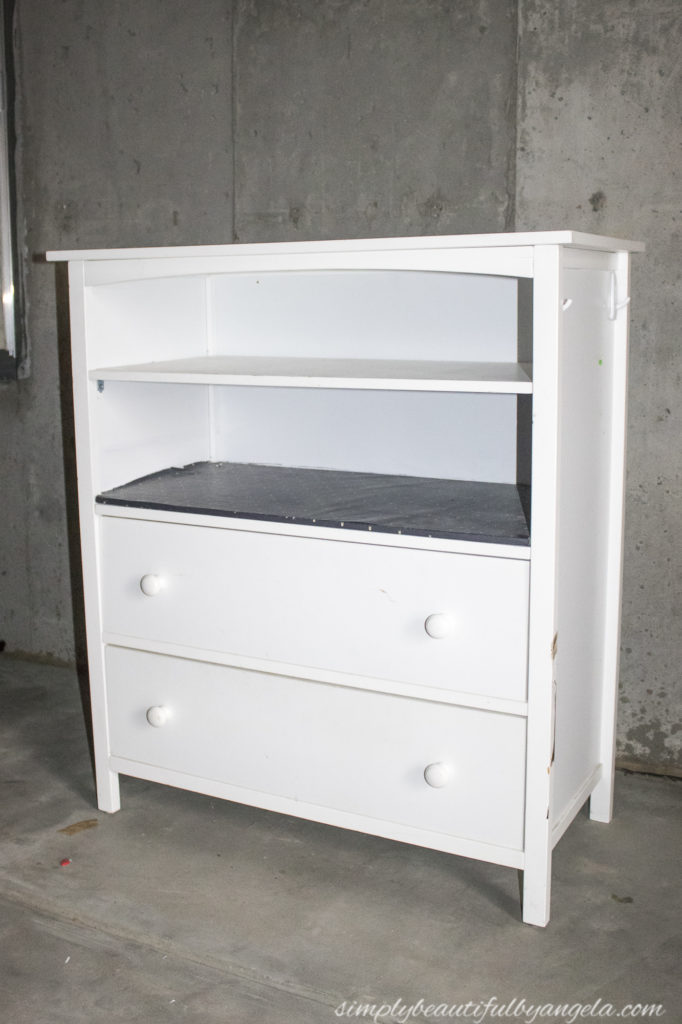
Although it was beautiful when we first got it, living through two babies really took a toll on this poor thing! The top drawer broke while it was in Tristan’s nursery, so I had replaced it with a piece of MDF wrapped in wrapping paper when I moved it over to Lucas’ nursery. The other two drawers were also starting to fall apart, and I even got some wood stain on it when it was sitting in the garage at our old house. I knew that if I wanted to salvage this dresser it was going to take some work, but I was up for the challenge!
Supplies Used: (Affiliate links may be provided for convenience. For more info, see my full disclosure here.)
- 1/4″ Plywood
- Locite Adhesive
- Rust-Oleum Chalked in Linen White
- Angled Paint Brush
- Weathered Oak Wood Stain
- Custom Stencil from LazerDesigns
- Frog Tape
- Foam Brush
- Sanding Sponge in 220 Grit
- Valspar Clear Sealing Wax
Awhile back when I first started thinking about giving this dresser a makeover I made a fun design for the drawers using Canva.com.
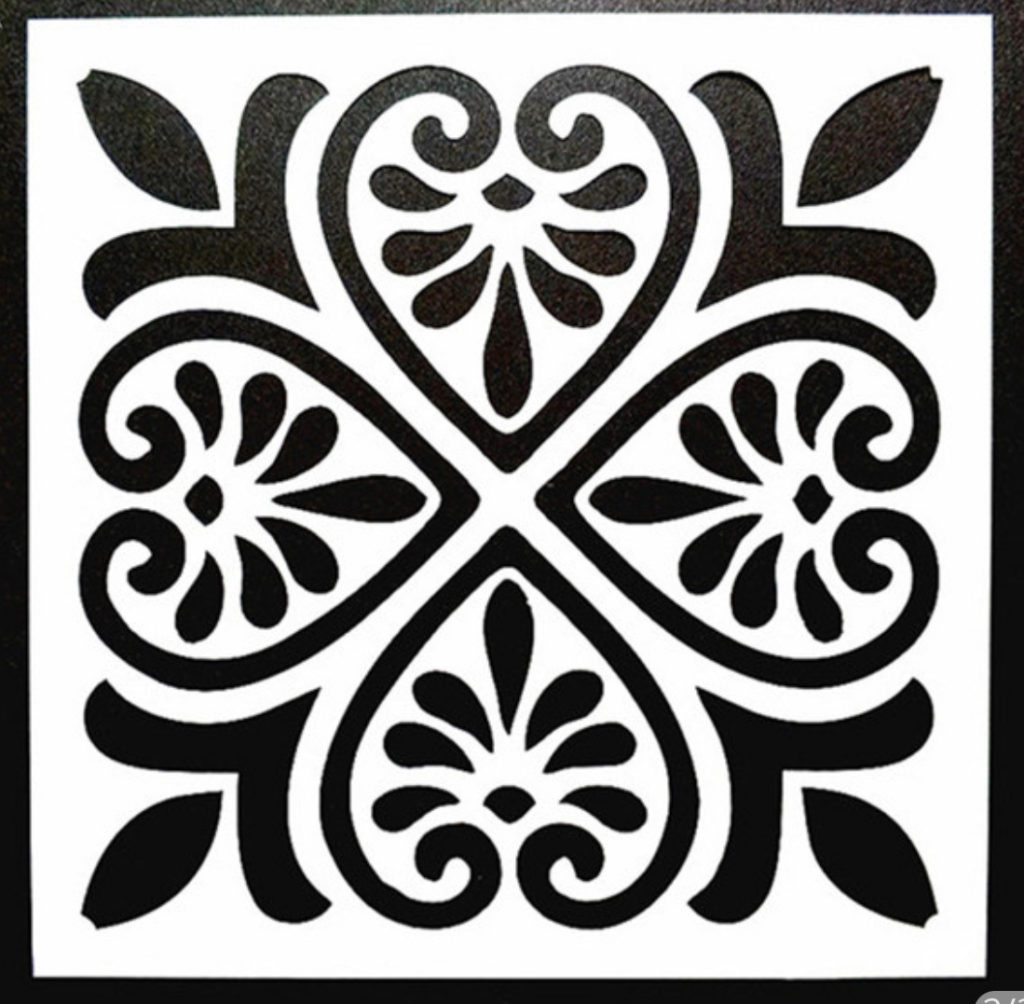
I then sent it over to the nice people over at LazerDesigns and they sent me my very own custom stencil. Super cool, right?
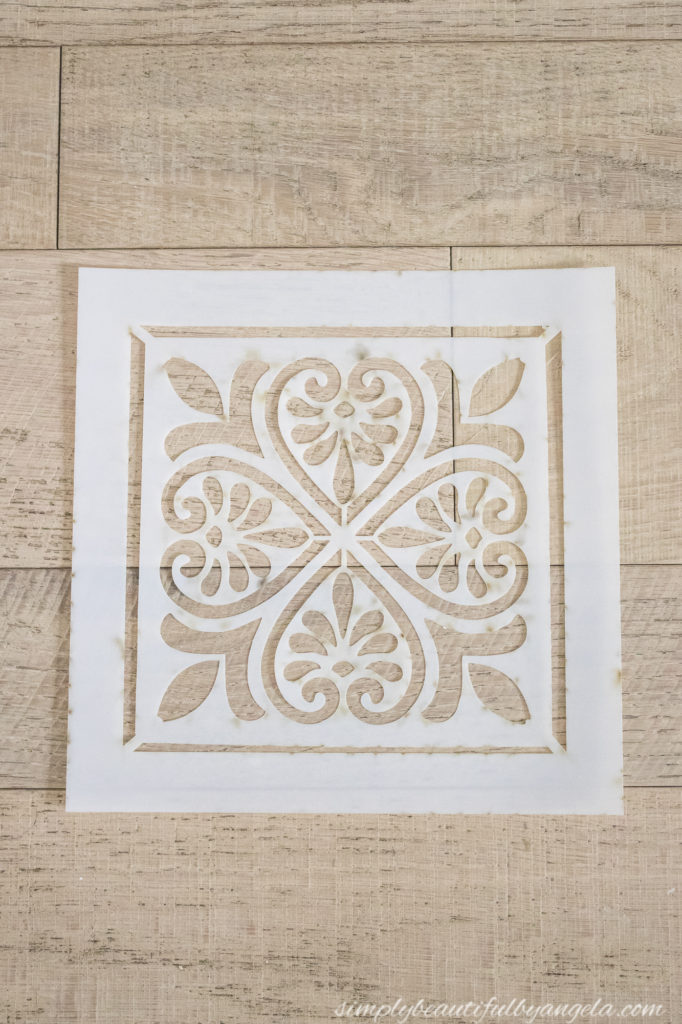
I was so excited when it arrived and I just knew that it was going to bring such fun new life to this dresser.
The first thing that I decided to do was cover the drawers in wood. I simply used Locite Adhesive to adhere pieces of 1/4″ Plywood that I had cut down to size on the miter saw. I made sure to get them as precise to the drawer size as possible so that the drawers wouldn’t have trouble closing.
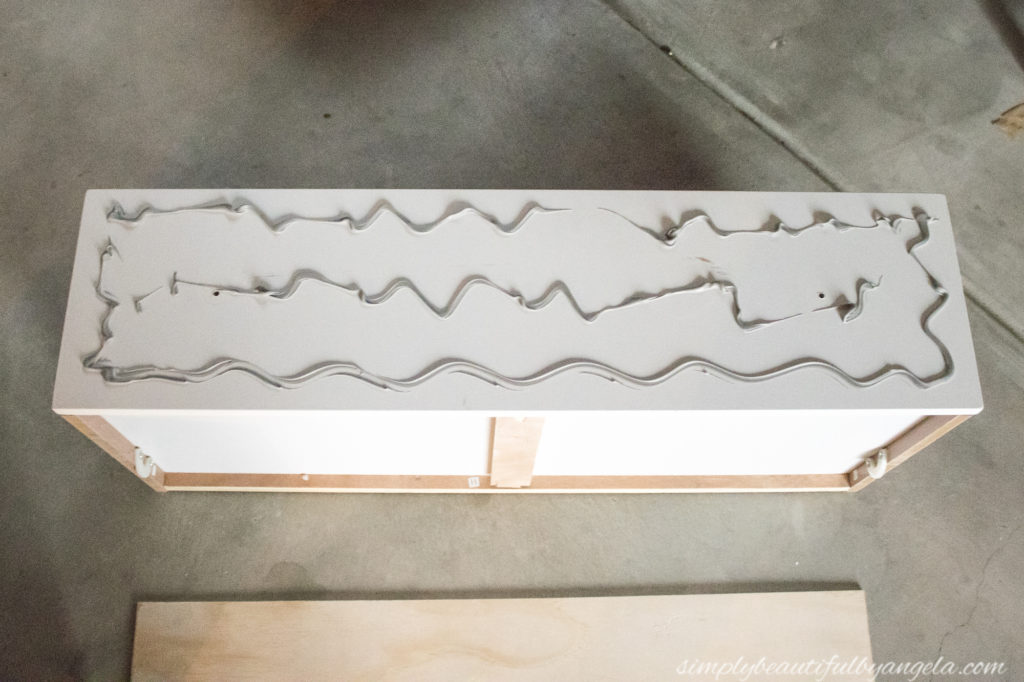
I placed heavy bricks and pavers on top and let them dry overnight. The next morning I went over the entire dresser with two coats of Rust-Oleum Chalked in Linen White. I also ripped off the wrapping paper from the MDF shelf and painted that as well. Even though the dresser was white already, I wanted to cover the shiny finish up and make it matte to go along better with my vision. I also needed to cover up those stain spots on the side!
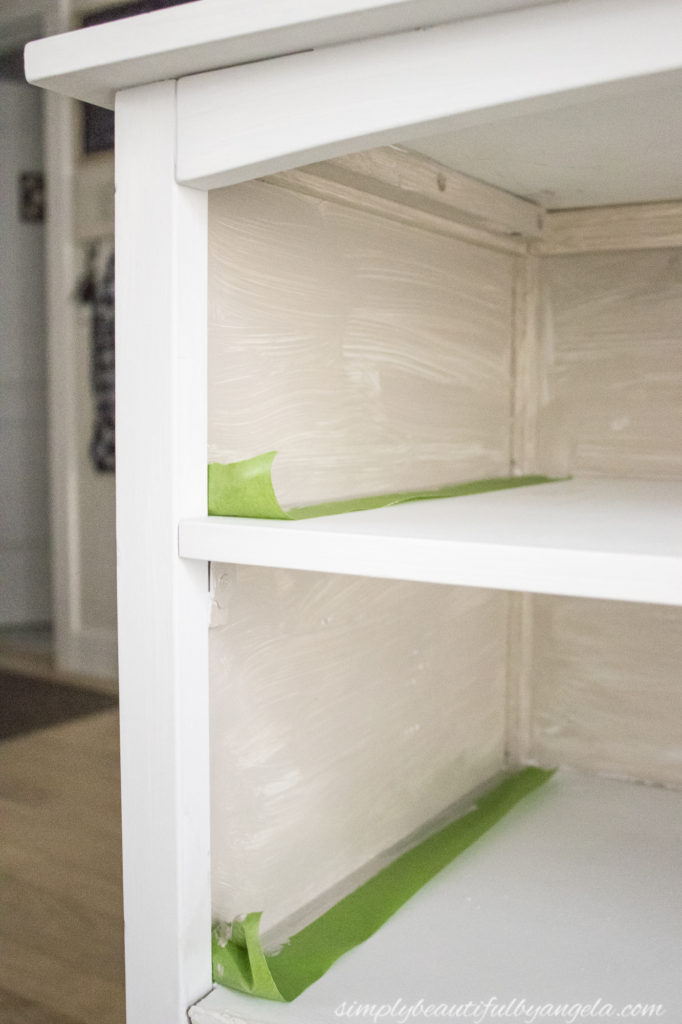
I decided to paint the inside of the shelves with an accent color. I started with a light brown but later decided that I wanted a darker color so I mixed up some chocolate brown acrylic paint with some left over SW Urban Bronze that I had on hand. I didn’t get progress picture, but you’ll see how it turned out at the end.
In between coats on the dresser I worked on the drawers. I began by giving each one a coat of white wash (watered down white paint) followed by Weathered Oak Wood Stain. The white wash makes it so that the stain doesn’t go on as dark and leaves it with a nice washed out finish.
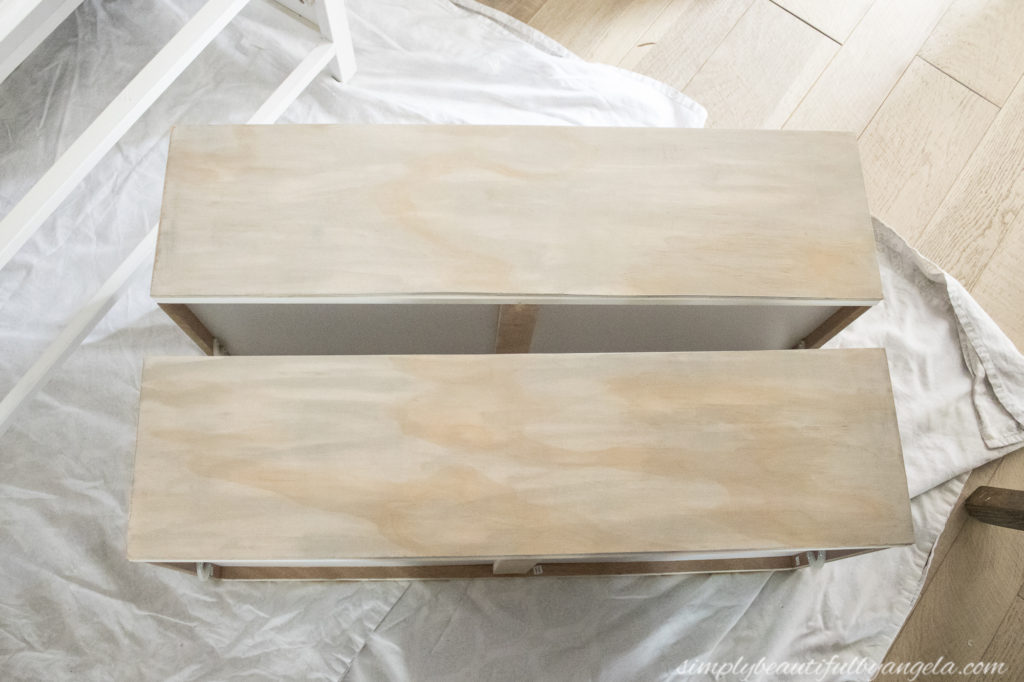
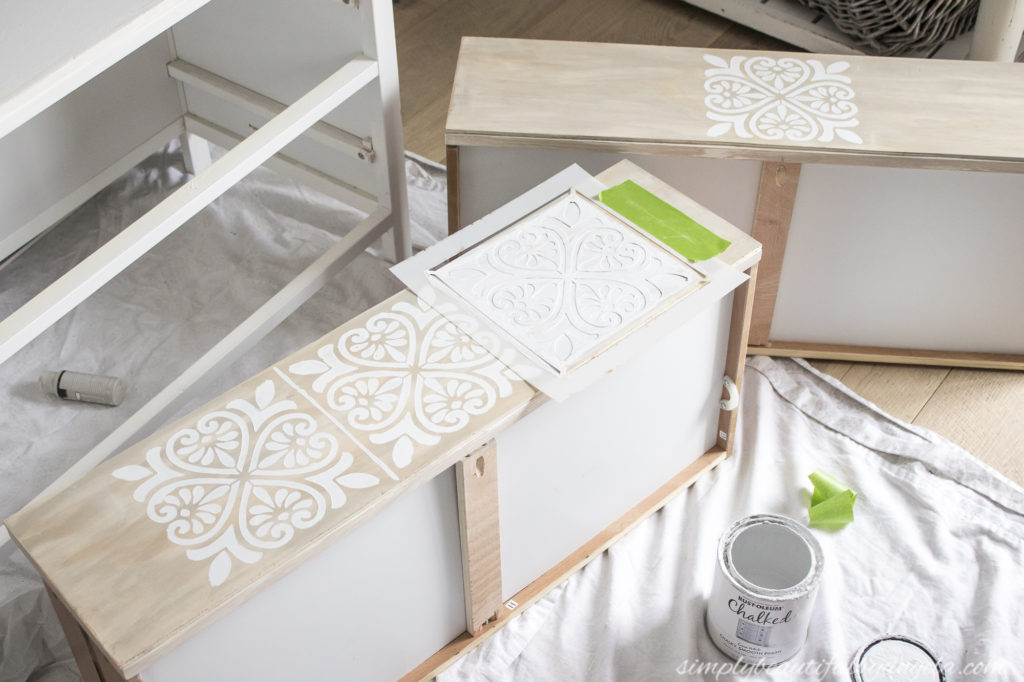
Next it was time for the most exciting part–applying the stencil! I found the center of each drawer and centered the stencil at that point.
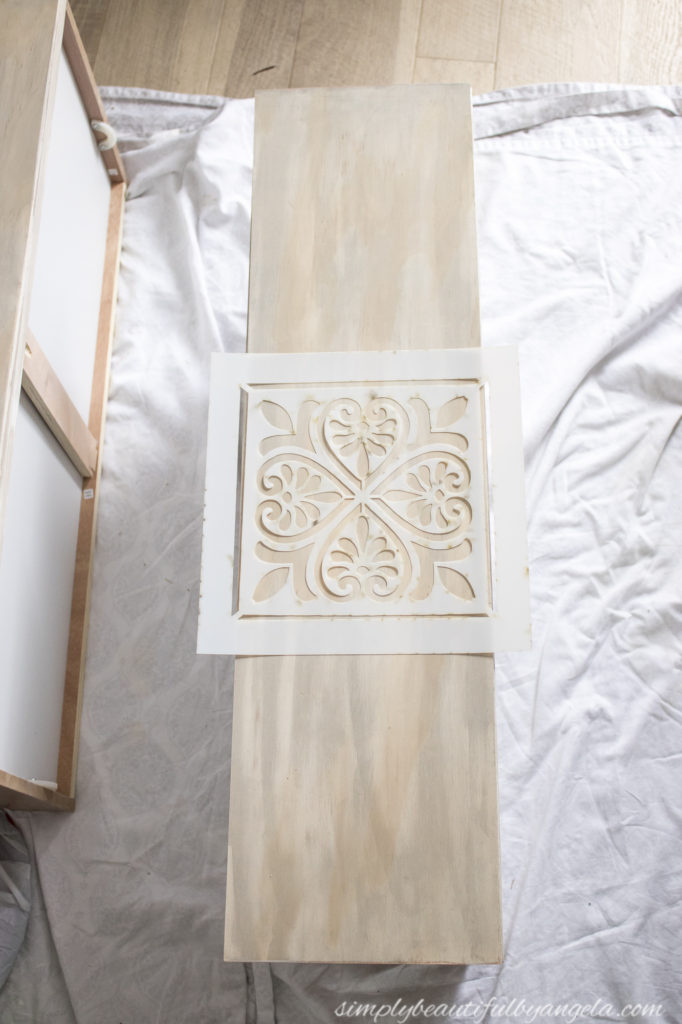
I then used Frog Tape to hold it in place while I painted over it with a foam brush. The key to getting as little bleed as possible with a stencil is to use a small amount of paint. So I applied a very thin first coat to dry before giving it a second one. Then, I moved my stencil over to the next spot.
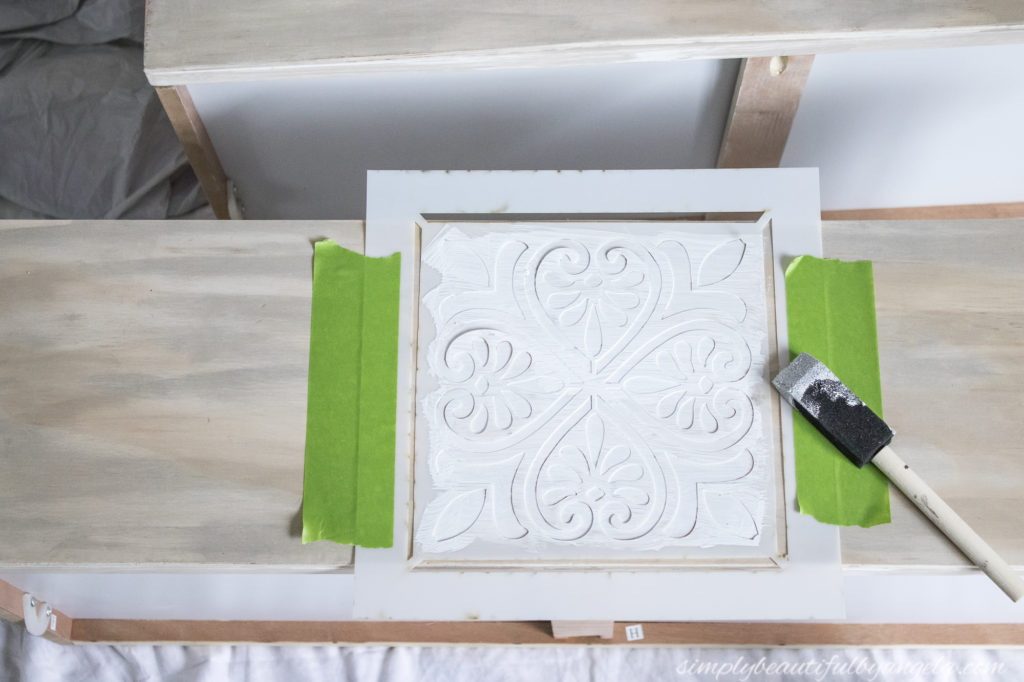
The nice thing about chalk paint is that it dries super fast. I was able to move my stencil over and rest it on a previously painted spot within a couple of minutes, although I made sure not to tape over it.
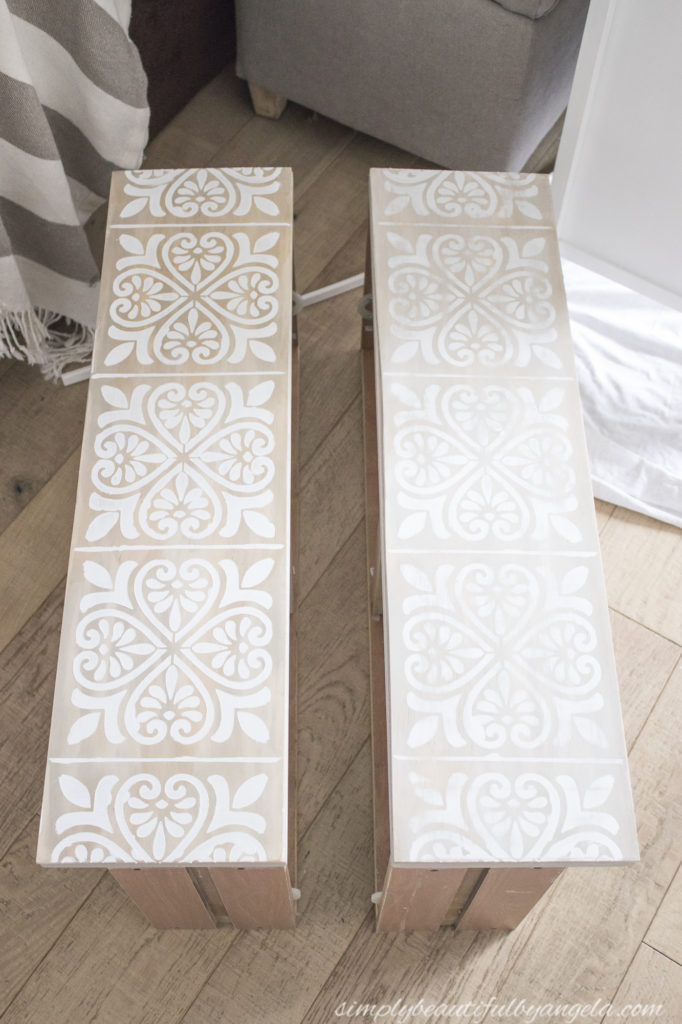
Once both drawers were done, I went over each one with a Sanding Sponge in 220 Grit to get the distressed and worn look I was going for.
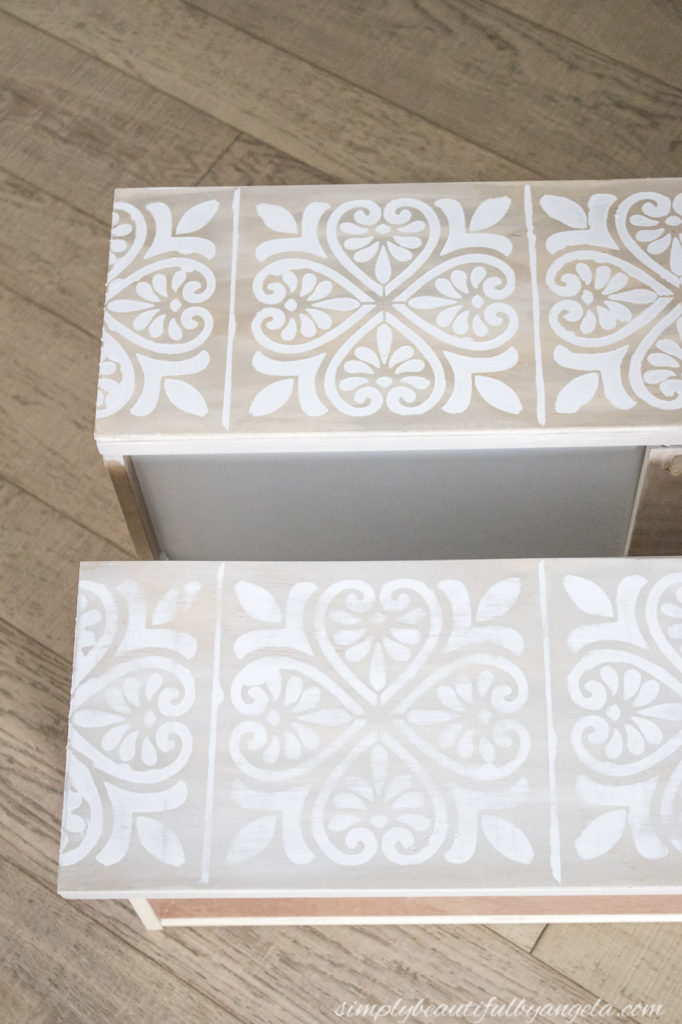
Here’s another picture that shows the difference, un-sanded on the left and sanded on the right. I then wiped each one down with a rag and gave them a coat of Valspar Clear Sealing Wax to seal.
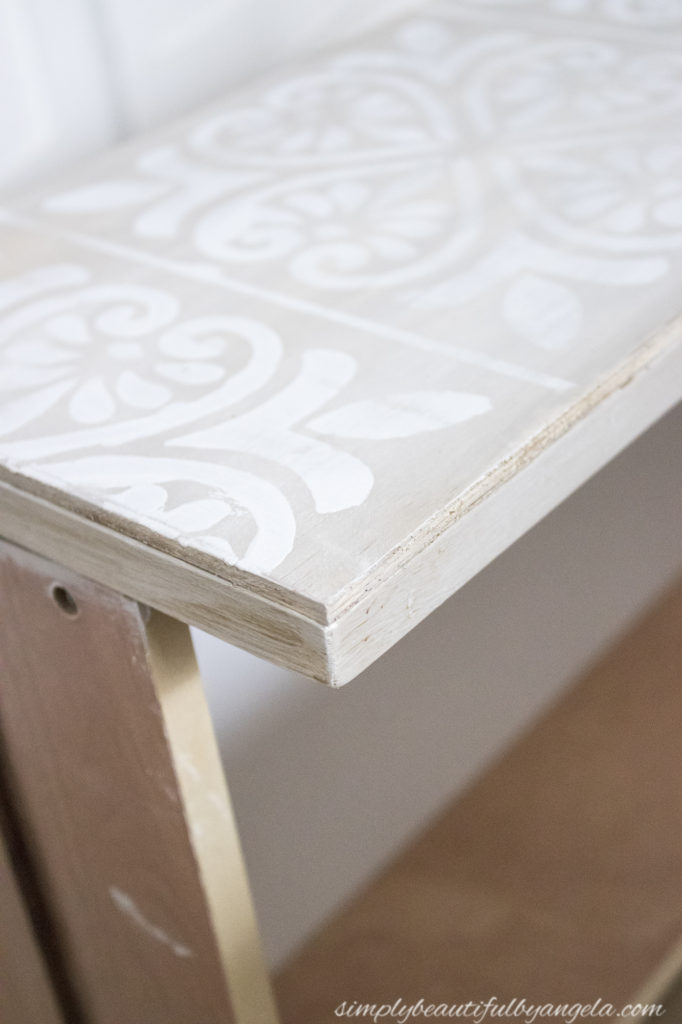
In case you’re wondering, I did a faux wood technique on the sides of the drawers. It’s simply light brown paint covered with dark wax. It’s a small detail, but I knew it would bother me every time I open a drawer if they were left white.
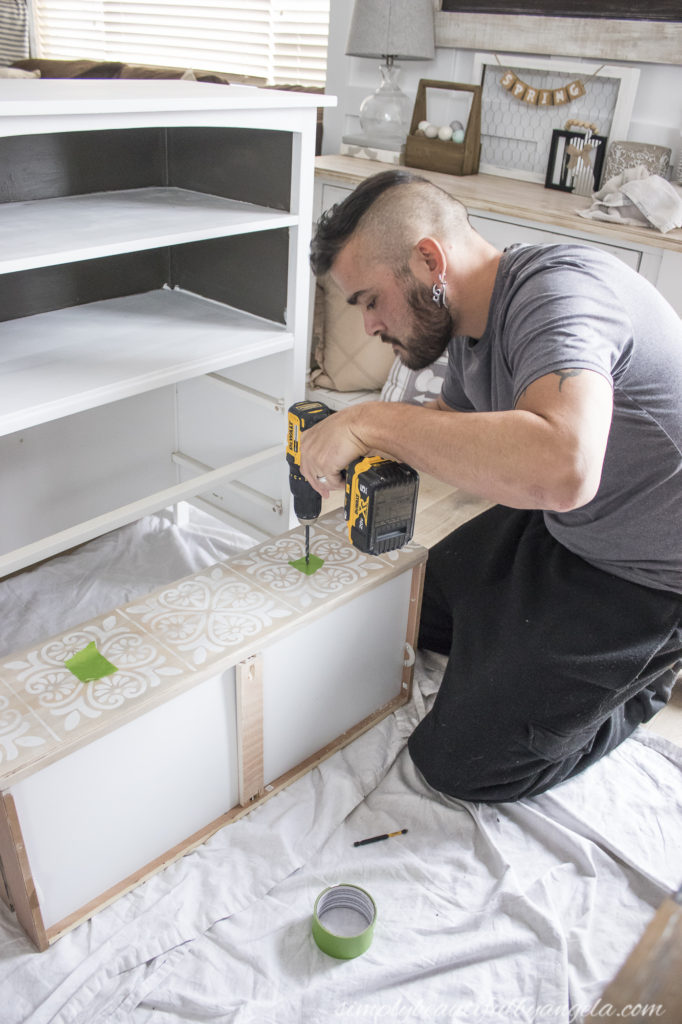
I went around and tightened up all of the screws that were loose in the drawers. And finally I was ready to add the new knobs. The hubby had the idea to place a piece of painters tape over where the hole needed to be drilled to keep it nice and clean.
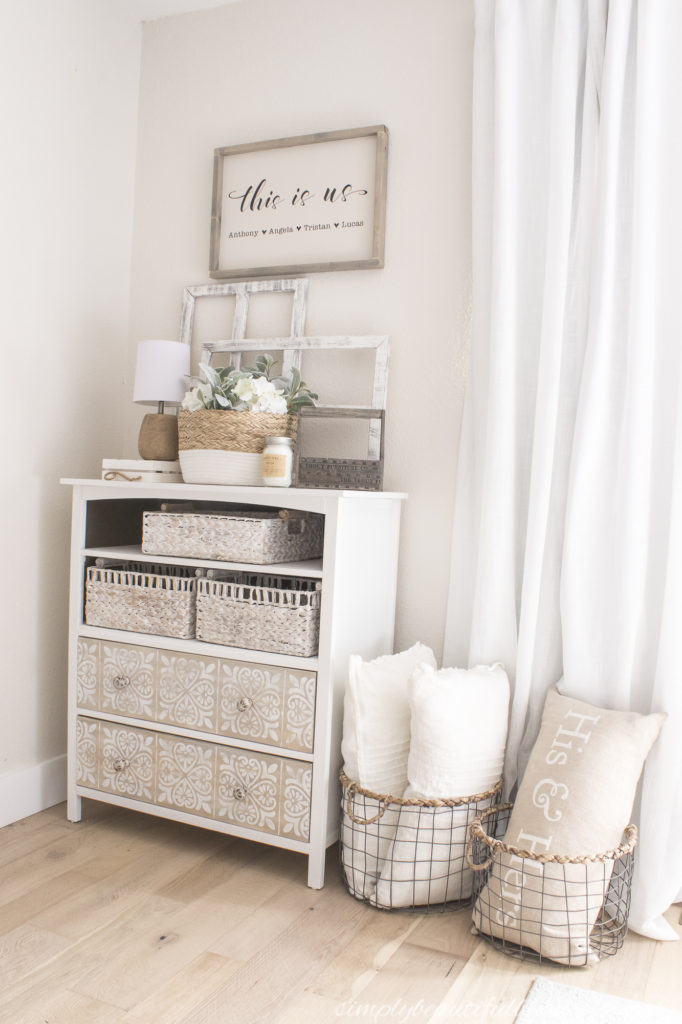
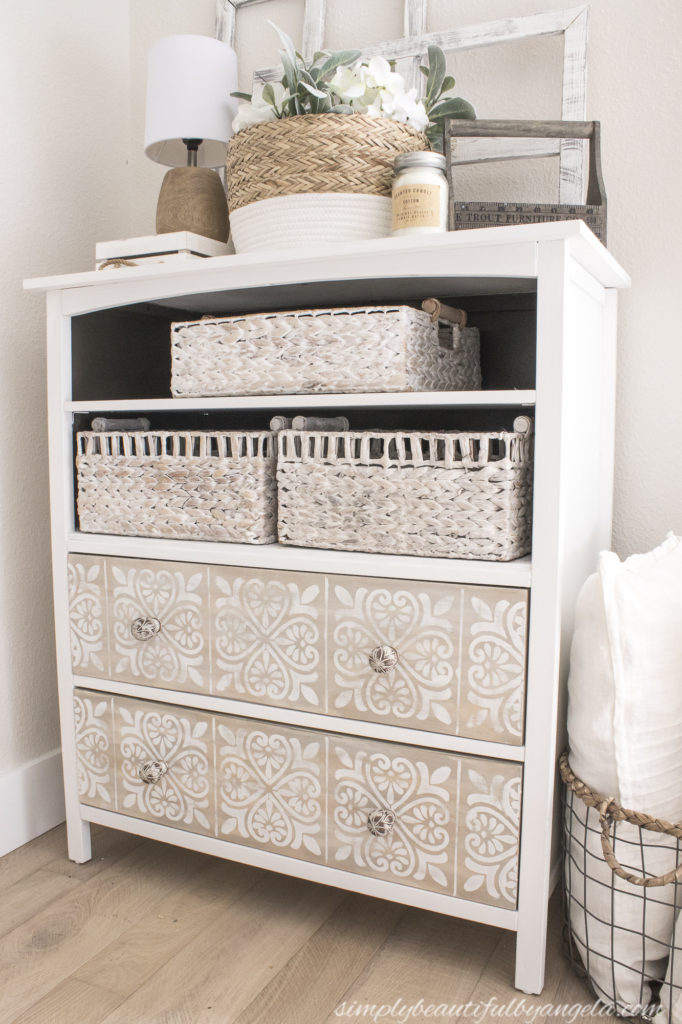
I found the perfect sized baskets for the shelves and then placed it in the corner of our bedroom.
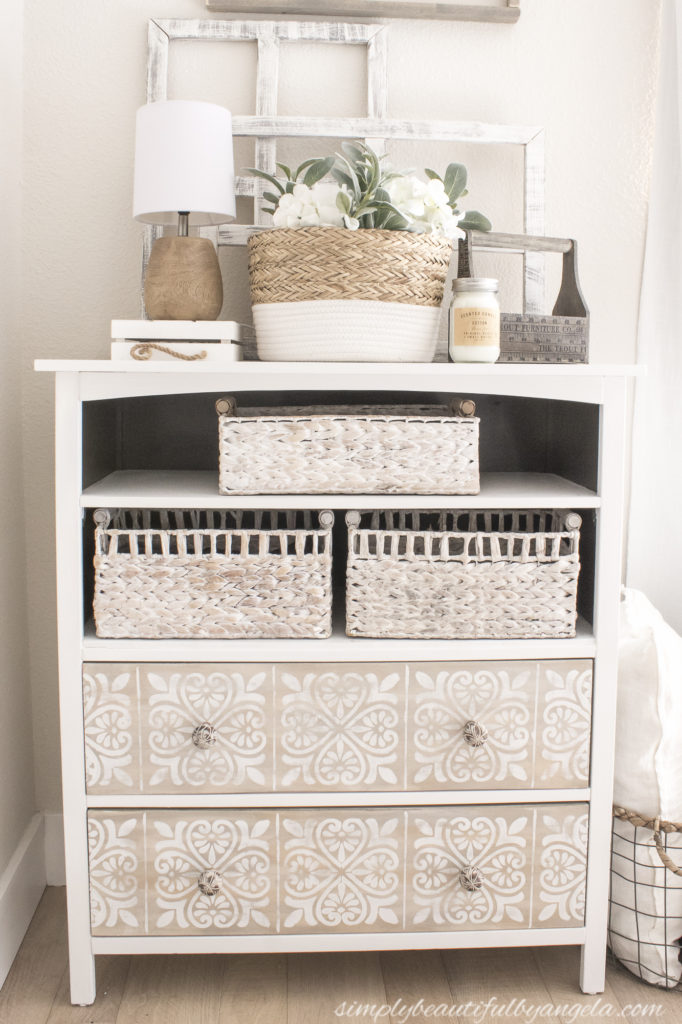
Such an amazing transformation! It certainly doesn’t look like a dresser that once belonged in a nursery, but the fact I remember that it was makes it so, so special.
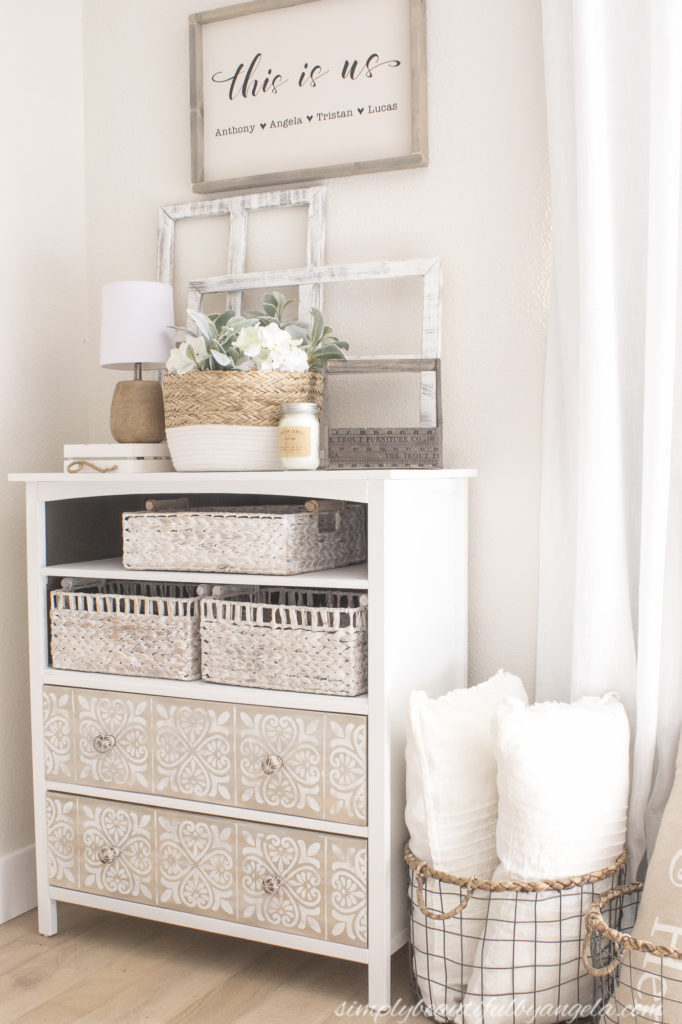
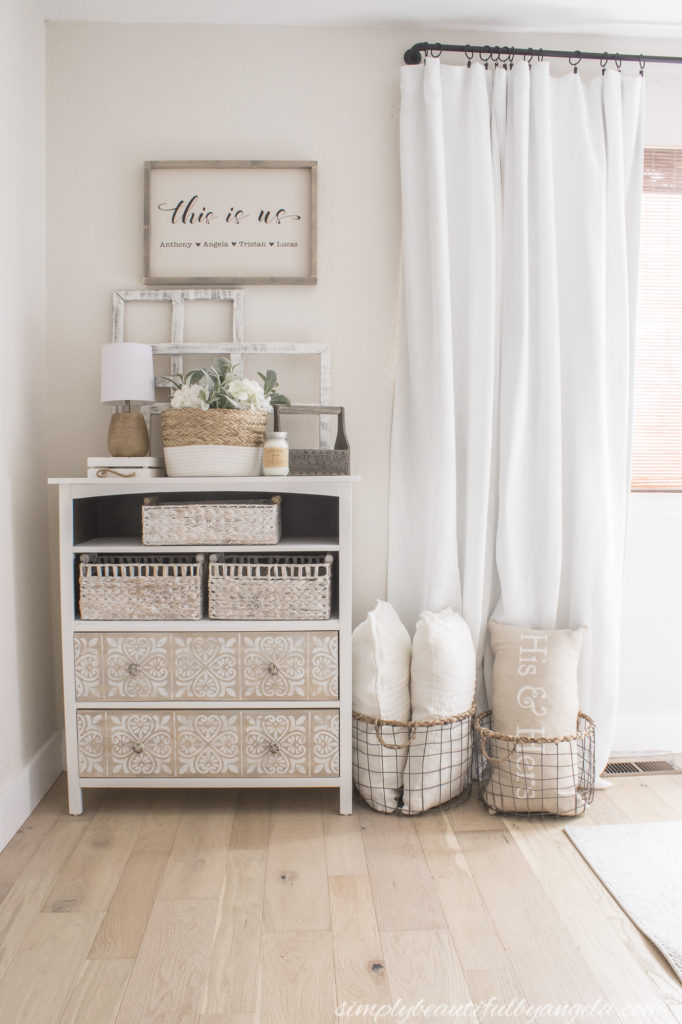
The stenciling makes it super unique and eye catching.
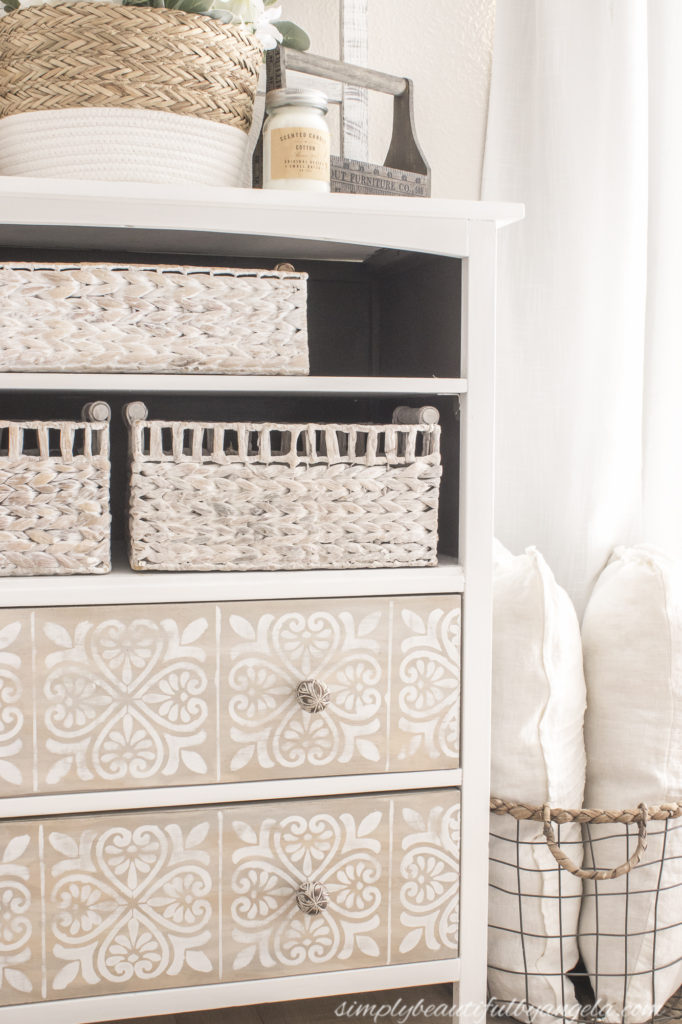
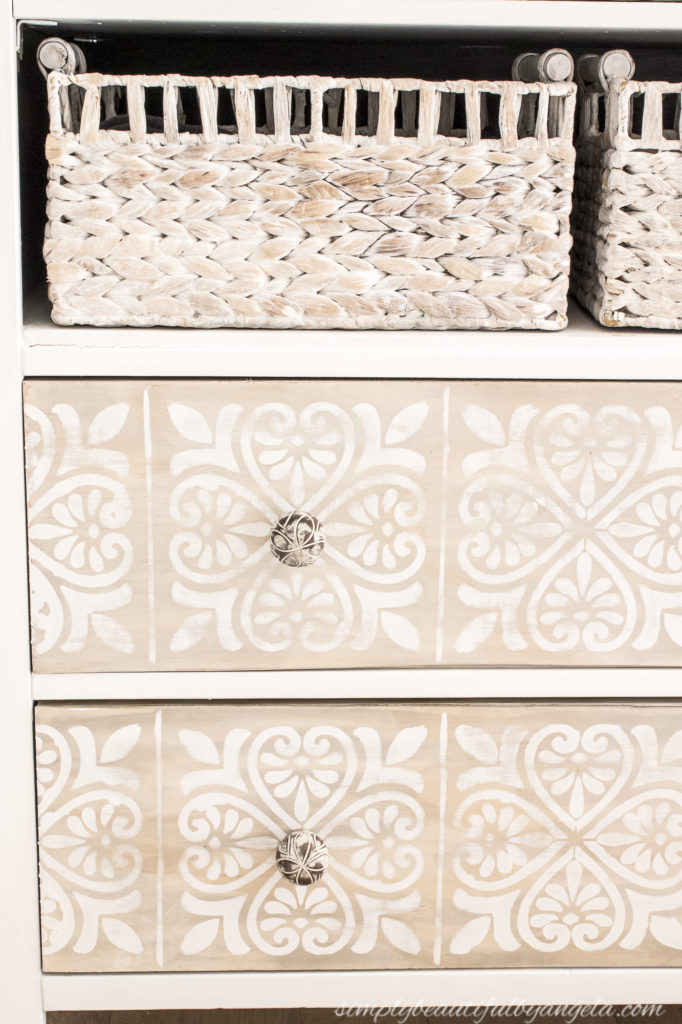
It fits perfectly in this little corner and adds extra clothing storage which was a big must for us!
I wasn’t sure how well the new knobs would coordinate and I spent a very long time in Hobby Lobby’s knob aisle trying to decide on the perfect ones. Now that they are on I can’t imagine anything else in their place.
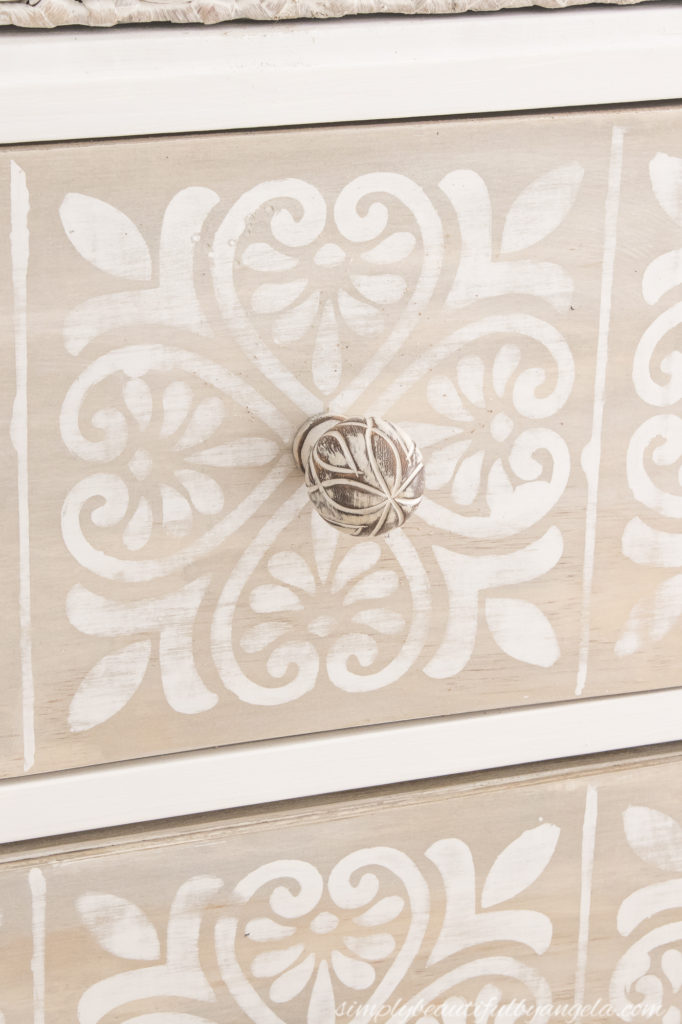
I’m glad that I decided to go with the dark contrast inside of the shelves because it pairs with the dark tones in the knobs perfectly.
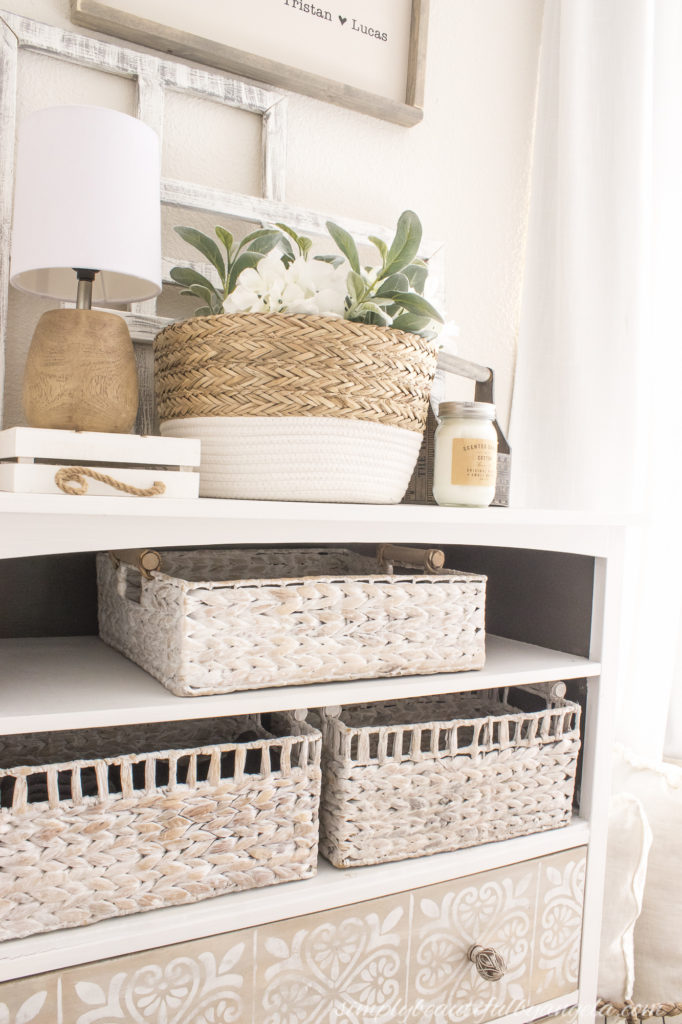
This one goes in the books as one of my favorite furniture transformations to date–definitely in the top 5!
PIN FOR LATER!
Linking up to these awesome parties
What a transformation – beautiful. Love your baskets on the shelves and on the floor. Would you share where you purchased?
Love! Great job.
What a great transformation!
Absolutely beautiful, what an awesome job. It would be my favorite for sure.
That’s what I call a make over #alittlebitofeverything@_karendennis