Hey guys, happy Wednesday! We’ve been blessed with some gorgeous weather this week. We are supposed to get a little snow tomorrow, but then it’s back to warm and sunny for the next few days and I can’t even begin to tell you guys how happy this makes me 🙂
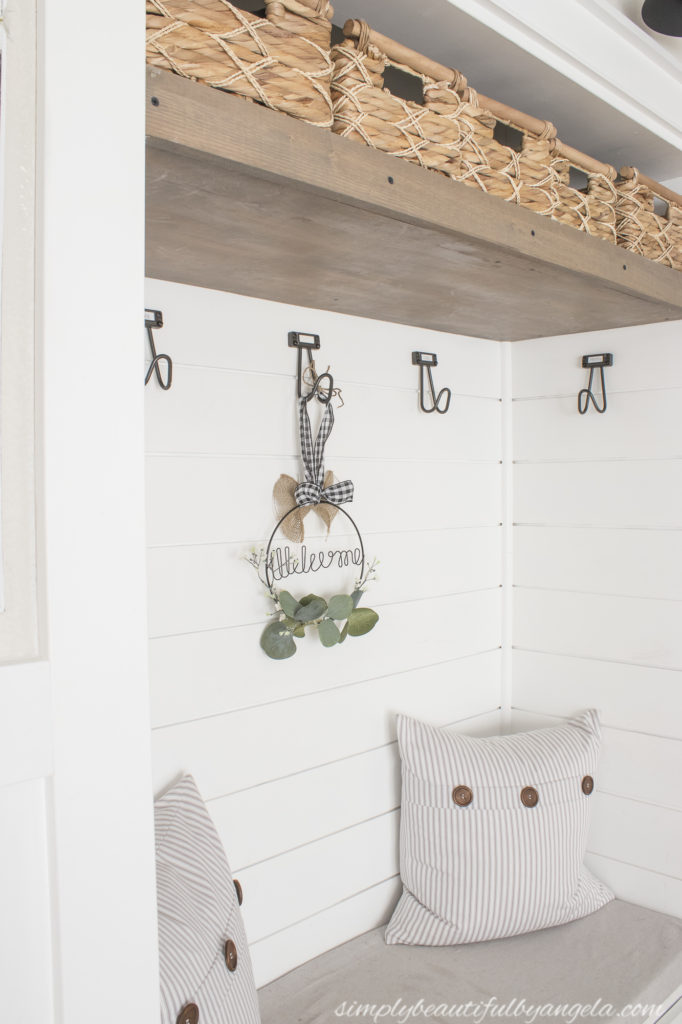
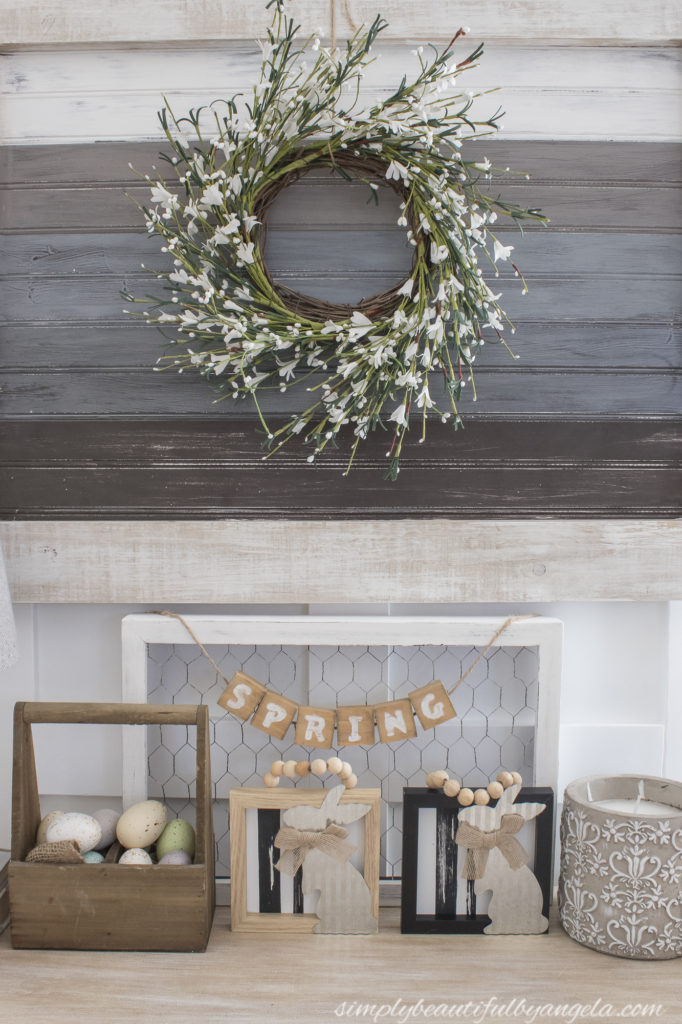
Over the weekend I packed up all of my winter decor and brought up my spring bin. After the rough couple of months that I’ve had, it was so therapeutic for me to put up spring decor–it is my favorite season after all. I really lifted my spirits and I can’t wait to share a full home tour with you guys very soon!
I always like to add a few new things each year, and this year I decided to be budget friendly. So I headed to Dollar Tree to see what I could find and I’m excited to show you what I came up with.
Welcome Sign
Supplies Used:(Affiliate links may be provided for convenience. For more info, see my full disclosure here.)
- Rust-Oleum Spray Paint in Black Satin
- Krylon Spray Acrylic in Clear Satin (optional)
- Faux Euclayptus Garland
- Faux Baby’s Breath
- Hot Glue Gun
- Buffalo Check Ribbon
- Burlap Ribbon
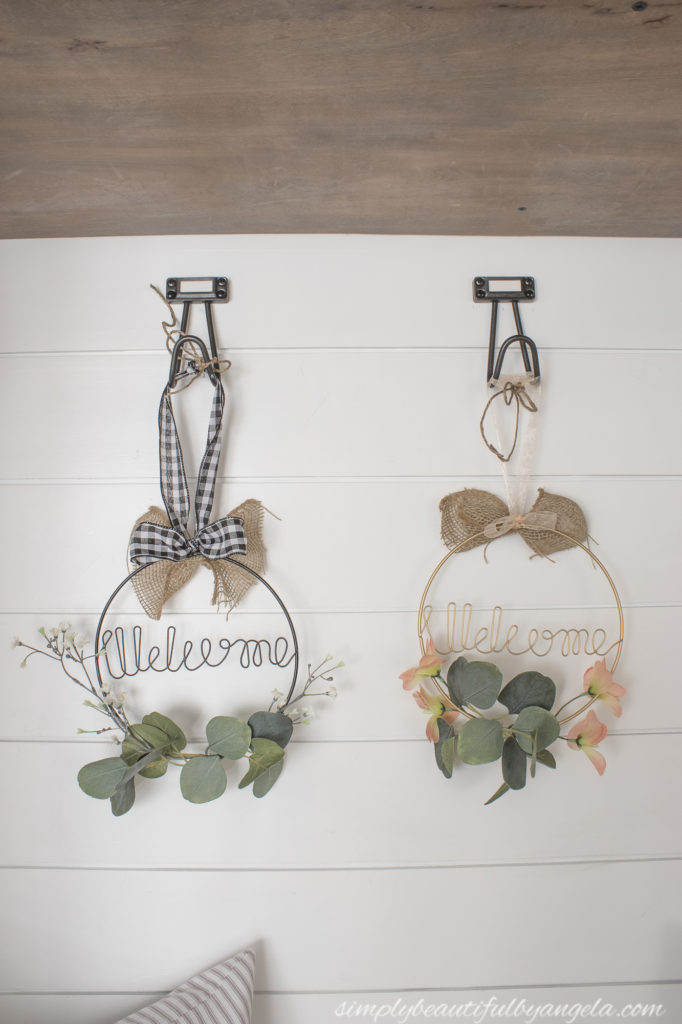
These metal welcome signs are probably one of the coolest Dollar Tree finds that I’ve spotted in awhile. I grabbed a couple of them so that I could make one for myself and one for my mom. They come with a matte gold finish which I kept for my Mom’s, but I decided to spray mine black.

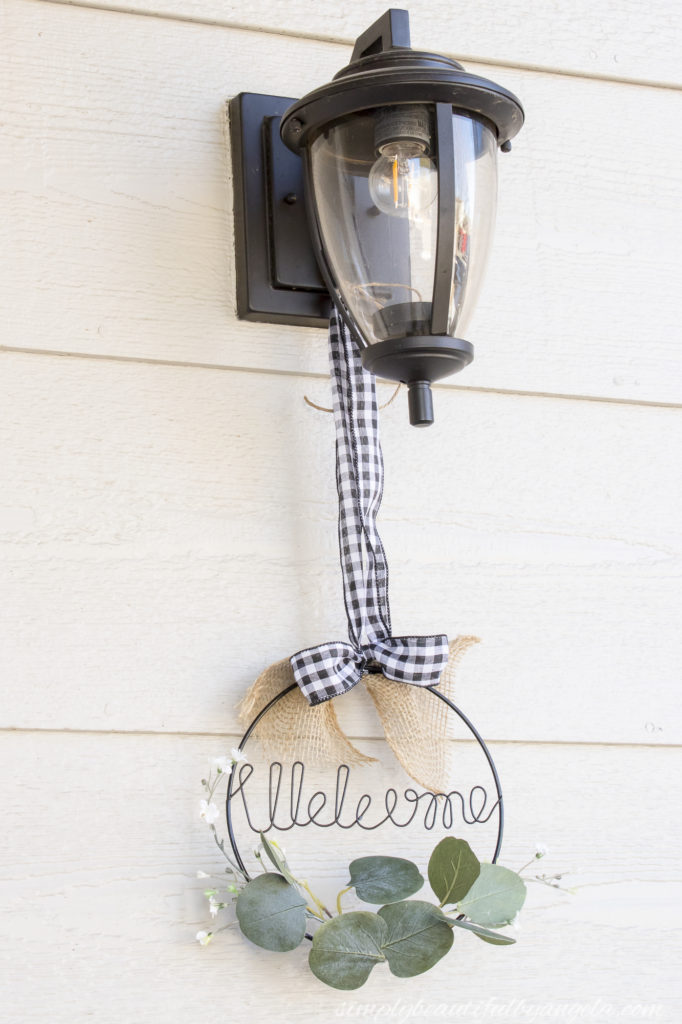
Since I planned to hang mine from our front porch light I also gave it a coat of clear spray acrylic to protect it from the elements.
While that was drying I began to plan my embellishments. I began by cutting off two pieces from my faux eucalyptus garland and hot glued them on to a piece of faux Baby’s Breath branch that I spread apart.
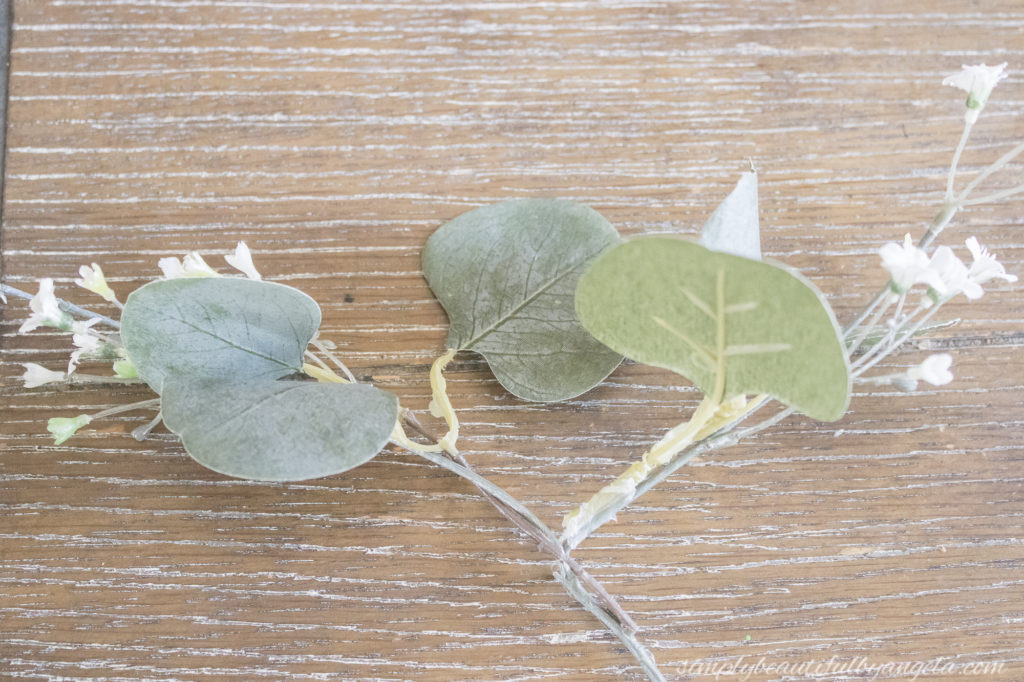
To hide the glue I then took two single eucalyptus leaves and hot glued them on top.

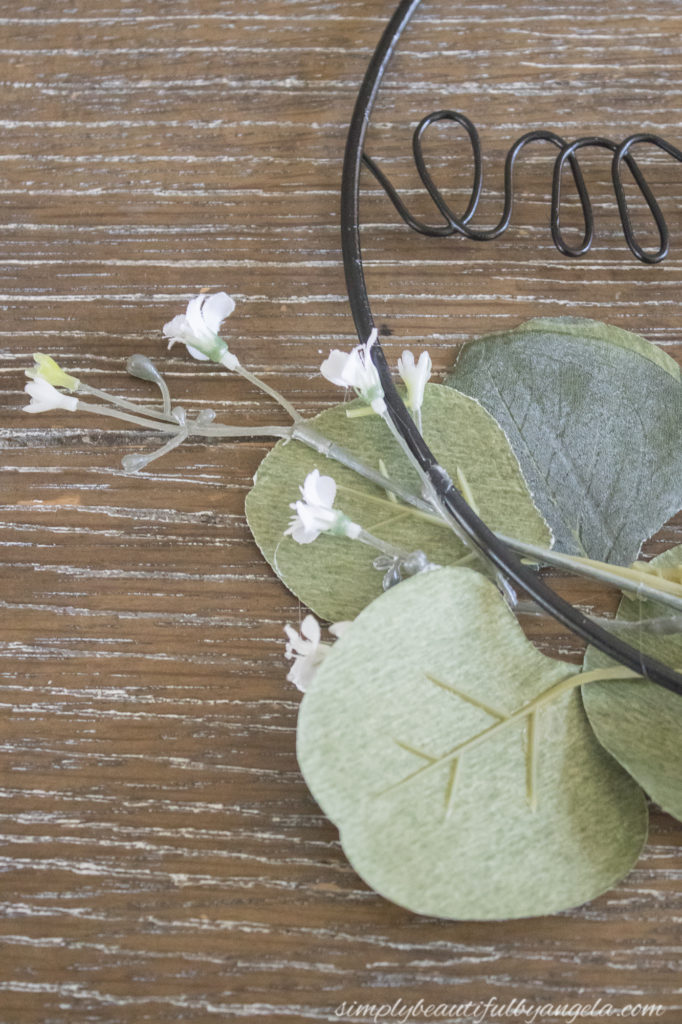
I placed the welcome sign face down, and then twisted the whole piece around the ring and secured it with a ton of hot glue. This thing isn’t going anywhere!
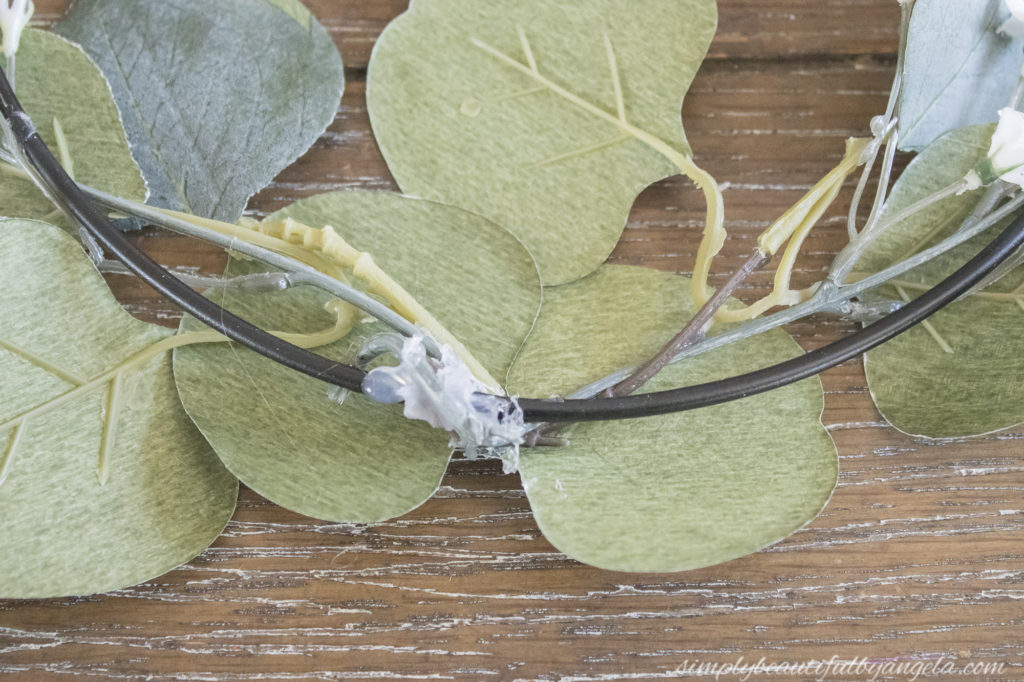
I also hot glued the baby’s breath on either side of the ring and made sure to glue behind a eucalyptus leaf so that it remained hidden.

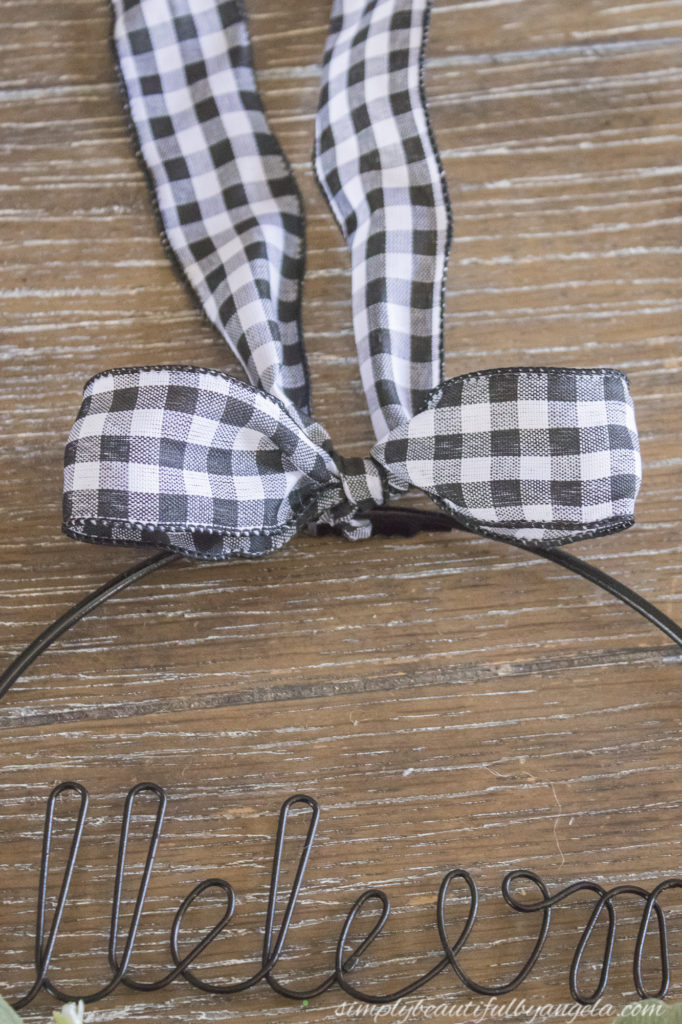
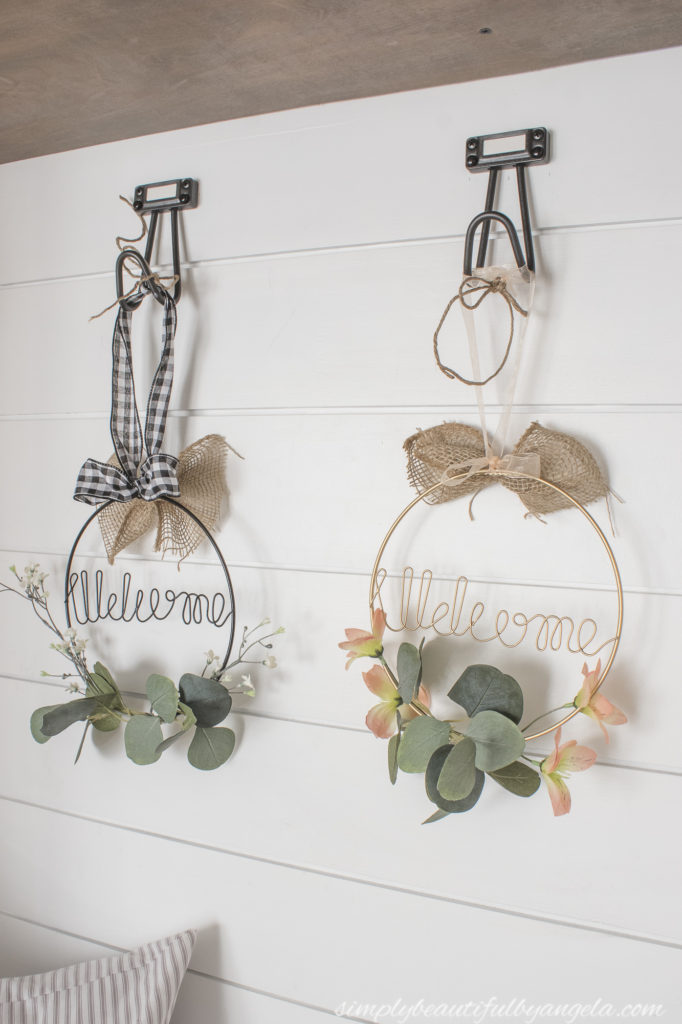
I tied a long piece of buffalo check ribbon to the sawtooth hanger and made a bow. I then tied the ends of the ribbon in a knot up top.
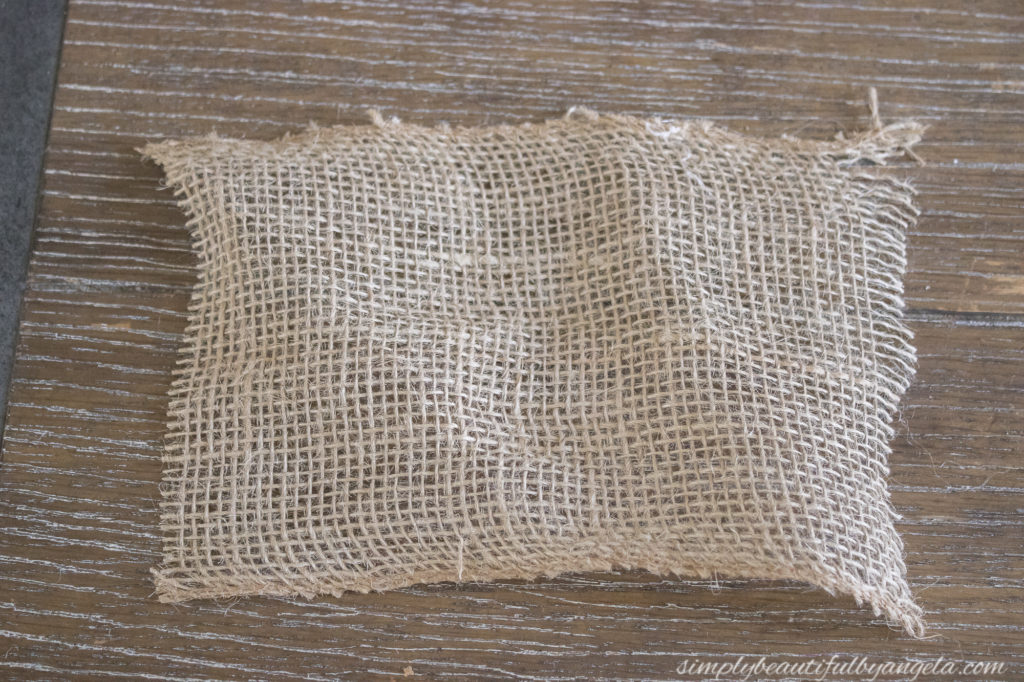
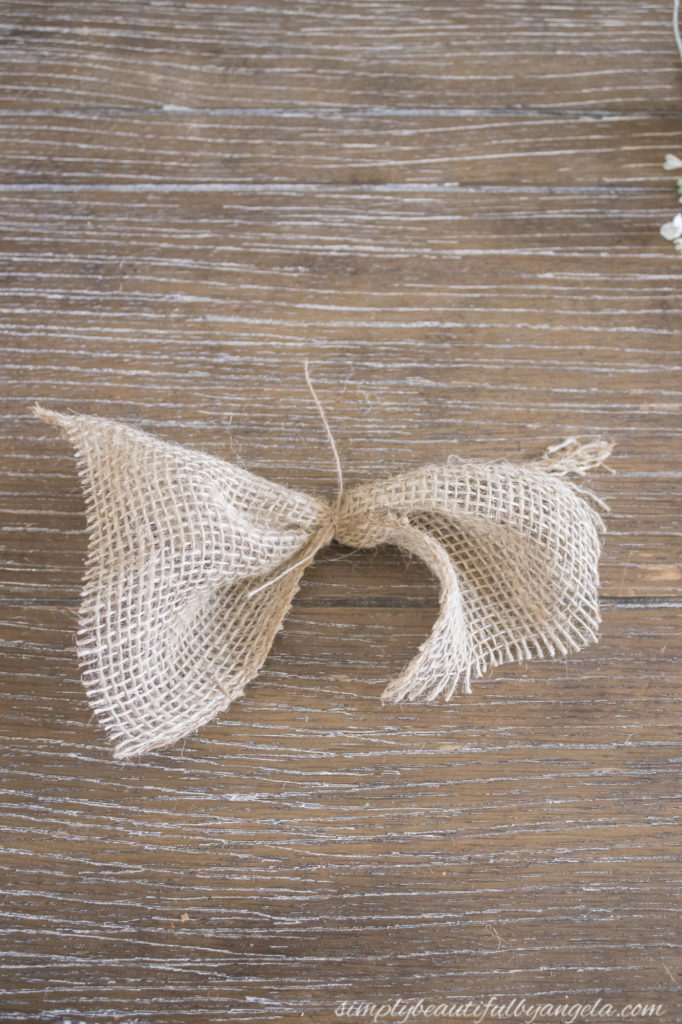
I finished it up by taking a square of burlap ribbon and tied it in the center with a piece of string to make a bow.
I then hot glued it on to the back of the saw tooth hanger.
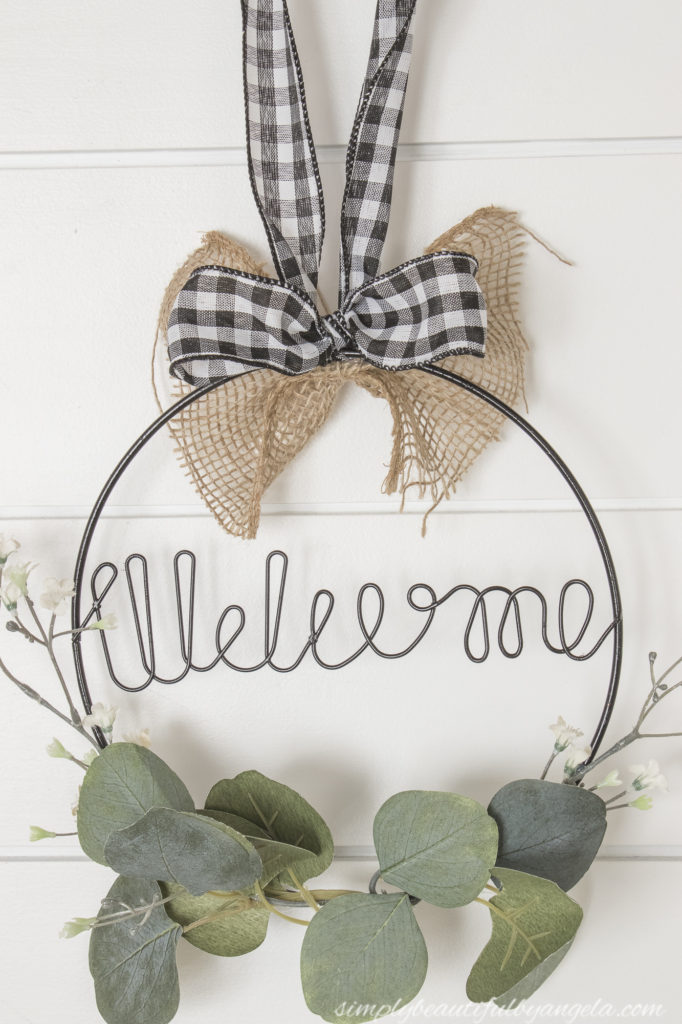
It turned out even better than I had envisioned it would.
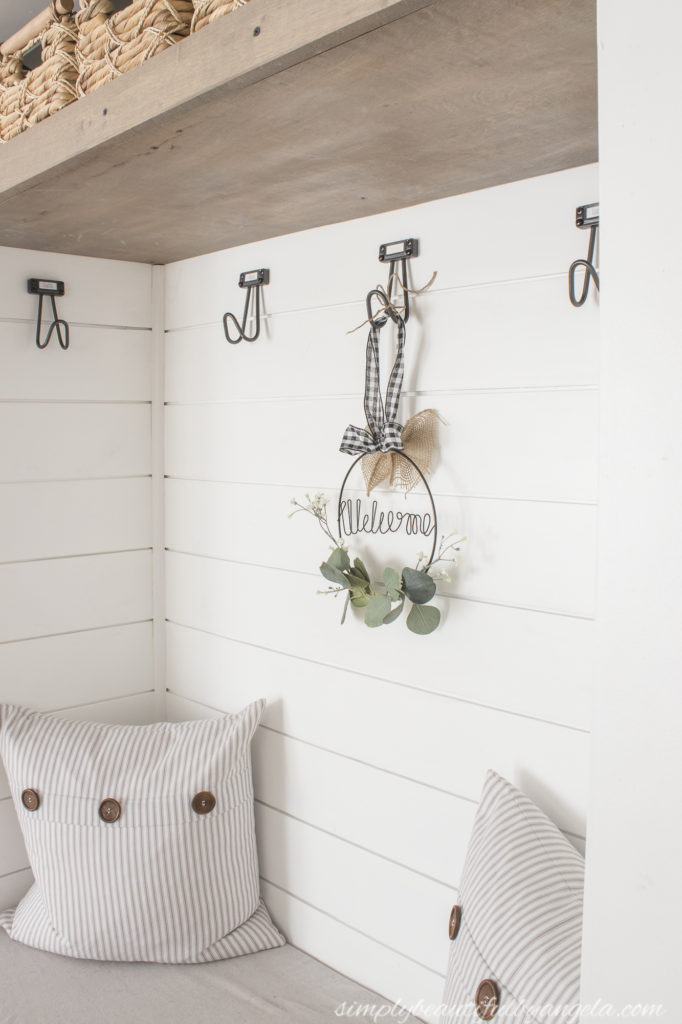
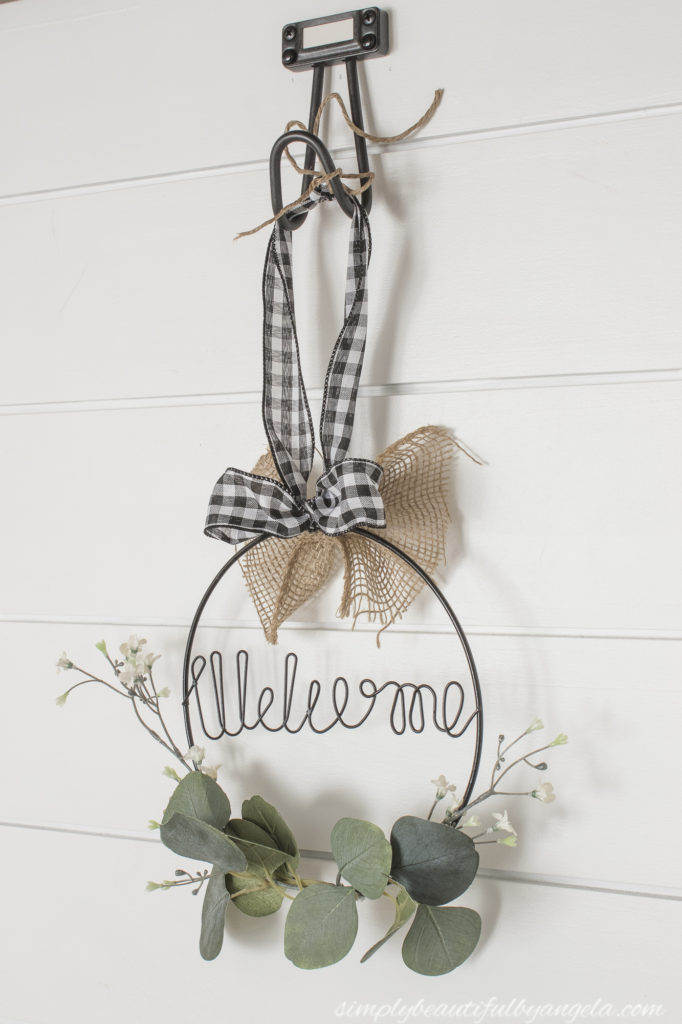
I tied a piece of twine to the top so that I could hang it from our front porch light.
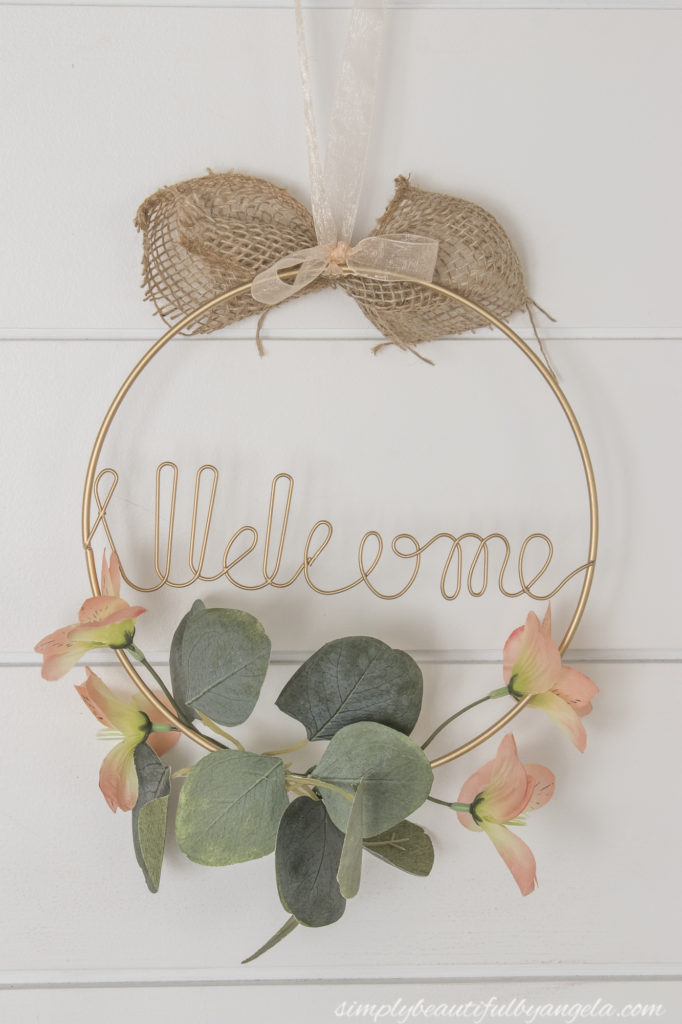
Here is how the one that I made for my Mom turned out. She prefers more colorful tones, so I left this one gold and used some peach flowers and ribbon that I grabbed from Dollar tree. It looks absolutely stunning in her entryway.
I am so thrilled with how easy and cheap these were to put together.
If you’d like to see a video of the process I shared one on Instagram and you can check that out under my Highlights.
Bunny Frame with Beaded Handle
Supplies Used:(Affiliate links may be provided for convenience. For more info, see my full disclosure here.)
- Acrylic Paints
- Sanding Sponge
- Hot Glue Gun
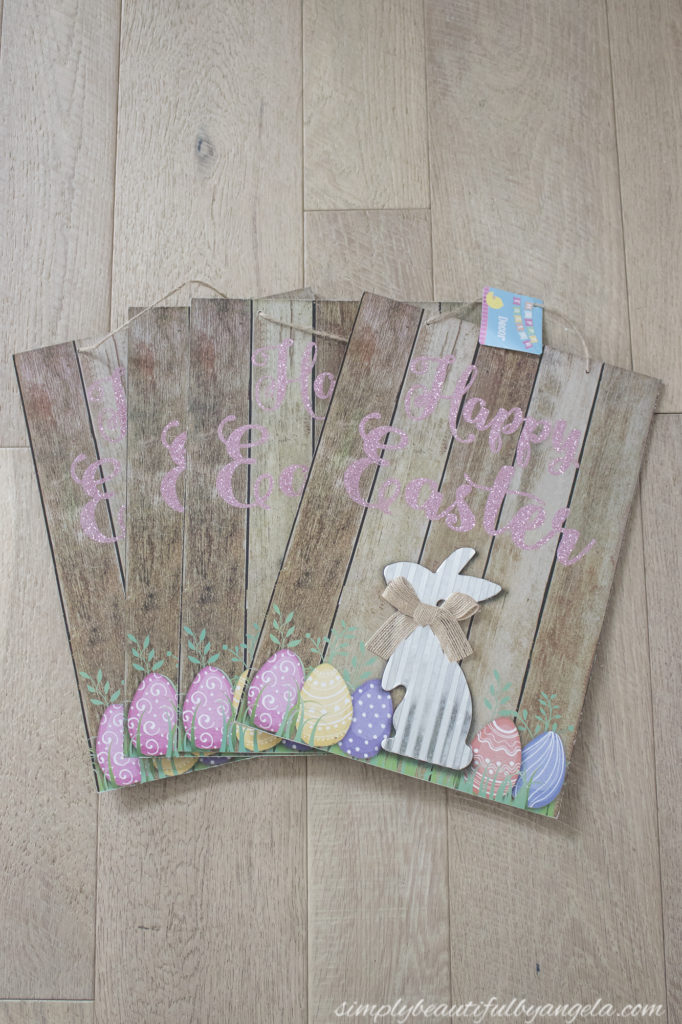
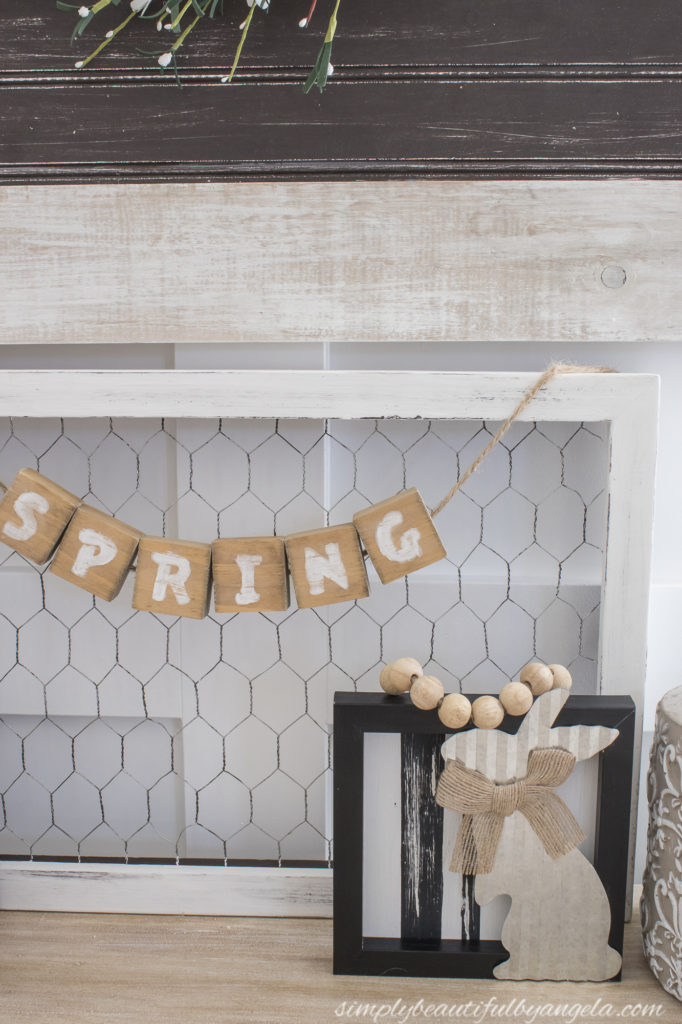
Okay guys, I was totally blown away when I found these cute little signs at Dollar Tree. Apparently so were a lot of people, because I haven’t been able to find any more out of the 3 stores I checked! Hopefully the restock them.
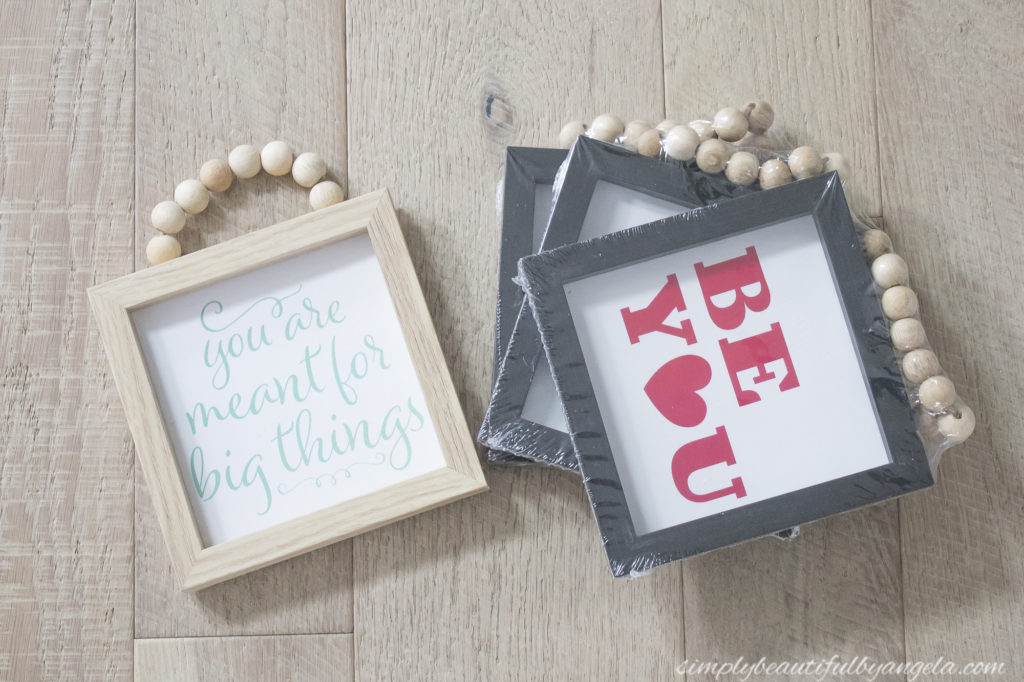
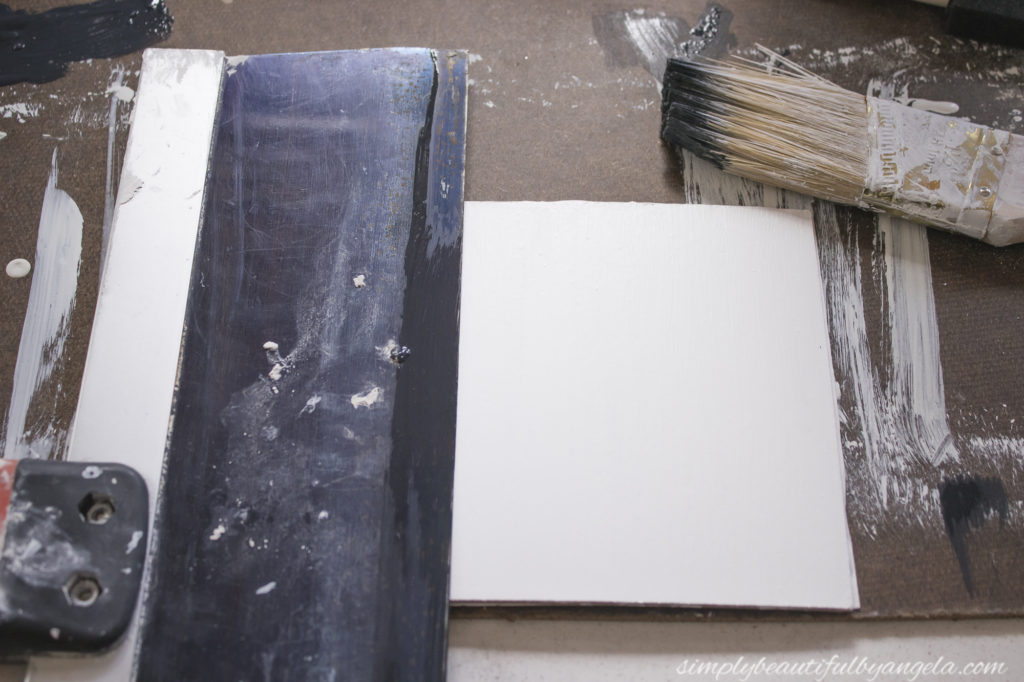
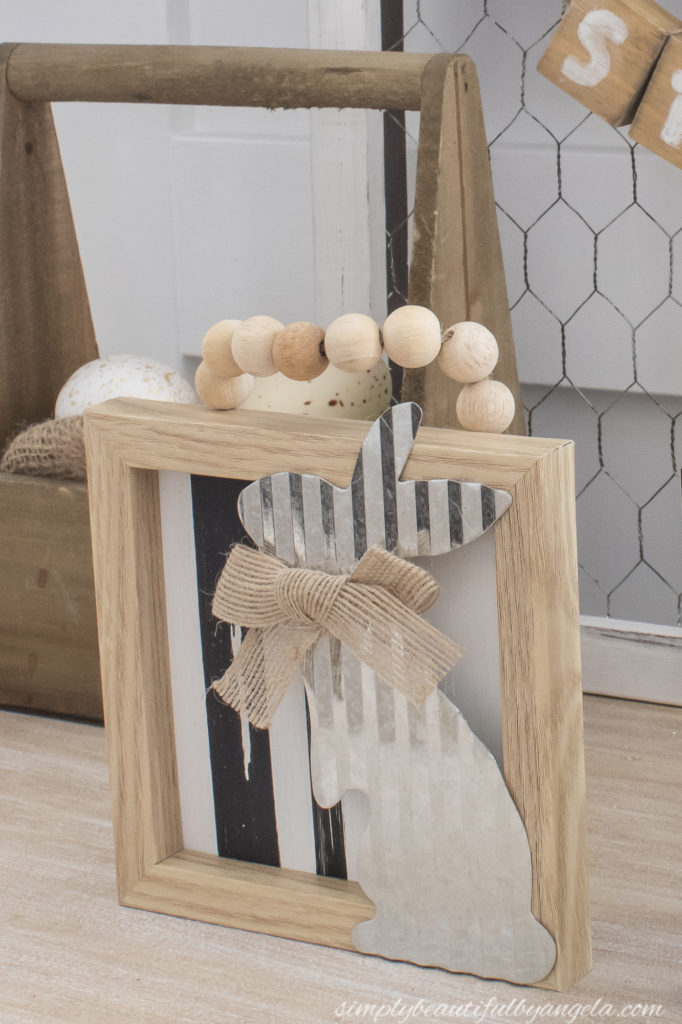
The phrases and colors aren’t my style, but I love the cute wood bead handles. The boards easily pop out like a picture frame, however the side with the text is really rough. So I flipped them over and painted the backs with white paint.
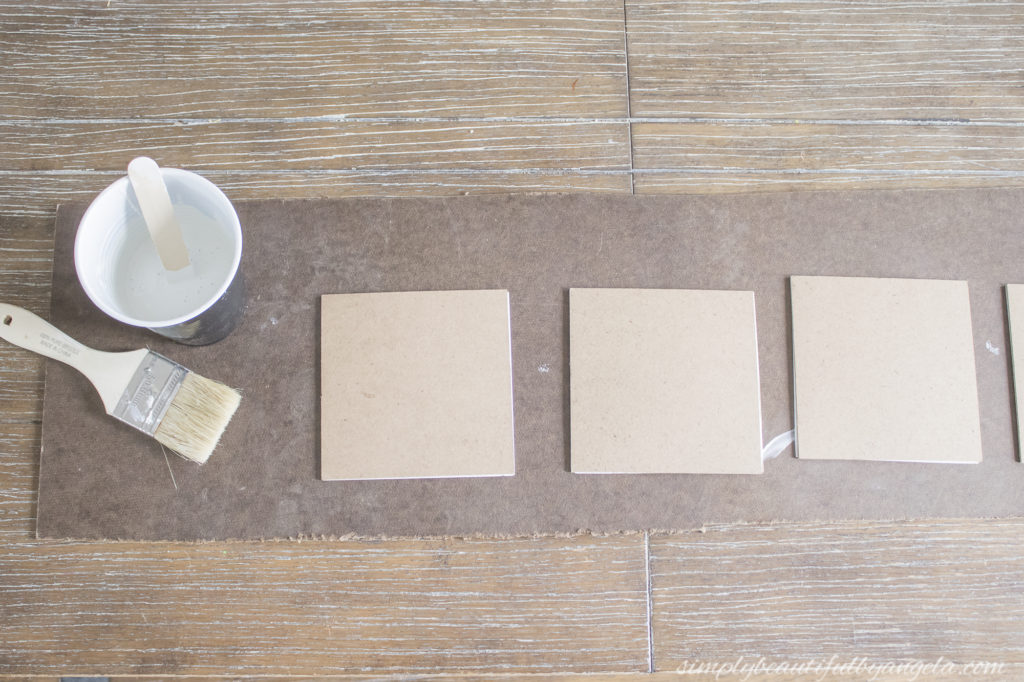
Once the white paint was dry, I decided that I wanted to add some black stripes. I started off using Frogtape but quickly realized that the paint wasn’t cured enough and it was peeling the white paint right off! I didn’t want to wait around so I decided to try a different approach. I got a large drywall taping knife and firmly pressed down where I wanted the first strip to begin.
I painted next to it, then wiped it off with a paper towel and flipped it to the other side and painted the rest of the stripe.
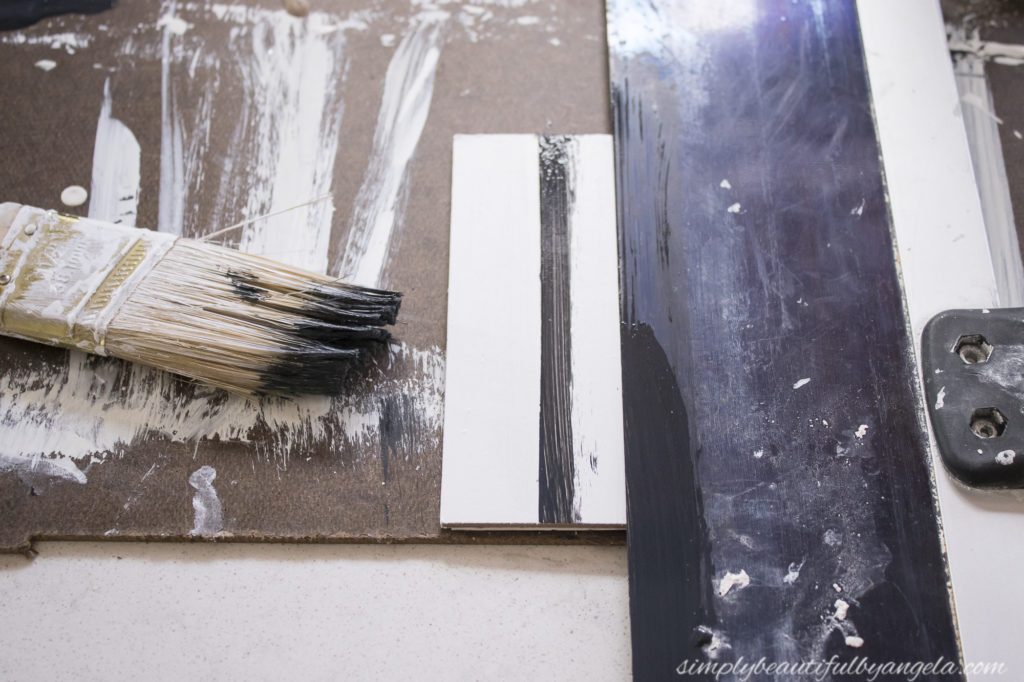
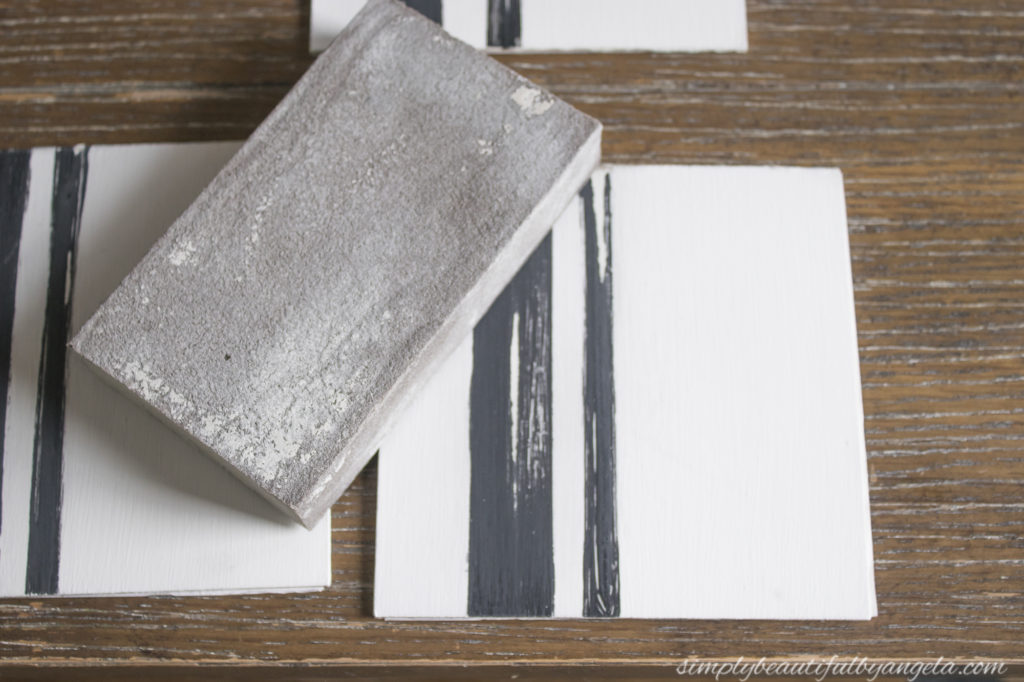
I know those pictures are messy but hopefully you get the idea! Once the stripes were dry I distressed them with a sanding sponge.
I also picked up a few of these signs from Dollar Tree . The actual sign is just cheap MDF, but I really liked the metal bunny on them.
They ended up being the perfect size for the signs. I popped them off of the signs and then adhered each one with hot glue to the beaded frames.

They can either be hung up by the beaded handle or set on a tabletop.
My original plan was to keep the wood toned one and sell the black ones, but I can’t decide which one I like more!
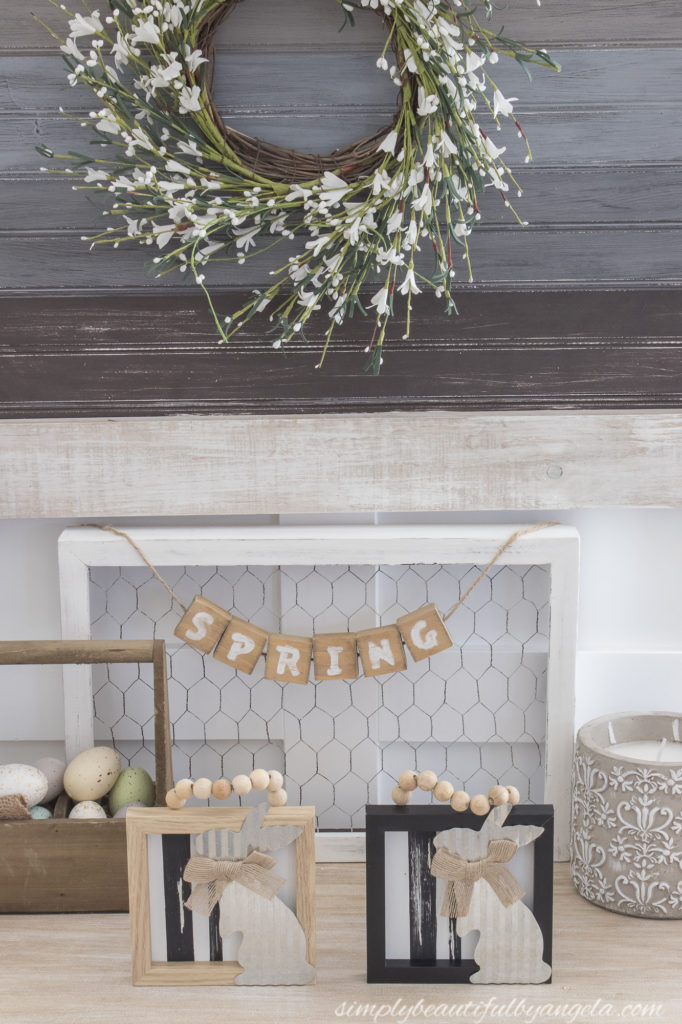
So of course I will probably end up keeping both colors and just selling the two black ones haha.
Okay my friends, thank you so much for stopping by today. I hope you all have a wonderful rest of your week 🙂
Linking up to these awesome parties
PIN FOR LATER!

I’ve been stalking my Dollar Tree for the Welcome sign for quite awhile. I hope it shows up soon because I like what you did with it! Thanks for linking up to my Friday Favorites party. I can’t wait to see what you in store for us next week!
Cute crafts! I”m always on a budget, so this post is right up my alley! Thanks for sharing at Friday Favorites. I’m featuring you this week.