Hey friends, happy Friday to you!
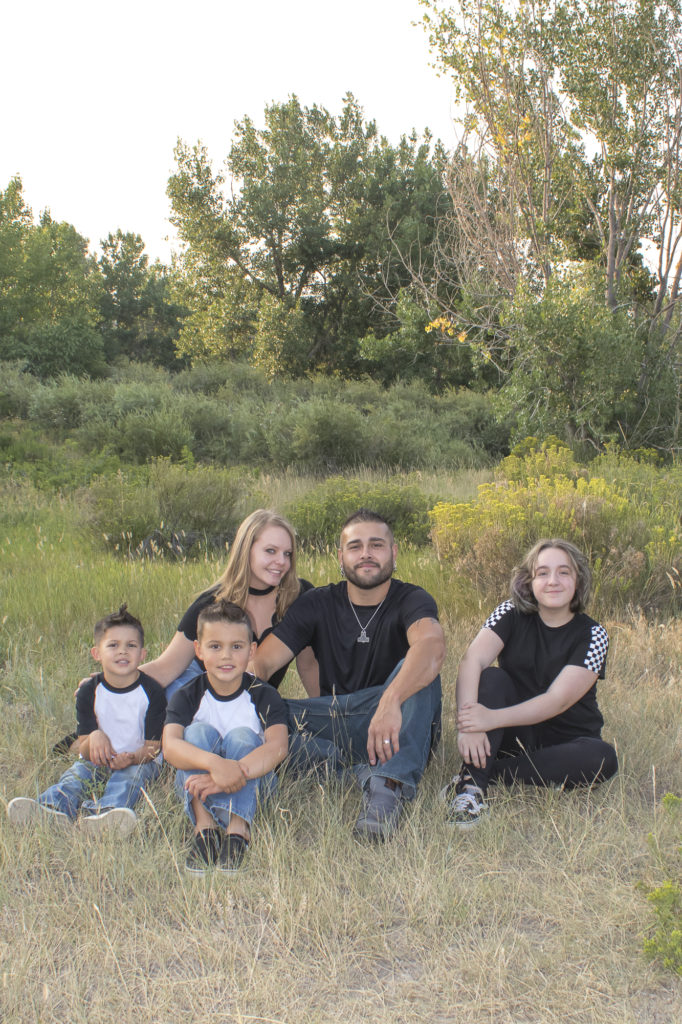
Each night after dinner the boys and I usually leash up the dog and take a walk. Some nights we stay in the neighborhood and visit the playground, and other nights we stroll back to the trail that runs through the open space behind our house. One night while I was admiring how beautiful it was back there it dawned on me that it would be the perfect place for family photos. I priced out hiring a professional, but since I have a tripod and a fairly decent camera I decided that we would attempt a DIY family photo shoot.
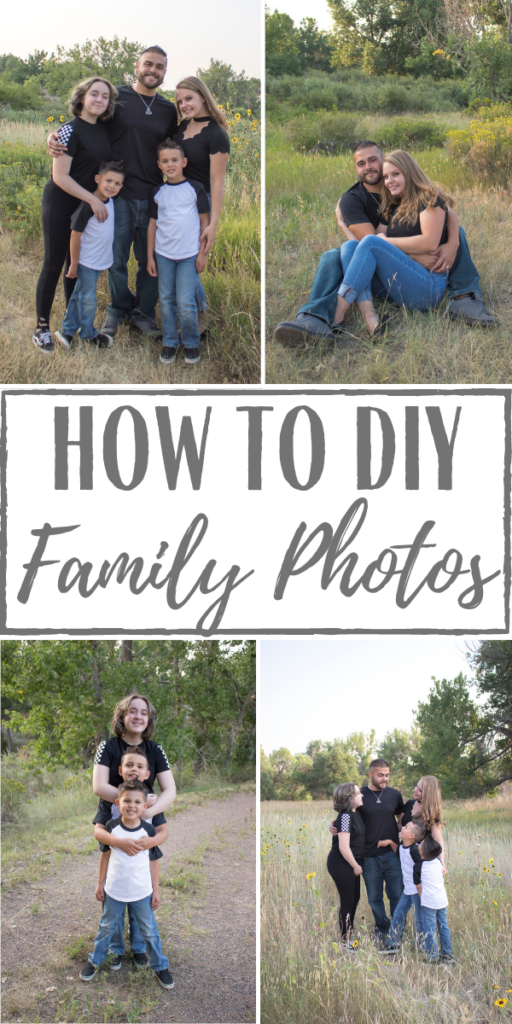
They definitely aren’t perfect and it’s fairly obvious that they were taken by an amateur, but I am pretty happy with the results! Today I am going to step outside of the normal decor and house talk to share a few tips that I used in case any of you are thinking about attempting a DIY session of your own. Even if you don’t have a DSLR, they make tripods for phones and the cameras on phones now a days take such amazing pictures.
(This is the tripod that I use for both my DSLR and my phone)
1. Pick a Location in Nature
We are fortunate to have beautiful open space so close to our house, but a quick drive to a park or any other nature spot would work. You could also make a day of it and venture out to a nice hiking spot.
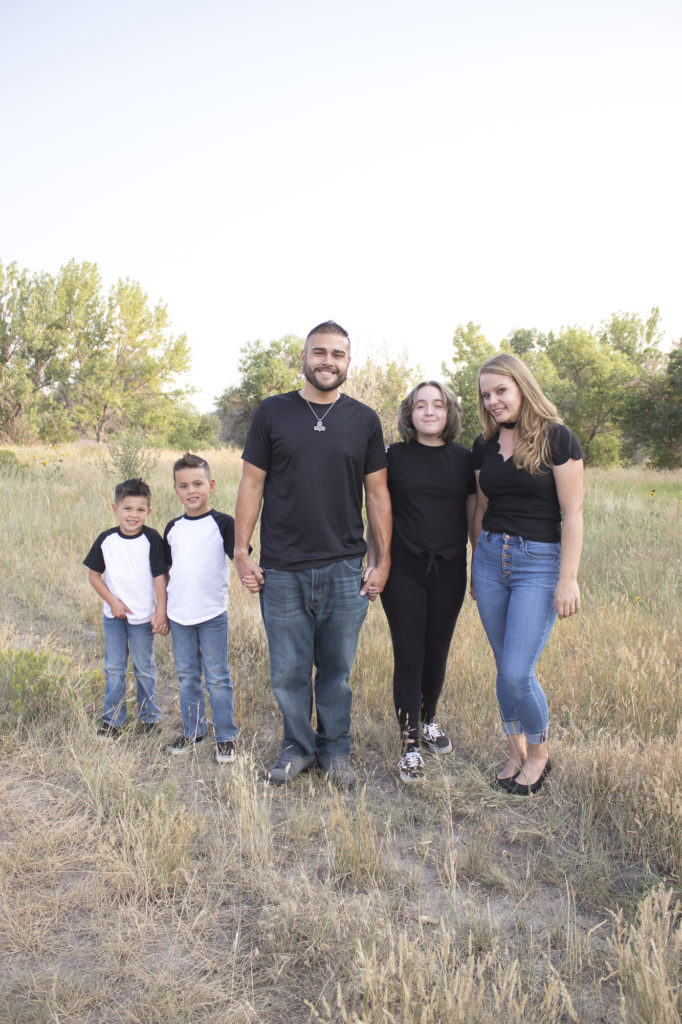
Even if there are buildings and houses in view as there was for us, they can easily be worked around and if not, cropped out during editing.
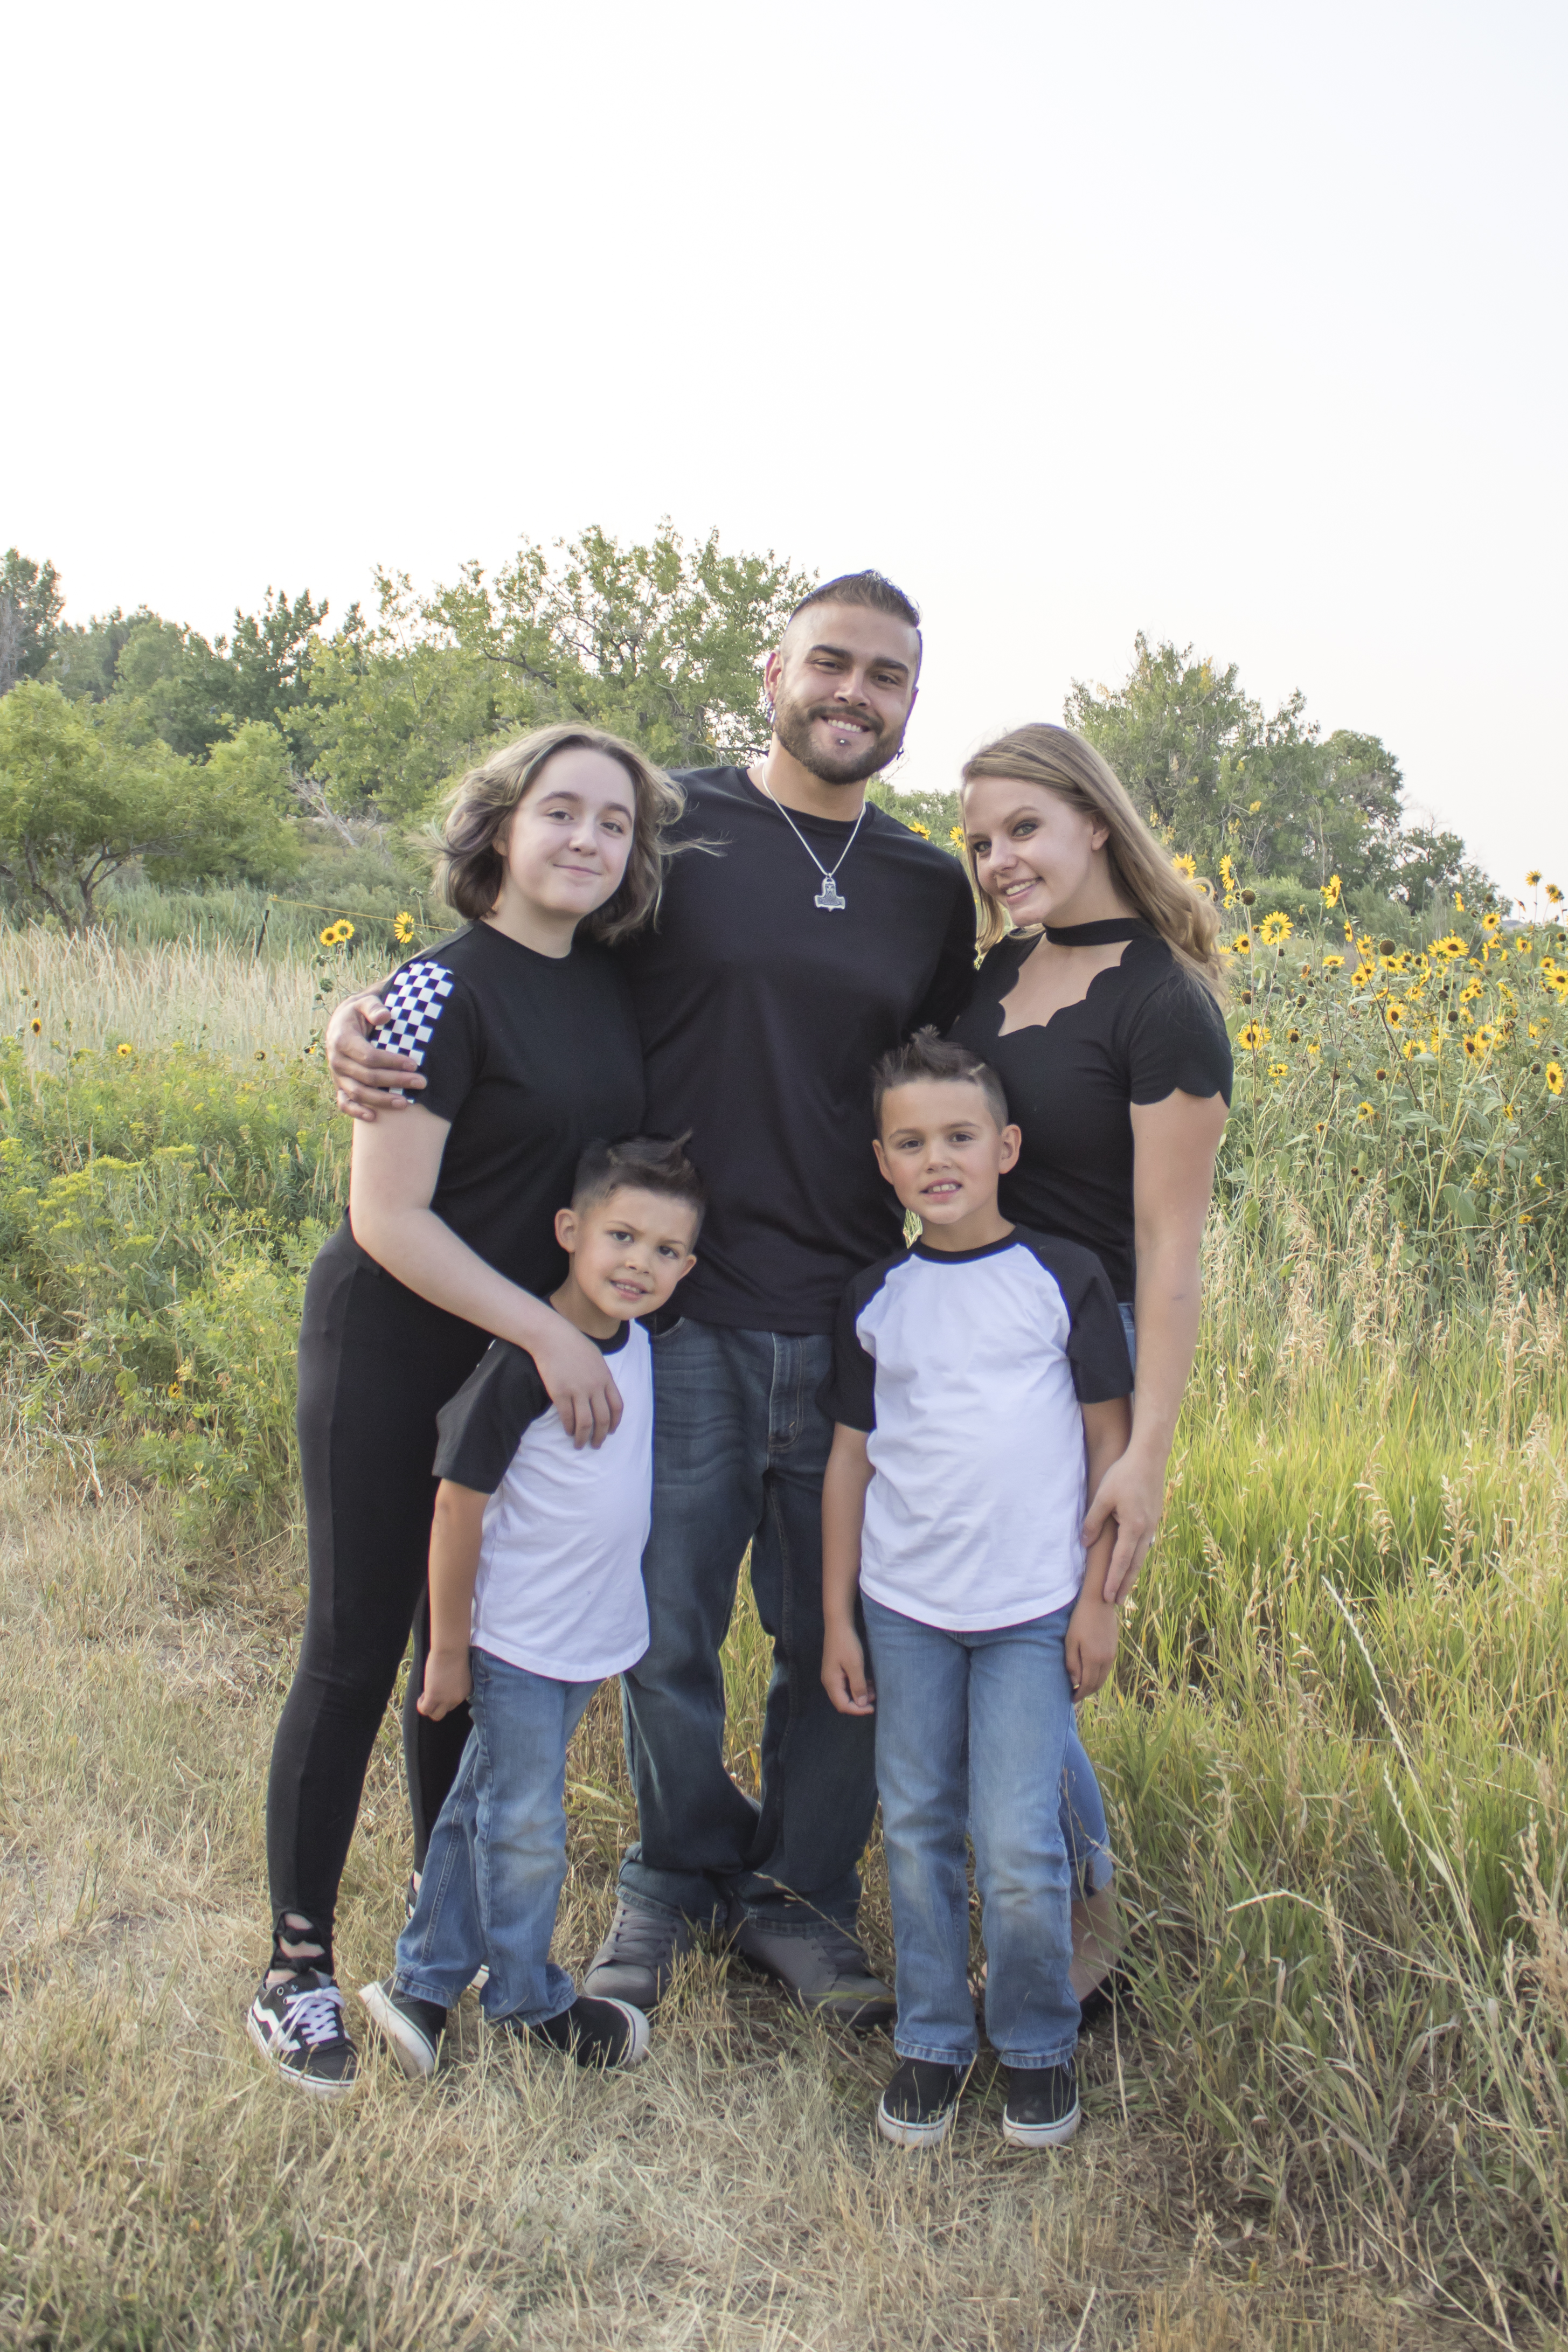
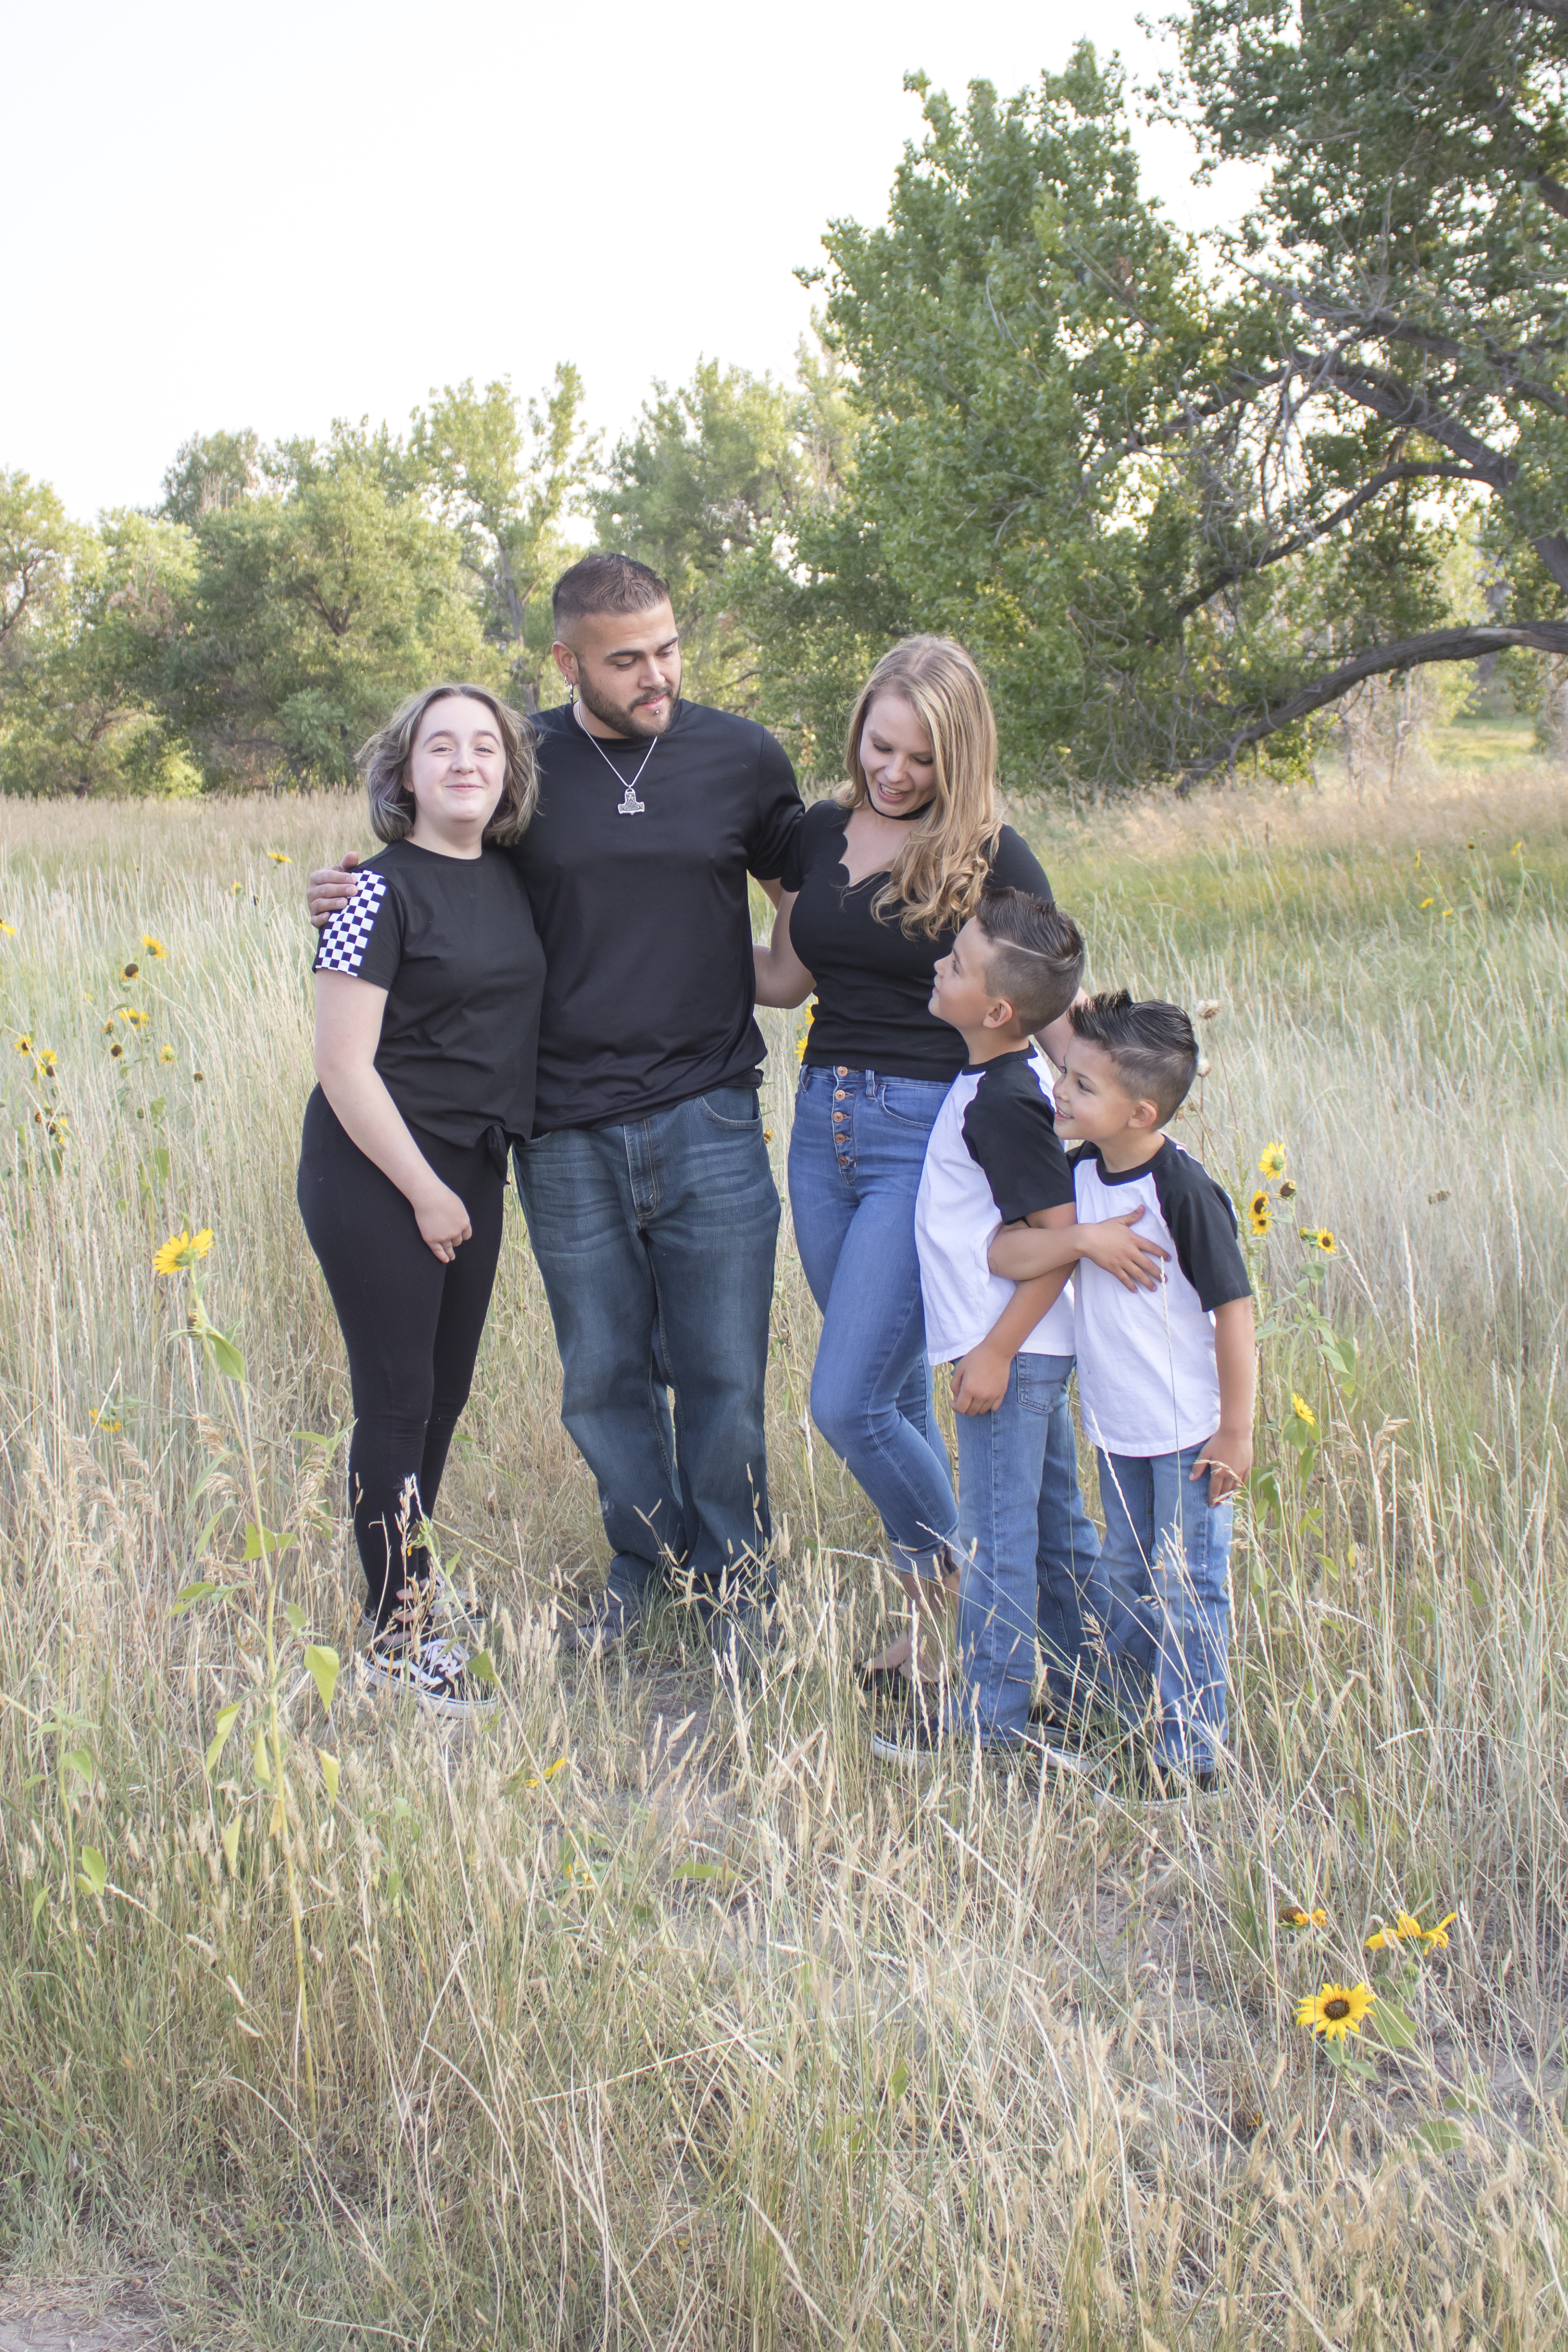
2. Look Online for Pose Ideas
I looked online for inspiration pictures beforehand and saved them to my phone as a reference for pose ideas.
I arranged everyone according to the picture, set the timer for 10 seconds and then jumped in.
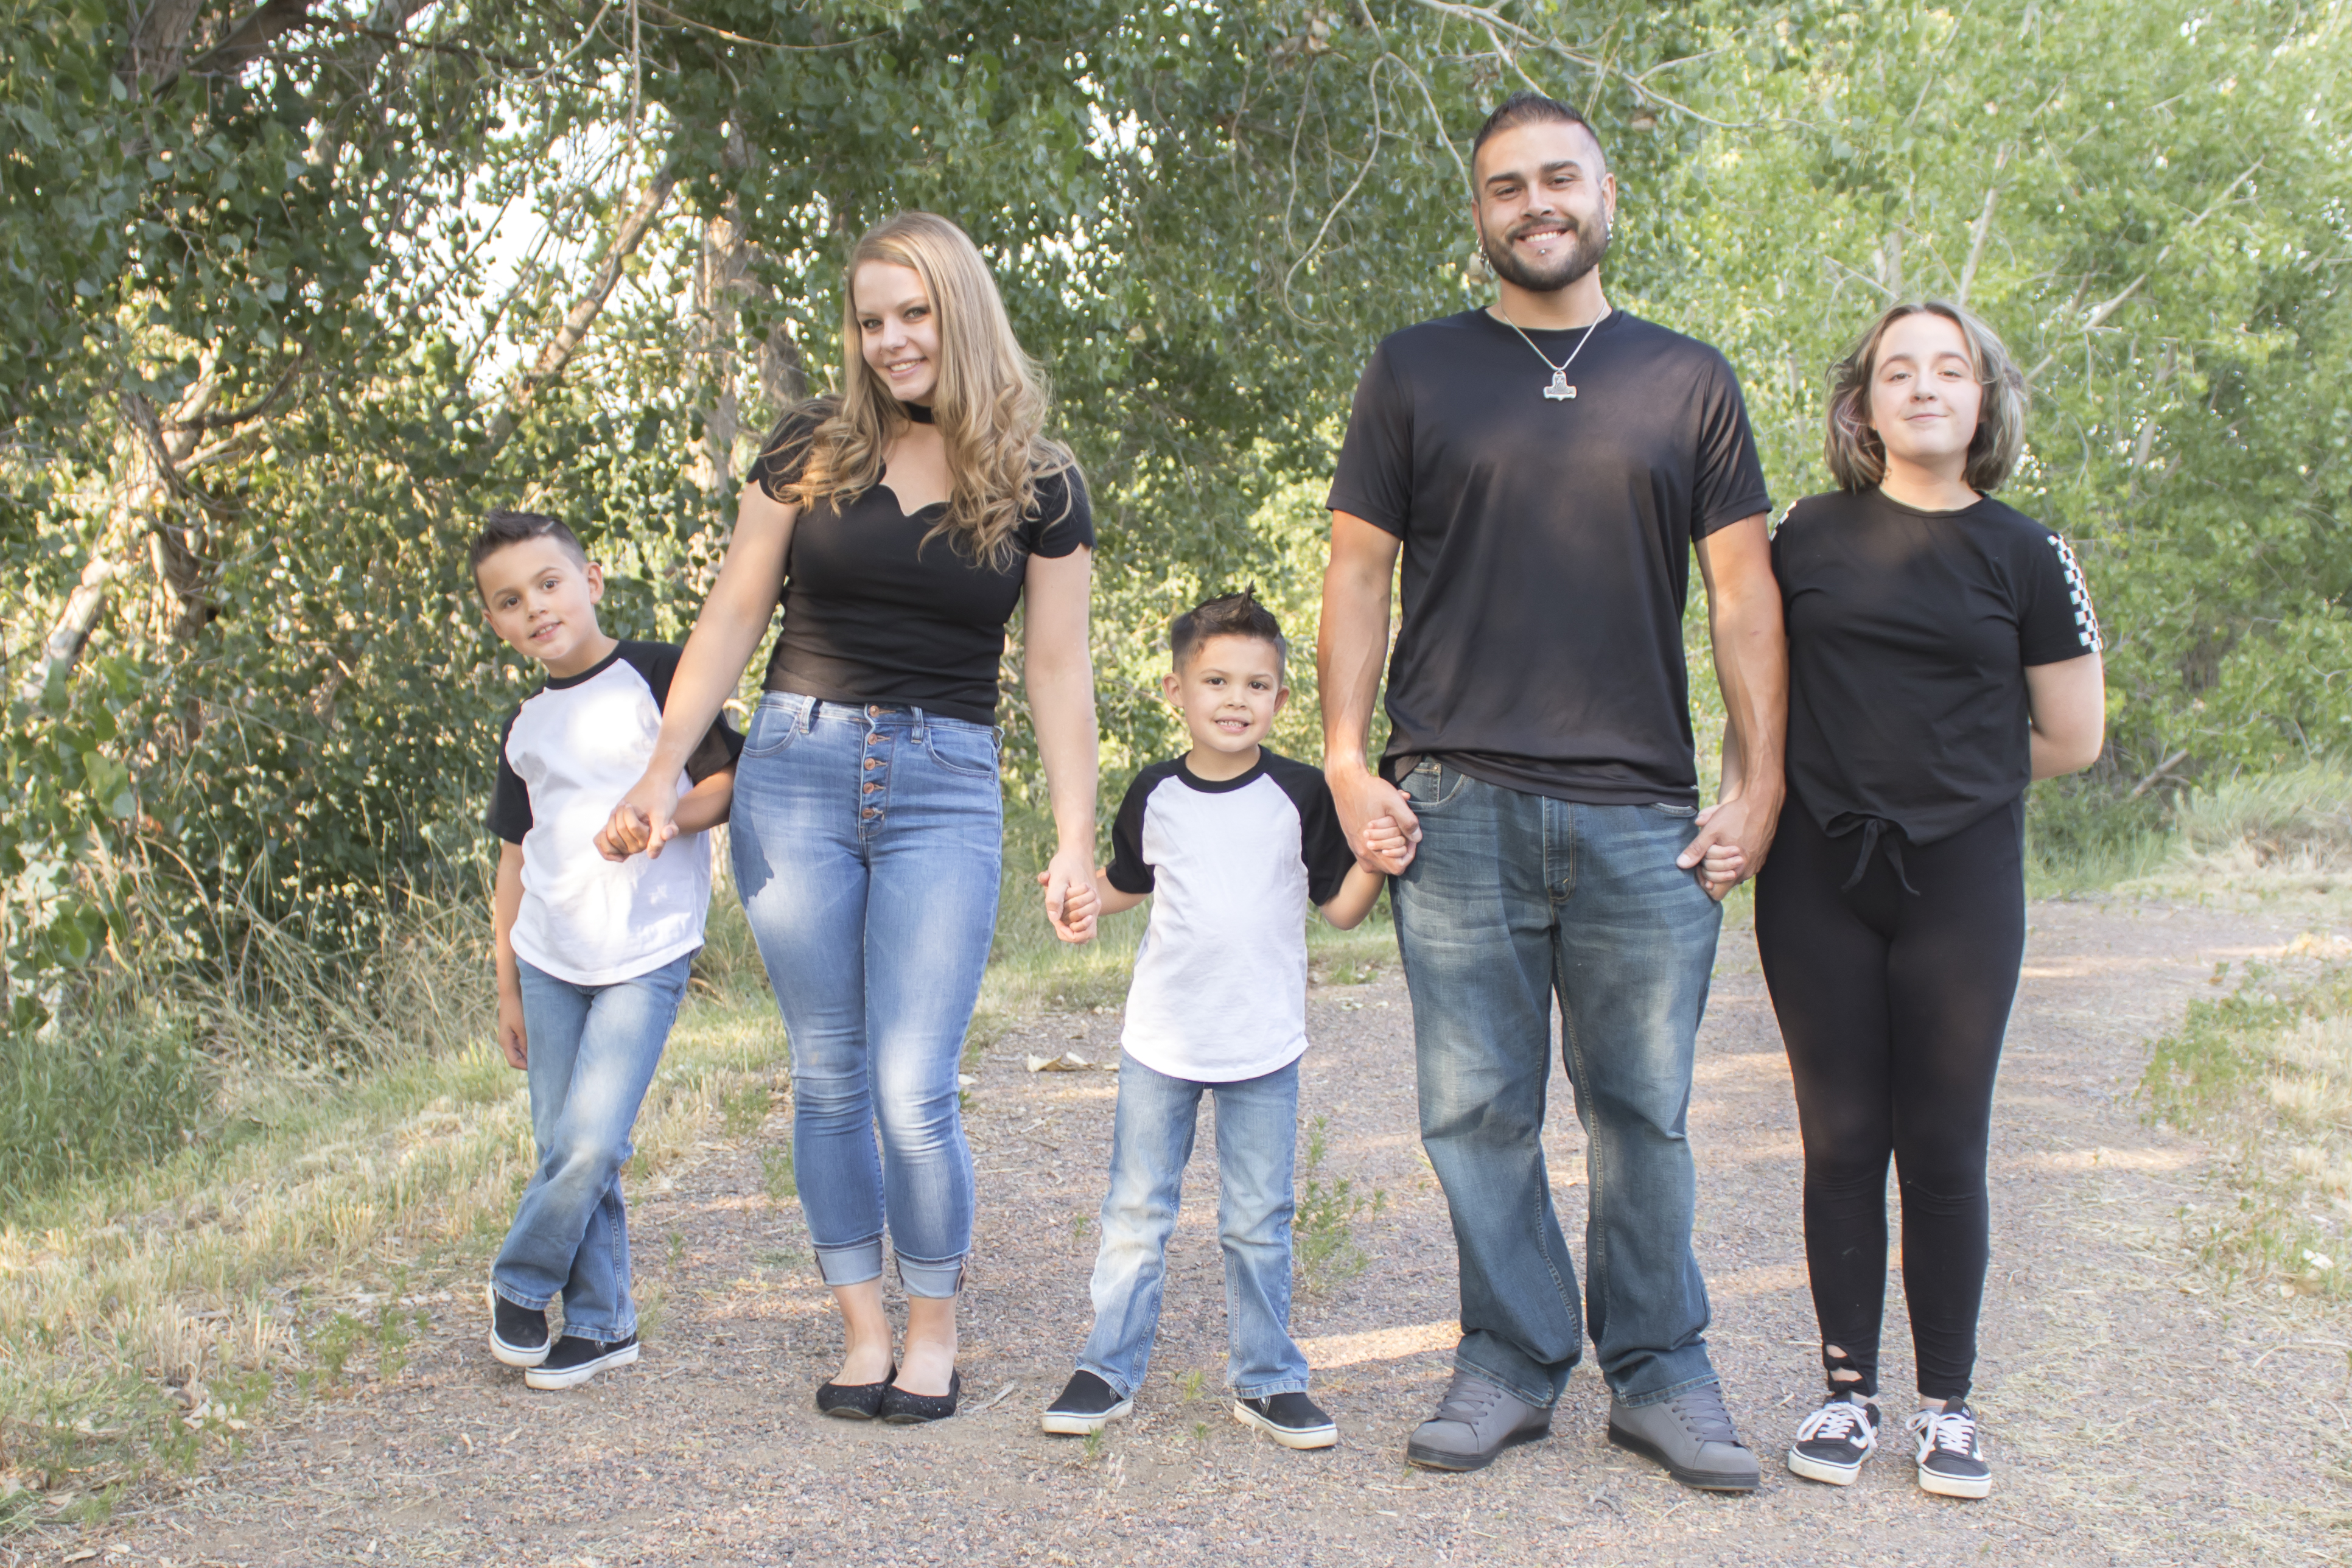
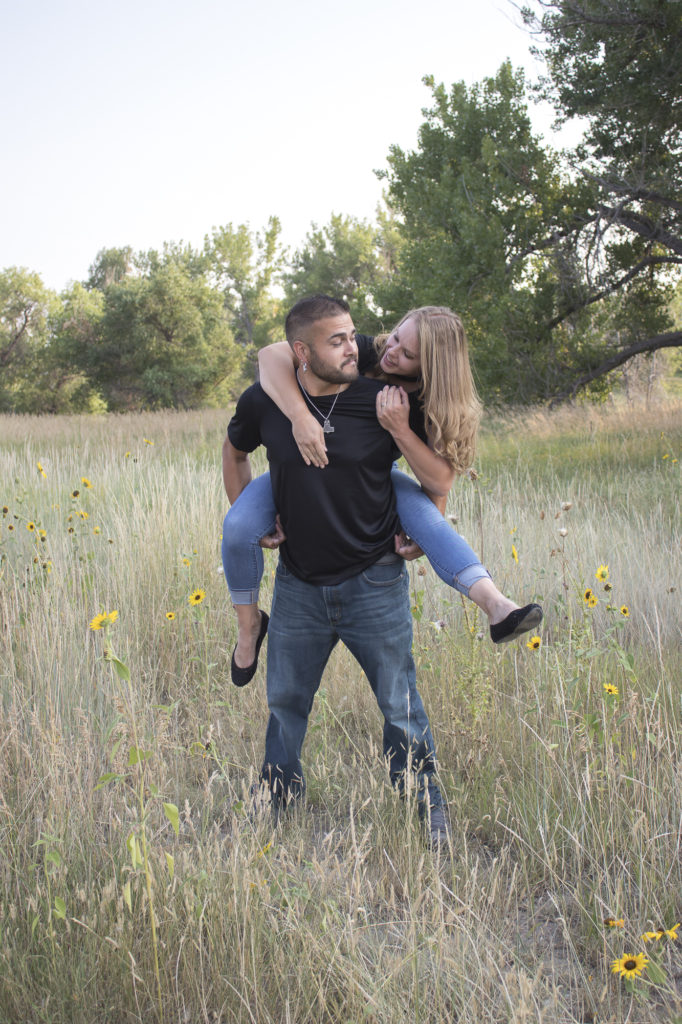
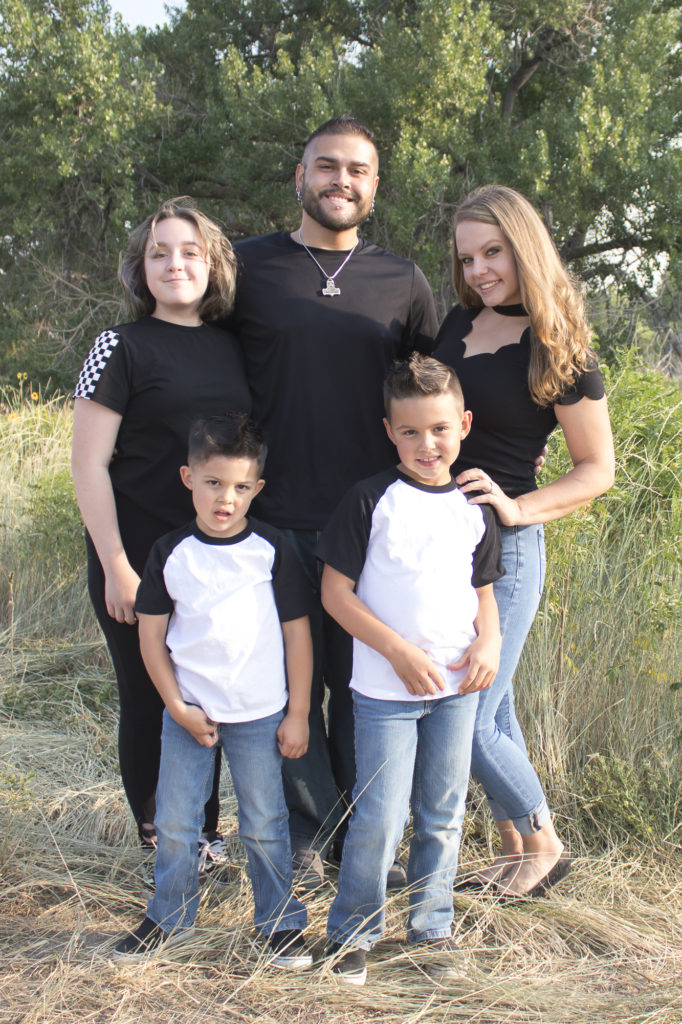
3. Take a Mix of Posed and Candid Shots
This was actually more difficult than I thought it would be! Only having 10 seconds to jump in a picture and make everyone laugh took some practice.
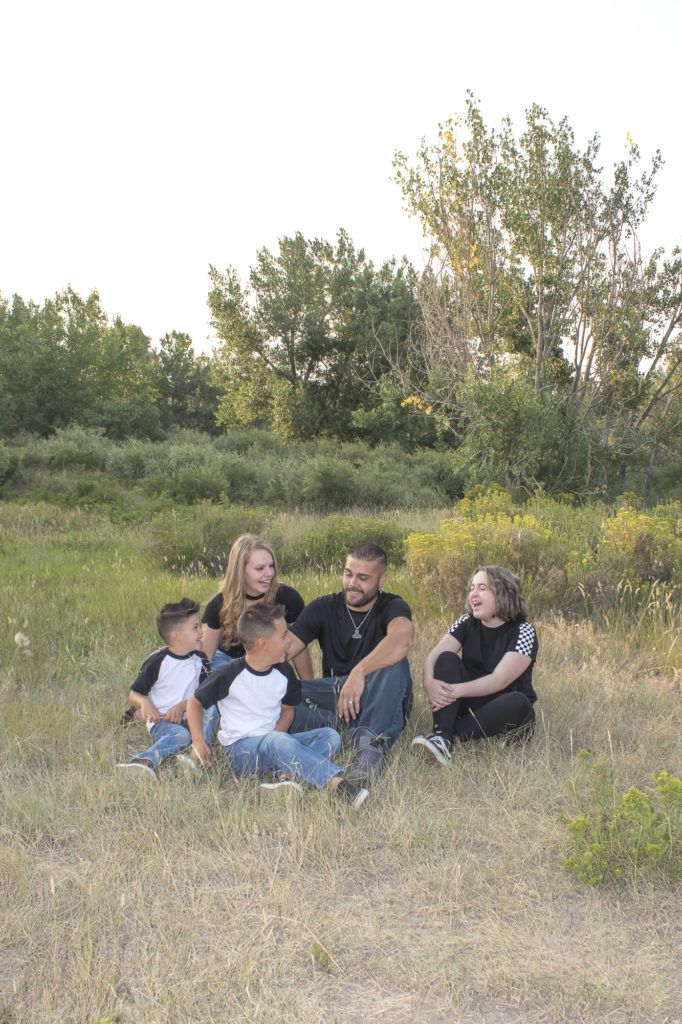
I had my camera on burst setting so we were able to capture a couple of shots in each click which helped some.
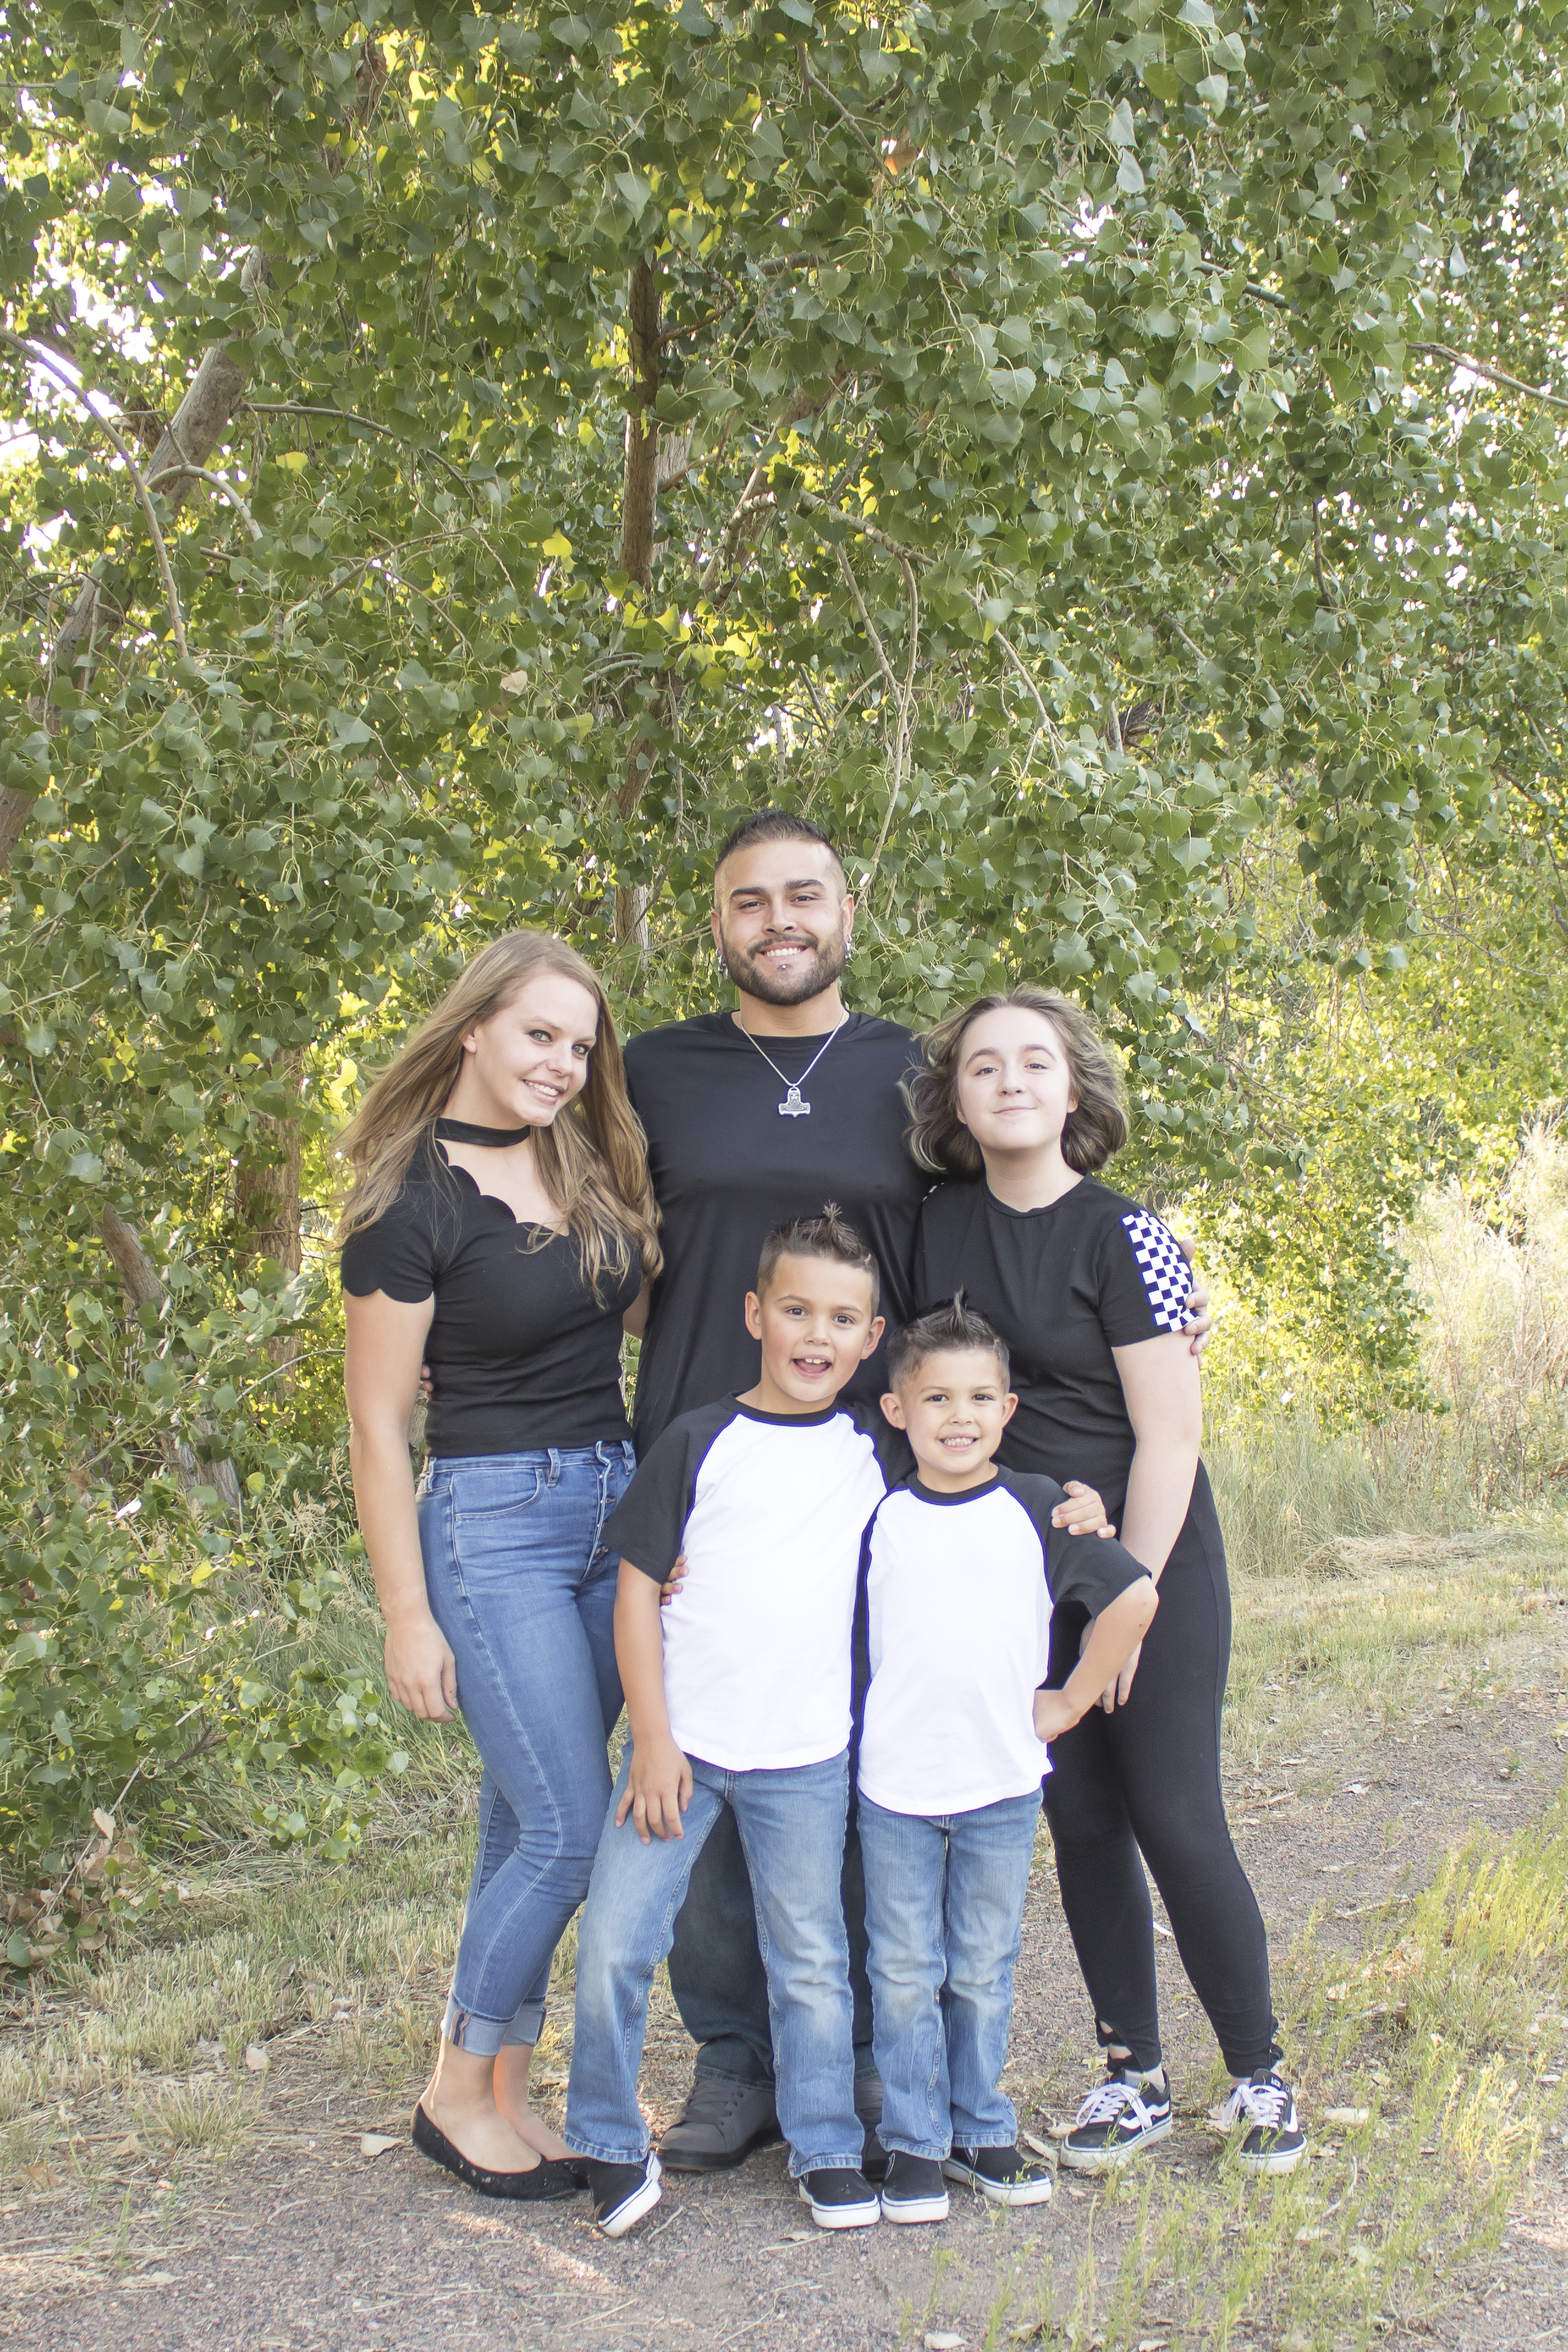
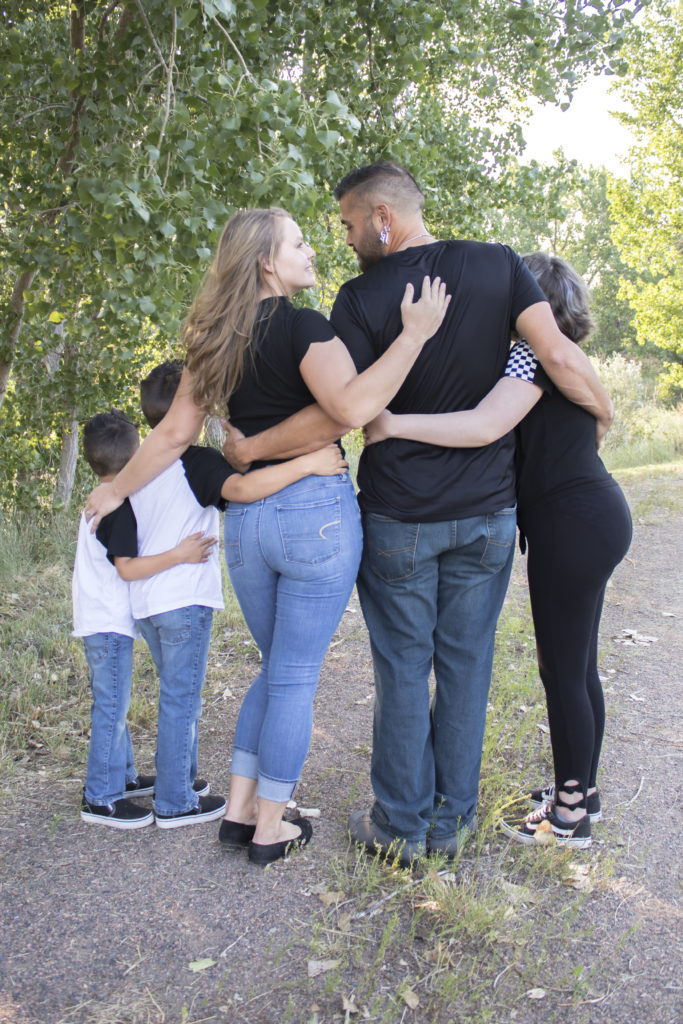
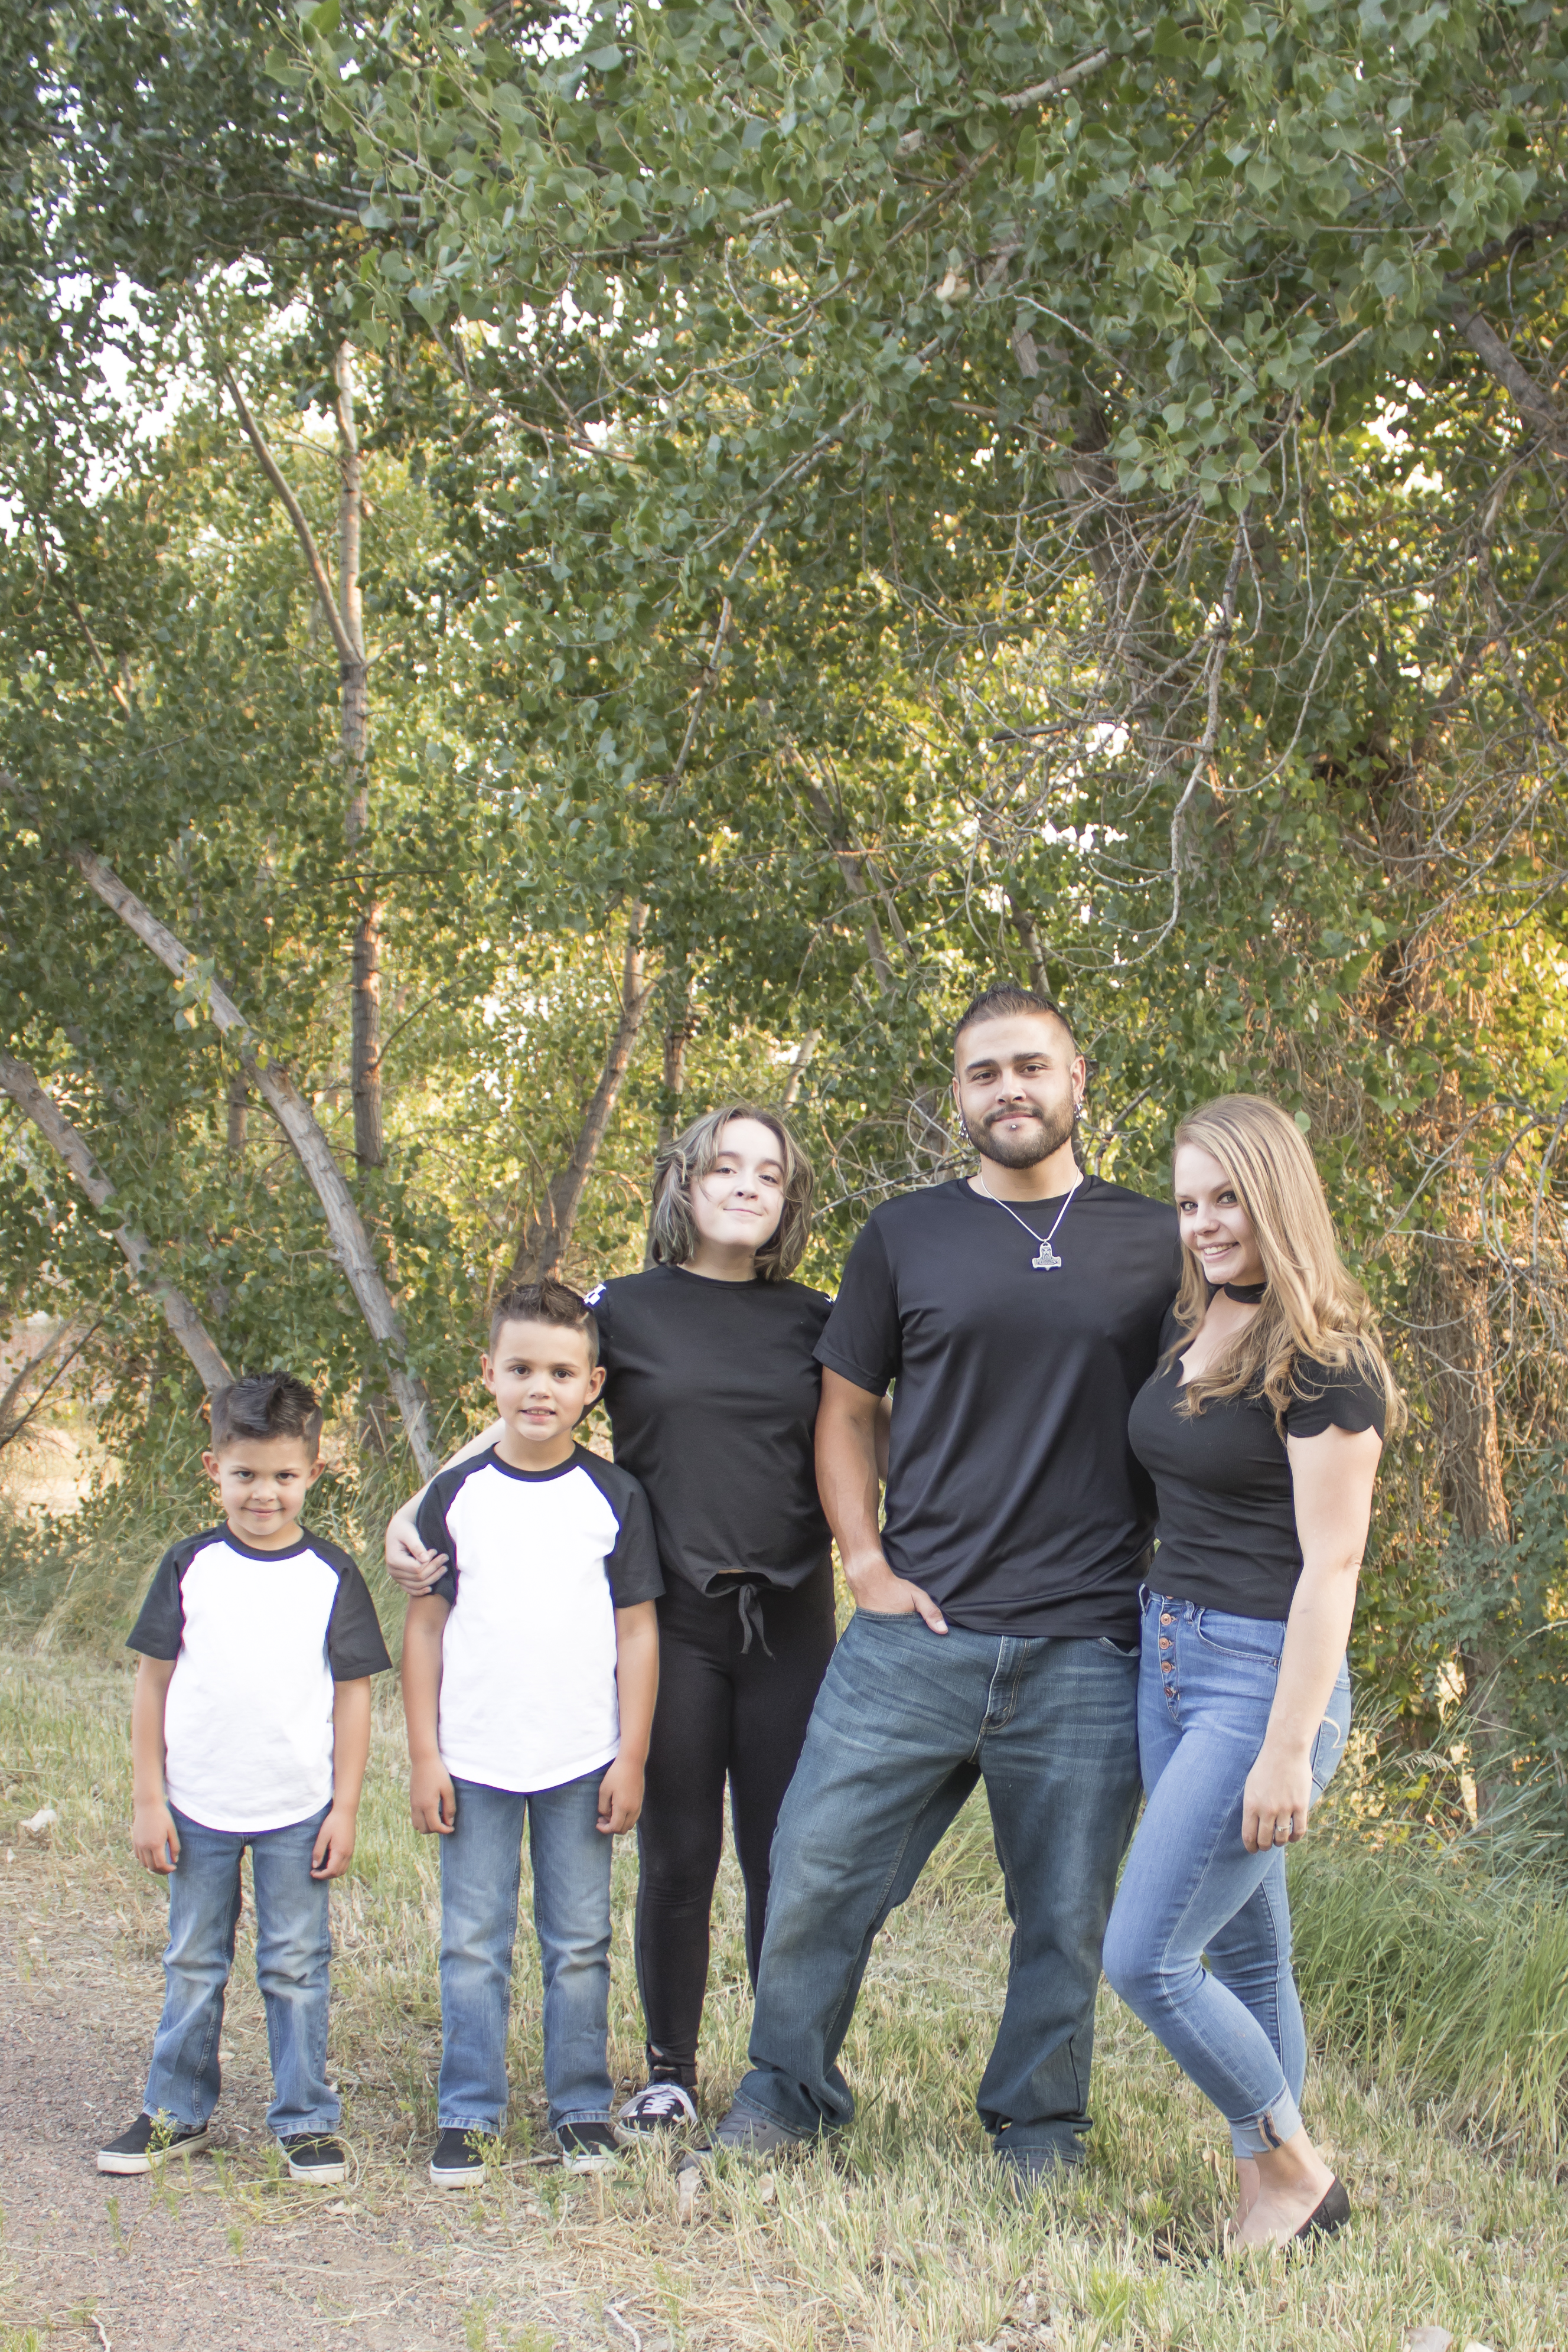
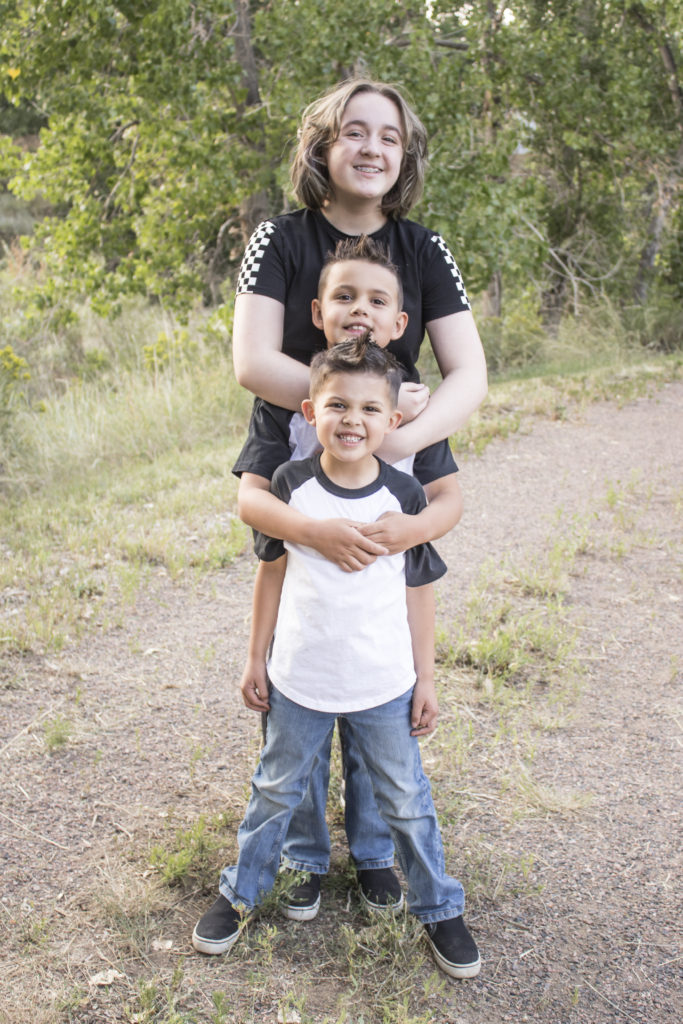
4. Split into different groups
In addition to getting ones with all 5 of us I wanted to get a couple of others. The Daddy-Daughter ones and Mommy-Son ones turned out so precious.
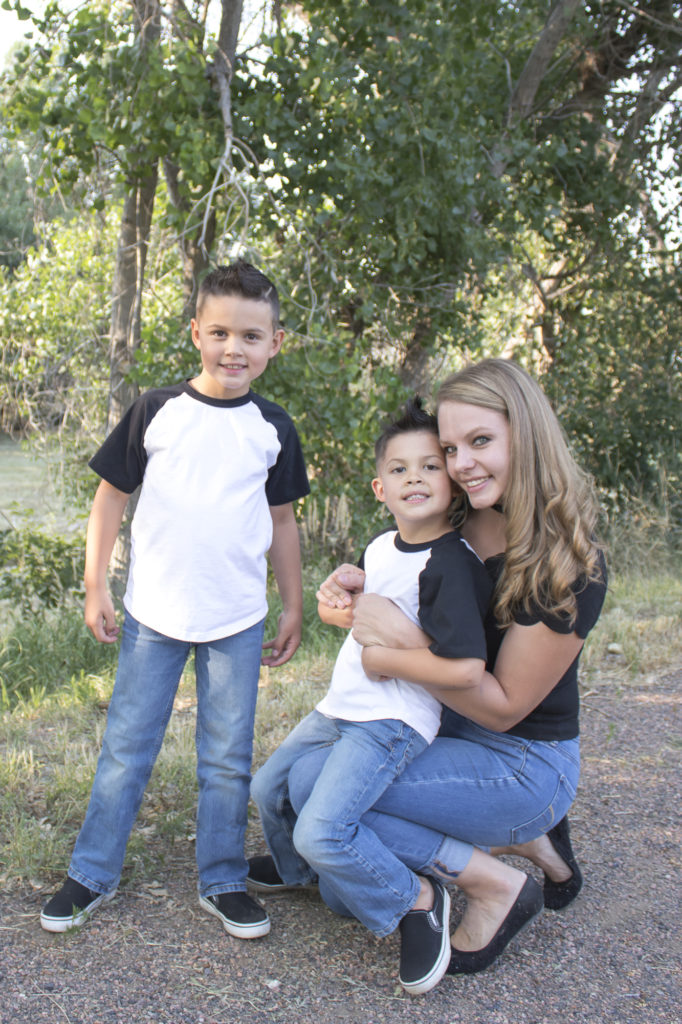
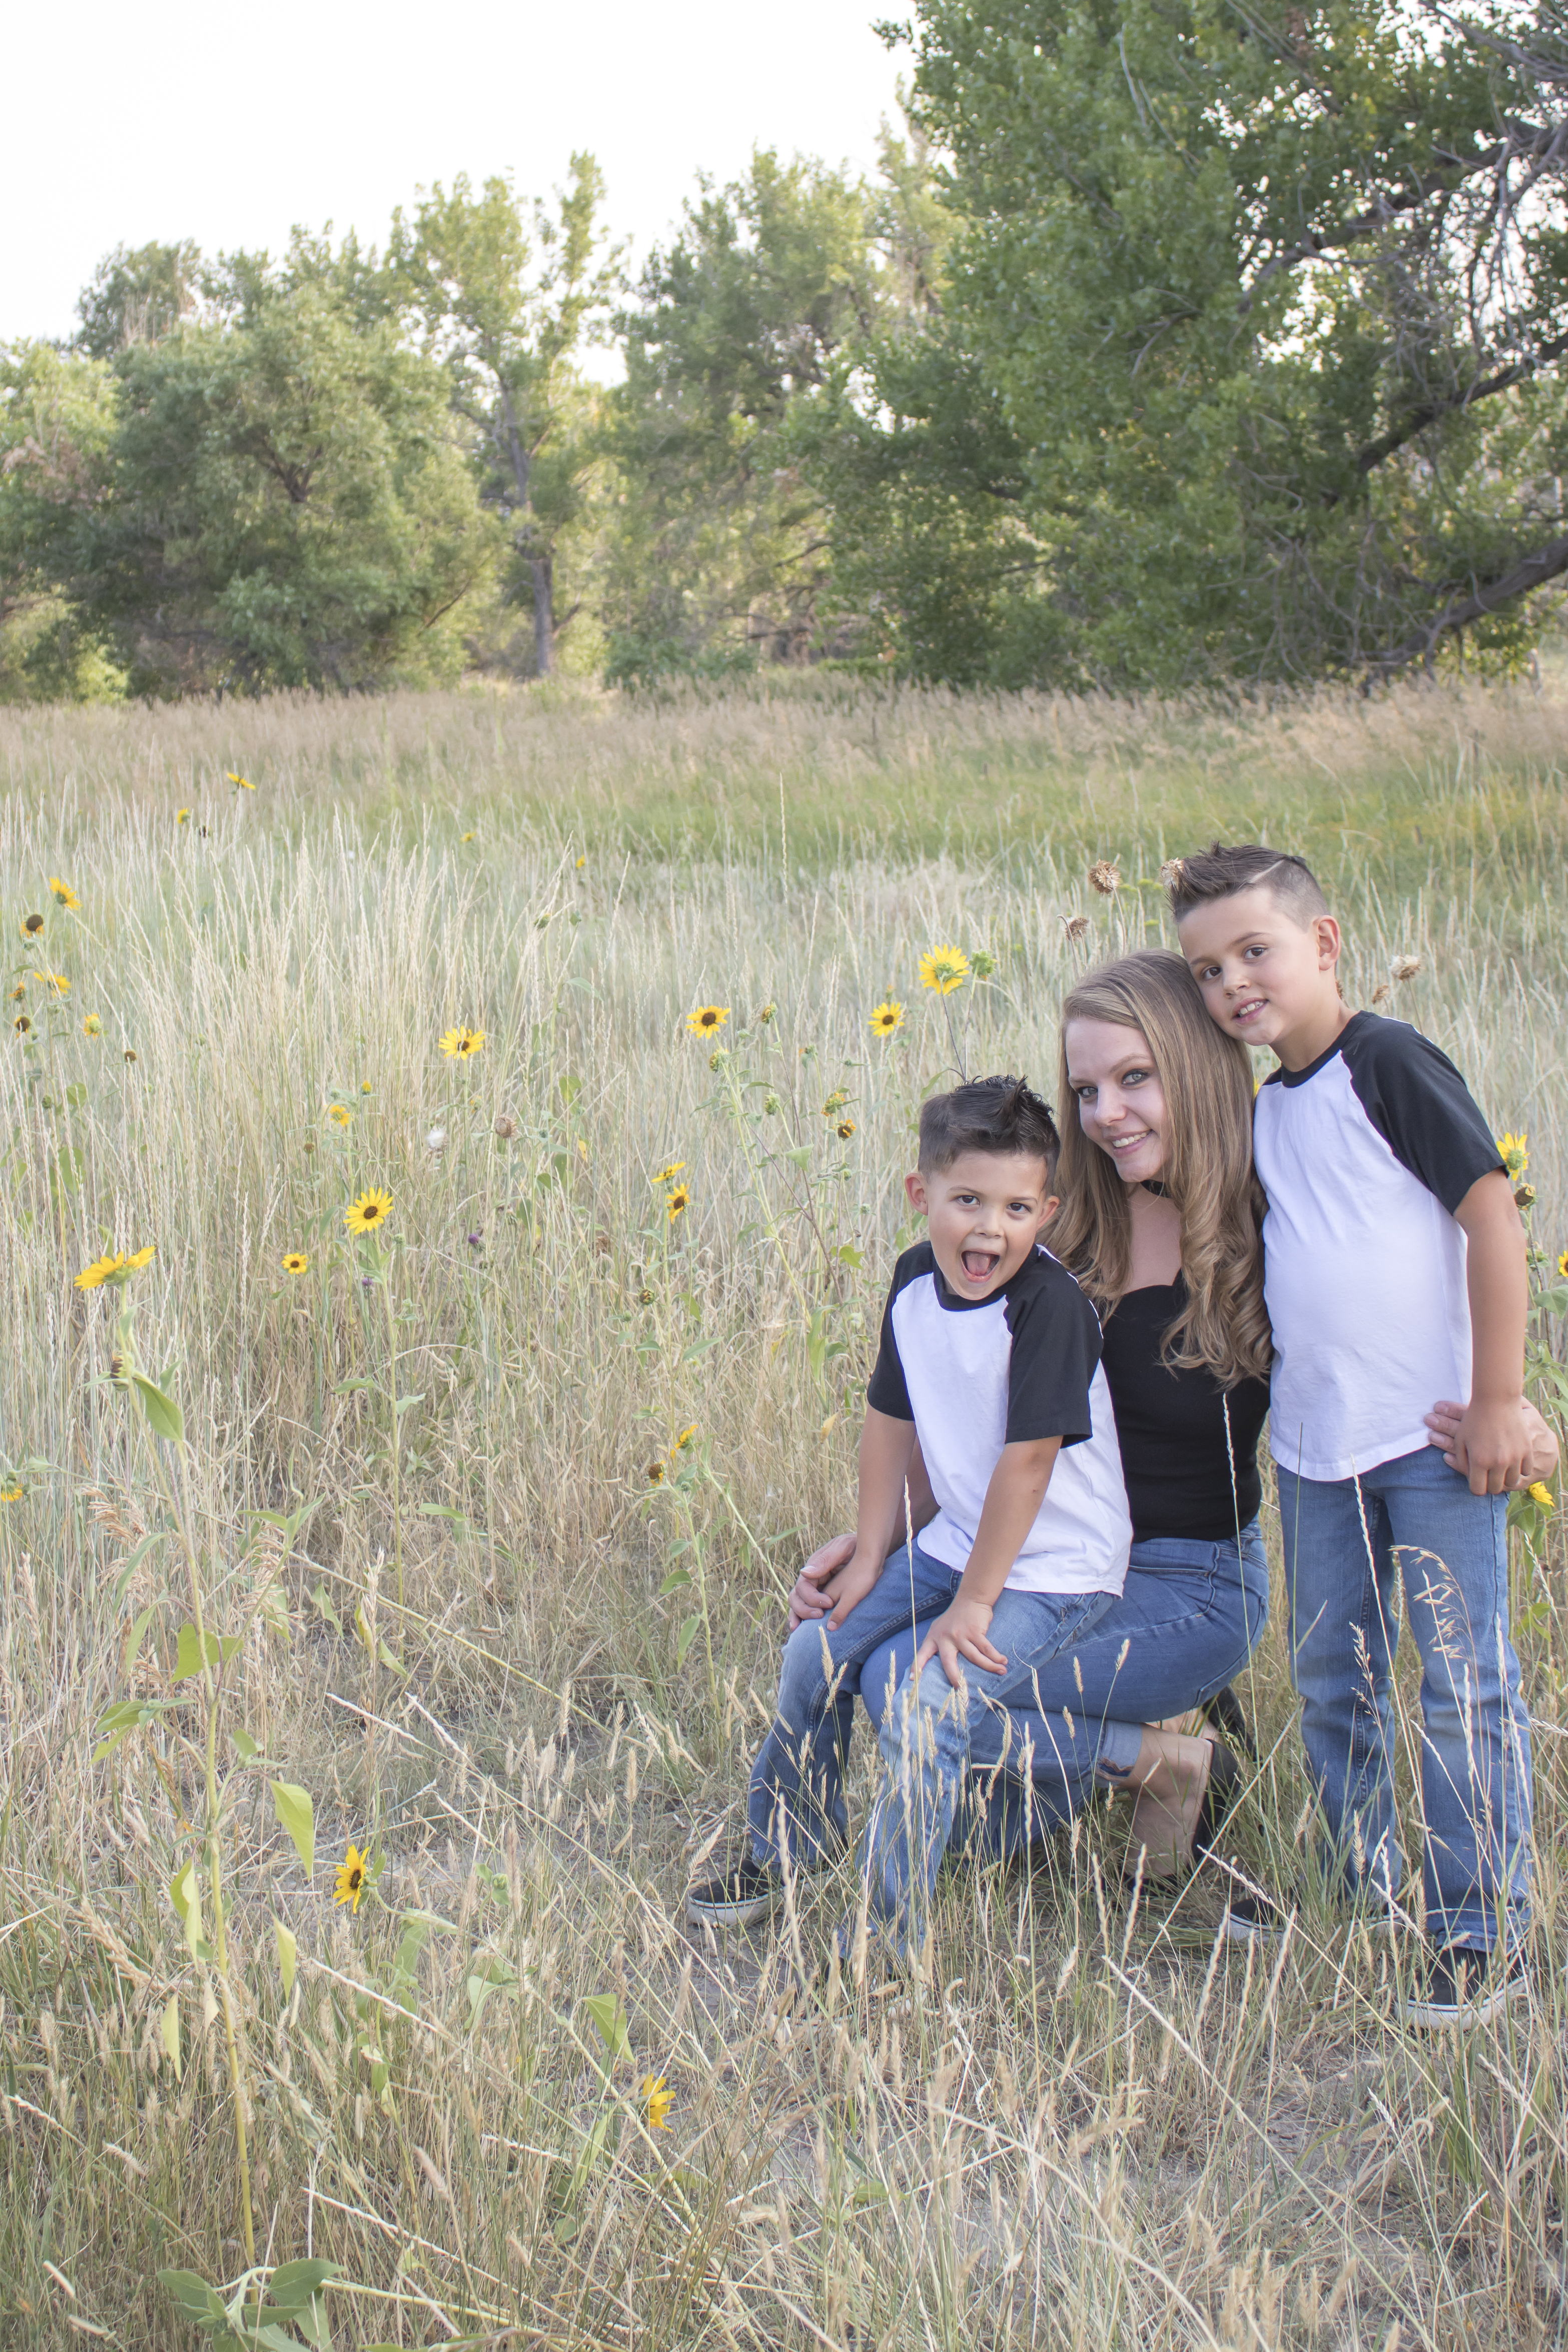
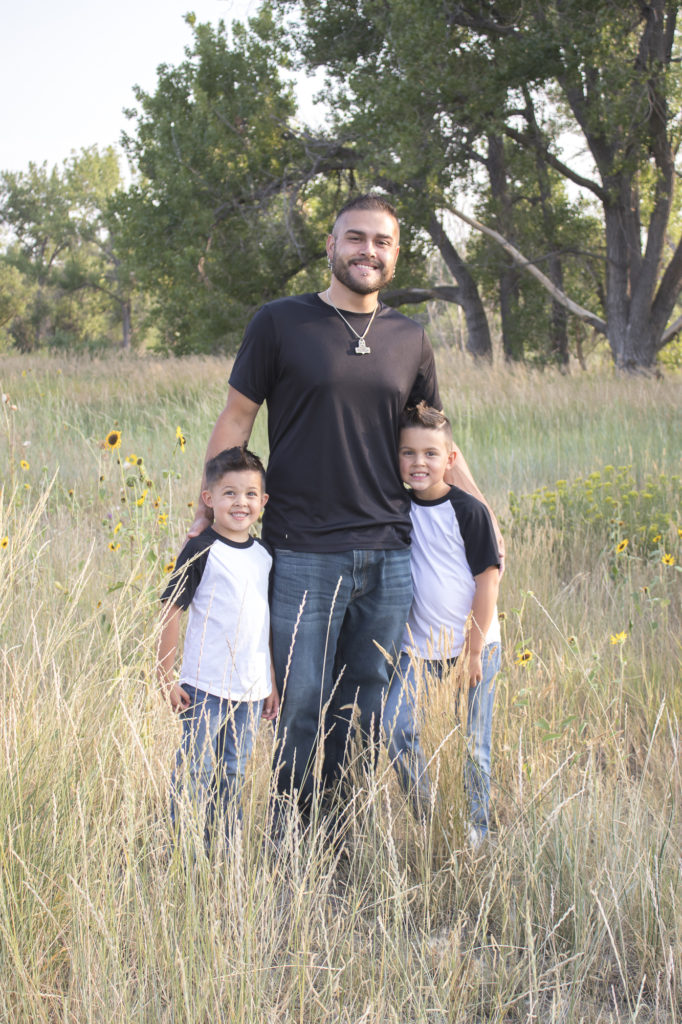
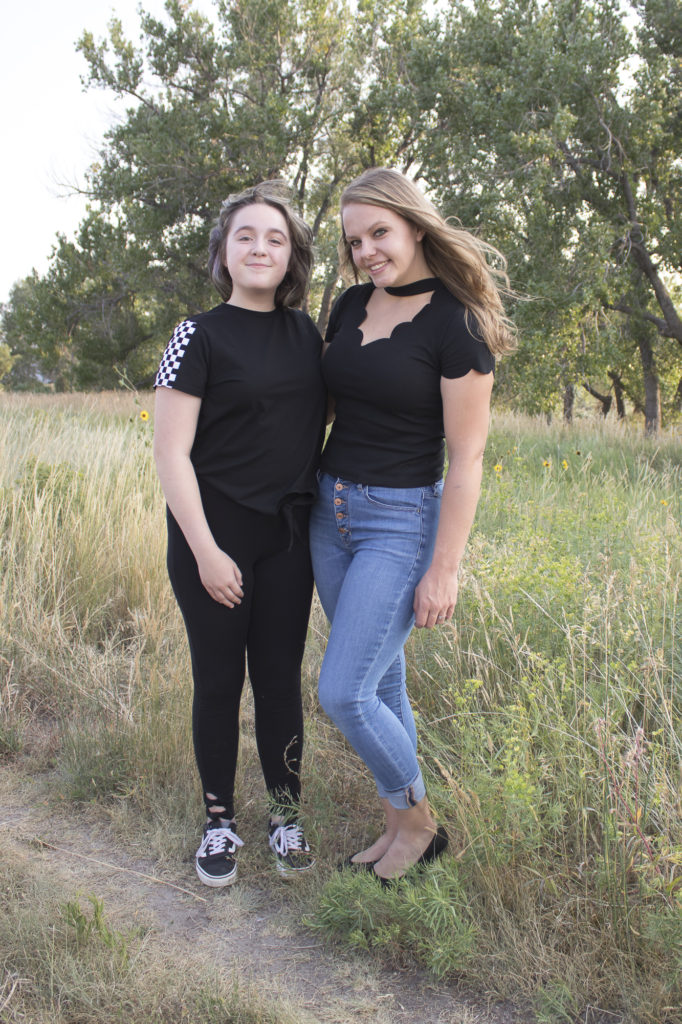
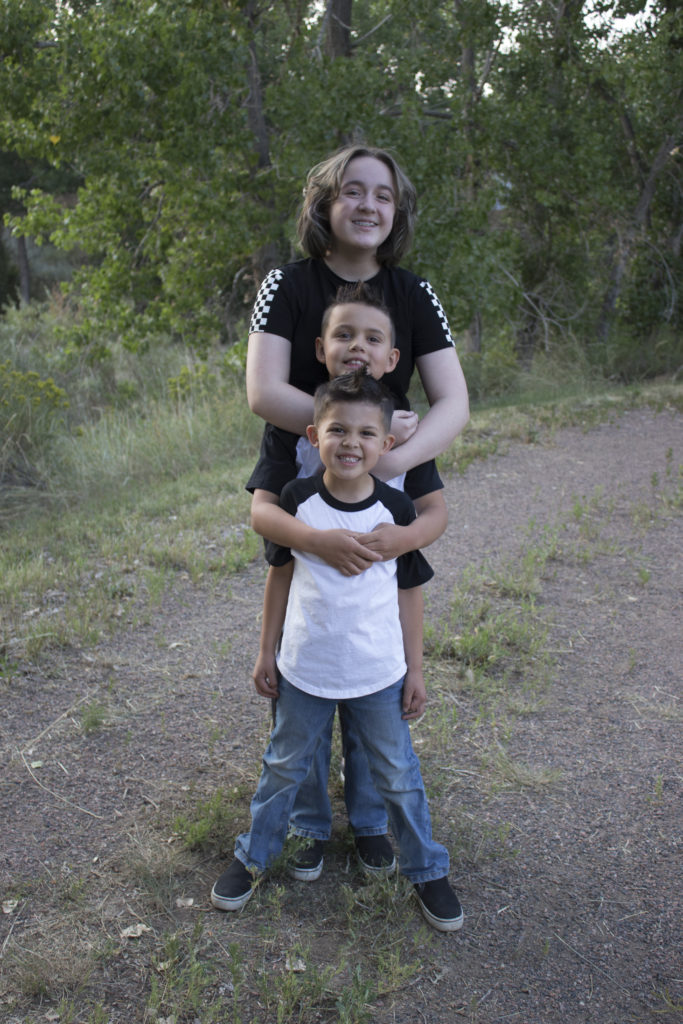
We also took some “team boys” shots and “team girls” ones.
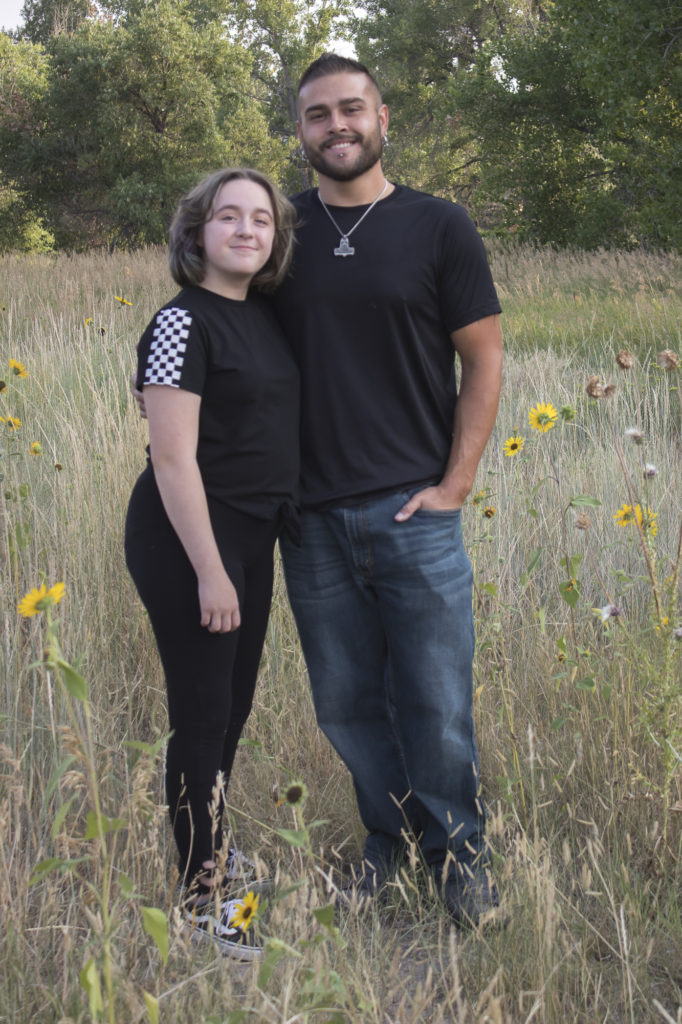
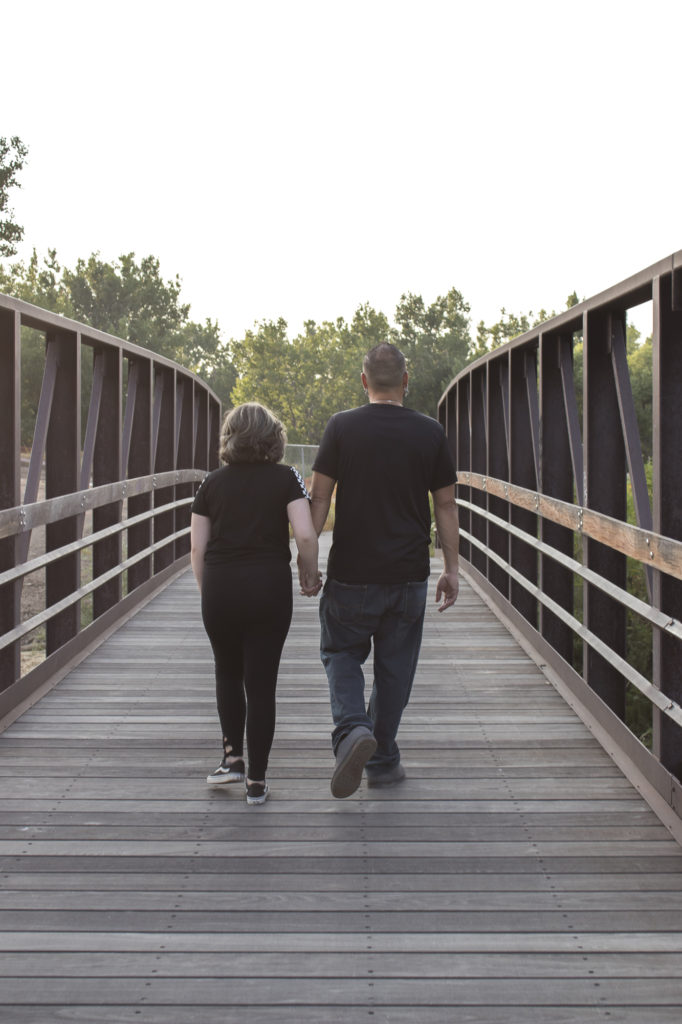
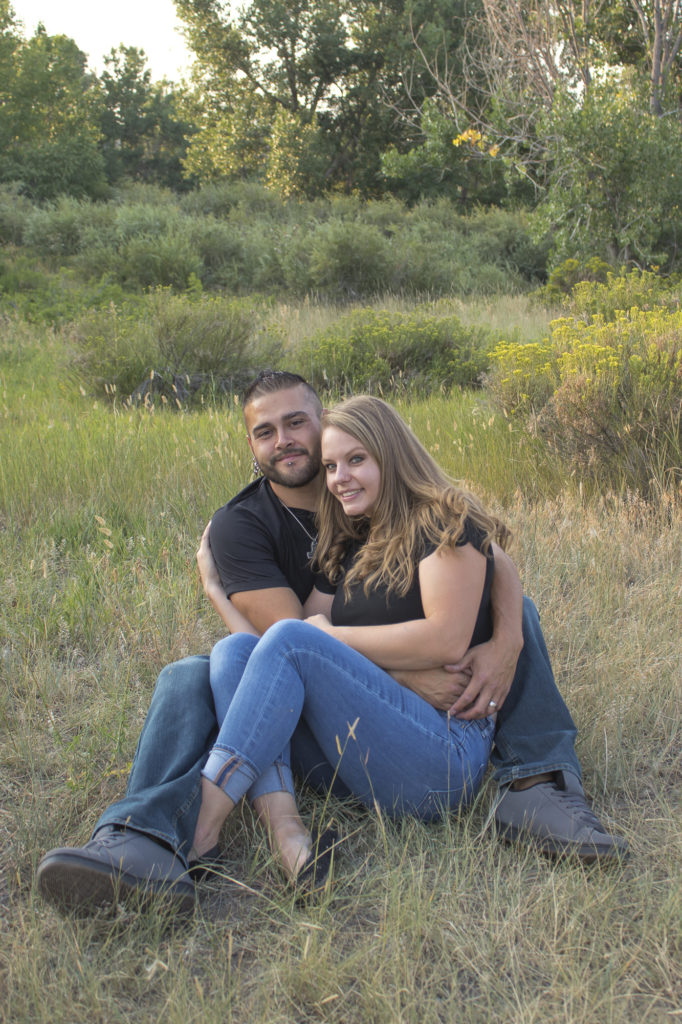
5. Get some Couple Ones
Don’t forget to grab some cute couple ones!
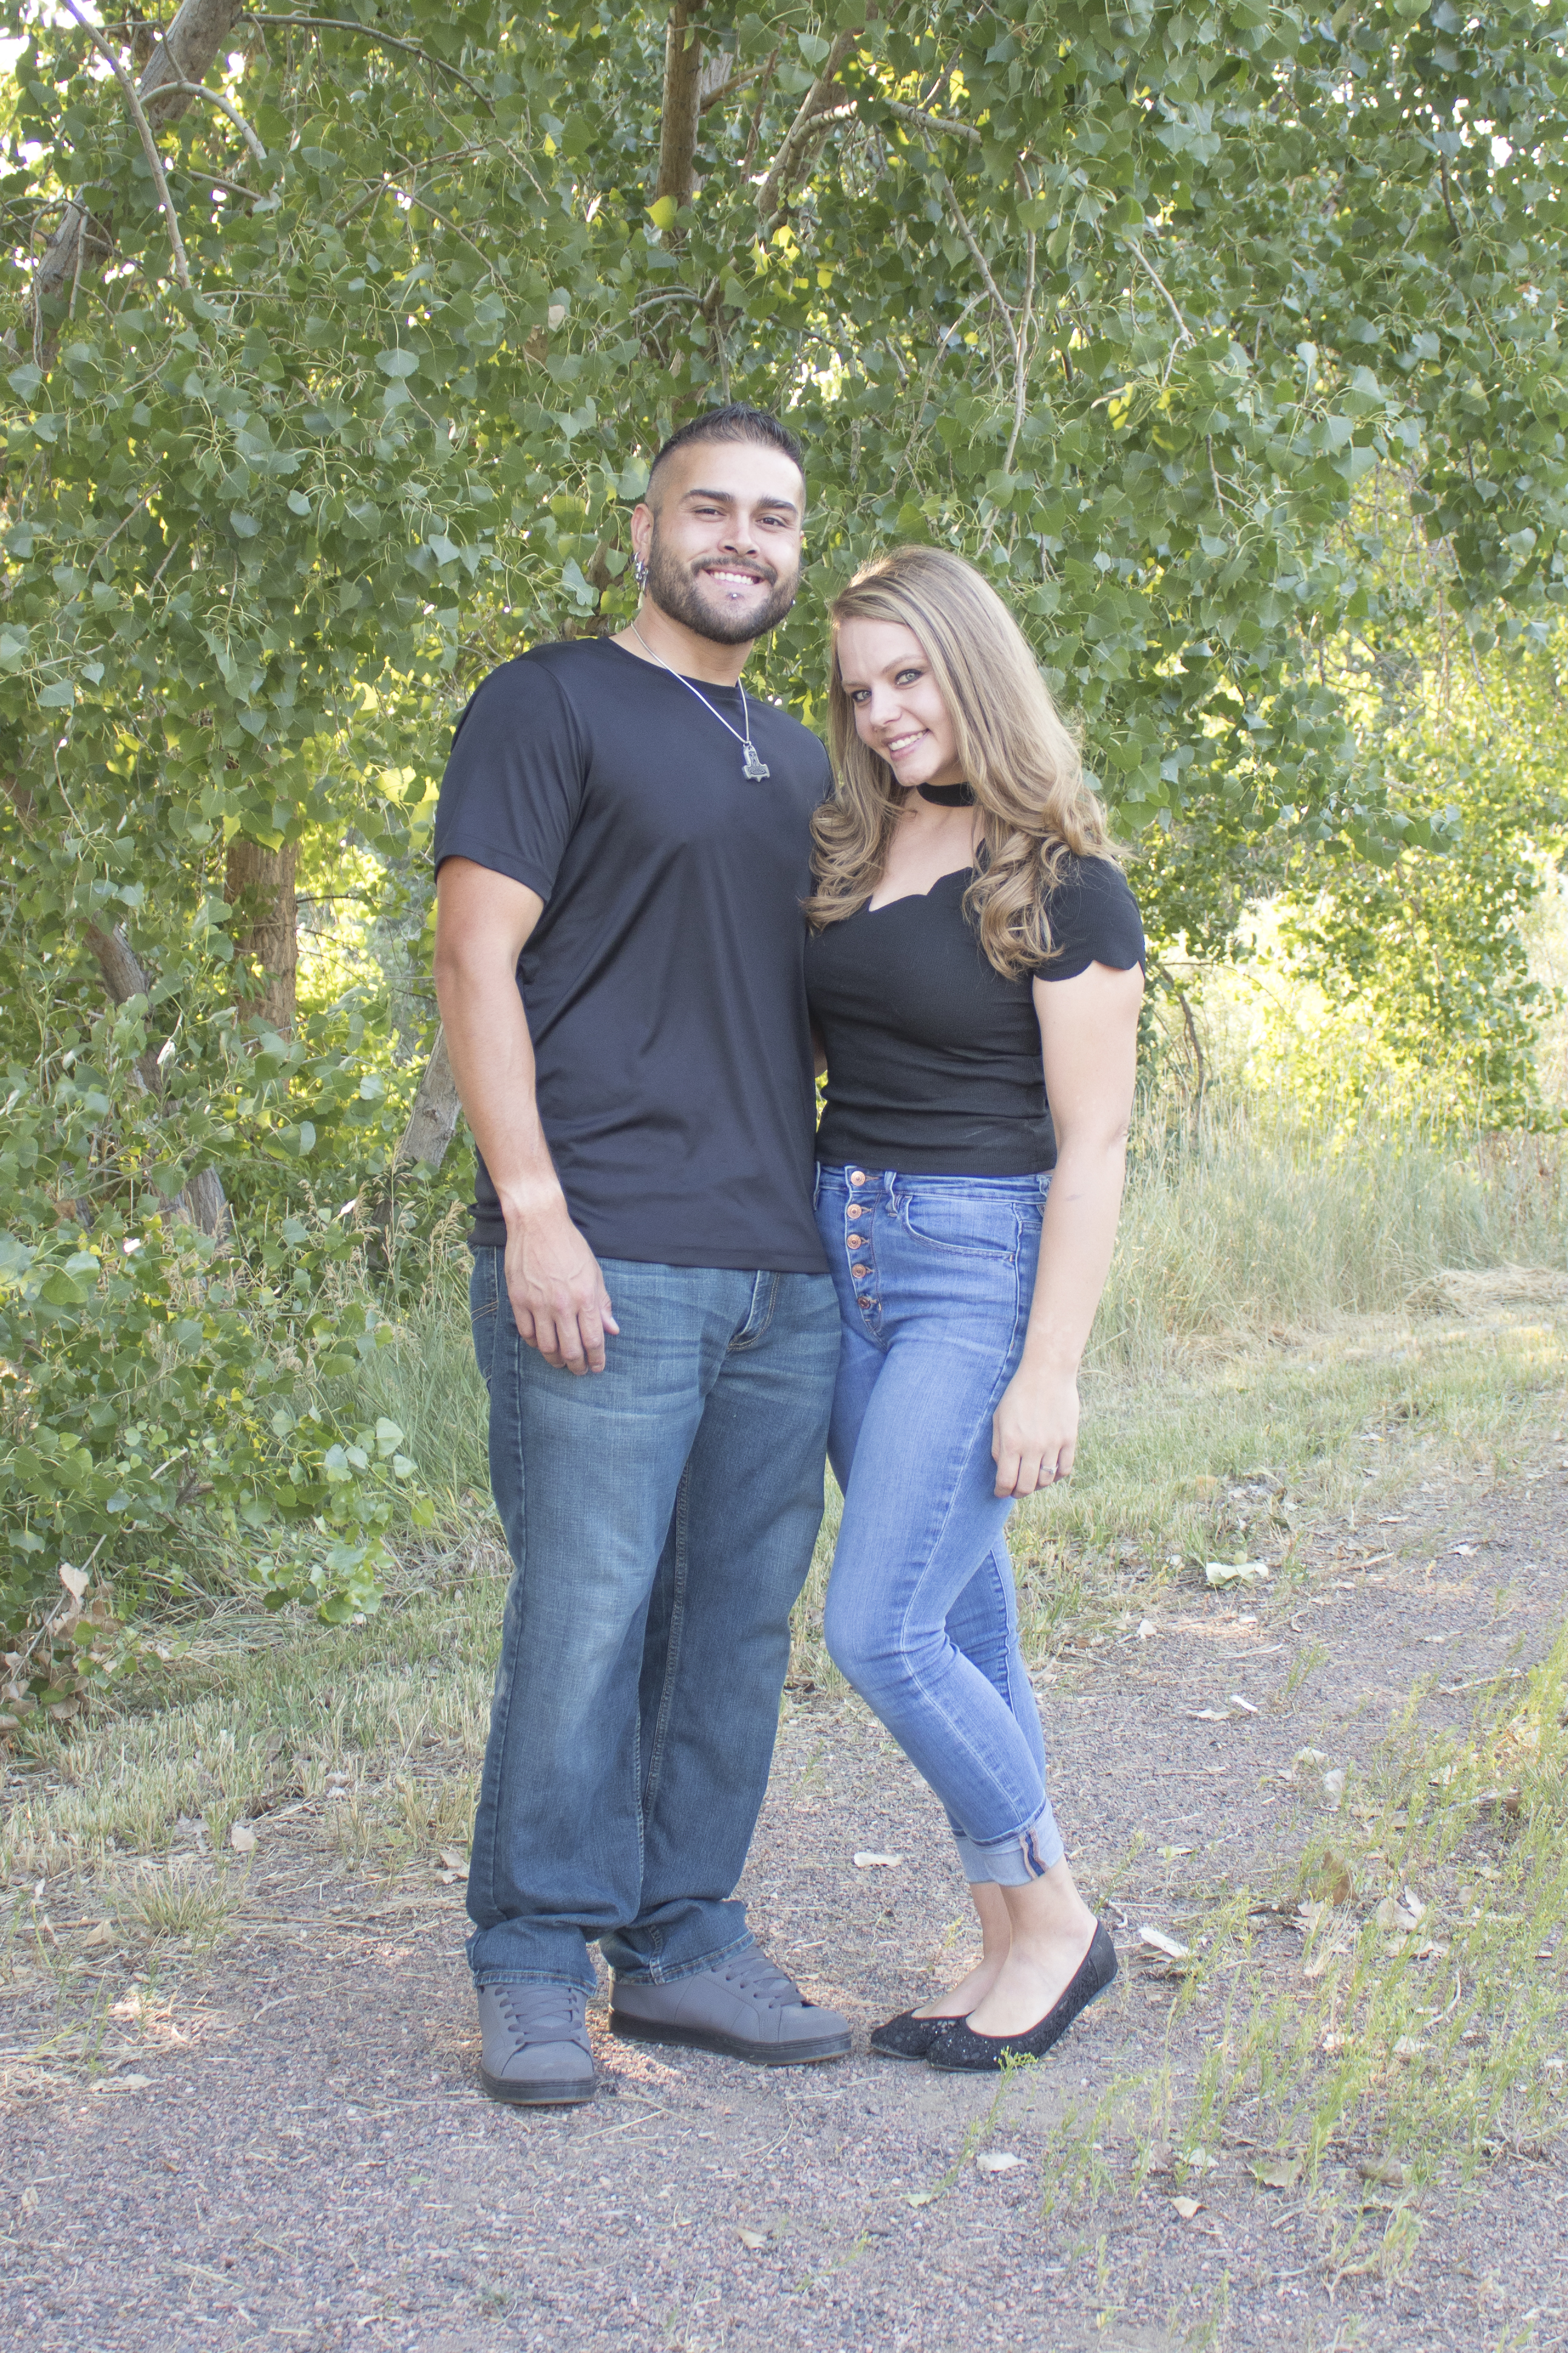
The kids liked having a break from posing for a few minutes while we did some with just us.

6. Expect the Kids to not Pose Perfectly
The hard part about not having an actual person behind the camera is that there is nobody catching the funny faces or zipper fiddling!
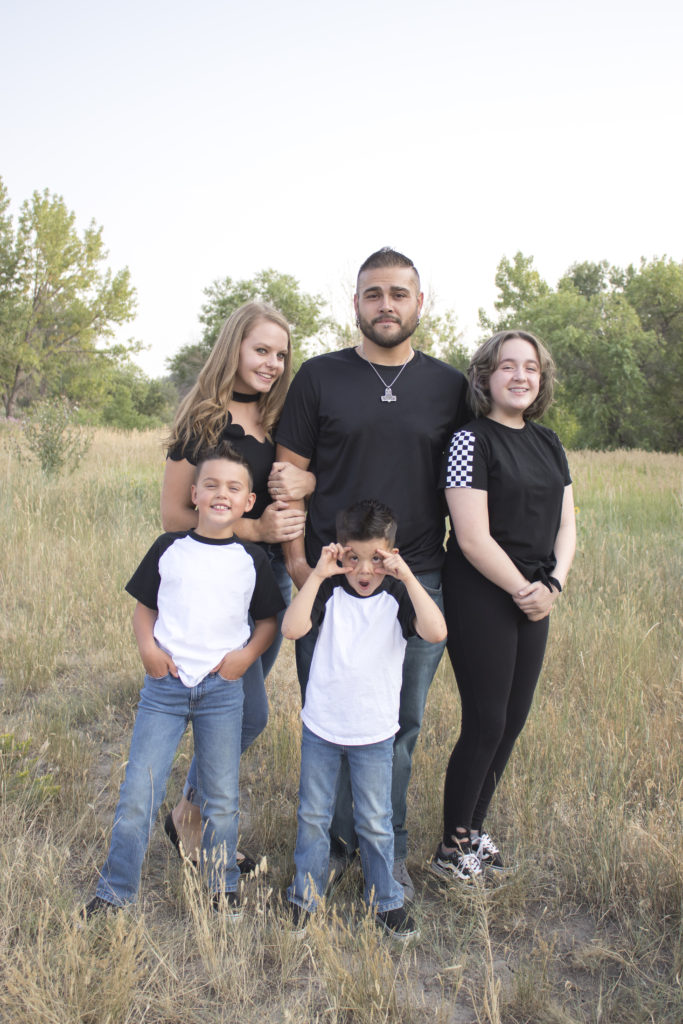
We just have to embrace it as capturing the true moments and then laugh at those photos for years to come.
7. Editing is Key
Once you’ve had your fun and have all of your pictures taken it’s time to pretty them up a little. I use Adobe Lightroom software on my laptop to edit all of my picture that I take on my DSLR, but if you’re using your phone you can use the free Lightroom app. Here is an example of a photo pre-editing versus after. I typically like to brighten, increase shadows and clarity.
I hope this helped a little bit! Next week I will be back to our regularly scheduled home DIY and decor talk. Have a great weekend 🙂
Linking up to these awesome parties
PIN FOR LATER!
(Affiliate links may be provided for convenience. For more info, see my full disclosure here.)
Such great tips – these photos turned out so great! I love my tripod that has a bluetooth button to take photos with, super helpful when I am taking pictures alone!
Jenna ♥
Stay in touch? Life of an Earth Muffin