Hey guys, happy Friday! This week seemed to fly by at a rapid pace with Monday being a holiday so I once again am coming at you with a blog post at the end of the week haha.
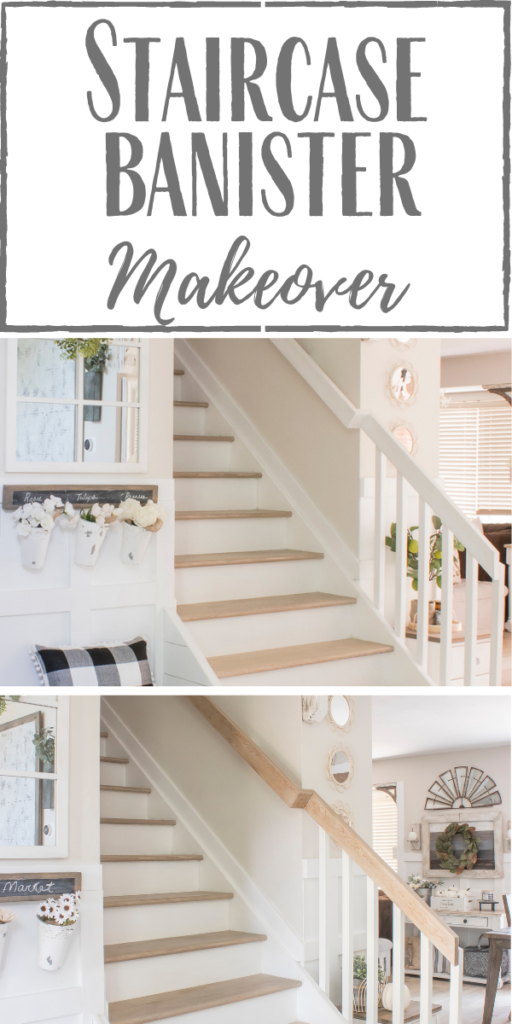
Last week I decided to start on a project that I’ve been thinking about and putting off for awhile–the staircase banister. Before we dive in, let’s start off by taking a quick peek back at what our staircase looked like when we first purchased our house.

Pretty dated right? The first thing that we did was saw off those three rounded steps at the bottom. It then sat like this for quite a long time until we finally decided to start replacing the treads and risers.

We only did a few steps at a time because they were such a pain to do, so over the course of a year we had pretty new steps slowly creeping upward and replacing the gross carpet.
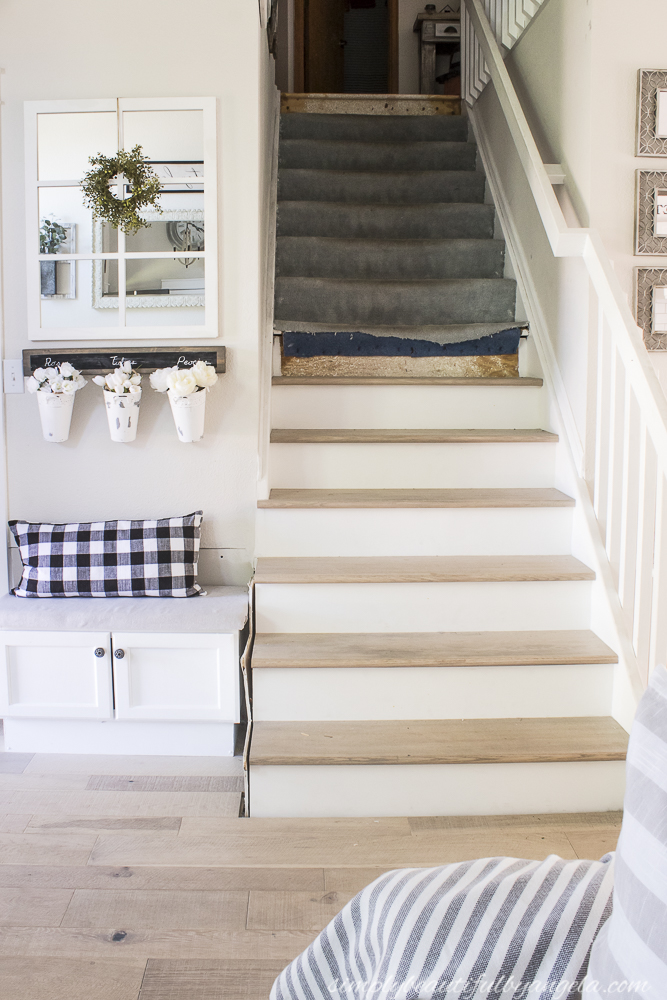
We finally finished them earlier this year!
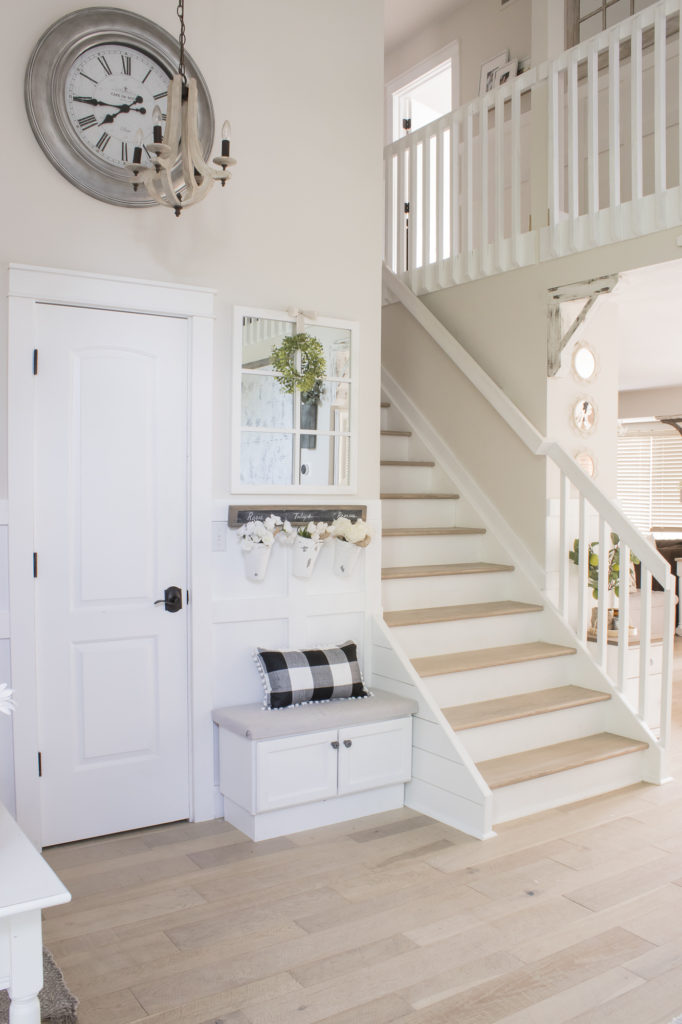
So that’s the story of the stairs, now let’s talk about the banister. As you could see in the pictures above I had painted over that 90s varnished wood almost immediately after moving in. The balusters have held up pretty good with minimal chipping, but despite using a deglosser and some good primer/paint, the railing had started to chip pretty bad. And with two messy little boys it was constantly showing dirt and driving me crazy.
I’ve been imagining how pretty it would be to have it match the treads and floor, but in order to do that I would need to sand off not only the white paint, but also the varnish underneath. Hence the procrastination! Even though I absolutely loathe sanding I ultimately decided that it would be worth the hard work.
DAY 1
I began with the main railing and used my Ryobi Corner Cat Sander with 80 grit sand paper to sand it down to the bare wood.
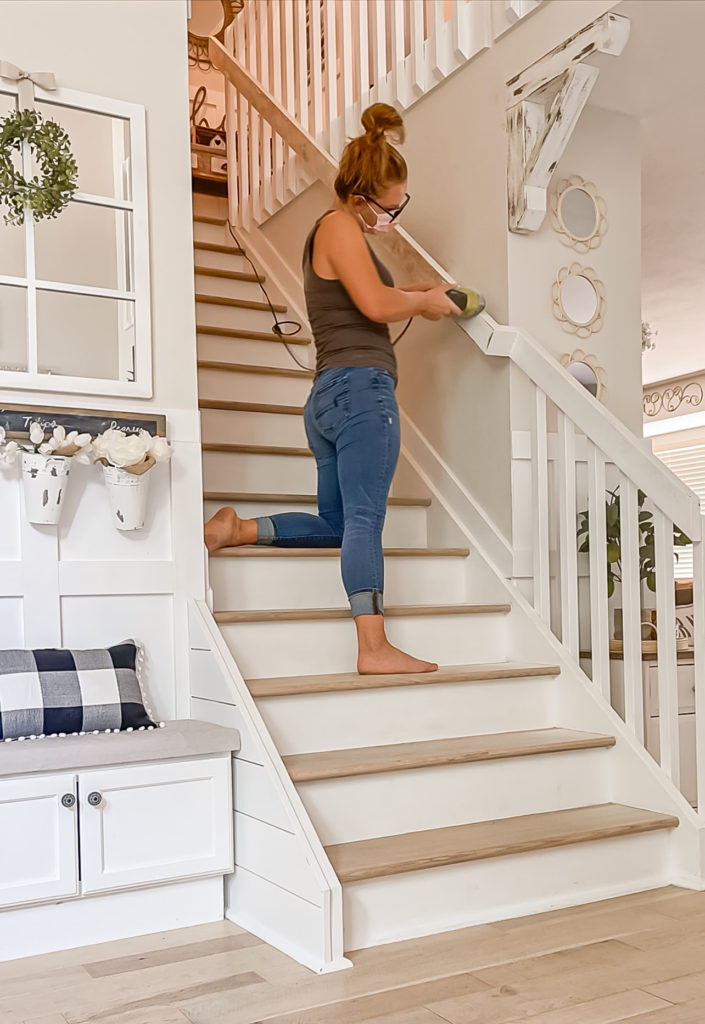
I was so excited to see how much better the natural looking wood was going to look, but oh my goodness did it make a mess! I went around with the shop vac and a mop for about an hour when I was done and was shocked to see that the dust had flown absolutely everywhere in the house.
DAY 2
On day 2 I decided that it would be a good idea to to tape some plastic drop cloths up to contain the mess. I had one blocking the back of the house and another upstairs blocking off the loft. I also hooked up my sander to the shop vac which I think helped a little bit.
I had to hand sand in some areas like this little ridge along the back of the railing.
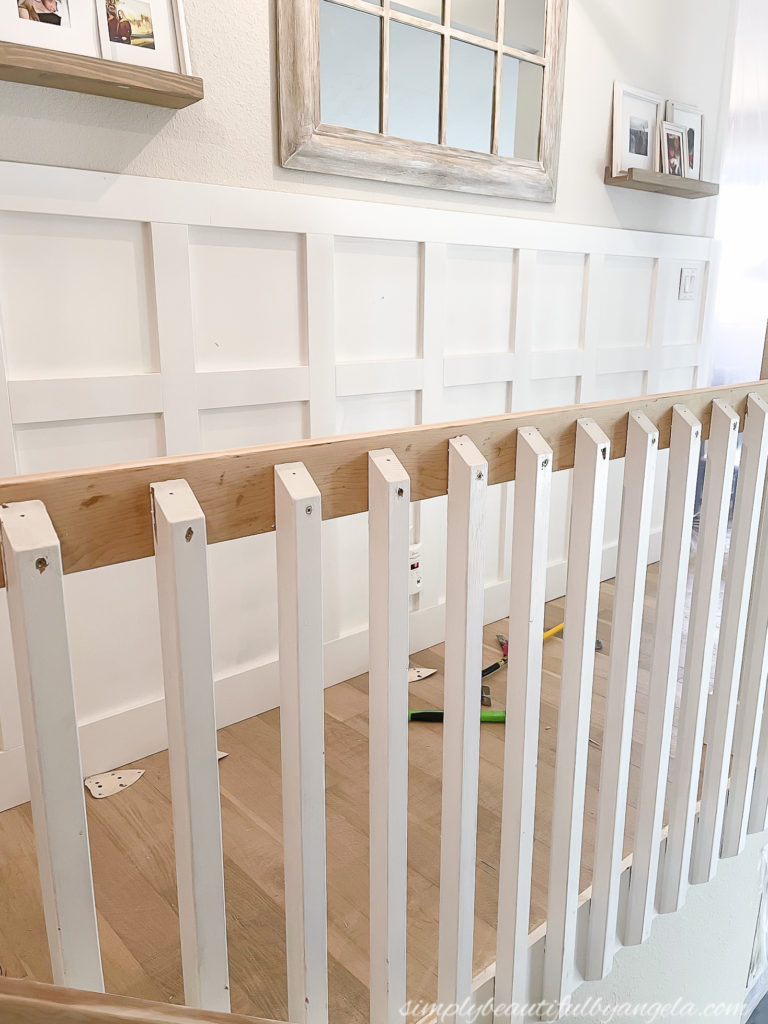
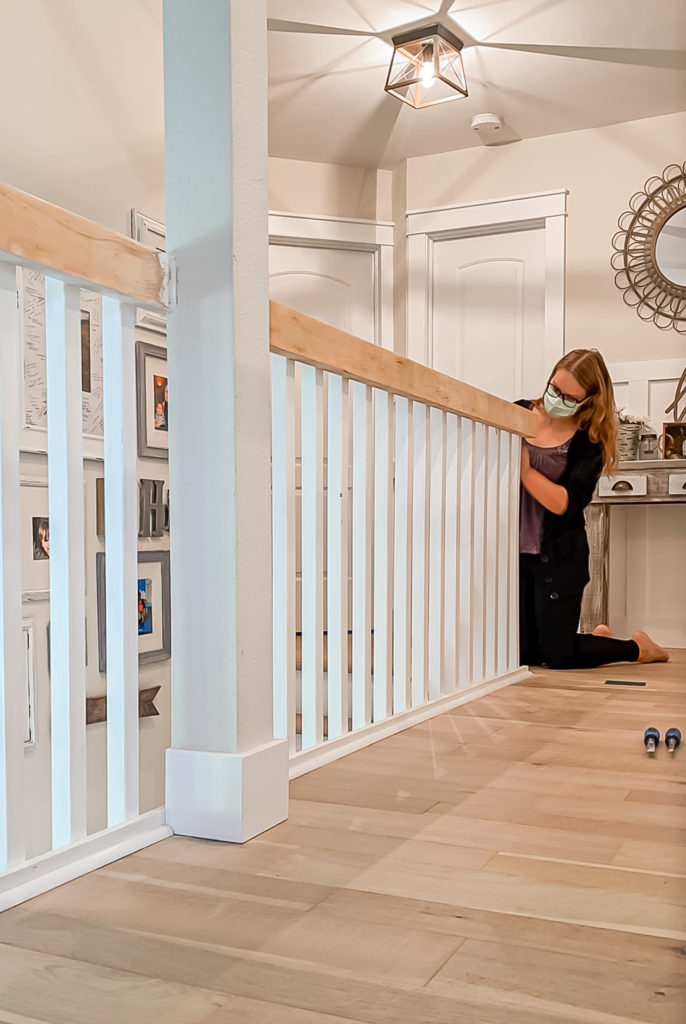
For the upstairs portion I quickly realized that doing the little spaces in between the balusters would be wasaaay too much to do by hand and my sander didn’t fit. So I drilled out the wood putty that I put in when I painted so that I could unscrew the balusters and then take the railing pieces completely off and sand them outside.
DAY 3
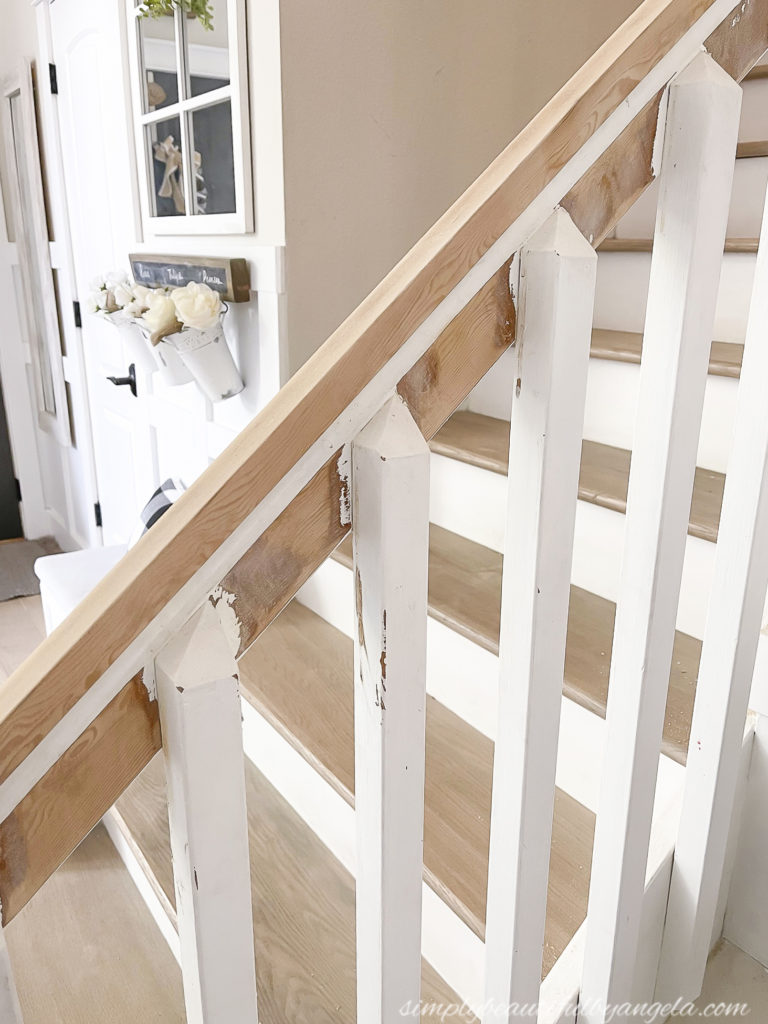
On day 3 I finished up those last two upstairs sections and then filled the holes back up with putty and sanded them down once dry. I also had to to hand sand the back of the main railing since I couldn’t figure out a good way to unscrew it. With the help of some chisels I slowly but surely got all of the paint and most of the varnish off (I had to do some extra white washing later on to hide what I couldn’t remove).
DAY 4
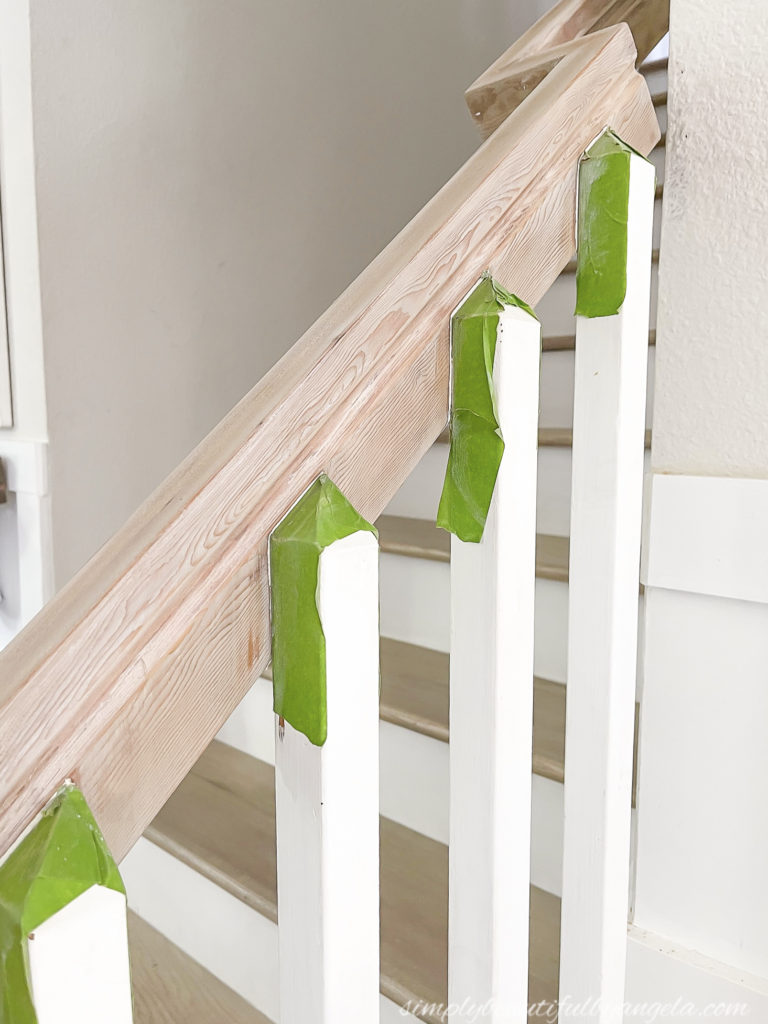
By day 4 I was finally ready for the fun part–staining! I began with two coats of whitewash (watered down white paint) so that the stain would go on nice and light just as I did with the stair treads.
I used some Frogtape on the balusters so that the stain wouldn’t get on them and then applied two coats of Weathered Oak Wood Stain.
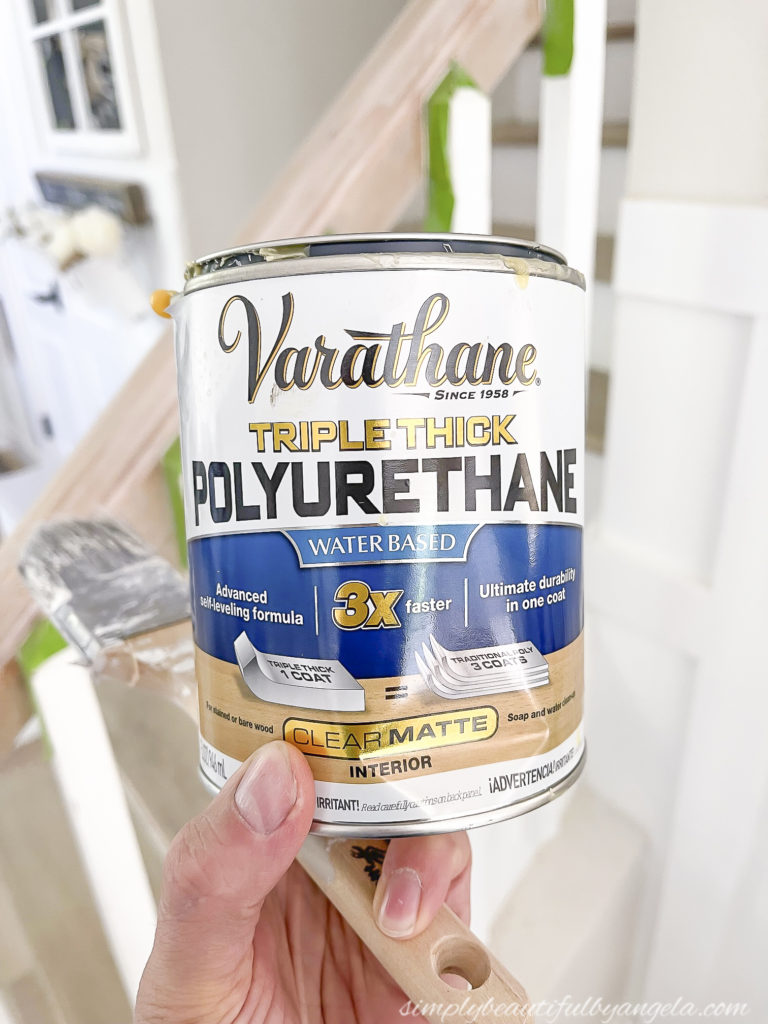
I finished it up with two coats of Varathane Triple Thick Polyurethane in Matte.
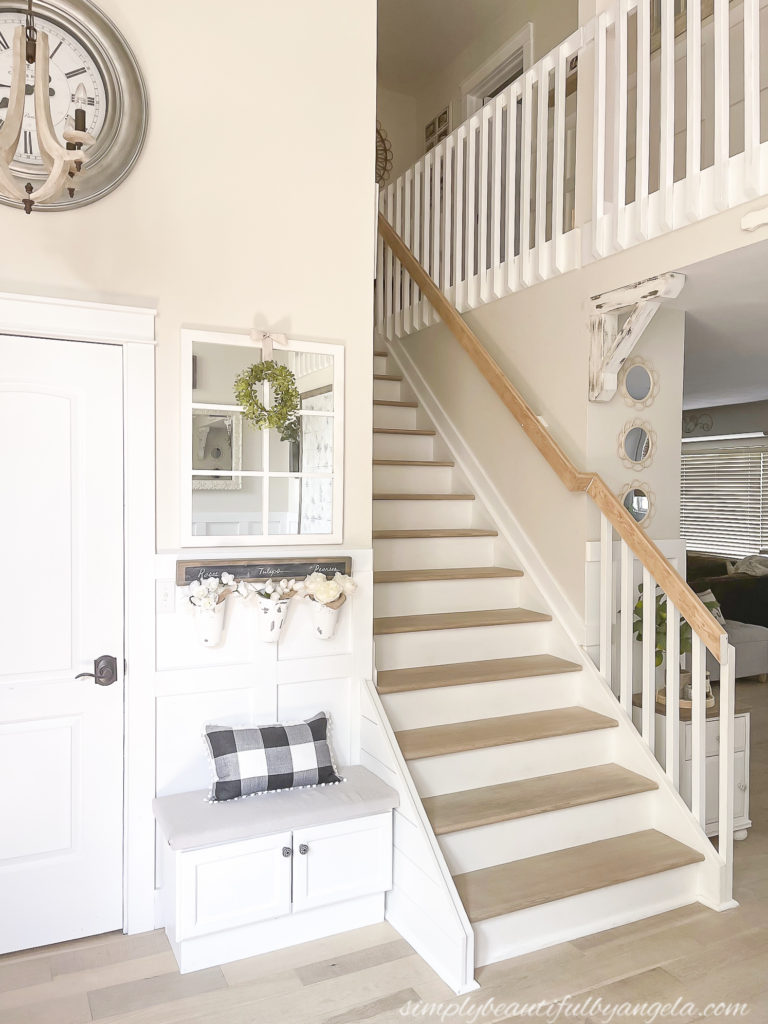
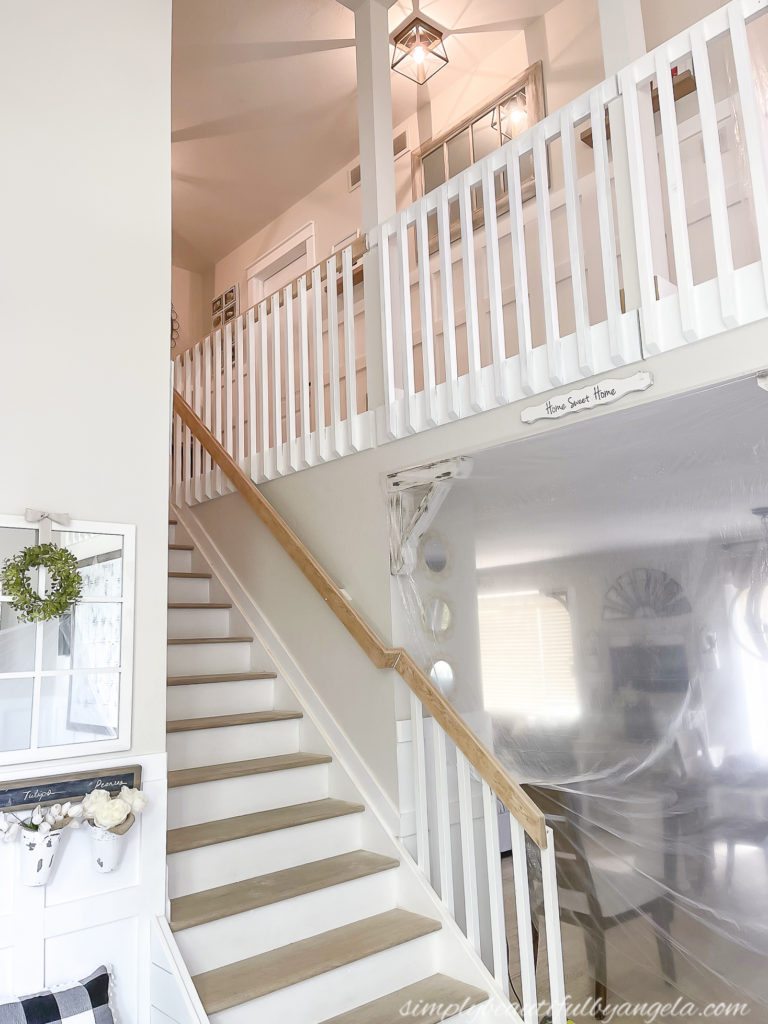
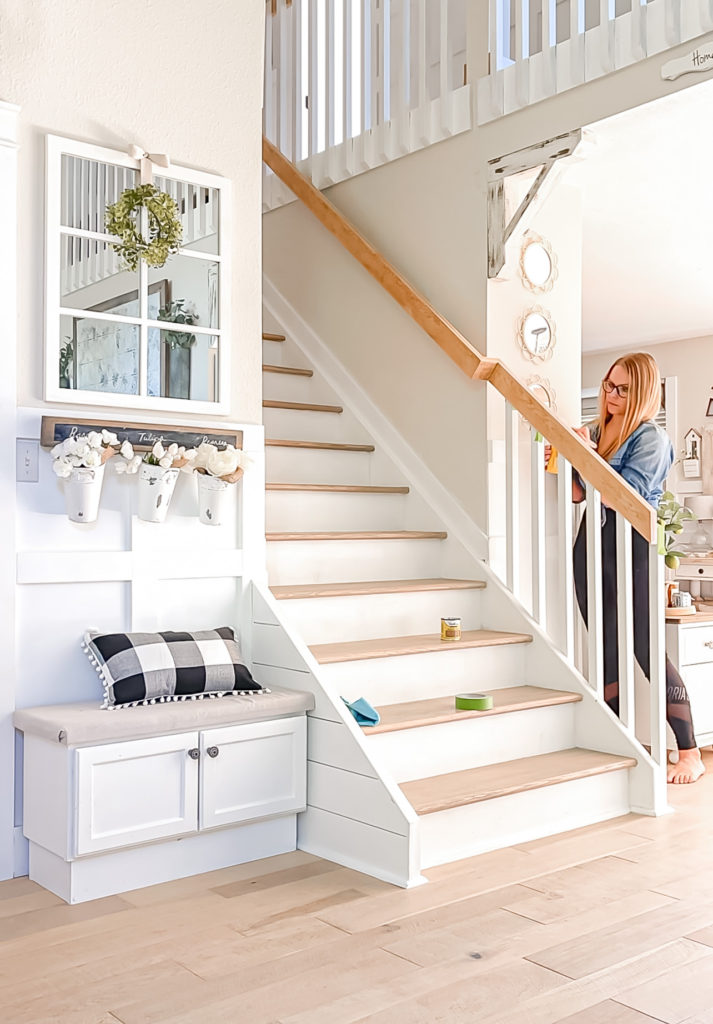
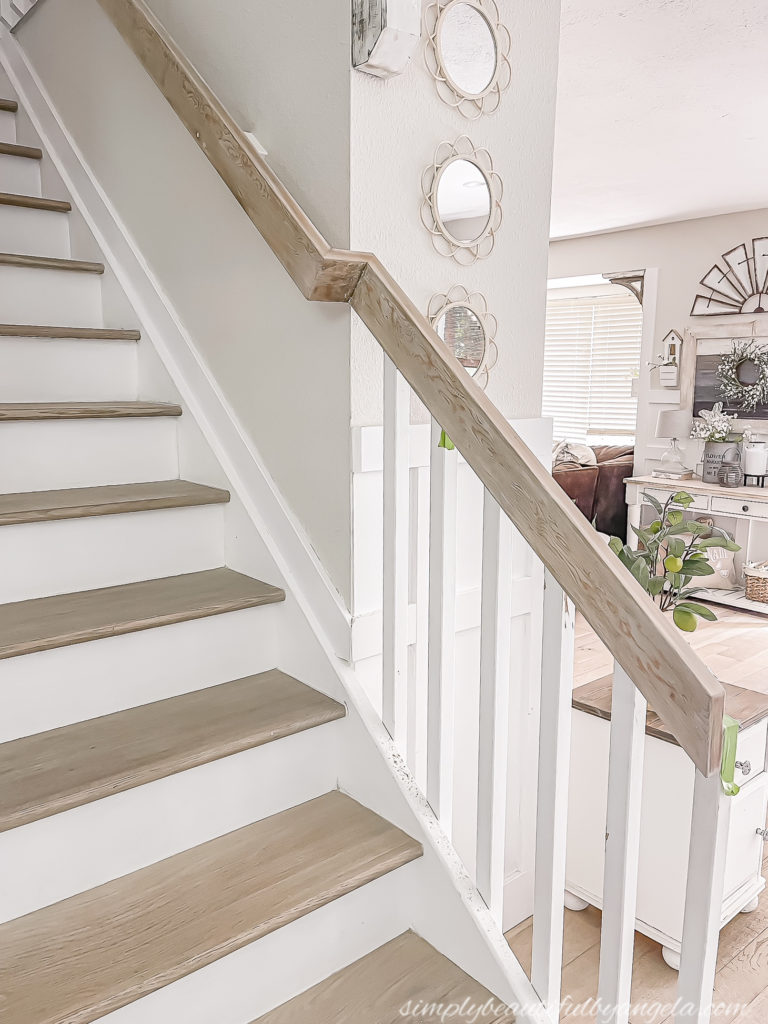
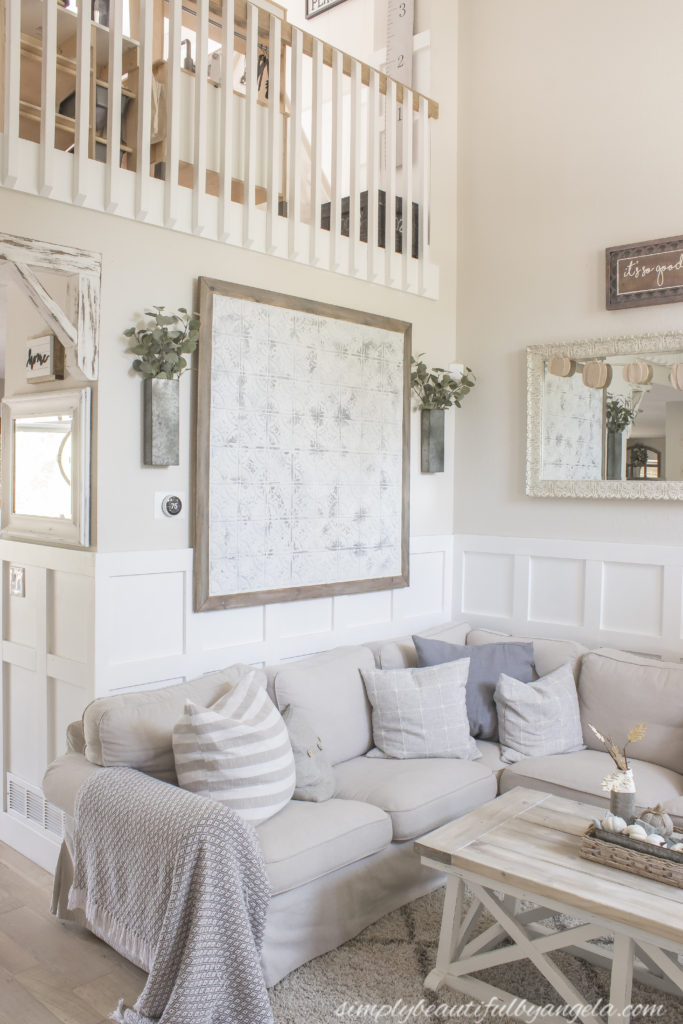
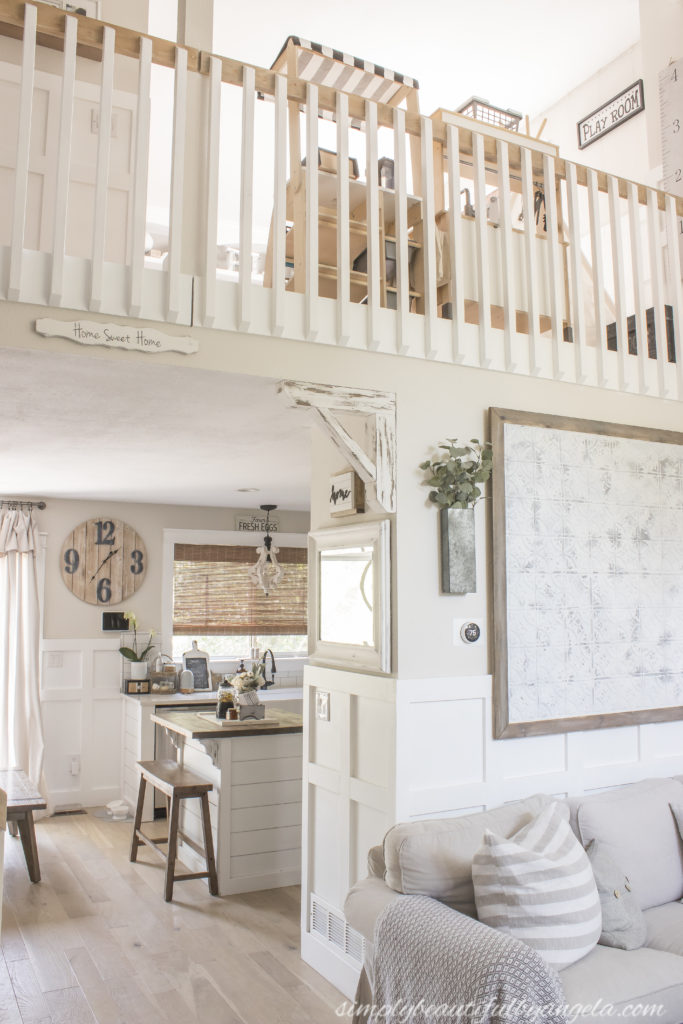
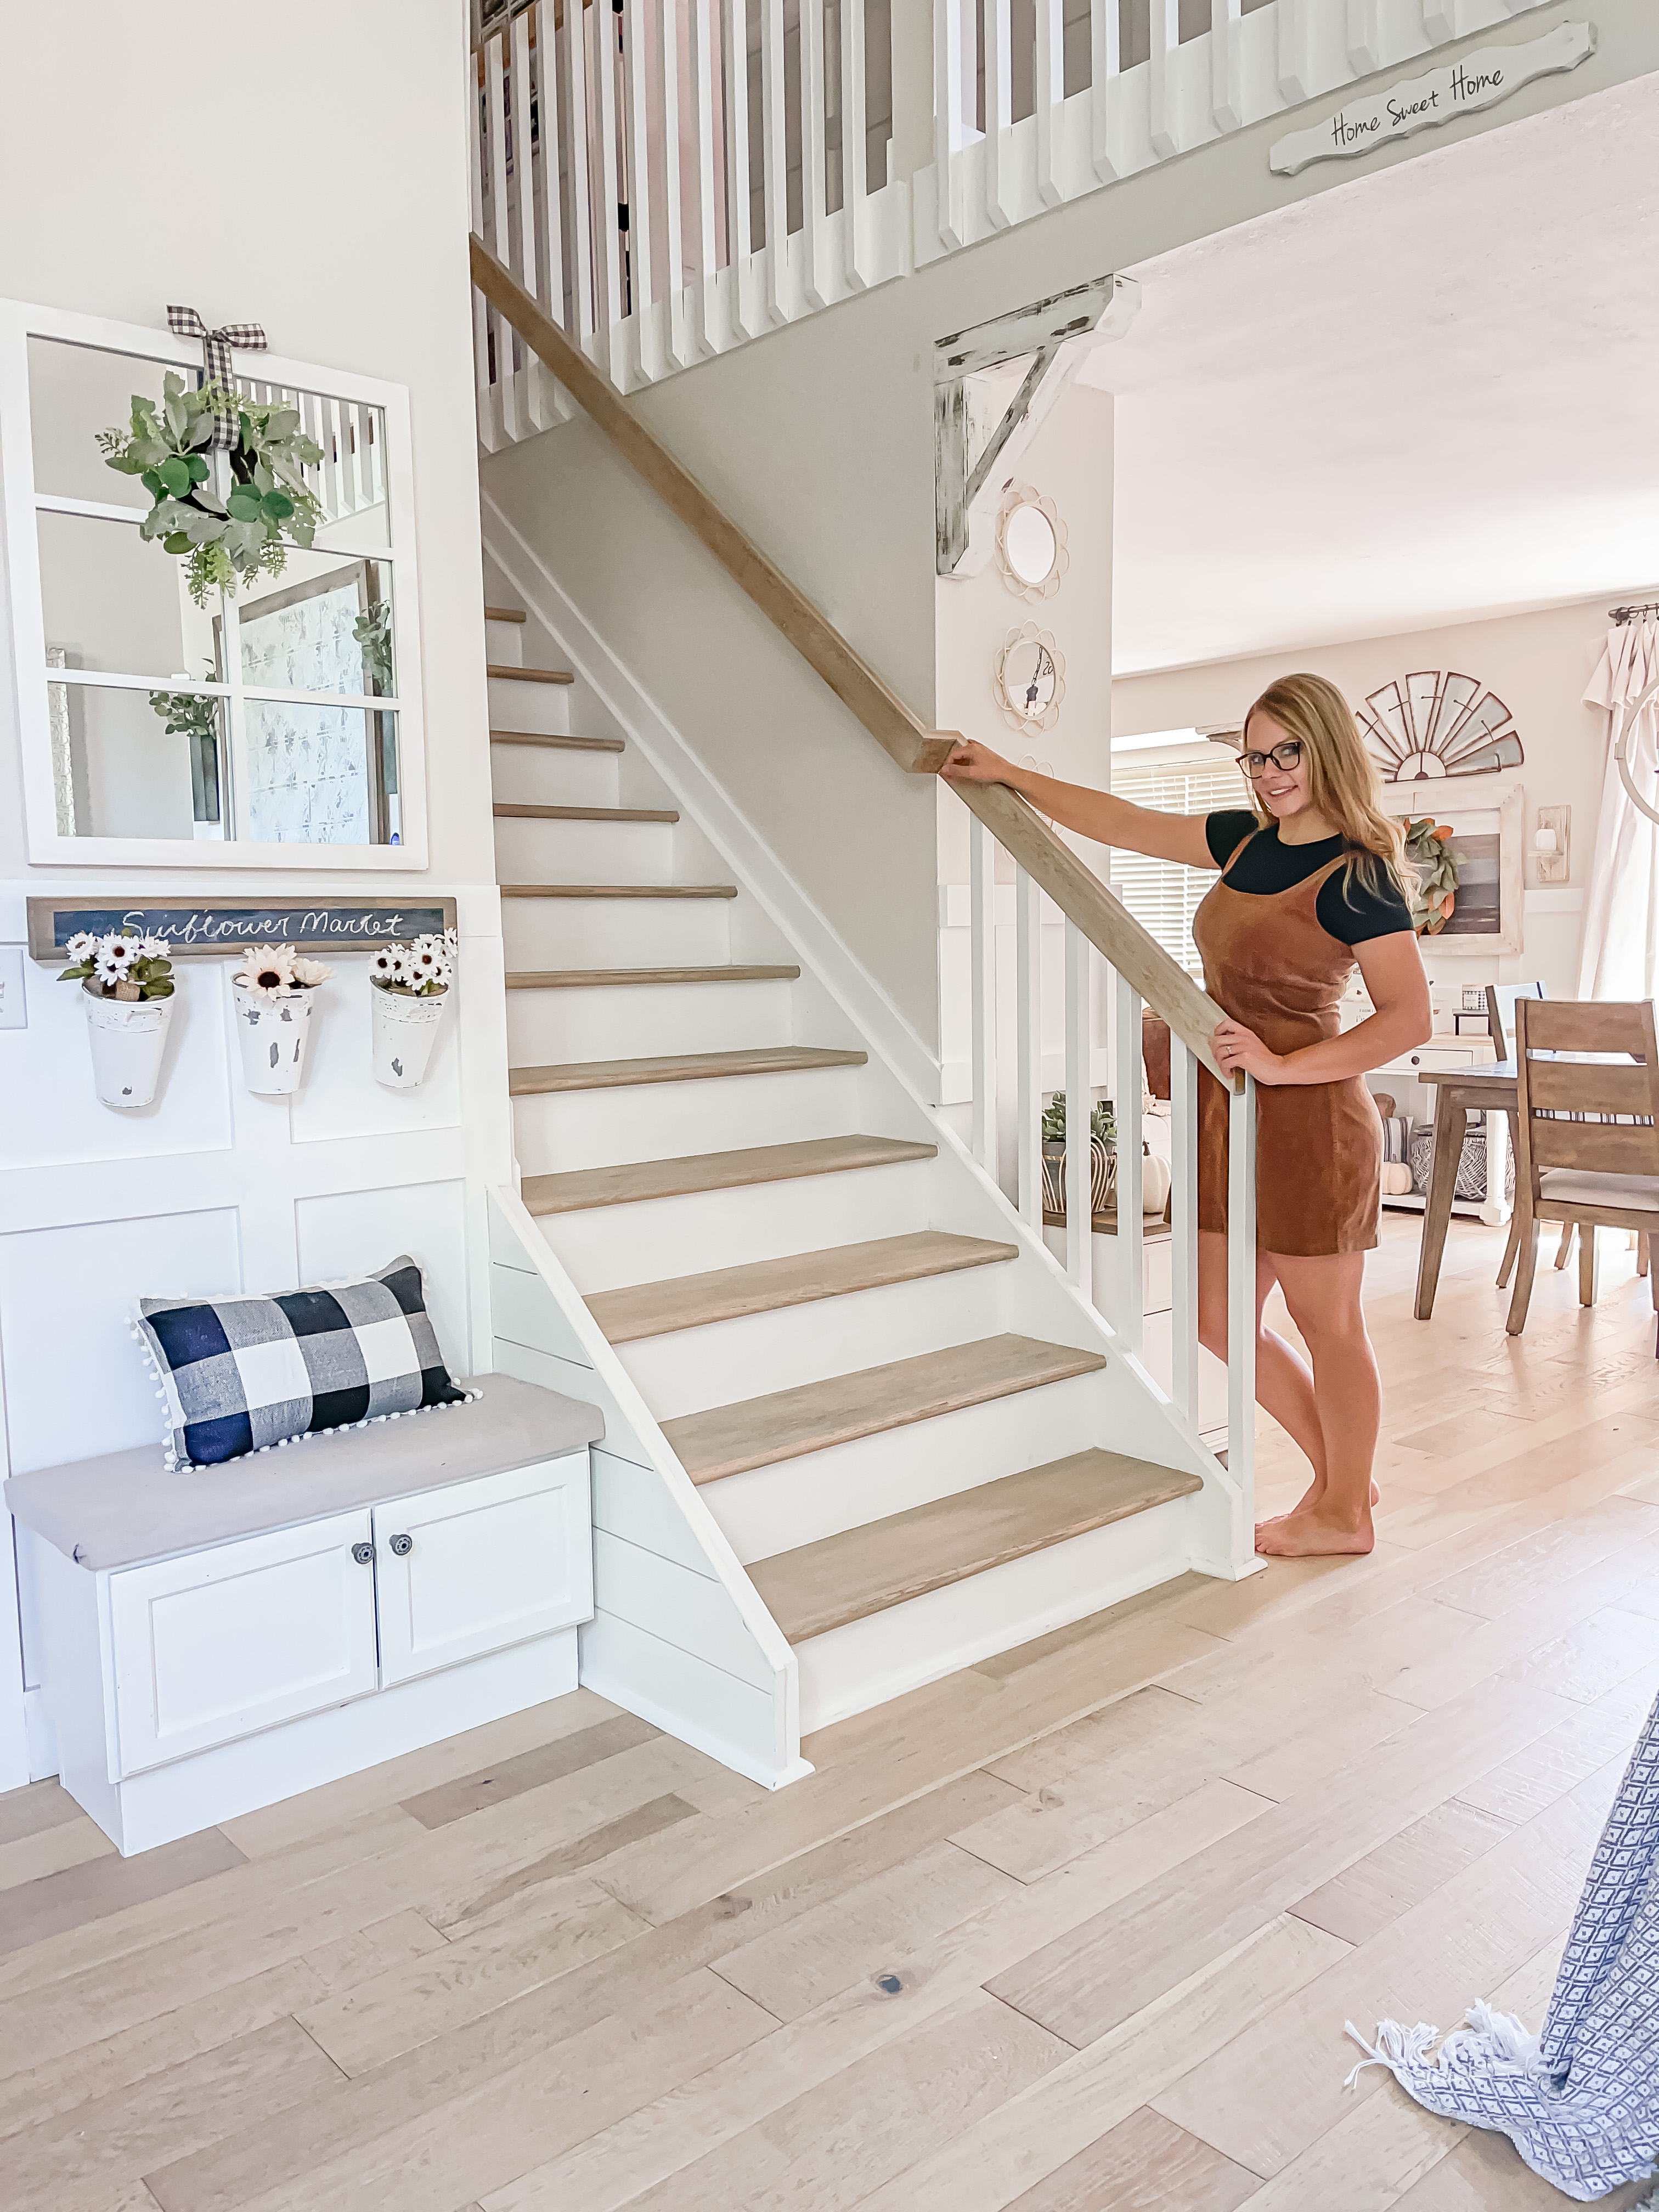
Here is how it looks today!
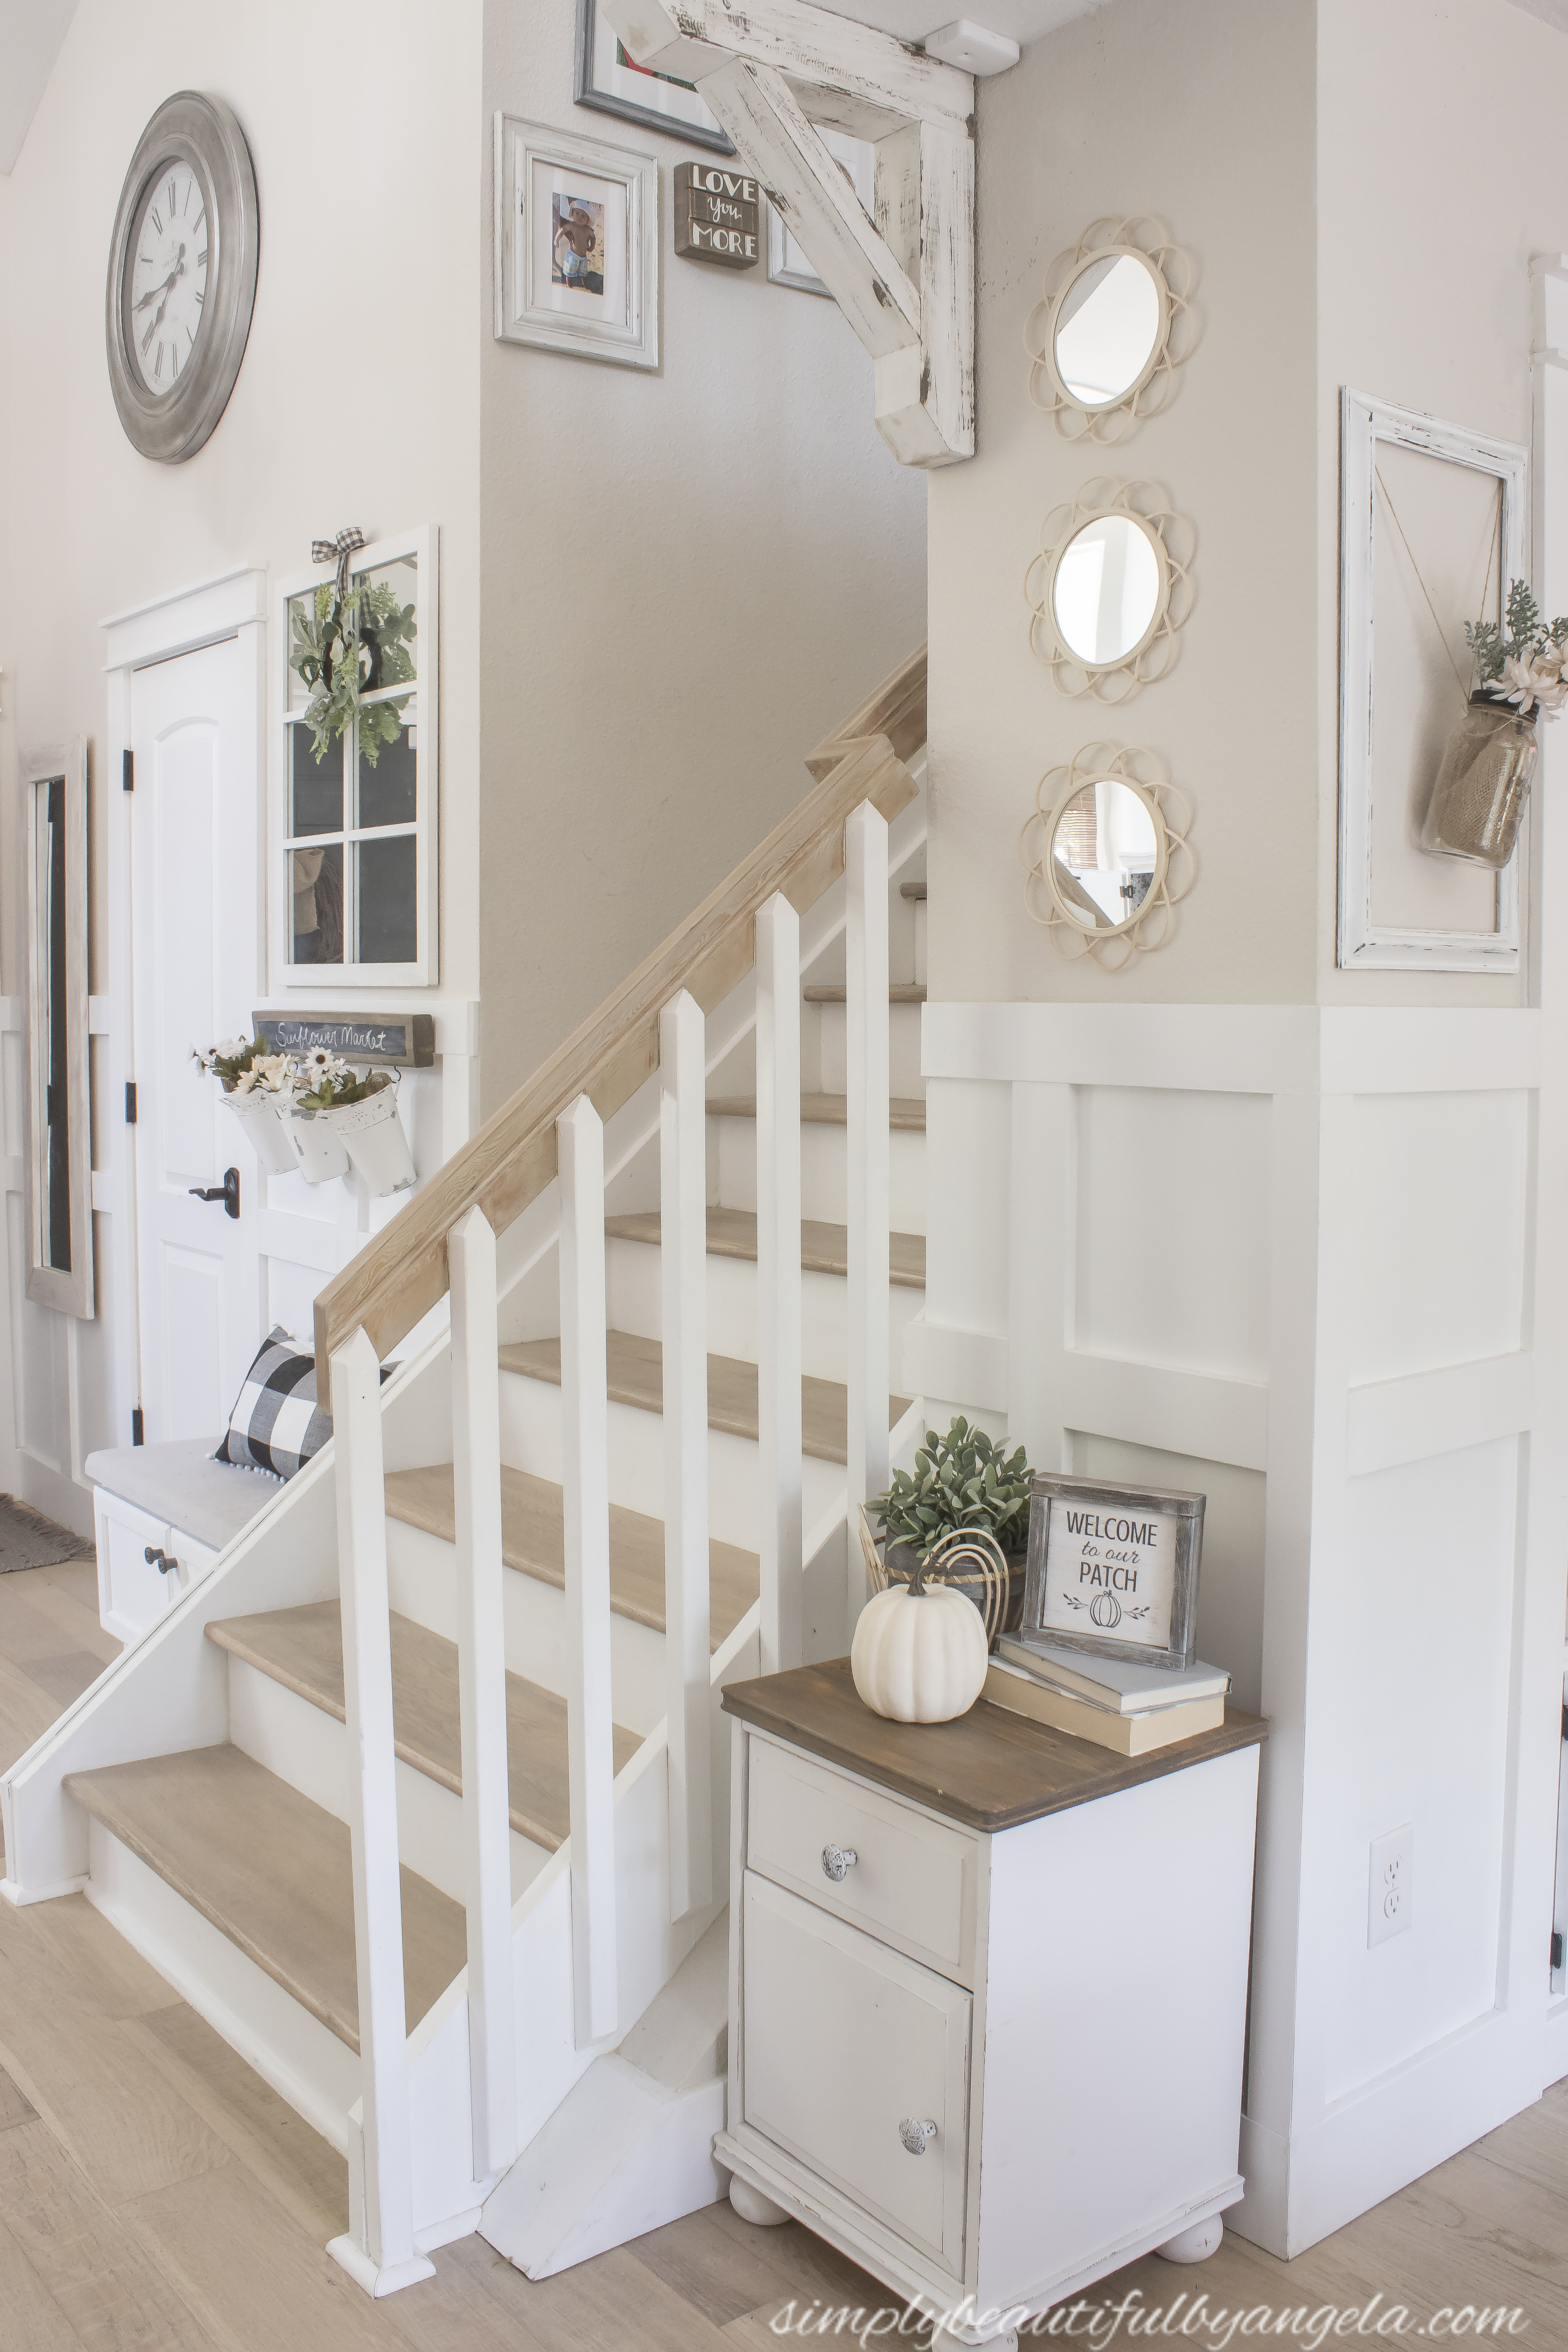
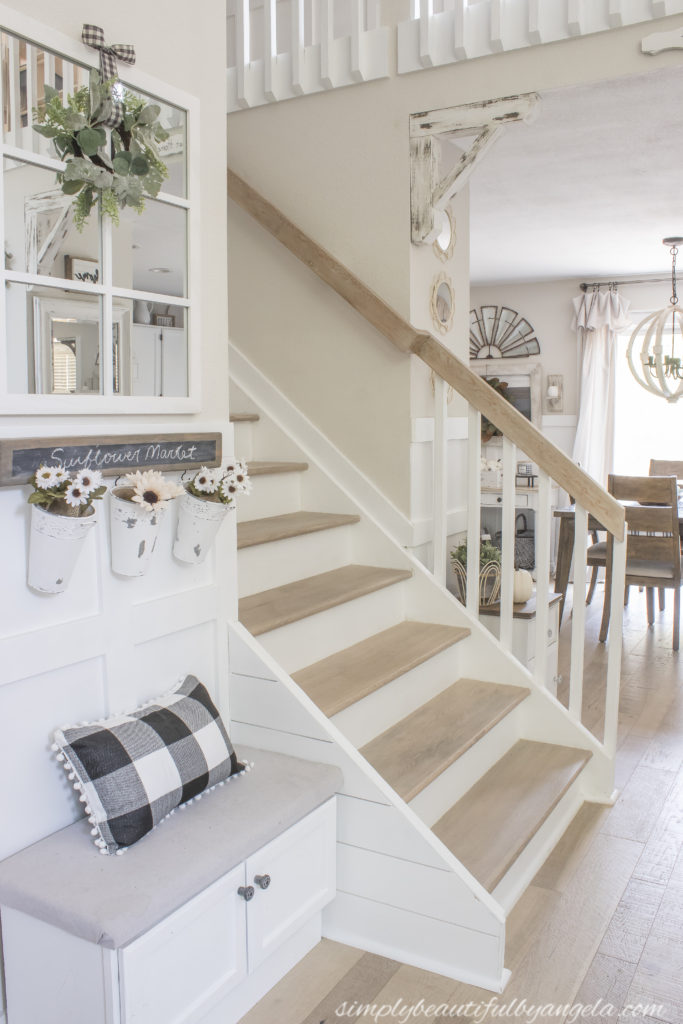
It looks so much better like this and I regret not realizing it 3 years ago when I painted it!
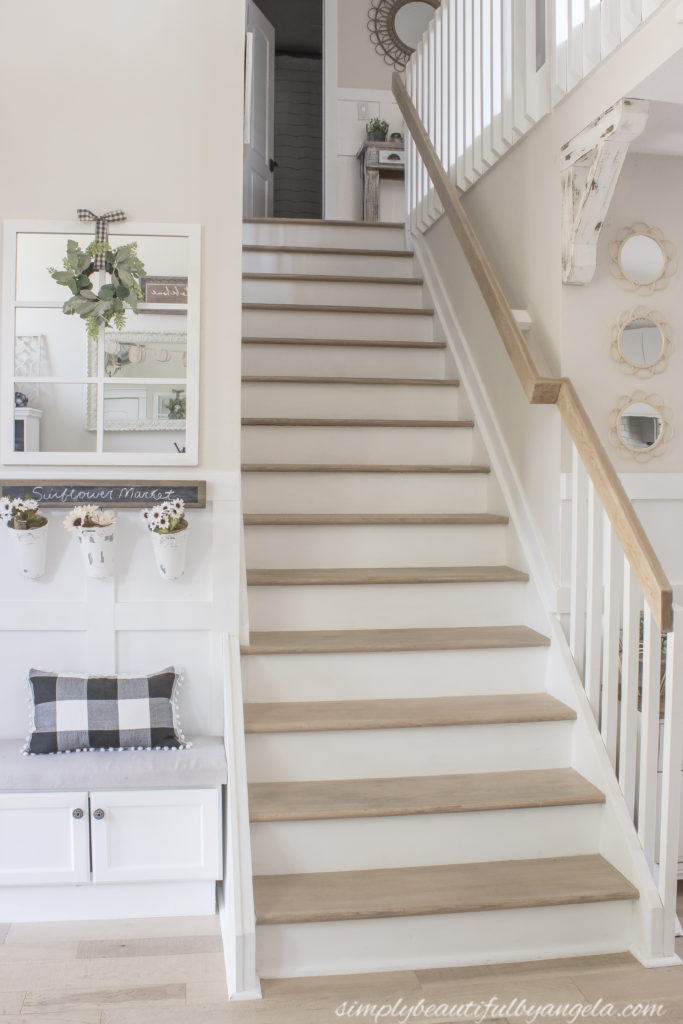
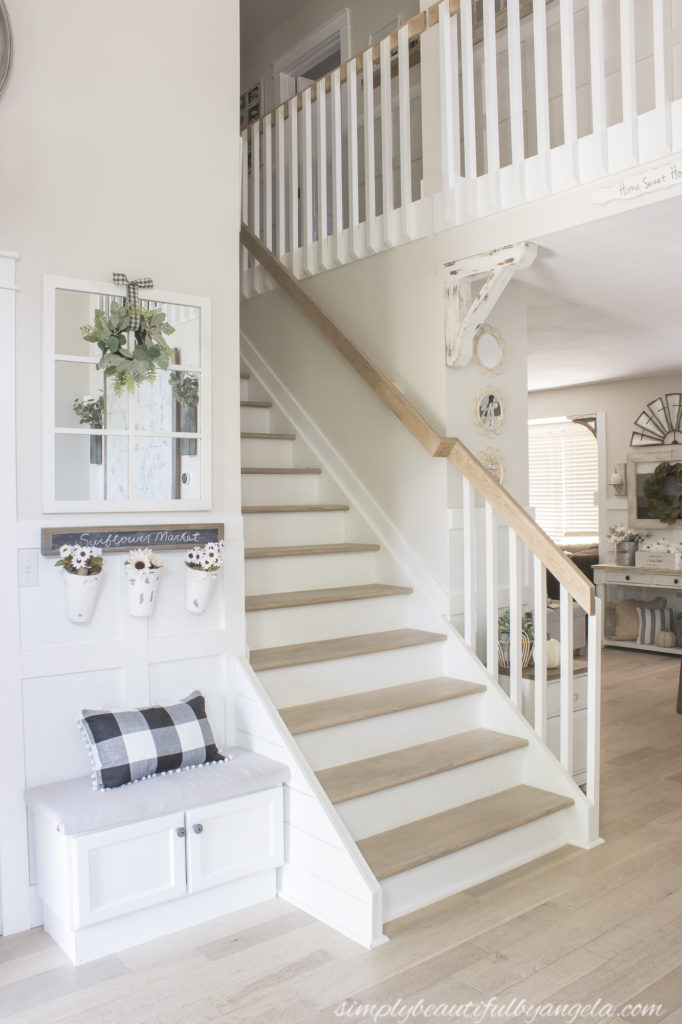
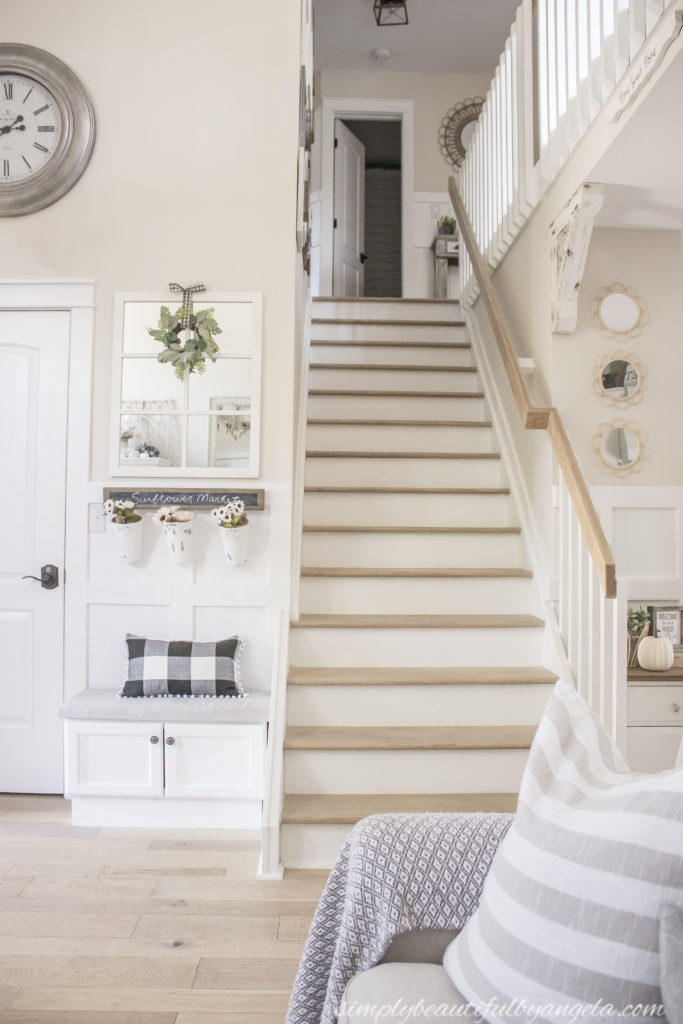
It definitely was not a “fun” project but I am so glad that I powered through and worked so hard on it because it was totally worth the effort.

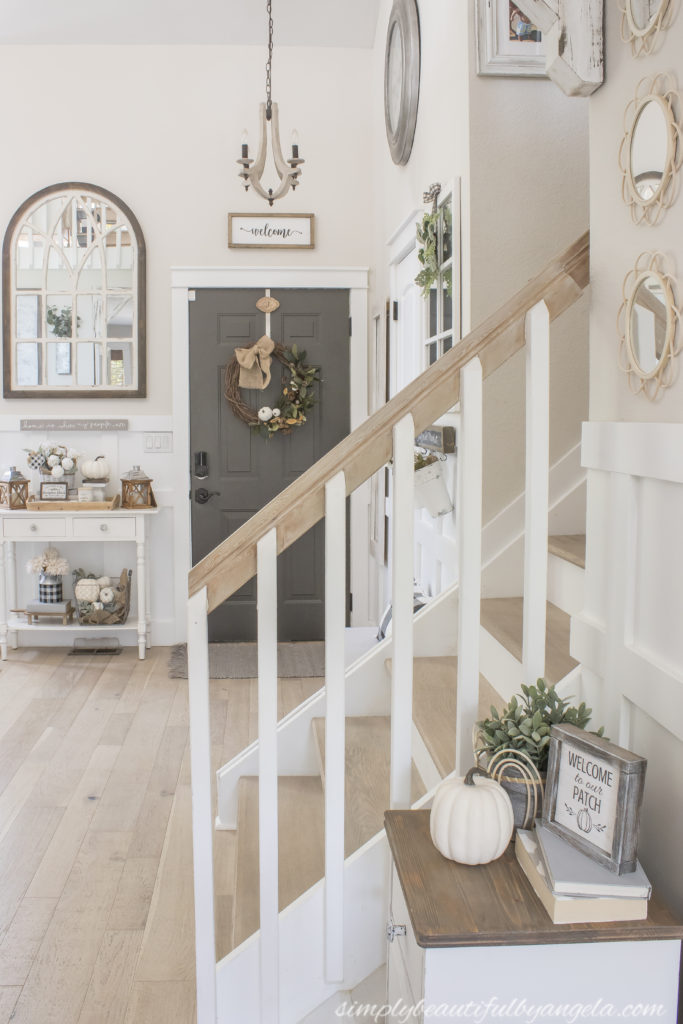

It really pops in the upstairs hallway.


And the view up to the loft looks so much better as well.
I hope you all have a beautiful weekend my friends!
PIN FOR LATER!
Supplies Used: (Affiliate links may be provided for convenience. For more info, see my full disclosure here.)
Linking up to these awesome parties
Hi Angela! It turned out great 🙂
PS- what’s the color of paint on your walls?
Thank you so much! They are Basalt Powder by SW
It looks really great. Laura