
Hello and welcome to the second week of the One Room Challenge! I was a big mixture excited and nervous to get started on our living room makeover this week. Excited because I’ve been dreaming about ramping up this space for years, but nervous because there are still soooo many things that I am unsure or undecided on. In case you missed last week’s post where I shared the plans you can catch it here:
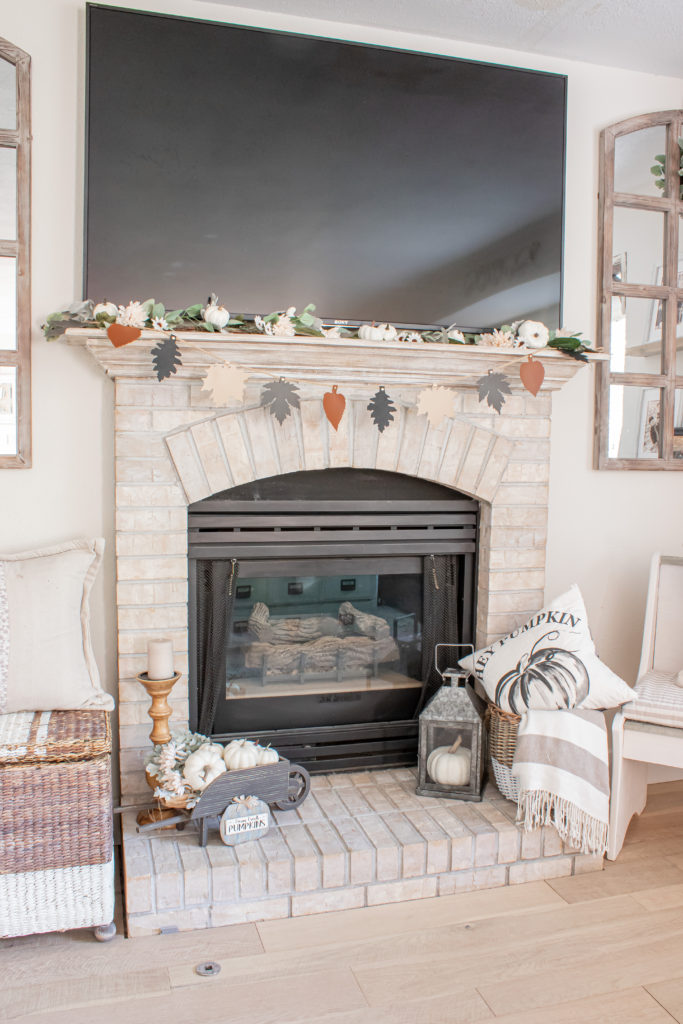
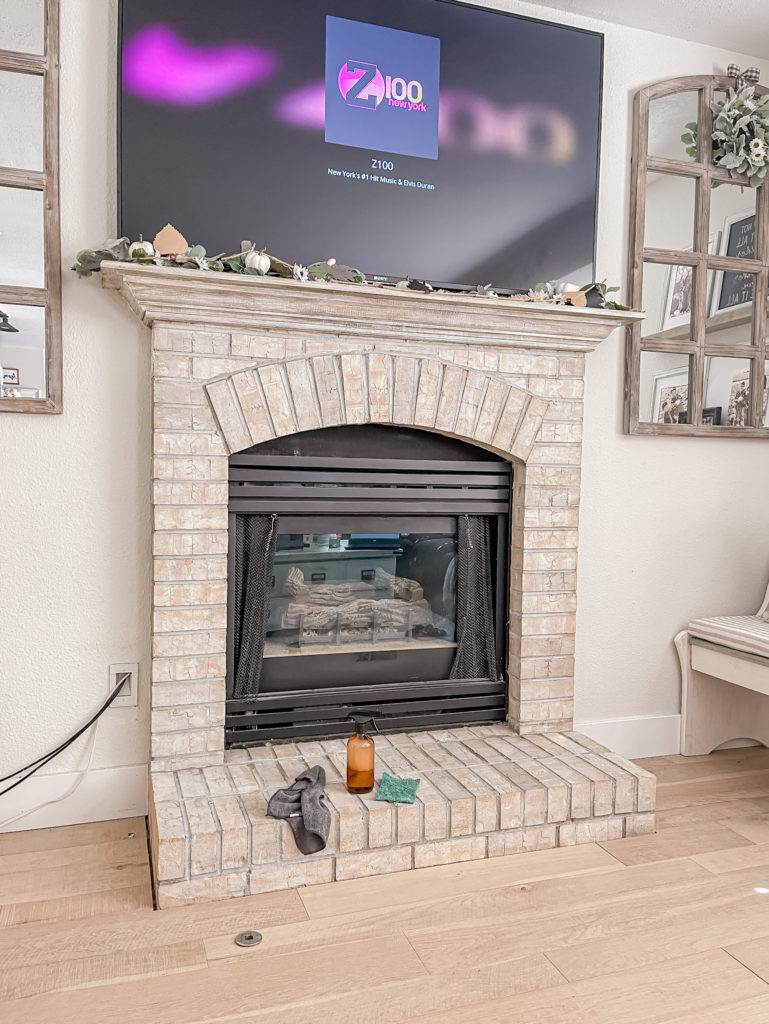
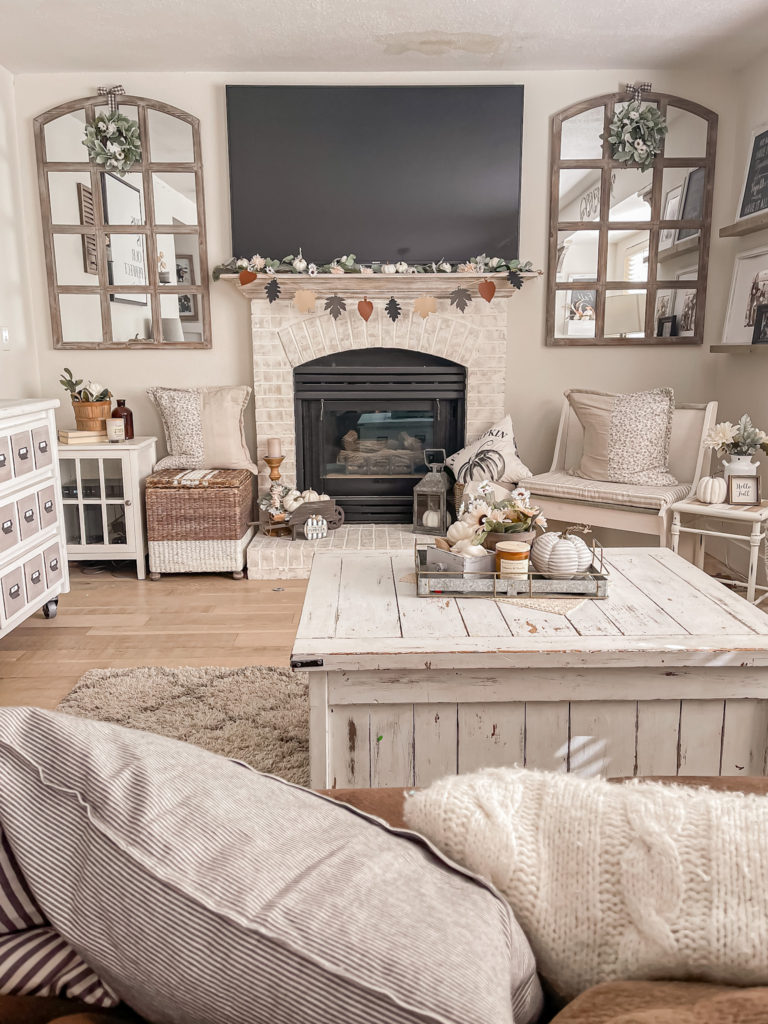
The big question for me this week was where to start? There are basically four major DIY projects for this room: shiplap, board and batten, built-ins and a fireplace makeover. After a little bit of back and forth, I finally decided to start on the fireplace makeover. I knew it would be sort of messy so I didn’t want to mess up newly installed shiplap, and I also had a feeling that it would be relatively easy which would make it a great starter project. Here is how it looked at the beginning of this week.
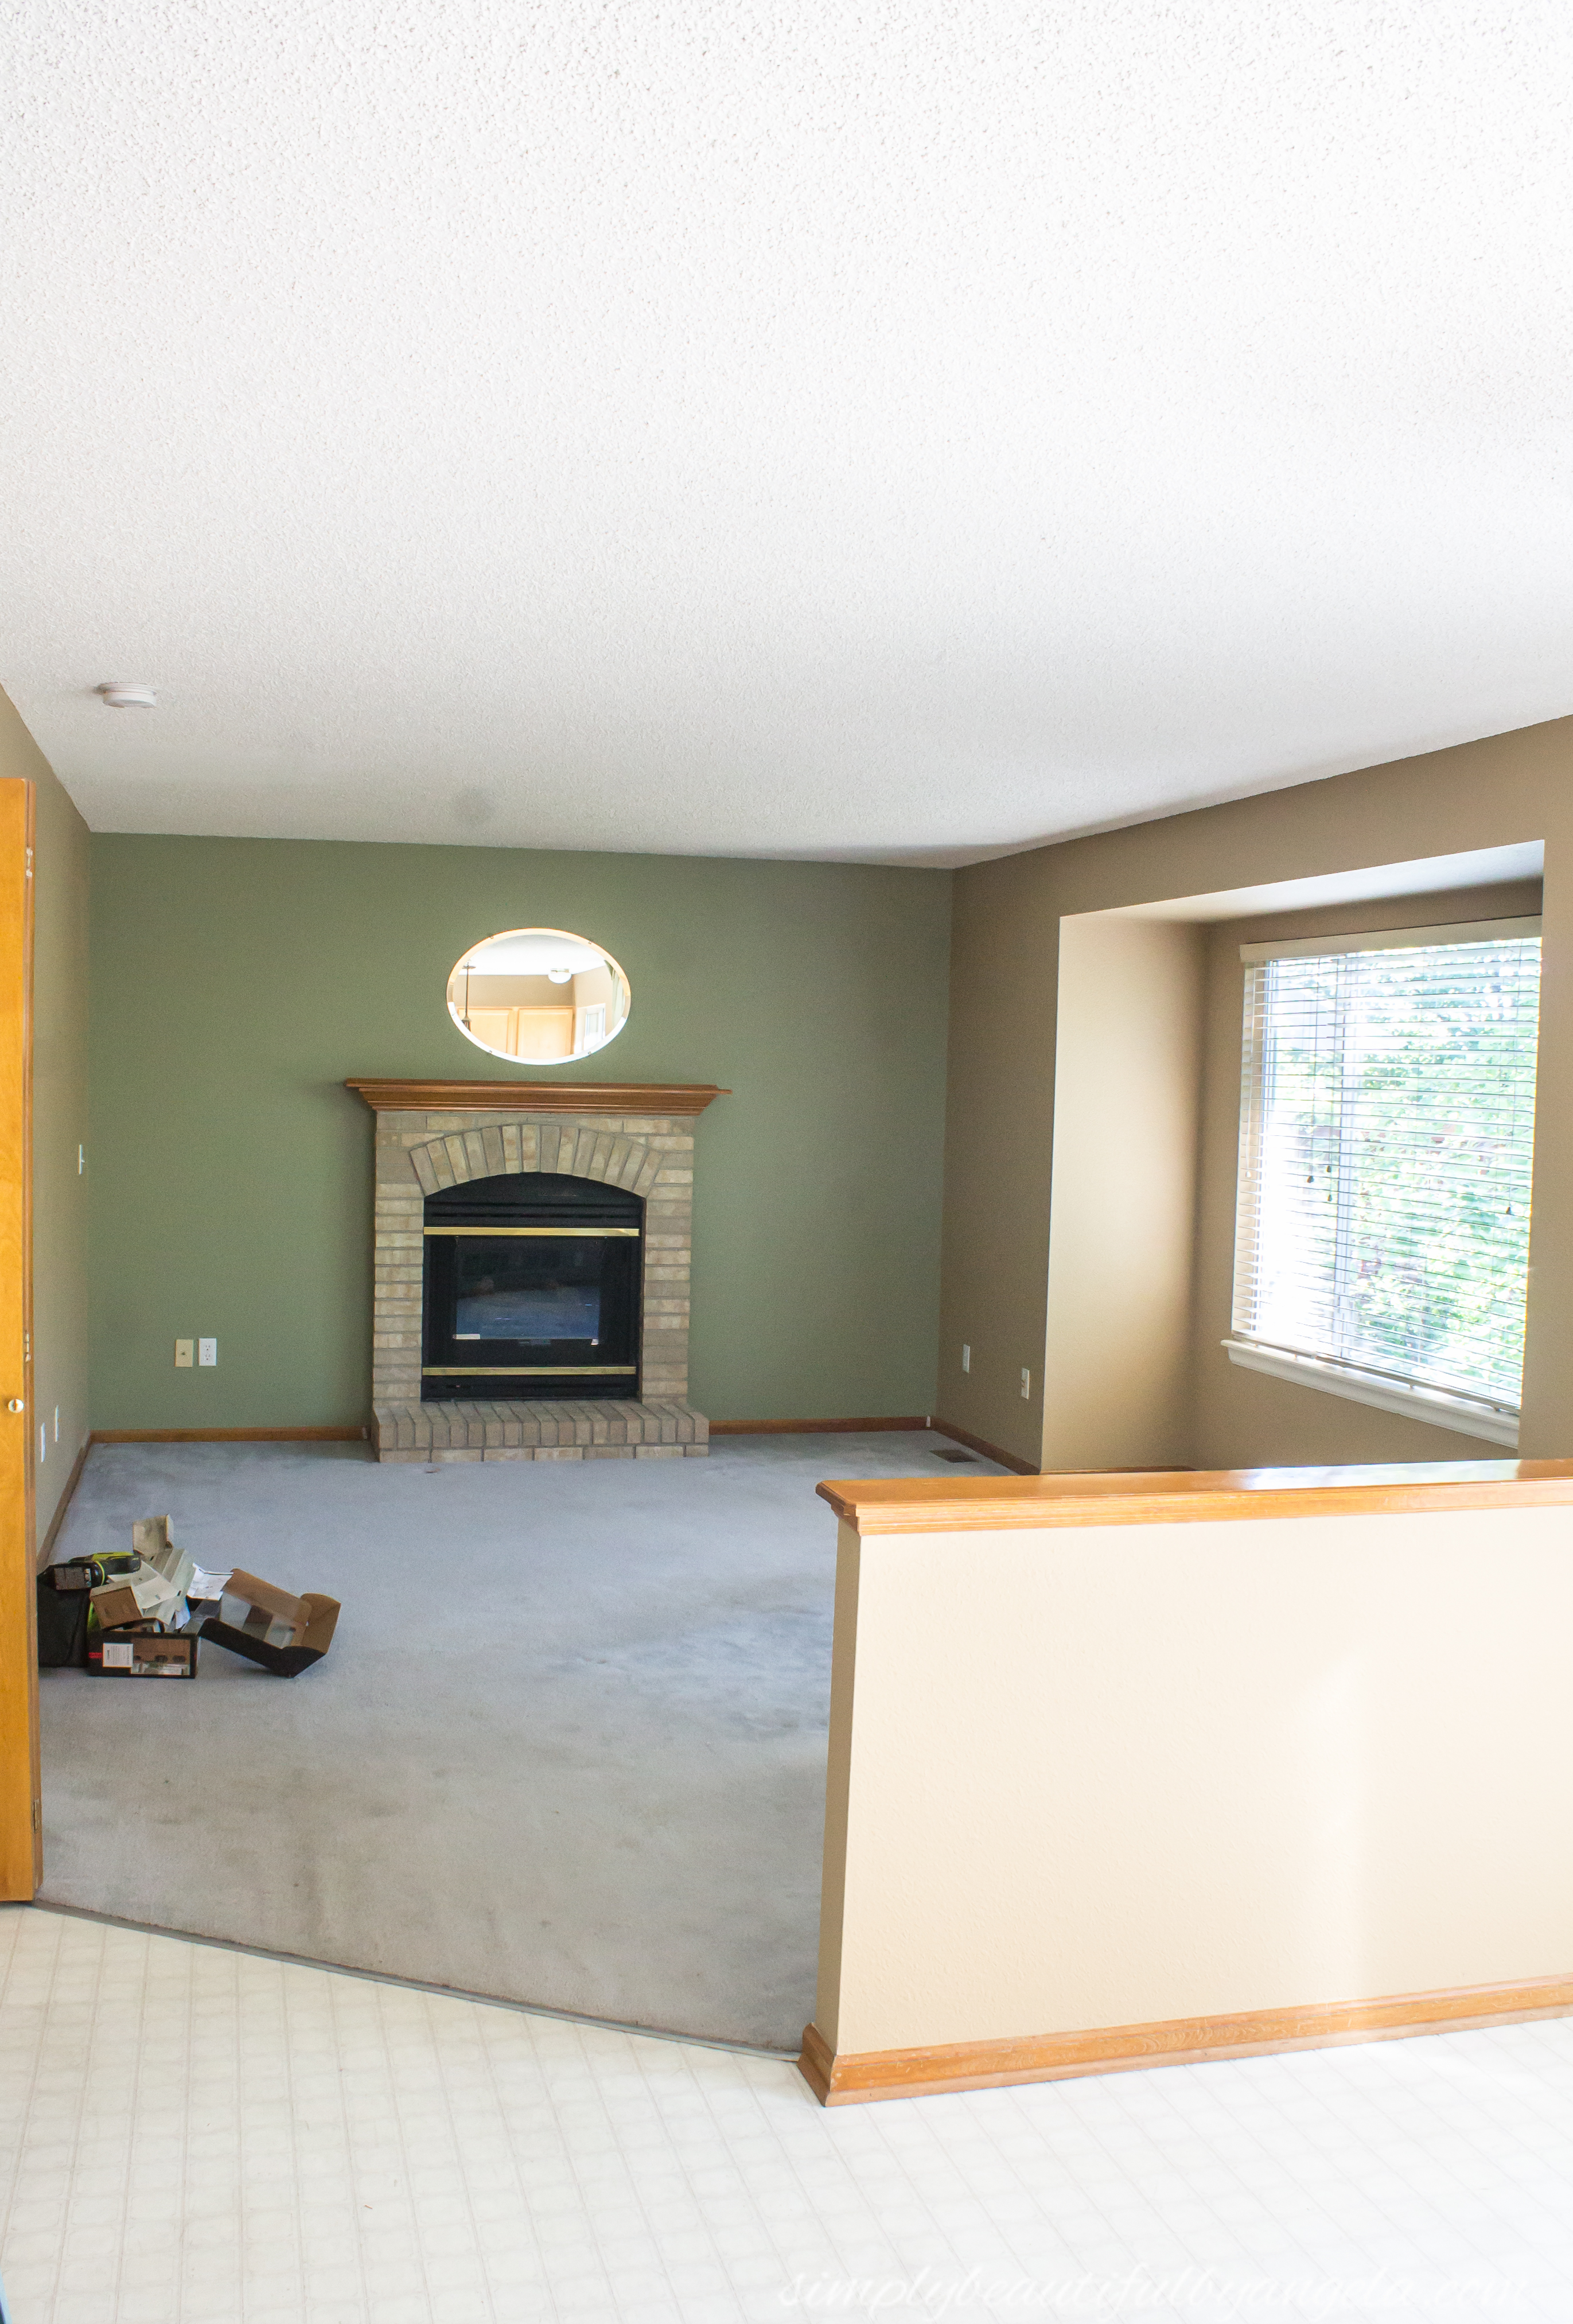
Let’s quickly back up a few years. This is a little peek at what the fireplace looked like when we first moved in. It was a light brick with a slight yellowish tone and had brass trim around the firebox.
I applied a coat of whitewash to gray the brick up a little bit and used some black high heat paint on the brass as a temporary fix. But my dream for this fireplace was for it to have a more aged German Schmear type of effect. I’ve been nervous to do it, but after doing a similar project in Tristan’s room for his faux brick wall I was confident that it would be easier than I’ve been thinking–and it was!
So I turned on some music and then began by cleaning the brick with dish soap and water.
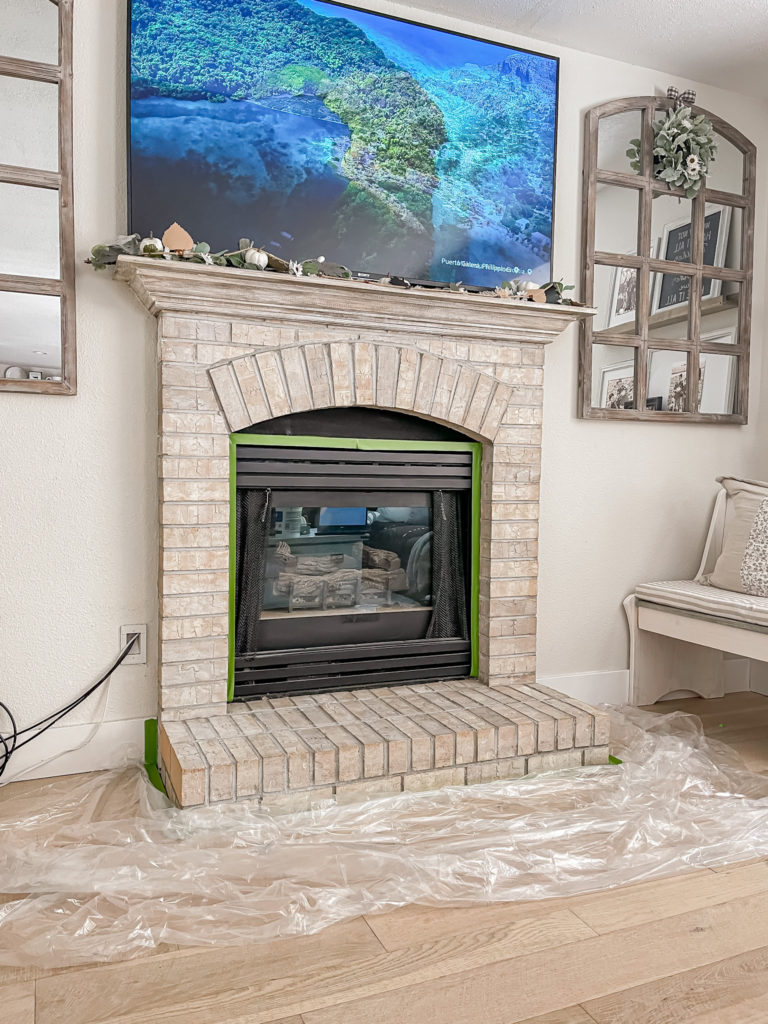
I also taped off the floor and the firebox. I skipped taping the walls sine those are going to have shiplap installed over them eventually.
Next, I grabbed my putty knife and some tile adhesive and started smearing it on.
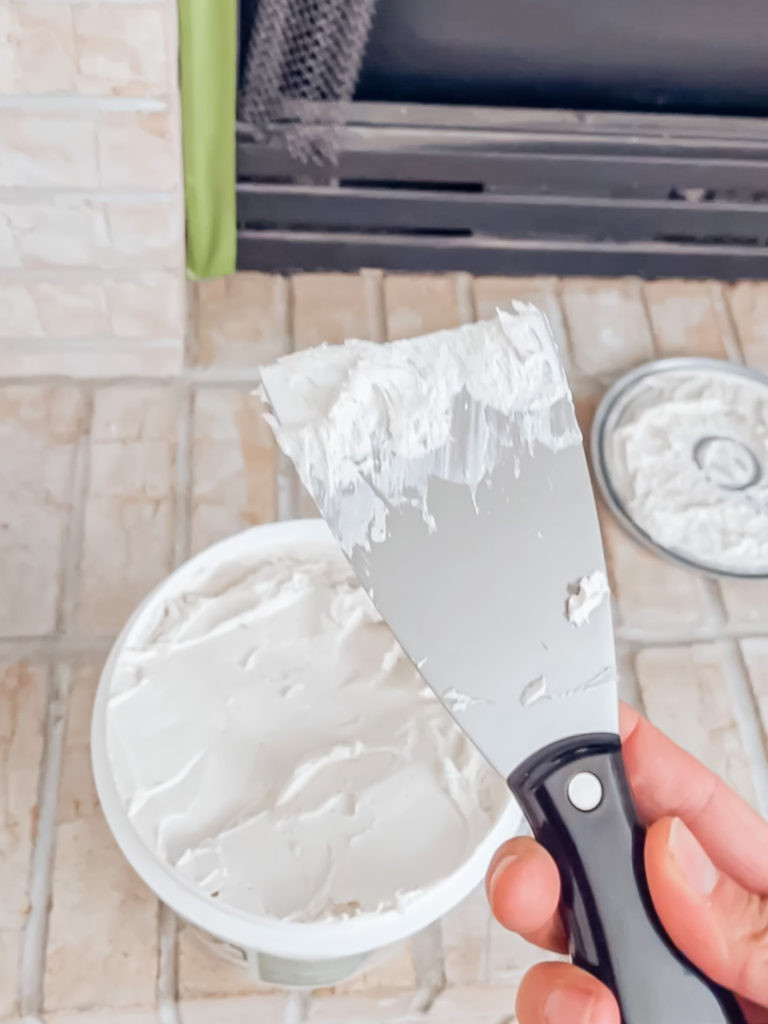
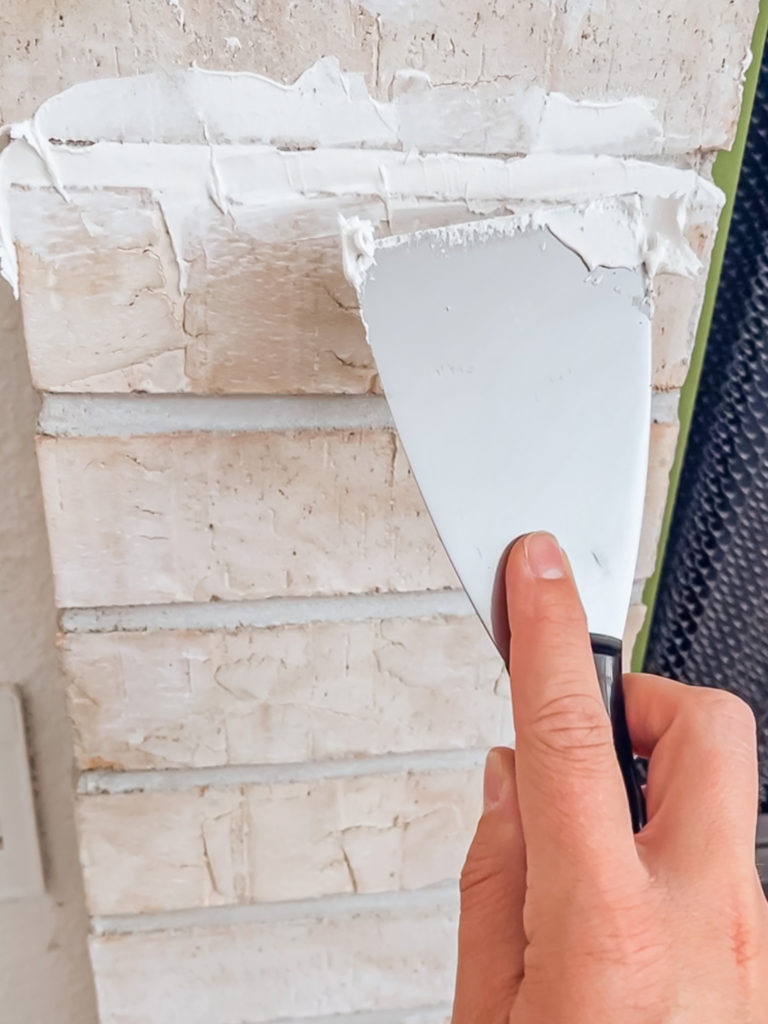
It was pretty simple to do, but I plan to do a more in depth tutorial later on with a few tips and tricks I picked up along the way so stay tuned for that!
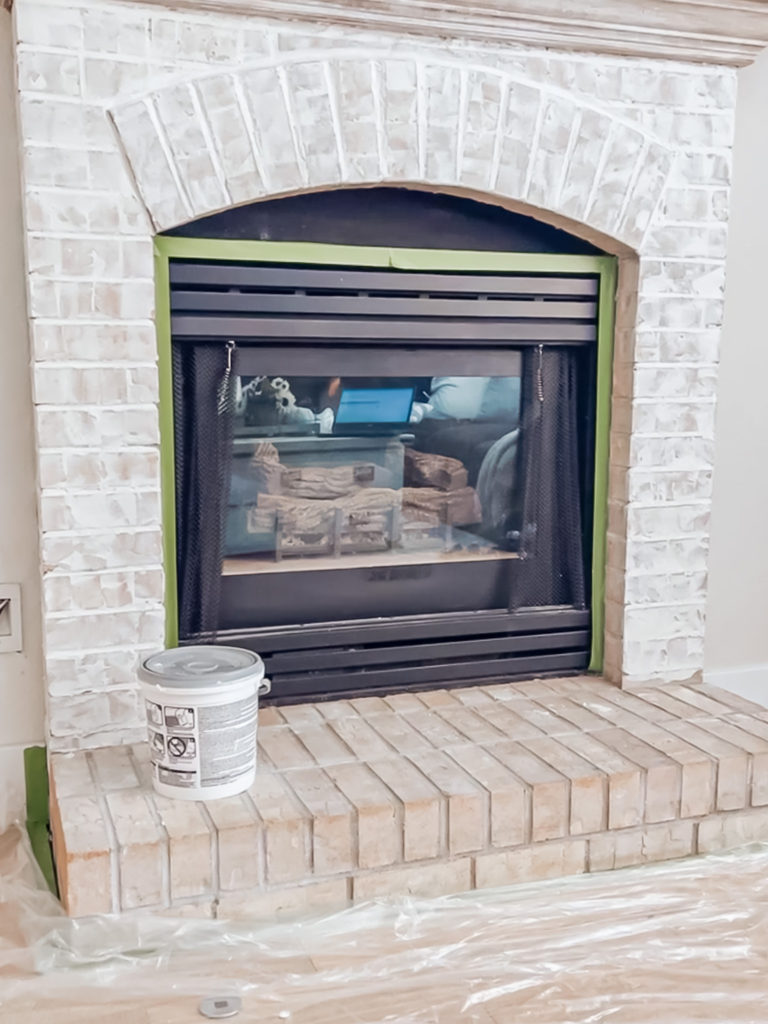
Here is how it looks all finished up.
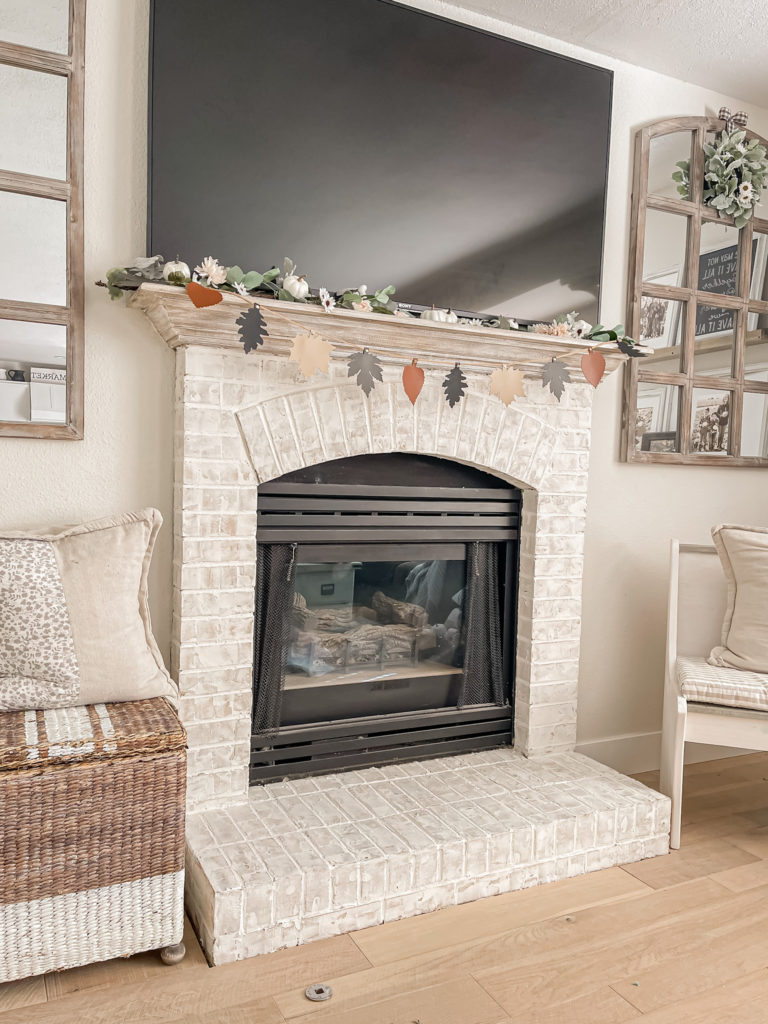
I am totally in love with the new look. As you can see I decided to go pretty heavy because I wanted it to appear mainly white with just a little bit of brick peeking through. It really brightens up the room and I can’t wait to see how it is going to look next to the shiplap walls and new mantle.
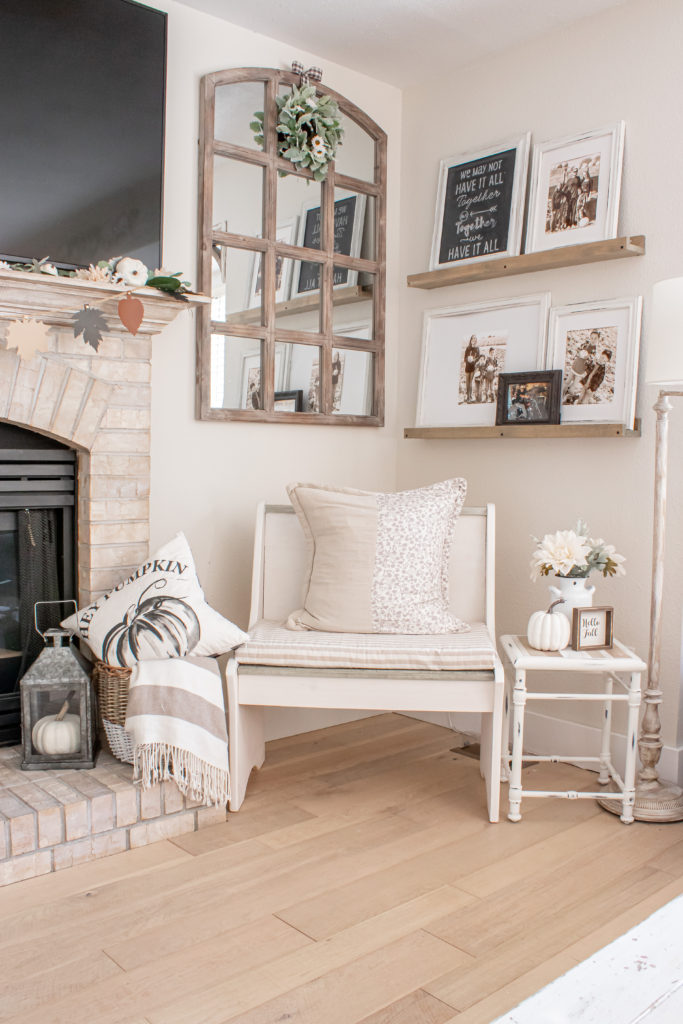
And now I am ready to move on to the next project. I’ve decided that before I install the shiplap it would be good to get the built-ins done on either side of the fireplace, so I’ll be working on this upcomming week.
I thought about building them from scratch like we did for our mudroom nook bench, but after much time taking measurements and drawing out plans, I have decided to use kitchen cabinets. It will be much simpler and I have seen several tutorials of closing them in with plywood on the sides so I think this is the best route to go.
I ordered 36″ unfinished beech cabinets in the 18″ height because I was thinking about using 2x3s as the base.
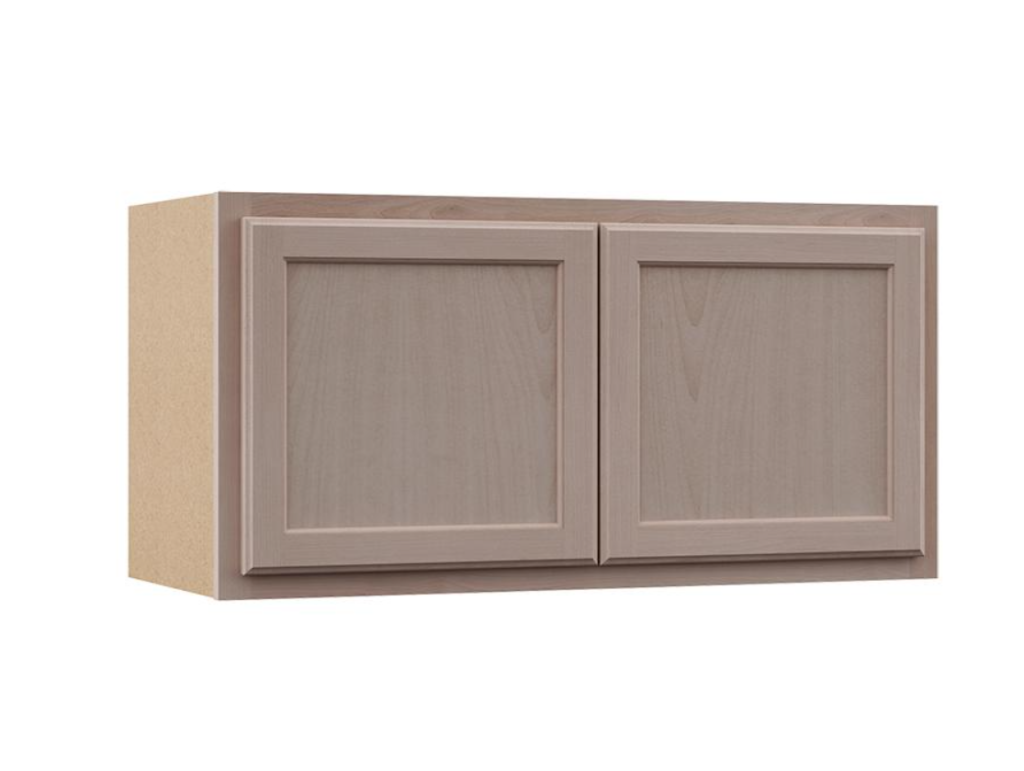
However I later realized that if I want the trim on the bottom to flow with the 1×6 MDF baseboards that we have, I will actually need to make the base out of 2x6s.
This of course adds more height, bringing the total height to a whopping 25″ after I add the 1.5″ butcher block on top! That’s a bit high so I think I may return the 18″ high ones and get the 12″ version instead.
In the midst of the DIYs I’m also searching high and low for the perfect new sofa. I’m leaning towards doing another sectional because it works so well in this space and for our family. My current favorite is the Emmett 6 Piece Modular Sectional from World Market.

The color of the fabric is really pretty and although it’s not a slip cover like I was really hoping for, it seems like it would be pretty easy to spot clean. The search is still continuing though!
I hope you all have a great rest of the week, I’ll be back next week to catch you all up some more 🙂
Linking up to these awesome parties
(Affiliate links may be provided for convenience. For more info, see my full disclosure here.)