Hello there and happy Friday! I hope that the week has treated you well. We went on our annual trip to the Great Wolf Lodge at the beginning of the week, but just as we were trying to settle back into routine on Wednesday, Tristan came down with a nasty tummy bug. I am crossing my fingers that it stays with him but I’m not hopeful since that is rarely the case.
Anyways, I have a super fun project to share today so let’s jump right to it!
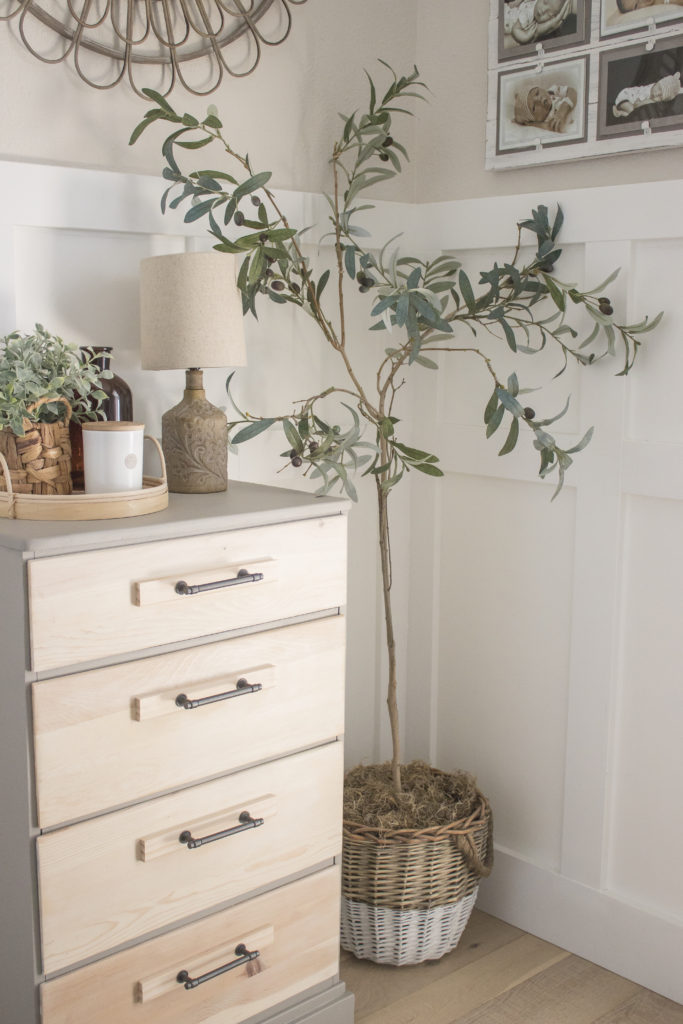
I have always wanted an olive tree, but they are always sooo pricey! I haven’t been able to justify spending such a huge amount of money on a fake tree. But when I put my recently made over curbside dresser at the top of the stairs, I decided that I needed something else to fill the space and thought that an olive tree would be perfect. I almost broke down and bought one but wanted to see if I could DIY one first.
Supplies Used:(Affiliate links may be provided for convenience. For more info, see my full disclosure here.)
- Branch
- Floral Foam Block
- Paper or Plastic Bags
- Container(s) (I used a terra cotta pot and a basket similar to this one)
- Olive Branches (I got mine at Hobby Lobby but there are many options on Amazon)
- Floral Wire
- Wire Cutters
- Brown Floral Tape
- Spanish Moss
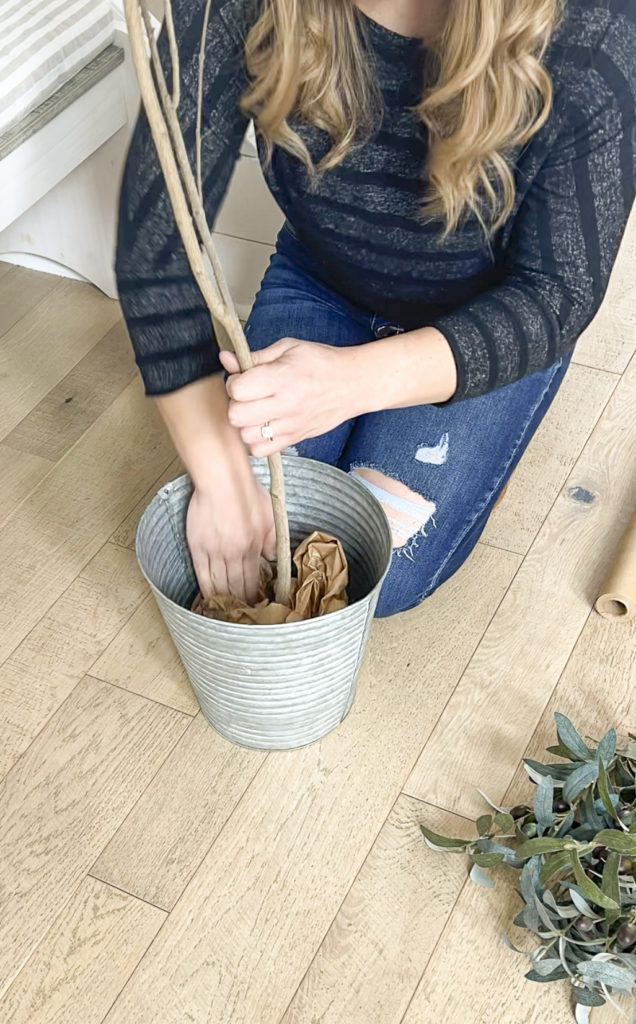
1. Set Branch Inside Floral Foam
I started by going on a little hunt in our backyard for the perfect branch. The key is finding one with a good sized “trunk” and several smaller branches. Luckily there were no leaves to pluck off since it’s wintertime!
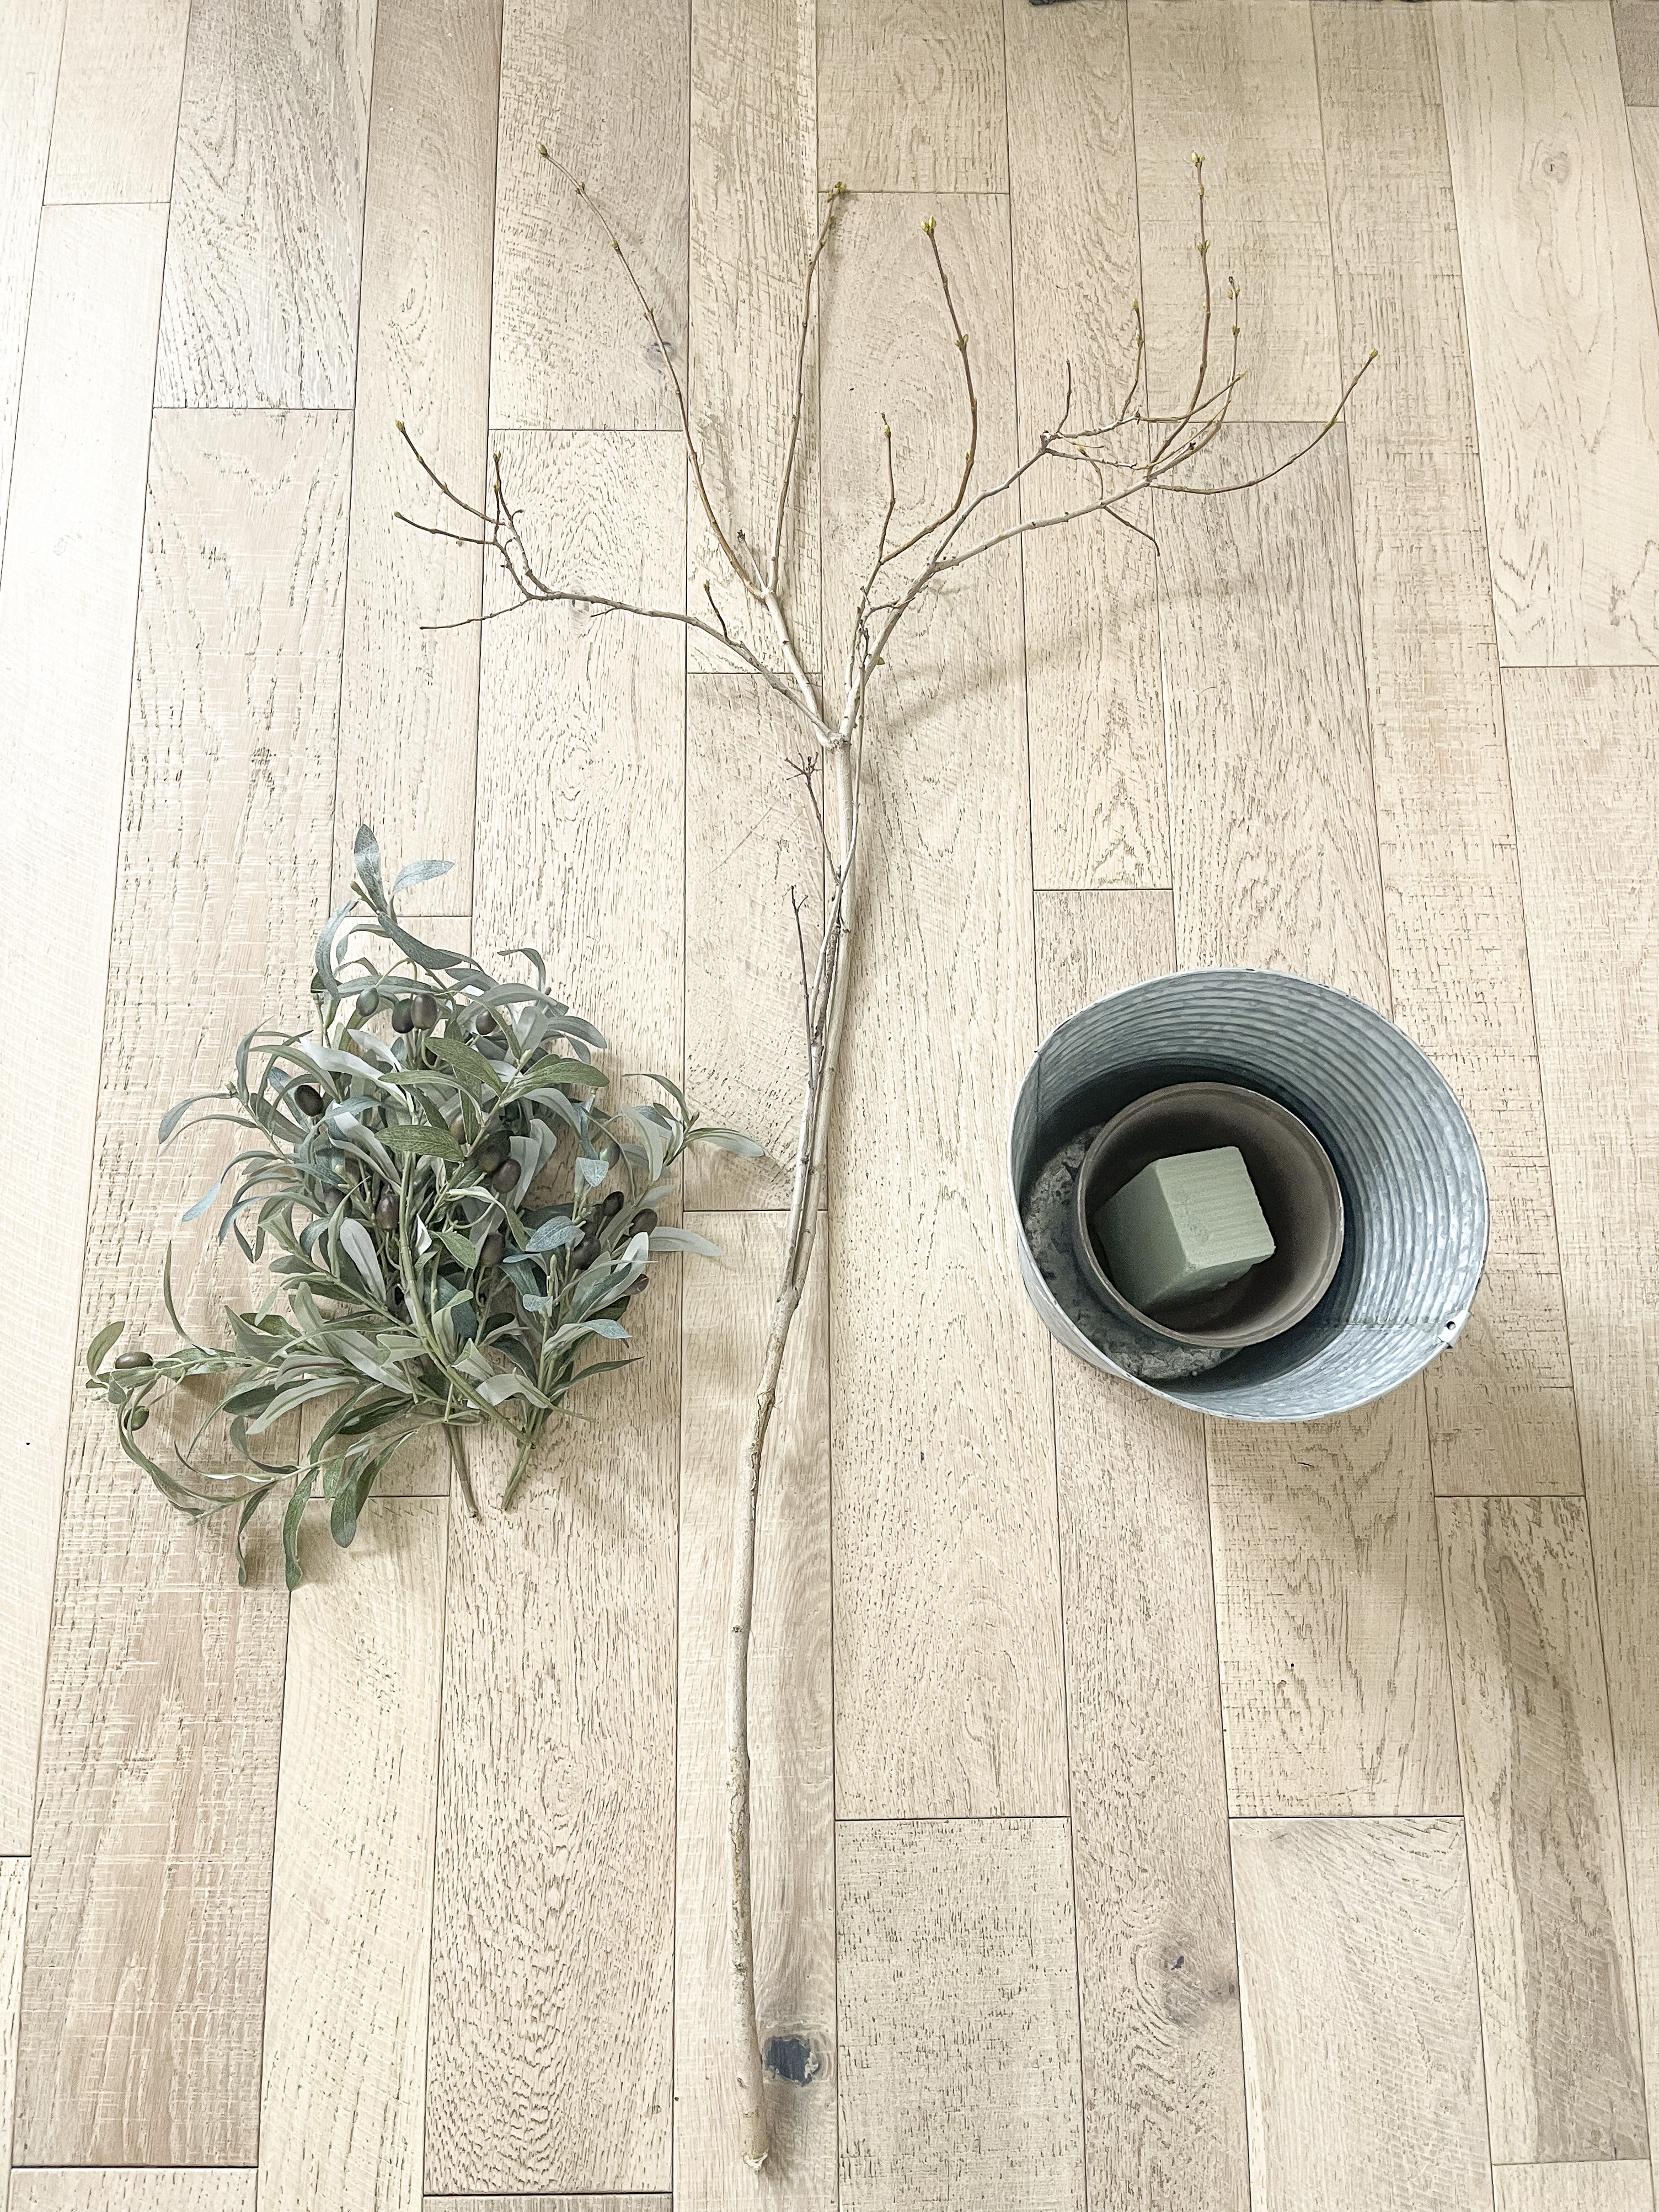
Once I had that, I put the floral foam inside of a terra cotta pot and then put that pot inside the larger container which was a metal bucket (I ended up switching to a basket later on). I stuffed some brown paper down inside nice and tight until it was secure. You could also use a bunch of plastic bags.
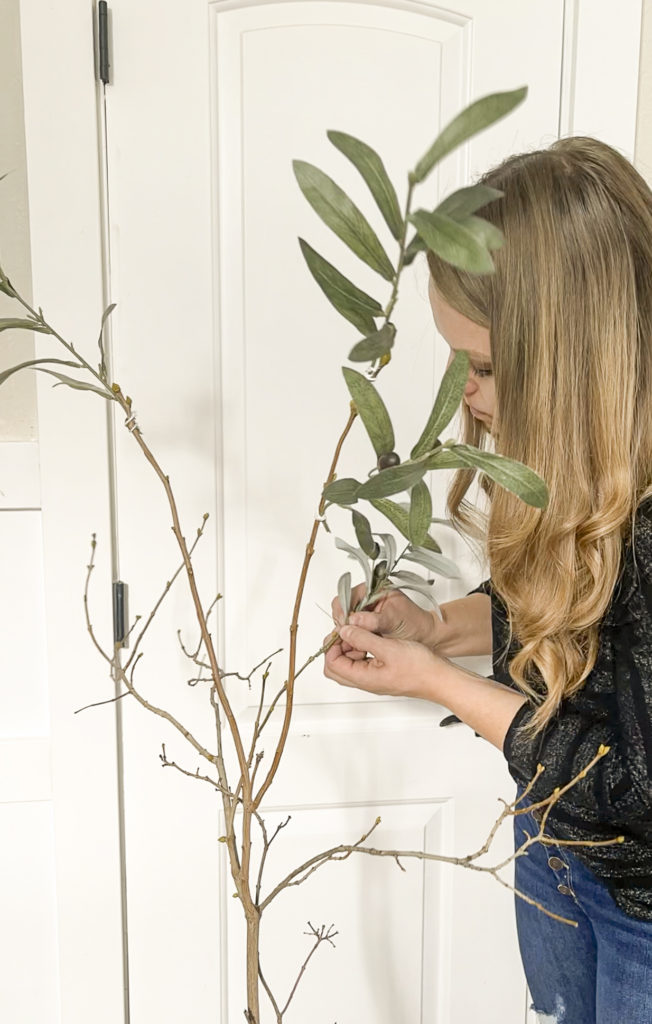
2. Use Floral Wire to Secure Olive Branches
I had some faux olive branches on hand from Hobby Lobby and they had just been sitting down in the basement. I used my wire cutters to cut each spray down in to several smaller pieces. Then using floral wire, I attached them on to the branches.
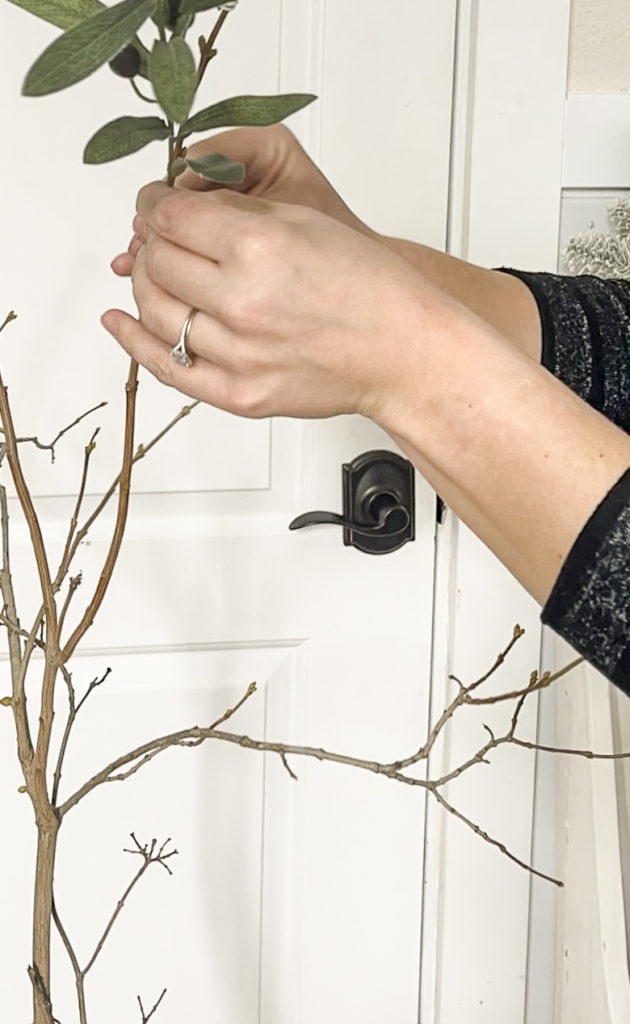
I didn’t have a specific method, I simply added them wherever I thought they looked best.
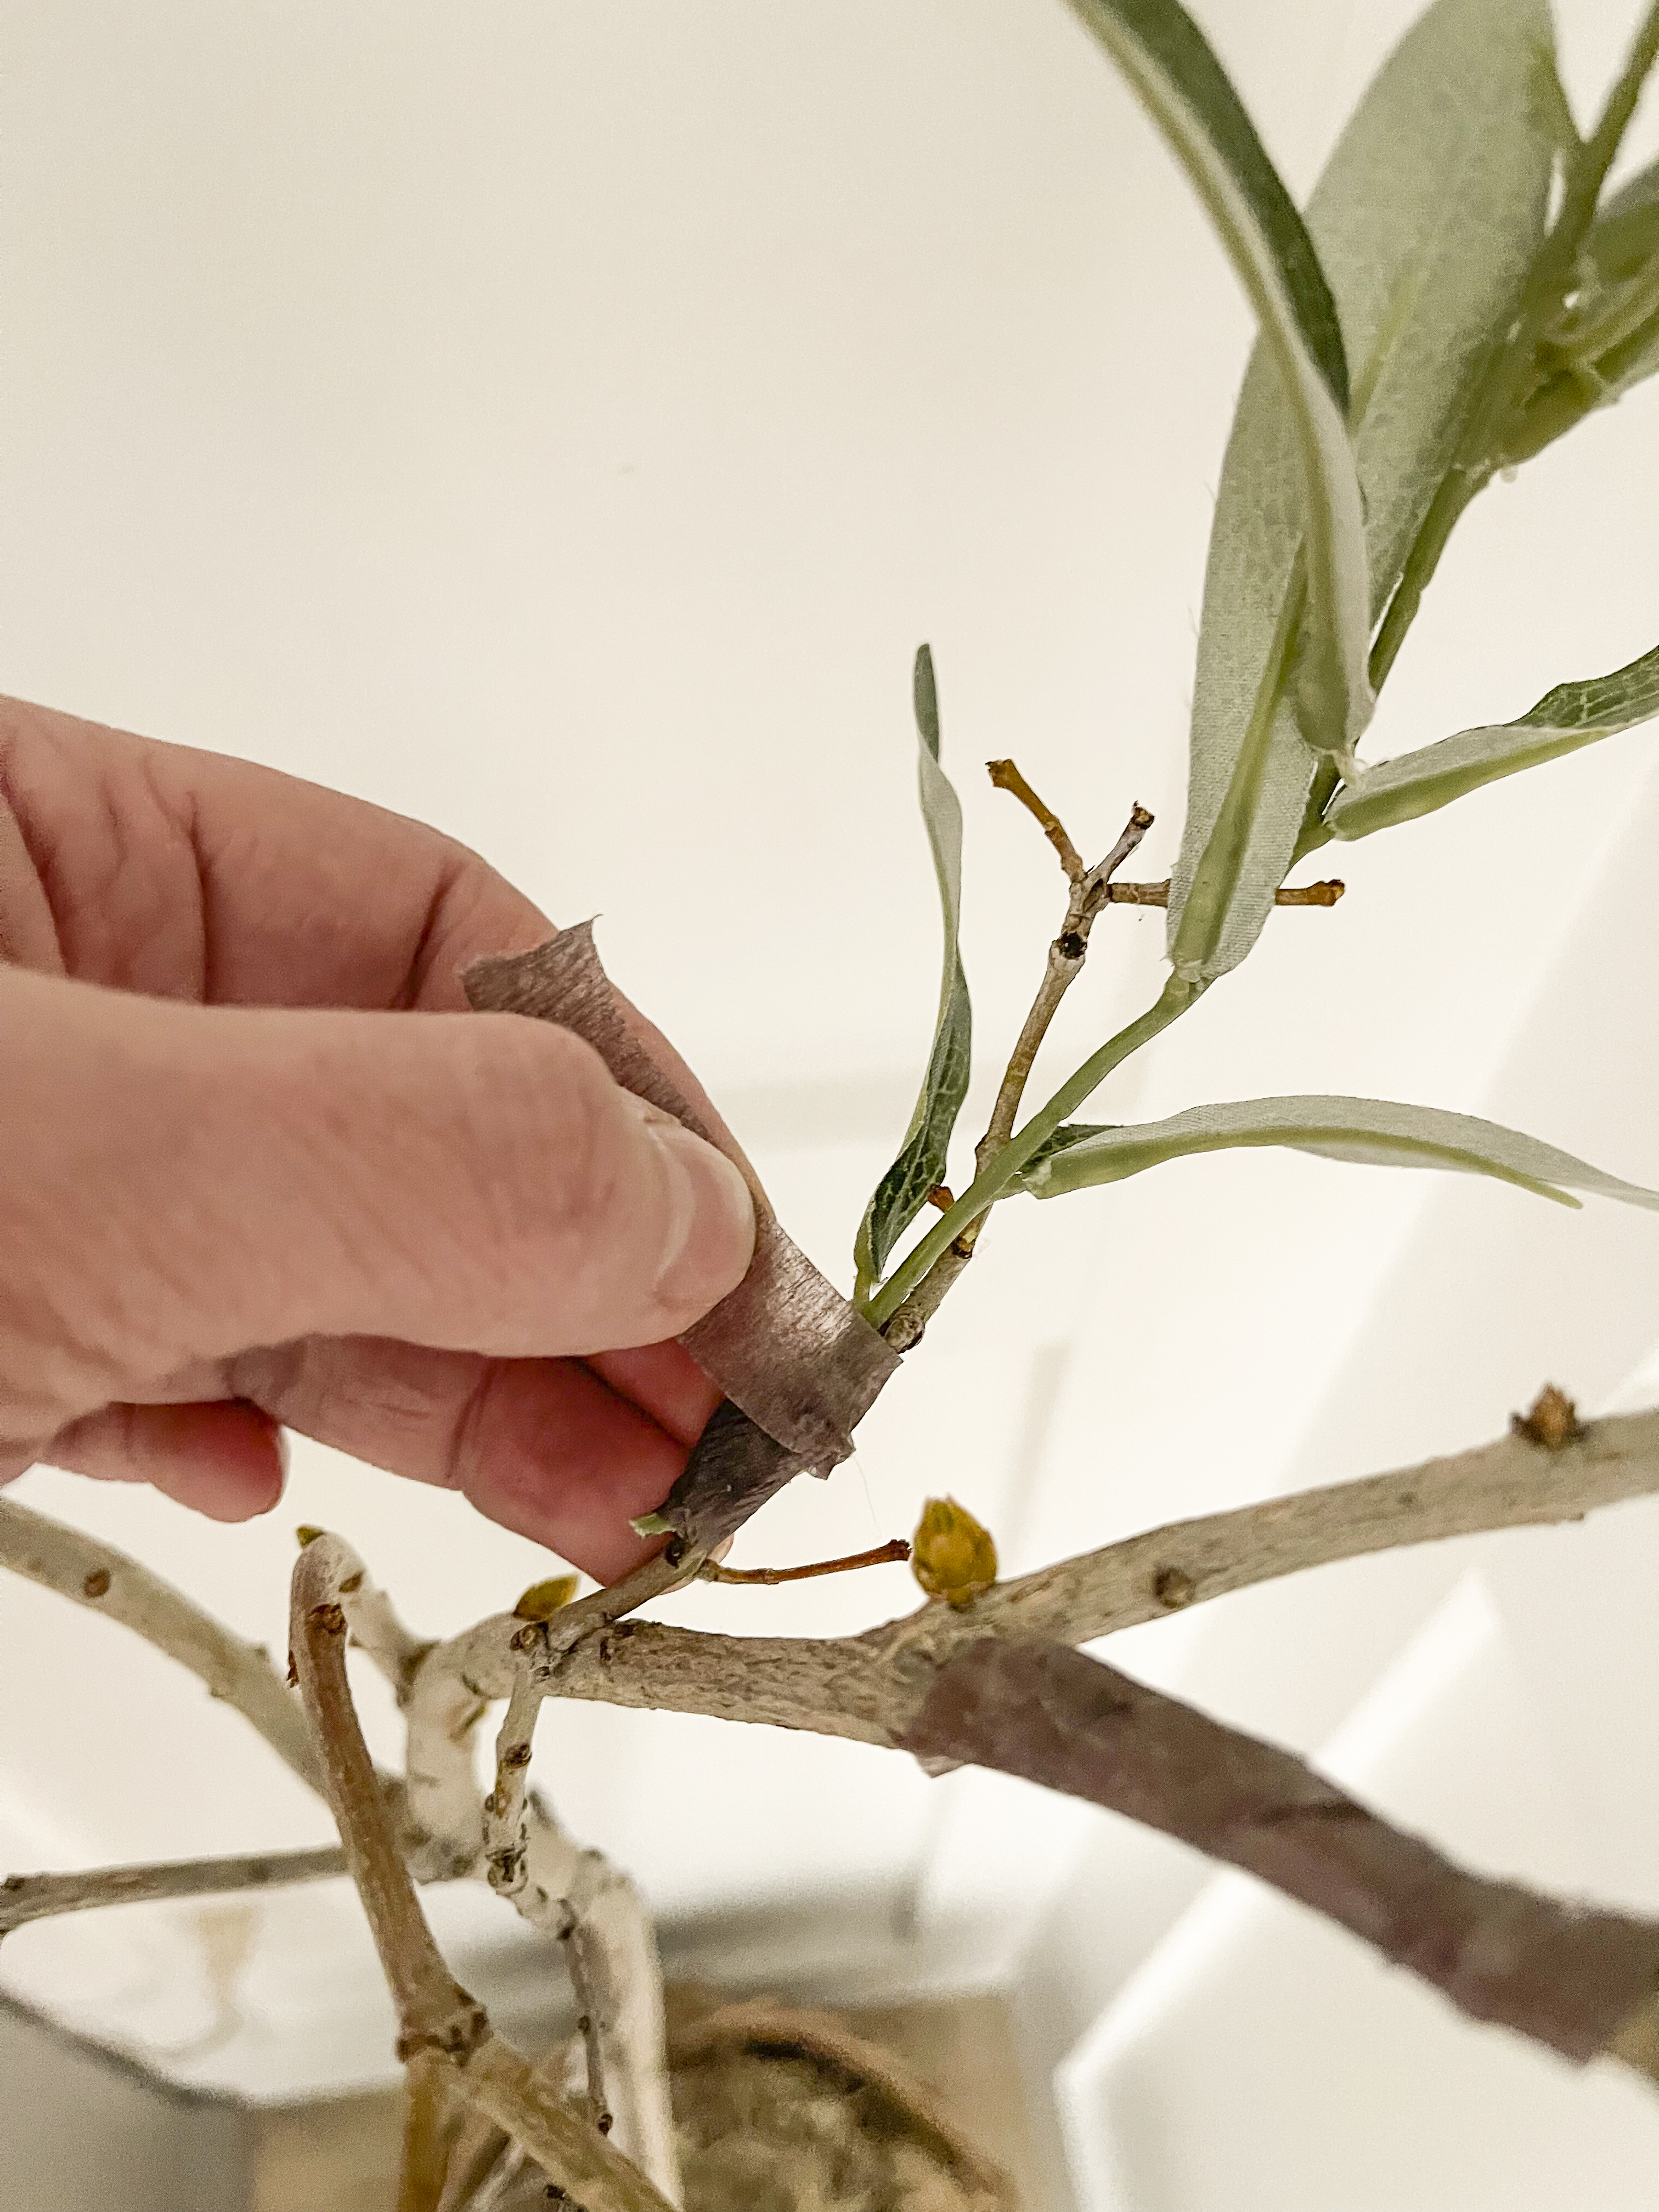
3. Wrap with Floral Tape
I actually left it as is for a while and hardly noticed the floral wire. However, I later decided to go back and wrap the wire with brown floral tape for a more finished look. This was my first time using floral tape and I found it pretty easy to work with–it reminded me of a sticky crepe paper haha.
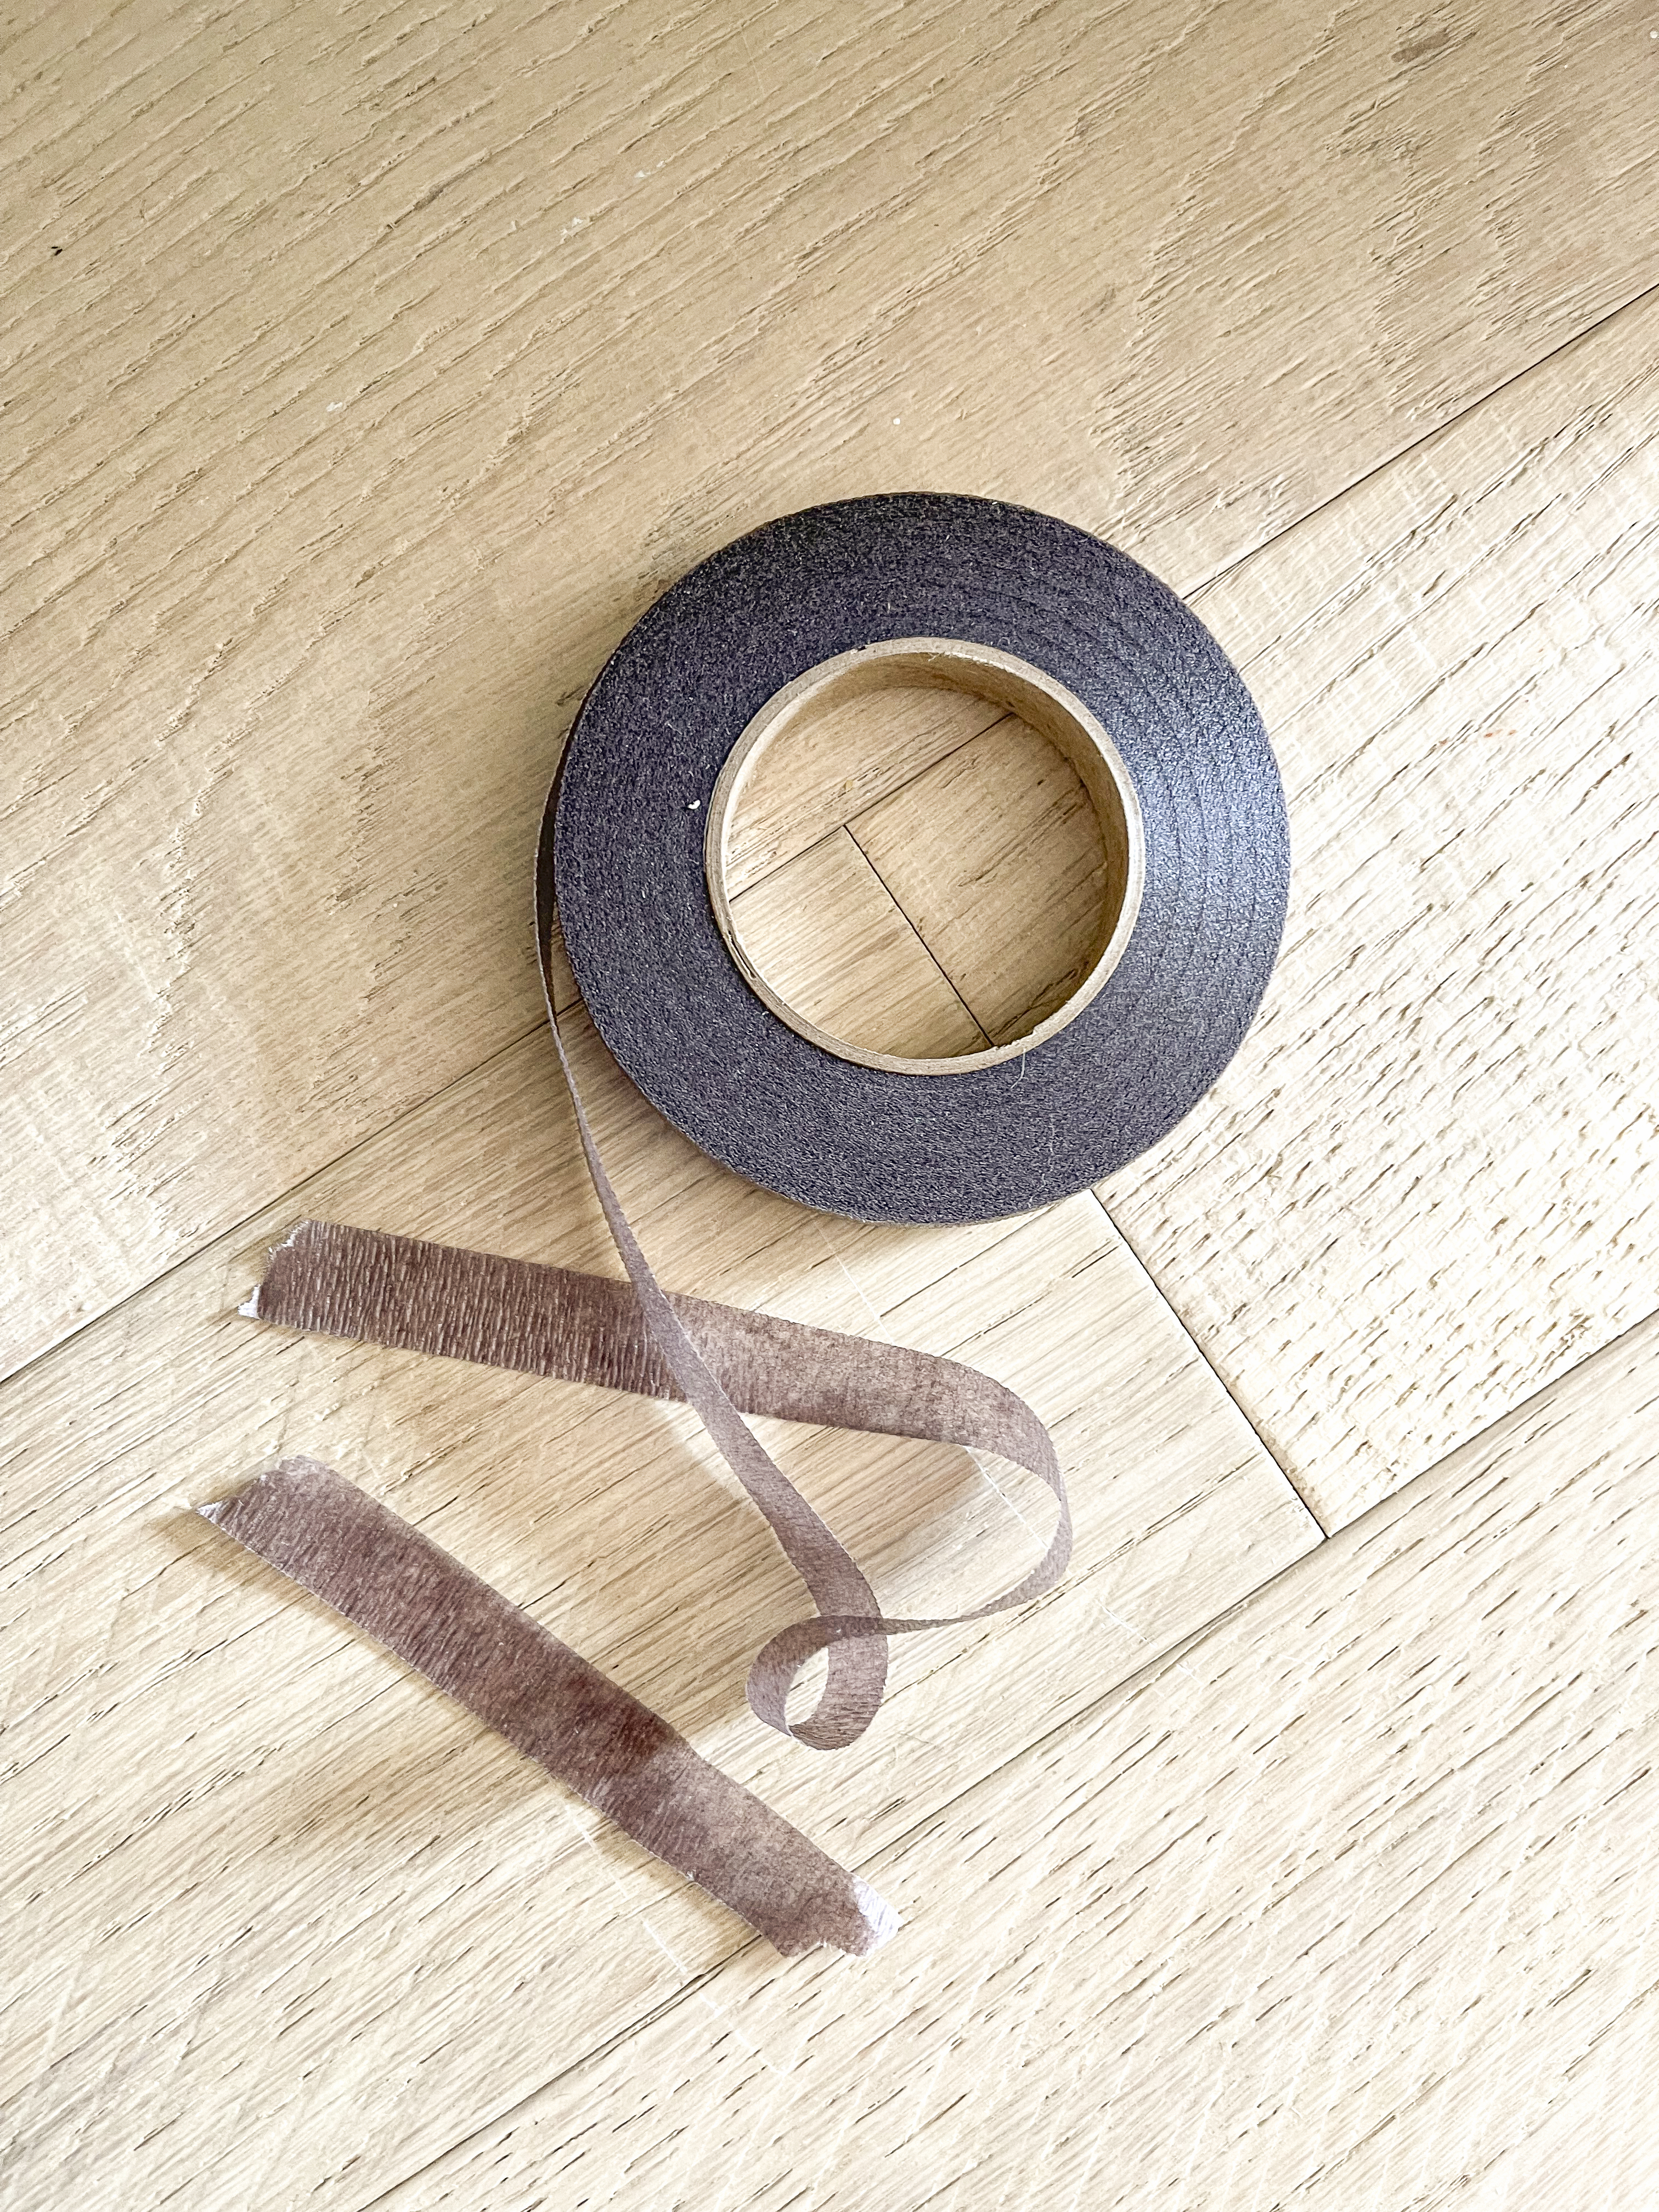
I found that you can’t pull too taught, or it will break. After gently wrapping it, I went back and pressed it down to form on the branch.
When I was all done, I placed some Spanish moss at the base and this is how it turned out.

I took these pictures before putting on the floral tape–see what I mean about the wire not being too noticeable unless you are right on top of it and looking for it?
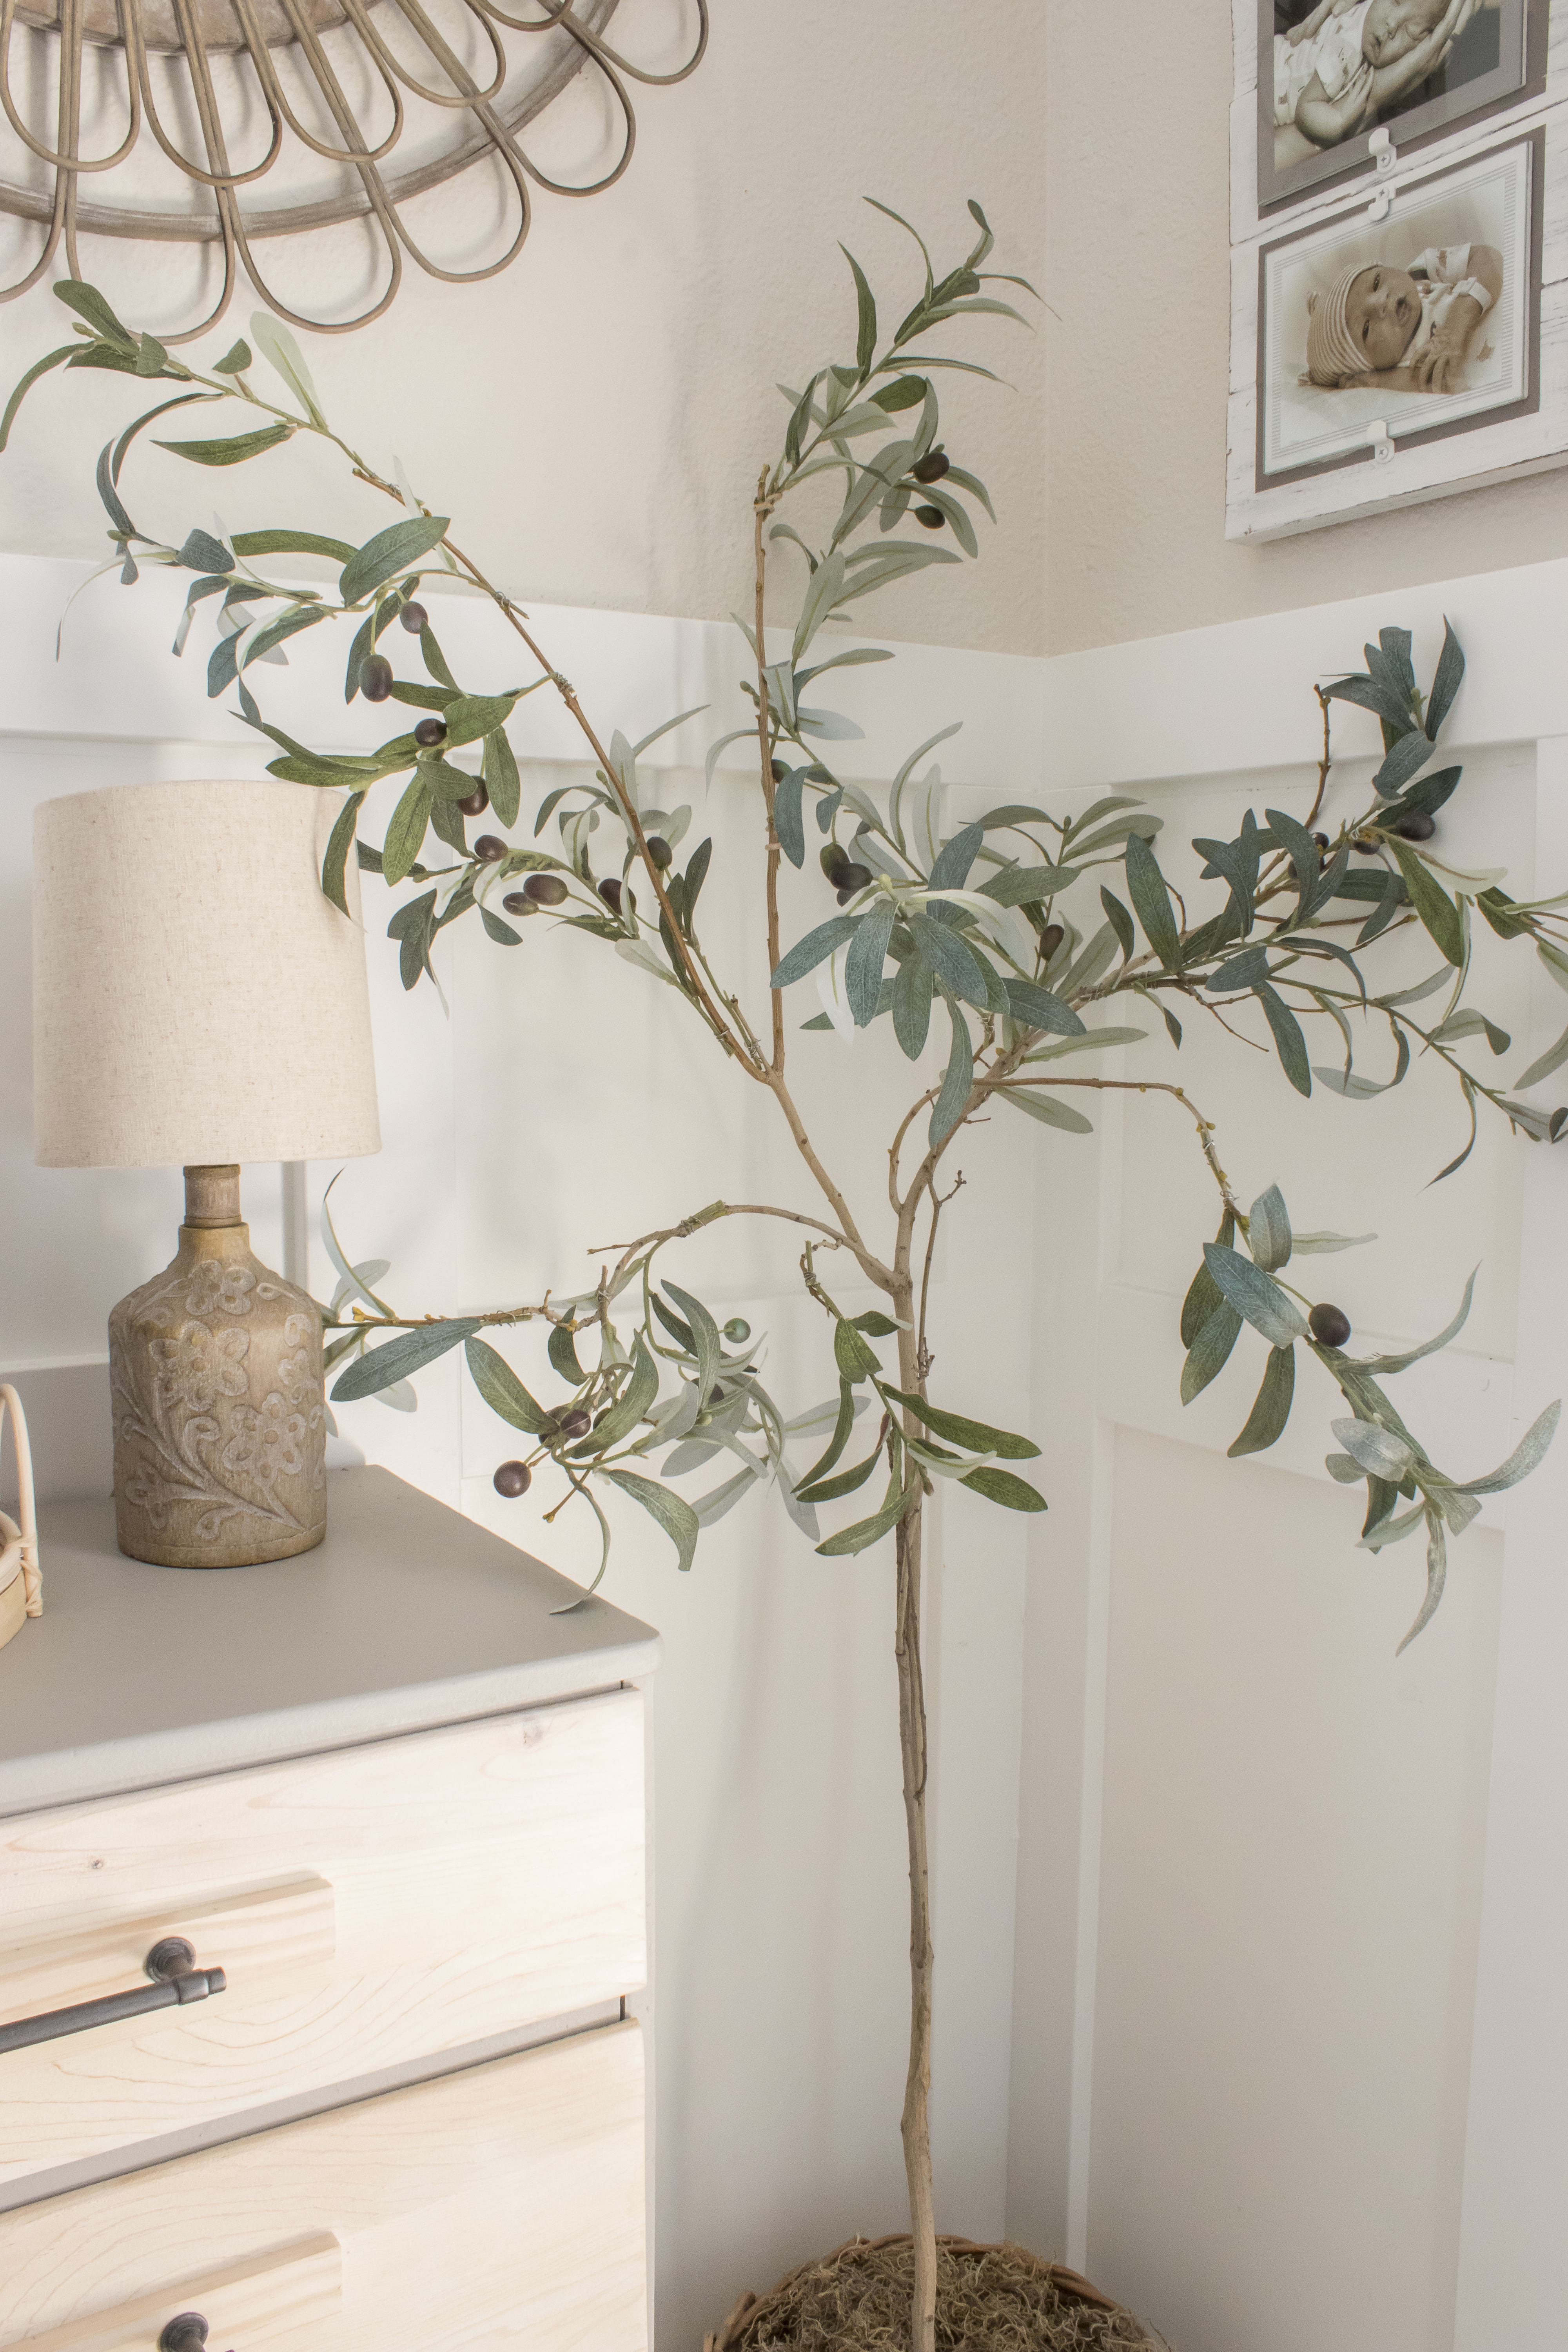
I enjoy how it looks at the end of this hallway and it fills that corner perfectly.
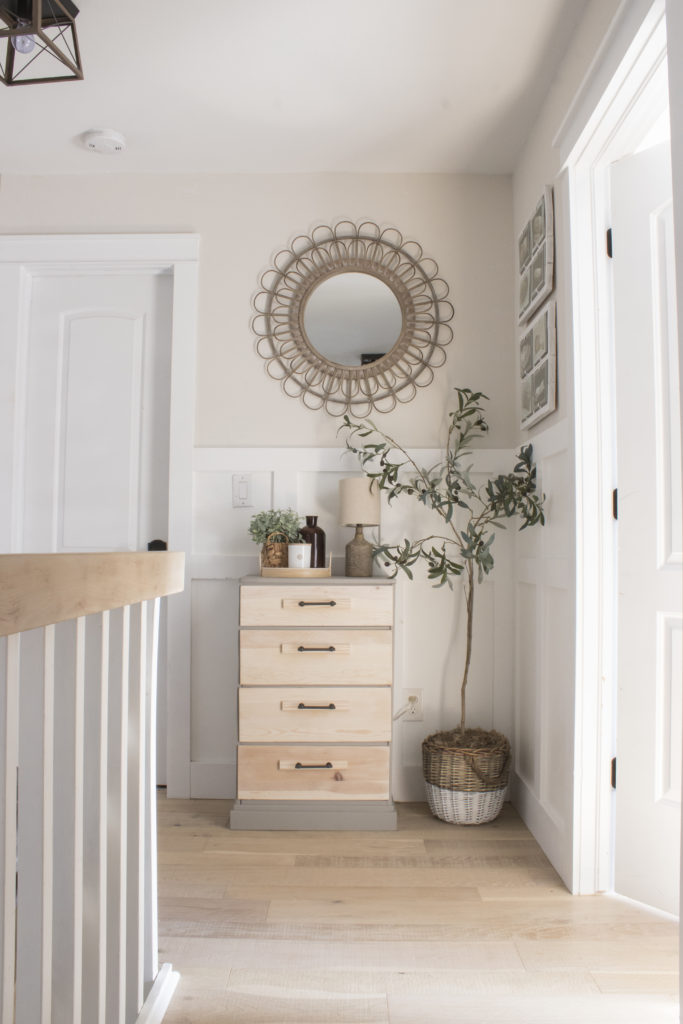
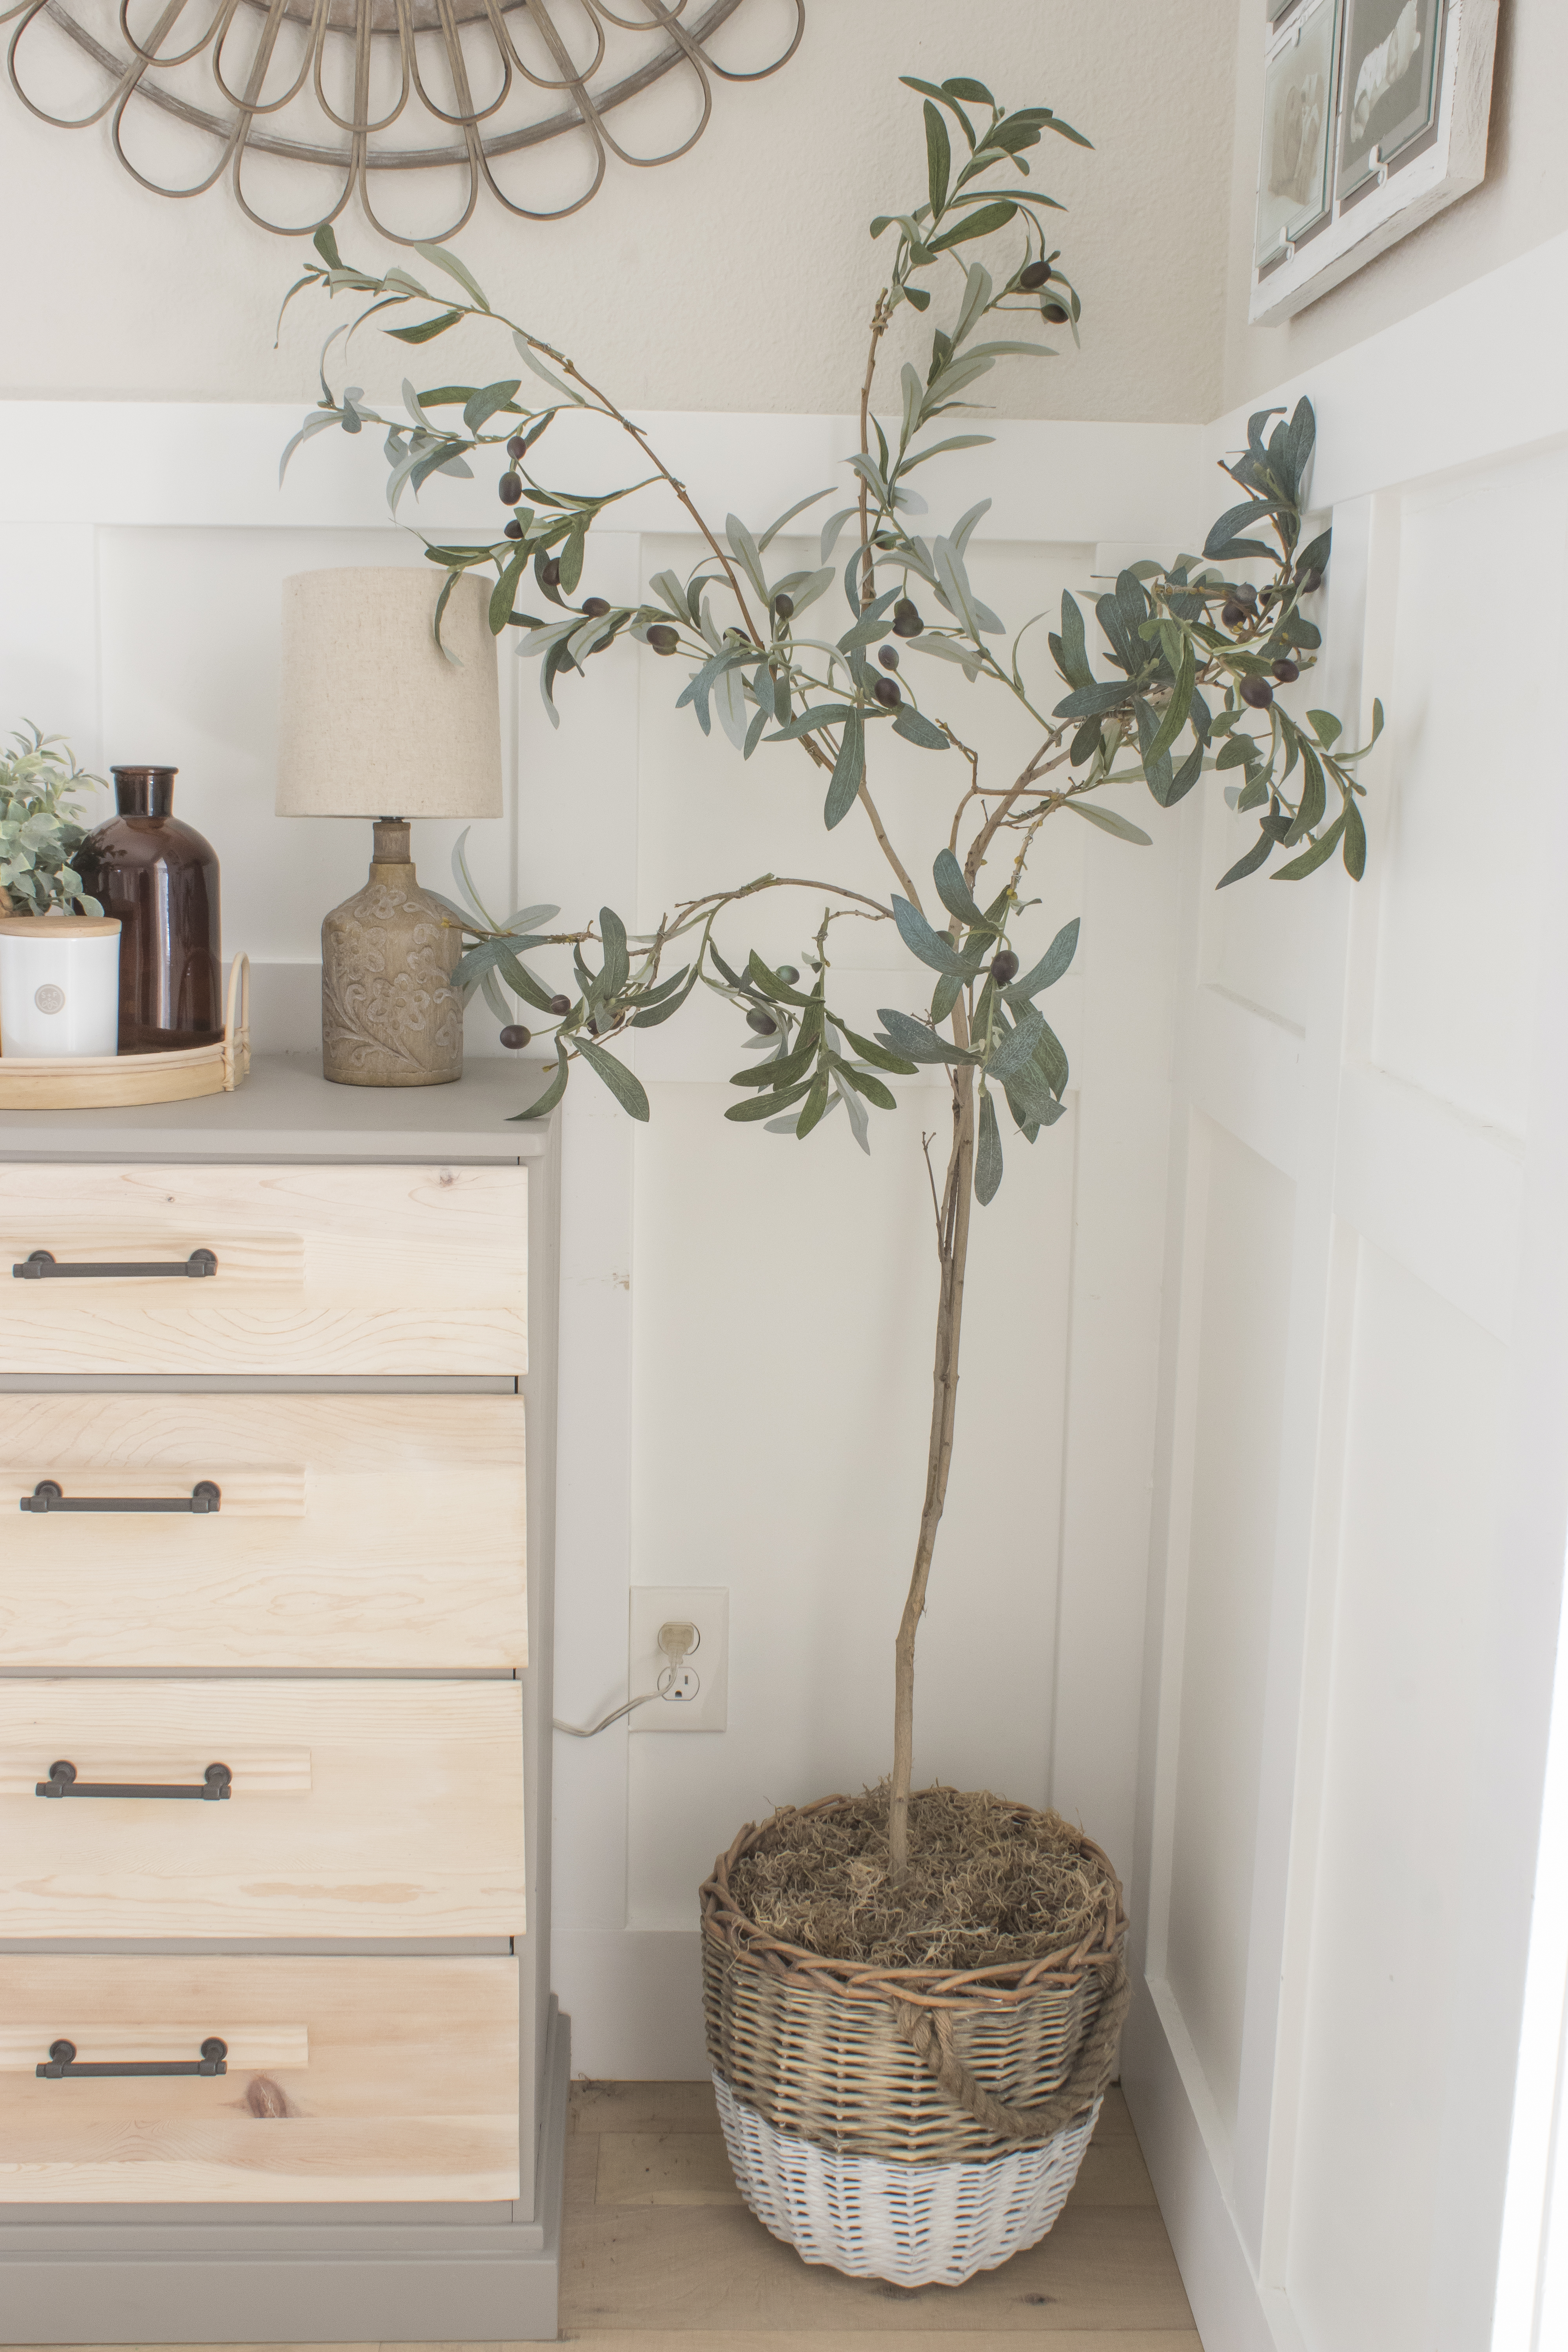
The price for one this tall would be at least one hundred dollars, so I’m pretty excited with my version that cost me less than ten bucks since I only had to buy the moss and floral tape.
Have a safe and happy weekend my friends! 🙂
Linking up to these awesome parties!
(Affiliate links may be provided for convenience. For more info, see my full disclosure here.)
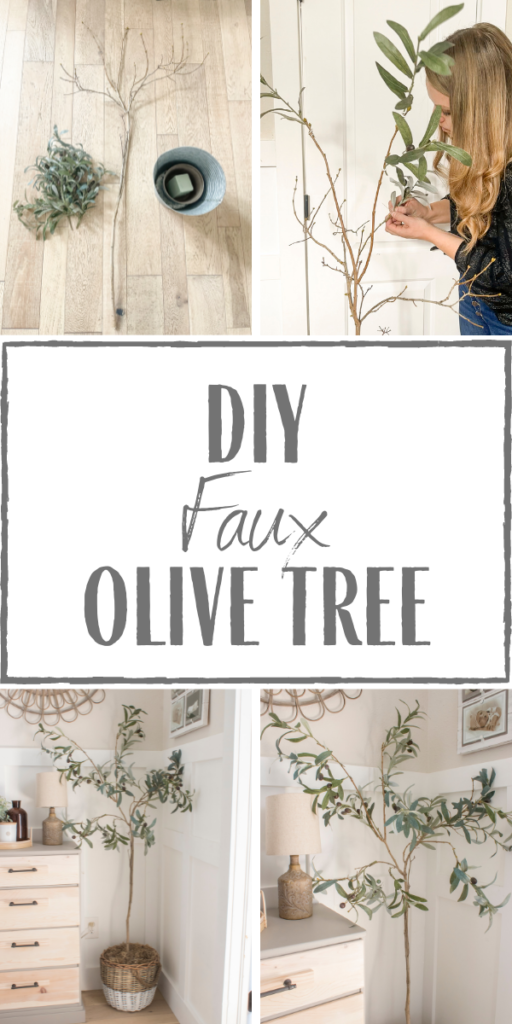
PIN FOR LATER!
Bravo Angela. I didn’t know I needed one of those. Now I do. Looks lovely, like everything you do.
Your olive tree came out very nice!
Oh, WOW, I really like it!
OOOoooo I love this! Such a great simple upgrade, that makes a huge difference
I am really impressed with the olive tree and I intend to try to make one myself now. They are so expensive if you want to purchase on line or a store. At least your version is doable. Thank you
Angela, you just saved me about $150! Adding an olive tree to my decor is something I’ve wanted for over a year. I have plenty of tree branches to make this DIY:)
I would love it if you added this post to my Friday with Friends link party:
https://myhubbardhome.com/friday-with-friends-wearing-the-green-link-party/
Thanks,
Rachelle