Hello friends! I can hardly believe that the month of March is almost over and that tomorrow we enter April–that was sure quick, wasn’t it? April is one of my favorite months since the weather usually warms up a bit, we celebrate our anniversary and Easter, so I’m not complaining!
When we first purchased our dining table set many years ago, we were soooo excited. However, after several spills from our toddler at the time we were sad to realize that instead of being made out of solid wood, it was actually veneer. UGH! Over the years the spills continued and practically the whole top has bubbled up. Since a brand new set is out of the budget right now, I’ve had my eyes peeled on Facebook Marketplace for something that I could fix up.
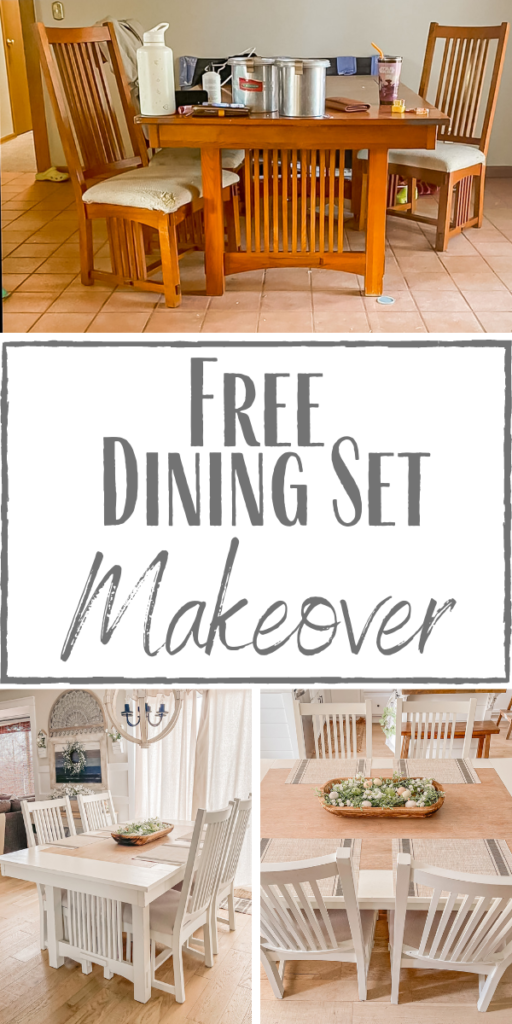
A couple of weeks ago I found this set–for free!
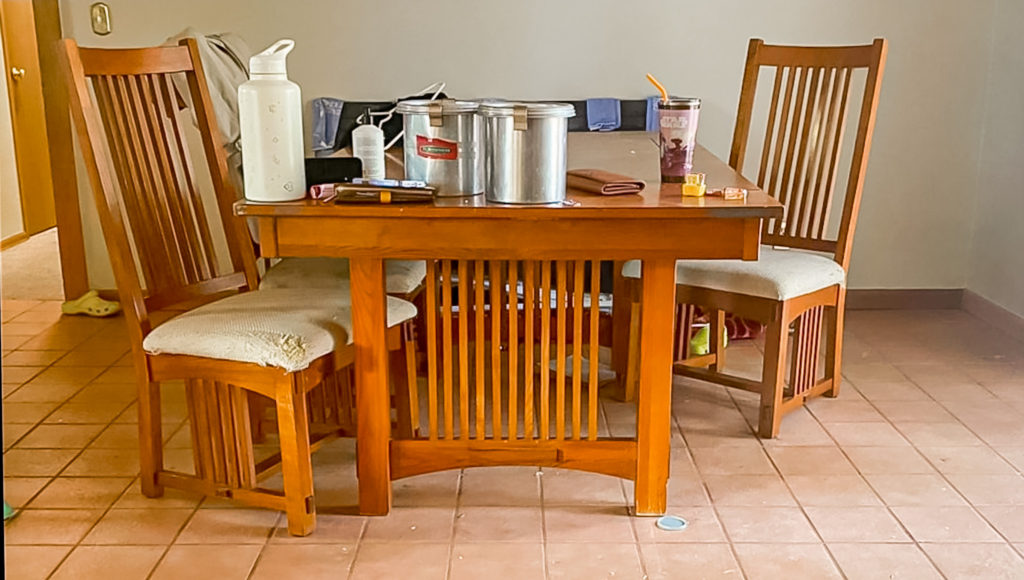
Sure, it wasn’t my style as is, but I totally thought that I could spruce it up and it would be perfect for us. I eagerly awaited the hubby to arrive home from picking it up but was so disappointed when I realized that the top of the table was veneer! Noooooo….
As luck would have it, I actually found another table (that is solid wood all the way through) that very same day, so I decided to fix this one up to send it to a new home–hopefully one with less spills haha.
Supplies Used:(Affiliate links may be provided for convenience. For more info, see my full disclosure here.)
- Sander
- Paint Sprayer
- Flat Paint in SW Alabaster
- Frog Tape
- Vice Grip Pliers
- Drop Cloth
- Staple Gun
- Weathered Oak Stain
- Ultra Flat Polyacrylic
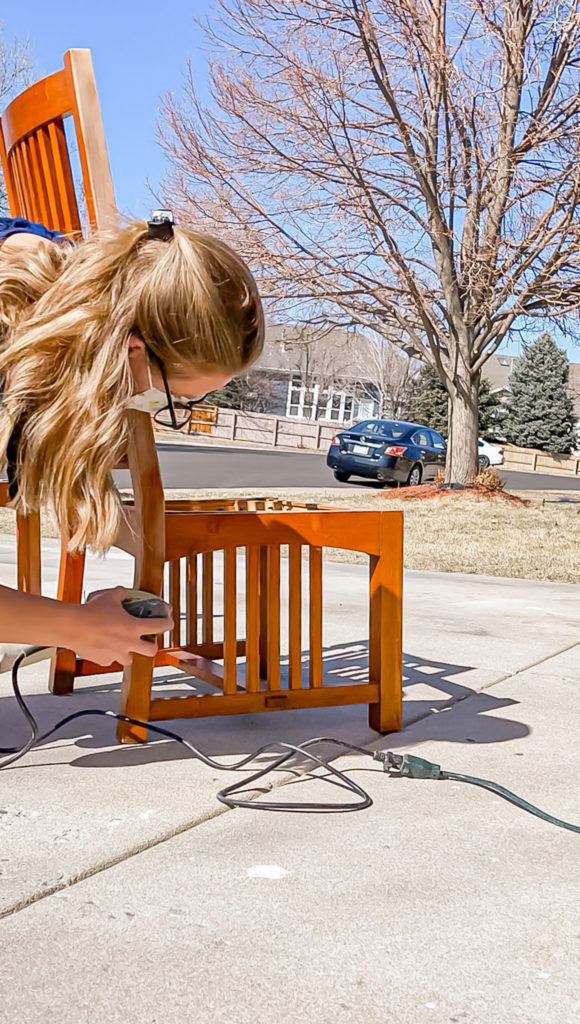
I began with the table first. I went over all of the pieces with my electric sander to rough them up a little so that the paint would adhere nicely.
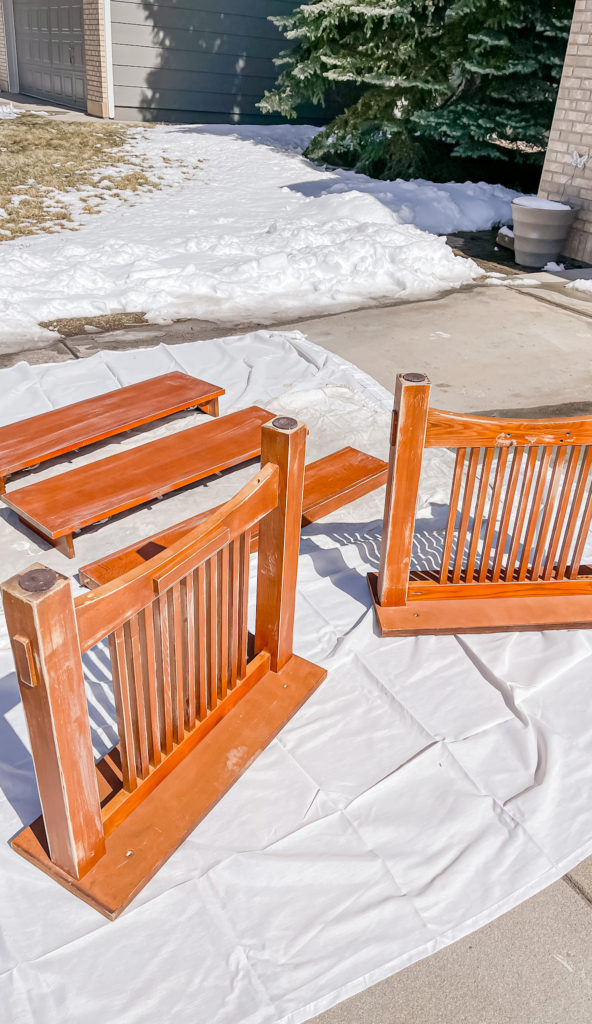
I wiped them down and then laid them out in the driveway. I filled up my paint sprayer with flat latex paint in the color Alabaster by Sherwin Williams and got to work.
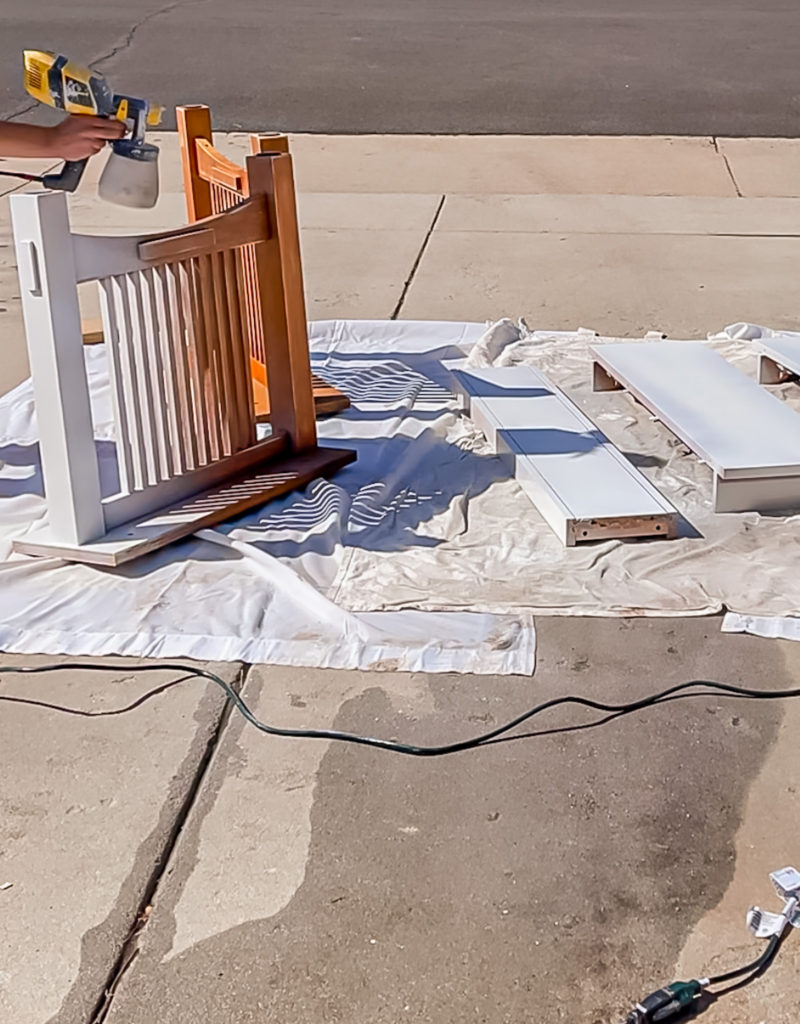
I did a total of three light coats and made sure to brush out any drips as I saw them.
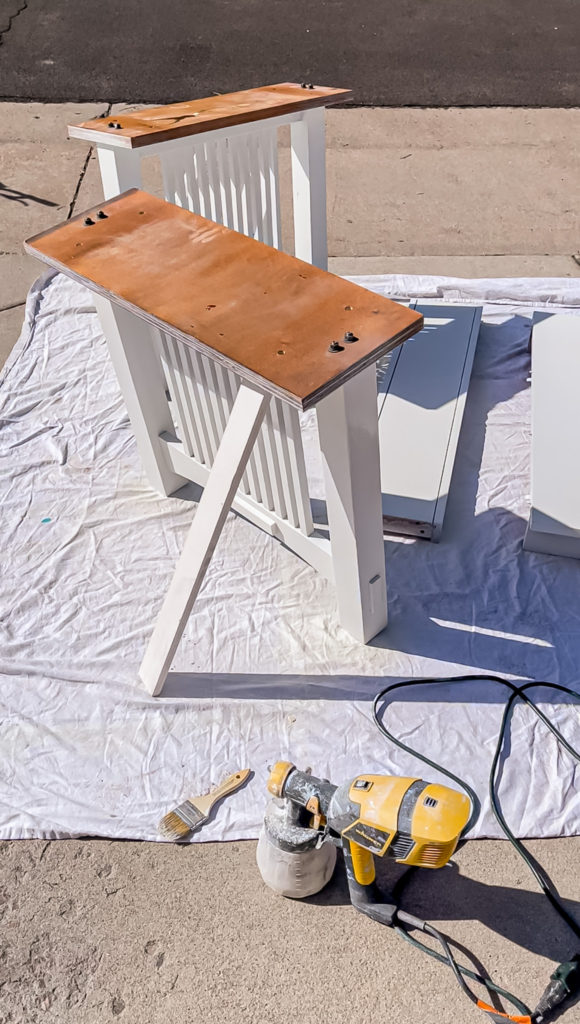
My original plan was to have the top be all wood, however while I was sanding I accidentally went through the veneer in some spots and I also realized that you could see the MDF on the sides. Since the middle portion was in good shape I moved to a plan B!
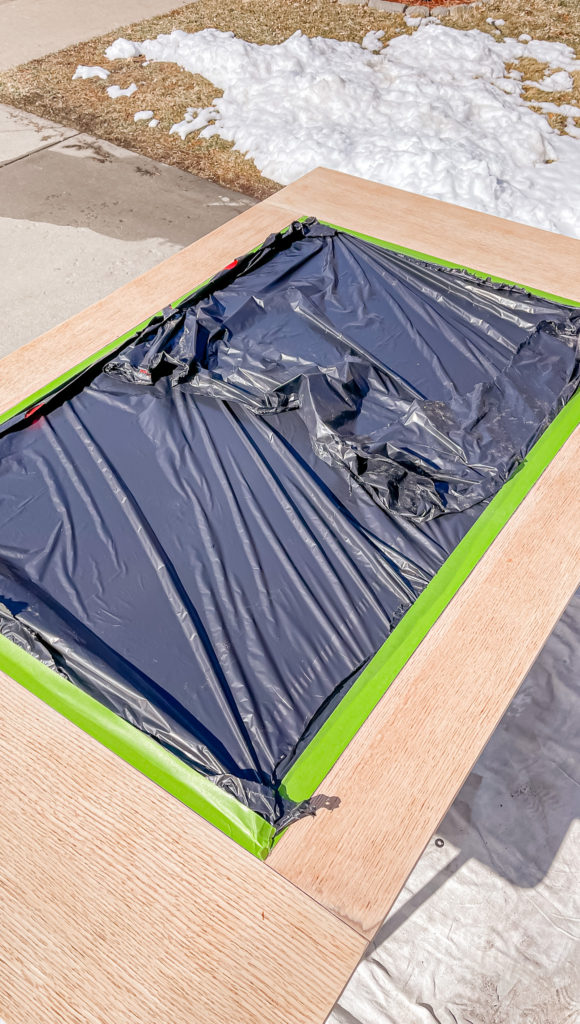
After using Frog Tape and cut open garbage bags to protect the center, I filled up the paint sprayer again and gave the whole thing 3 light coats of paint.
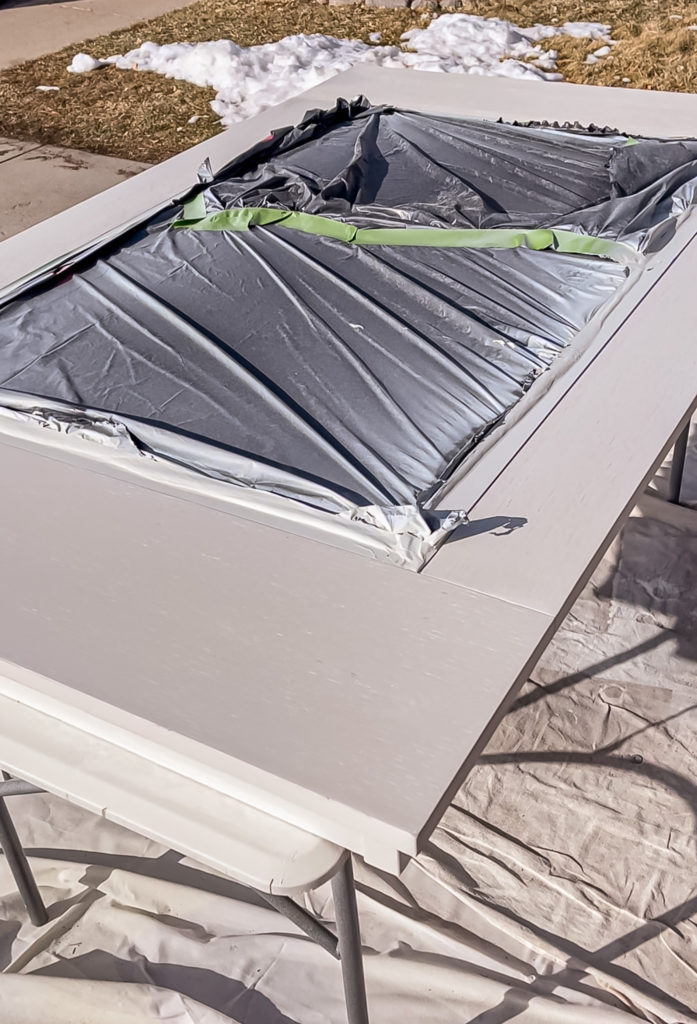
At the end of the day, I moved it all into the garage and the next day I started working on the chairs. The old fabric was soooo gross and the dog wouldn’t leave them alone because he could smell what was probably decades of dirt on them!
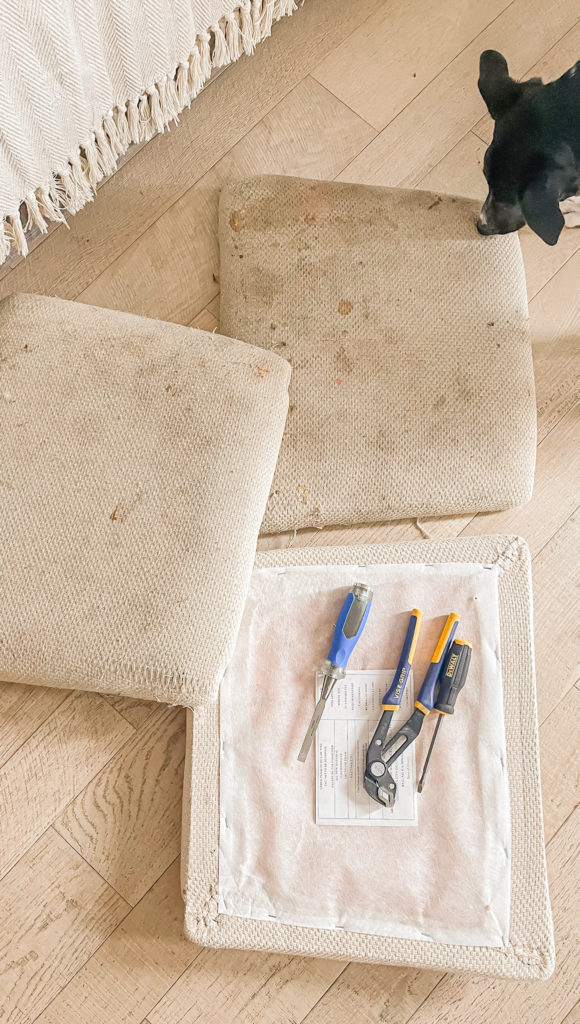
I grabbed my tools, got comfy and started deconstructing them. I used a flat head or the chisel to pull the staples up (depending on how stuck it was) and then went back with vice grip pliers to pull them all out.
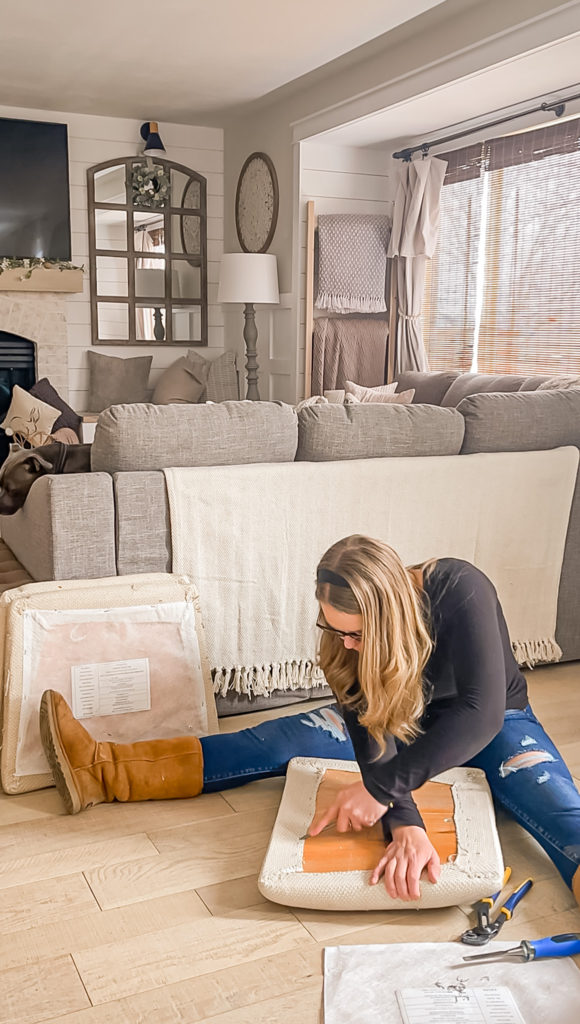
Word of caution here–make sure that you keep your other hand CLEAR out of the way. I didn’t originally and one little slip caused me to slice my finger clean open–ouch! Once they were all off I gathered my supplies to reupholster them.
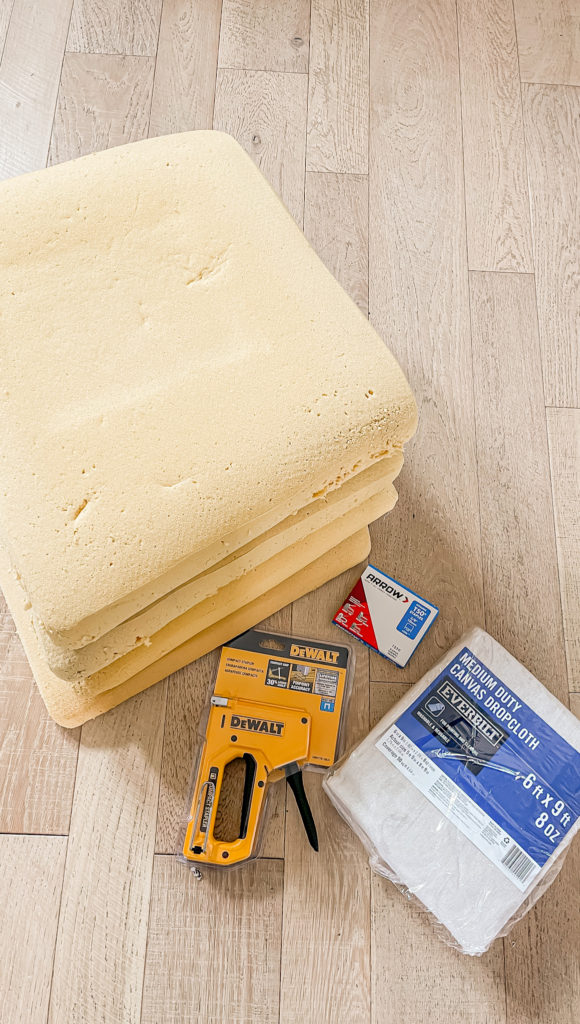
I saved one of the pieces of fabric to use as a template on my new fabric which was simply a $13 drop canvas drop cloth (my favorite linked here).
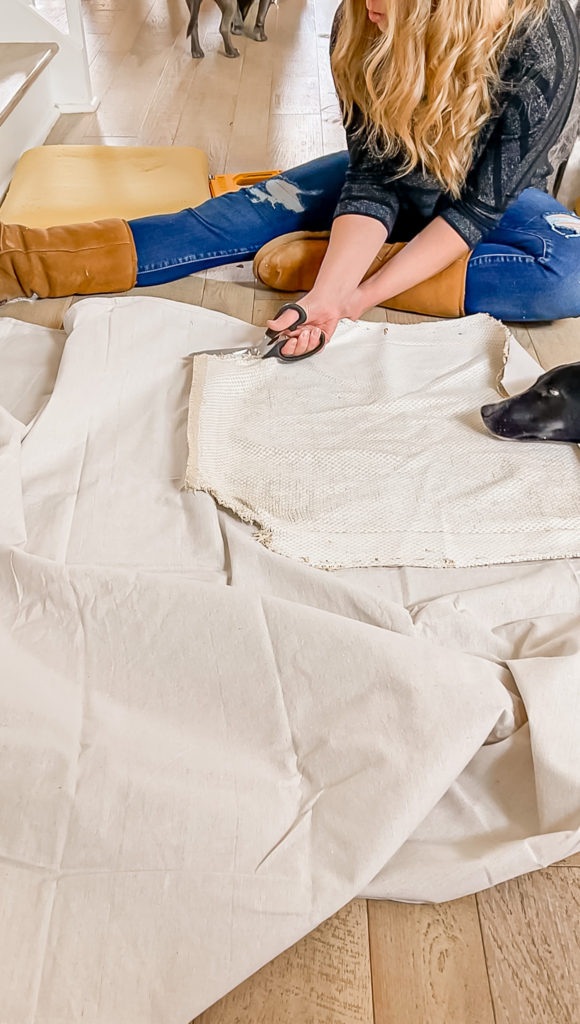
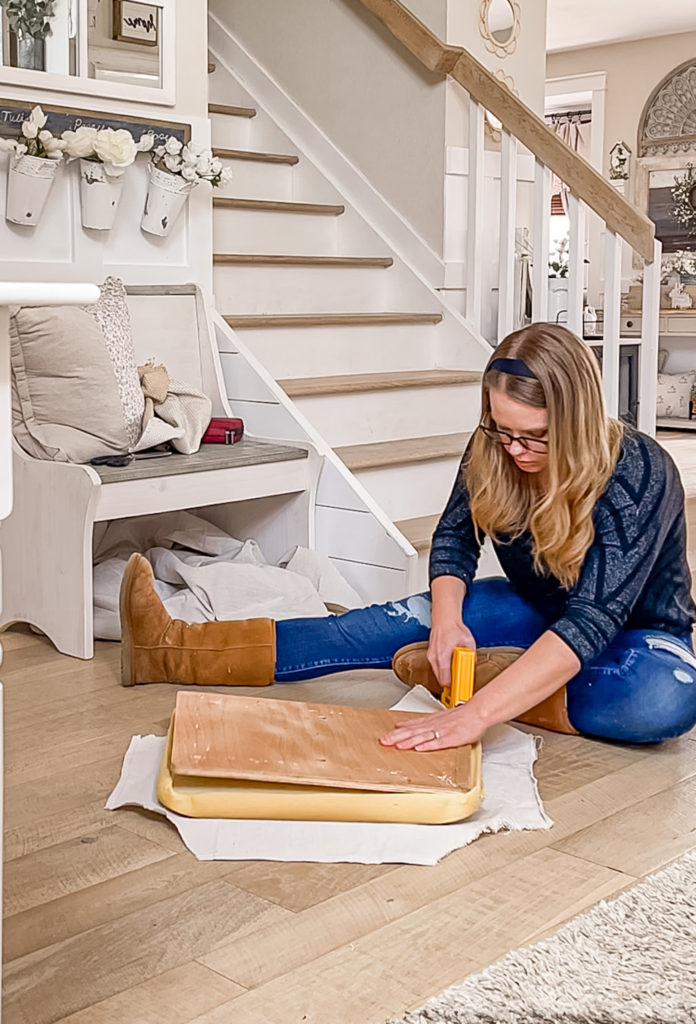
Attaching the new fabric took some patience, but I basically pulled, tugged and smoothed as I went.
Once those were done it was time to paint the chairs. Just as I did with the table pieces, I used the sander to rough them up a little.
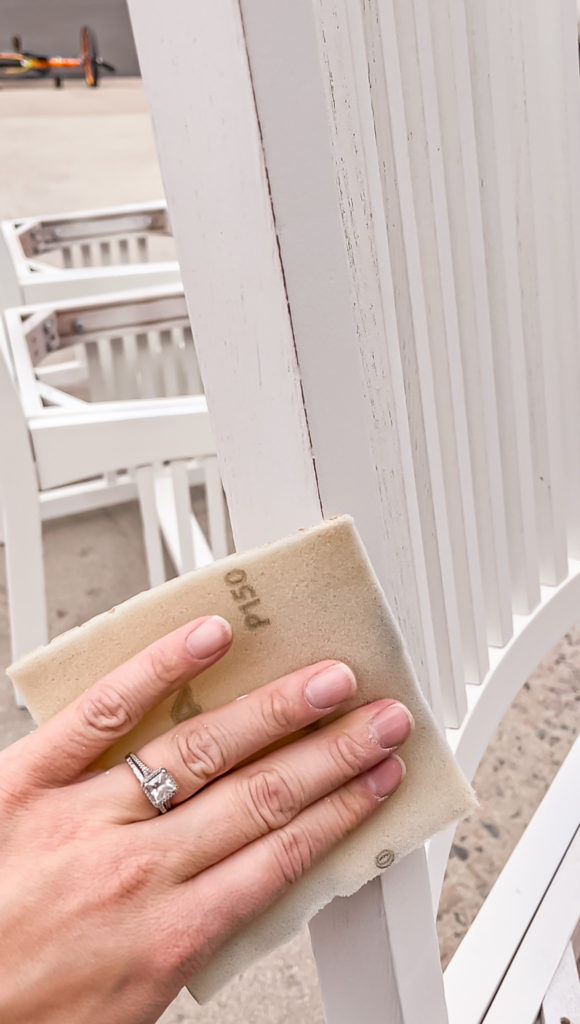
I gave each chair three light coats of paint and then once they were dry, I took some 150 grit sandpaper and lightly distressed them. I also went over the table pieces to distress those as well.
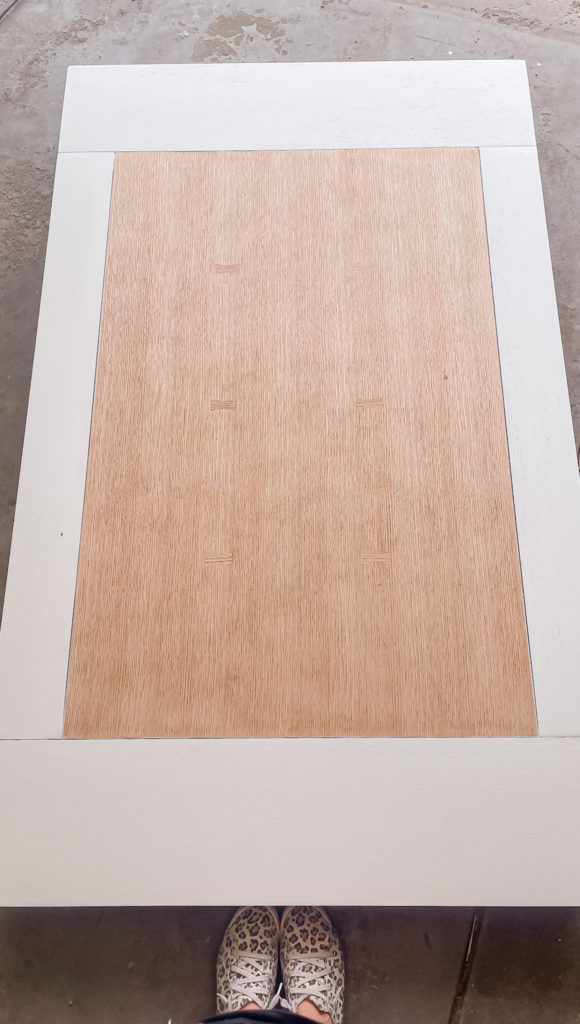
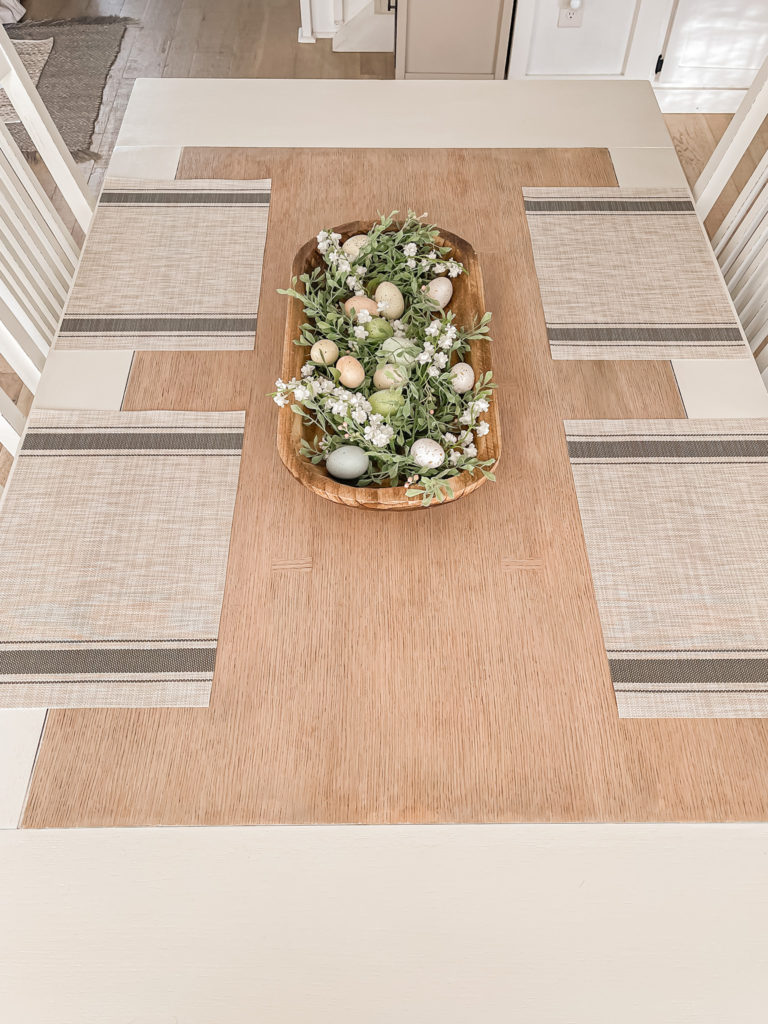
I wanted to add some slight color to the wood portion of the table so applied a coat of whitewash followed by a coat of Weathered Oak Stain. It turned out beautifully!
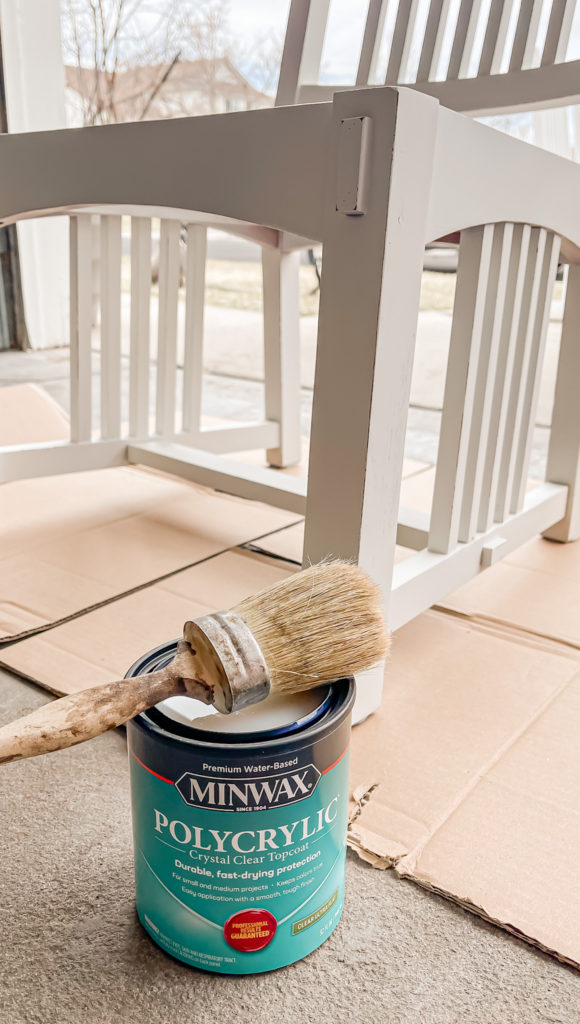
Even though it’s lightly distressed I wanted to protect it, especially that pesky veneer top! I applied a coat of Ultra Flat Polyacrylic to each chair and the base of the table and then two coats to the top (lightly sanding between coats).
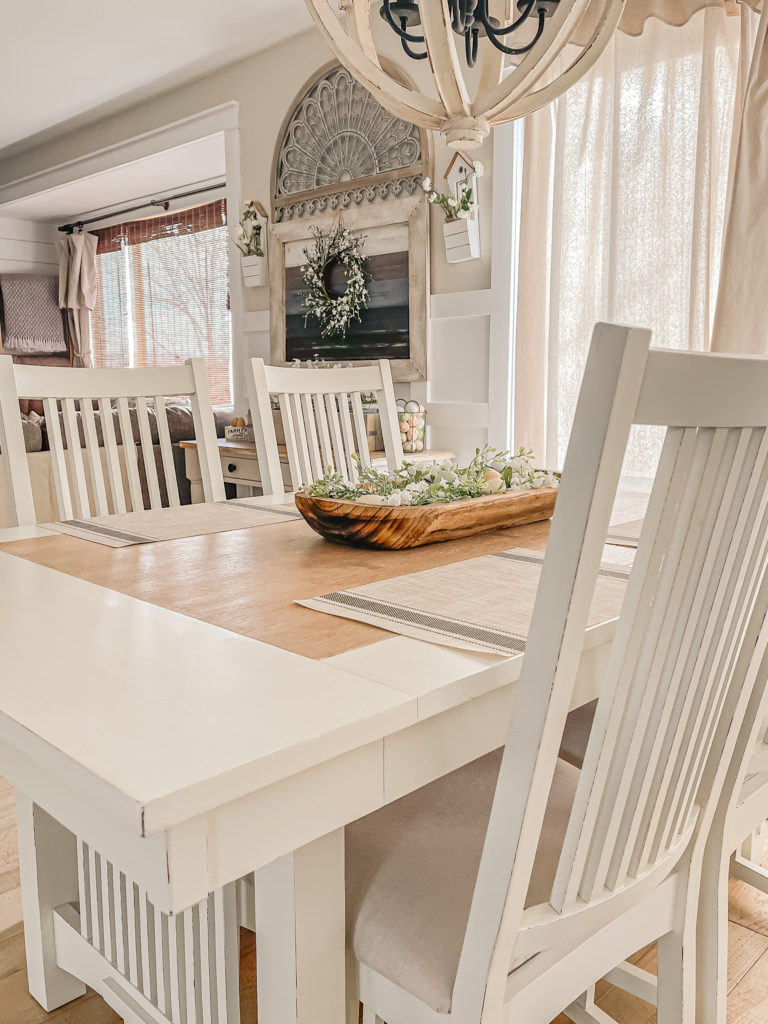
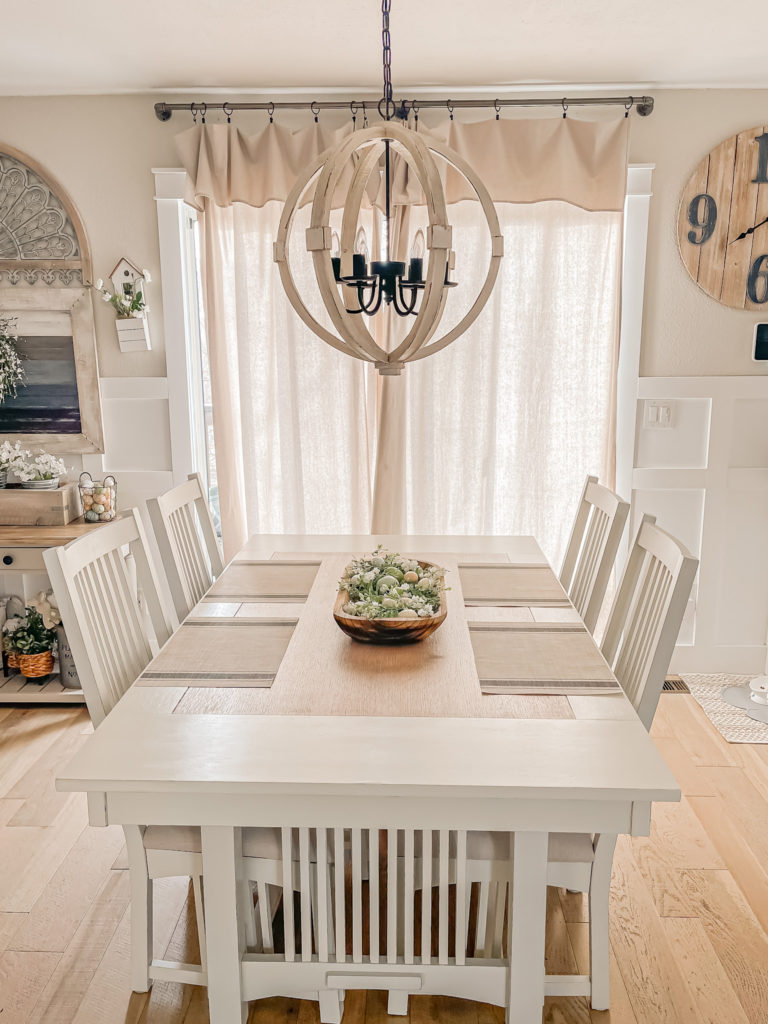
Here it is all finished up!
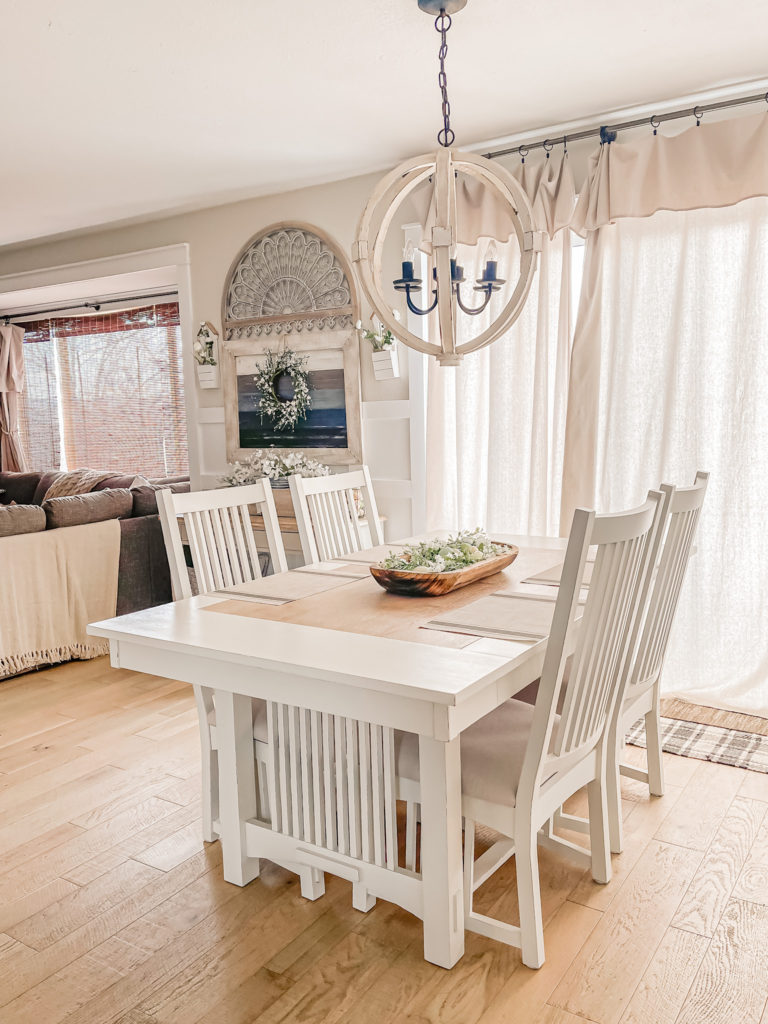
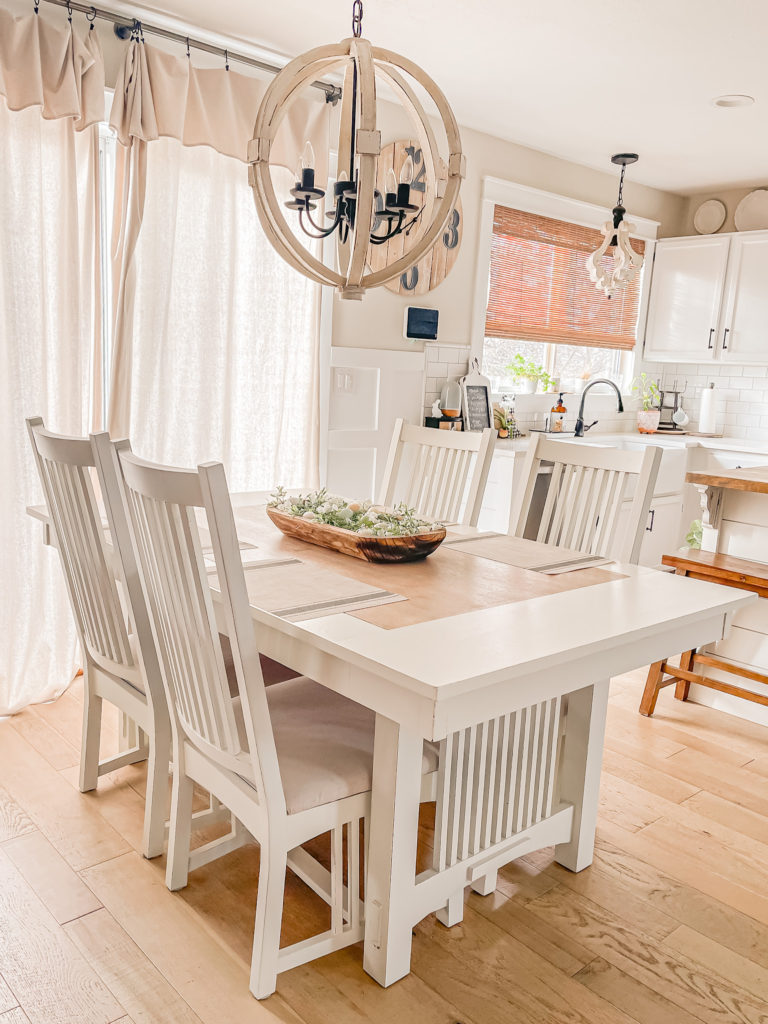
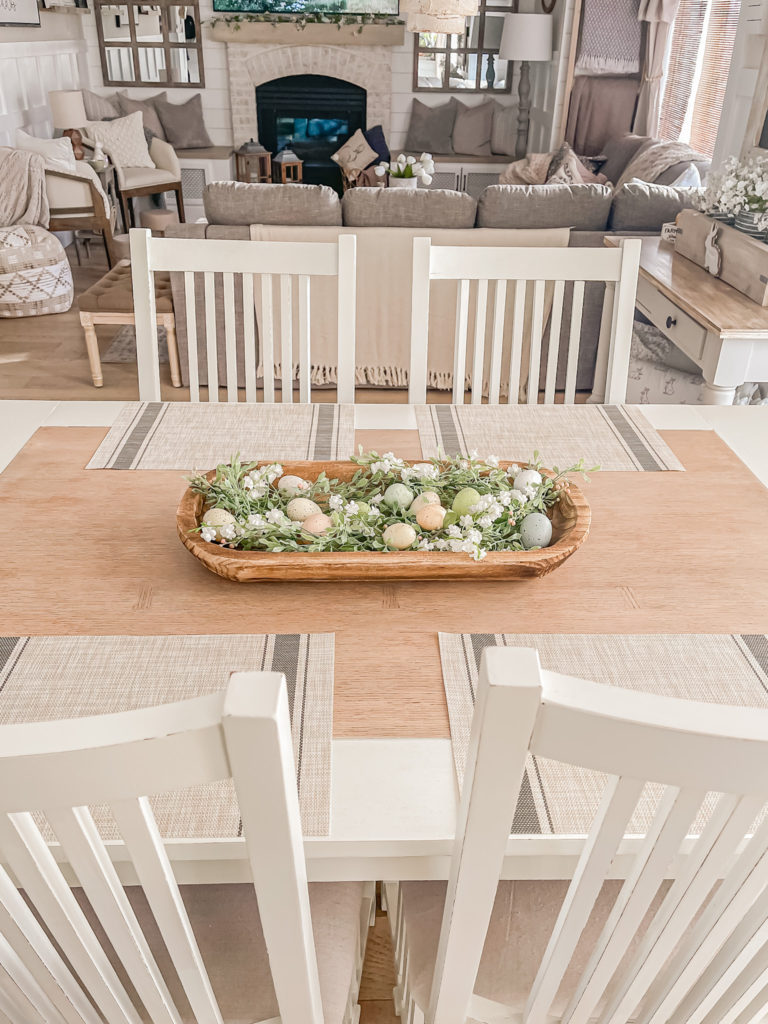
I always enjoy the contrast of white and wood and it looks so pretty on the top of this table.
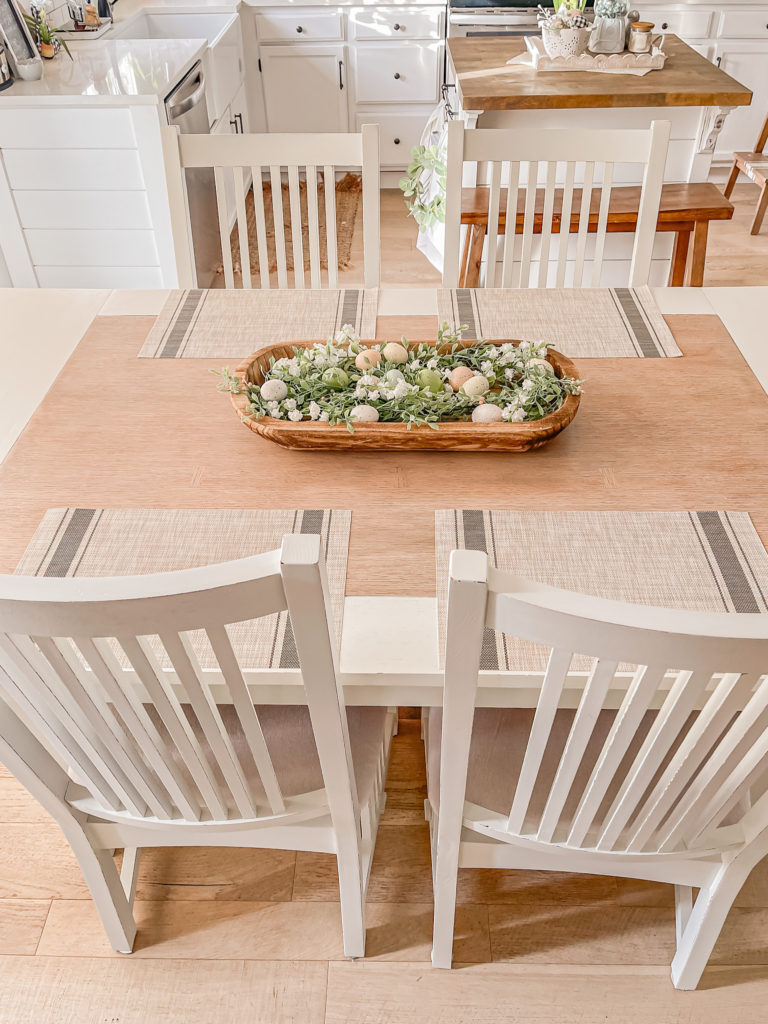
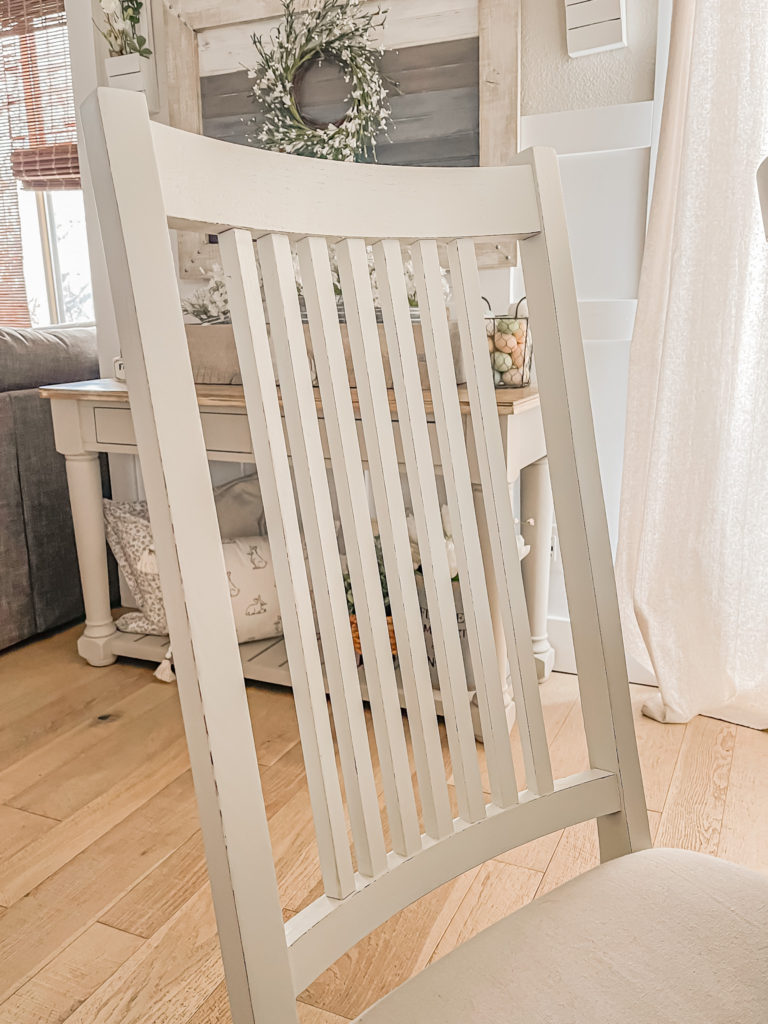
The chairs have such nice high backs and are so comfortable to sit in.
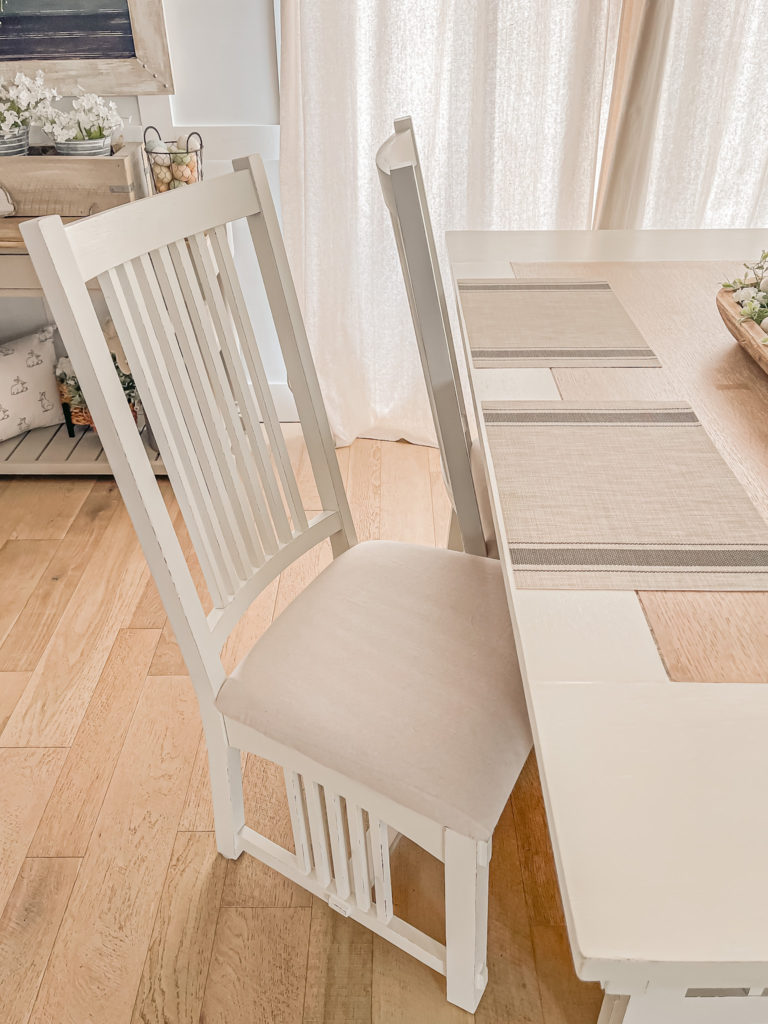
The table also has two leaves that I refinished (not pictured) so it can become bigger for family gatherings.
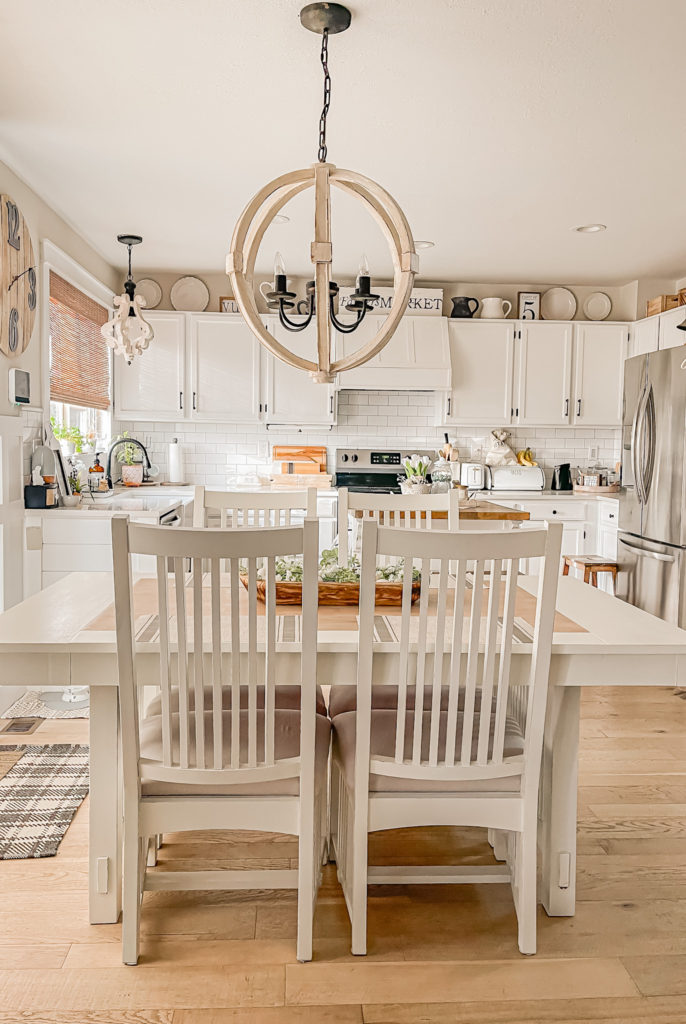
When we first set it up in here it was such a shock to see so much white in one space haha! However, since we have been living with it here for the past few days I realized that it’s actually quite cheerful.
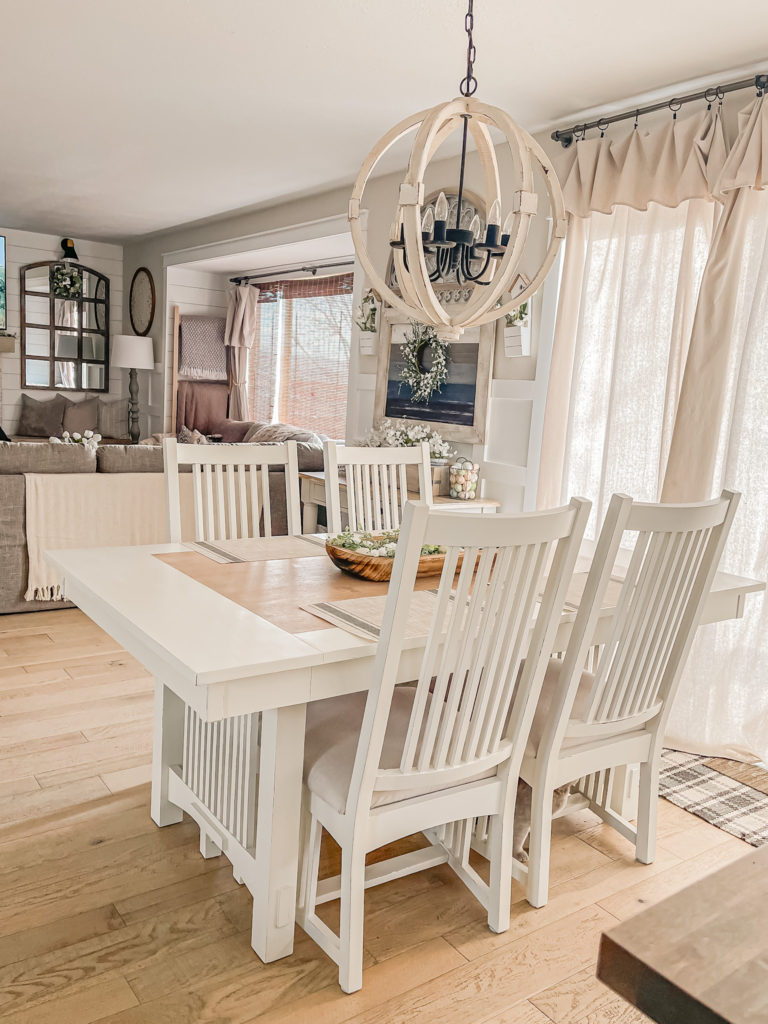
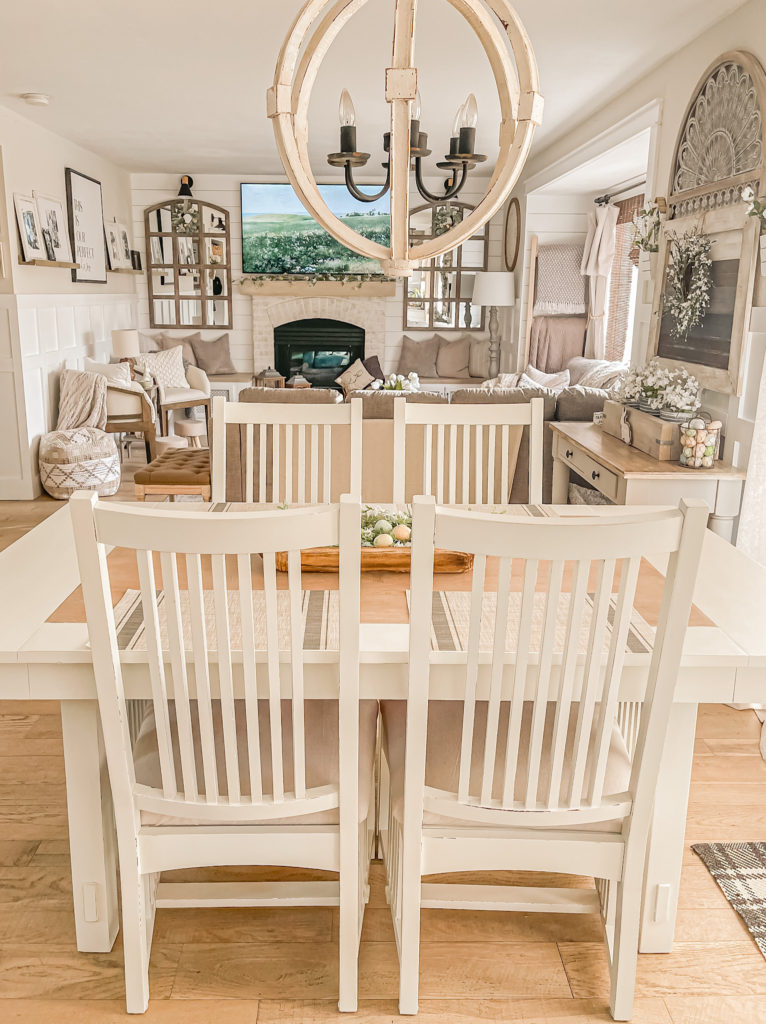
I am sure the new owners will enjoy it as much as I do and it’s fun to think about how many memorable family meals have been shared on this set and how many more will be to come!
Thanks for swinging by today! I hope you enjoy the rest of your week and I’ll be back next week to share my plans for this season of the One Room Challenge. See ya then 🙂
PIN FOR LATER!
Linking up to these awesome parties!
(Affiliate links may be provided for convenience. For more info, see my full disclosure here.)
Looks fabulous! You did such a good job. Love your all white kitchen!
another amazing success, it looks beautiful. Your home is lovely and it all goes together so perfectly. Hugs!
Awesome makeover! You did a great job on this, and it shows just what you can do with a little ingenuity and some elbow grease. Well done!
Thanks so much for joining the Grace at Home party at Imparting Grace. I’m featuring you this week!