Hello friends, I am so happy that you could stop by today! I hope you all have had a great week and are getting ready to enjoy the holiday weekend.
We plan to take the boys to their first Jet Car Nationals event on Saturday which I have a feeling that they are going to absolutely love. We are going to have a small family BBQ on Sunday, and then go to our neighborhood 4th of July parade and party on Monday. Since our town is currently under fire restrictions, they are doing a drone show in place of fireworks which should be interesting haha. Fortunately, we will get our firework fix after the Jetcar show on Saturday. It’s going to be a busy, but fun filled weekend!
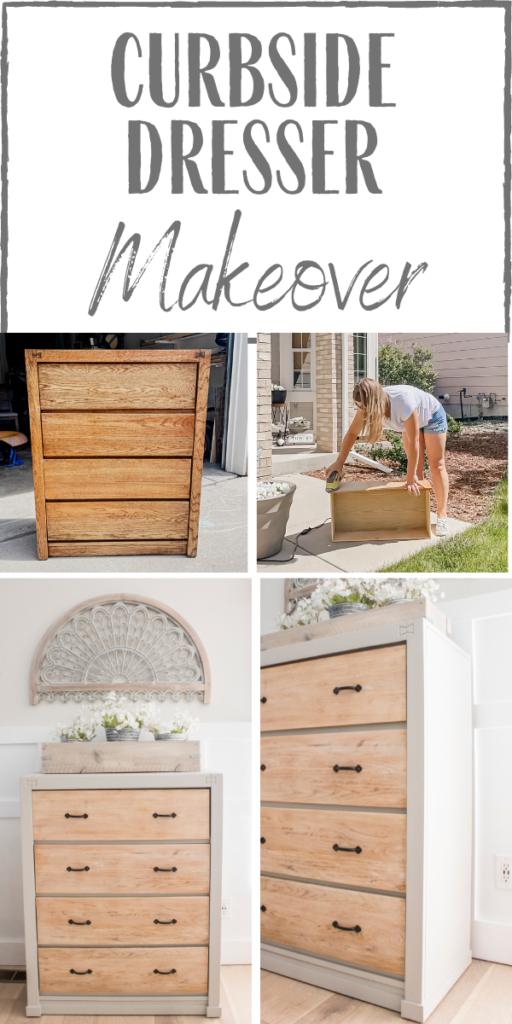
Today I am sharing yet another furniture flip haha. I have a ton of curbside treasures in my inventory right now and am whipping through them one by one so I hope you are prepared to see a lot of these in the coming weeks!
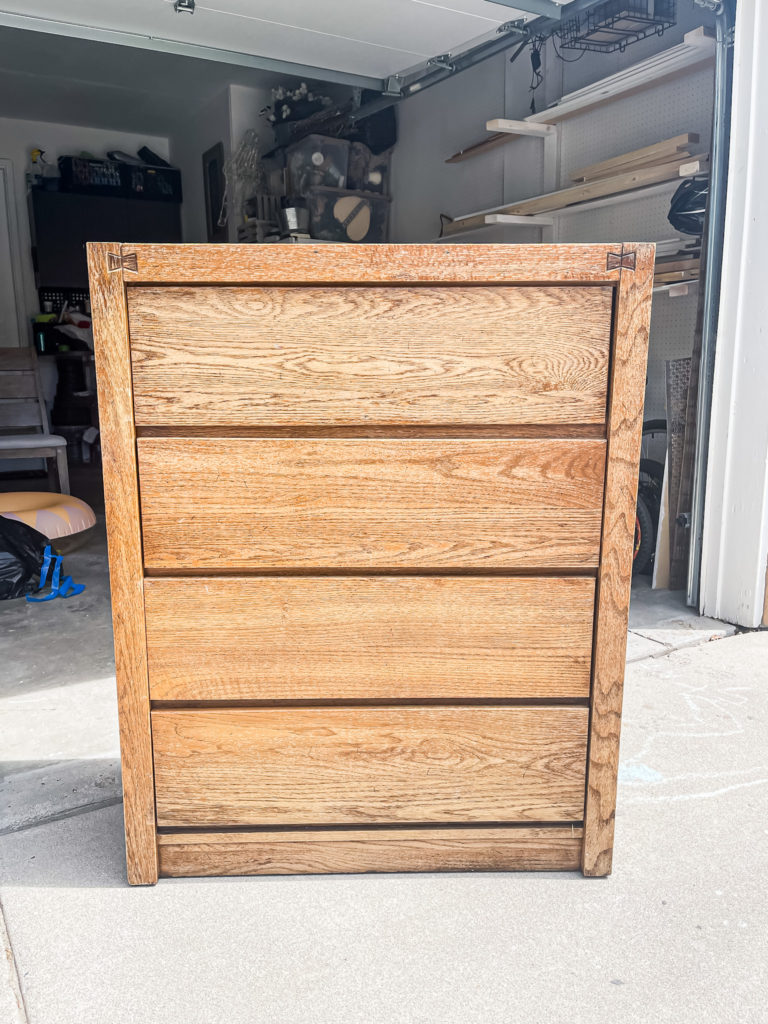
After finishing Anthony’s “new” office furniture I decided to move on to this dresser next since it was the only piece that I haven’t moved from the garage to the basement–and I want my parking spot back!
Supplies Used:(Affiliate links may be provided for convenience. For more info, see my full disclosure here.)
- Sander
- Paint Sprayer
- Satin Paint in my own custom mix (mainly BM Alaskan Skies with bits of gray and black added)
- Lattice Trim
- Nail Gun
- Spackle
- Caulk
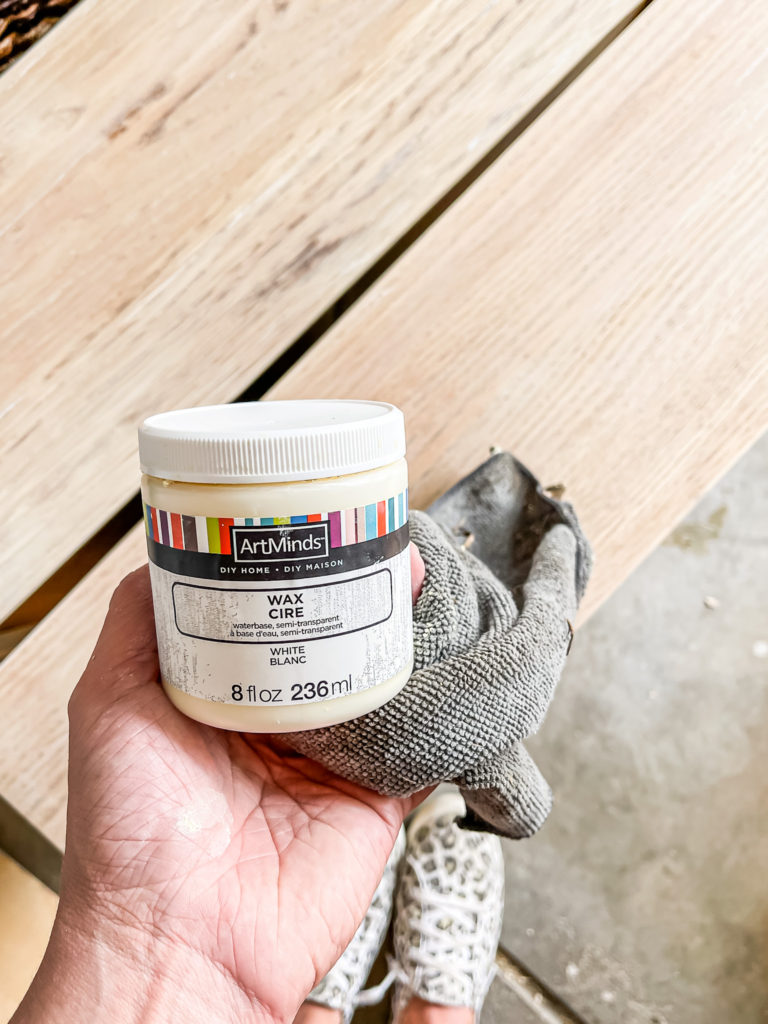
- White Wax
- Ultra Flat Polyacrylic
- Pulls
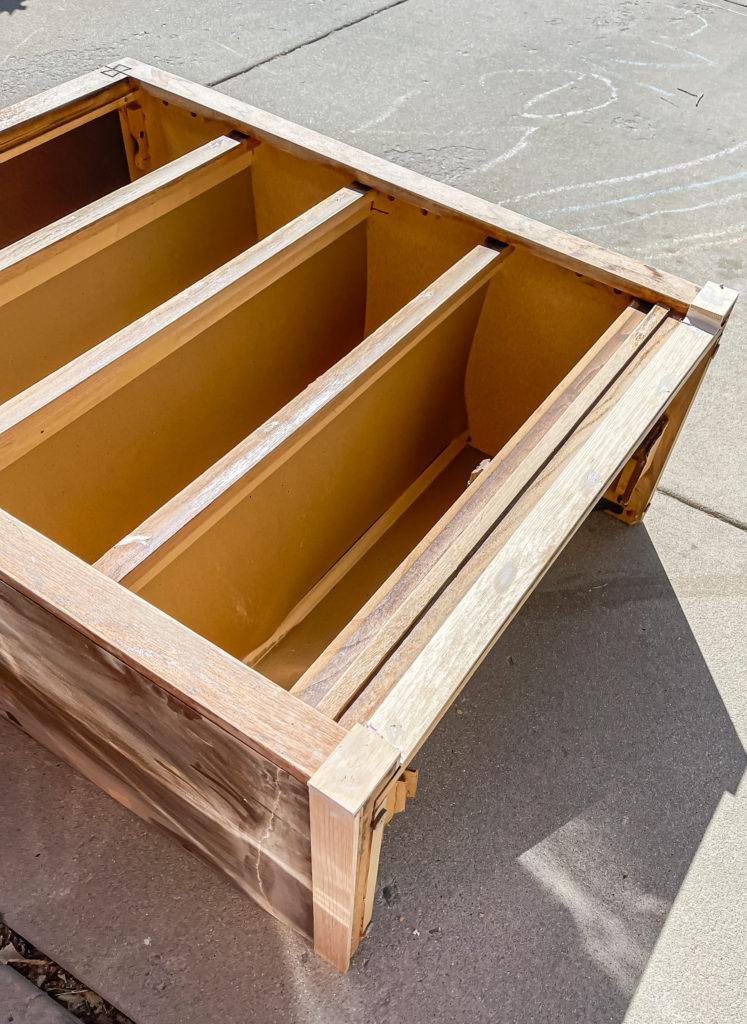
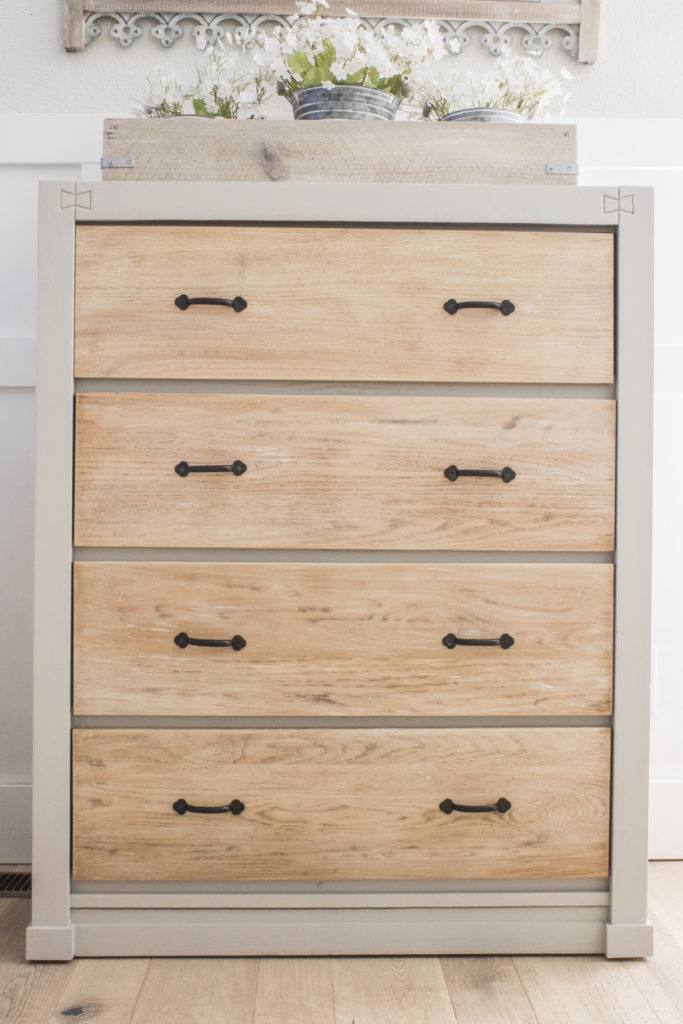
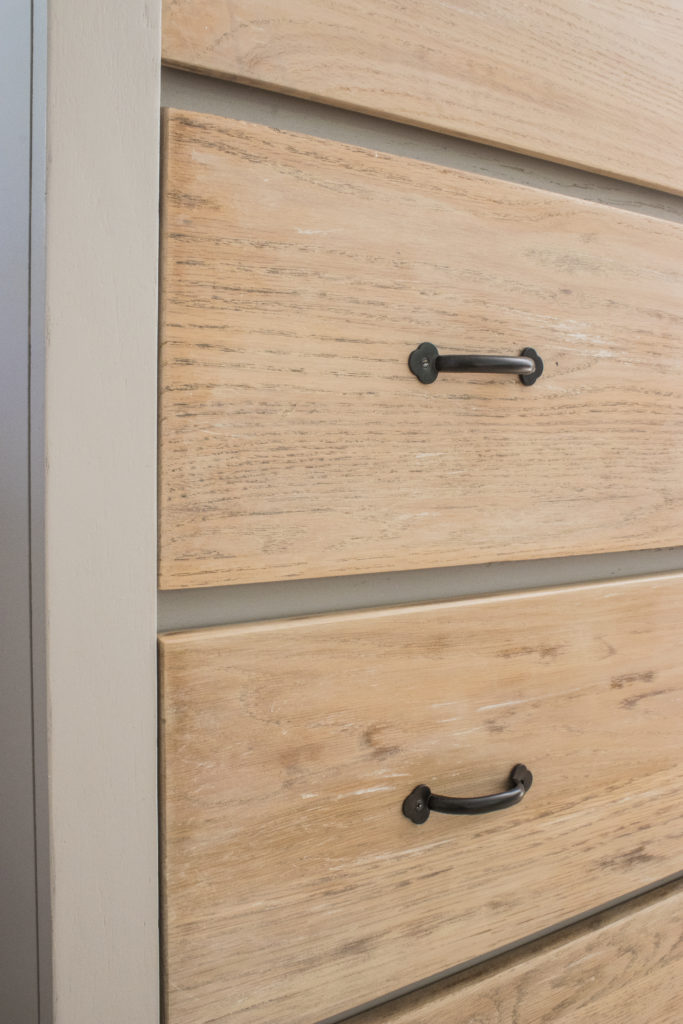
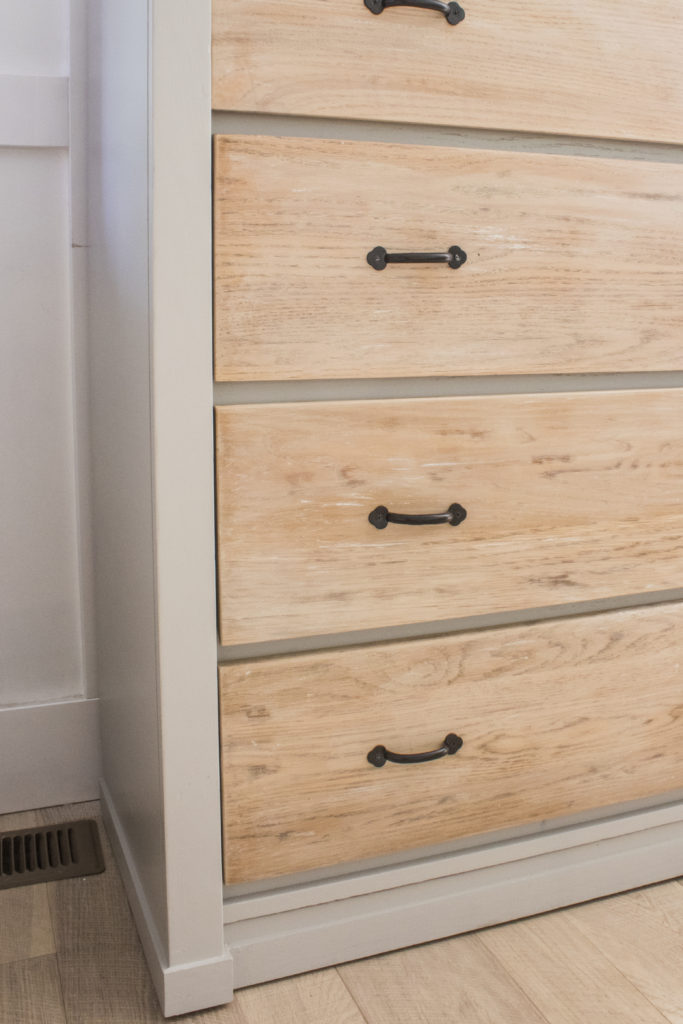
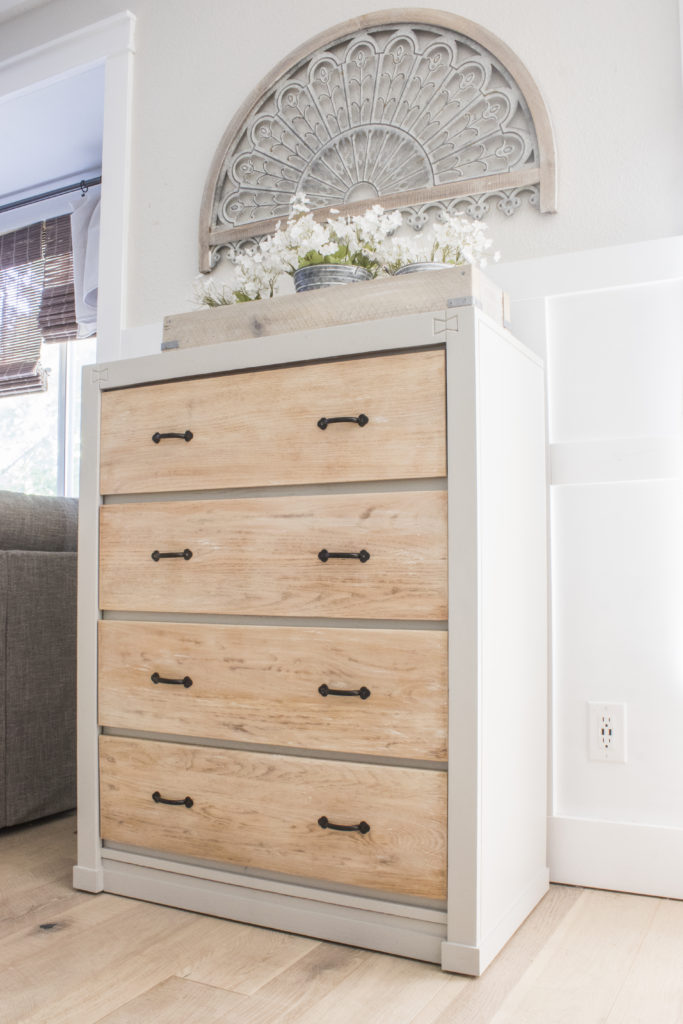
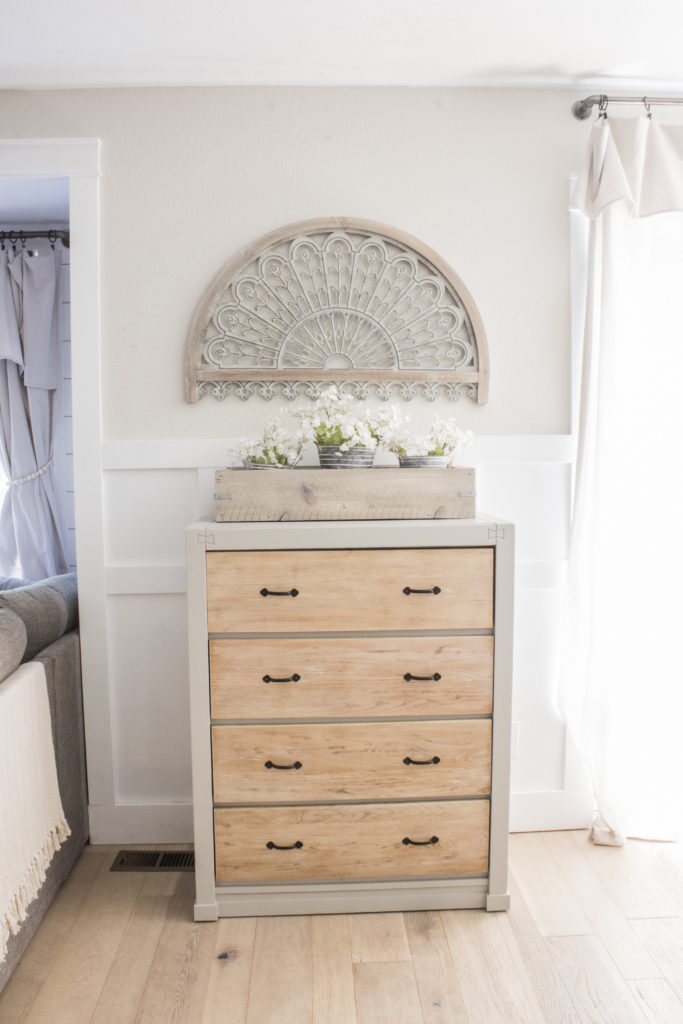
Originally, I thought that the whole thing was solid wood, but upon further inspection I realized that the base was actually laminate. Luckily the drawers were wood, so I took them out and sanded them all down using my sander.
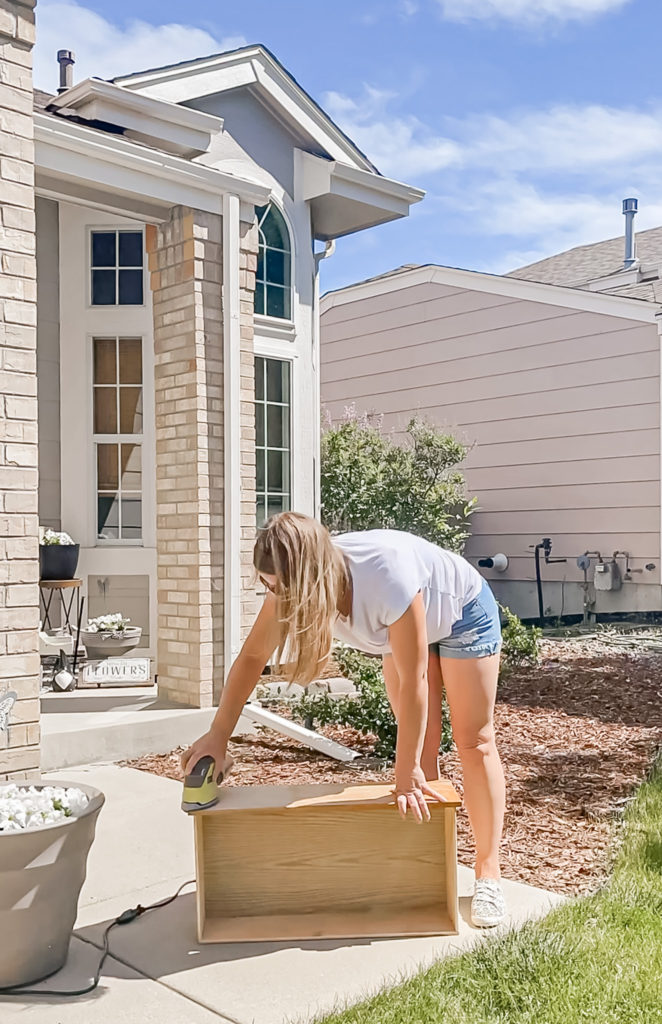
The previous stain color was very orange and even after sanding them down they still had a sight orange tint to them. So, I applied a few coats of whitewash to correct the color and bring it more neutral.
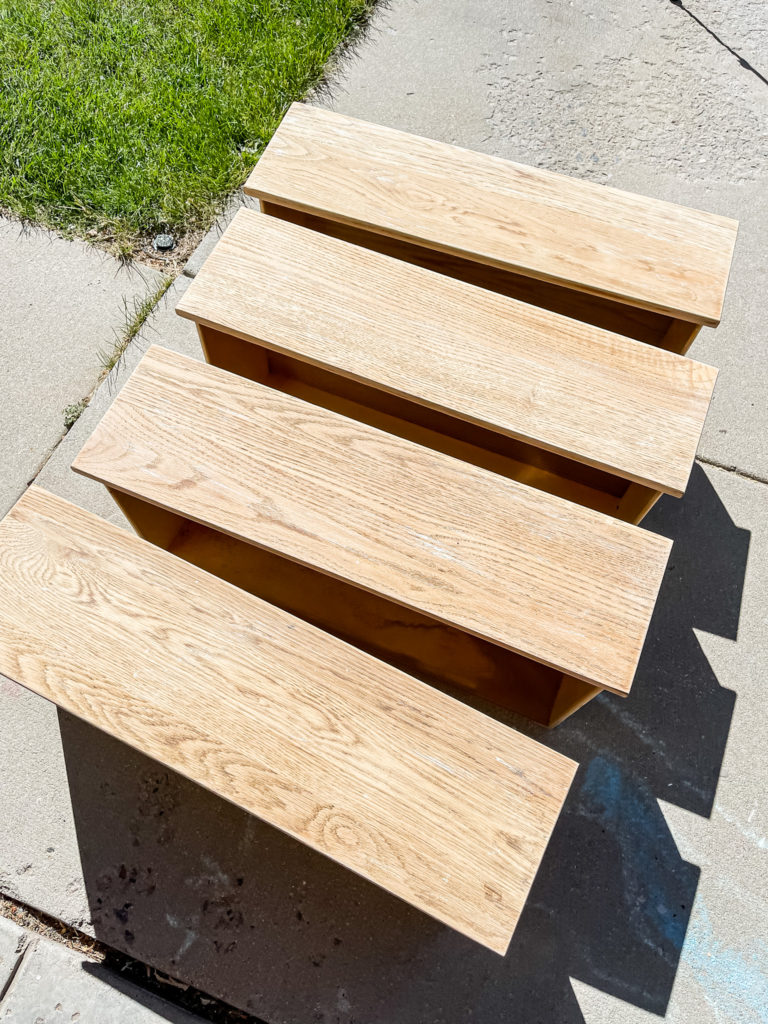
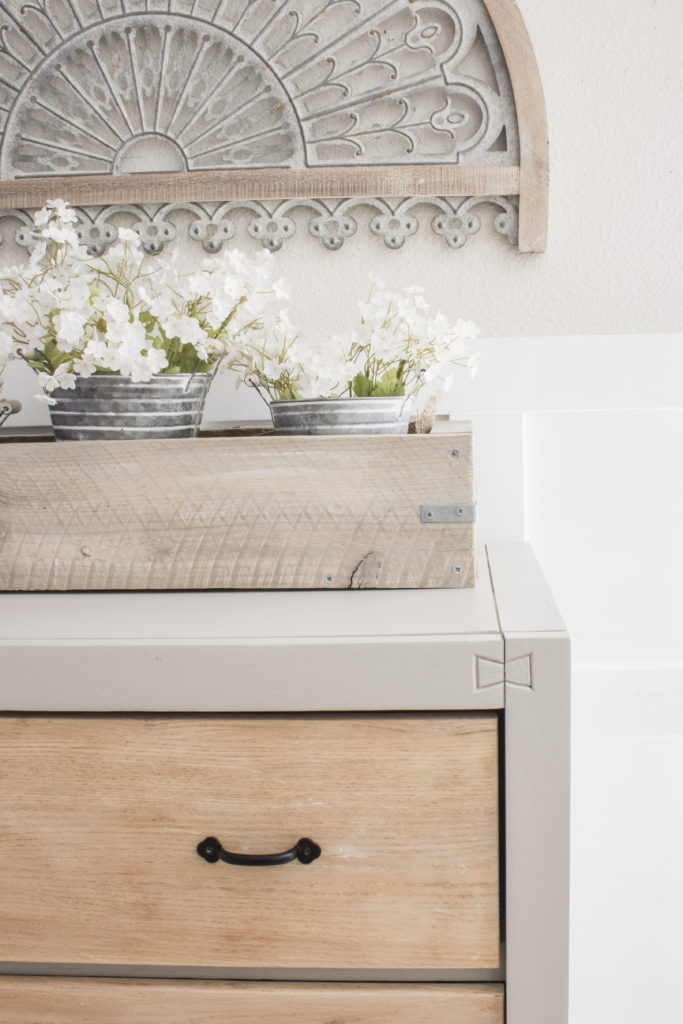
Some of the whitewash settled into the wood grain and I decided that I liked that effect, so I took some white wax and rubbed it on each drawer to further it.
Next it was time to tackle the base. I scuff sanded everything to ensure good paint adhesion, and I noticed that the bottom had a lot of wear and tear.

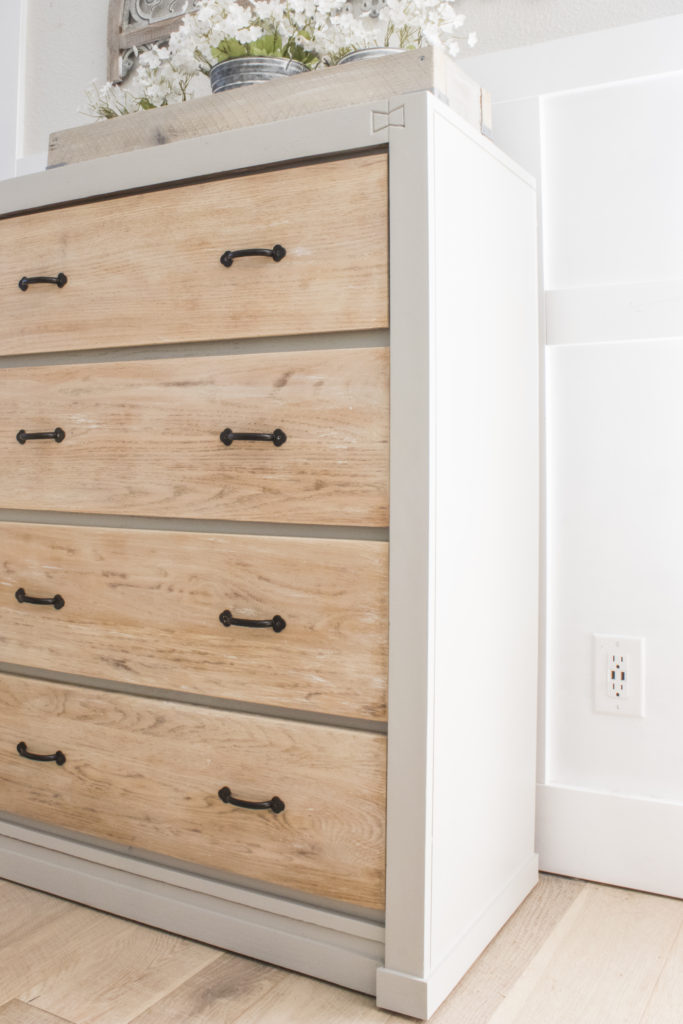
This is pretty common with laminate furniture because as it gets dragged and pushed around it gets torn. To fix this, I simply attached some lattice trim using my nail gun to cover it all up.
Not only does it hide the damage, but it also adds some extra character and flair! I filled all of the holes up with wood putty and sanded them smooth once dry. I also caulked the gaps to make the trim look as seamless as possible.
Finally, it was time to paint!
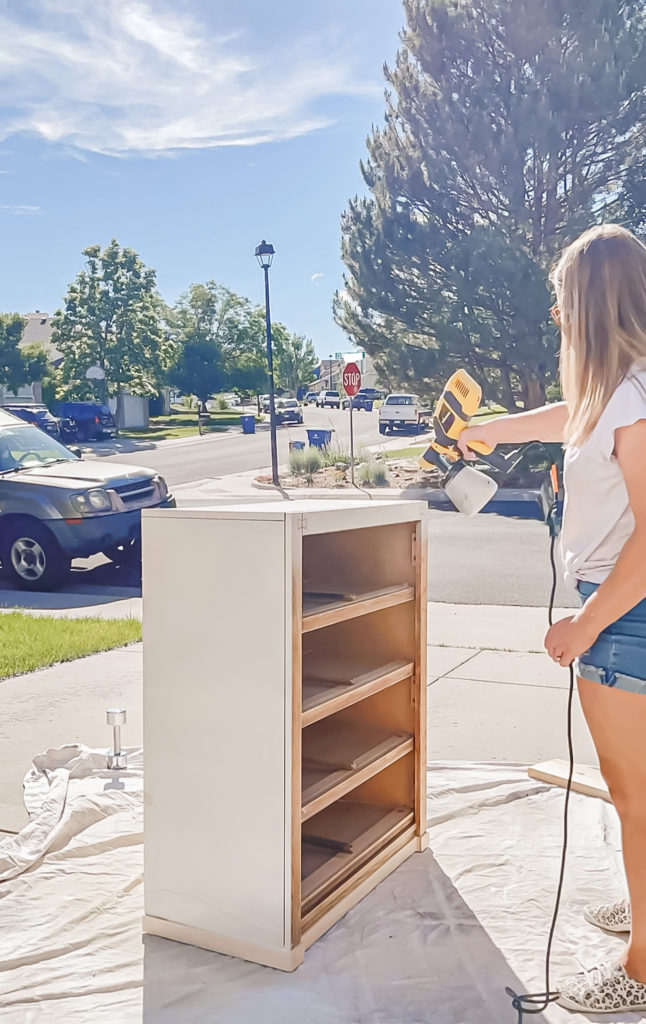
I used my paint sprayer to apply three coats of my own custom color. It was primarily BM Alaskan Skies (left over from round one of the kitchen cabinet painting) mixed up with some black and grays.
I sealed everything up with ultra flat polyacrylic, attached some new pulls and called it done!
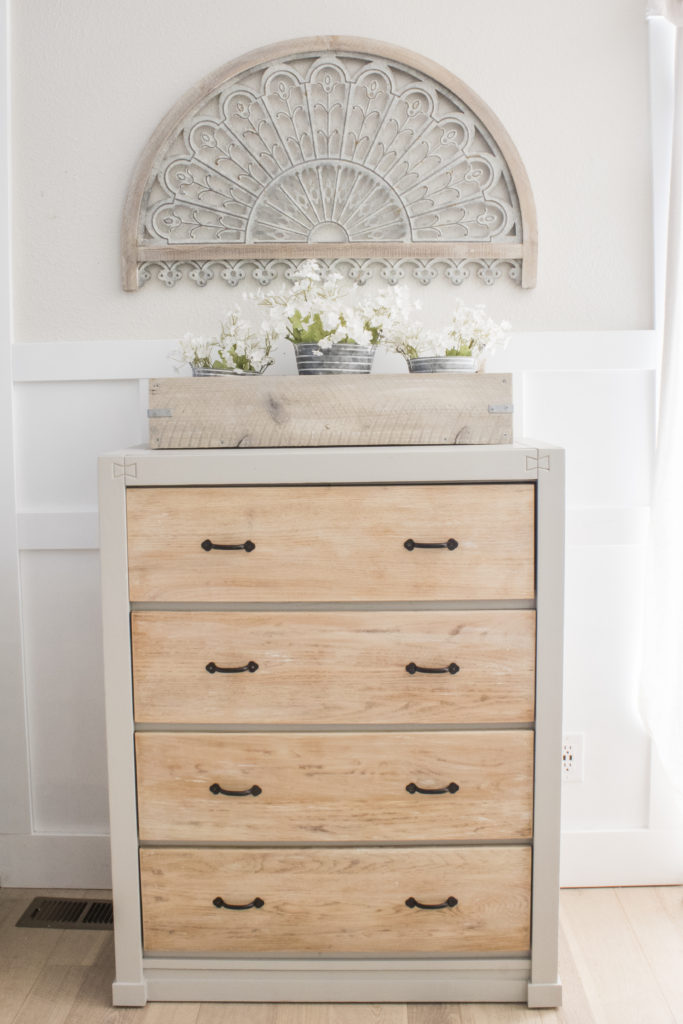
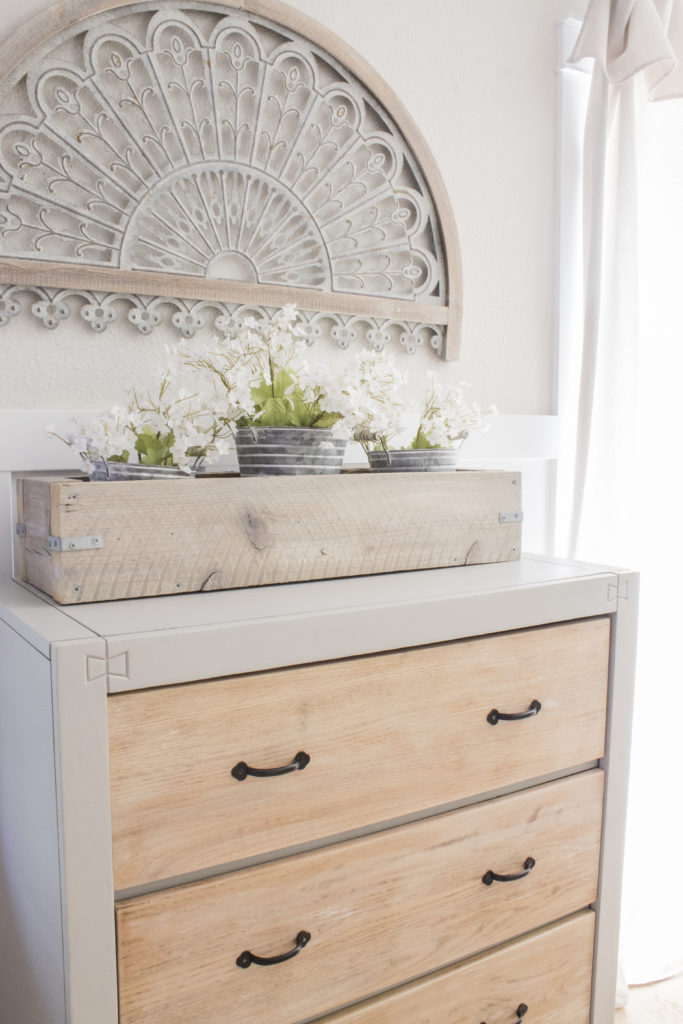
I debated pretty hard on the hardware and am so happy with my final choice!
The new trim on the bottom is so pretty and it looks like it was always meant to be there. Nobody would ever know that it’s hiding chipped up laminate and MDF!
This stunning dresser looks nothing like it did before and I hope that its new owners enjoy it as much as I did creating it!

Linking up to these awesome parties!
(Affiliate links may be provided for convenience. For more info, see my full disclosure here.)
PIN FOR LATER!
I love how this came out. Love the new updated look. You inspired me to get a paint sprayer!
Great job.
Thanks for sharing with us, I’ll be featuring you this week when the next to Grandma’s house we go link party starts!