Hey everyone, happy Friday! I am trying to catch up with life after a whirlwind couple of weeks. Between the kitchen refresh, starting to commute back into the office and end of the schoolyear events, life has been super chaotic. I’m trying to get us back in to a good routine but it’s been a struggle and it seems like there just hasn’t been enough coffee to get me going these days!
Anyways I remembered that I have yet to share our “new” dining room table with you guys. This post is way overdue since I actually finished it back in early April, but better late than never, right?
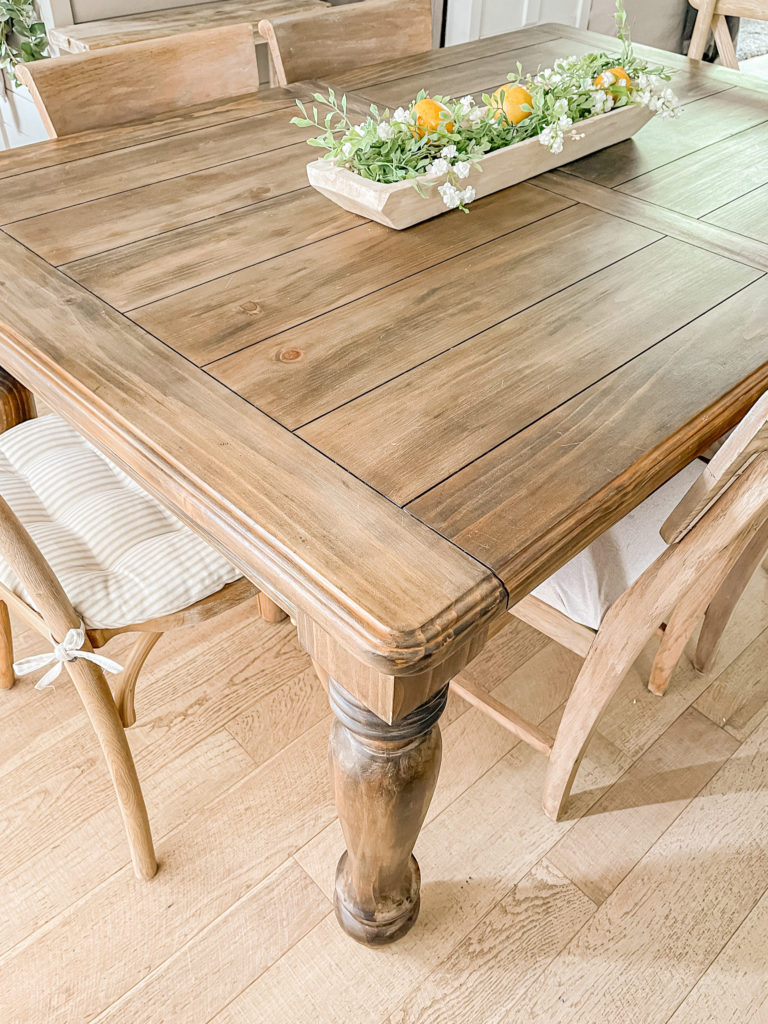
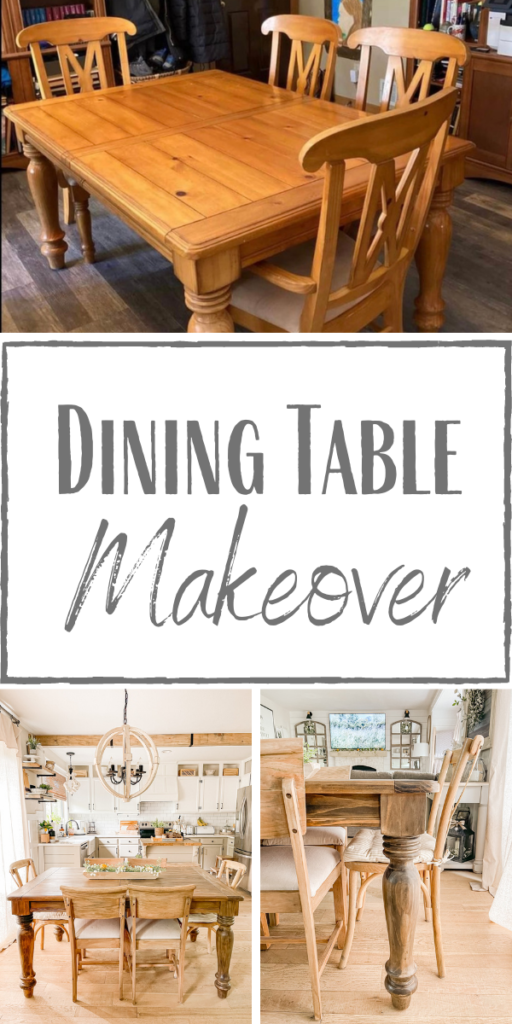
Our old dining table had seen better days and the veneer top had started to bubble and peel up badly from all of the spills over the years. I was on the search for a new table that I could refinish and when I spotted this one on Facebook Marketplace. I fell in love with the chunky legs and since it was solid wood and came with two leaves I knew that it would be perfect for us!
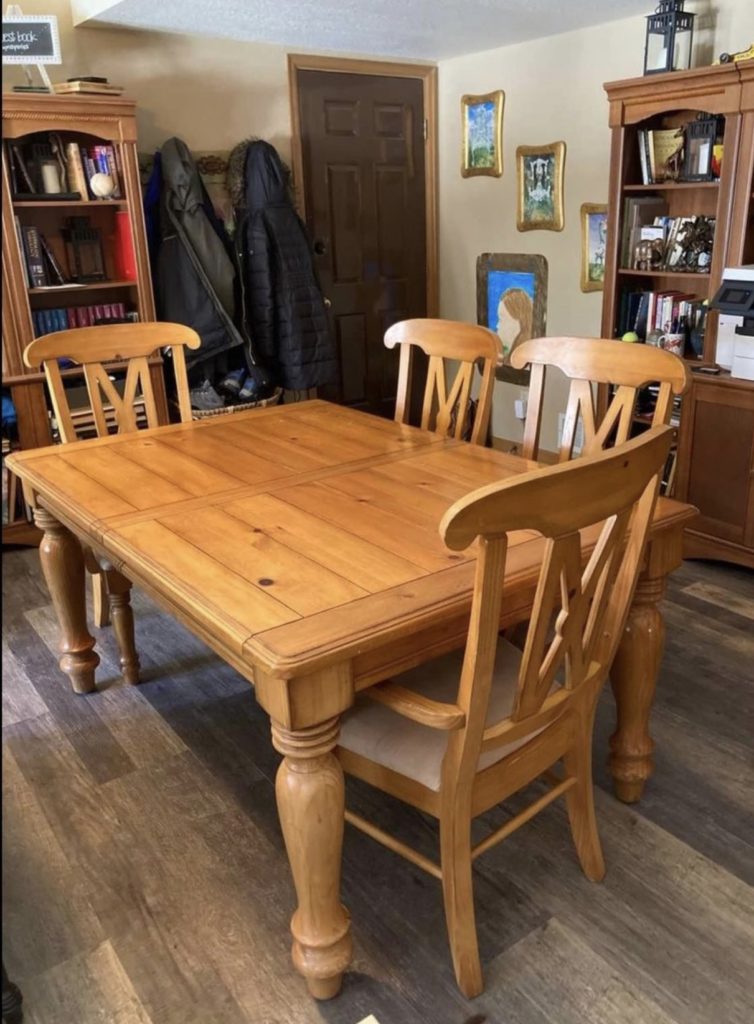
I was so excited to haul this beauty home and get to work on it!
Supplies Used:(Affiliate links may be provided for convenience. For more info, see my full disclosure here.)
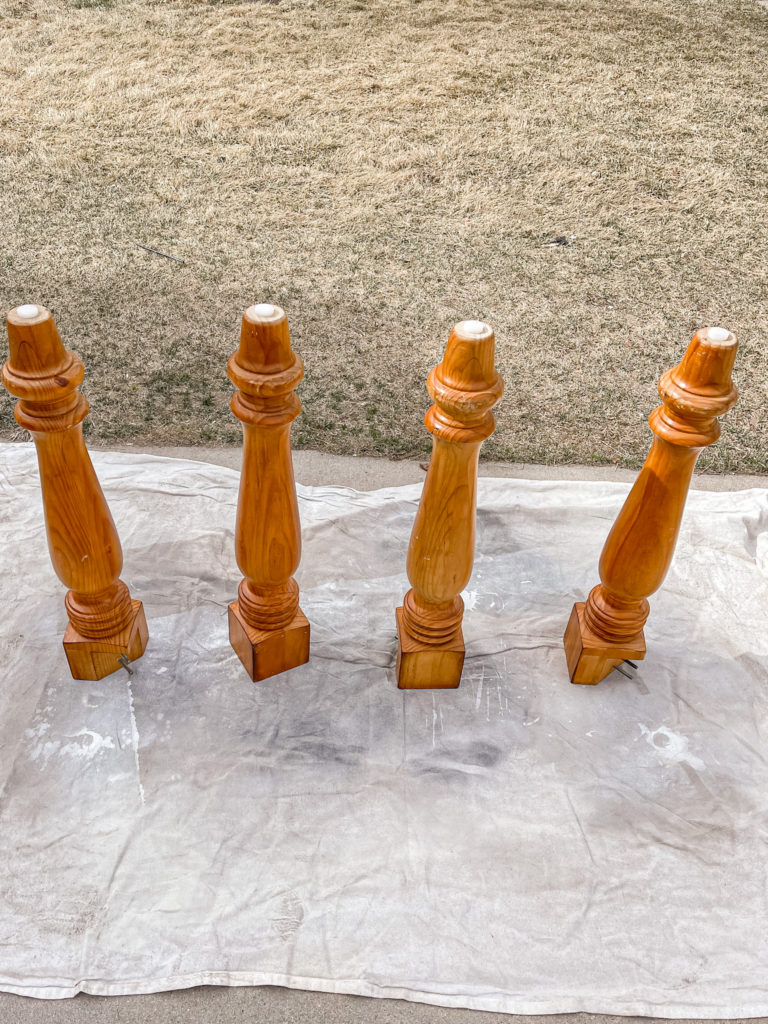
I started by setting all of the legs out in the driveway so that I could attempt the oven cleaner hack that is all over the internet right now.
The idea is that you simply spray the wood, let it sit for awhile and when you scrub it off, the previous stain or varnish should come off with it.
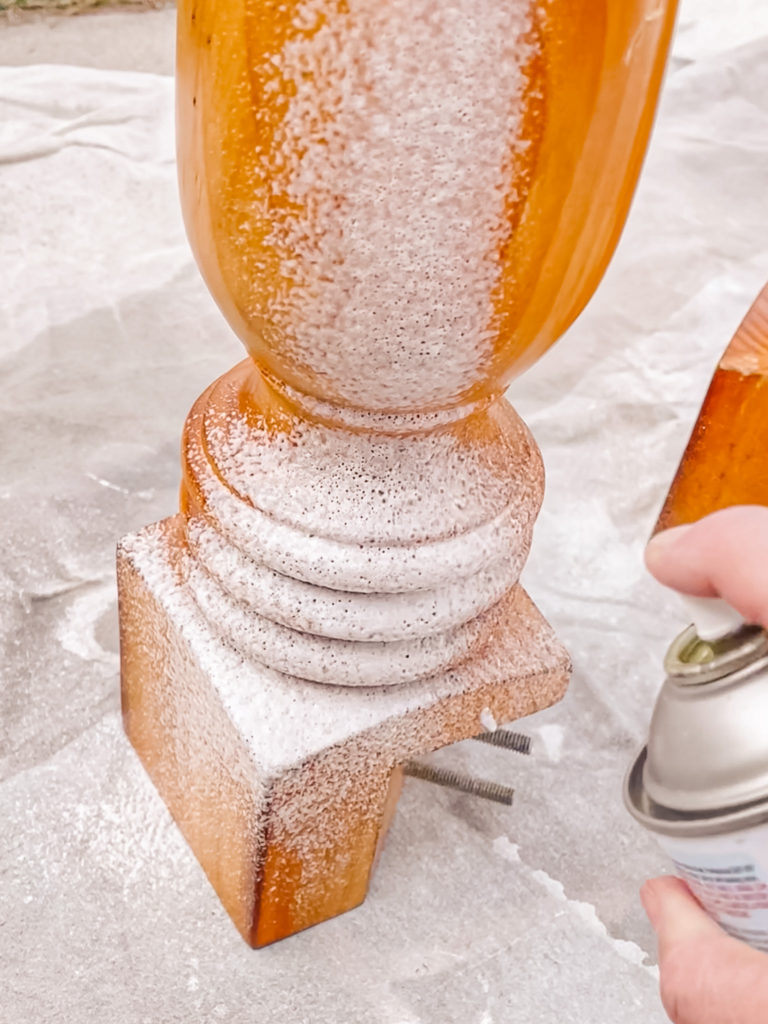
After repeating this process multiple times I am sad to report that it was VERY unsuccessful! I also later read some pretty negative things about oven cleaner and its health/environmental effects so I will not be attempting this method again. I also tried using Citristrip…

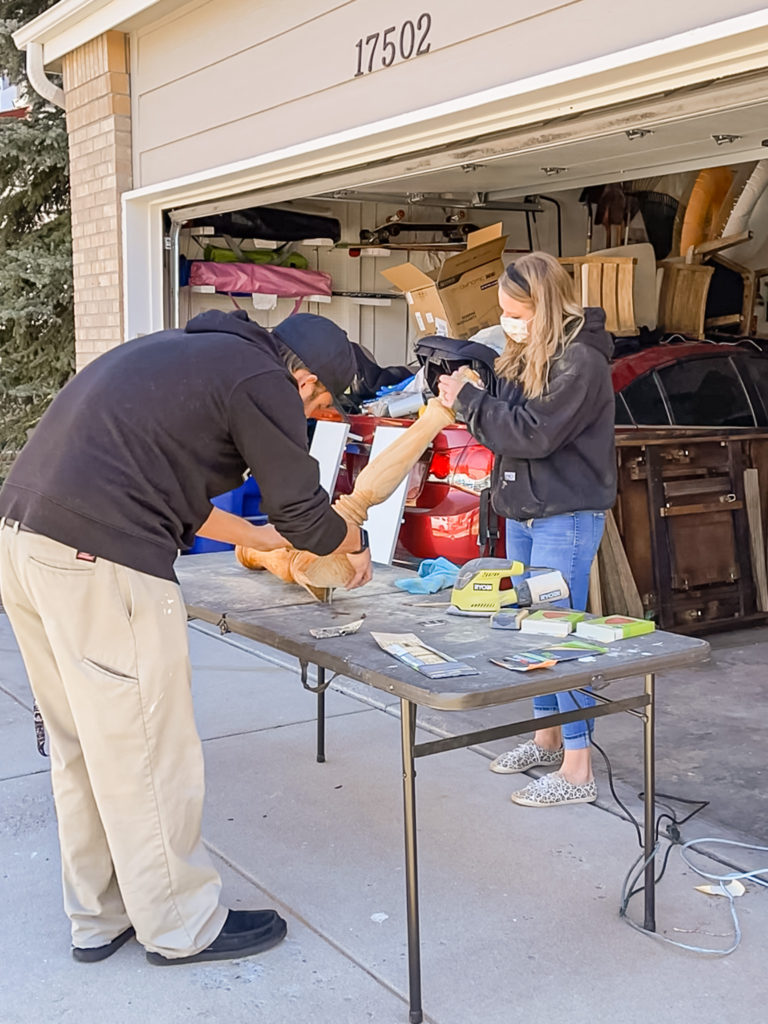
But that didn’t seem to remove any of the previous finish either! So I threw in the towel and resorted back to my tried and true electric sander.
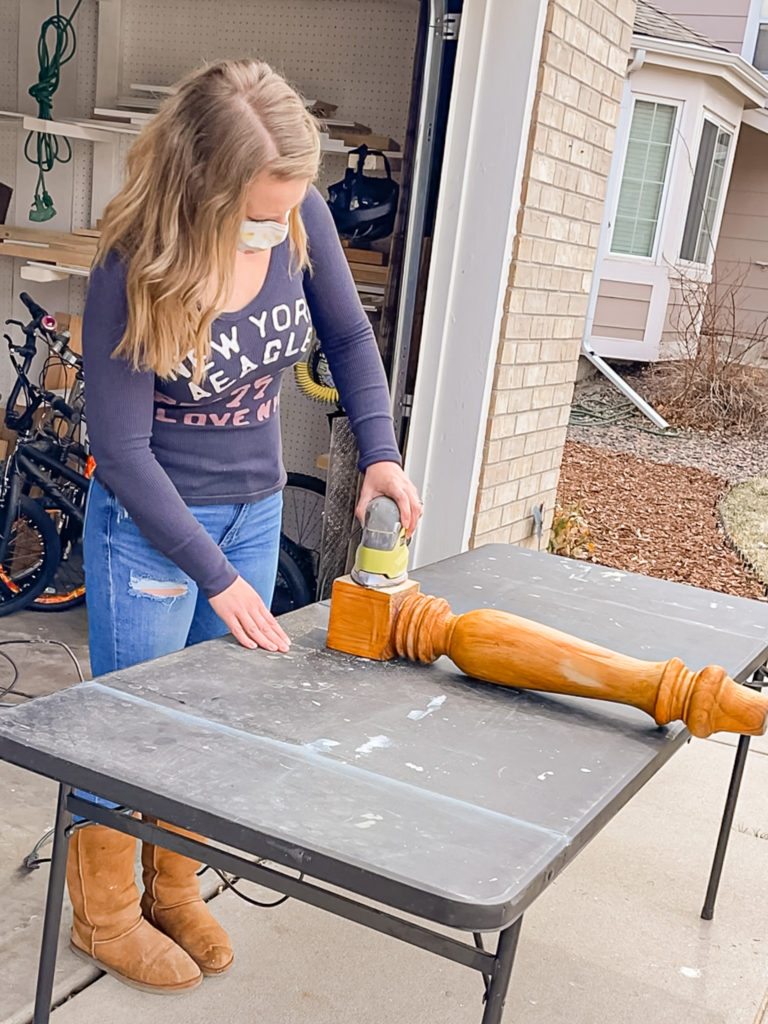
I could only use the sander on some spots and the smaller more detailed areas had to be hand sanded which was quite a chore. The hubby helped out which made the process a lot quicker, less painful and of course it was more fun having someone to chat with during this tedious step.
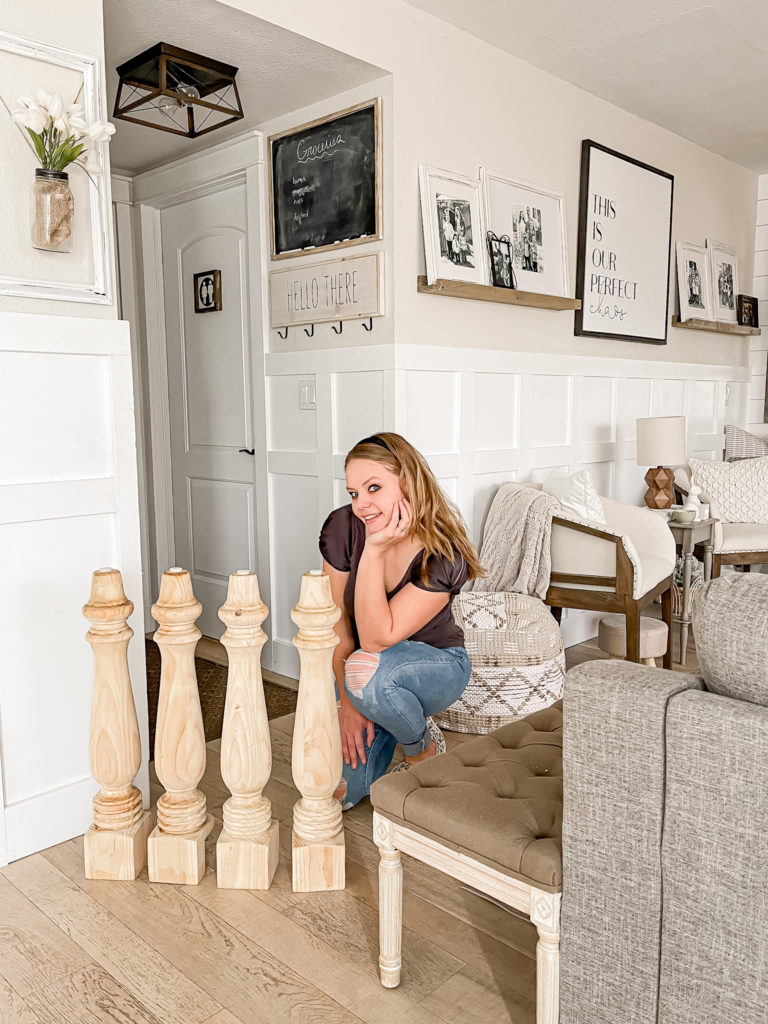
I was so excited when the legs were finally sanded down to bare wood!
Next it was time to move on to the top of the table. I had my little assistant help get me started.
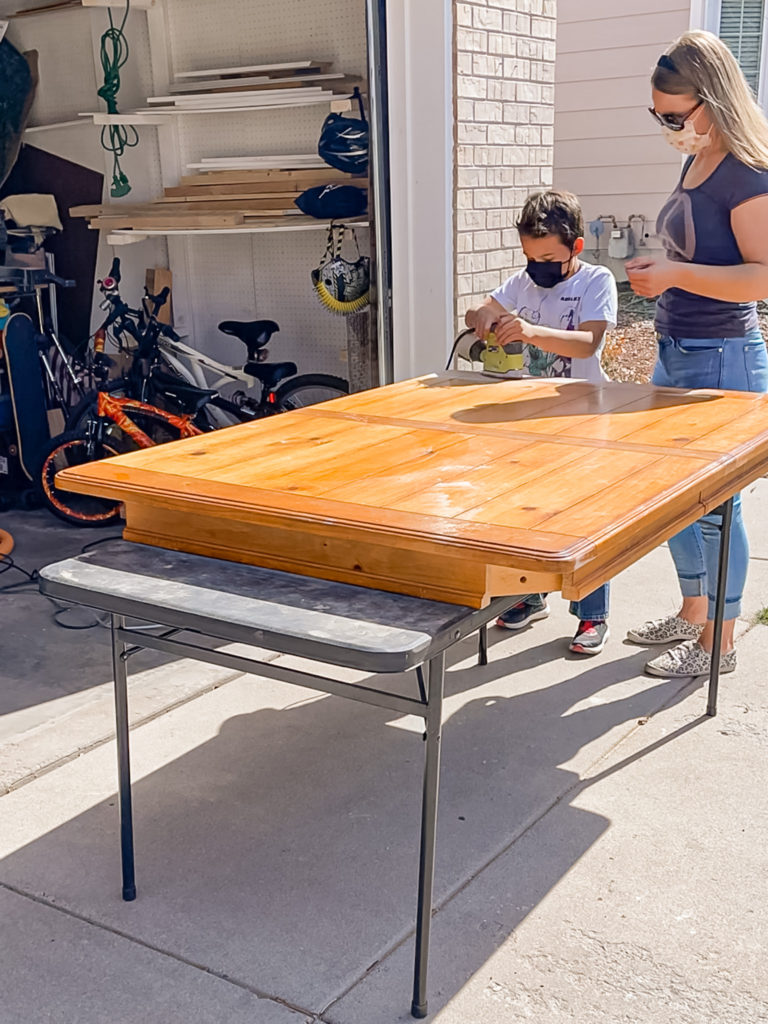
And my bigger assistant to help me finish up!

I also went back and sanded down both of the leaves.
Choosing a stain took me awhile since I knew that sanding it all back down was definitely not something I ever wanted to do again. I tested a few options on a piece of scrap wood and ultimately decided on doing Weathered Oak followed by Espresso which is the third one down in the picture below.
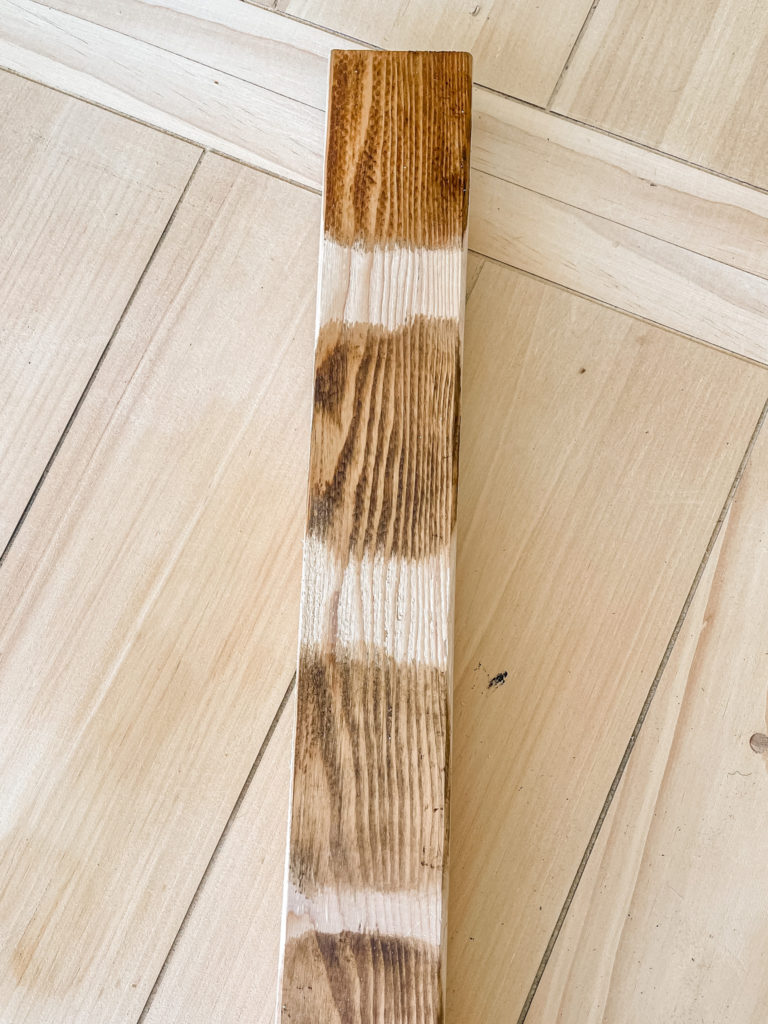
I also decided to go back and add Black Wax for a little more depth!
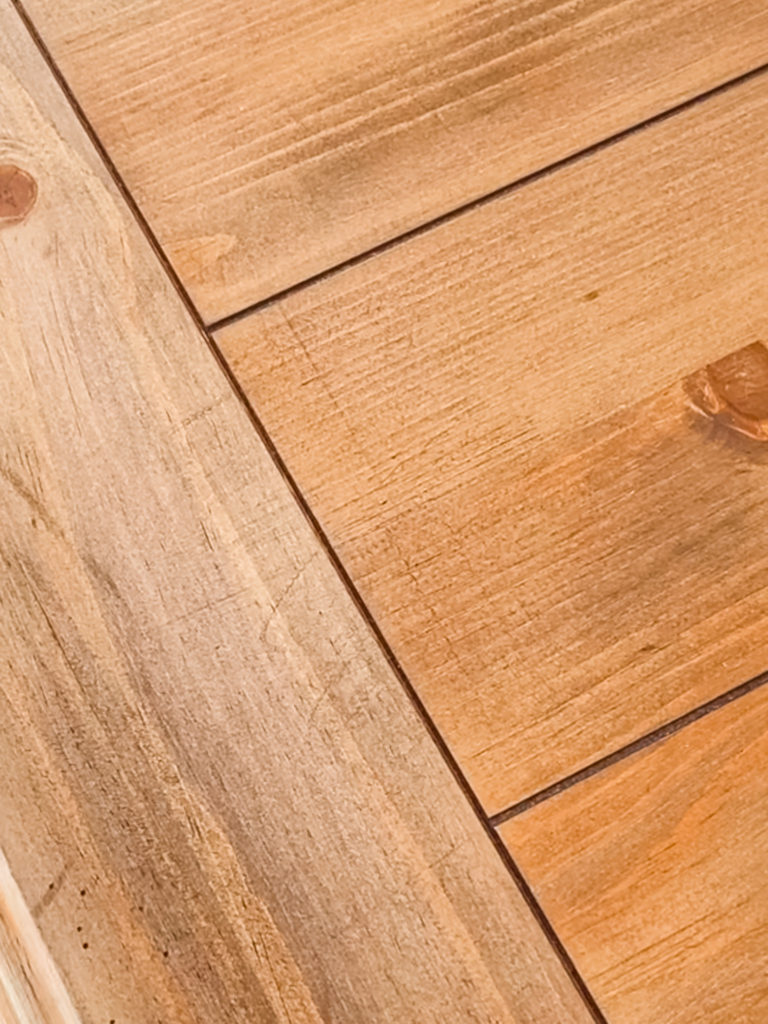
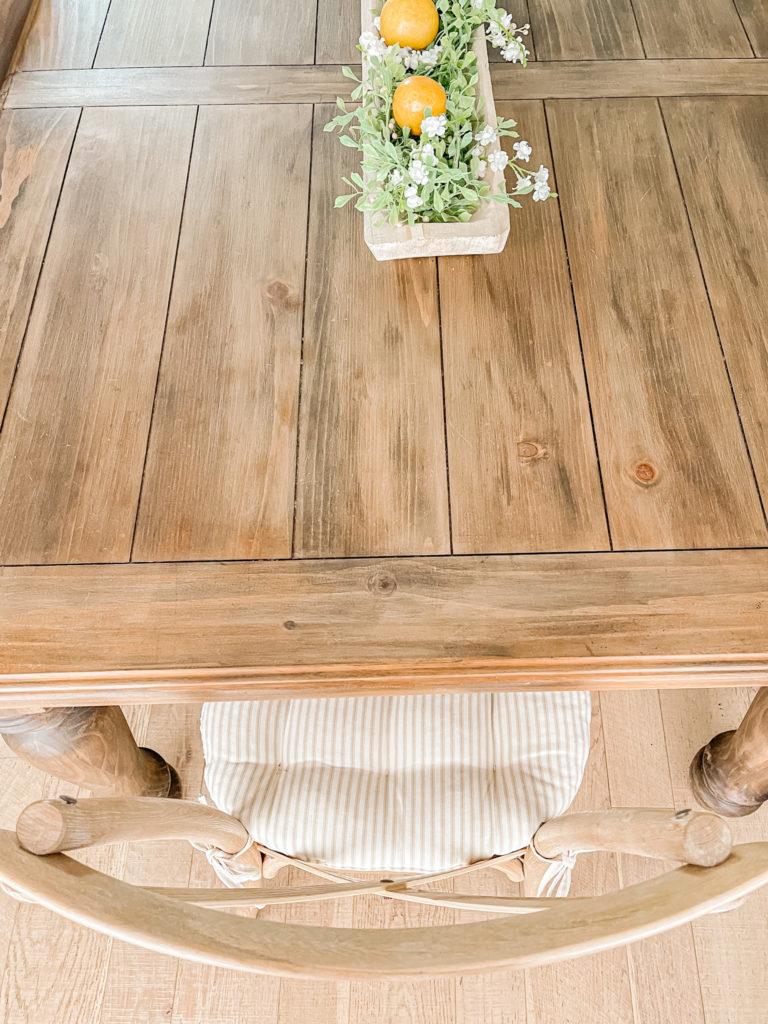
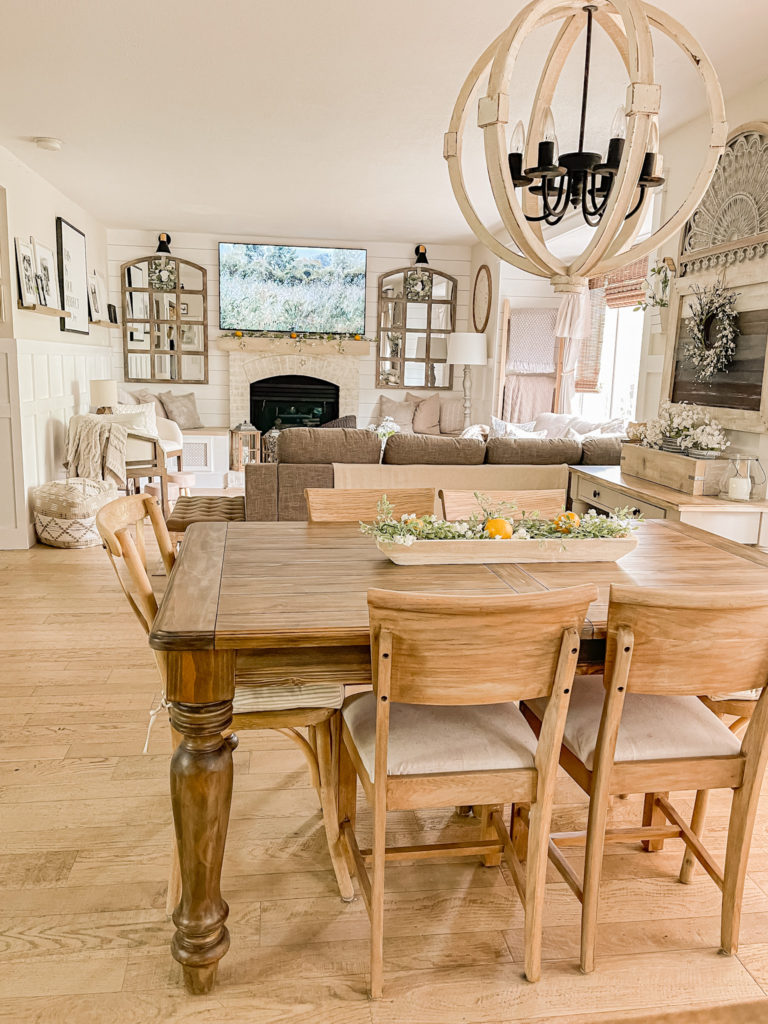
I sealed it all up with two coats of Ultra Flat Polyacrylic. Here is how it turned out!
To be completely honest I actually thought that the stain was too dark when I first finished it and felt pretty disappointed.
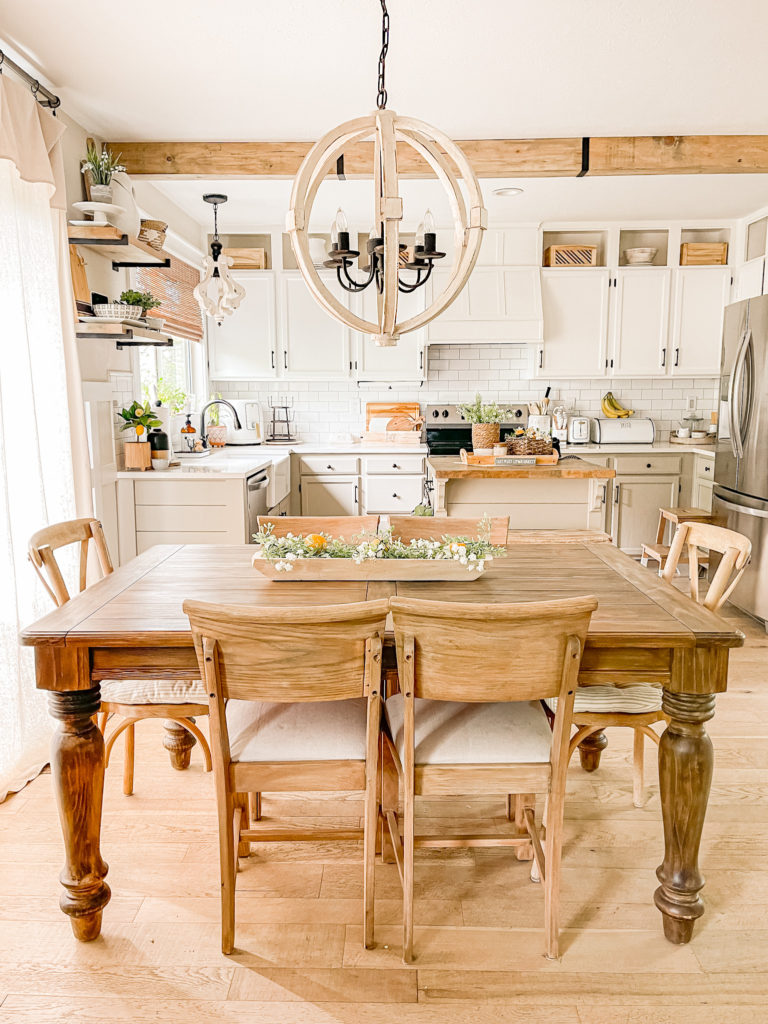


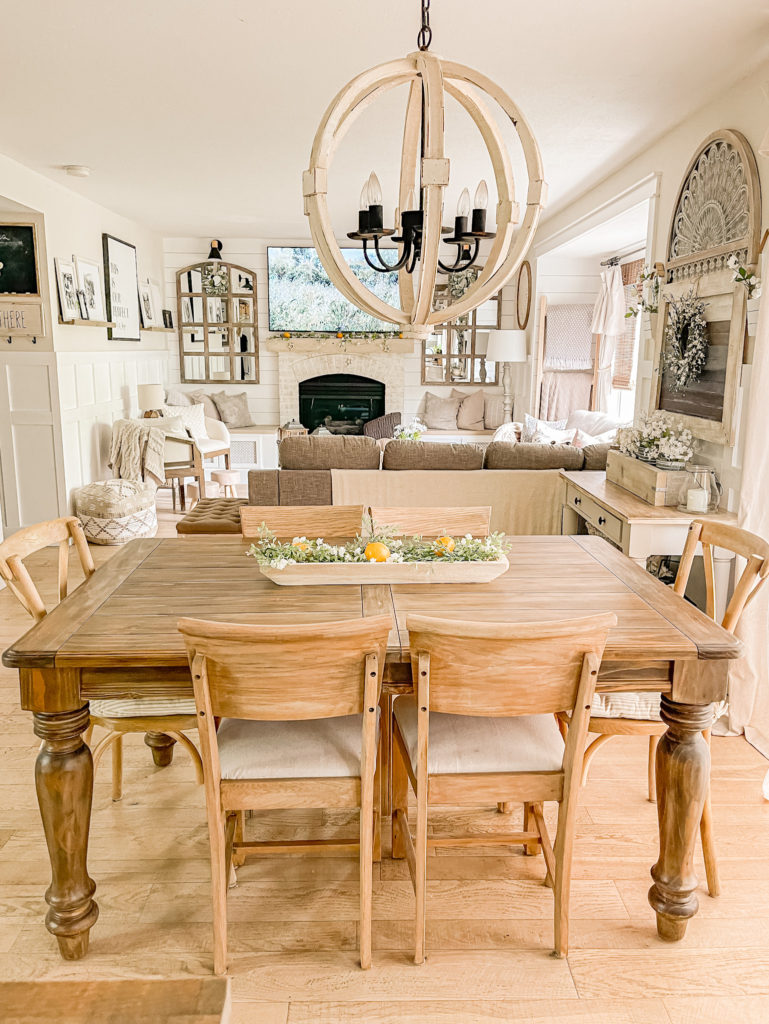
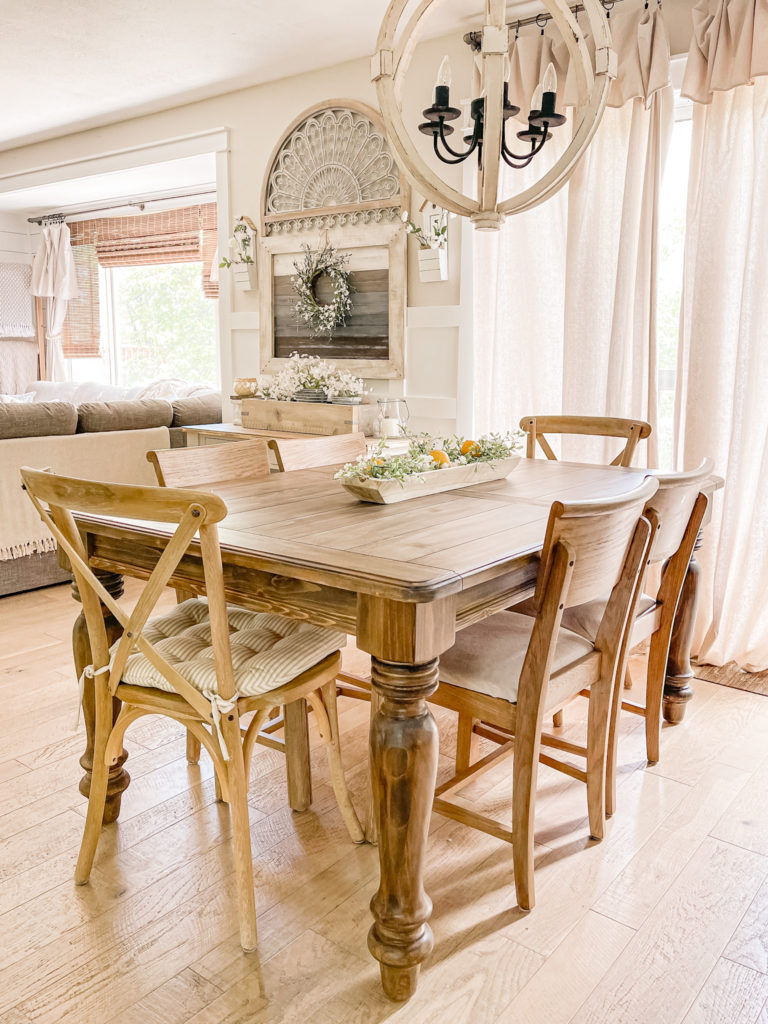
However after getting the new chairs up (which I promise to share next!) and living with it for a bit I actually now completely adore it. I see now that a lighter finish would get lost with the floors.
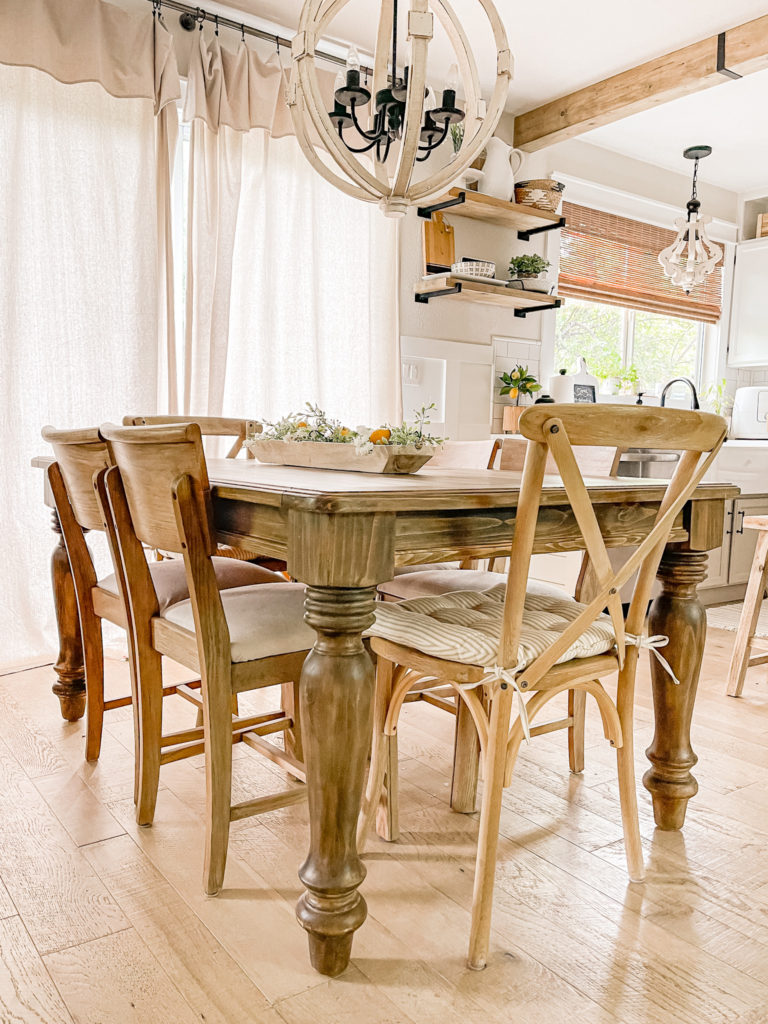

I finished it just in time for Easter and it since it extends out larger than our old table it was nice being able to fit all 12 adults around it!
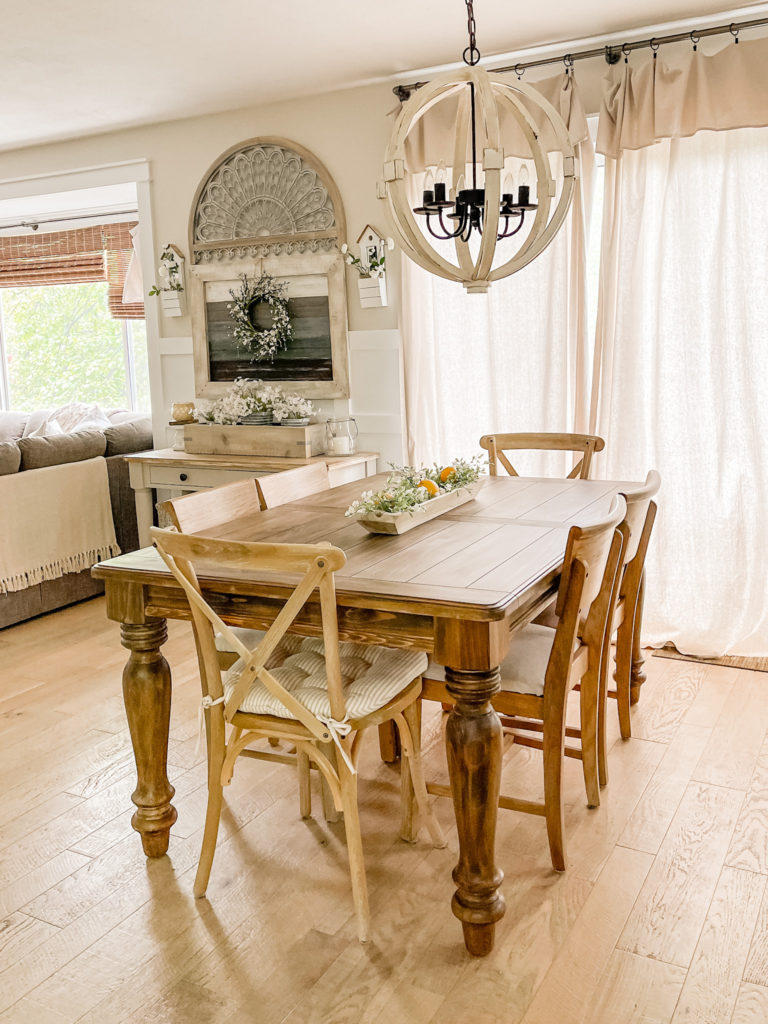
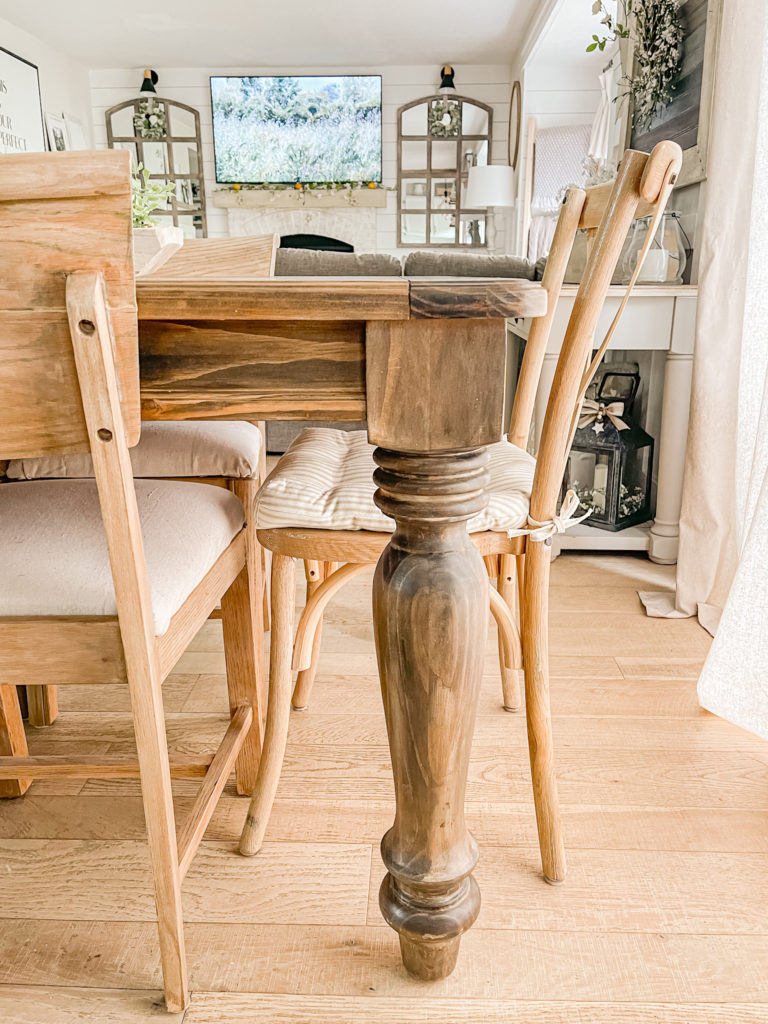

I feel like it looks just as fancy as something that could be found at an expensive furniture store and it’s hard to believe that it was a Marketplace flip!

Thanks for swinging by today! I will try to be back next week to share a quick post about the “new” chairs. Have a happy weekend my friends 🙂
PIN FOR LATER!
Linking up to these awesome parties!
(Affiliate links may be provided for convenience. For more info, see my full disclosure here.)
What a beauty! I was really curious about those striping methods. I suppose now it’s good to know that the sander is just the easiest way to go. Ugh! HAHA!
This turned out so beautifully. I agree with your decision to like the darker stain, a lighter stain would have conflicted with the floors.