Hello friends, I hope you all have been having a nice week! Is it just me or do 4-day weeks feel just as long, if not longer than a normal week haha?
Today I wanted to quickly pop in to share another curbside flip. I am still working through my inventory and slowly but surely getting through them all. This one was super simple, but I absolutely love how it turned out.
Supplies Used:(Affiliate links may be provided for convenience. For more info, see my full disclosure here.)
- Sander
- Paint Sprayer
- Satin Paint in my own custom mix (mainly BM Alaskan Skies with bits of gray and black added)
- PVC Screen Trim
- Nail Gun
- Wood Glue
- Spackle
- Caulk
- Ultra Flat Polyacrylic
- Pull
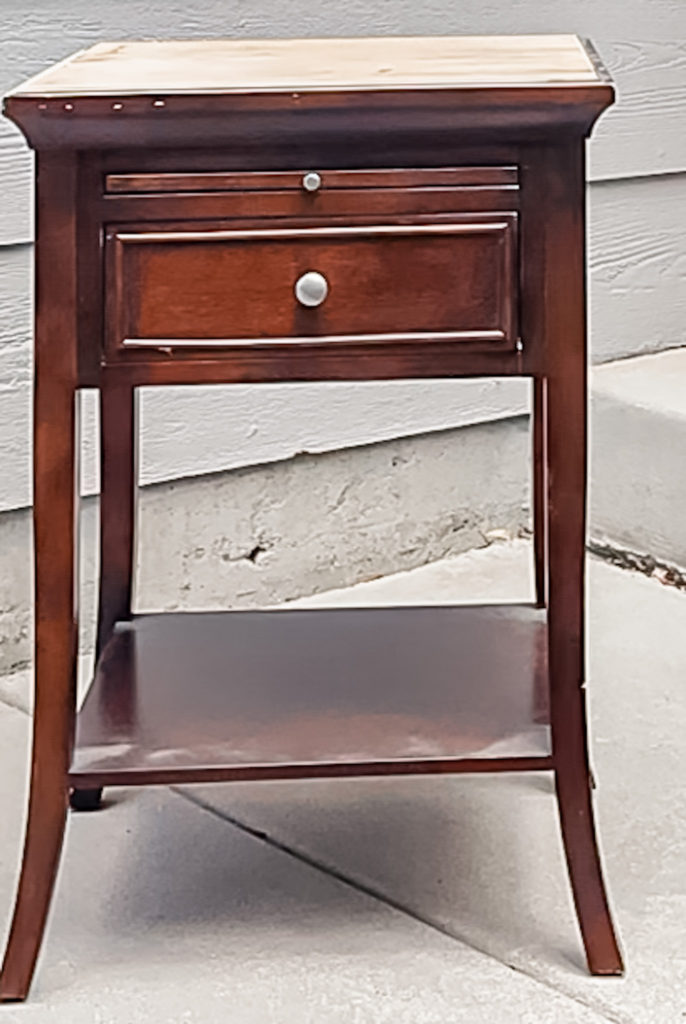
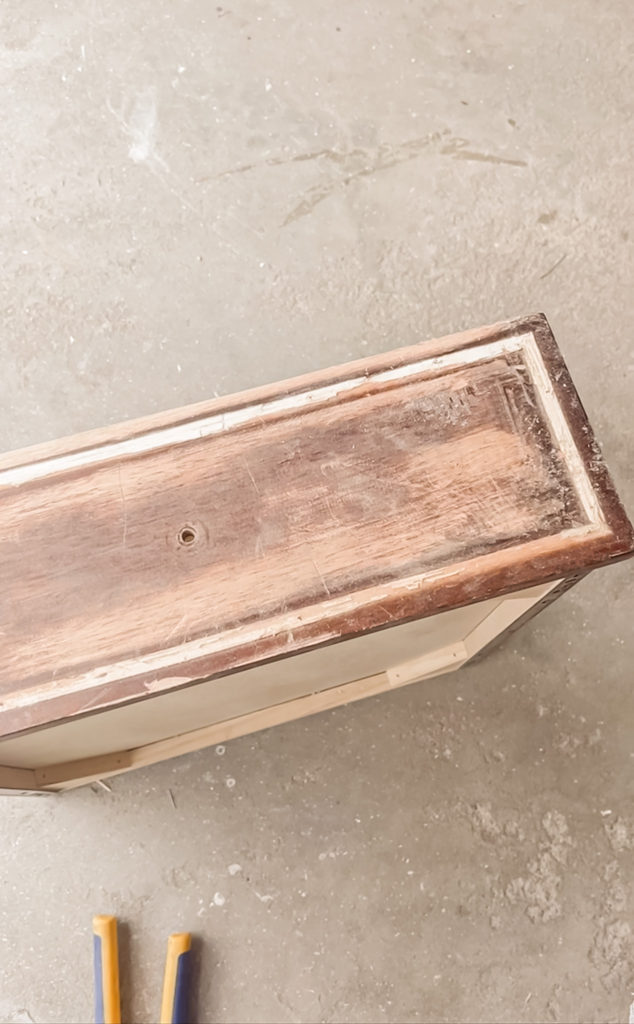
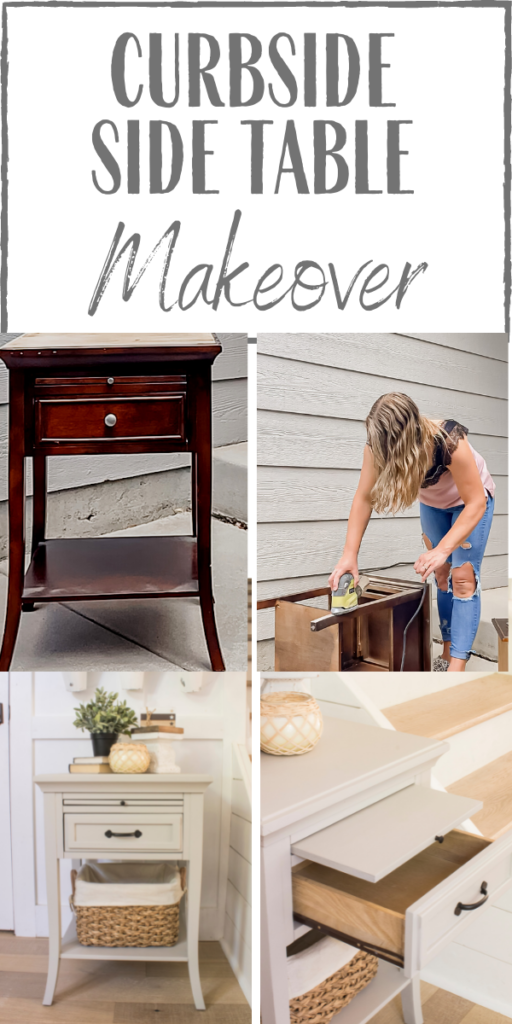
I found this cute little side table set out with the dresser that I shared last week. I failed to grab a good before picture, so I suppose that this screenshot from a video that I took will have to do haha.
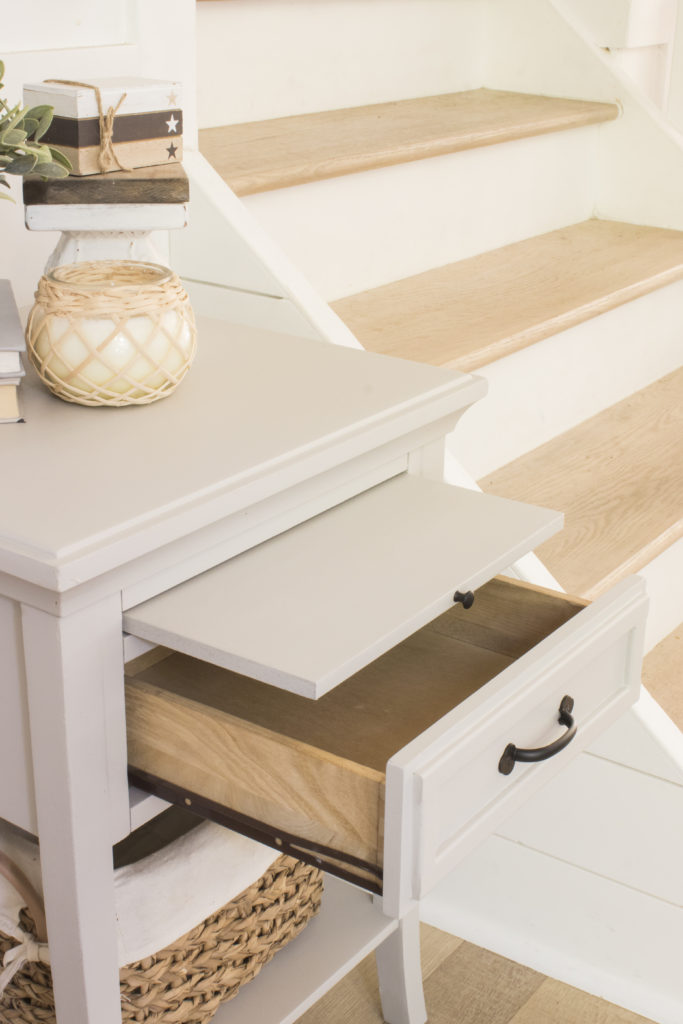
Someone had already sanded down the top of it, but I’m guessing once they realized that it was veneer they gave up on it. The veneer also had a big water mark on the top that wouldn’t come out with sanding. So, I planned on painting all of it except the drawer–however that plan changed as you will see in a second.
I used my sander to scuff sand.

When I got to the drawer, I got a little careless and ended up breaking some of the trim. I thought that an easy fix would be to chisel it all off and sand it down–butI was so wrong! I couldn’t get it smooth and there were tiny staples that I couldn’t get out either.
So on to plan B! I took some PVC screen trim that I had on hand and cut it down to cover where the old trim sat. I was able to attach three of the sides with the nail gun, however the top needed to be glued since the nail would go through the other side.
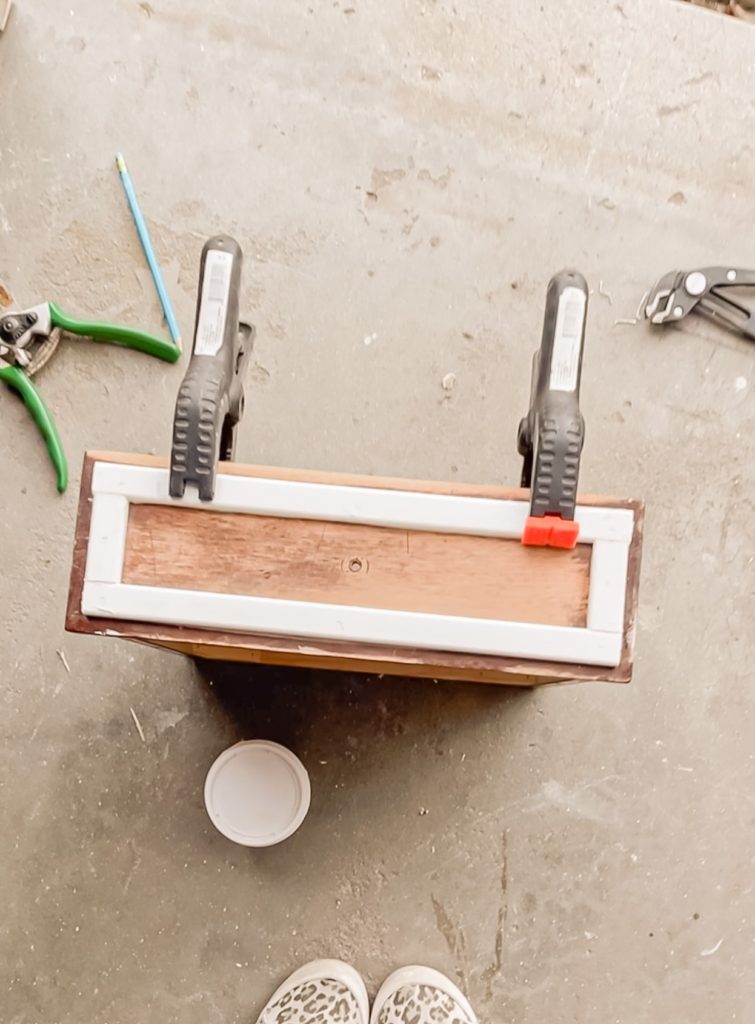
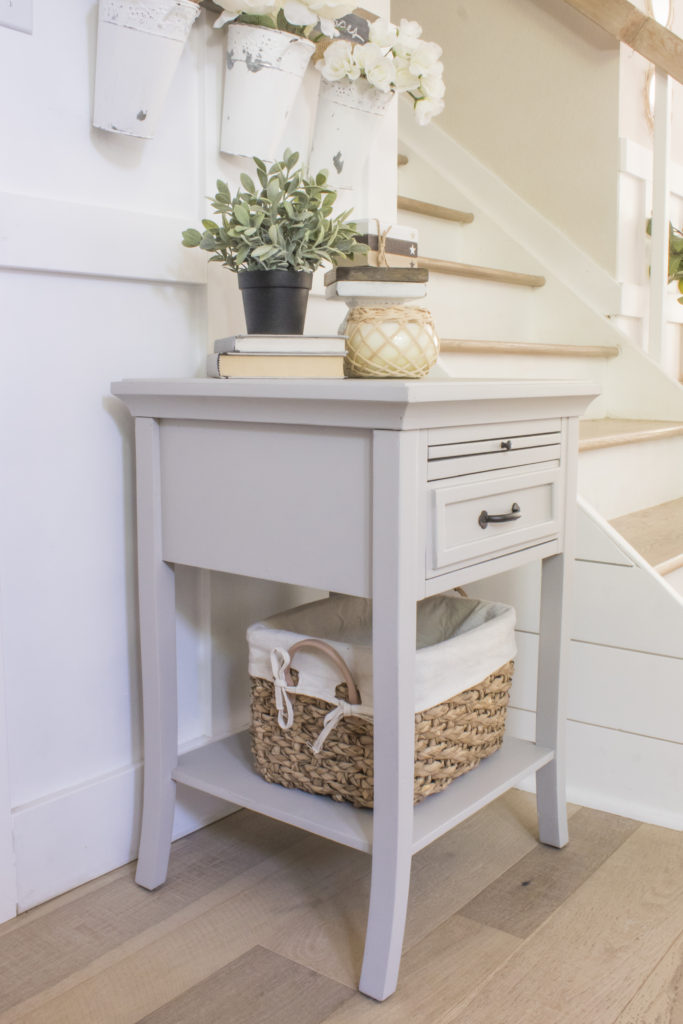
Once it was set, I went back with spackle and caulk to make everything as seamless as possible, and then gave it three coats of primer/paint combo using my paint sprayer.
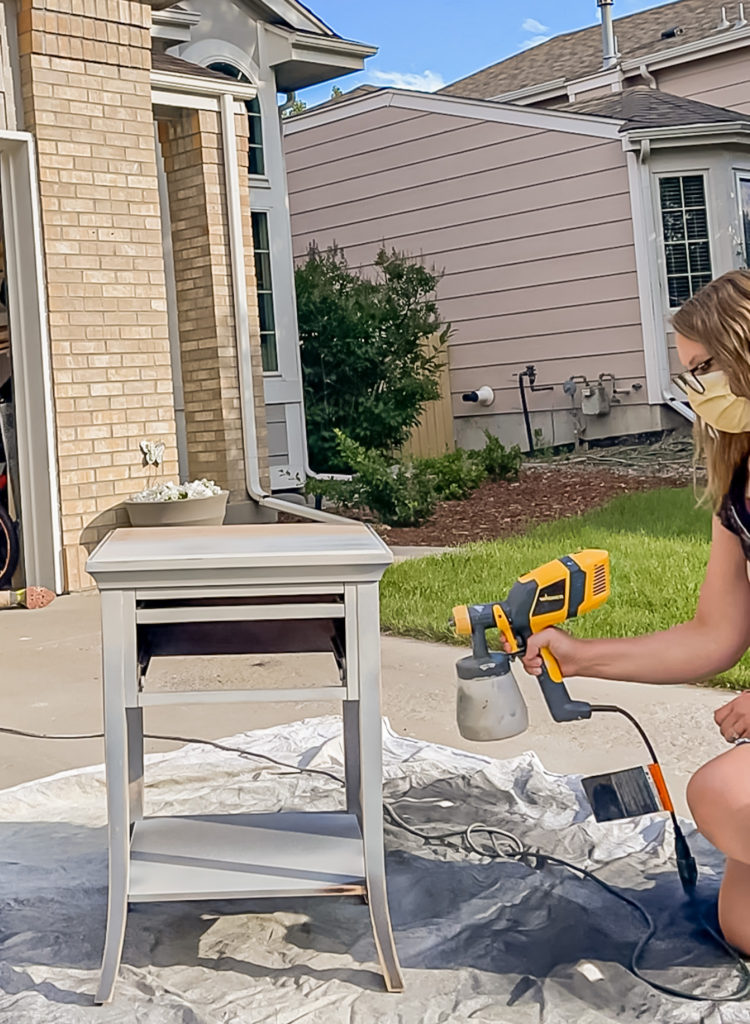
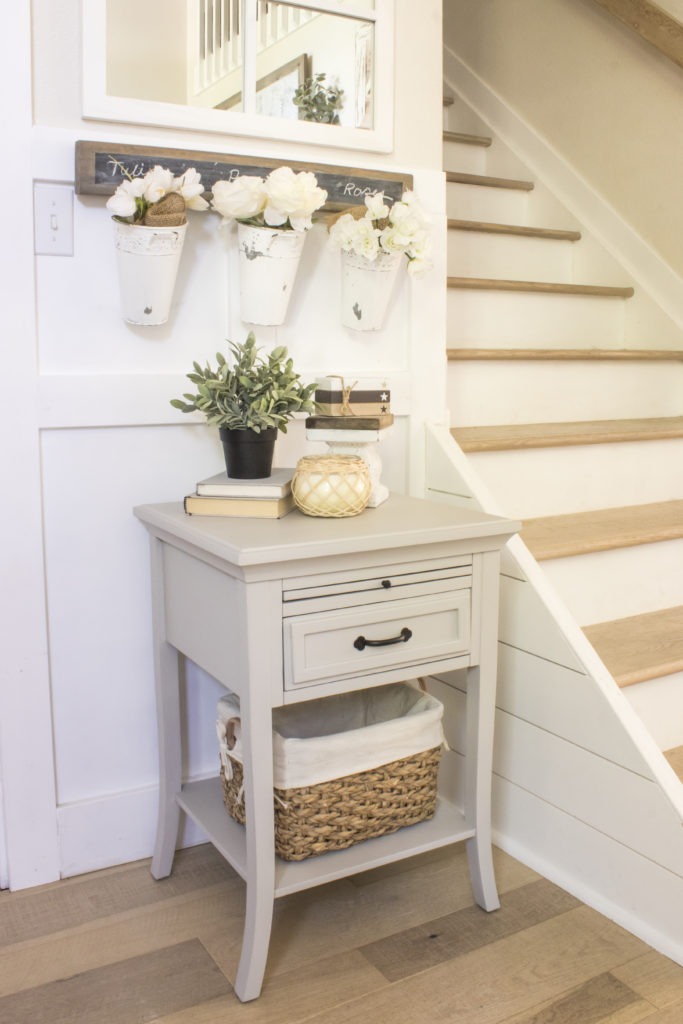
I used more of the custom color that I had on hand which was primarily Benjamin Moore Alaskan Skies mixed up with blacks and grays. I sealed it up with Ultra Flat Polyacrylic, attached a new pull and called it done!
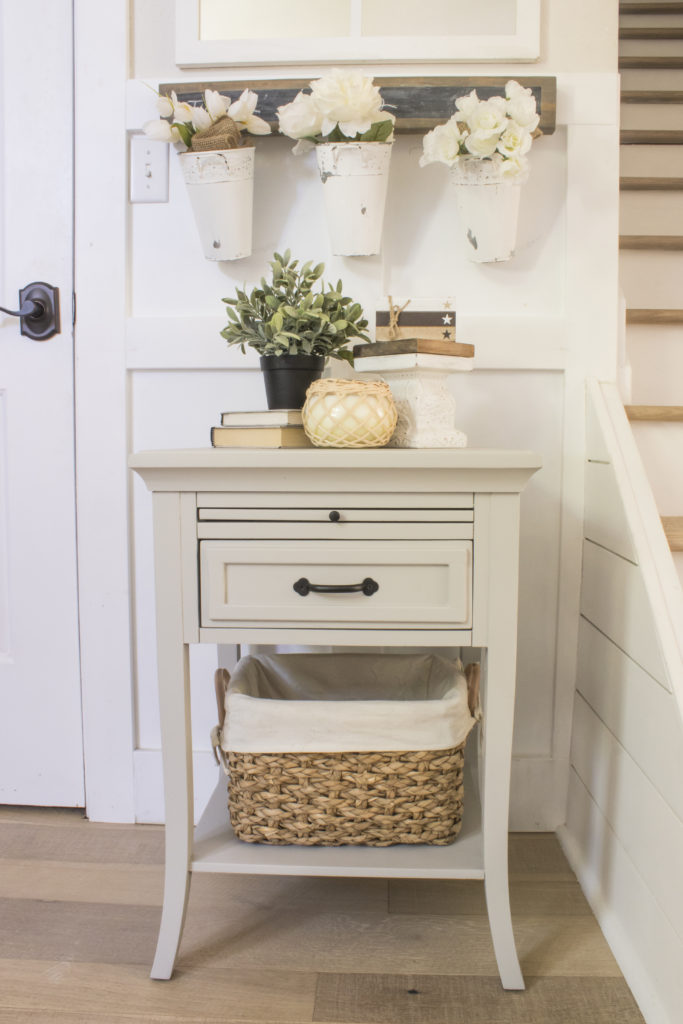
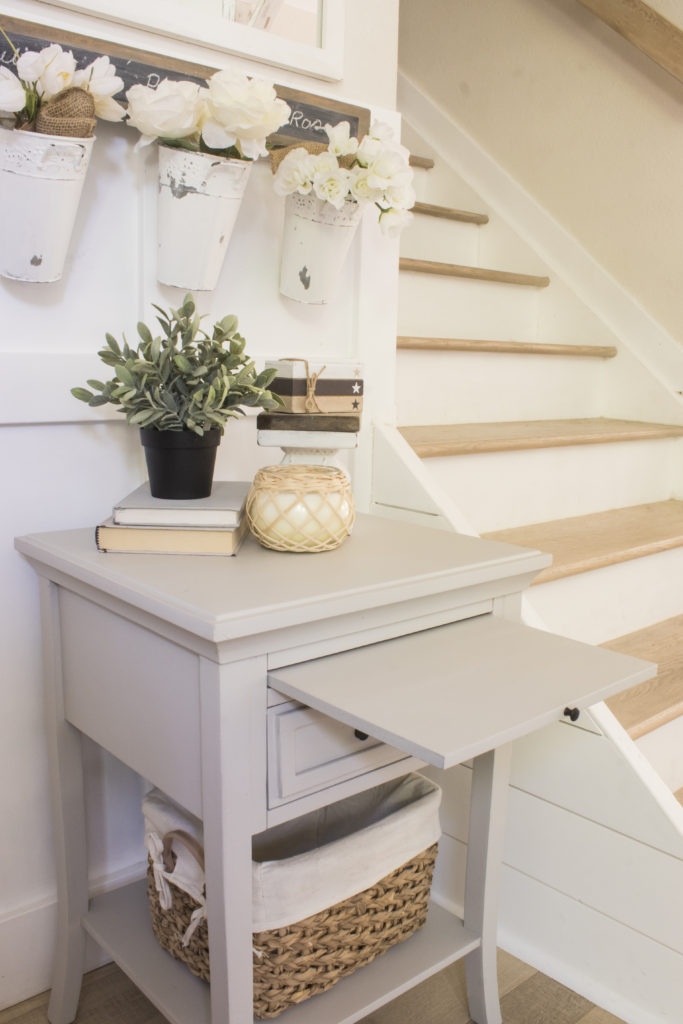
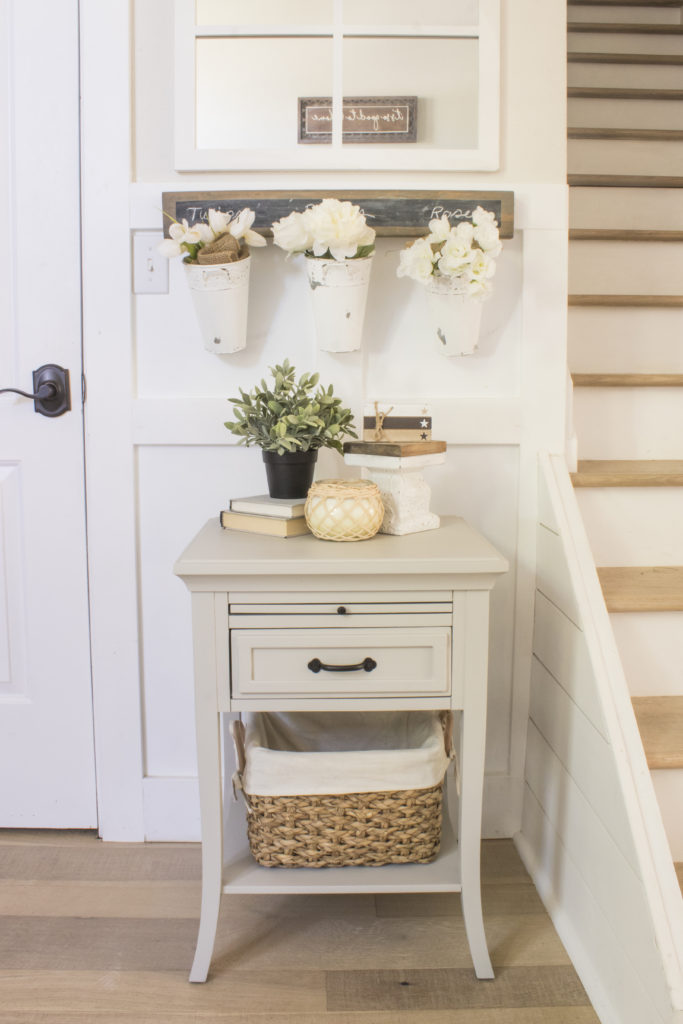
I love how clean and simple this table is and it’s almost hard to believe that it’s the same table!
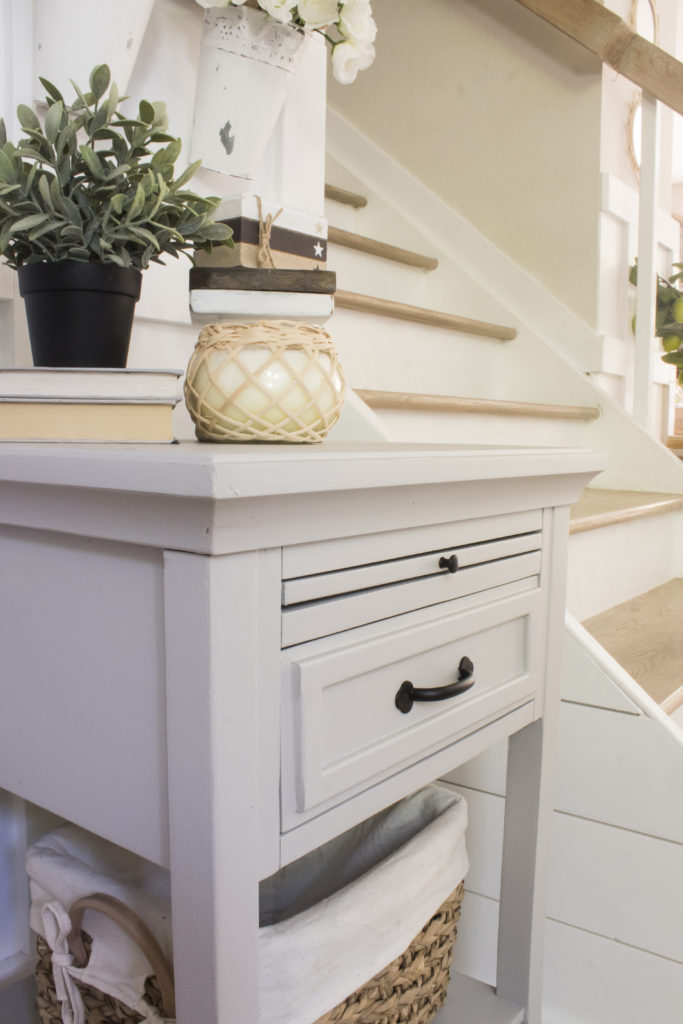
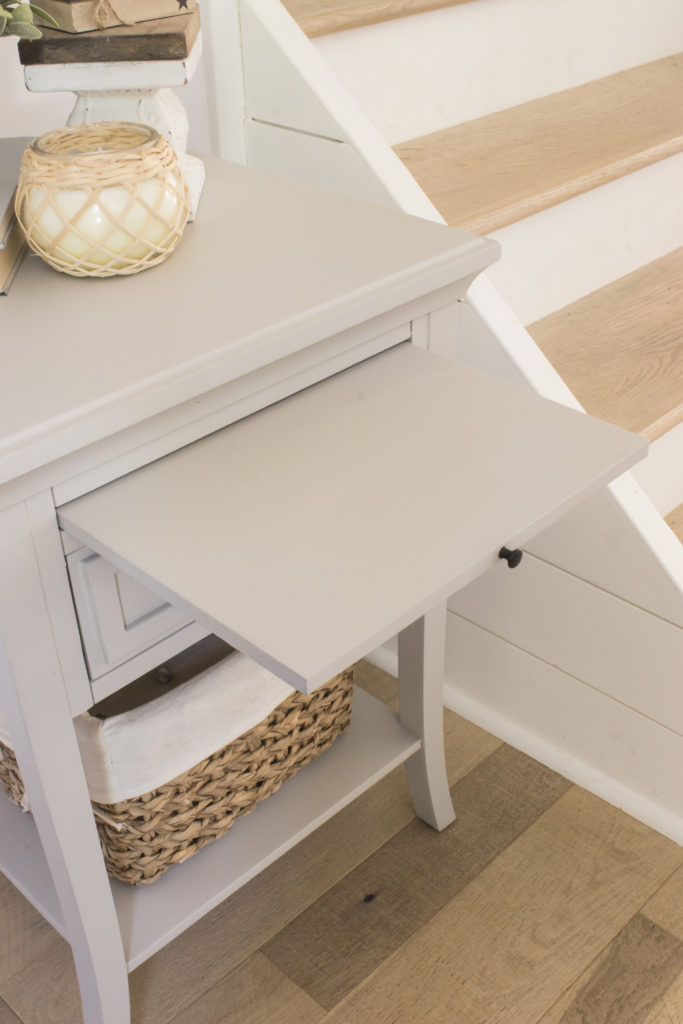
The coolest thing about it is the little tray that slides out above the drawer. I actually didn’t even realize that it was there until I started working on it!
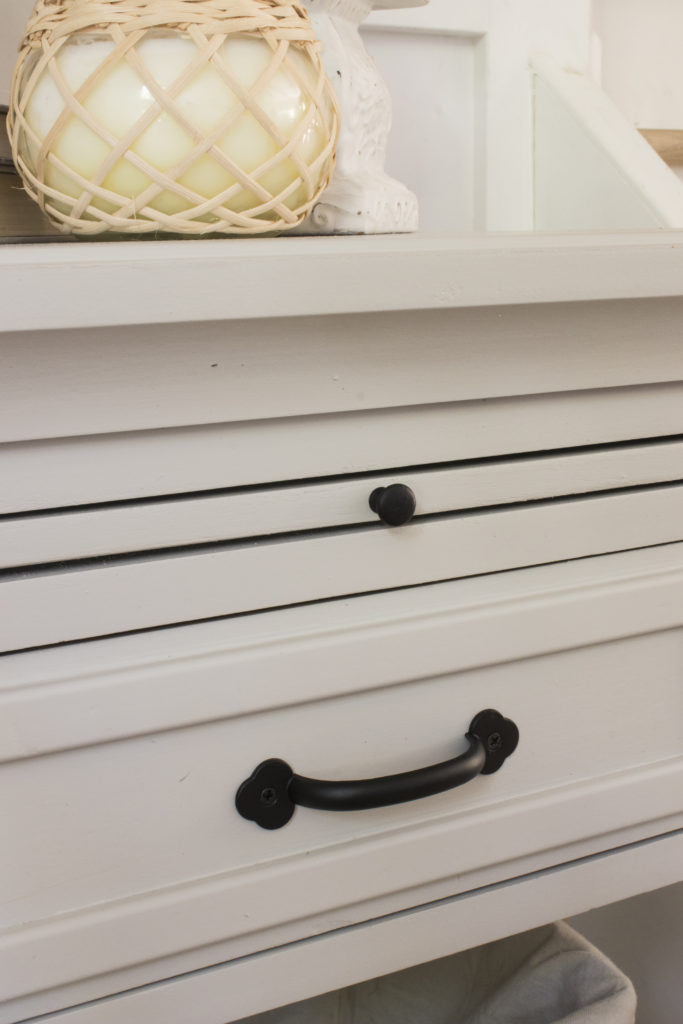
I painted the little knob with flat black spray paint, and I also painted the new pull so that they would match.
I love this table’s new look and I hope that its new owners enjoy it!
PIN FOR LATER!
Linking up to these awesome parties!
(Affiliate links may be provided for convenience. For more info, see my full disclosure here.)
Very nice.
I love how this came out Angela. Such a cute table.
Amazing transformation!
What a fantastic transformation#alittlebitofeverything
Wow …the new look is really stunning! You’ve done amazing work. And that pull-out tray is really cool feature, I must say.
Really love this-looks so fresh n new…
Thank you so much Jan!
It looks so good!! What a transformation! That little pull out table is adorable.
Thank you Rachel!
Hi Angela, I love the makeover for your flip. It turned out great.
I bet this table is over 60 years old, had been taken well care of, but I bet this table was to set a phone on and a place for taking notes and a place for the phone book, called a “phone table” they were very popular, I sat next to my grandmothers for hours talking on the phone and it wasn’t a cell phone, lol.
Thank you for sharing on Oh My Heartsie Girls #omhgww. Be sure to see it featured and to share more ideas with us!
Thank you so much Karren! I bet you are right! I had never seen anything like it before and found it so unique 🙂
What a great makeover.
Thank you Rebecca!
Gorgeous make over! What a cute pull out writing shelf ! Absolutely love the color .
Amazing work as always.
xo Lisa S
Thank you so much Lisa!
It looks amazing! I really like that pvc trim trick: I wouldn’t have known it wasn’t wood. Love the color too.
http://www.chezmireillefashiontravelmom.com
Thank you so much! I am so happy that I thought of it, it was the perfect fix 🙂