Hey guys, happy Friday! I hope you all had a nice week. It has been HOOOOOOT here in Colorado and we are forecasted to stay hot for the next several days. This weekend we plan to spend most of our time inside with exception to a quick trip to the pool.
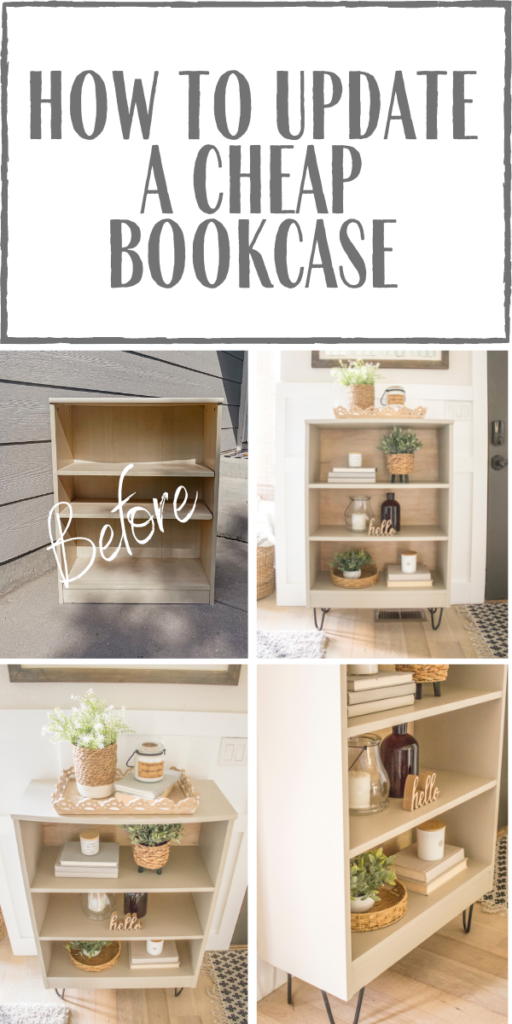
Ok, ready for another fun furniture flip? This one is pretty good! We are all familiar with these cheap MDF bookcases, but when I spotted this one sitting on the curb, I was intrigued by the curved top–that is uncommon!
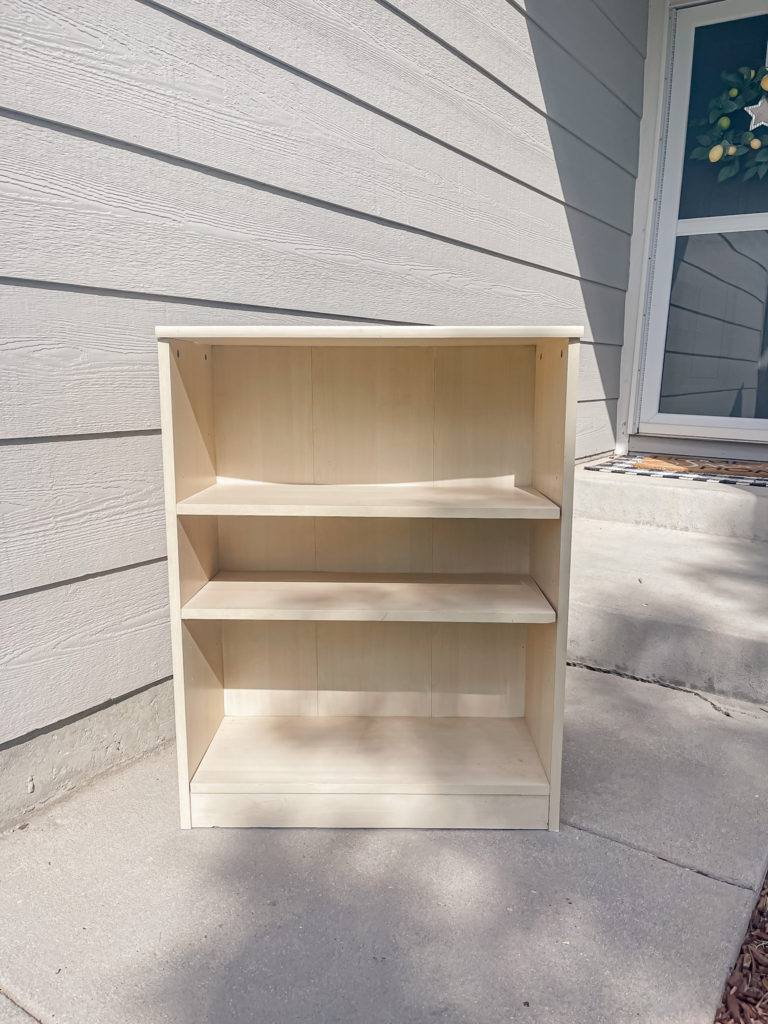
I knew that I could find some way to dress it up and make it feel high end, so I picked it up and brought it home!
Supplies Used:(Affiliate links may be provided for convenience. For more info, see my full disclosure here.)
- Sander
- Paint Sprayer
- Satin Paint (BM Pashmina)
- 1/4 Plywood
- Jigsaw
- Nail Gun
- Wood Glue
- Spackle
- Caulk
- White Wax
- Ultra Flat Polyacrylic
- Hairpin Legs
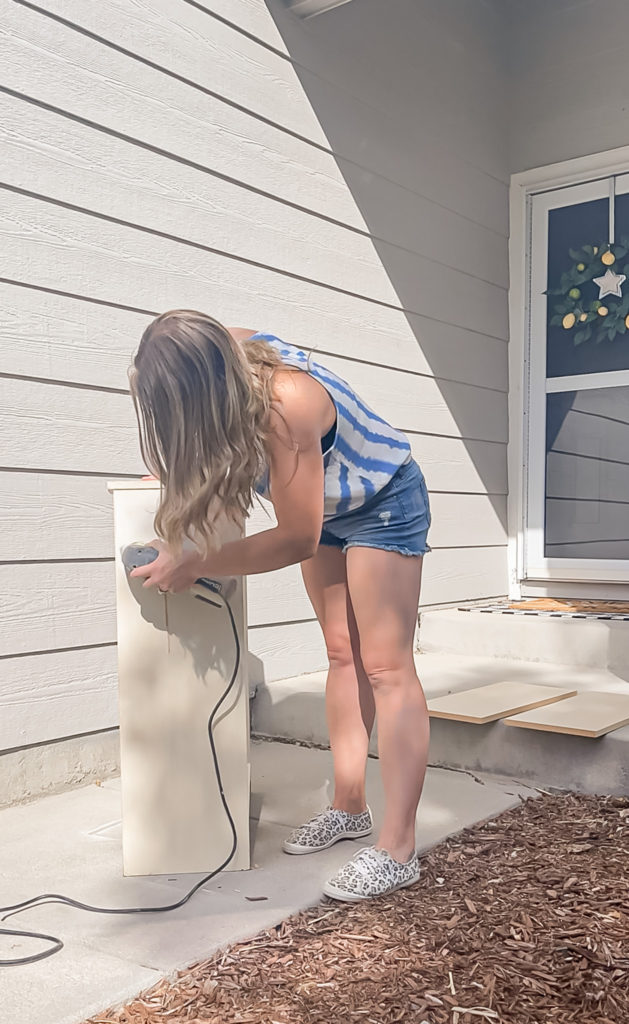
The first step was to use the sander to scuff sand the entire thing. It was comprised of laminate and MDF so my goal was to scuff the surface up just enough for the paint/primer to adhere nicely.
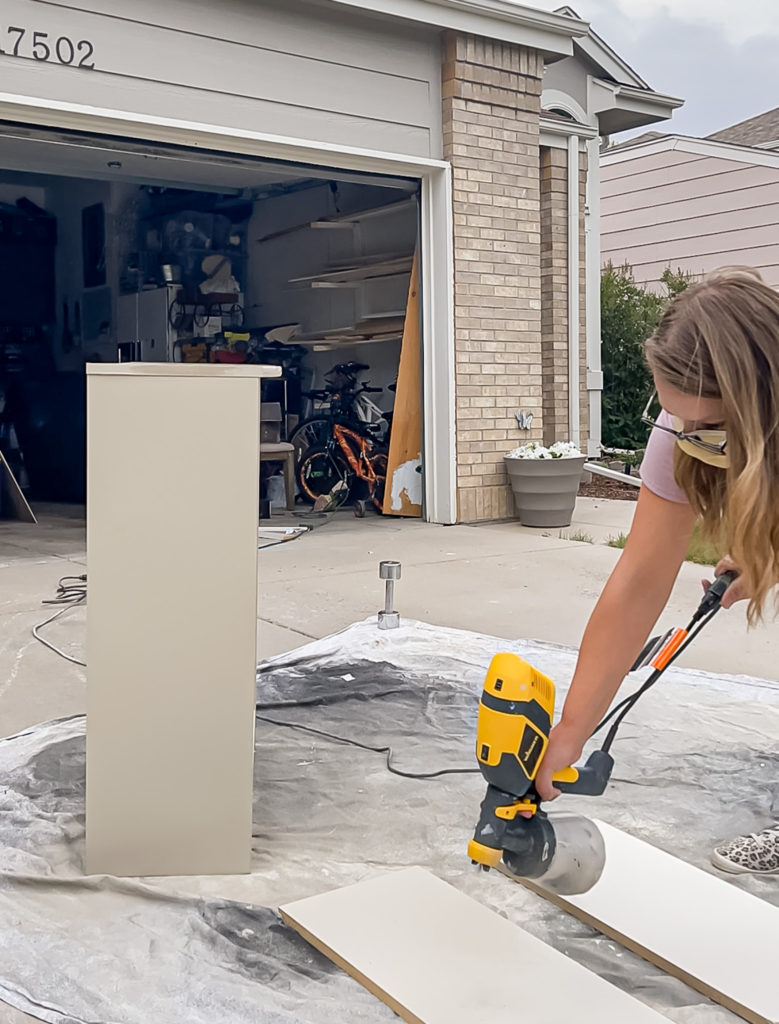
Next, I brought it out to the driveway and used my paint sprayer to apply a couple coats of Benjamin Moore Pashmina. Yep–left over from the kitchen cabinets!
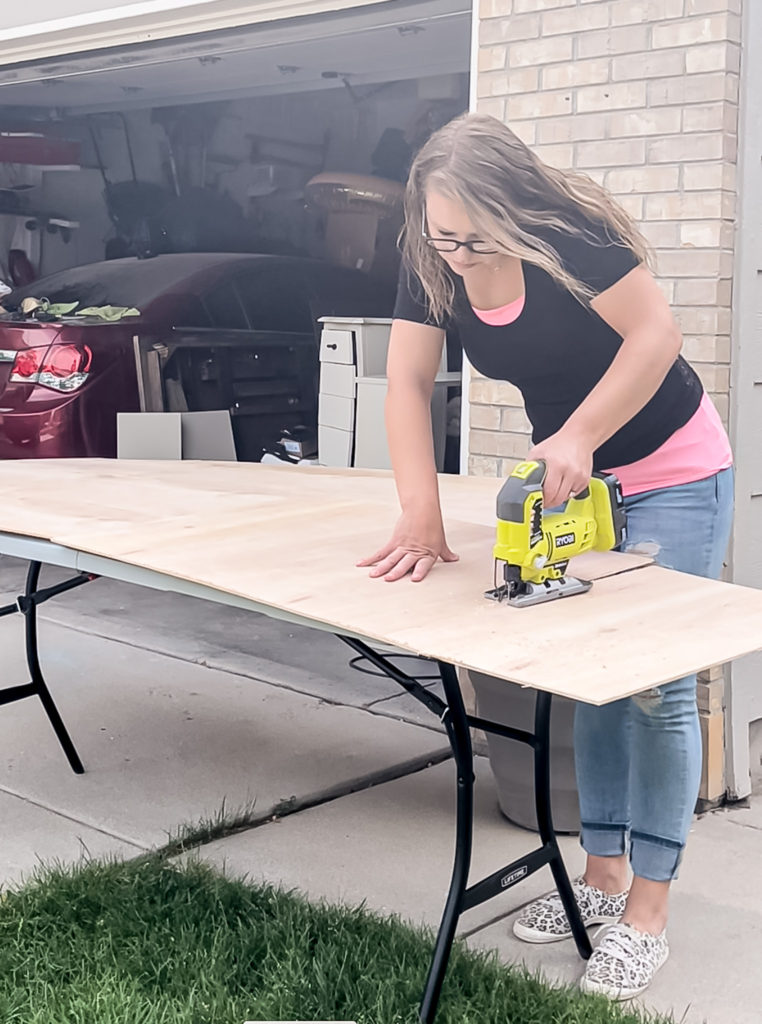
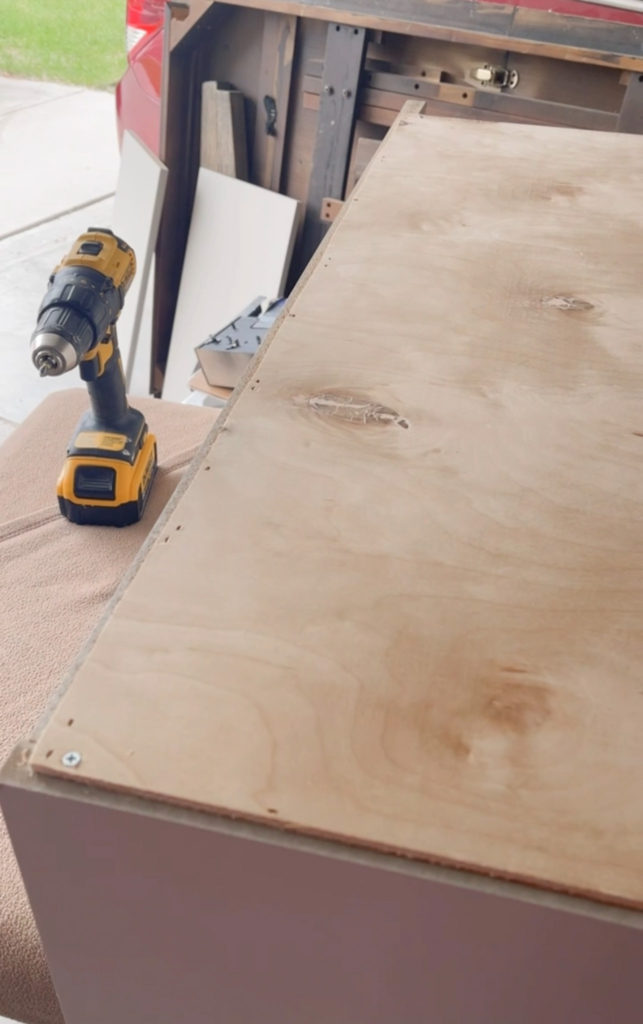
I removed the cheap piece of cardboard that was on the back of the bookcase prior to starting and I was surprised to find that the bookcase was super wobbly without it! It’s crazy that such a flimsy little thing can add such stability. I purchased some 1/4 plywood to replace it and used the old cardboard to trace out a new back, and used my jigsaw to cut it out.
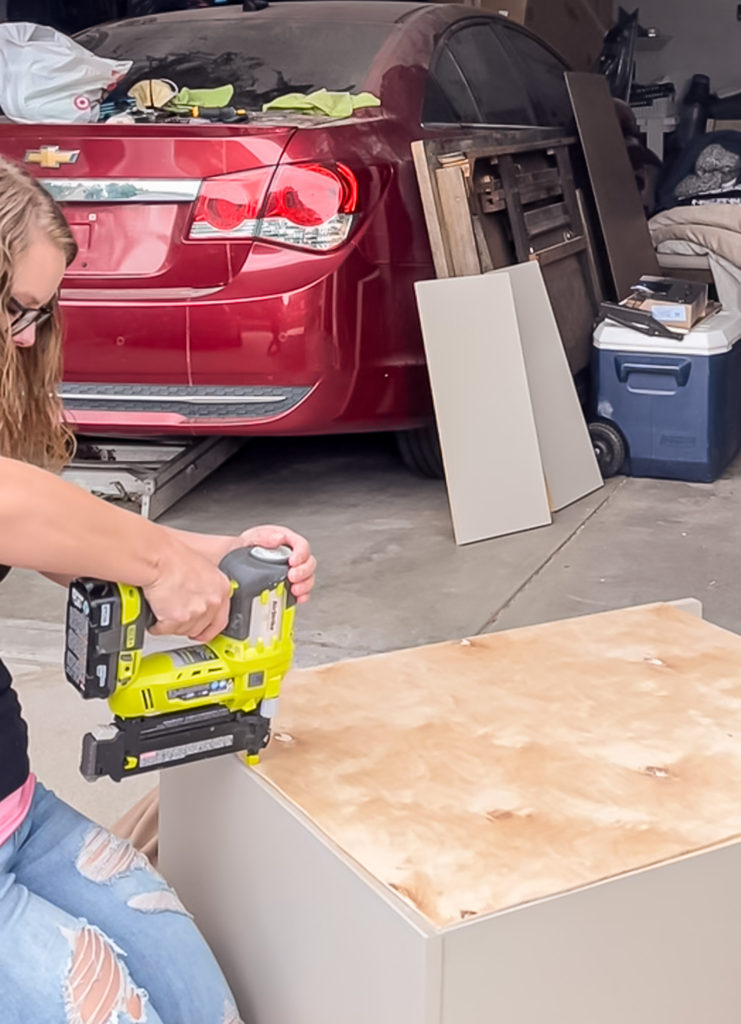
I secured it to the back of the bookcase with my nail gun, however I had it set too high because when I went to move it, the whole thing popped right off! It turns out that most of the nails were just going right through it. I turned it down and resecured it and also added a screw in each corner for extra stability.
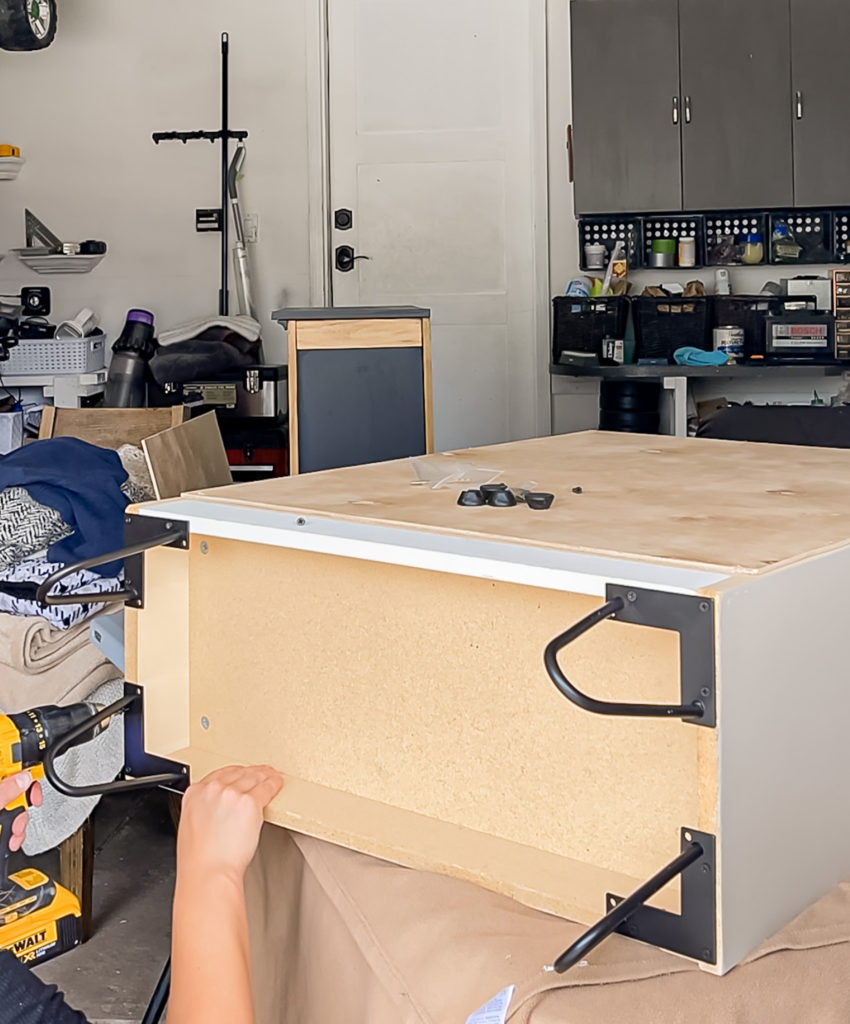
With that in place, I was ready to add the legs. I ordered these awesome hairpin legs, however I first needed to add a piece of scrap wood to the bottom along the back so that I had somewhere to secure them.
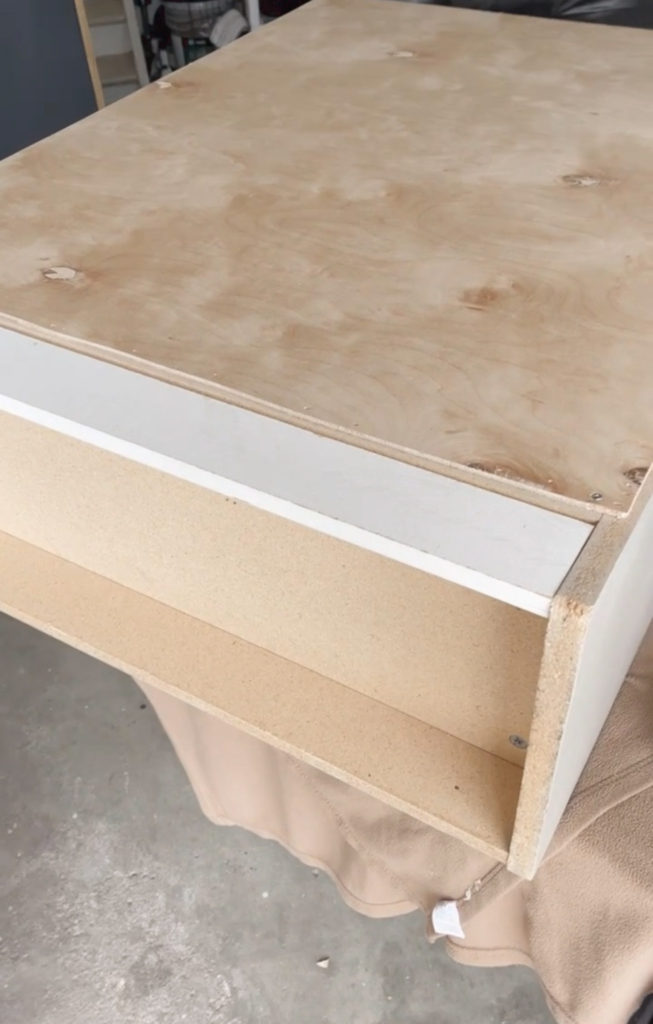
With that in place, I was ready to add the new pretty legs!
I applied some white wax to the plywood then sealed it all up with Ultra Flat Polyacrylic. I was thinking that I was going to be done at this point, however when I put the shelves back in, I decided that the gaps on the sides had to go.
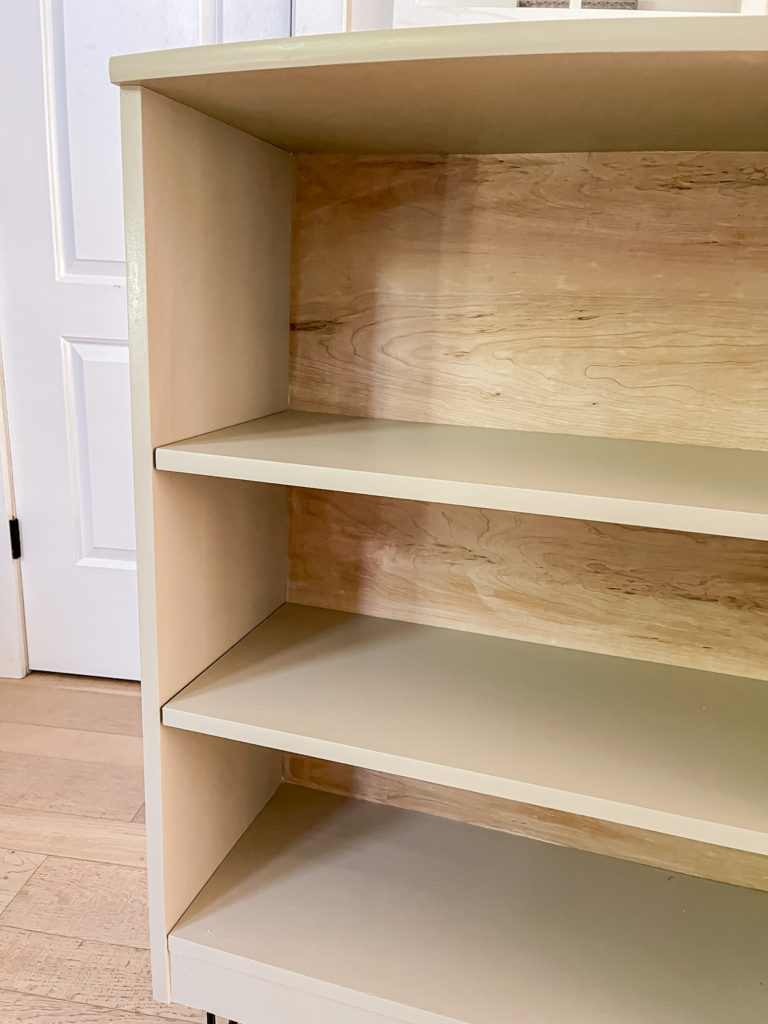
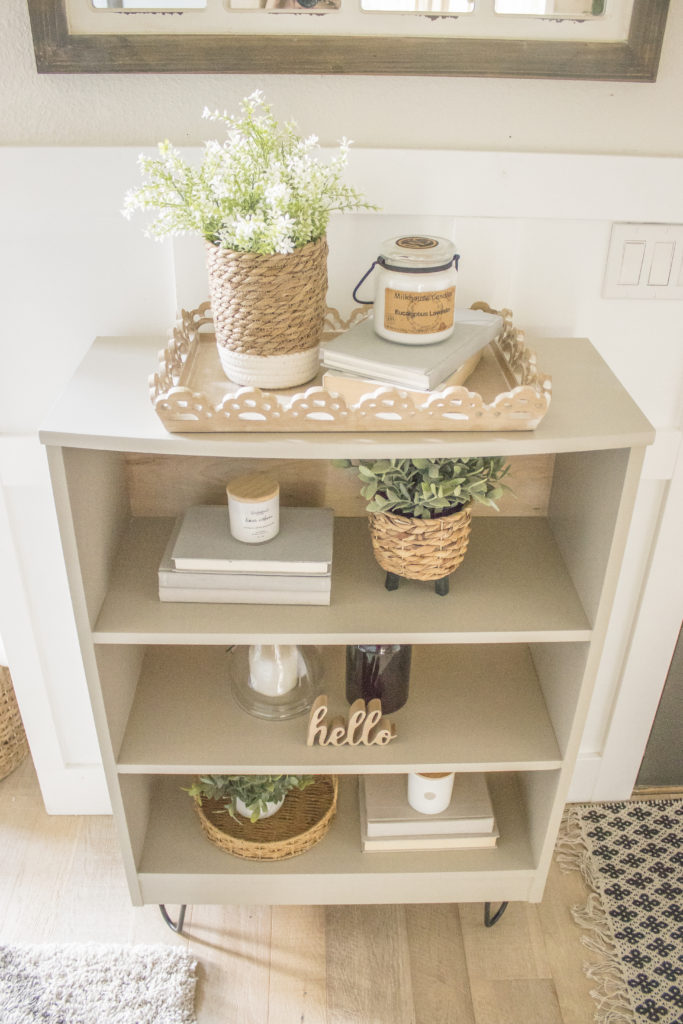
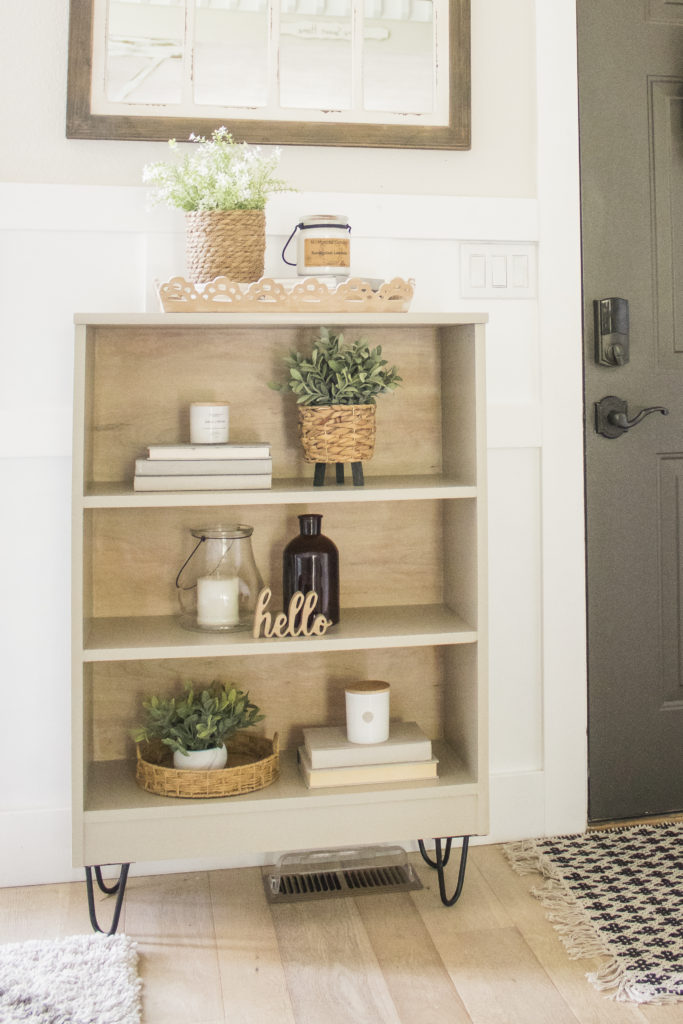
So, I used the nail gun to permanently secure the shelves, then I filled the gaps with spackle and caulk to make them look as seamless as possible. Here is the finished product!
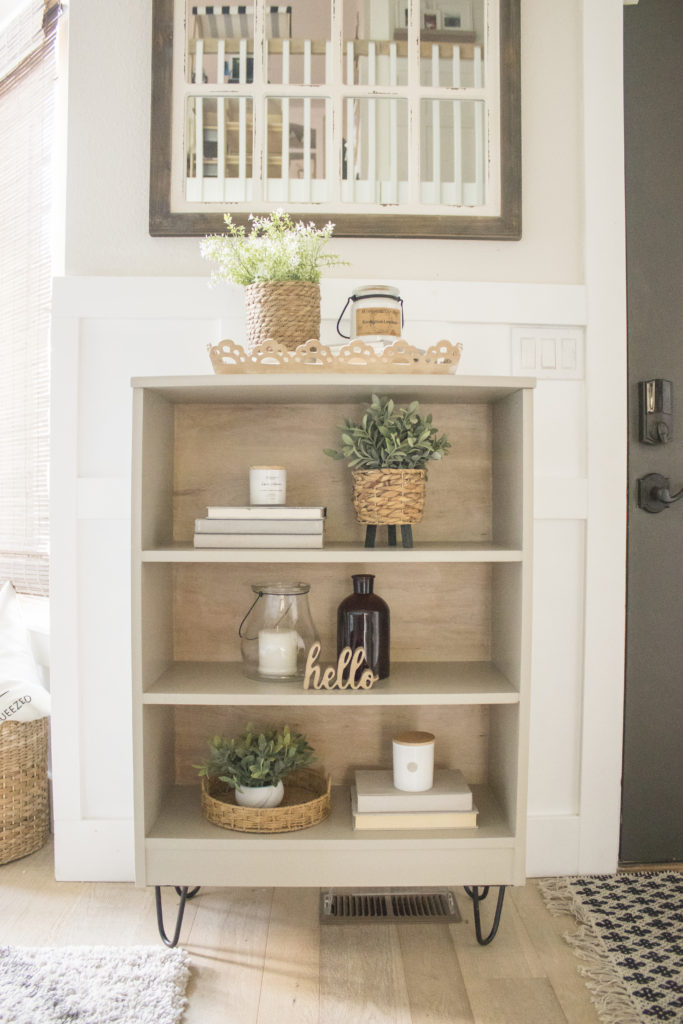
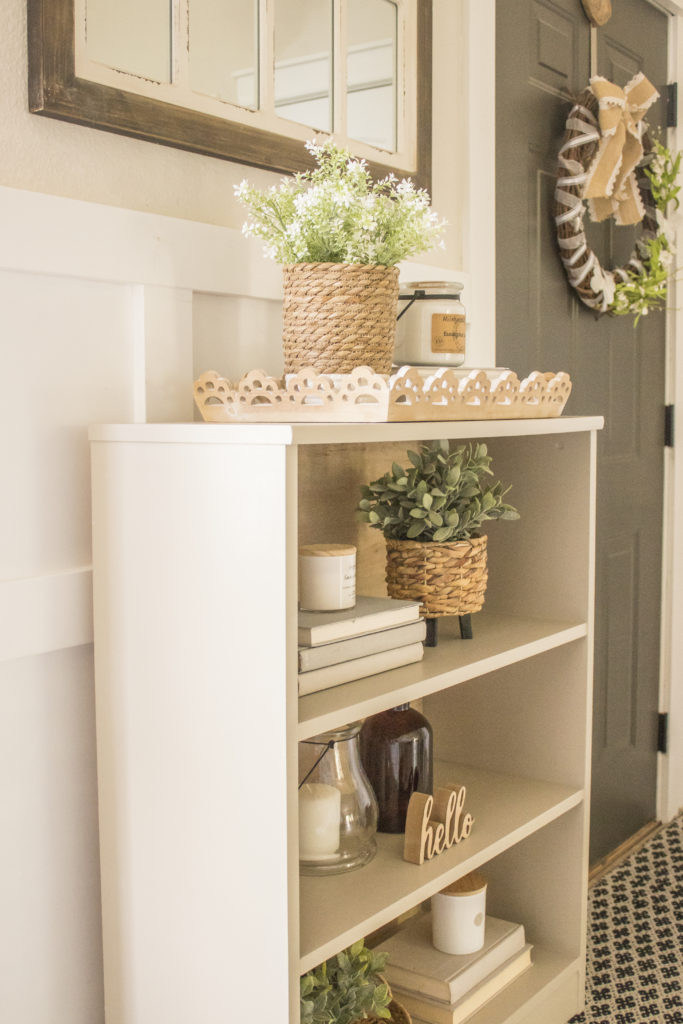
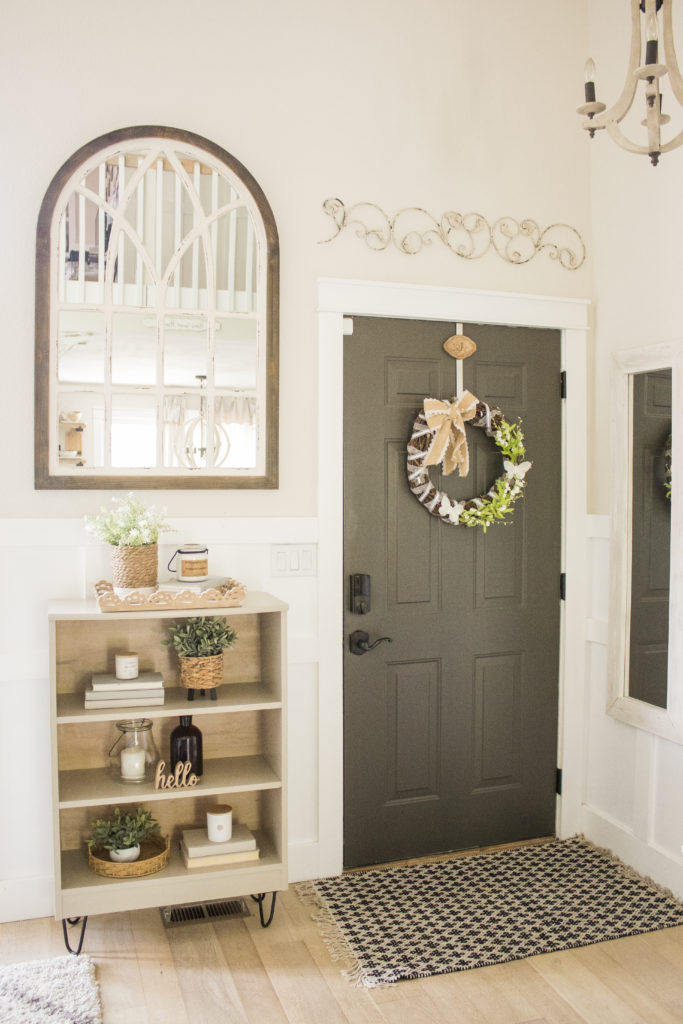
I love how much character the legs and wood back add, it hardly looks like the same cheap piece that I found sitting on the curb!
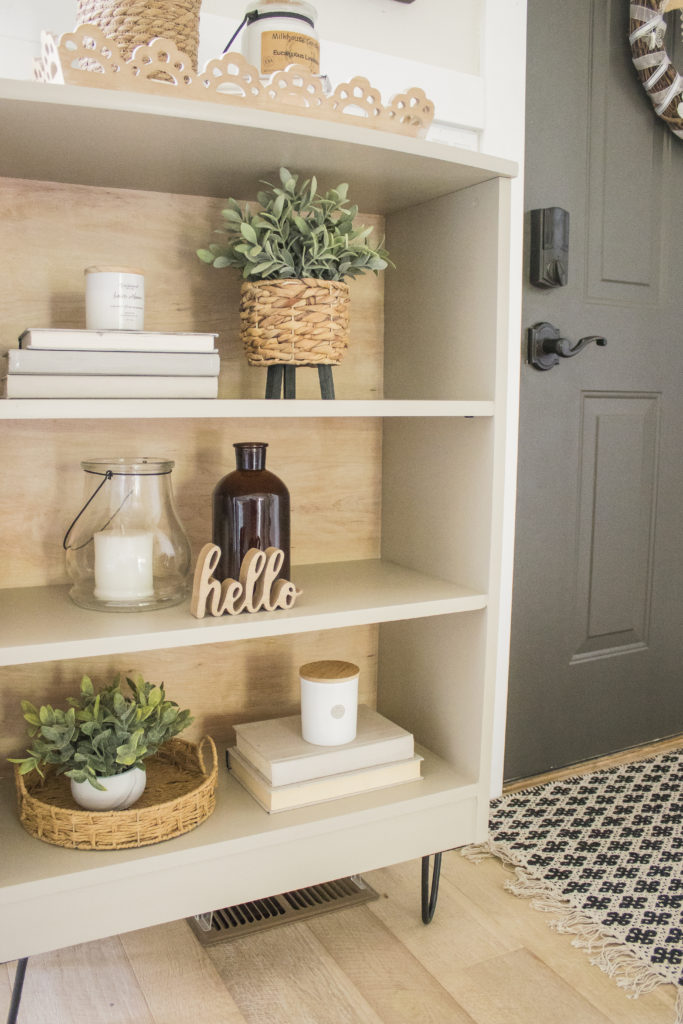
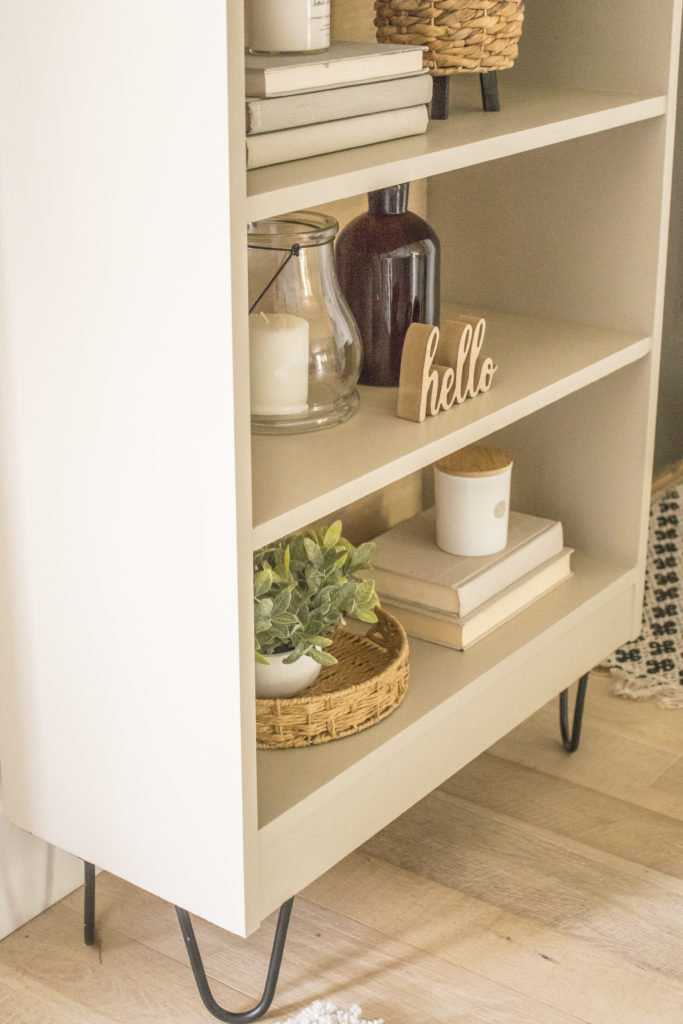
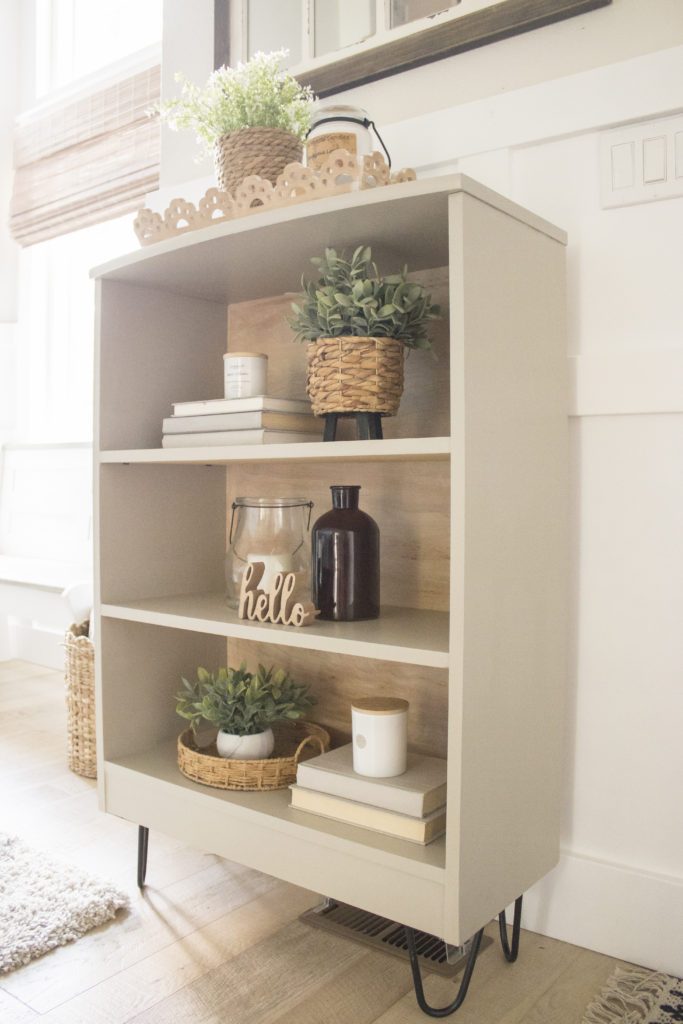
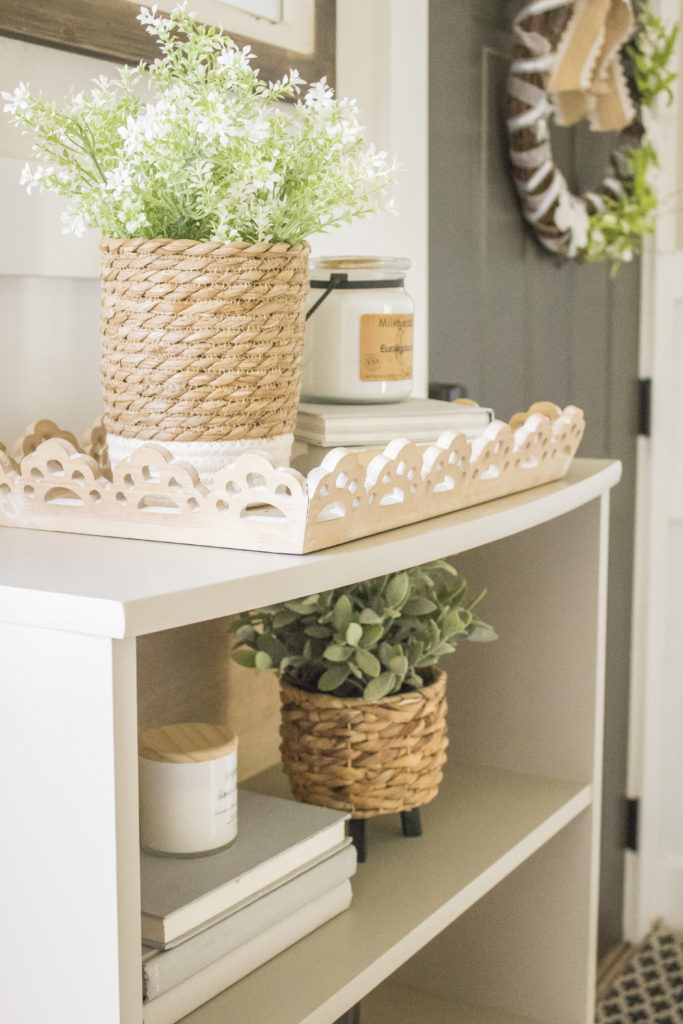
I had fun styling it by the front door and I came reeeeally close to keeping it there. I ultimately decided that our entry table that we already have works better there so this guy is going to get to go to a new home.
Have a safe and happy weekend everyone!
PIN FOR LATER!
Linking up to these awesome parties!
(Affiliate links may be provided for convenience. For more info, see my full disclosure here.)
I always love to see what you are up to next. This bookshelf came out great.
aww thank you so much! That means a ton 🙂
Wow! That just turned out gorgeous! Thanks so much for the inspiration. Pinned!
Thank you Denise! 🙂
Great Job, Angela! I found your site through ‘To Grandmother’s House We Go’ Wednesday Link Party! I’m loving your upcycles!
I love what you did with your bookshelf Angela!
CONGRATS for being one of our Friends of the Week at Friendship Friday at Create With Joy! 🙂