Hey friends, hope you are all having a nice week so far! We have been experiencing some record setting temps here, so we are trying our absolute best to stay cool and hydrated! This weekend we are going camping in the mountains where it’s a little bit cooler, so we are all really looking forward to it.
I am slowly dwindling down my curbside inventory and have just a couple more pieces to share with you (until I find more of course, which is probably inevitable haha). The one that I am sharing today is going to be REALLY hard to list for sale. It definitely makes the list for one of my favorite pieces that I’ve ever done!
It’s hard to find 100% wood furniture, most things usually have veneer or particle board snuck in there somewhere. When I spotted this solid beauty, I was instantly smitten and had zero hesitation bringing it home.
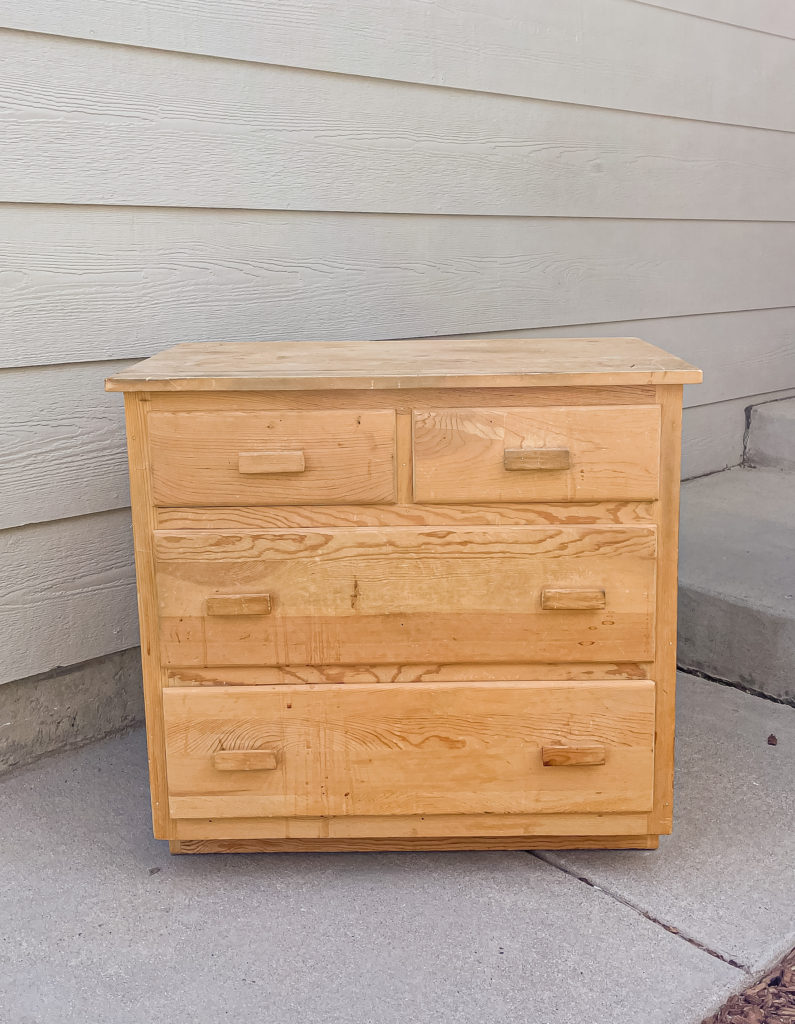
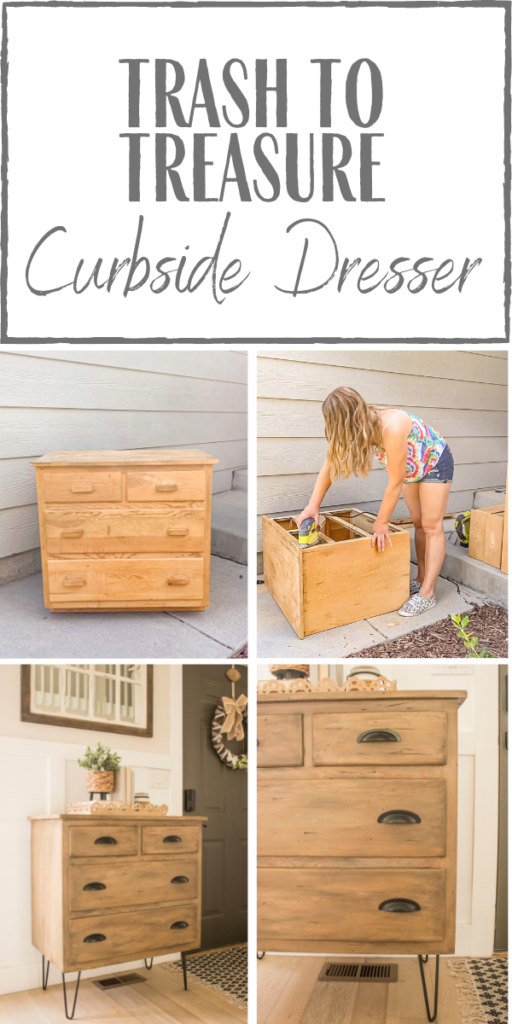
Sure, it was a little dirty, beat up and had that awkward toe kick on the bottom–but I saw it’s potential and was so excited to give it a fresh look.
Supplies Used:(Affiliate links may be provided for convenience. For more info, see my full disclosure here.)
I started by removing the wooden pull handles since I knew that it would need something much fancier when I was done with it.
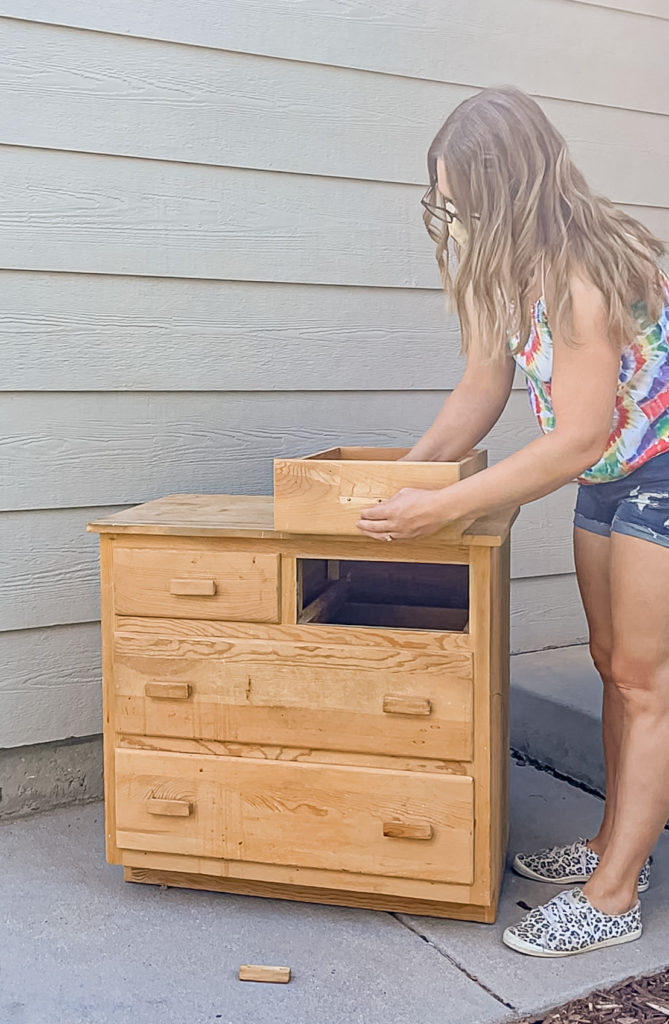
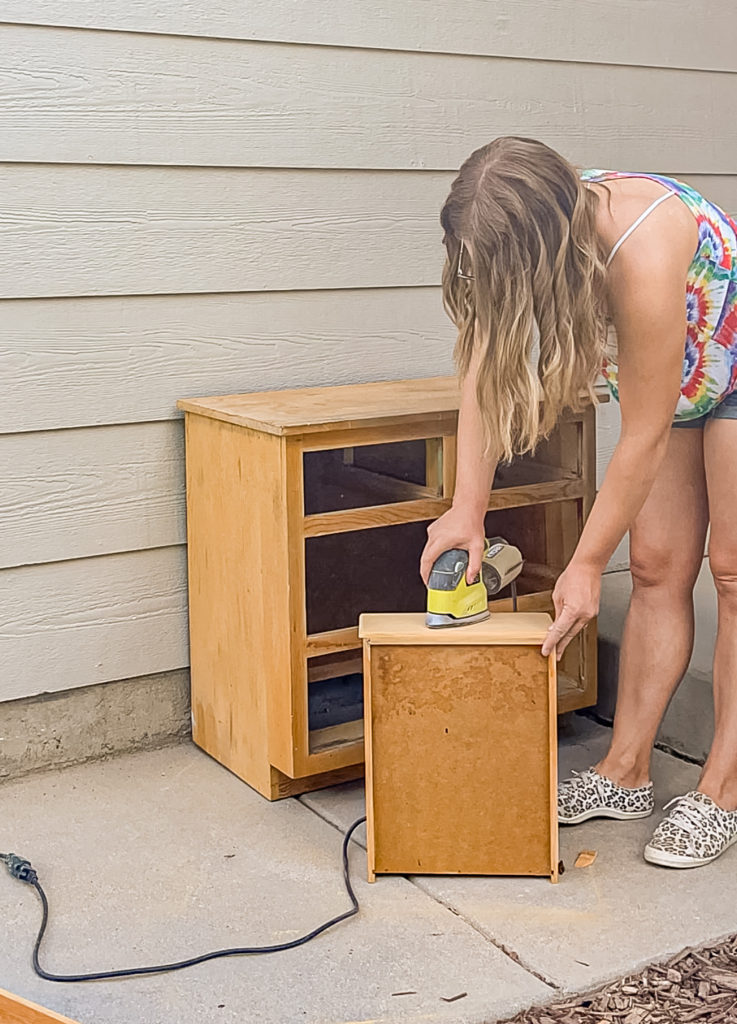
I then began sanding down the drawers which I found to be very quick and easy since it had no paint or varnish on it.
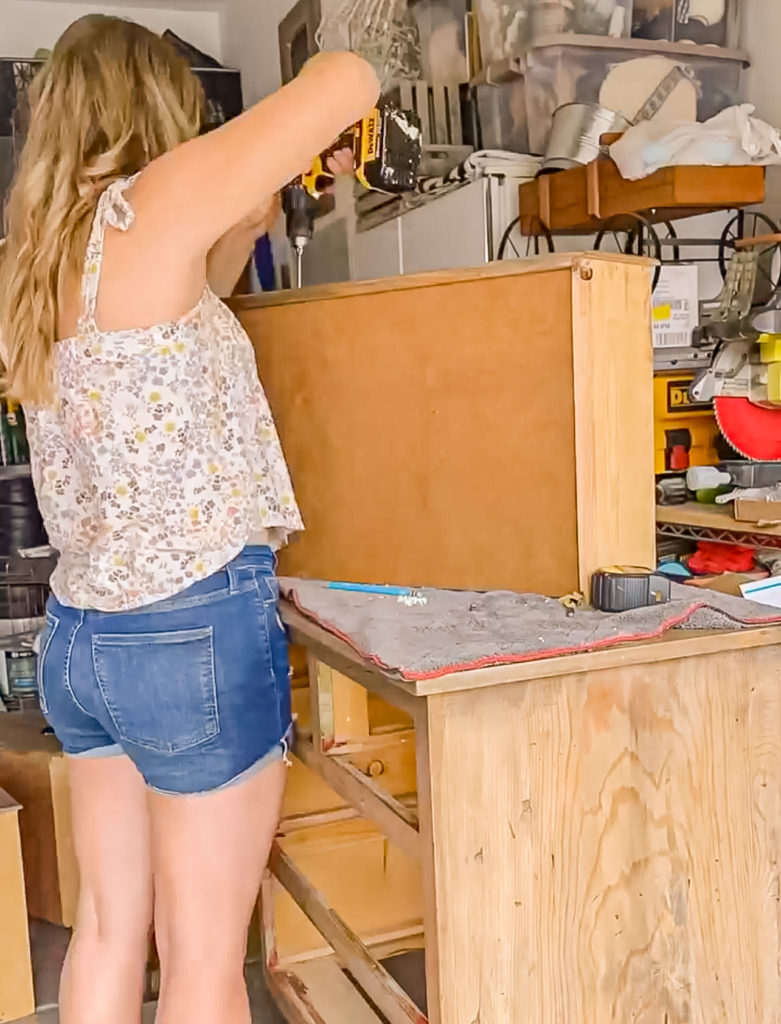
I knew that the toe kick situation had to go, but I’ve never actually cut furniture before—so I was nervous! I first used my speed square to draw a nice straight line across.
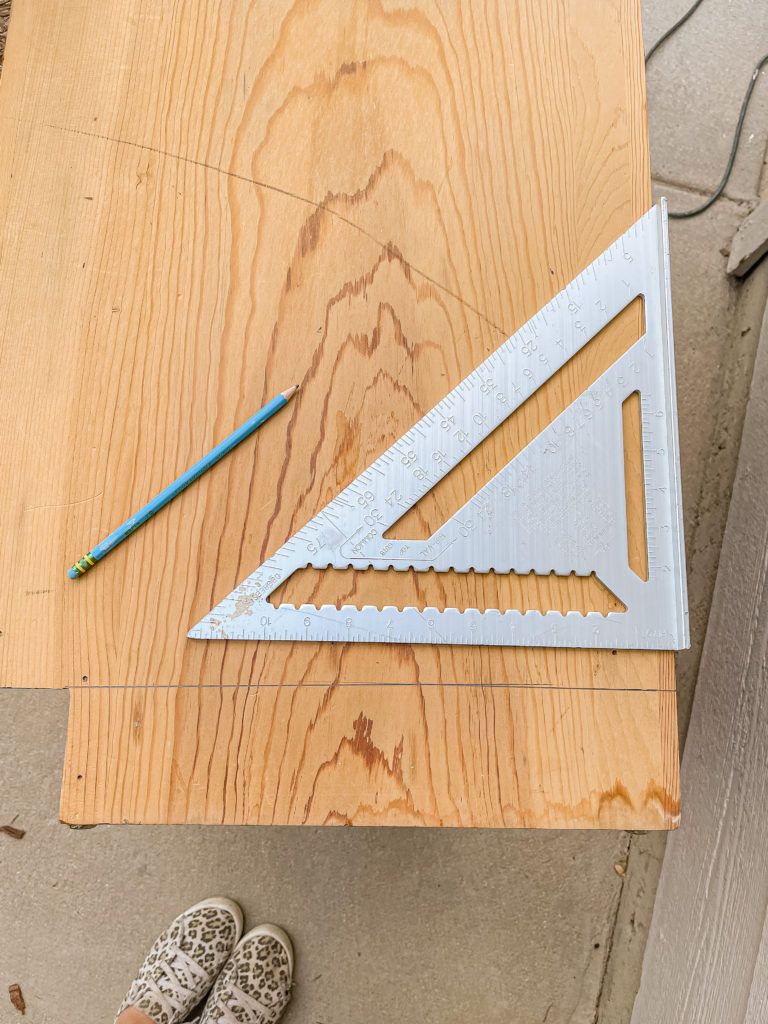
I then carefully used my jigsaw to cut along the line.
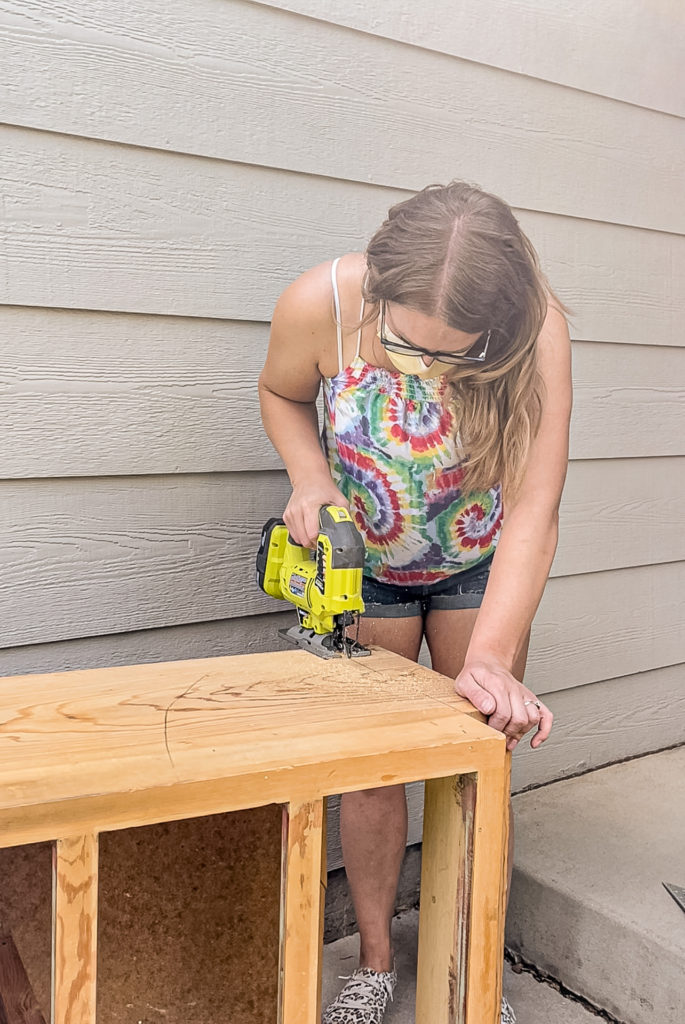
Once both sides were cut the piece along the front popped right out. It turned out great and I was left with a nice flush surface along the bottom.
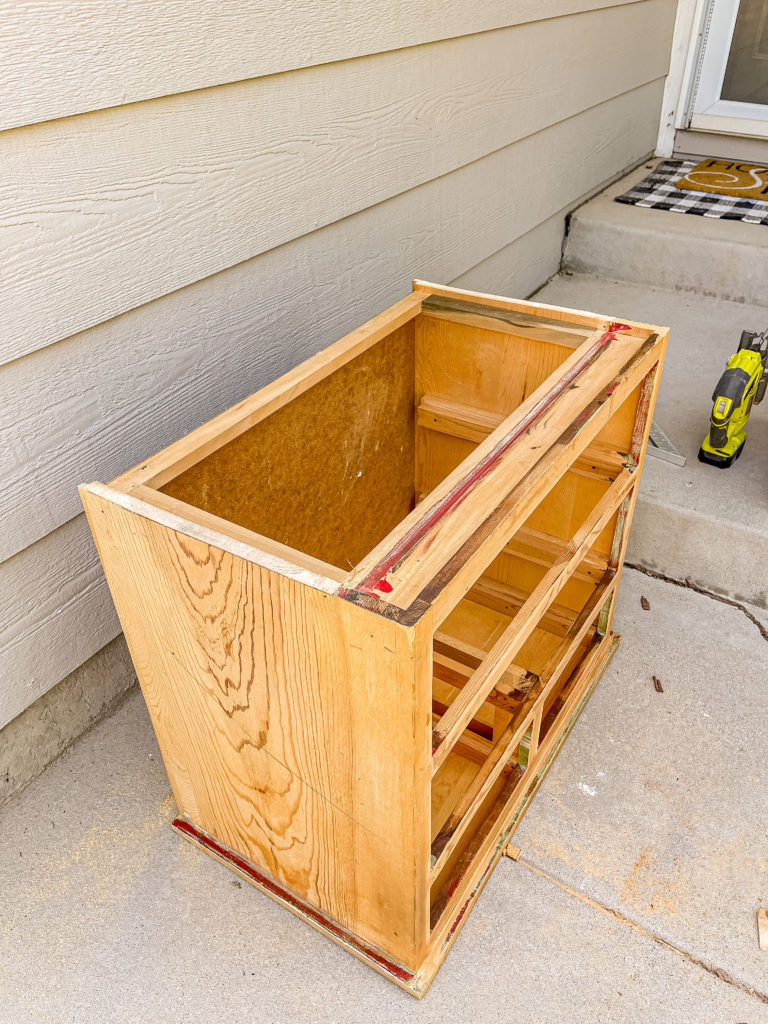
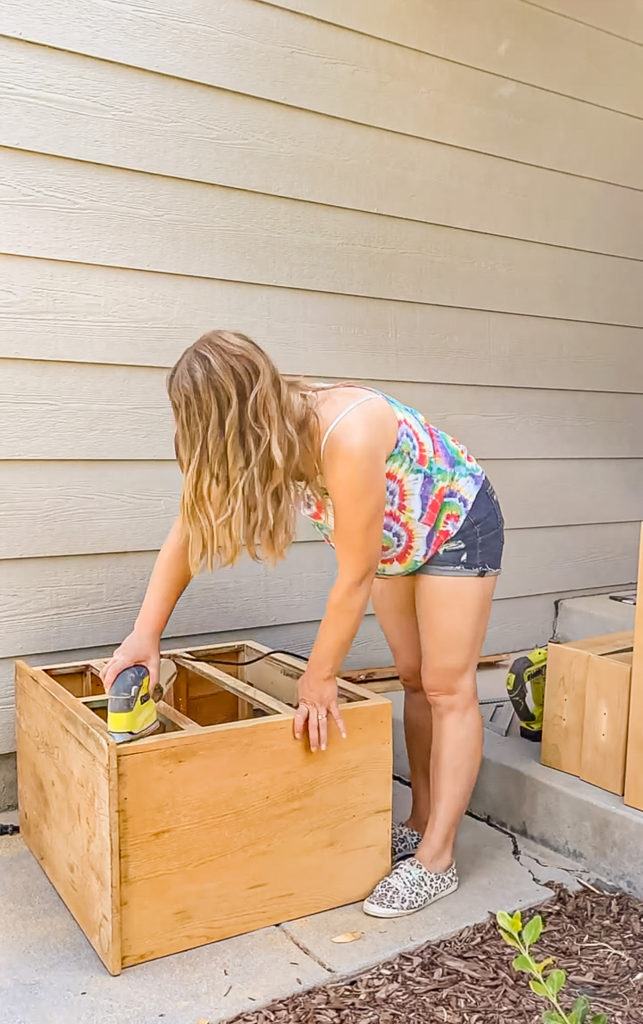
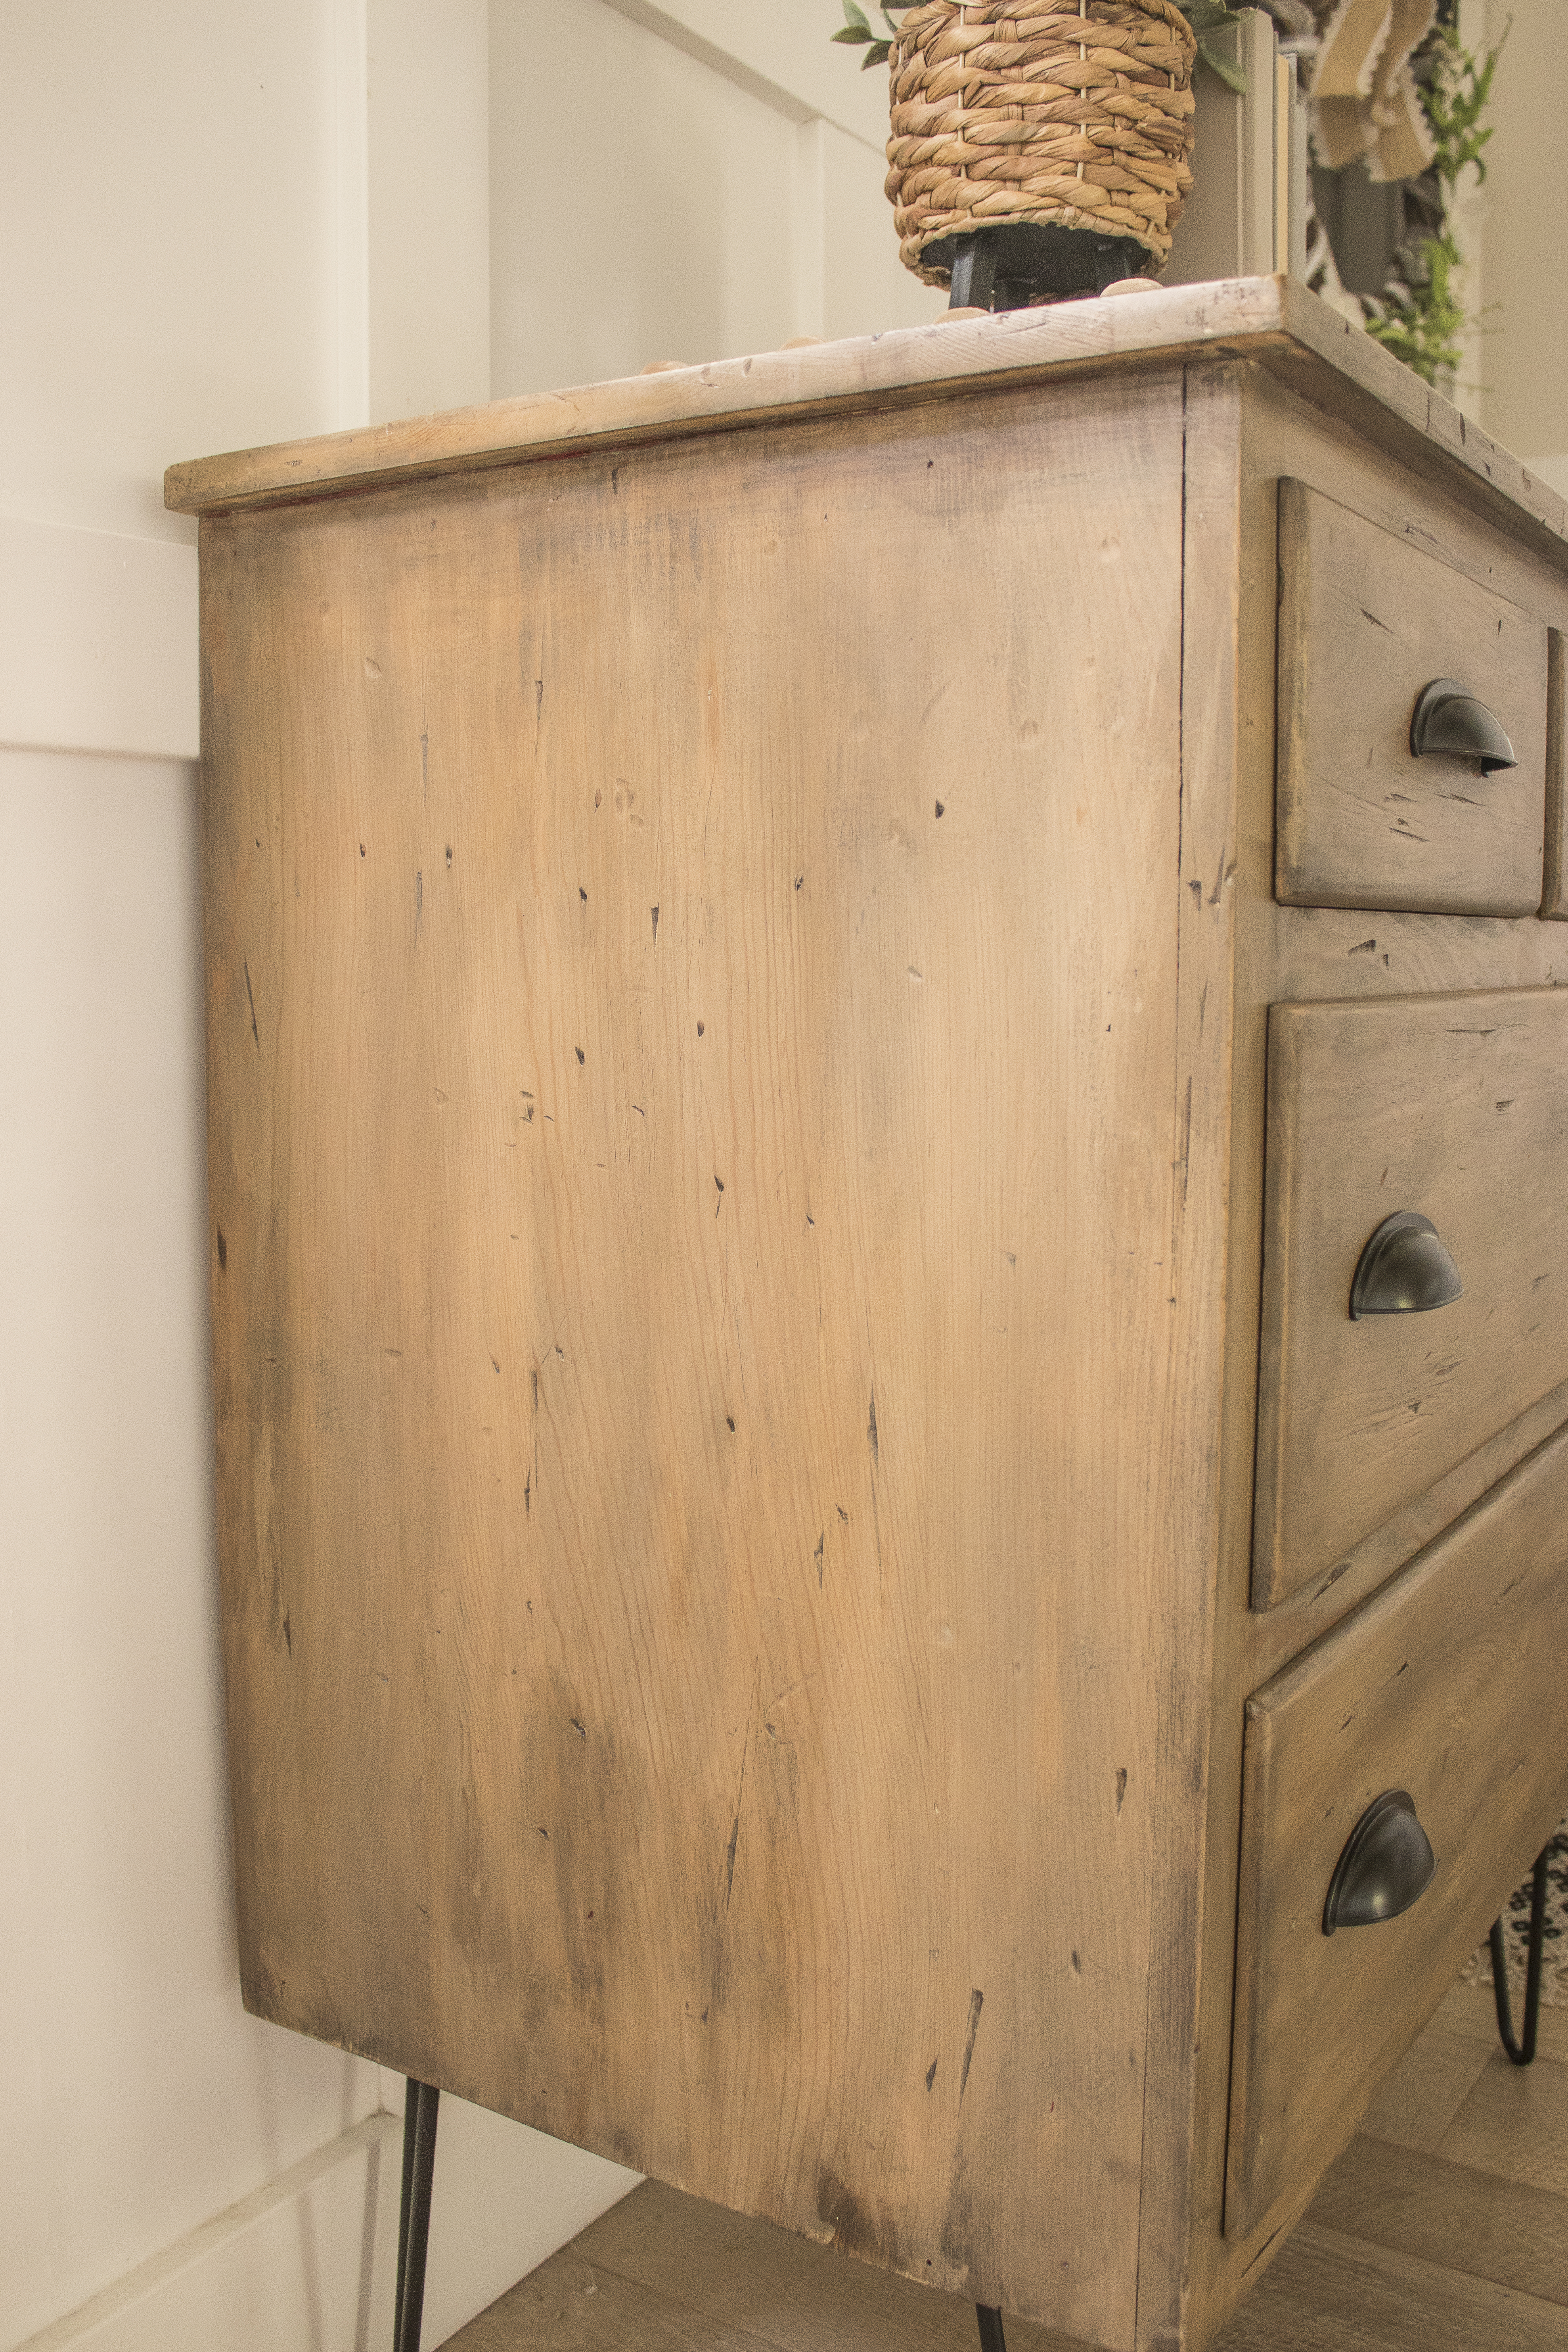
With that off, I went over the entire base to sand it down to nice clean wood. I noticed that the top was pretty dinged up, but instead of trying to sand it smooth, I decided to embrace it and go a more rustic route for the whole piece.
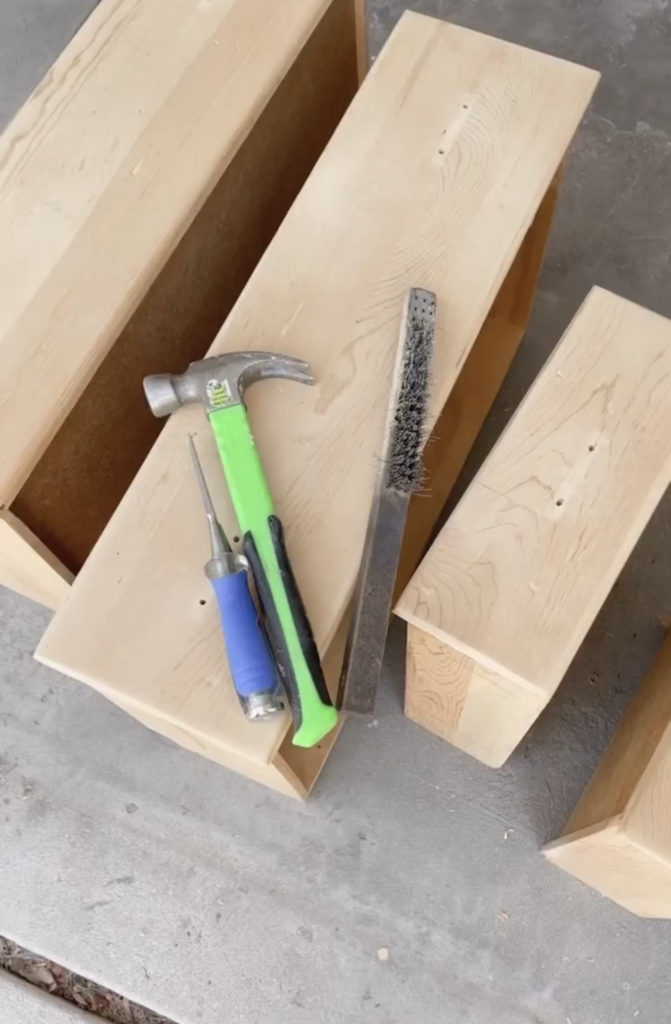
To make the rest of the wood as dinged up as the top I used a hammer, chisel and wire brush. The process is actually quite a bit of fun, and you can’t really mess up!
Once I was happy with how it all looked, it was time for some stain. I started off using some white wax to prevent it from getting too dark. I then applied a coat of dark wax thinking that would be the final look.
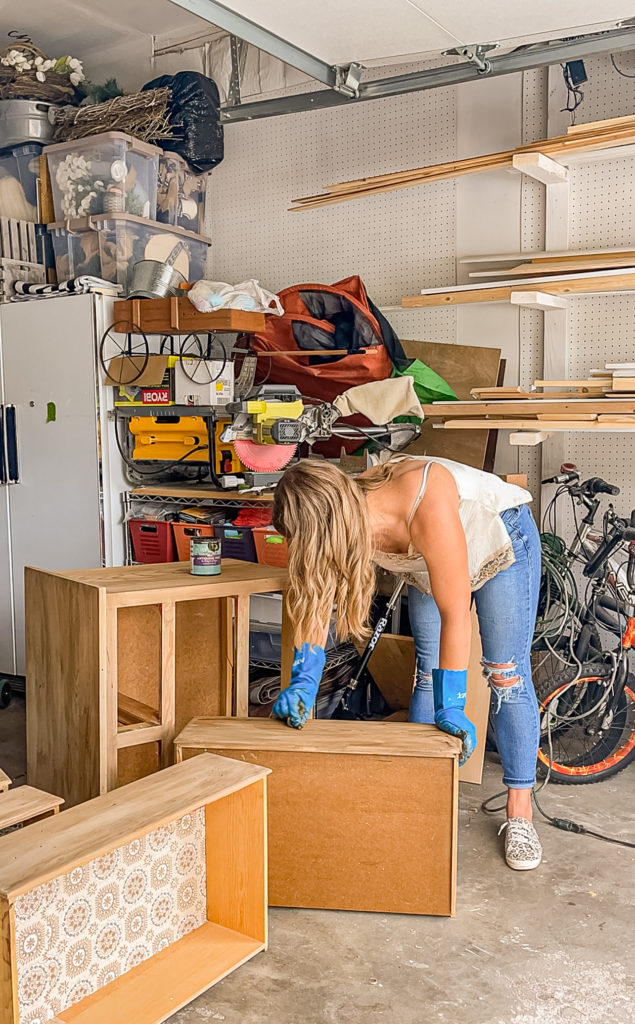
But when I was all done, I felt like it was way too light.
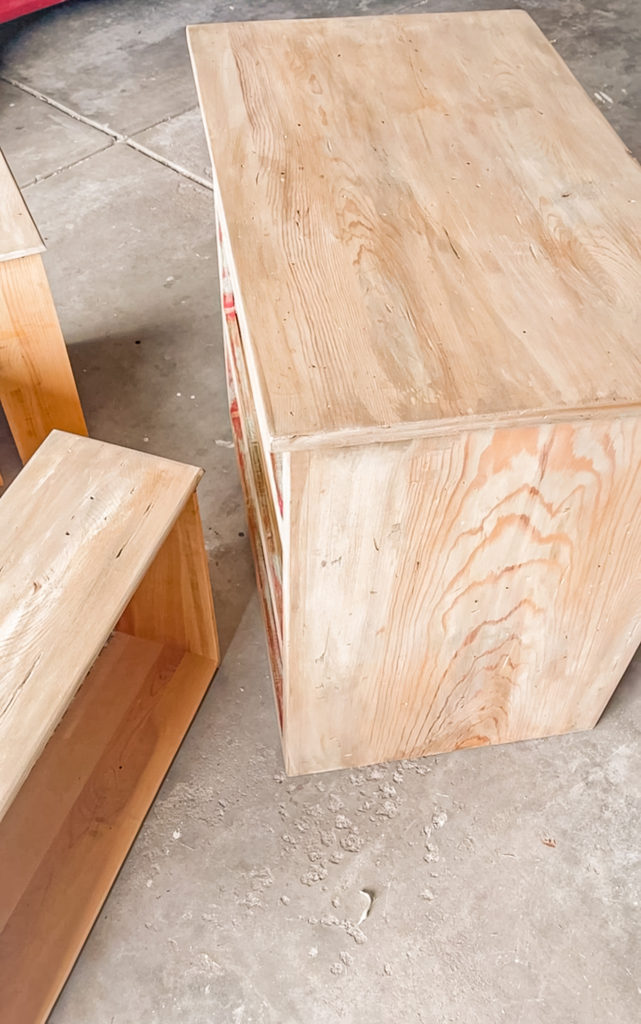
So, I decided to apply a coat of Espresso wood stain to darken and warm it a bit and it was perfect!
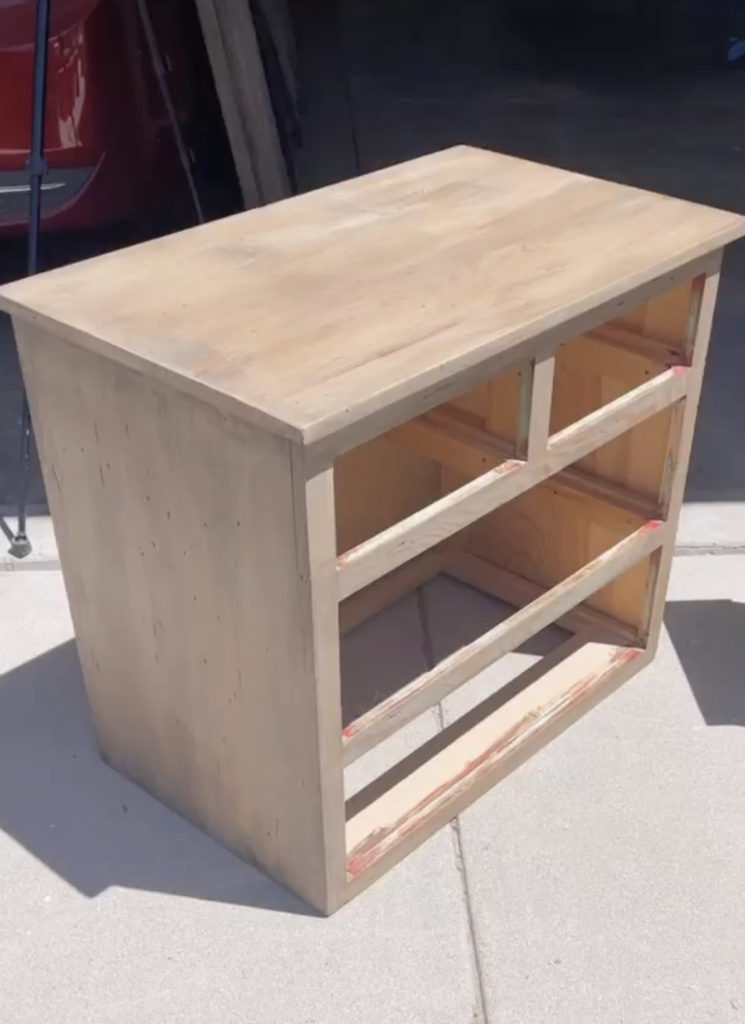
Finally, it was time to give this dresser some height. Going into this makeover I envisioned having some tall legs on the bottom to really give it character. I ordered some 16″ hairpin legs and was so eager to attach them.
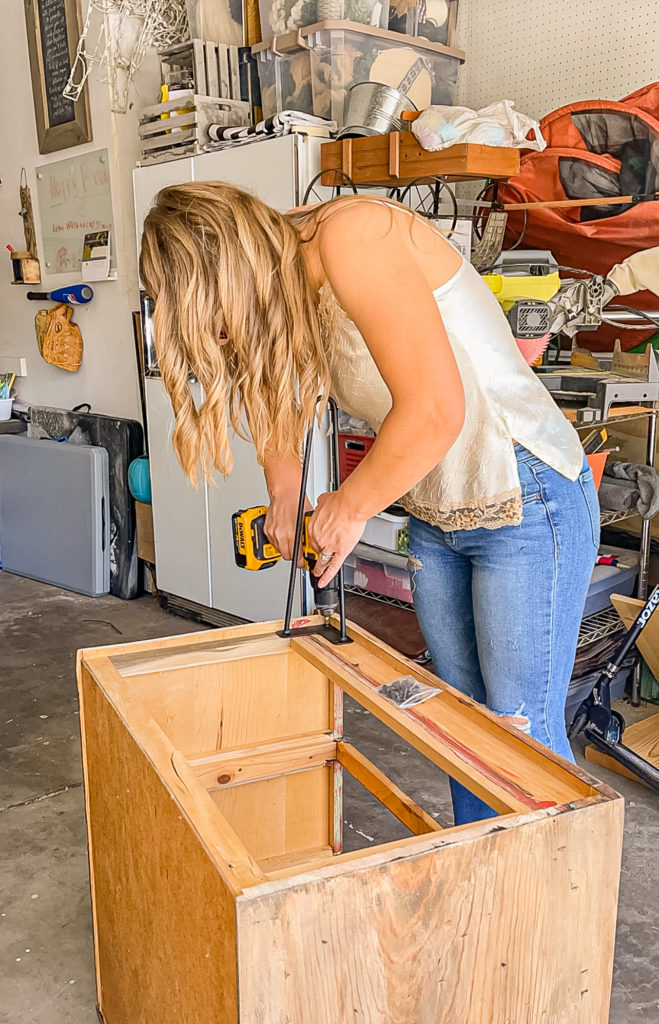
However once they were on it looked super silly—like it was about to come to life and run away!
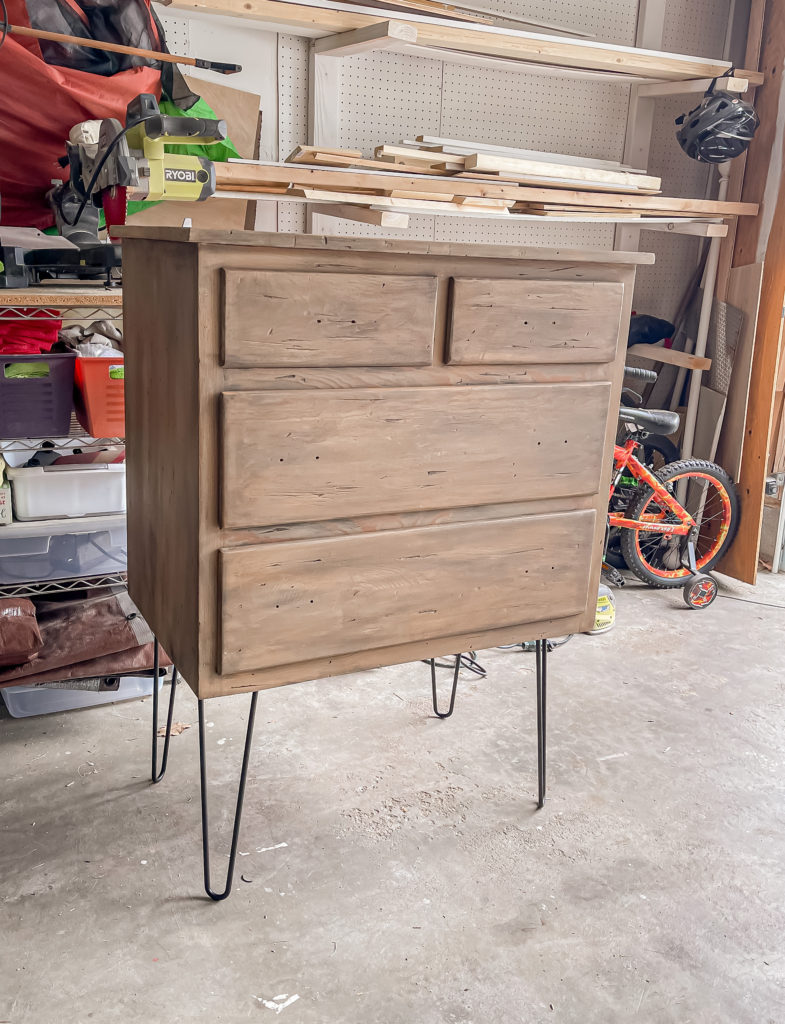
So,I popped them off and replaced them with 10″ hairpin legs and they were SO much better.
I sealed everything up with Ultra Flat Polyacrylic before moving on to the hardware.
Finding the perfect hardware was a bit of a struggle. The first order had the holes lined up too closely with the existing ones which meant that installing them could be tricky, even with the holes filled. The second order only came with one—for $10 I thought that I was getting multiple! Finally I found these ones ones which were perfect and a breeze to install.
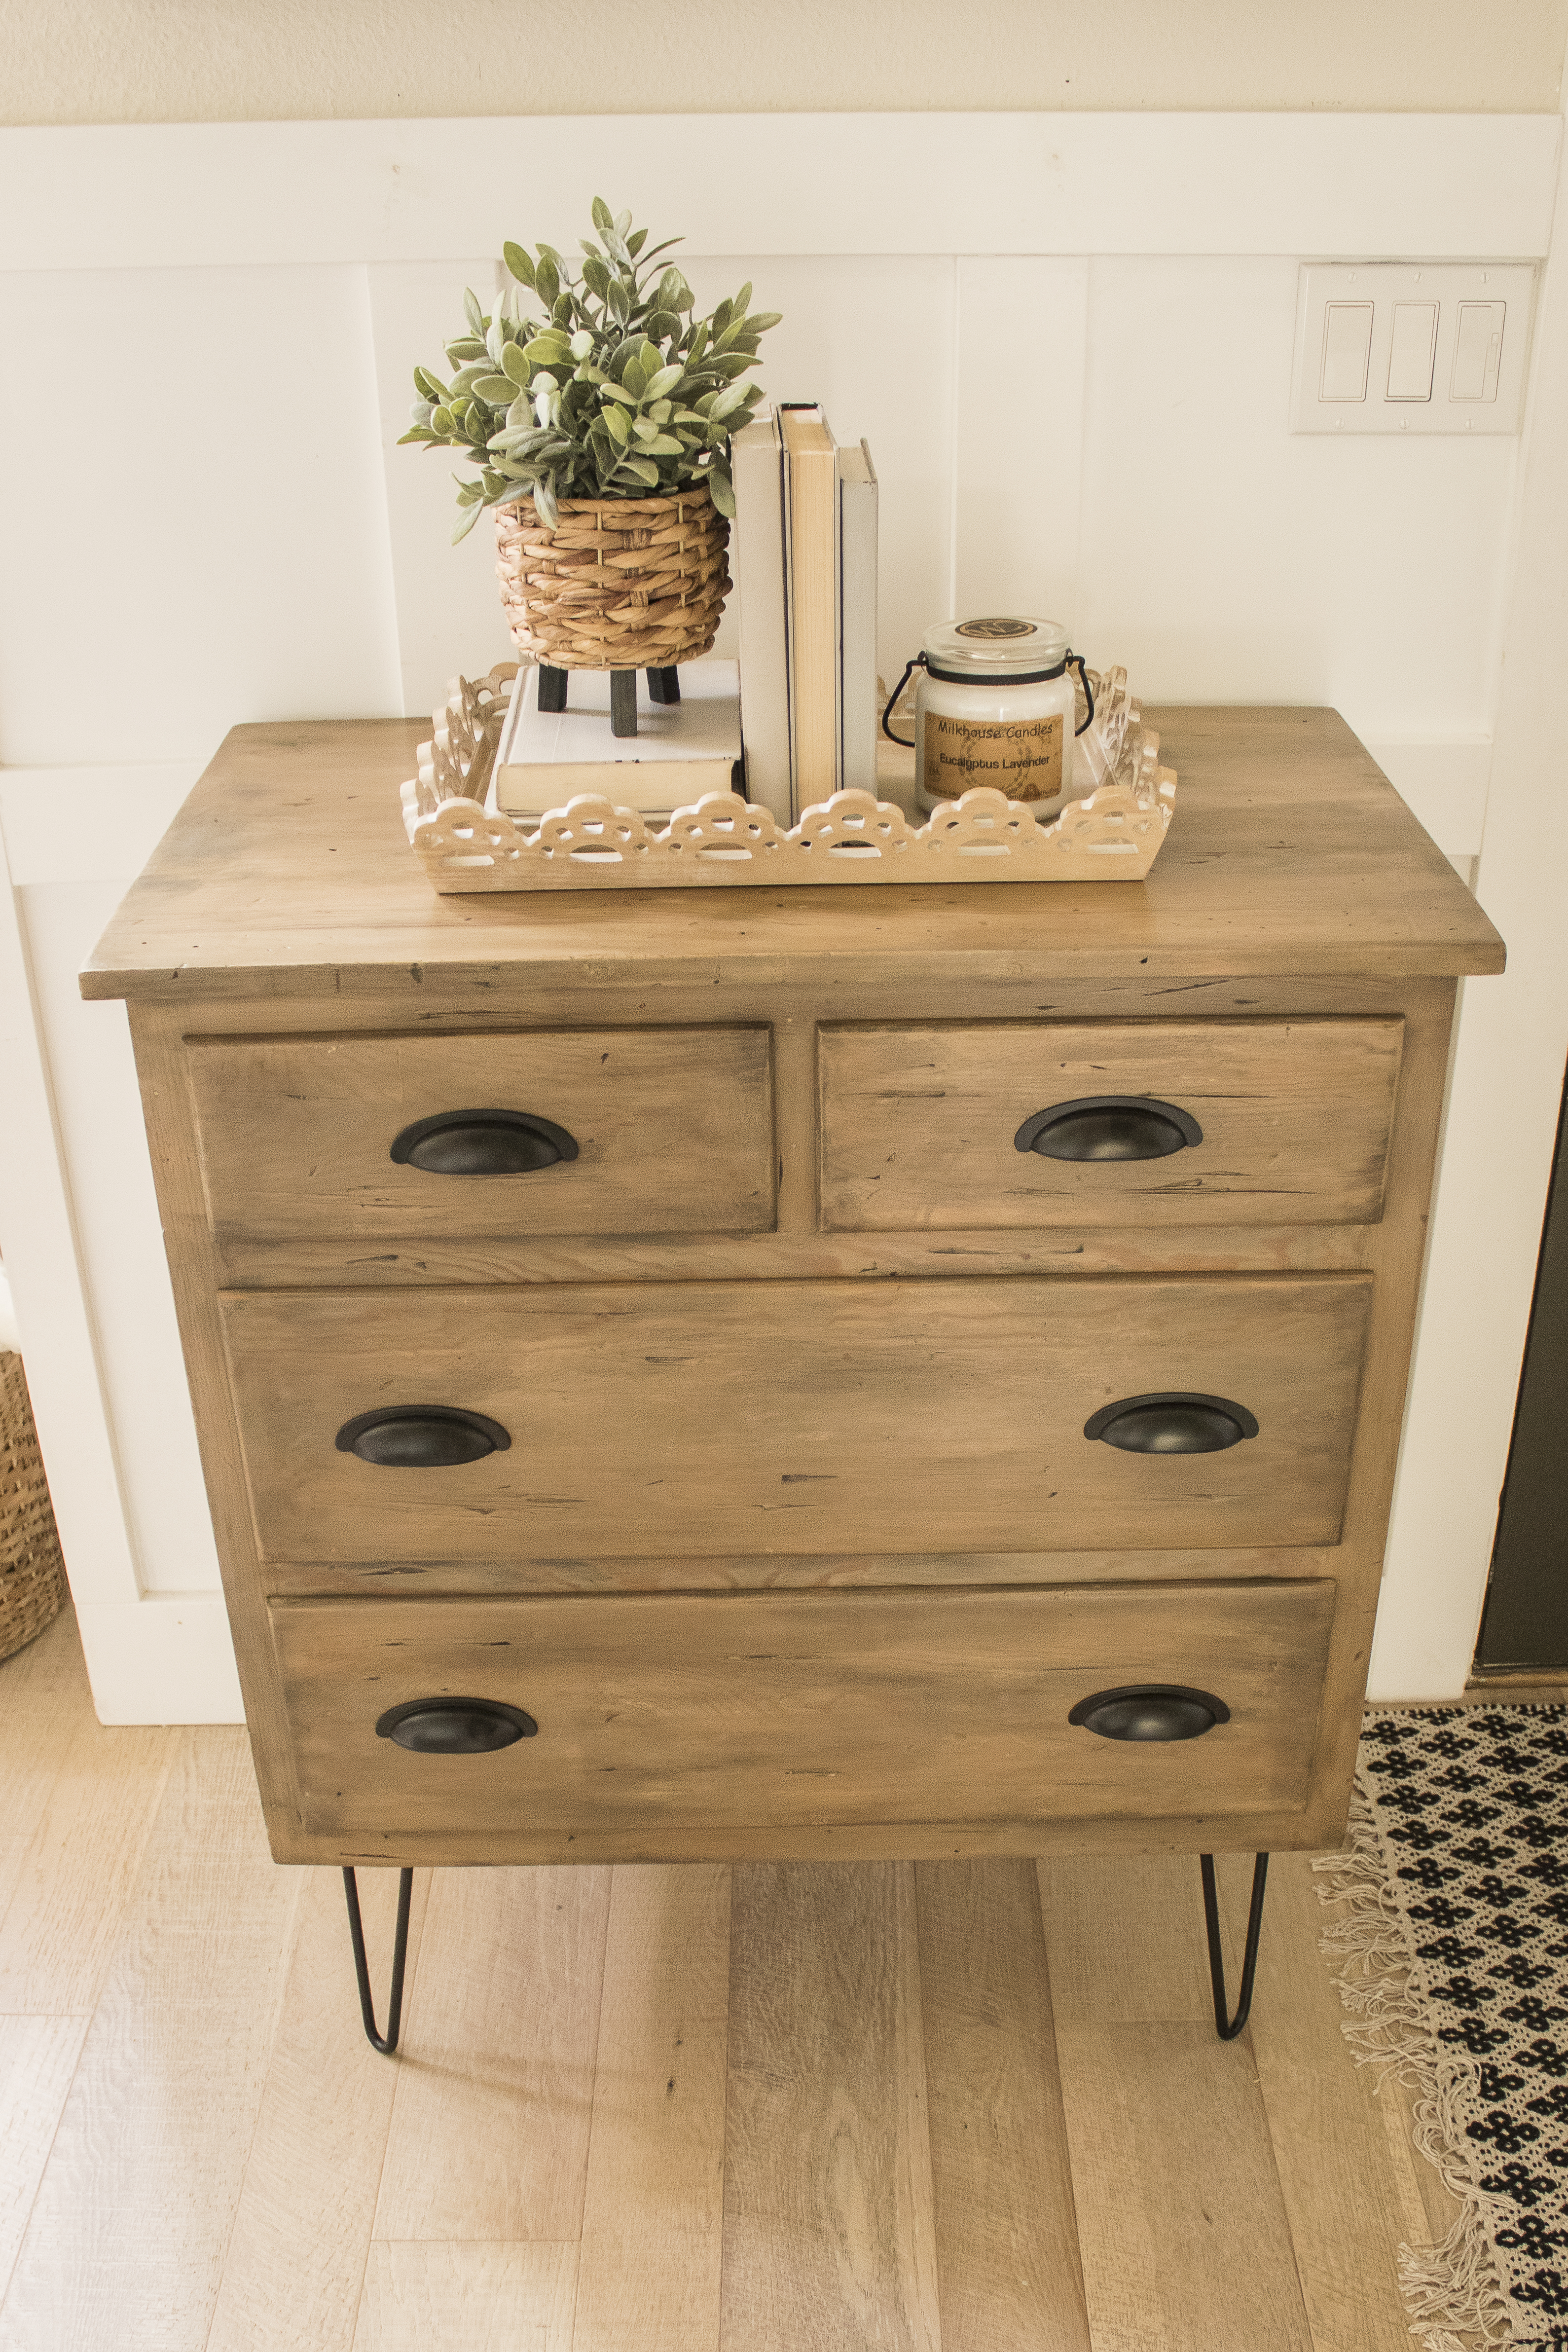
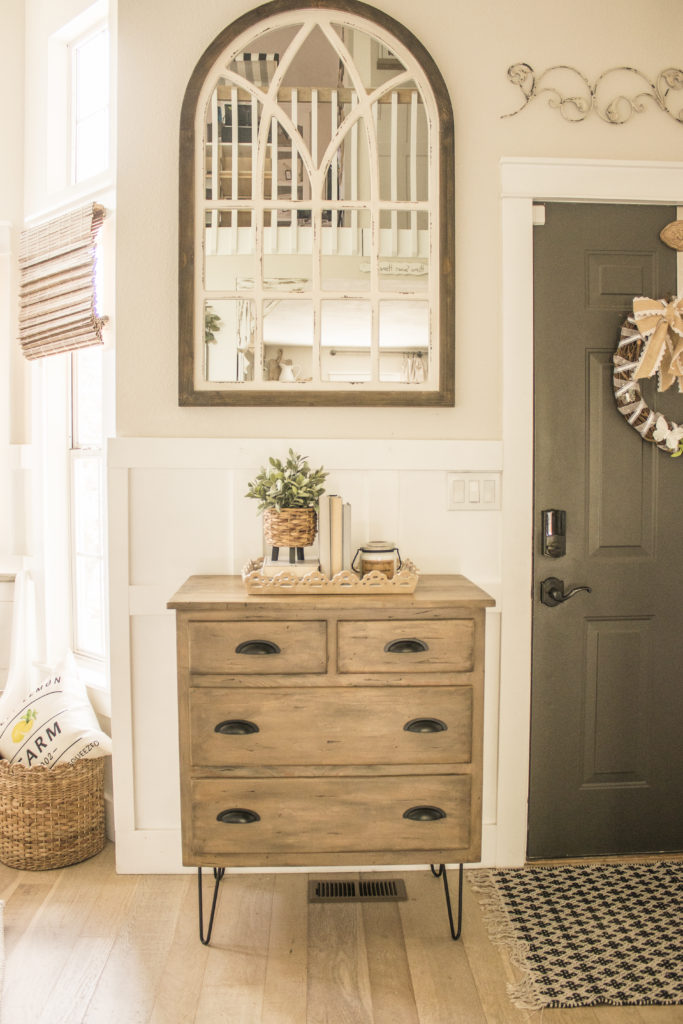
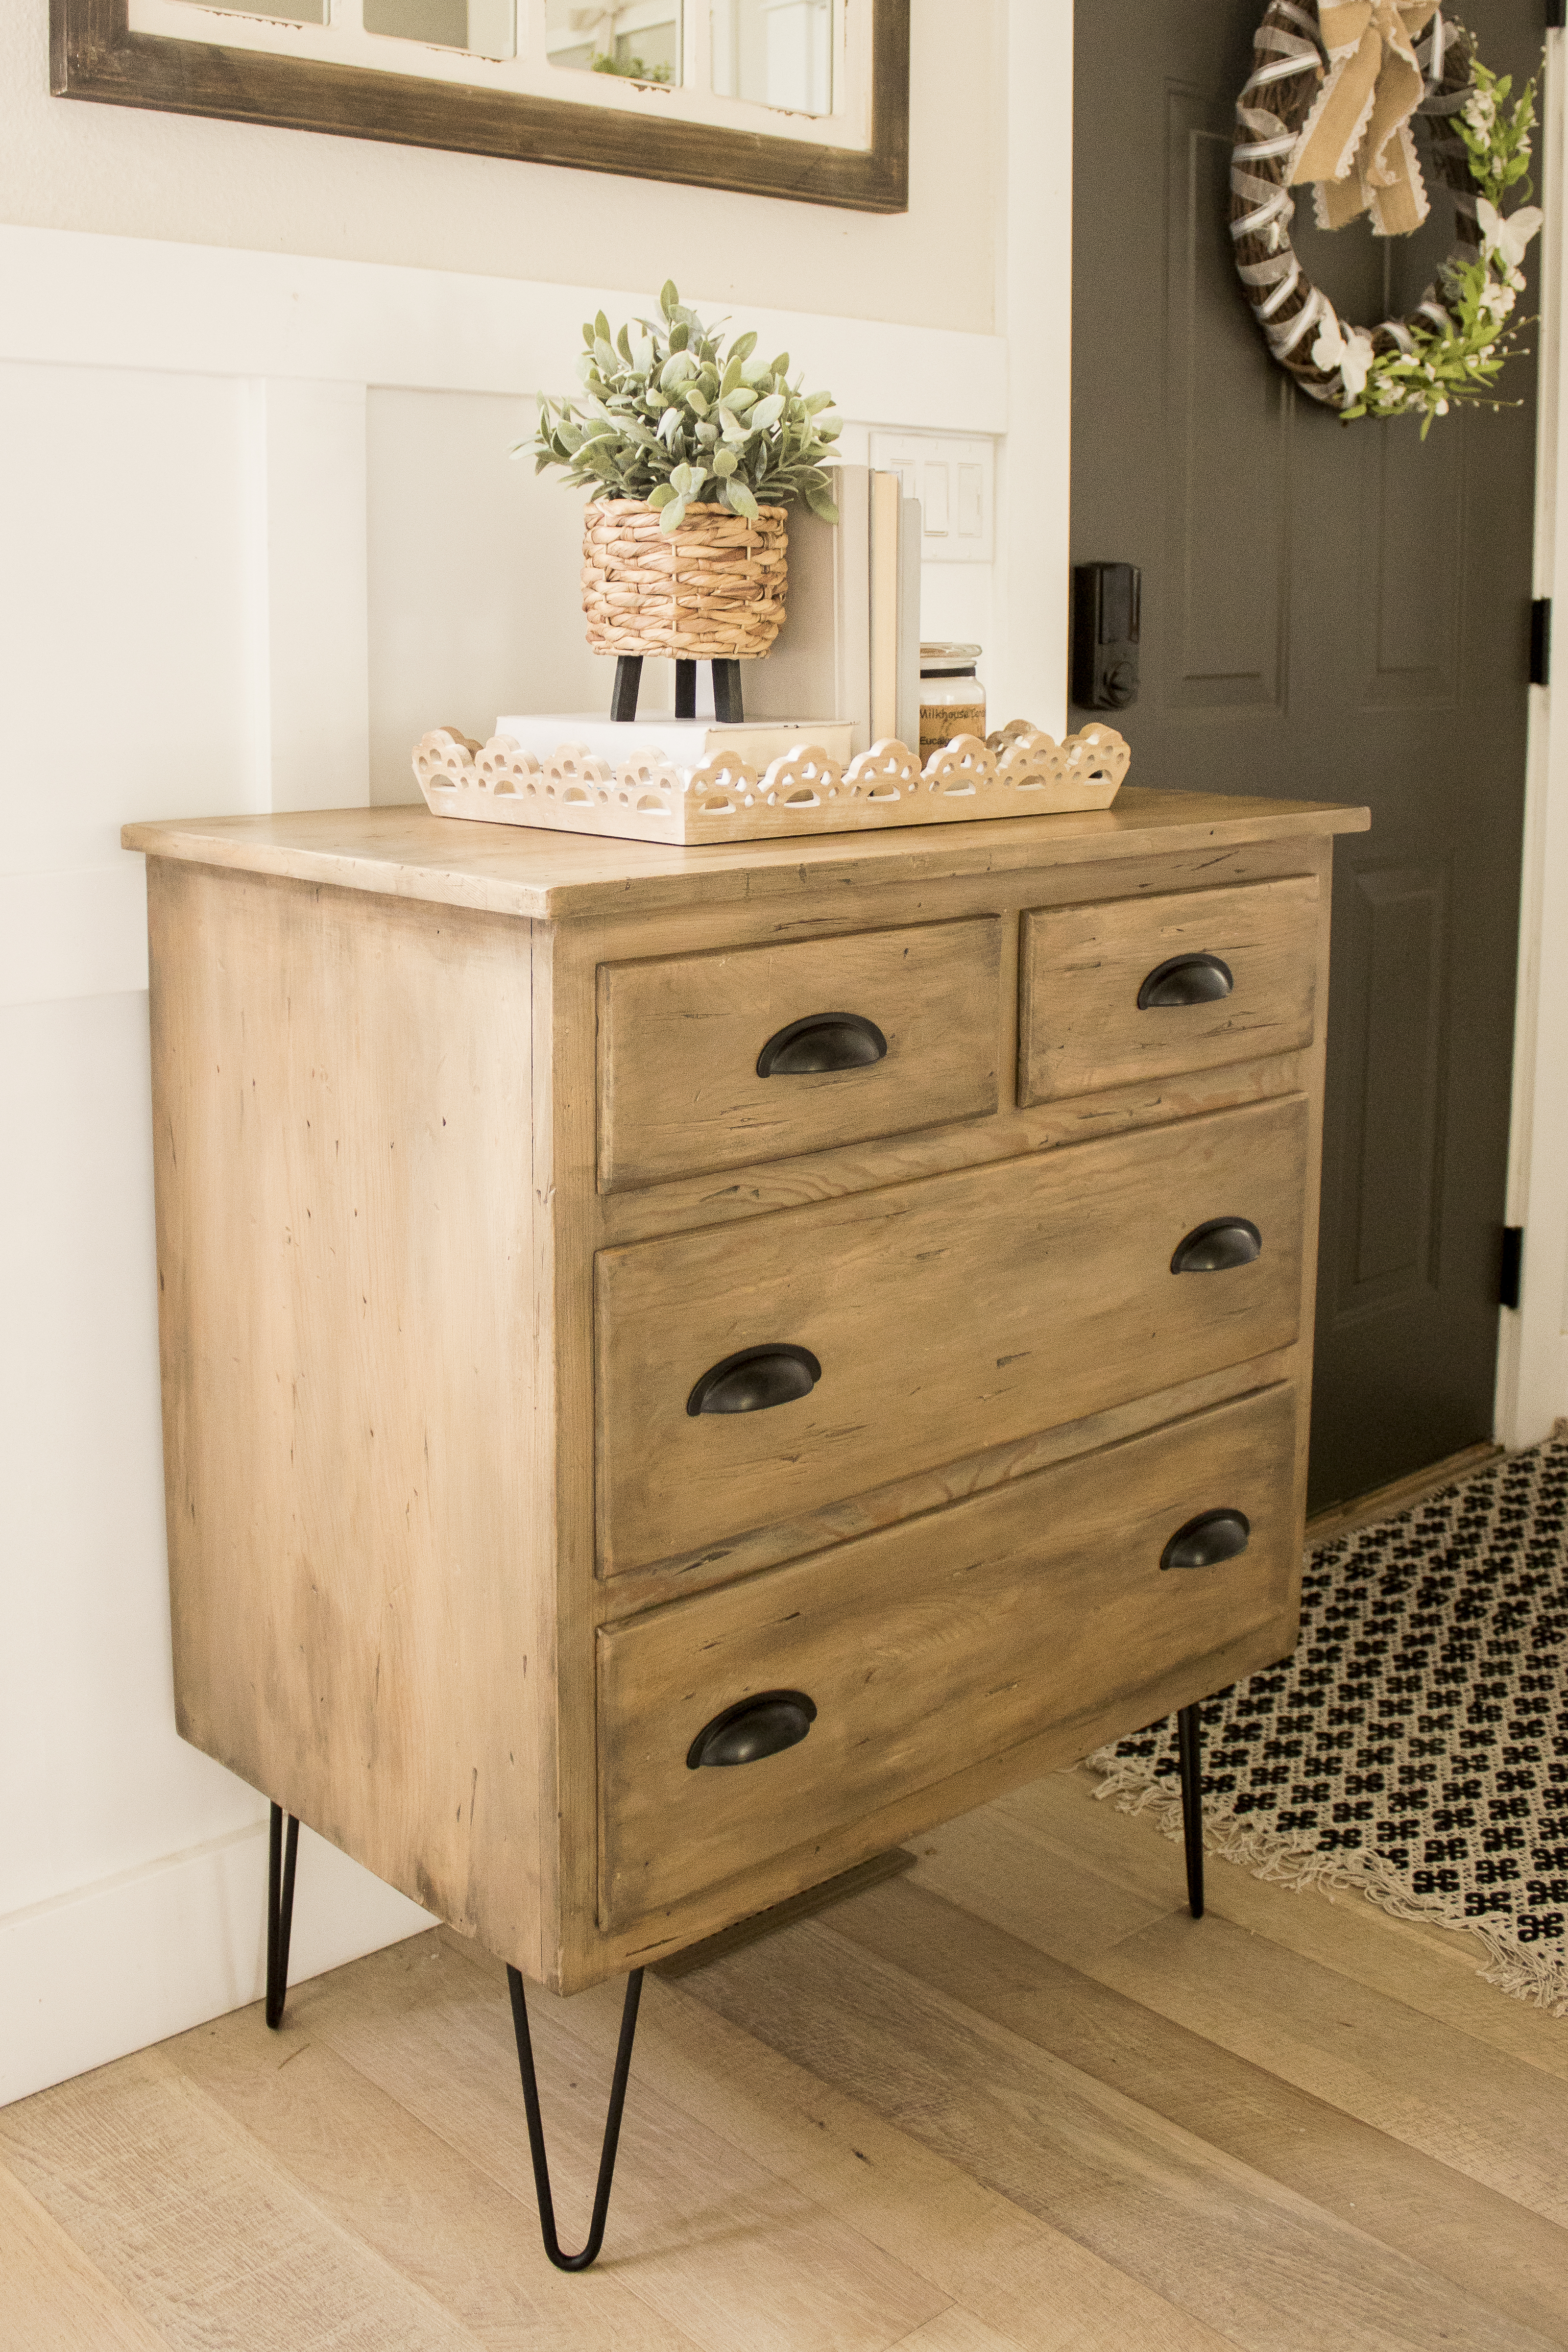
I absolutely love how the whole thing came together!
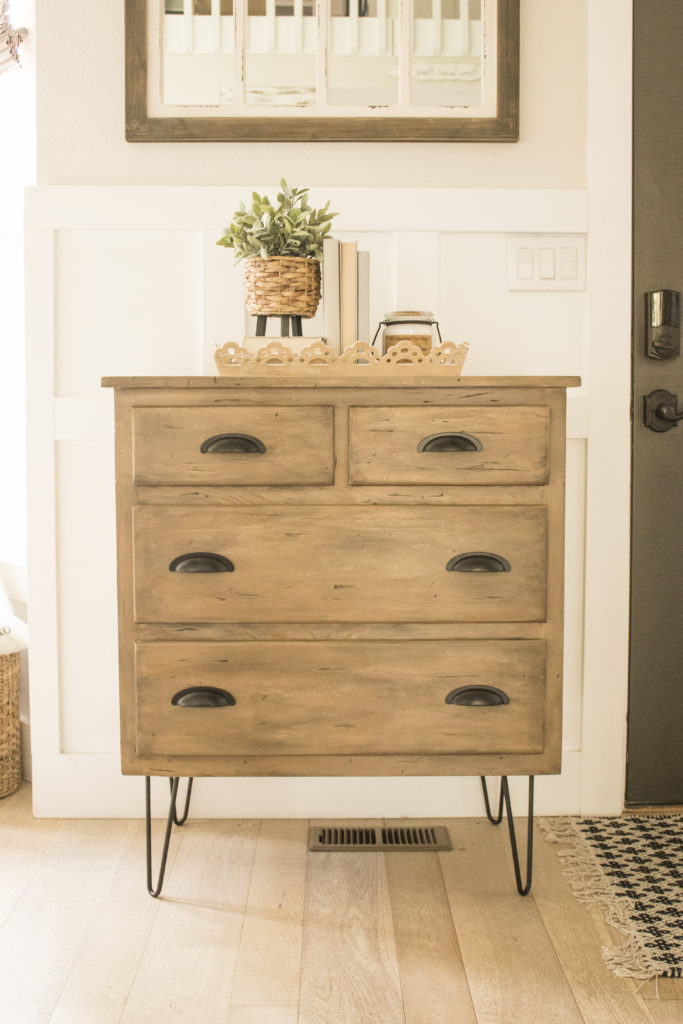
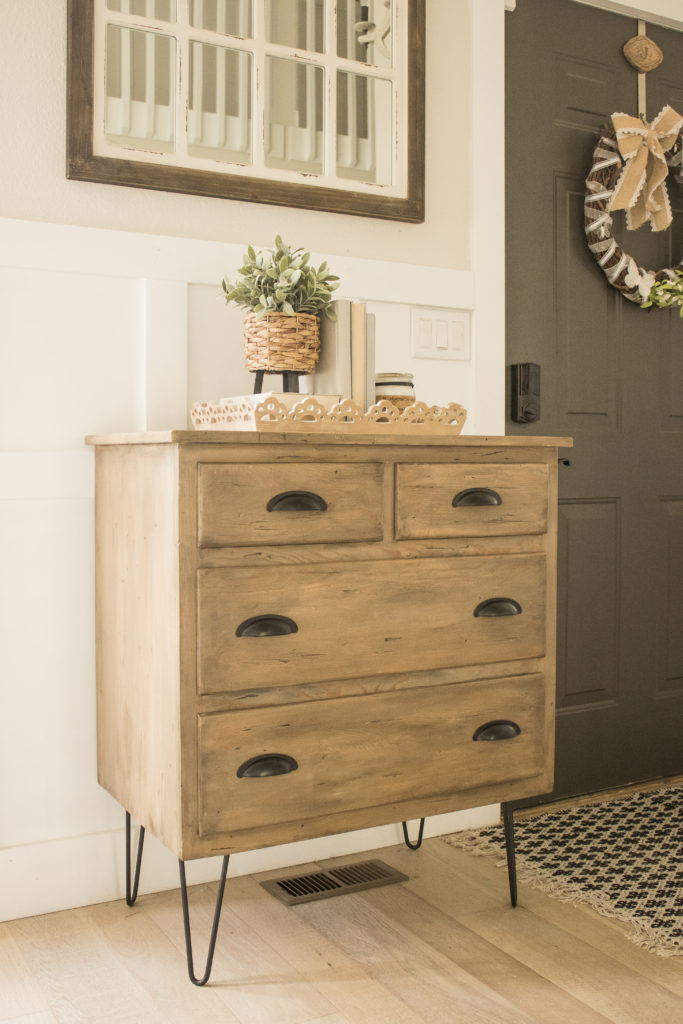
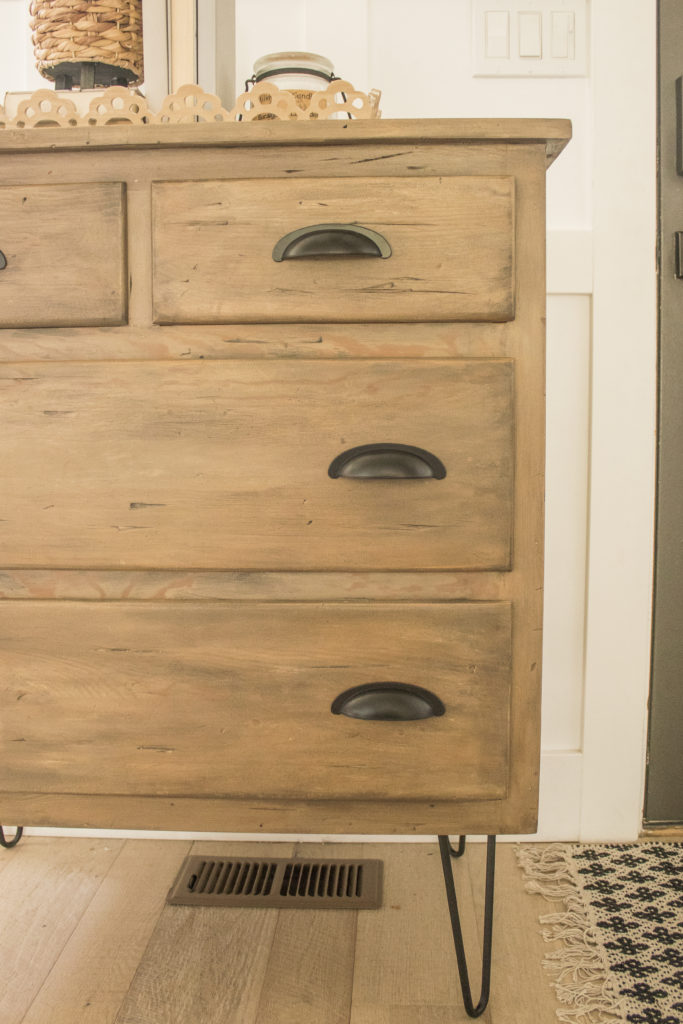
The old world rustic feeling of the wood mixed with the black legs and hardware is such a fun combination.
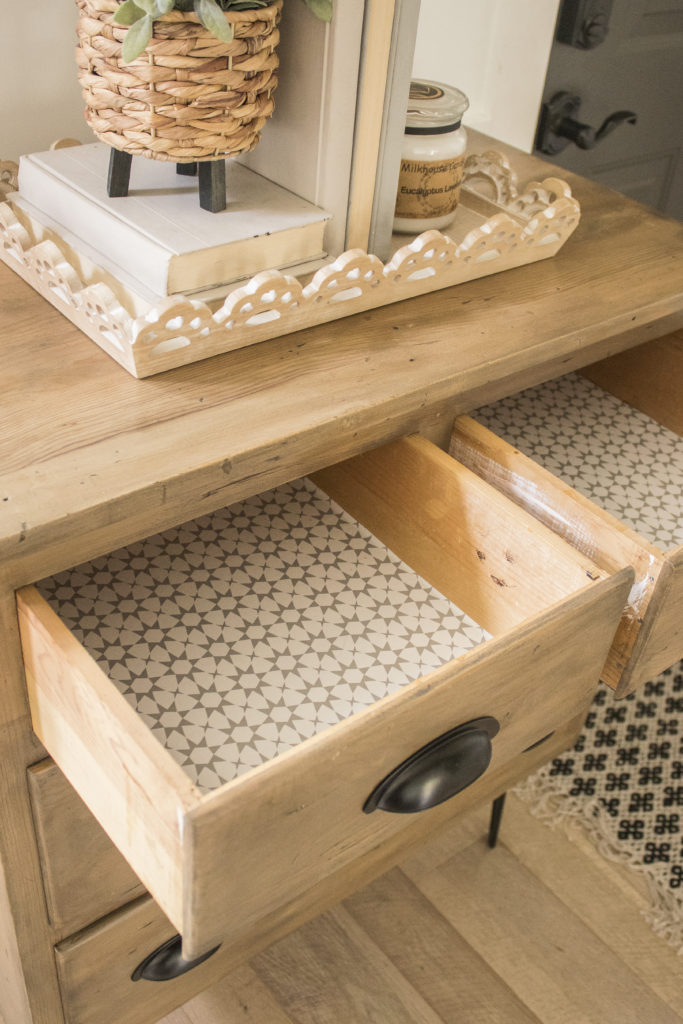
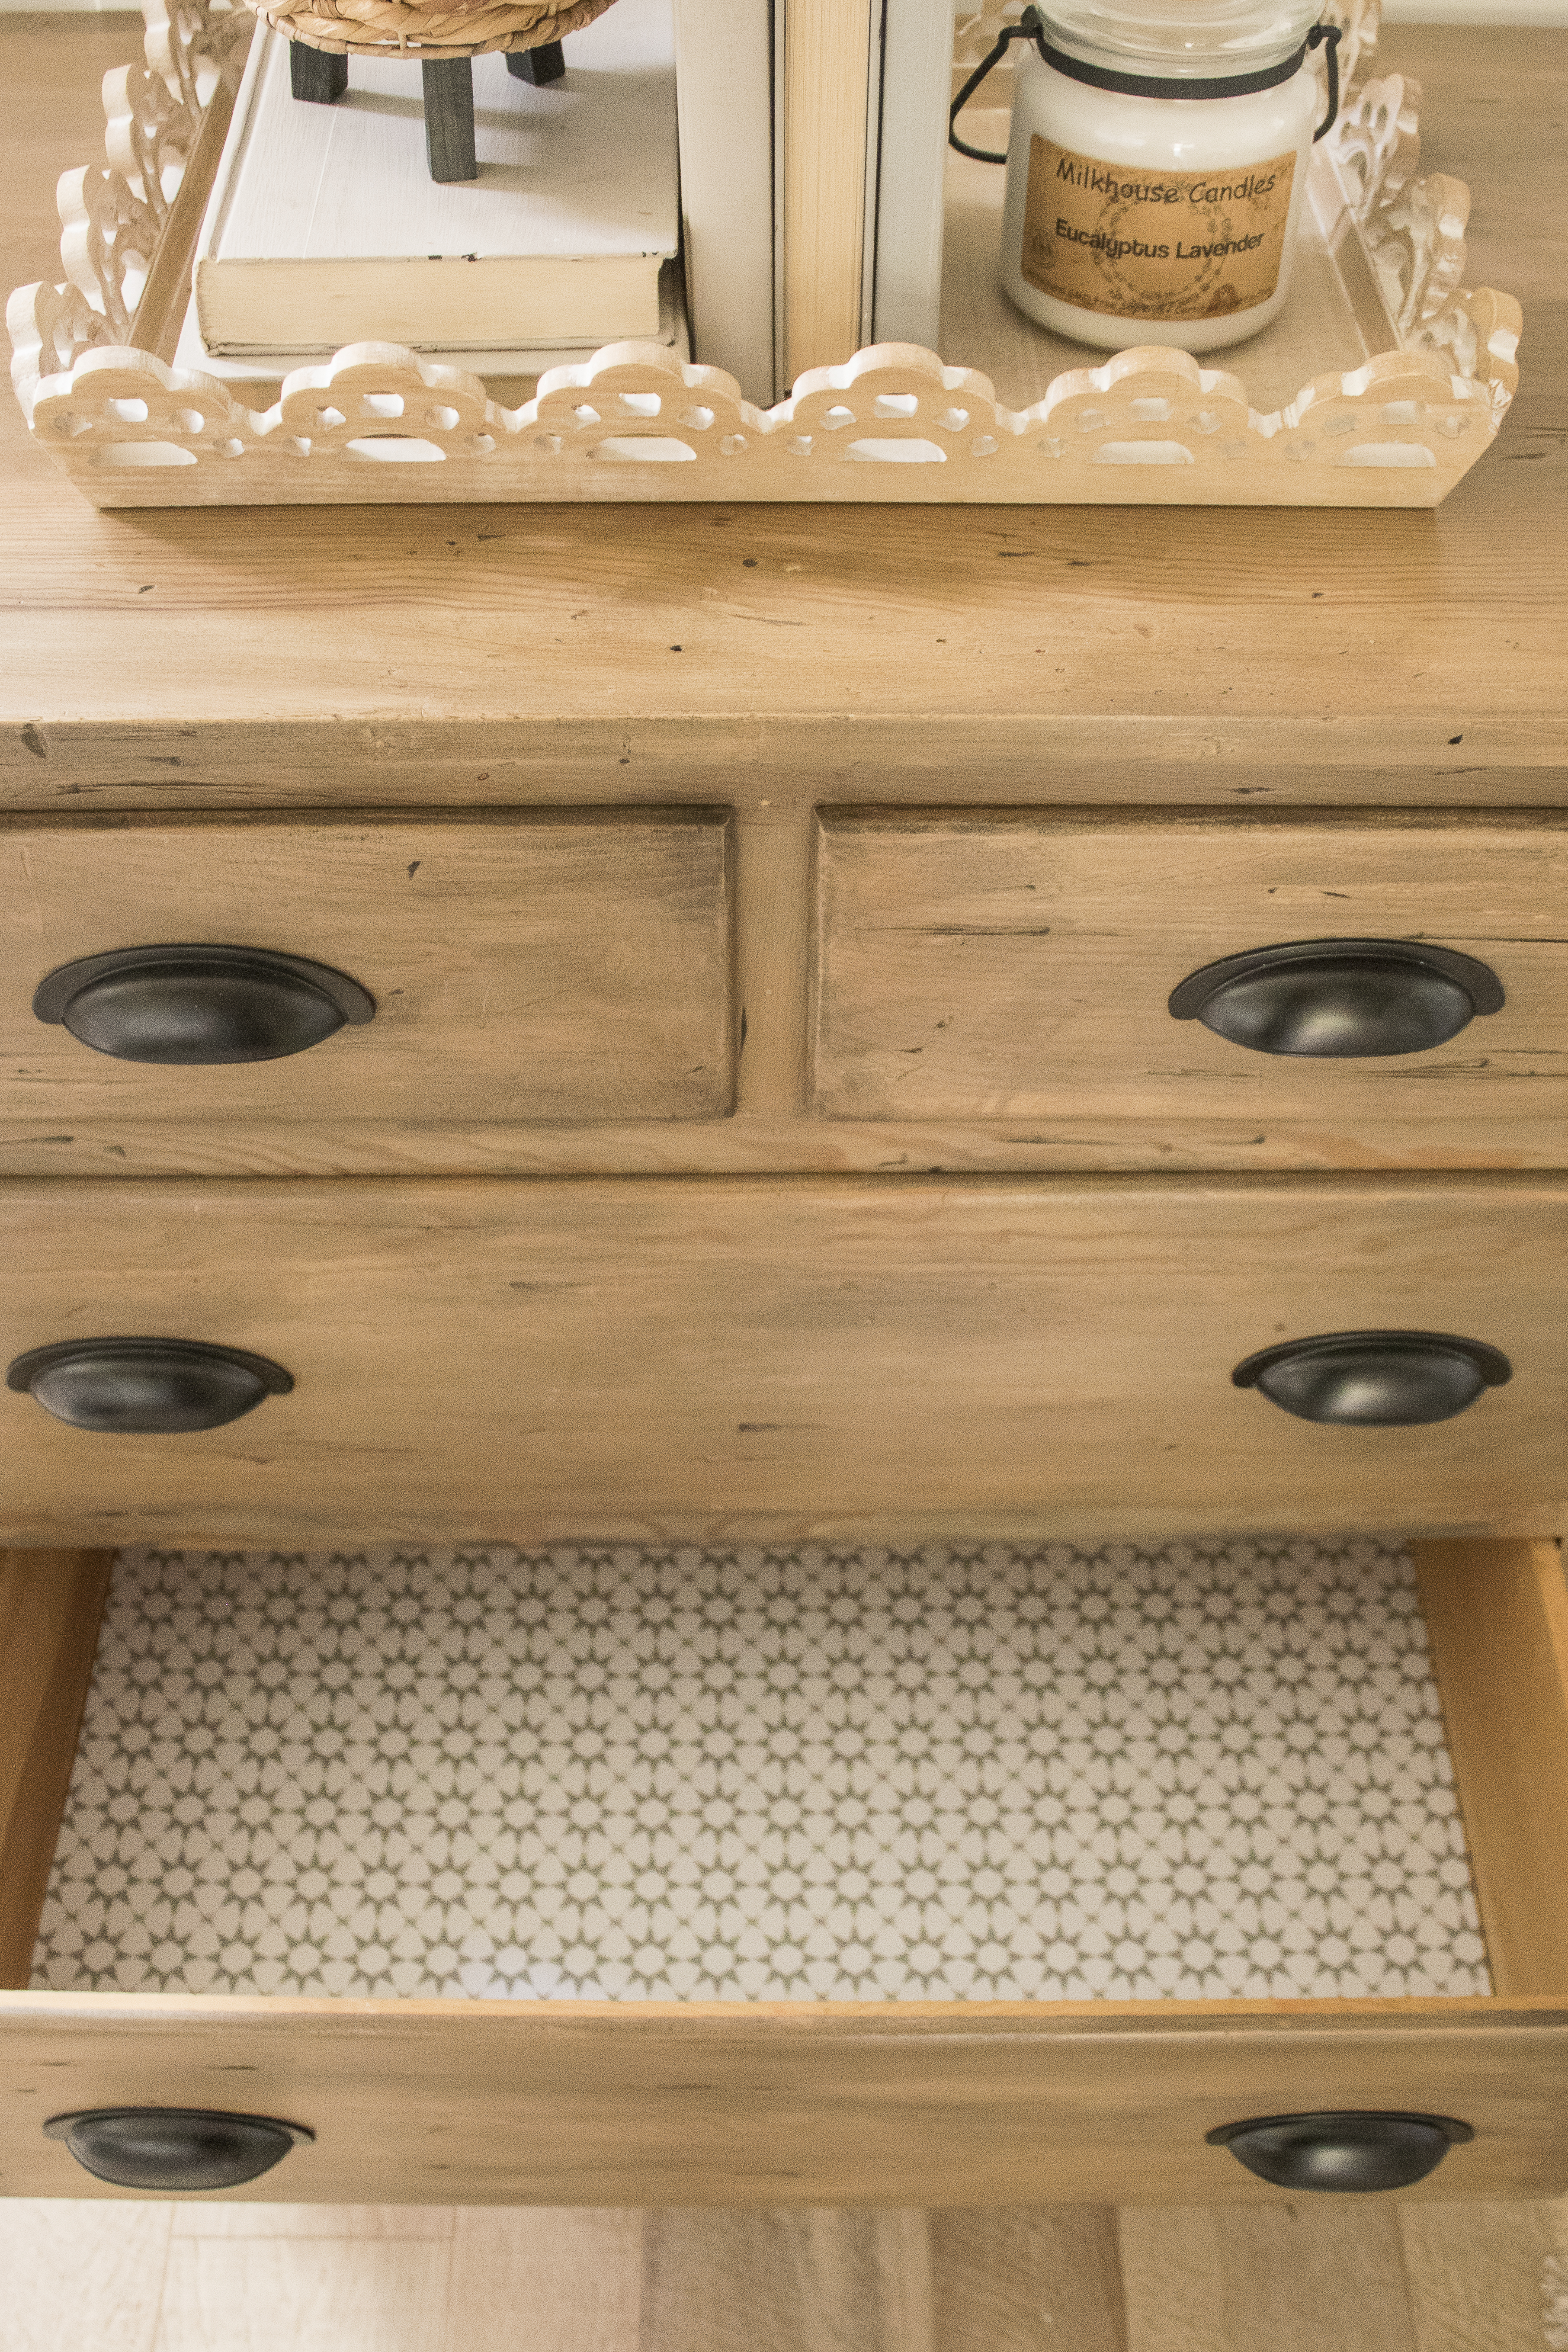
I lined the drawers for a fun little pop of character inside.
As I mentioned earlier, this is one of my favorite pieces, however we simply don’t have anywhere to put it so I am going to let someone else enjoy this beauty.
Thanks for swinging by today, I hope you have a fantastic rest of your week!
PIN FOR LATER!
Linking up to these awesome parties!
(Affiliate links may be provided for convenience. For more info, see my full disclosure here.)
That’s what I call a makeover#alittlebitofeverything
aww thank you Karen!
This looks great and thx for the step-by-step pics…