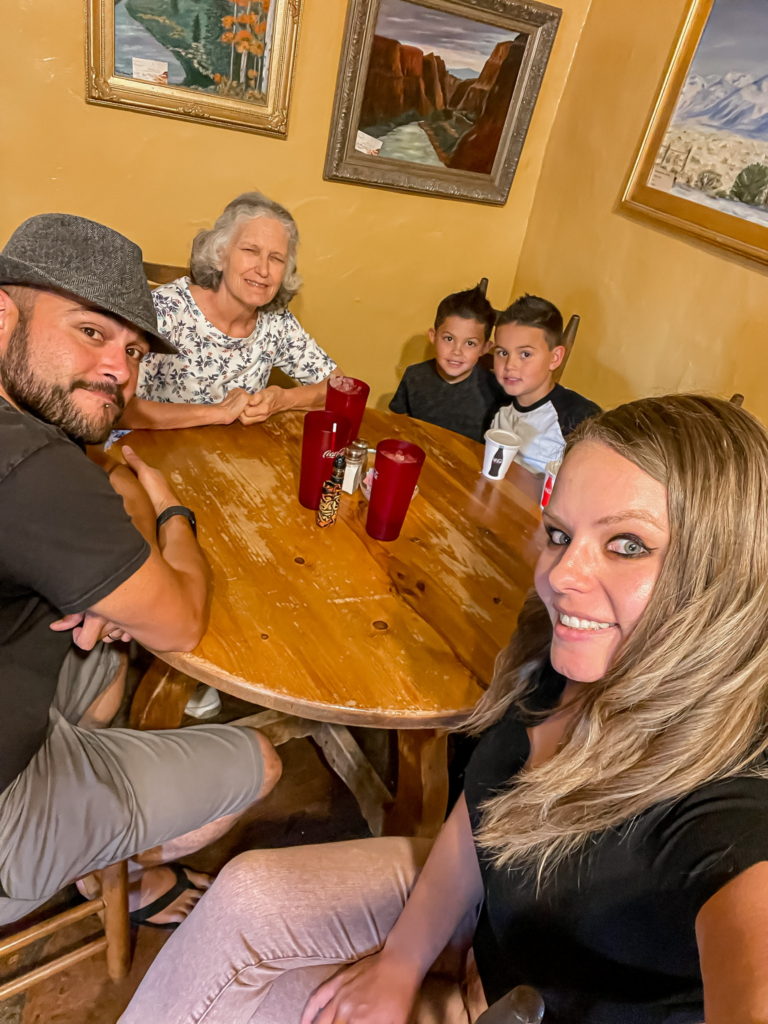
Well, hello there my sweet friends and happy Friday! Whew, what a whirlwind the last couple of weeks have been for us. We had my cousin’s wedding in Taos, New Mexico which was absolutely stunning and such an amazing little trip for us. Here is a quick photo dump of some of my favorites!







We barely had a chance to catch our breath before my friend’s wedding back here in Colorado. She is one of my best friends that I’ve known since middle school, and since she moved to North Carolina a couple of years ago I have missed her dearly! It was wonderful to see her again and to stand beside her on her wedding day which was so incredibly beautiful.
It was all so much fun, but it all finally caught up with me and my immune system shut down the night after the wedding. I thought that I was just fighting a small sinus infection, however I soon learned that I indeed have been struck with the vid. After dodging it all this time I suppose it was my turn! Fortunately, it has been a very mild case and my biggest complaint is the burning in my chest and extreme fatigue.
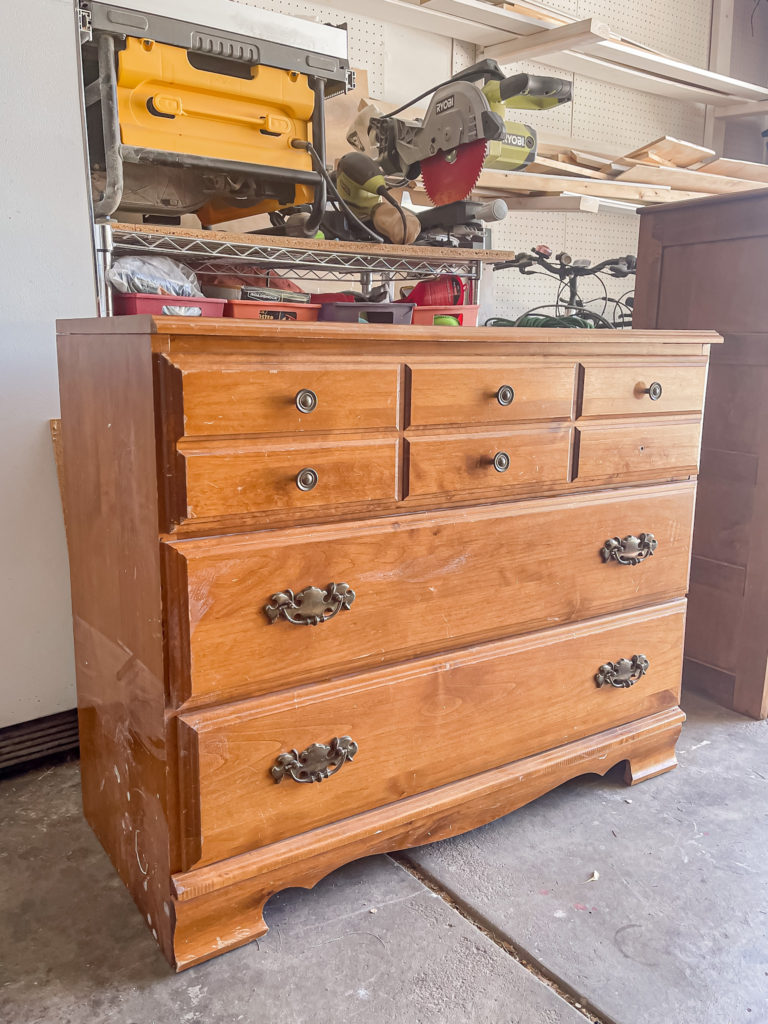
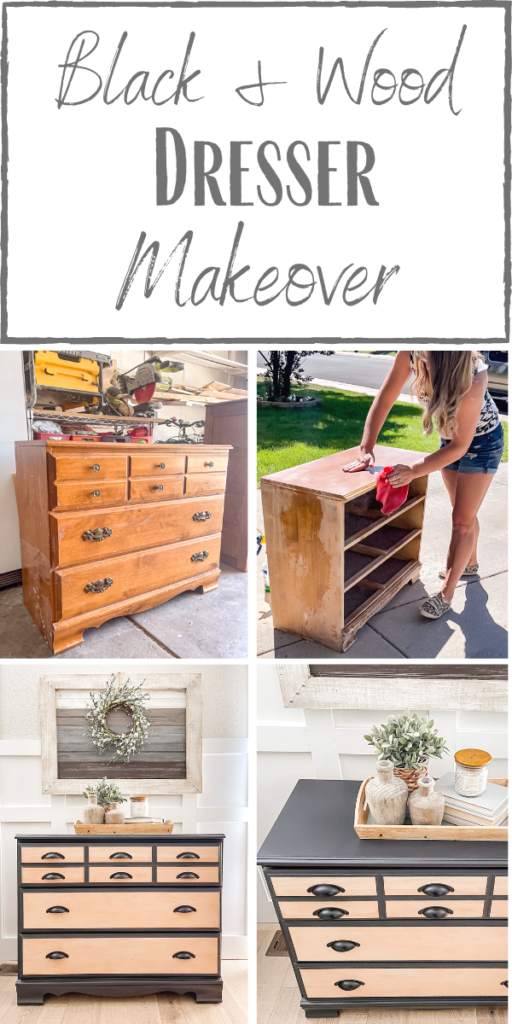
I have been laying pretty low this week but wanted to stop in today to share a quick little flip that I completed a couple of weeks ago. When I spotted this dresser on Facebook Marketplace for only $20, I knew that I could give it a fun new look, so I snagged it. I know–it was shocking to me as well that I actually paid for something since lately I have been flipping free finds! That should show you how much I truly adored this piece.
Supplies Used: (Affiliate links may be provided for convenience. For more info, see my full disclosure here.)
- Sander
- Paint Sprayer
- Gray Primer
- Frog Tape
- Satin Cabinet Paint
- White Wax
- Ultra Flat Polyacrylic
- Black Cup Pulls
- Shelf Liner (only sold in store now)
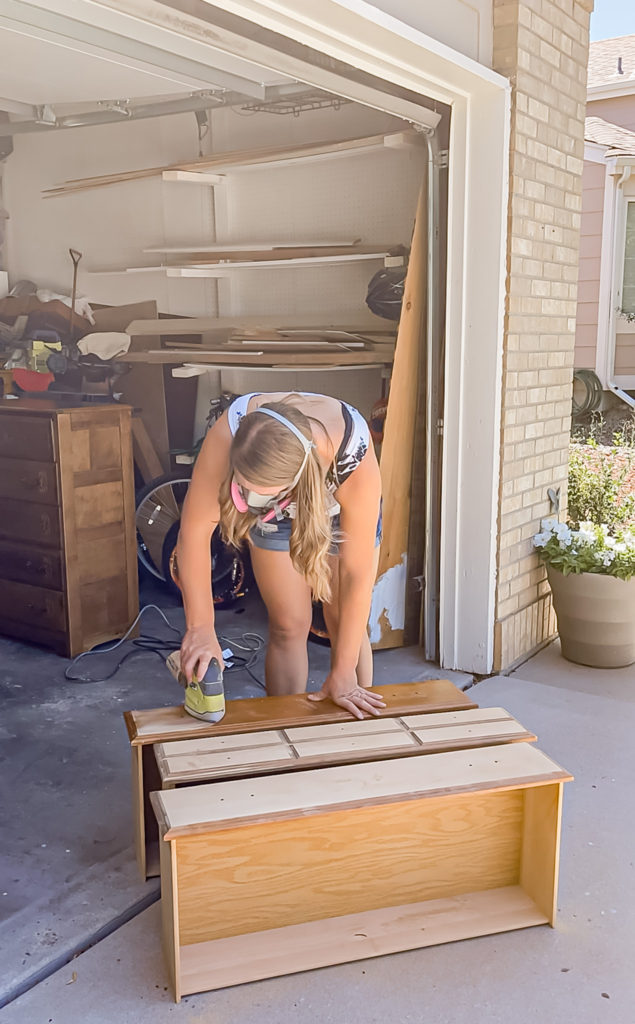
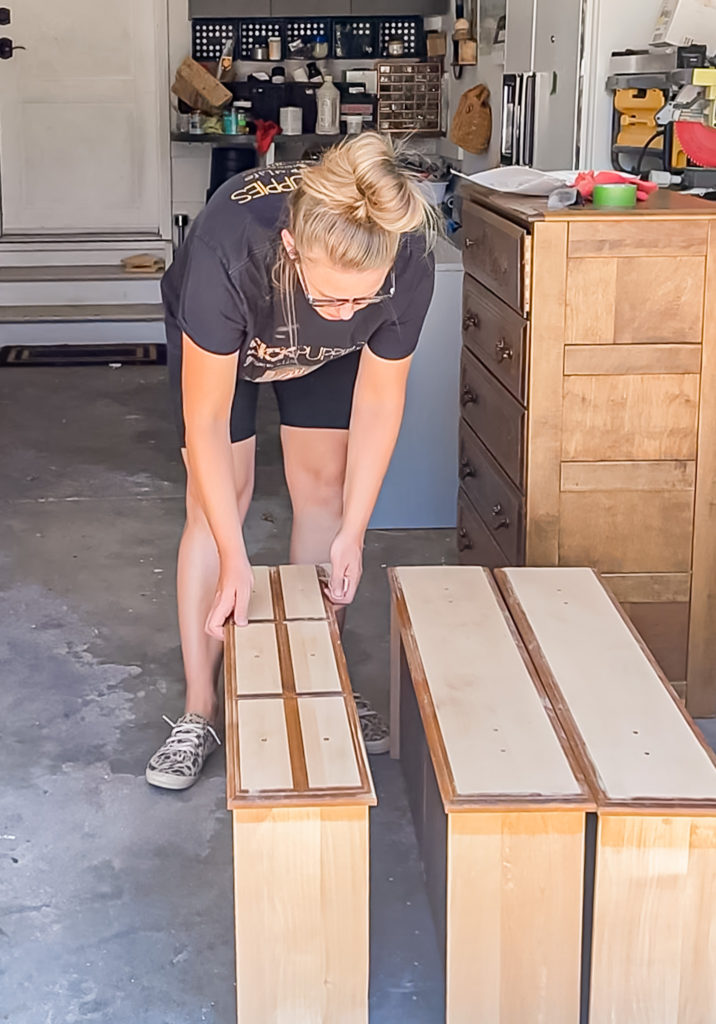
I began by sanding down the fronts of the drawers. I originally was going to sand them all the way down, but when I saw how difficult the edges would be along with all the crevices in the one with the faux divided drawers, I changed my tune and only did the fronts haha.
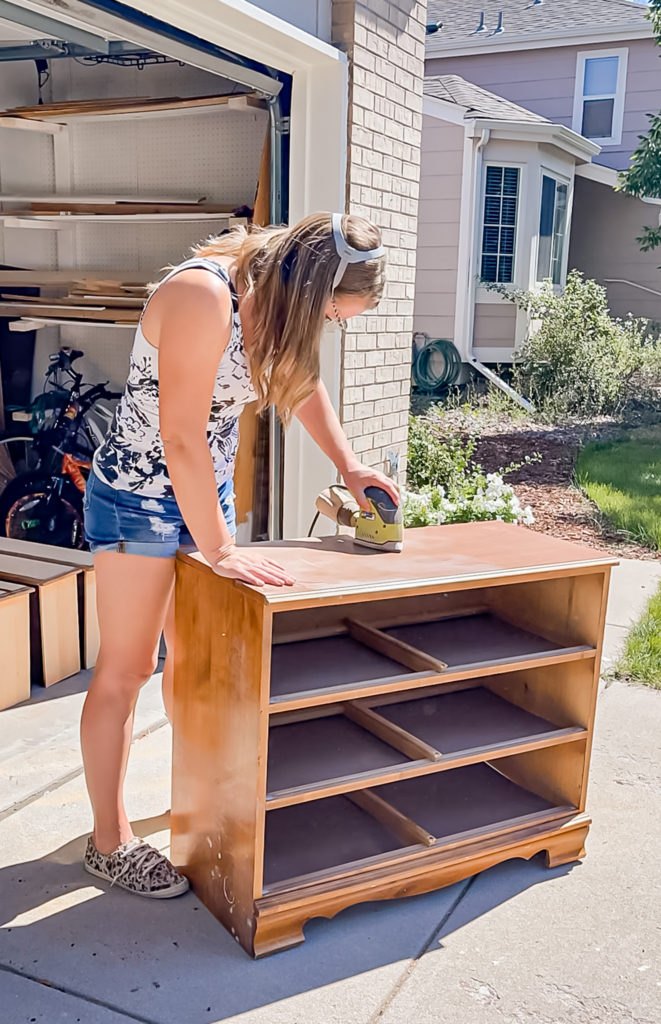
Once those were done, I quickly went over the base of the dresser to give it a little scuff sand to prep it for primer and paint.
Of course, after sanding it’s important to go back and clean it all up! I like to use Simple Green and a wet microfiber rag.
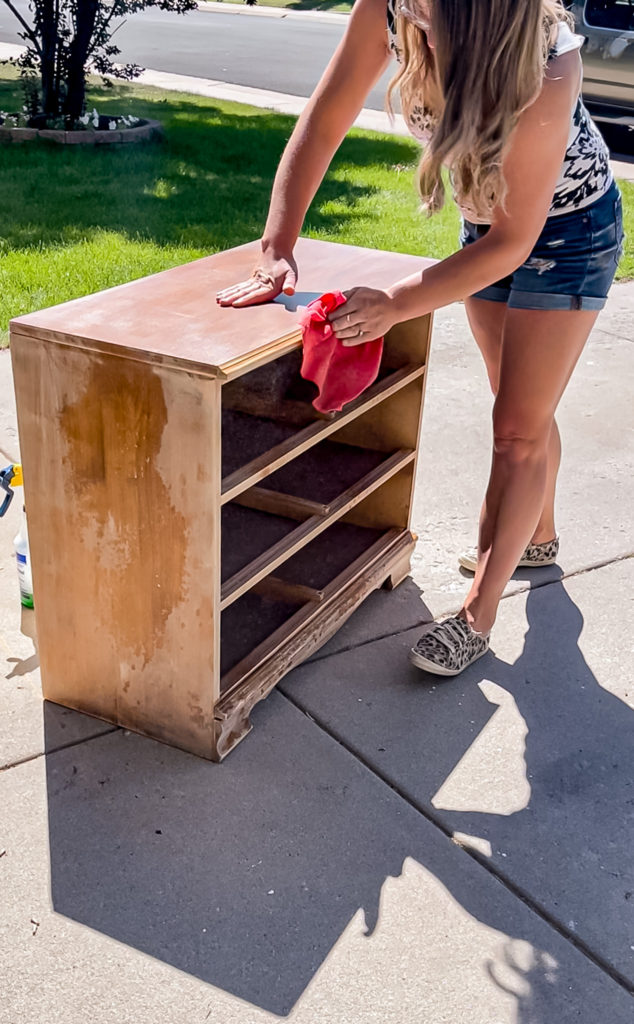
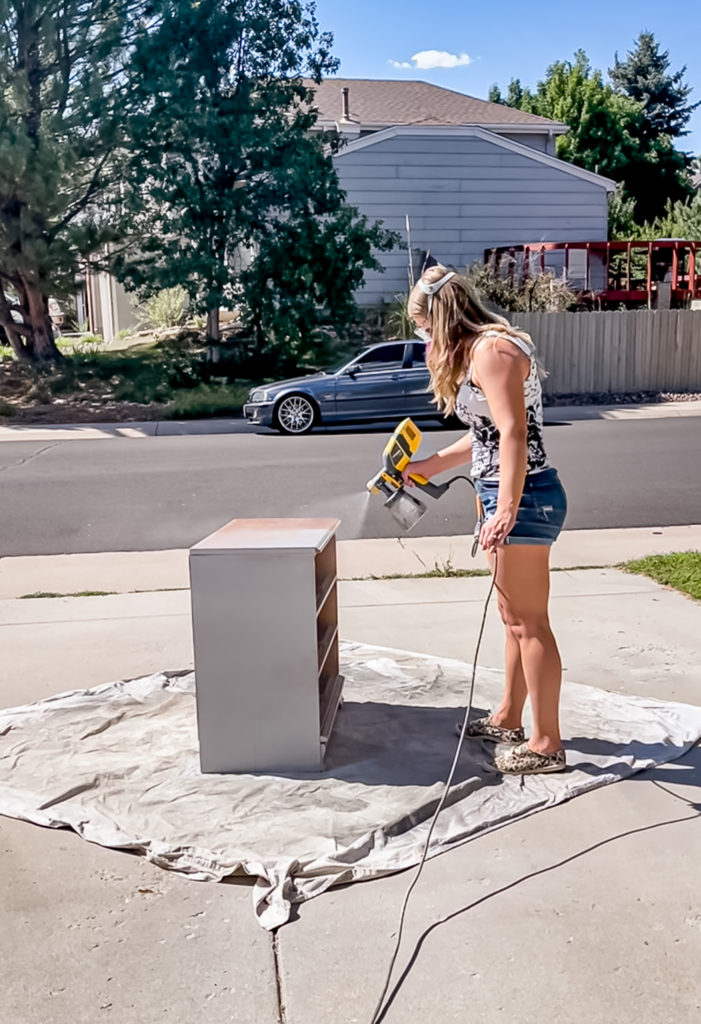
Most of this dresser is wood, however the top was laminate so I sprayed a coat of my favorite primer on to make sure that the paint would adhere perfectly.
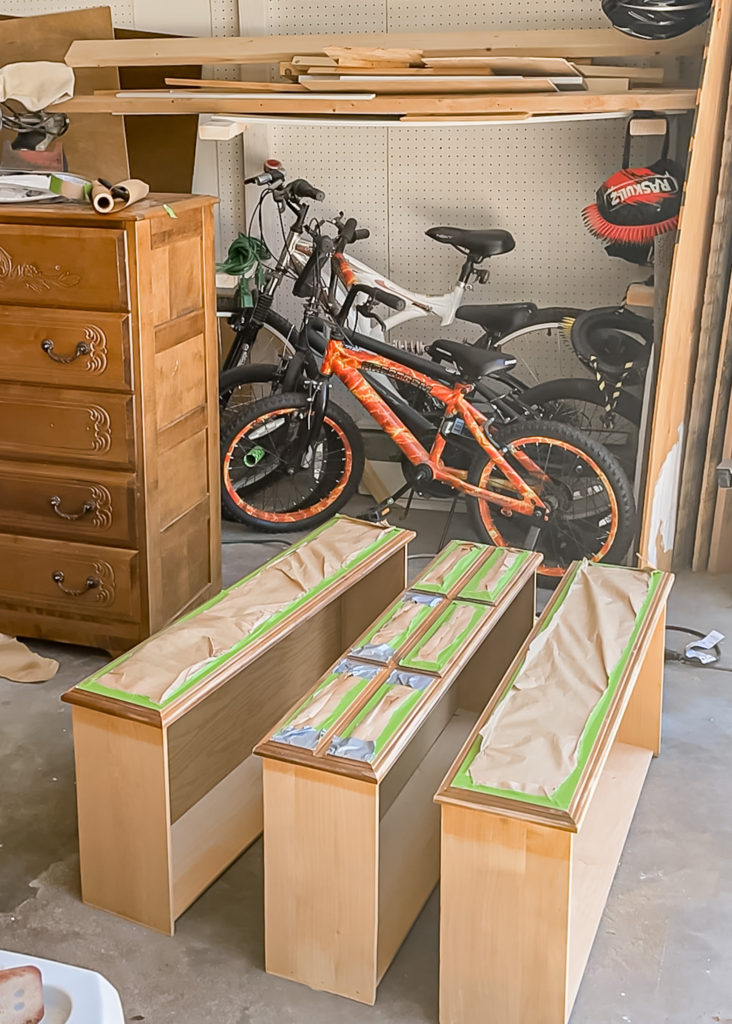
For the wood that I did not sand on the drawers, I quickly scuff sanded and then taped off the drawer fronts.
I failed to grab a picture of me painting, however I wish that I would have because I tried something new and love it! Instead of painting the base and the drawers separately, I put the drawers in and laid it on its back so that it could all be painted at once with no overspray inside the drawers. Once it was dry, I popped the drawers out and went back with a small brush to touch up the places of the base that the sprayer didn’t hit.
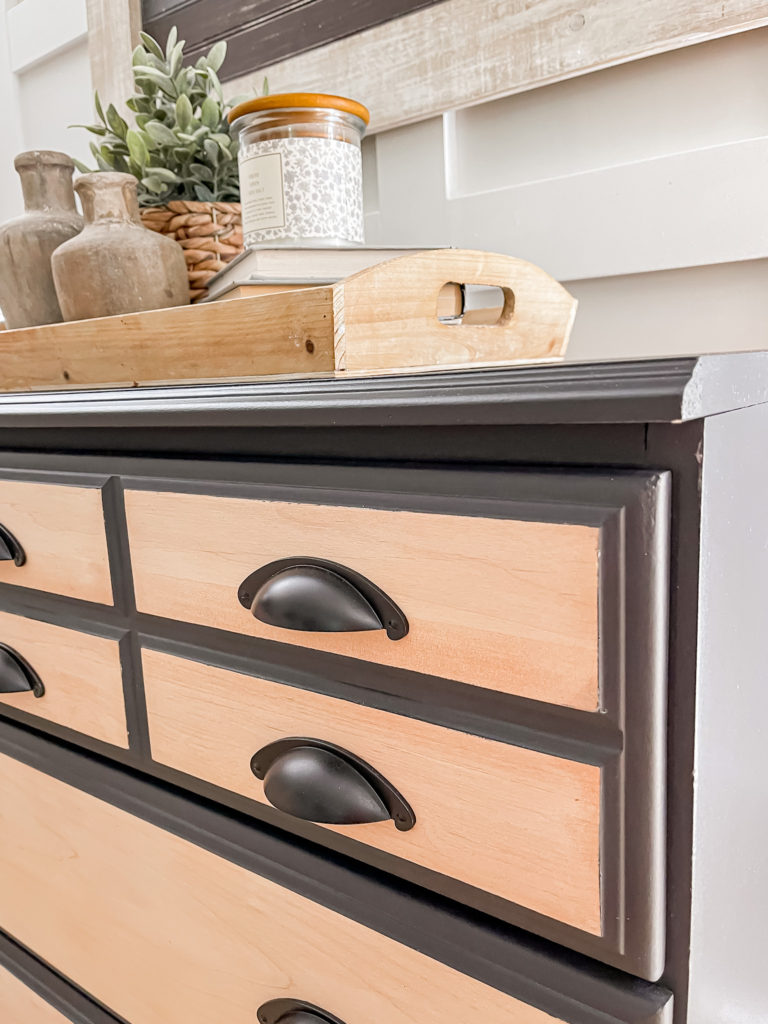
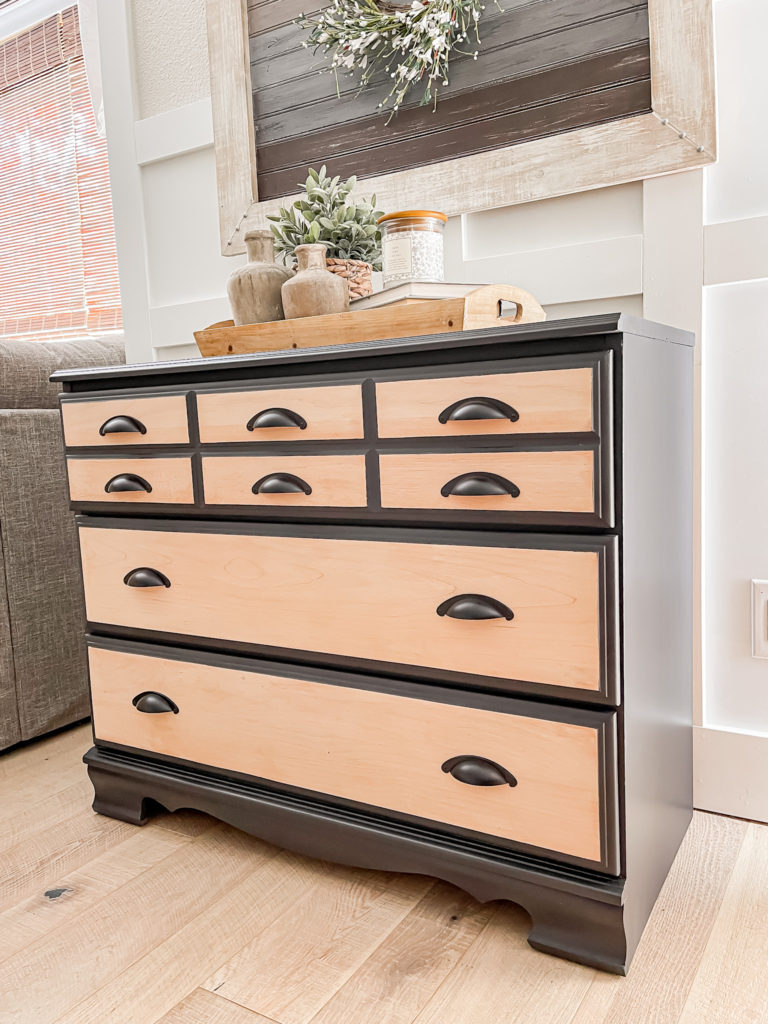
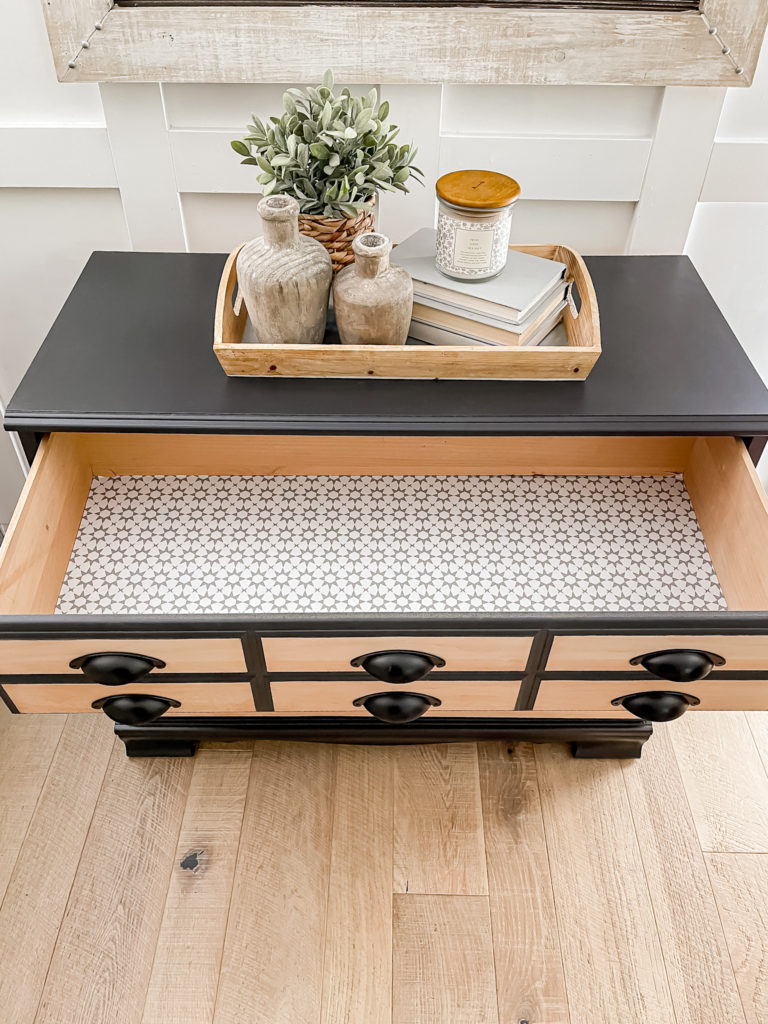
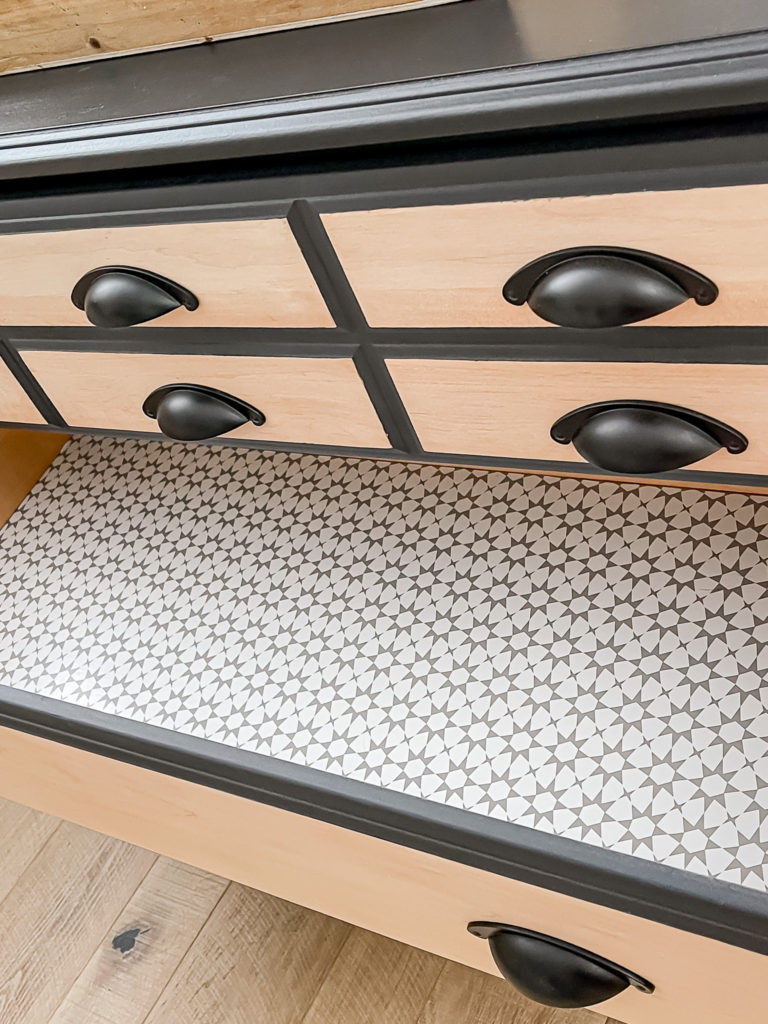
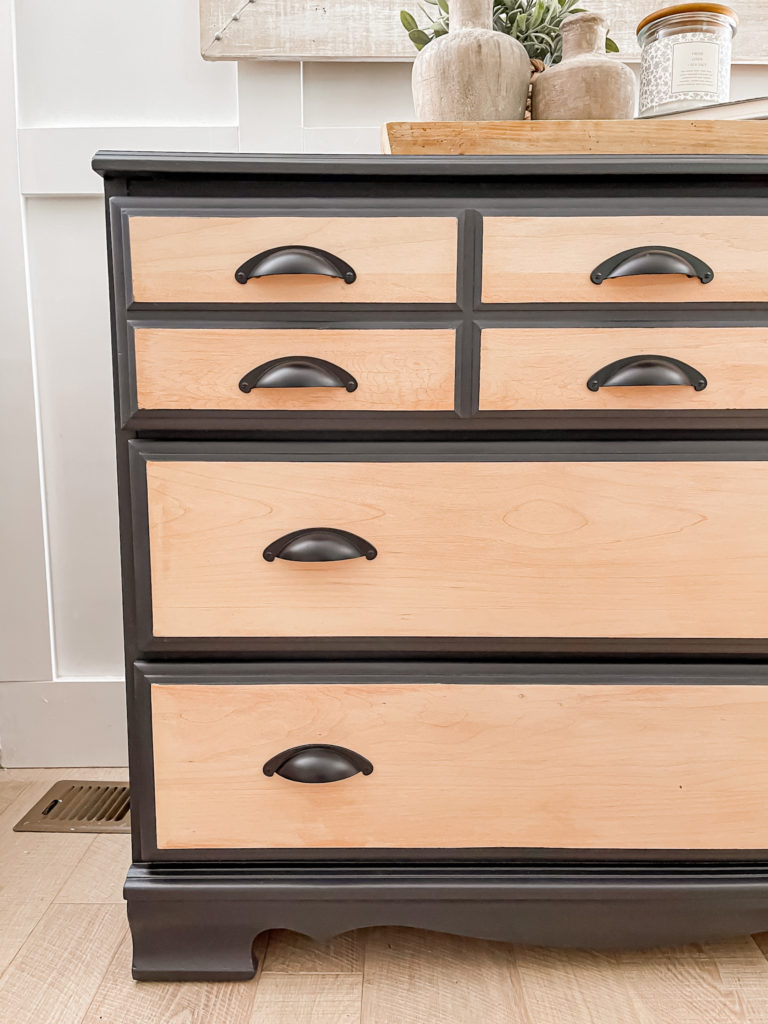
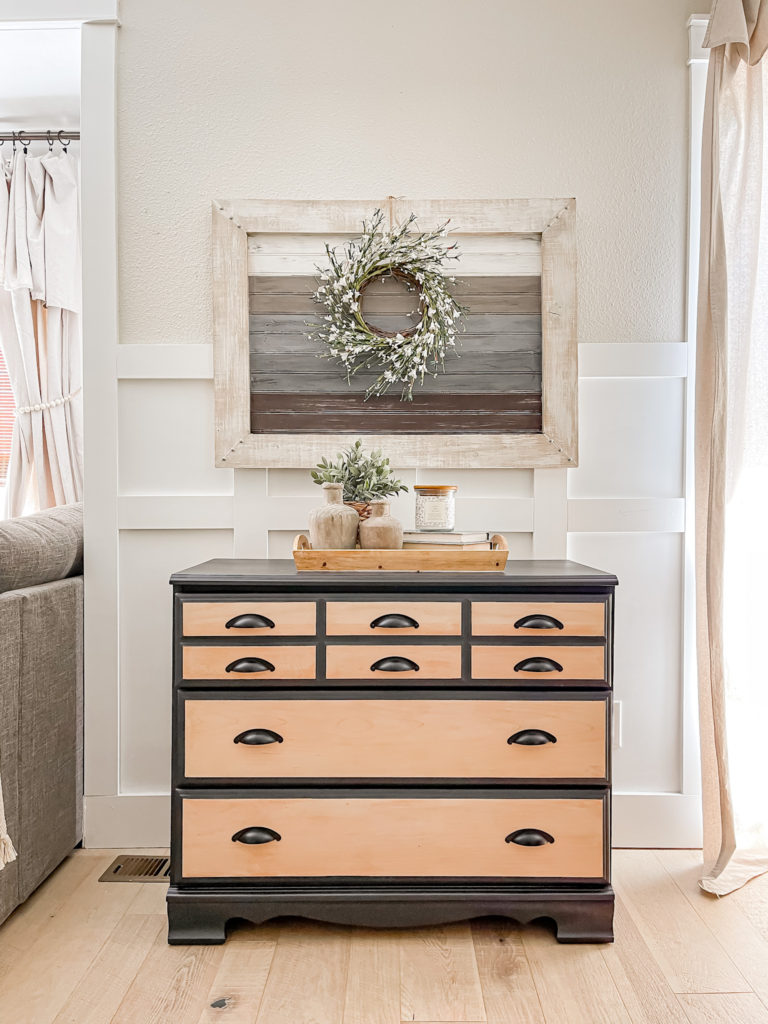
I sealed it all up with polyacrylic, installed some new hardware and drawer paper, and this is how it turned out!
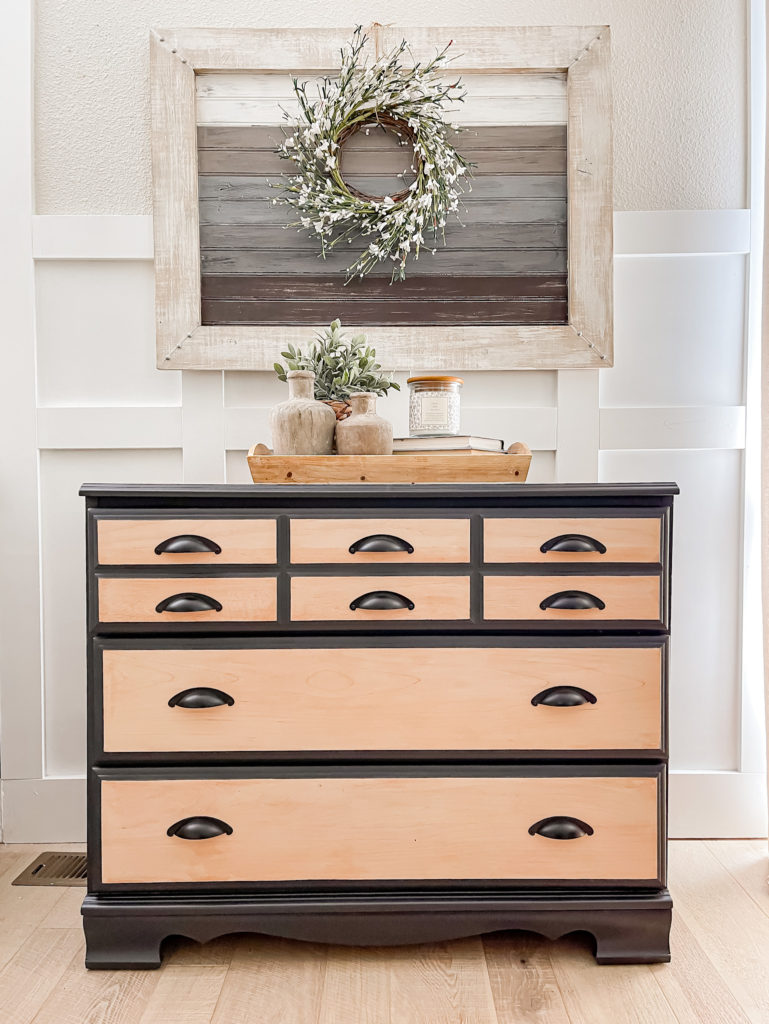
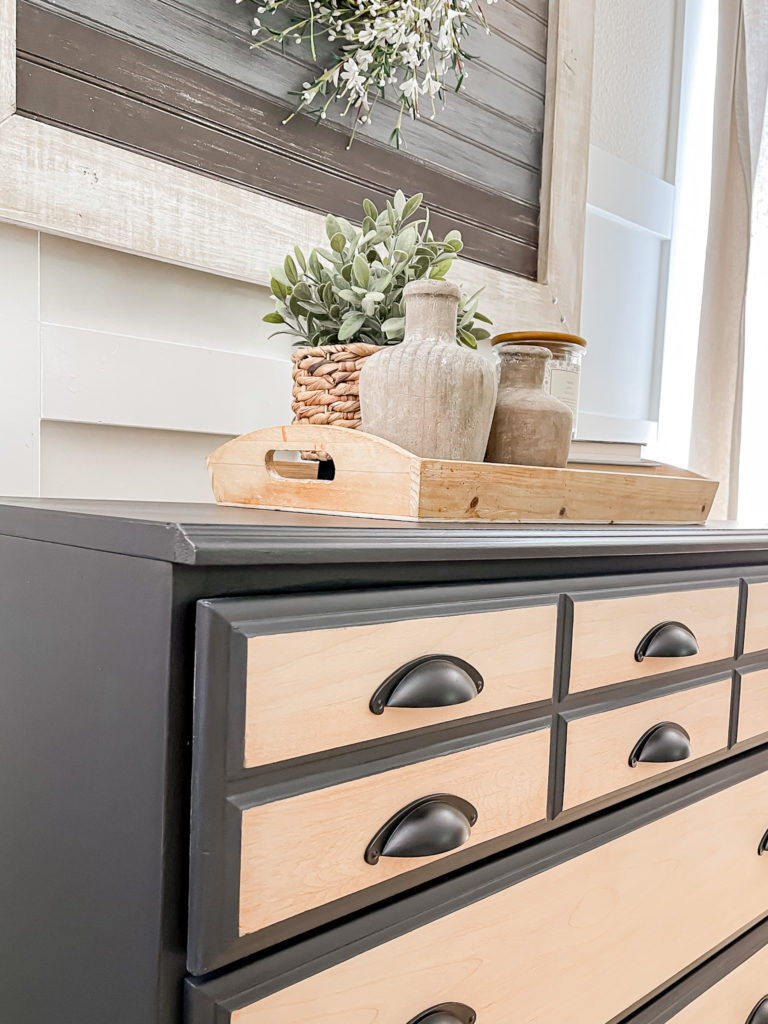
I went back and forth on if the faux divided drawers should go in the middle or the top but ultimately decided that they looked best on the top.
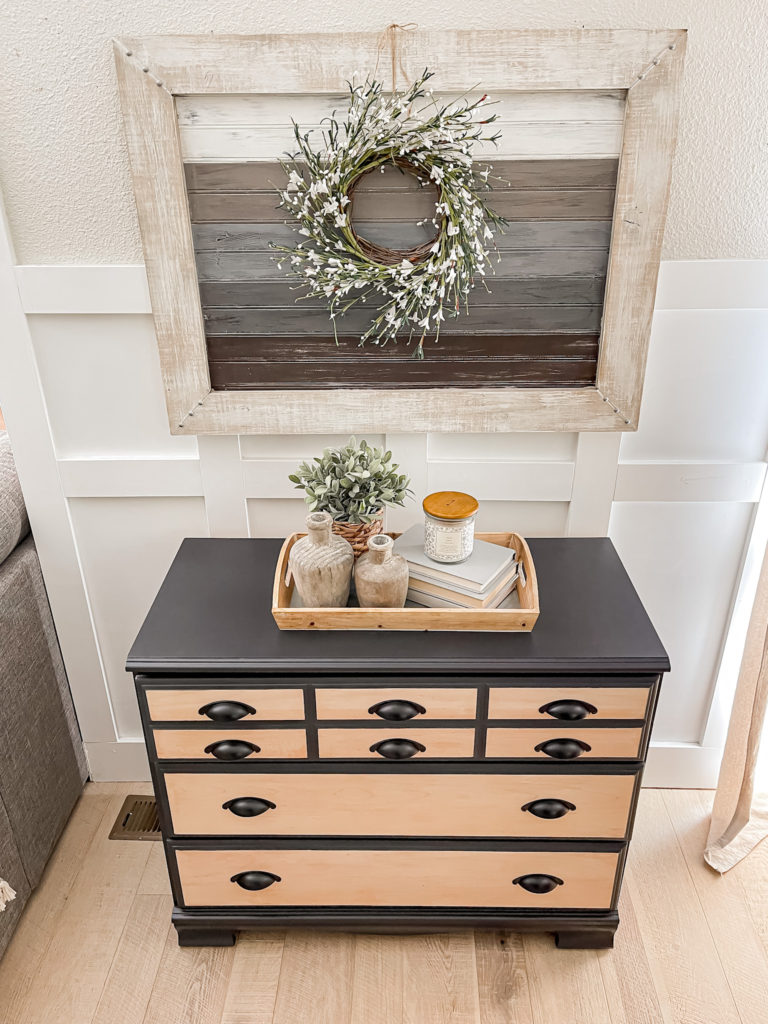
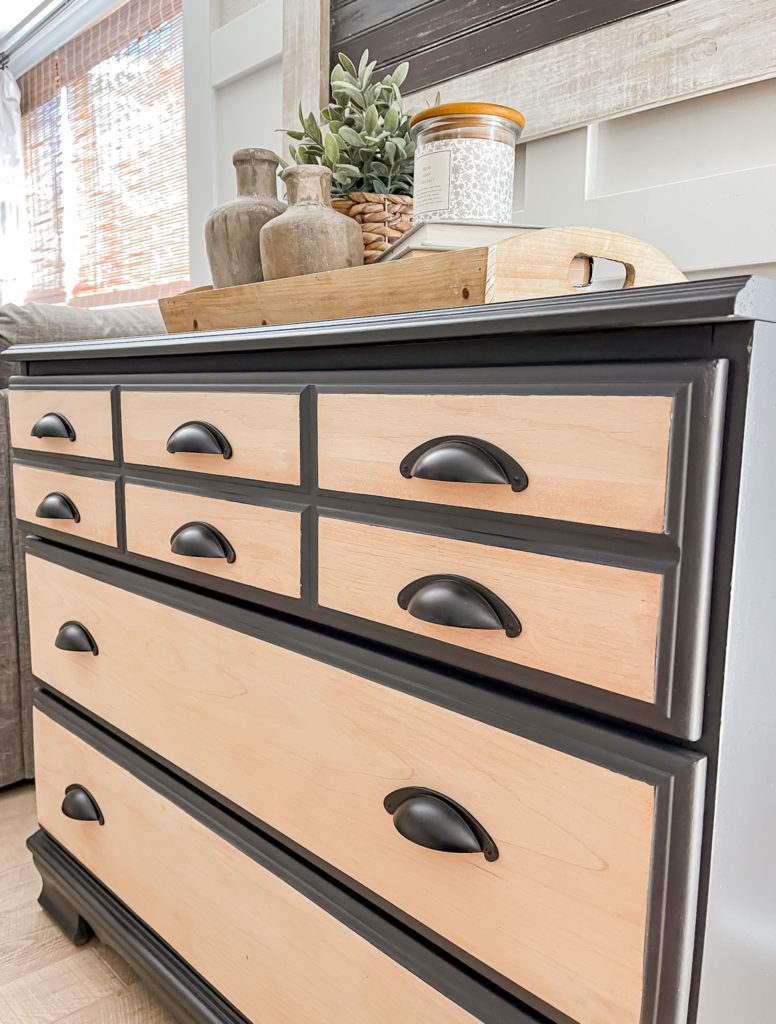
I also was torn on whether or not the pulls on that piece should be different but am happy with the uniform look of them all matching.
The drawer paper inside gives it some fun character.
I hope that its new owners are enjoying it as much as I did creating it!
Linking up to these awesome parties
PIN FOR LATER!
Angela I always love seeing what you are working on next. This dresser came out stunning! Stop by my Home Imagined link party and share. It is such a great post. Have a great a week.
Thank you so much Meagan!