Hello there and happy Thursday! I’m super excited to share this reveal with you guys today, so lets skip the chit chat and get right to it!
Heading in to 2023 I knew that the first big project that I wanted to tackle was our bland staircase wall.
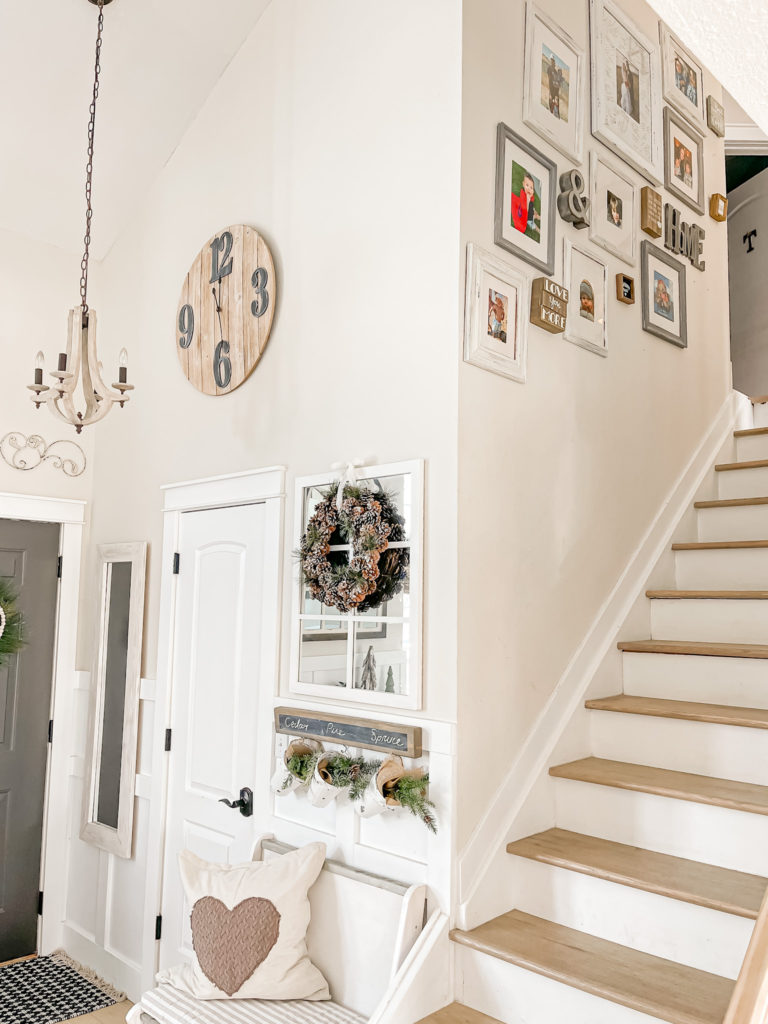
When we first moved in to this house, I put up the gallery wall from the old house. Over the years we were we constantly knocking the lower items down so I have been wanting to take the whole thing down and do some more simplistic frames. I also wanted to add some sort of wall treatment but I was so stumped on what would look best. I debated between board and batten, beadboard and shiplap but just couldn’t decide.
I went to Pinterest for inspiration and my jaw dropped when I spotted this gorgeous picture!
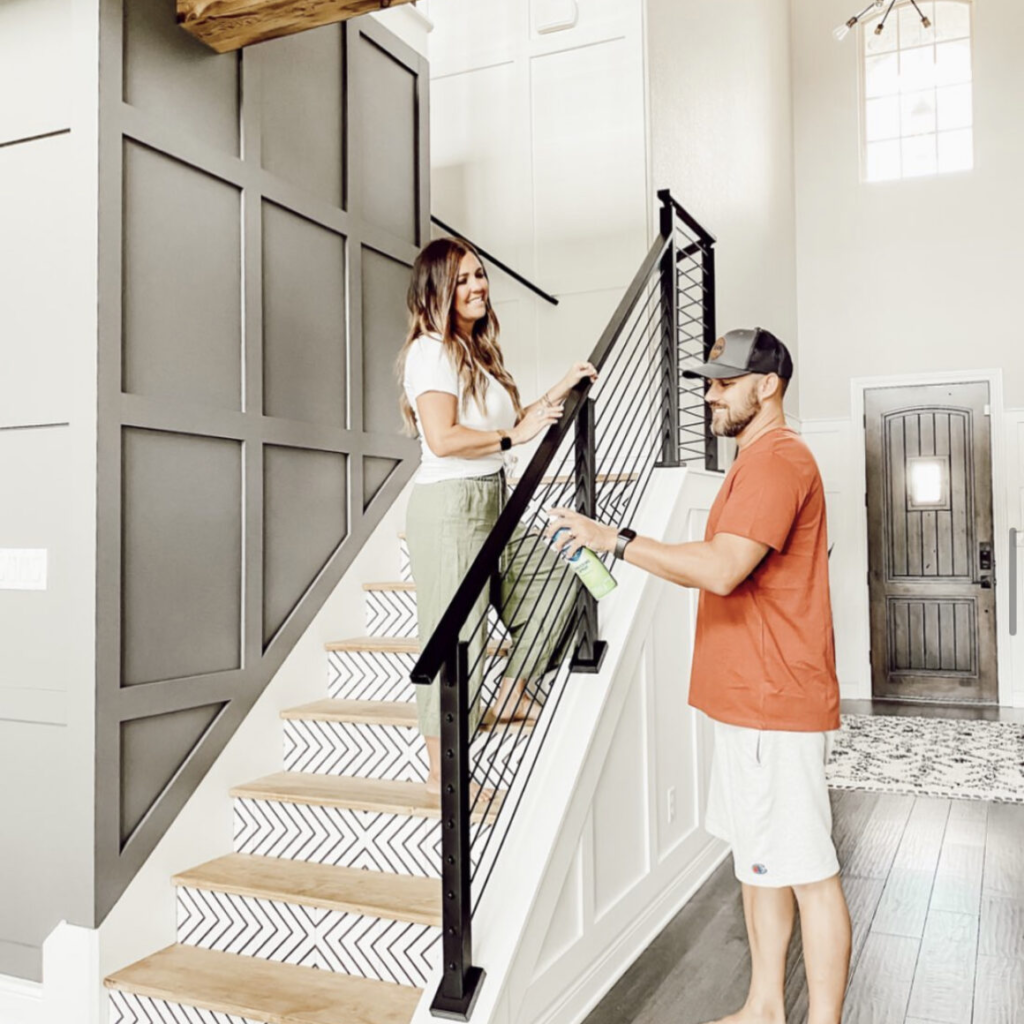
One of the hesitations that I had for doing board and batten was that I felt it would look funny seeing it get cut off on the side when looking at it from the front.
Wrapping it to the adjoining wall seemed to be the perfect solution! I was so excited that after years of trying to figure out what to do there my mind was set and I couldn’t wait to get started.
Supplies Used:(Affiliate links may be provided for convenience. For more info, see my full disclosure here.)
- Hardboard Panels
- 1×4 MDF Boards
- Cordless Nail Gun
- Stud Finder
- Jigsaw
- Miter Saw
- Level
- Spackle
- Sander
- Caulk
- Behr Cabinet Enamel in Benjamin Moore Pashmina
1. Remove Existing Boards
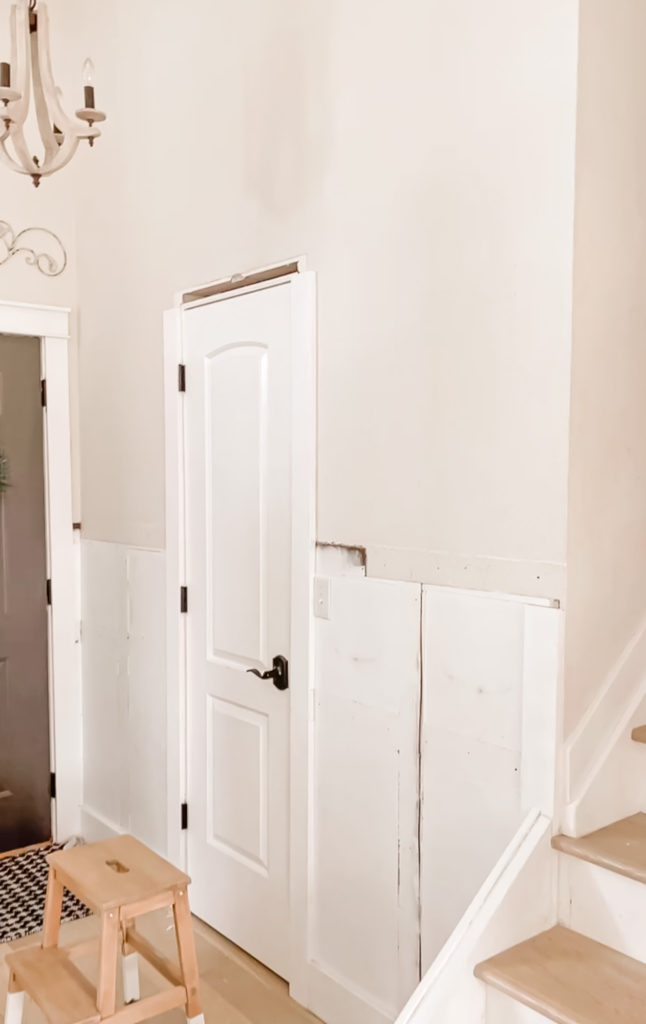
A couple of years ago I installed board and batten around the entire front room. After taking measurements I quickly realized that I wouldn’t be able to just build up from what was there. So we took down the existing batten boards and the header over the closet door.
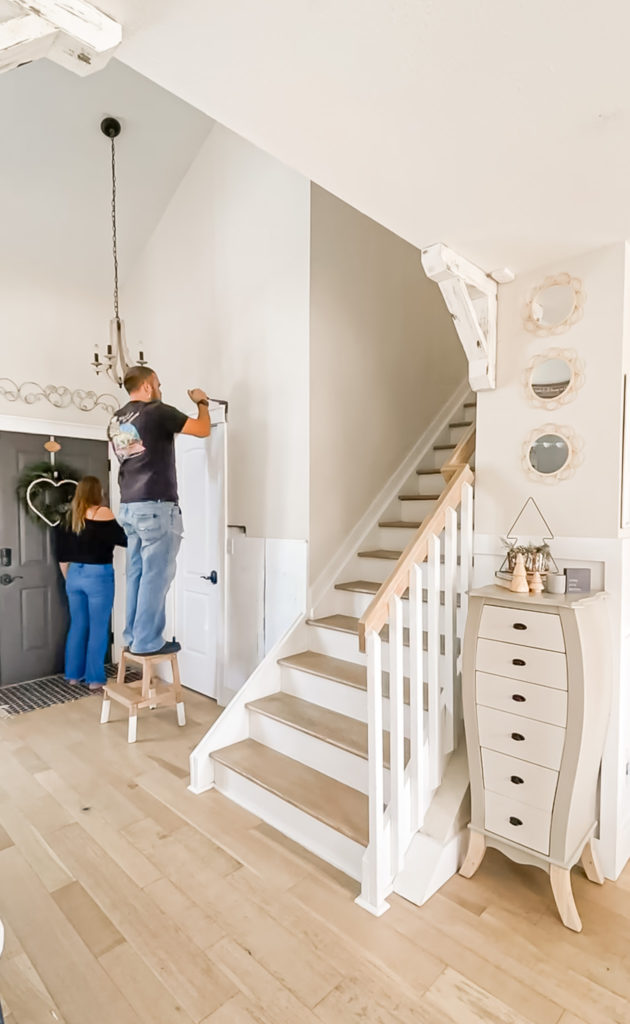
We left the existing hardboards in place and began measuring up from the top of those.
2. Cut Hardboard to Size
We used the jigsaw to cut our first piece of hardboard down to size and a stud finder to mark the studs on the wall.
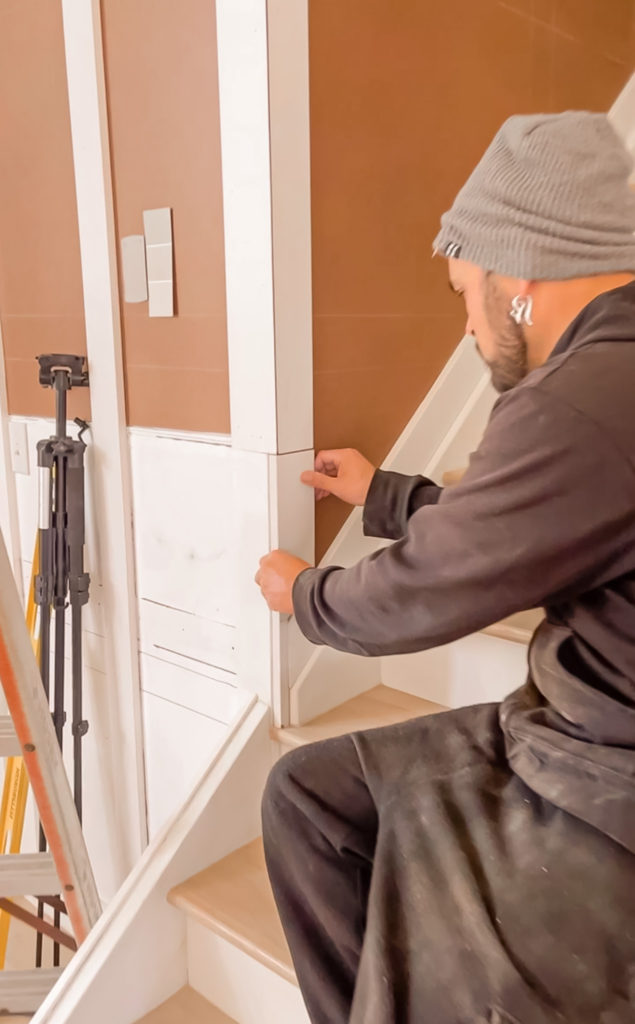
Although I have done it many times before, cutting and attaching hardboard is easiest as a two person job! It isn’t heavy, but the size and flimsiness can make it hard to maneuver. I helped Anthony get it in place before snapping this picture of him finishing nailing it on the wall.
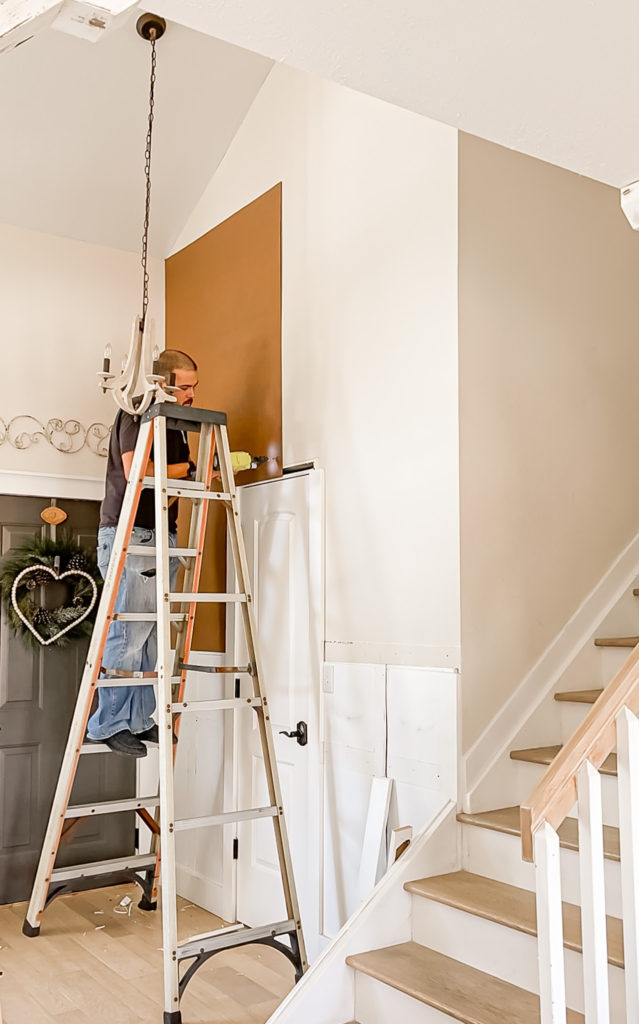
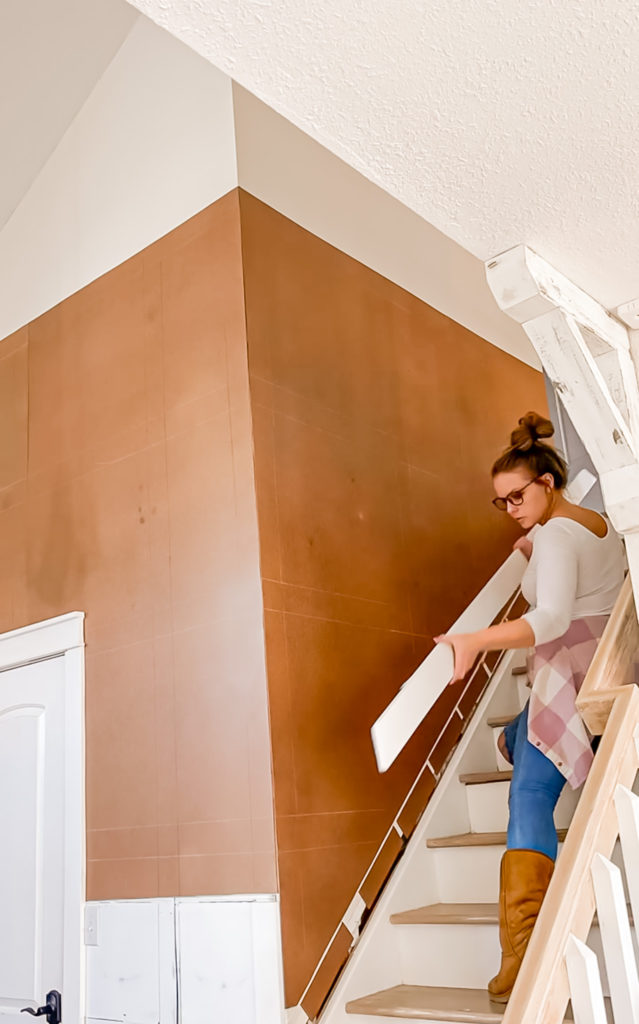
We use two panels for that front wall and then shifted over to the staircase. The angle took a little bit more thinking, and our first attempt was actually a hillarious fail!
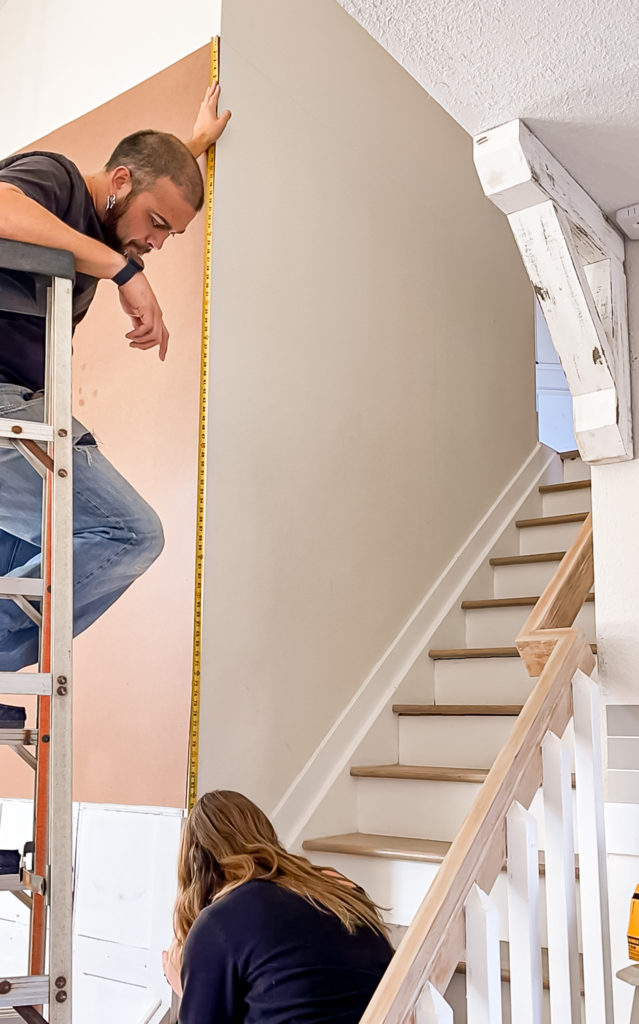
We finally got it figured out and continued with two panels running along this wall.
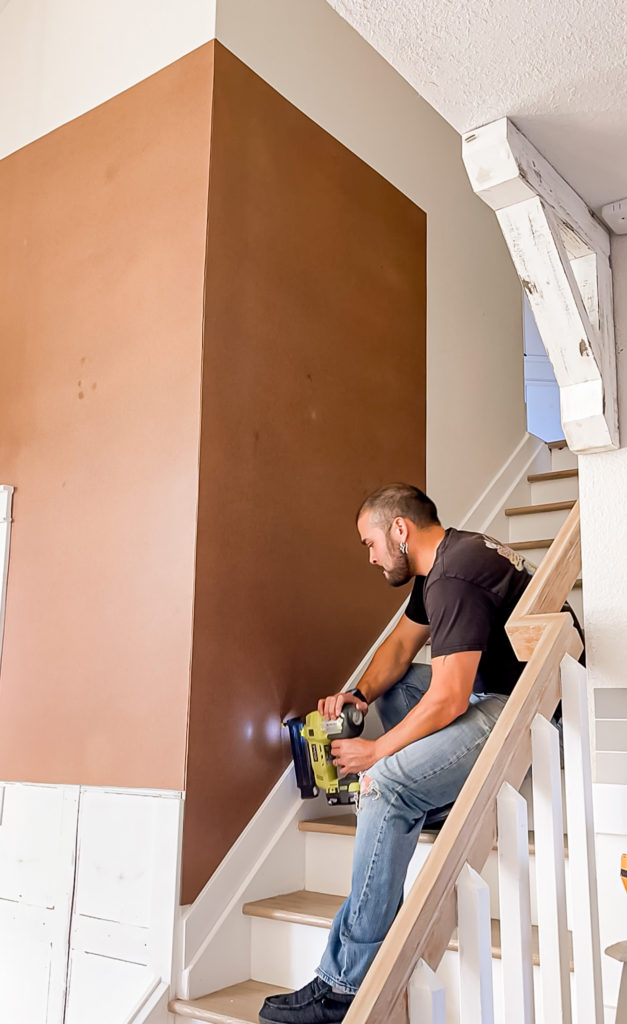
Sidenote–if you are able to determine where your batten boards are going to lay, try to cut the panels so that the seams fall behind one. In our case it worked out on one wall but not the other, so I had to take some extra time spackling later on to hide it.
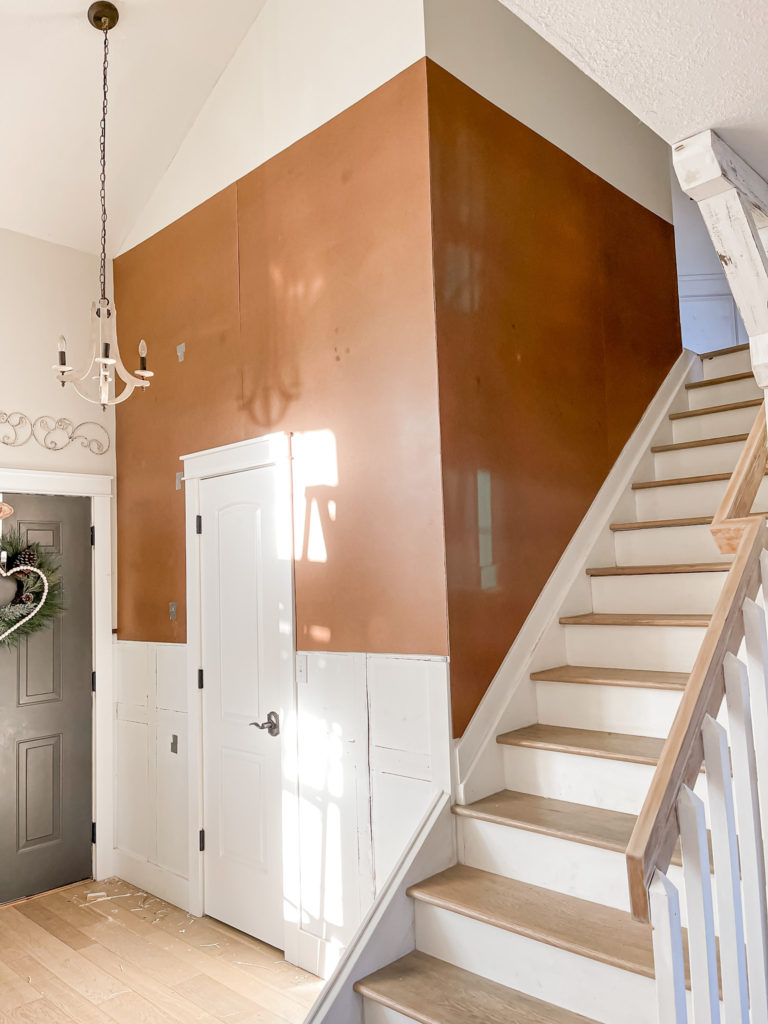
Second side note–I realized the next day that we attached the hardboard above the baseboard at the bottom which meant that the vertical battens would overhang. So I removed it and attached some scrap hardboard pieces to build it out before putting it back on.
3. Attach Batten Boards
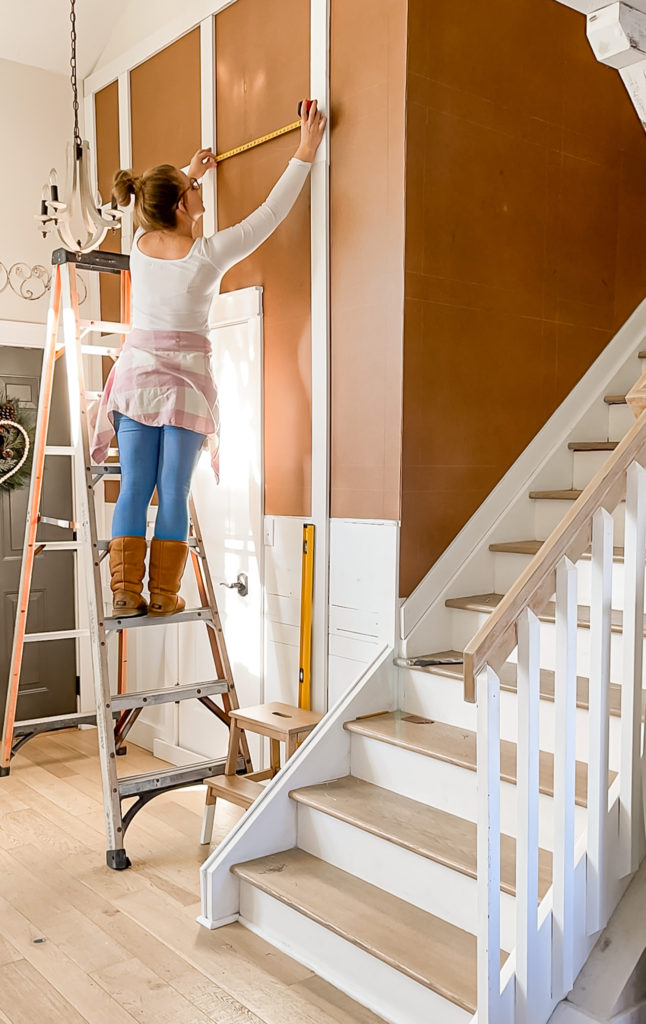
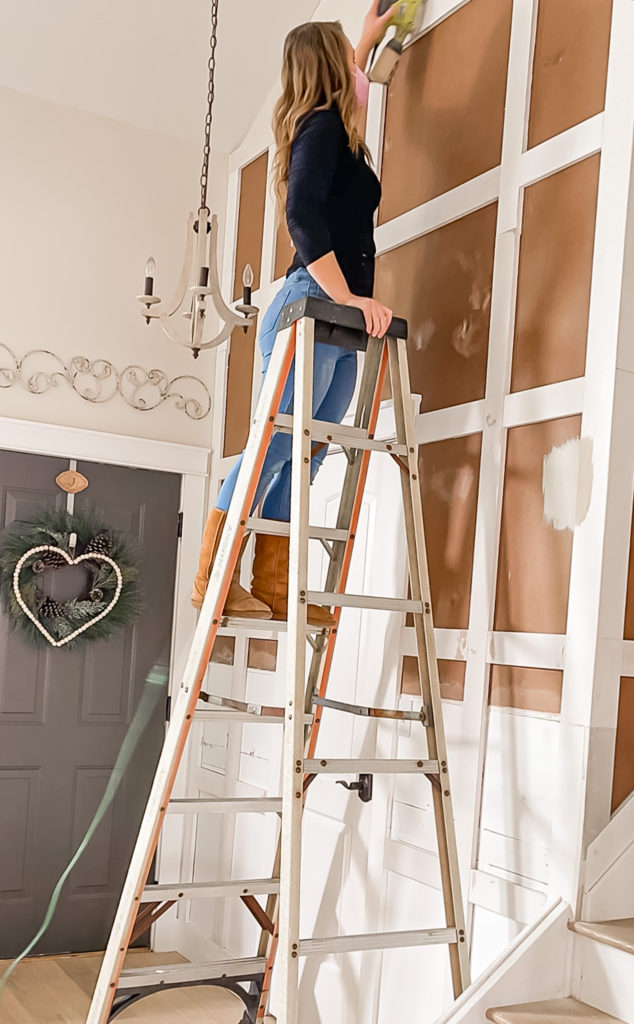
Once those were up, it was time for me to start on the batten boards. Putting up the top board was just a little nerve-wracking since I was so high in the air!
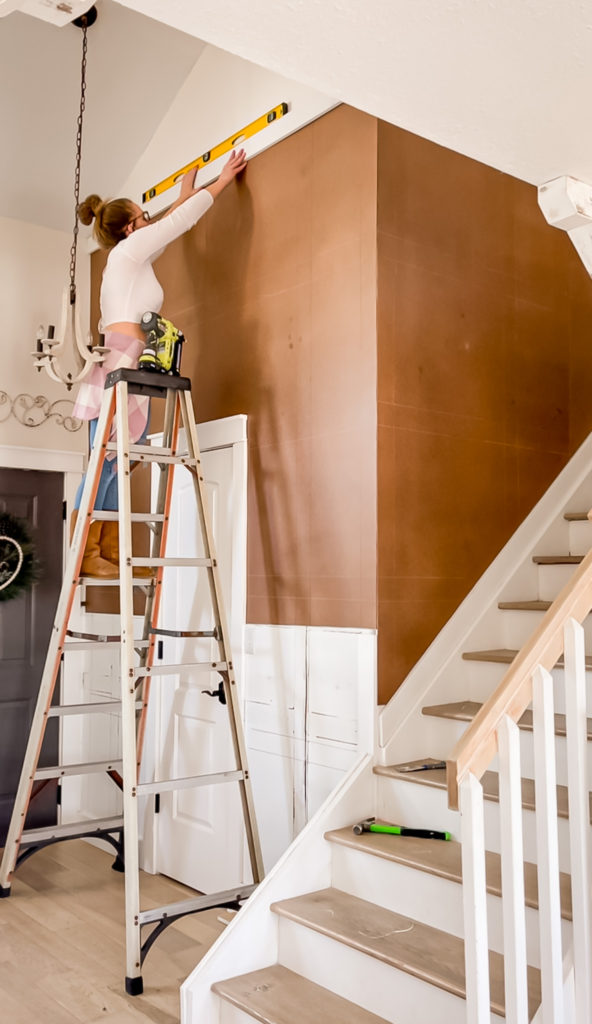
Once that was nice and level I used the nail gun to secure it and then started measuring out the vertical batten boards. This is always the trickiest part of any board and batten project because you want the spacing to look visually appealing. It took a lot of measuring but I finally came up with a design that I was happy with and did a quick mock up on my phone to make sure.
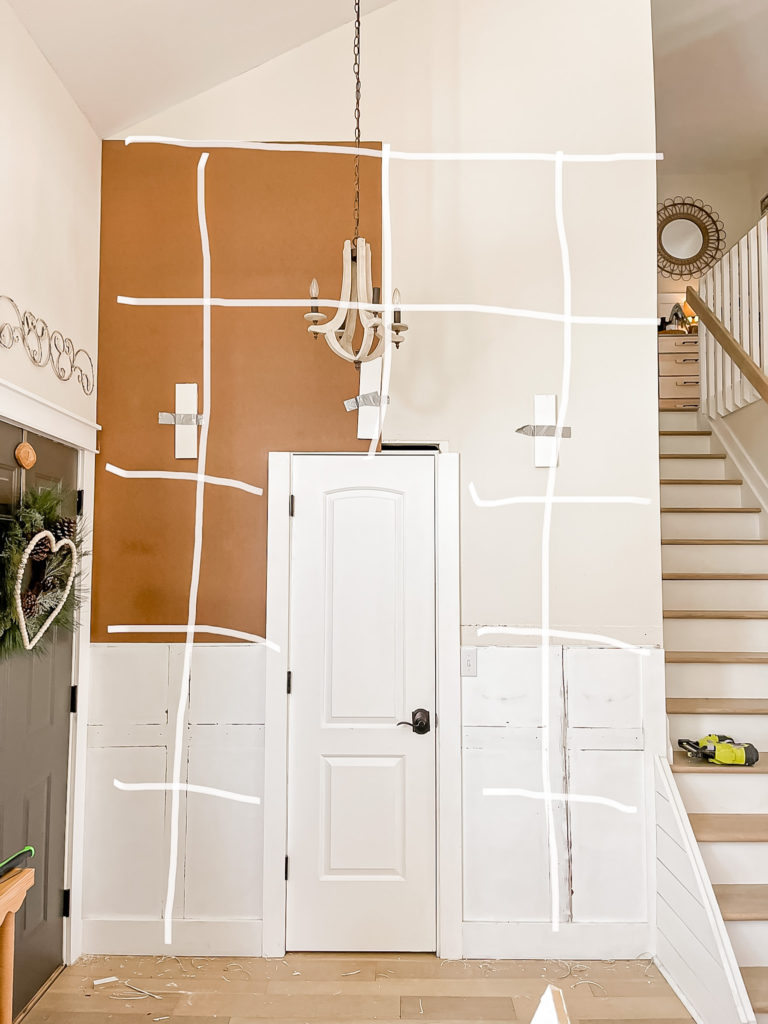
Once the vertical boards were in place, I moved on to the horizonal ones.
When I got to the corner, Anthony helped me rip the boards down at a 45 degree angle using the miter saw. We had a tricky situation since the existing vertical board was built behind the staircase trim and couldn’t be moved. Because of this, we ended up having to use a 1×6 for one side and splice in a funny cut piece to make it work. In the end (thanks to spackle) you can’t tell.
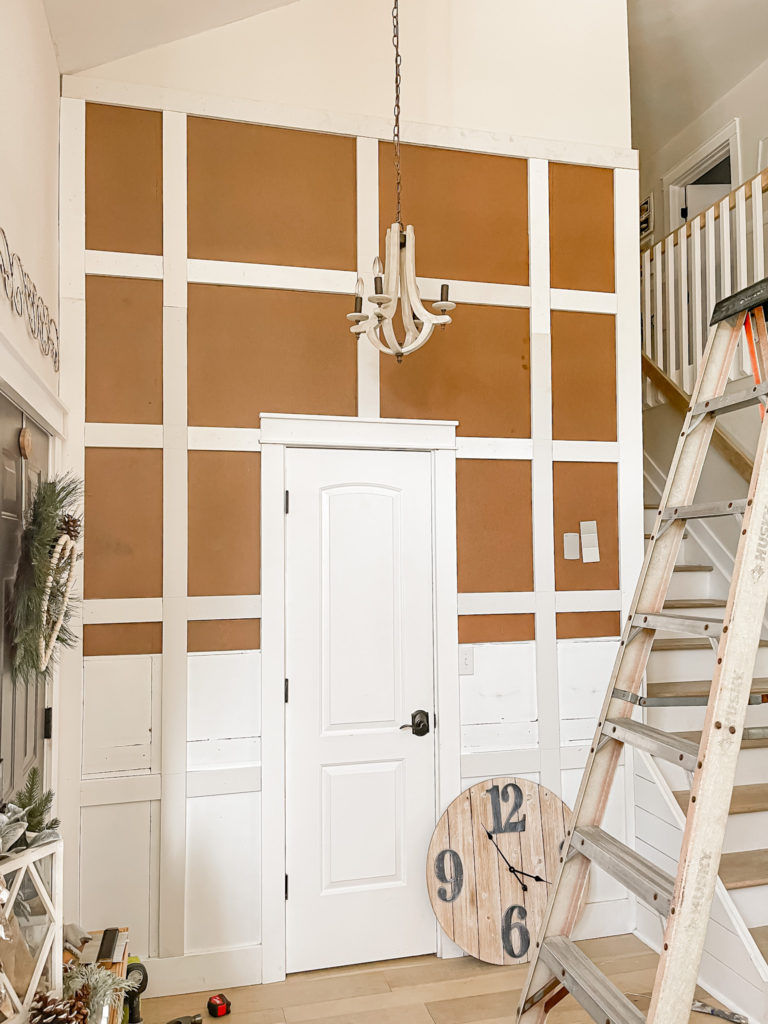
The first wall was done and I was so excited to see my vision coming to life!
For the staircase wall I used the level to draw lines from the horizontal boards on the other wall to make sure that they wrapped nice and even.
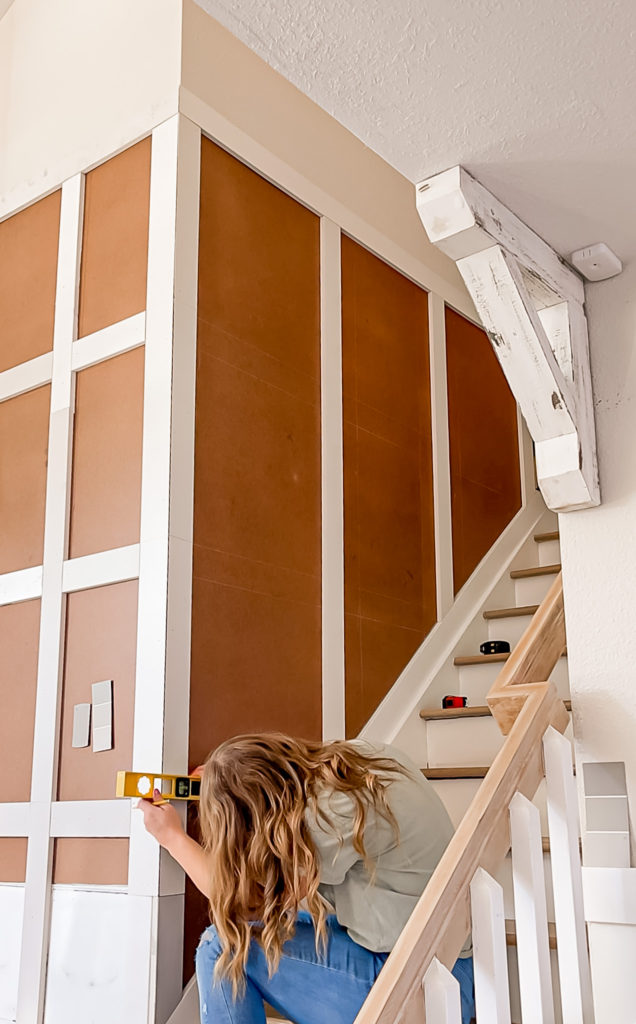
4. Spackle
With all of the installation done it was time to move on to the final part–the finishing! As tedious as it can be, I’ve learned to really slow down and take my time with this part for a cleaner final result. I used a putty knife to apply spackle over all of the seams–both where the battens met and where the seams of the hardboard panels met and couldn’t be hidden. For the hardboard panels, I found that applying extra nails by the seam helped hold them together better.
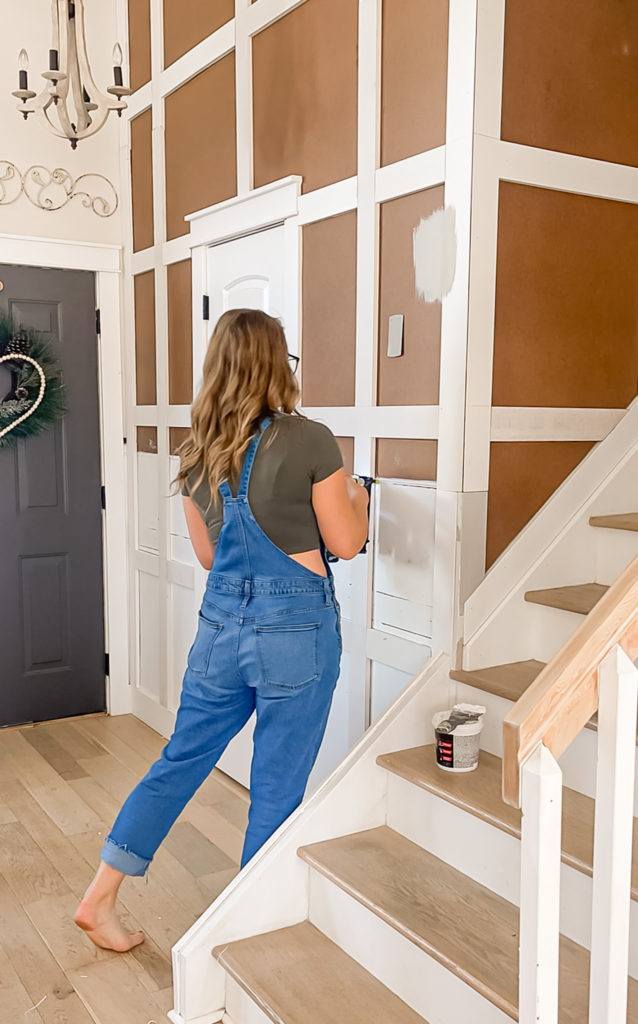
Once it was dry I went over the spackle with my electric sander. I normally just do this by hand but I was sore from falling down the steps the night before (ironically not while I was working on this project, rather simply walking down the steps haha). It made the process so much quicker and I think I’ll be doing it this way from now on.
5. Caulk
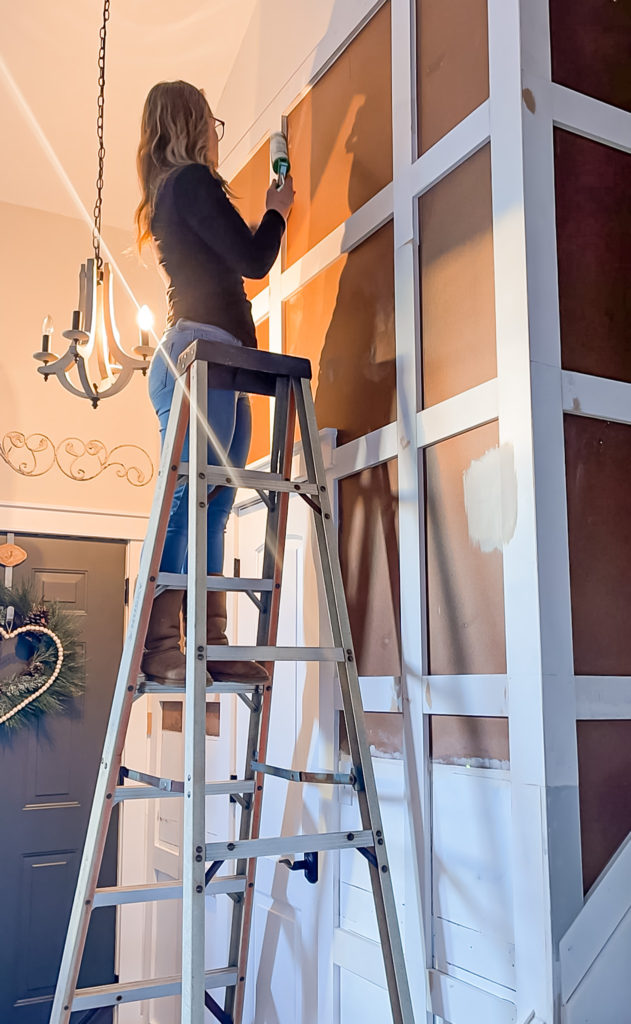
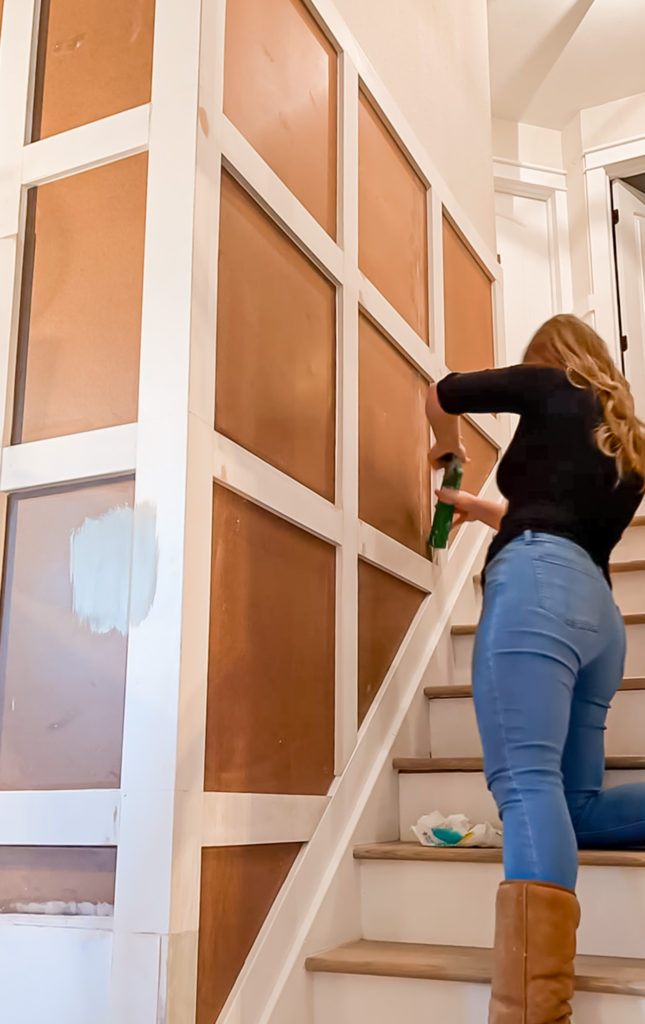
I wiped everything down with a wet rag and then moved on to caulking along where the battens met the hardboard. I recently found out that using a baby wipe after applying the line of caulk is so much cleaner than using my finger and a wet rag like I used to do!
6. Paint
And finally, it was time to paint! If I were doing this project a year ago I probably would have just painted it my go-to white. However, I have been stepping out of my comfort zone a little bit and have been enjoying deeper tones so I decided to go with Pashmina by Benjamin Moore.
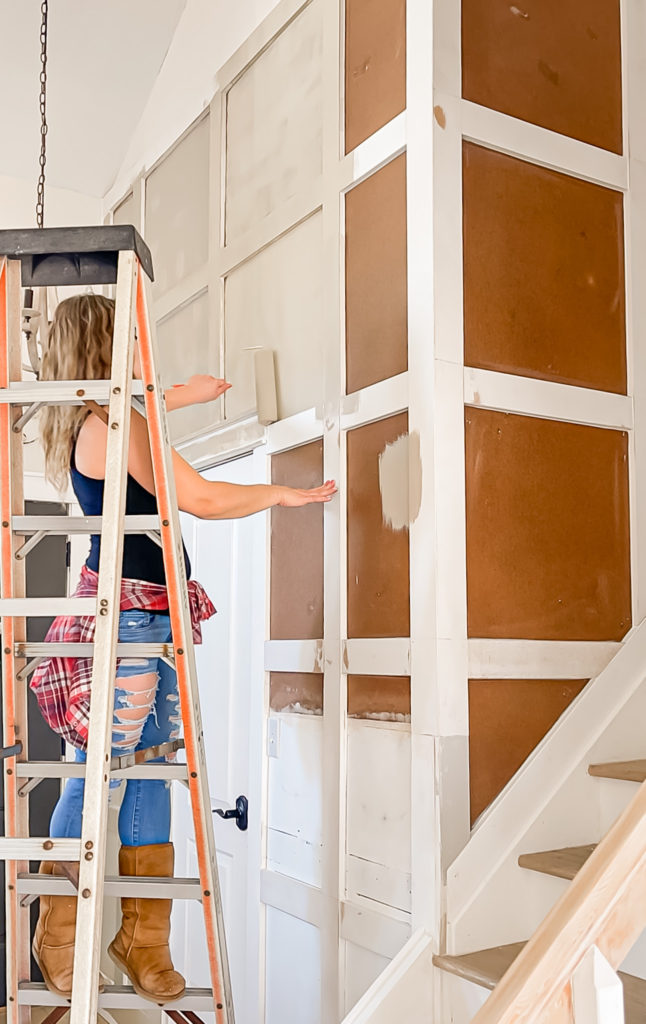
I used a foam roller for most of the areas, and then went back through with a small foam brush to get the harder to reach ones like the edges of the battens.
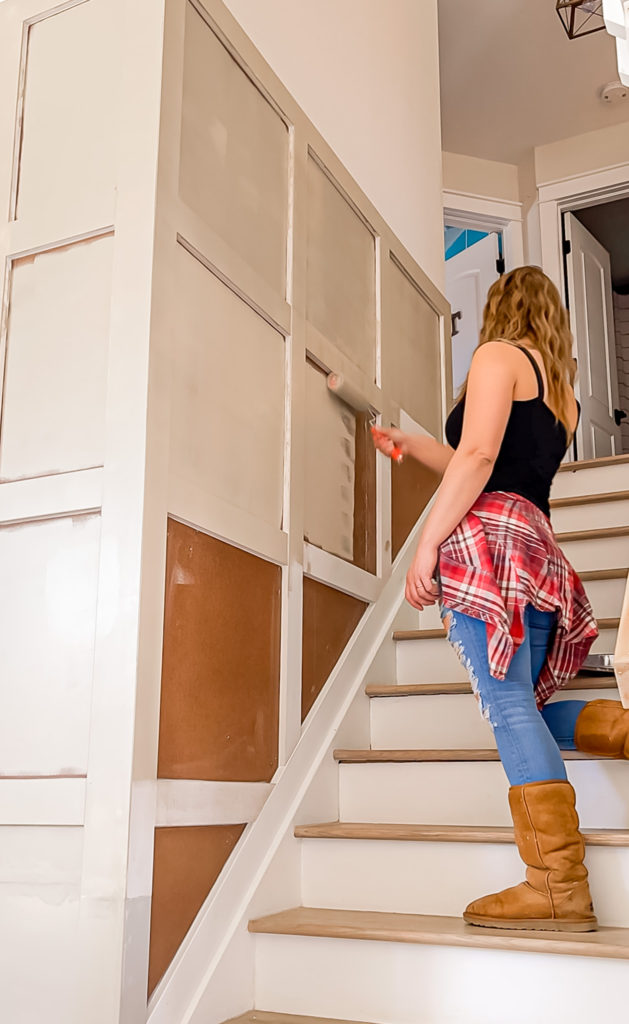
I used to use a bristle brush for the cutting in but would see brush strokes after it dried. I recently picked up the foam brush trick and don’t think I’m ever going back! I ended up doing a second coat the following day.
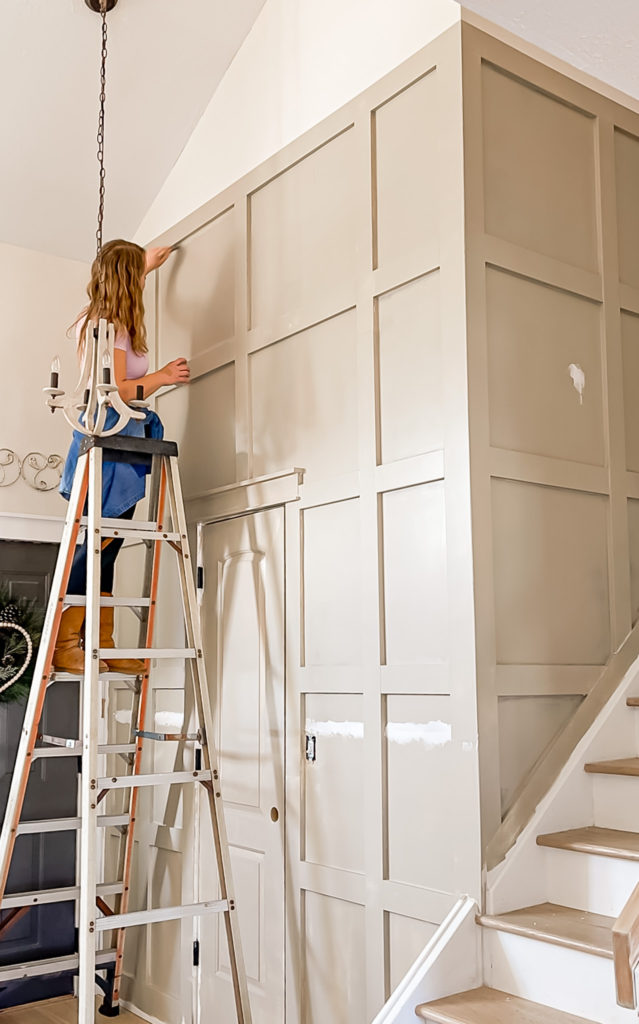
And here is the final result!
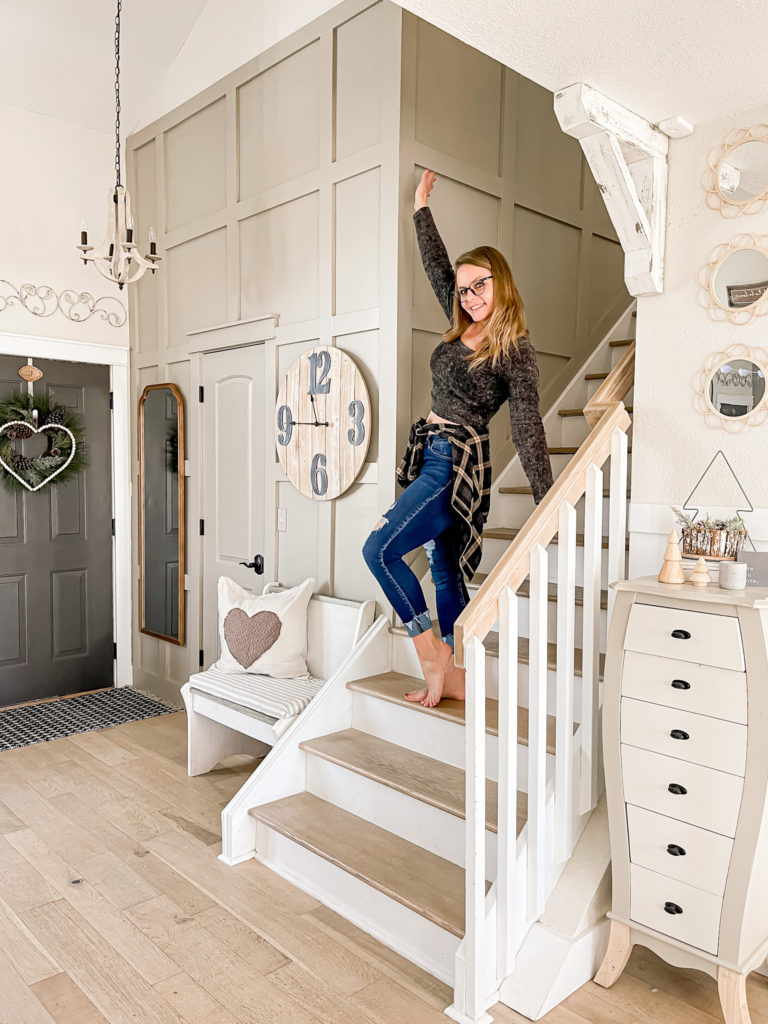
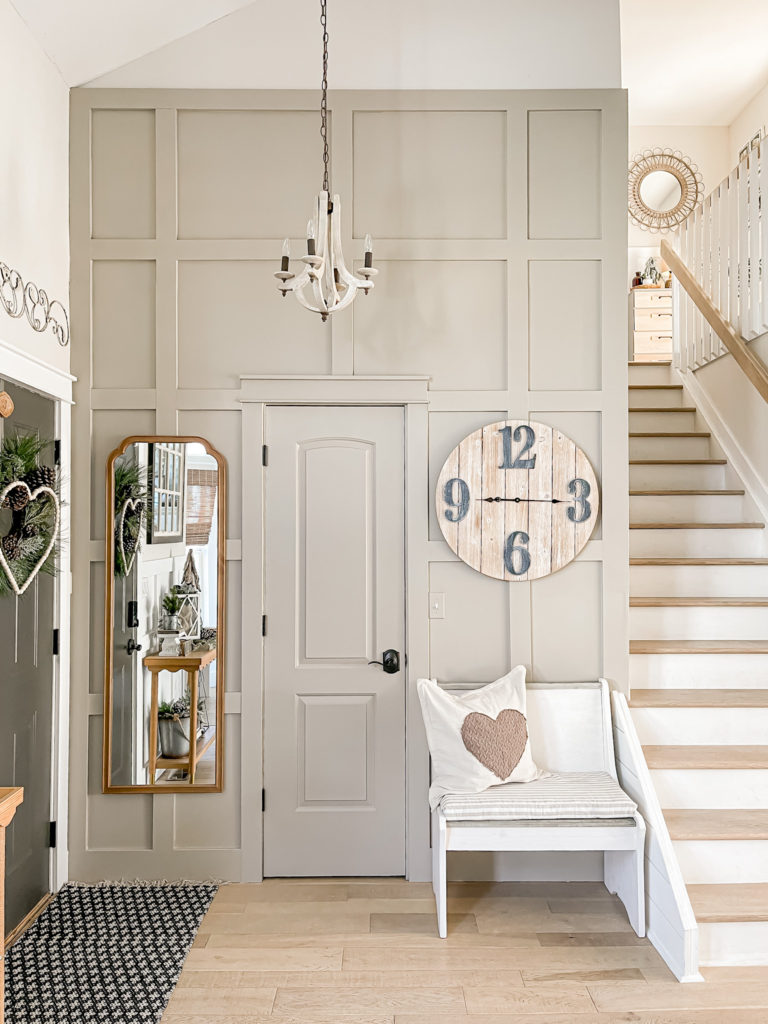
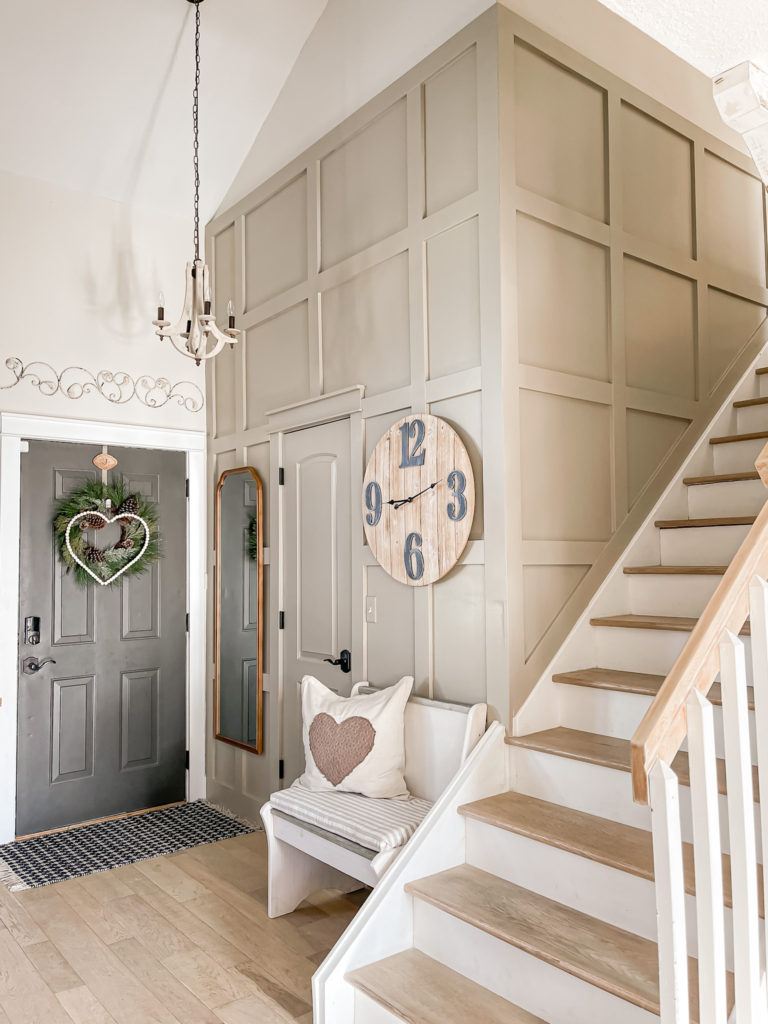
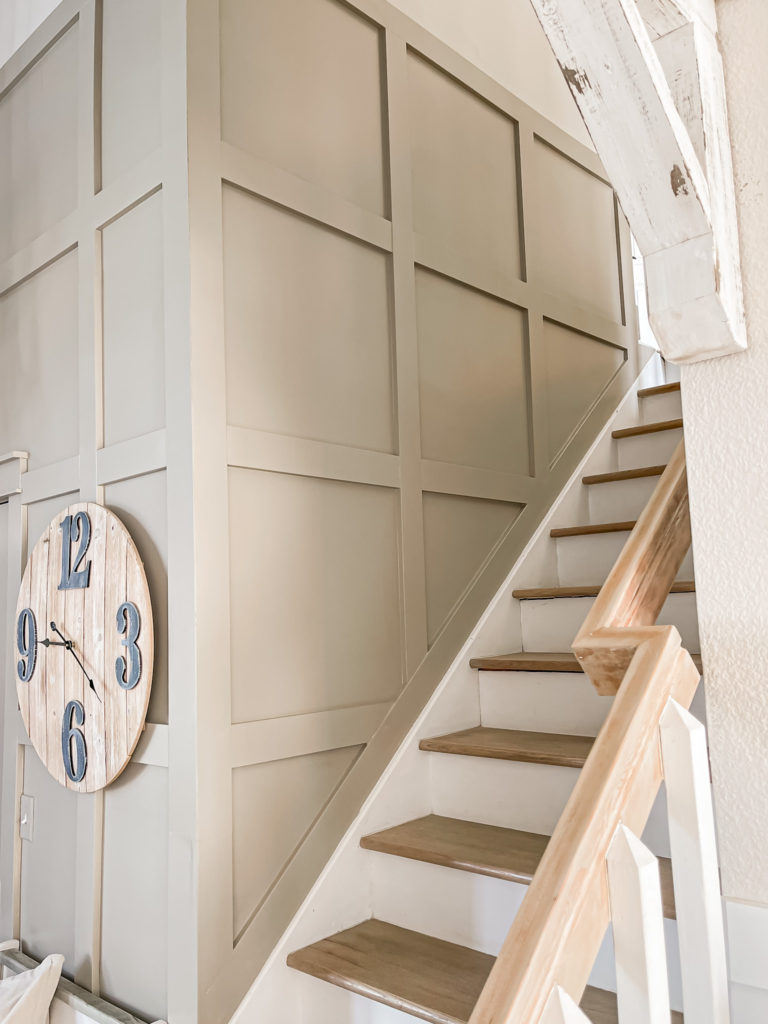
It makes our entryway feel super grand and I’m so happy that I stumbled upon that inspiration photo because I’m honestly not sure I would have envisioned this on my own!
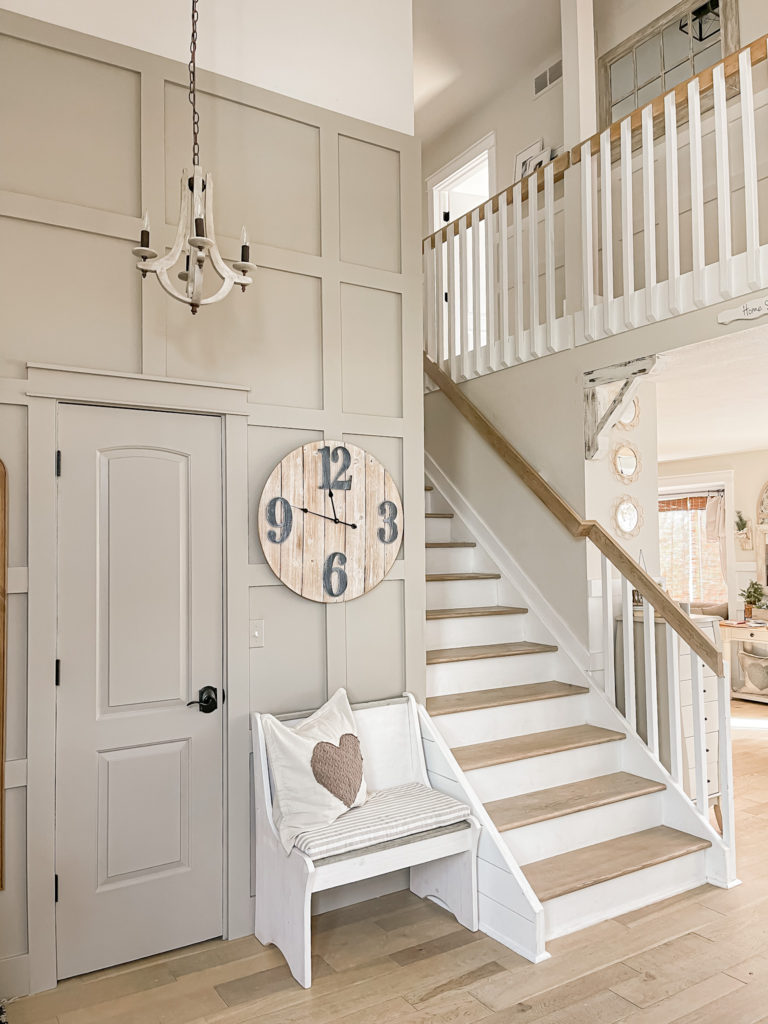
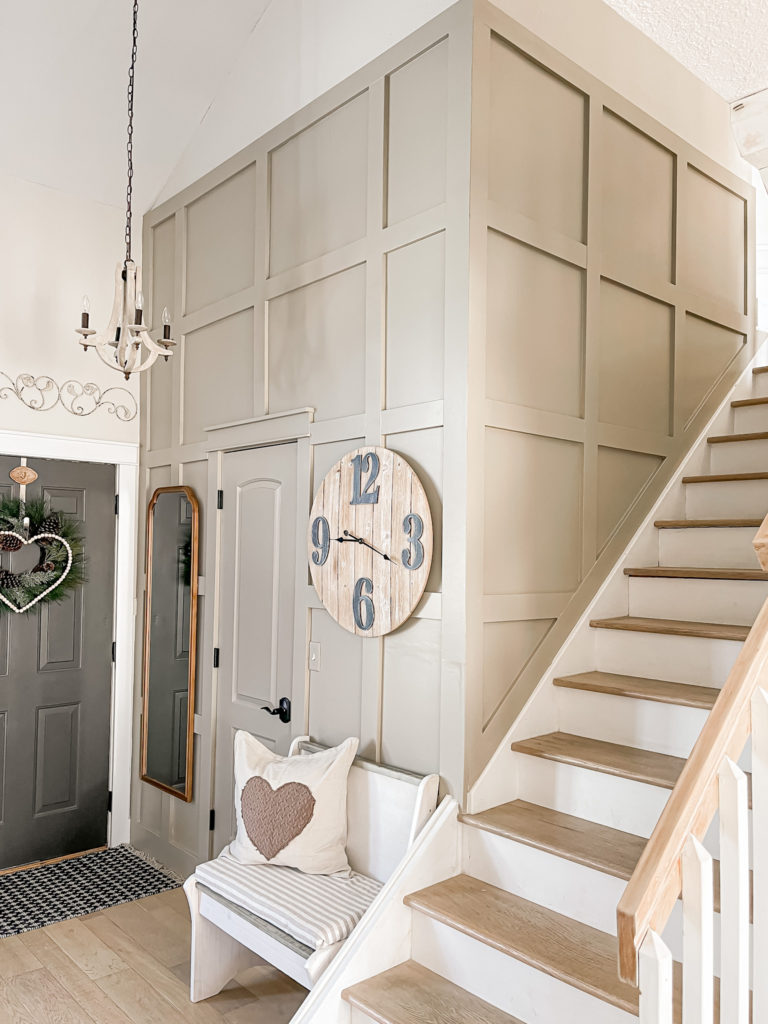
I am really happy with the color that I went with because it adds interest but is still light and airy.
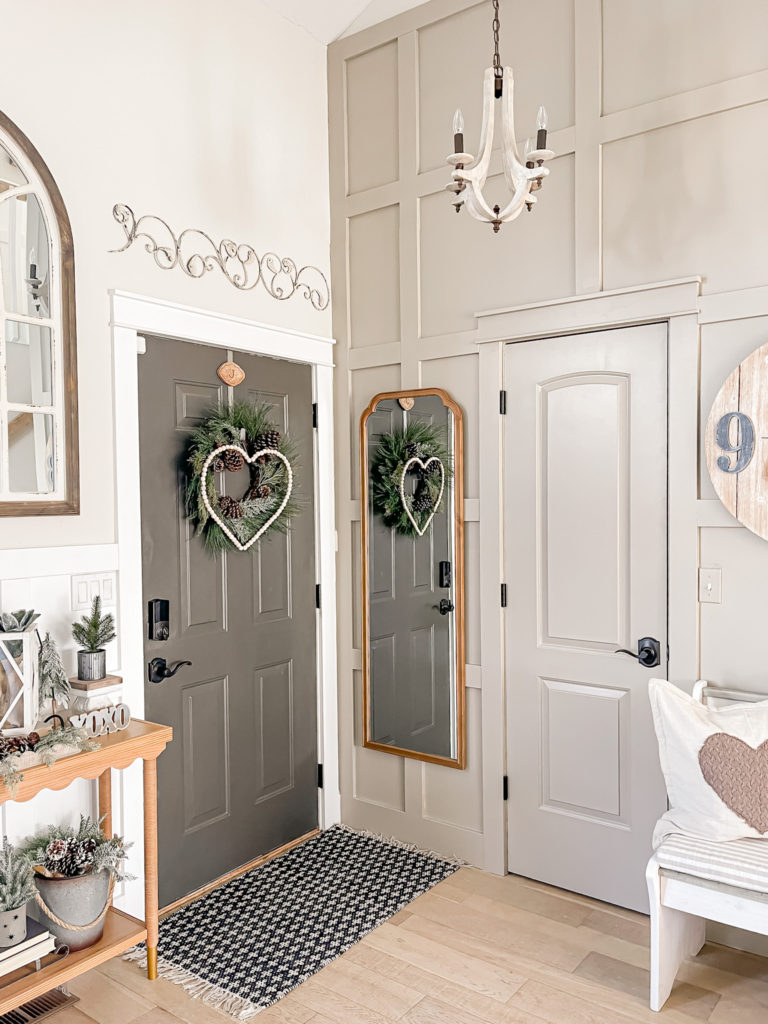
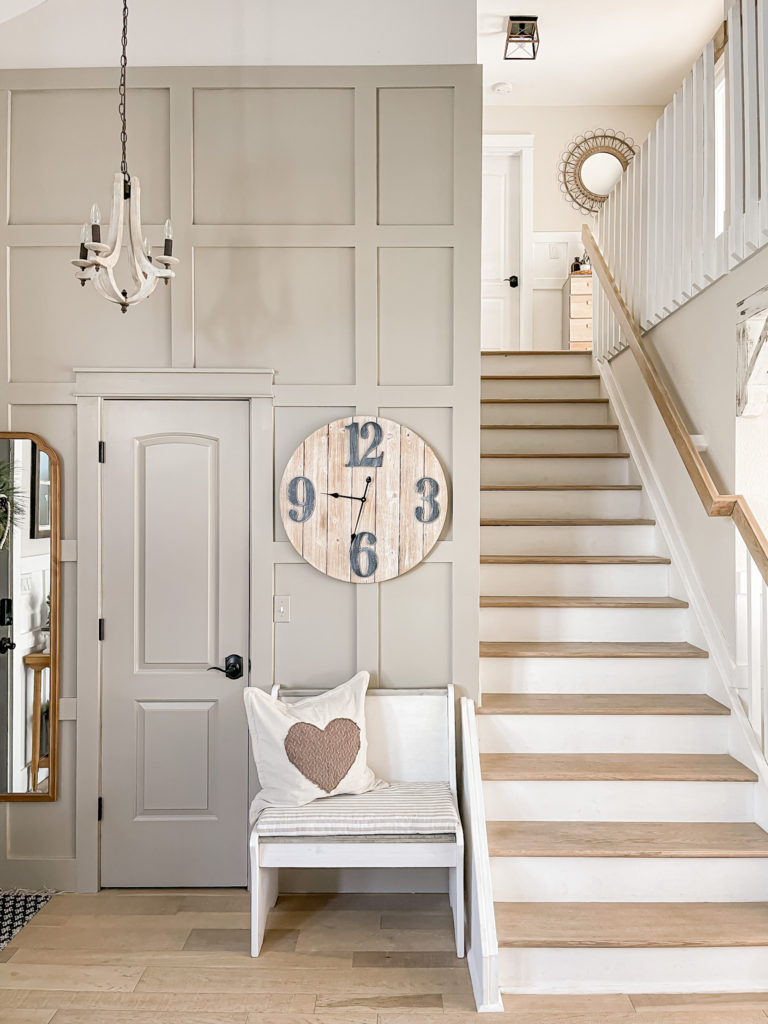
I was torn on whether the clock looked right in that spot or if the window pane mirror should go back there. I’m happy to report that after taking these pictures I switched it and I think it looks much better. Of course nothing is ever permanent around here so I could change my mind again haha!
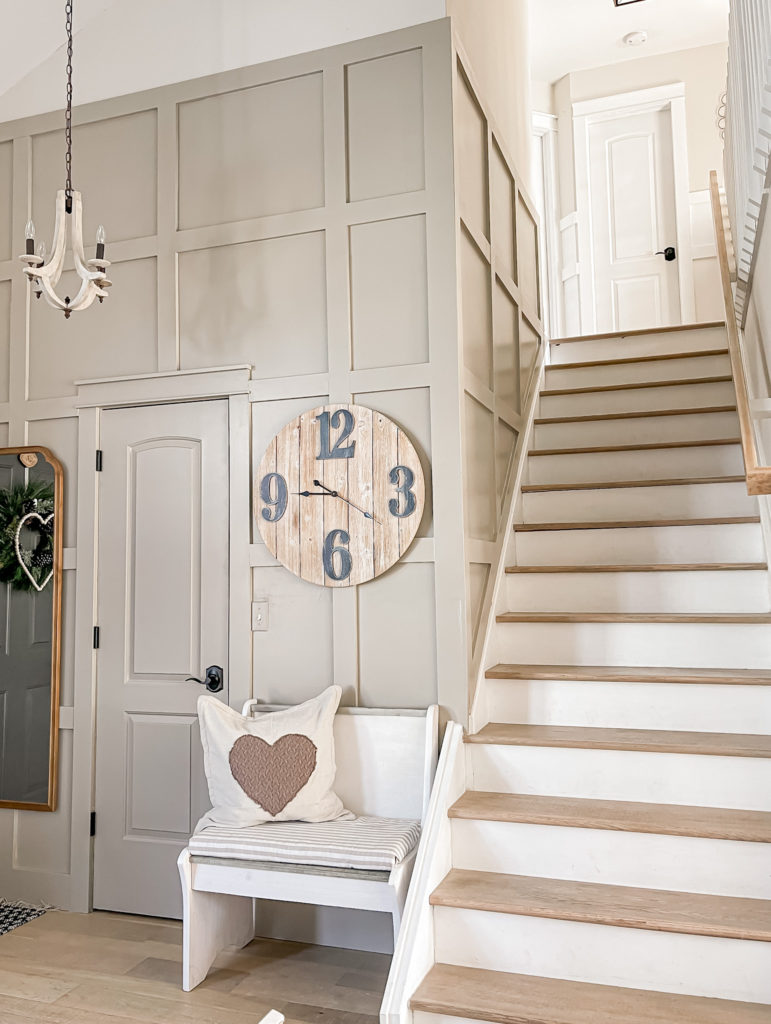
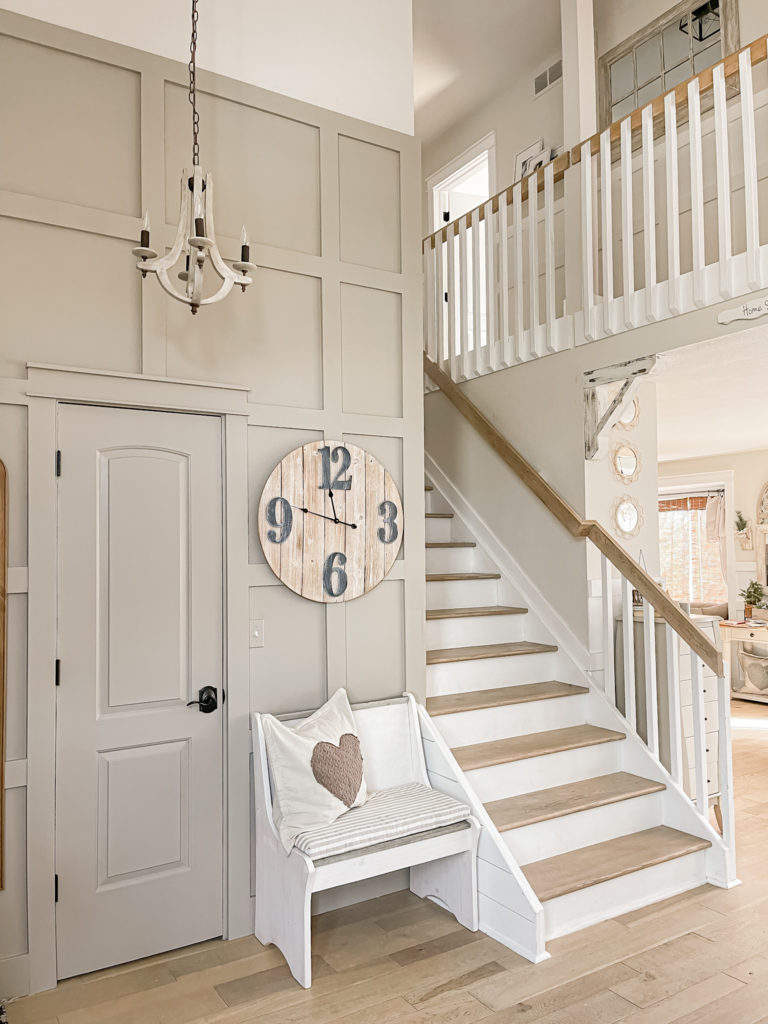
Here is the view coming down the stairs.
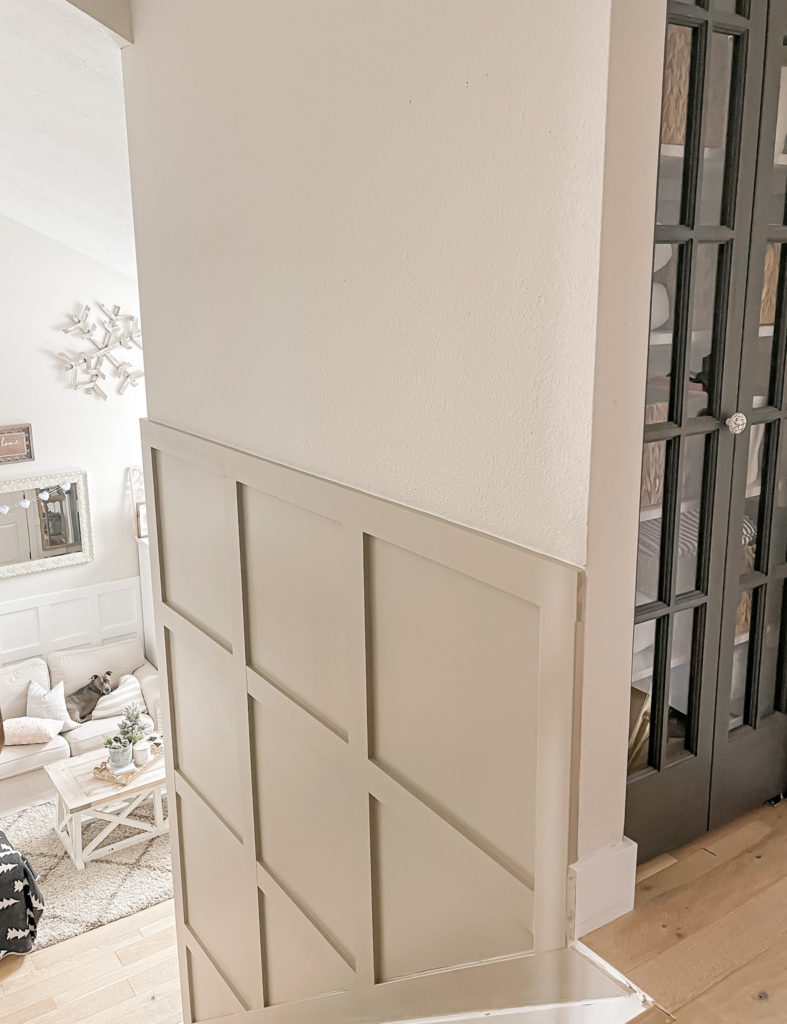
I plan to add a few large photo frames along the top with some picture lights above them, but I was too excited and couldn’t wait for all of that to get this post up!
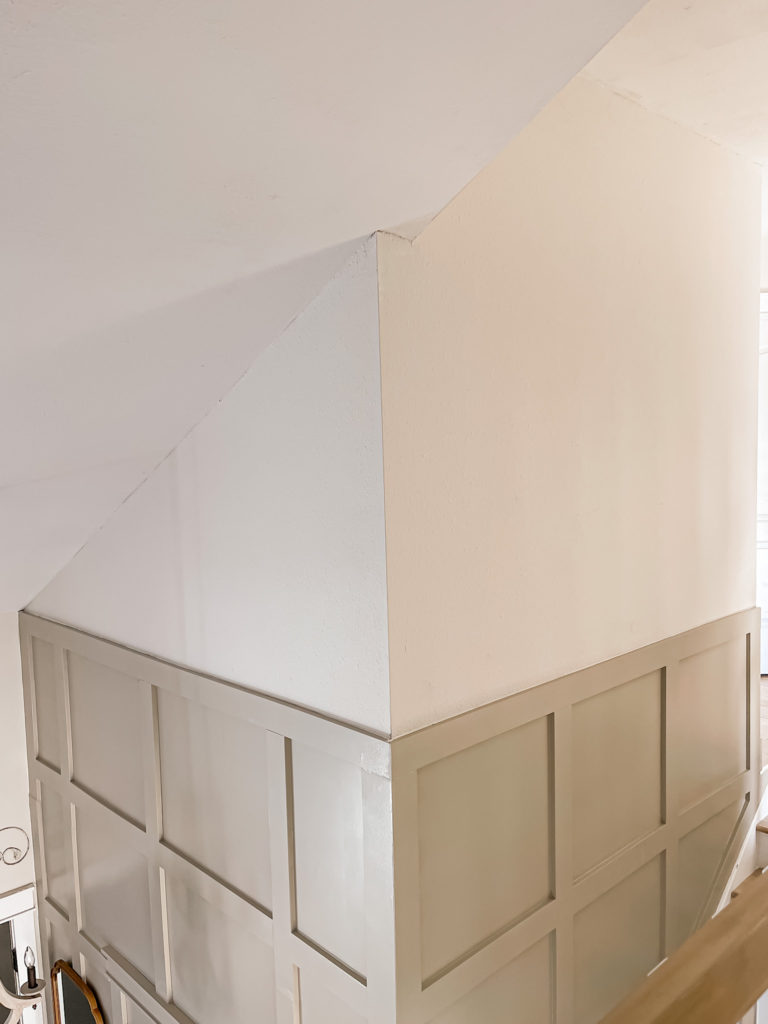
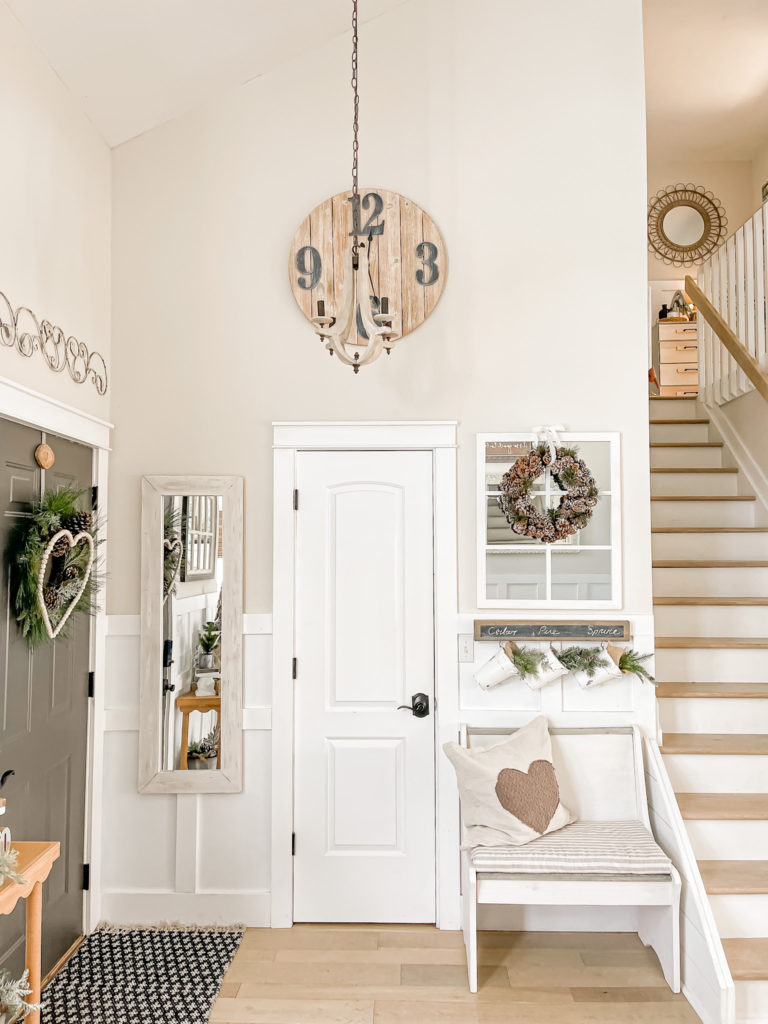
Here is a quick peek back at the old view…
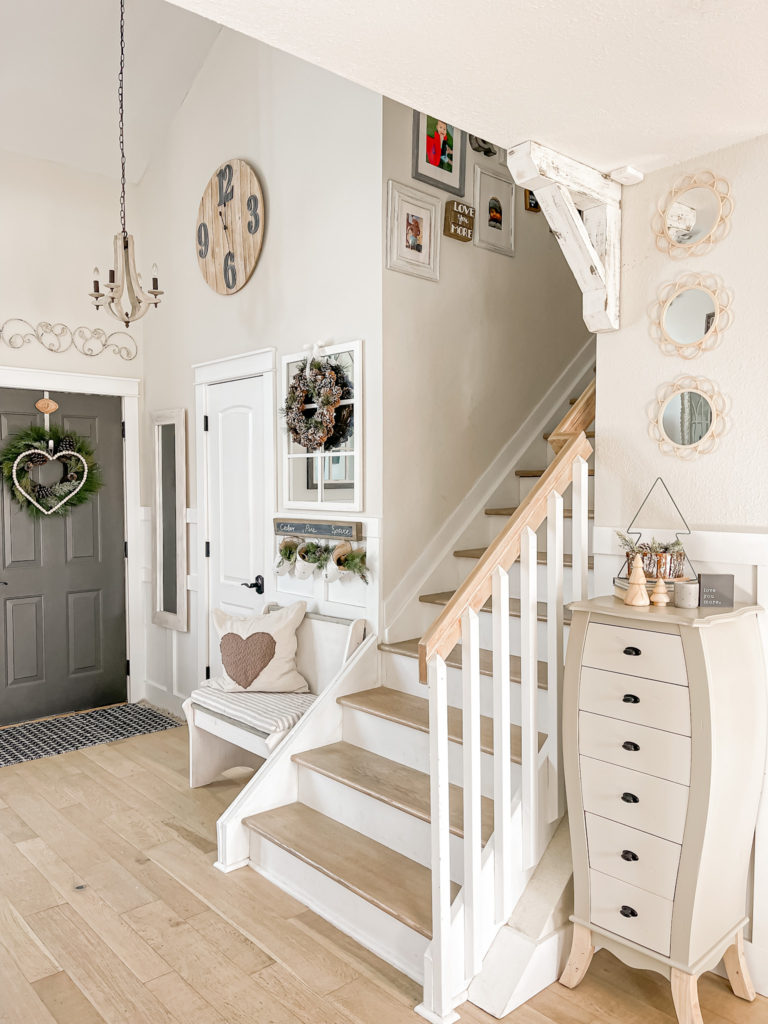
compared to today!
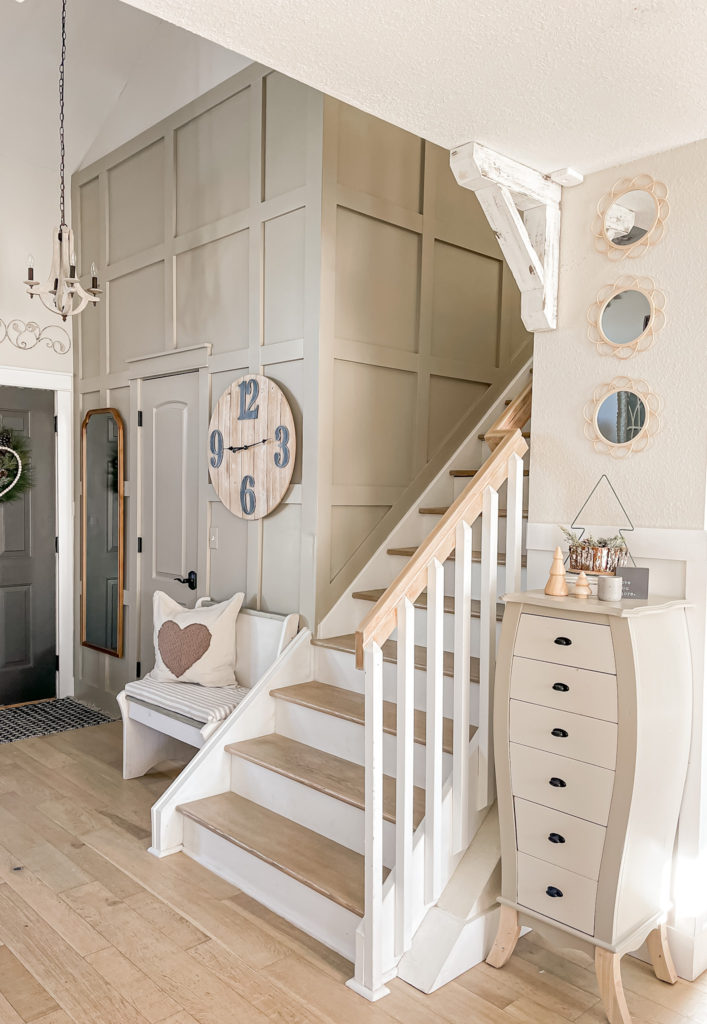
So much better and like it was always supposed to look like this.
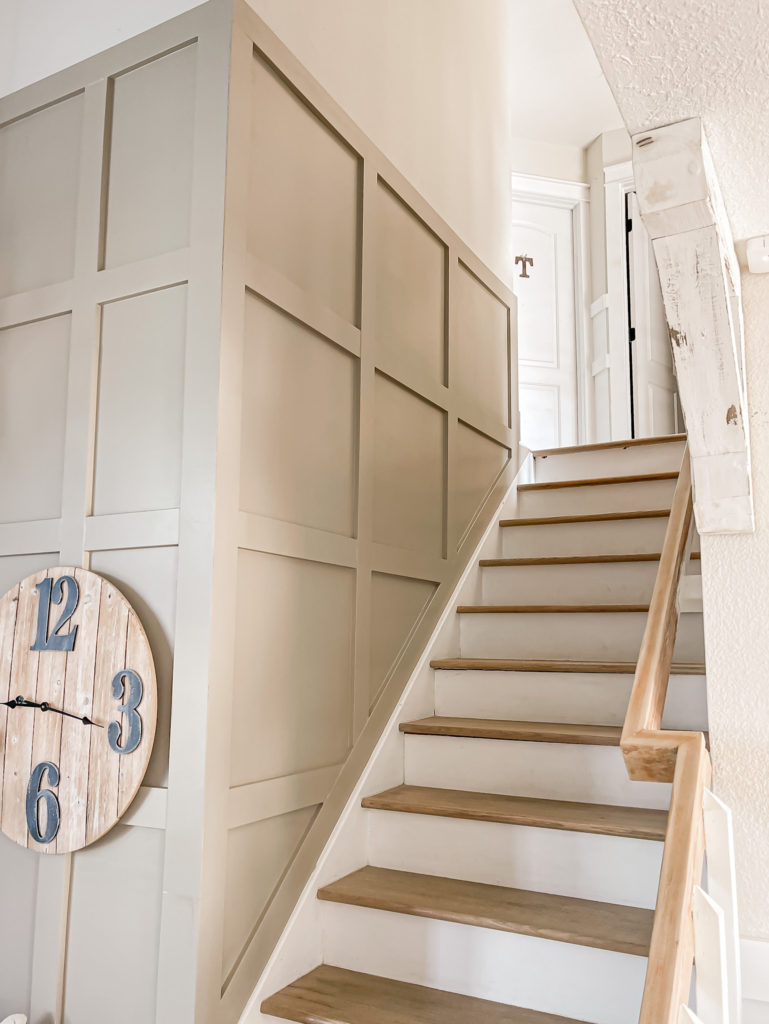
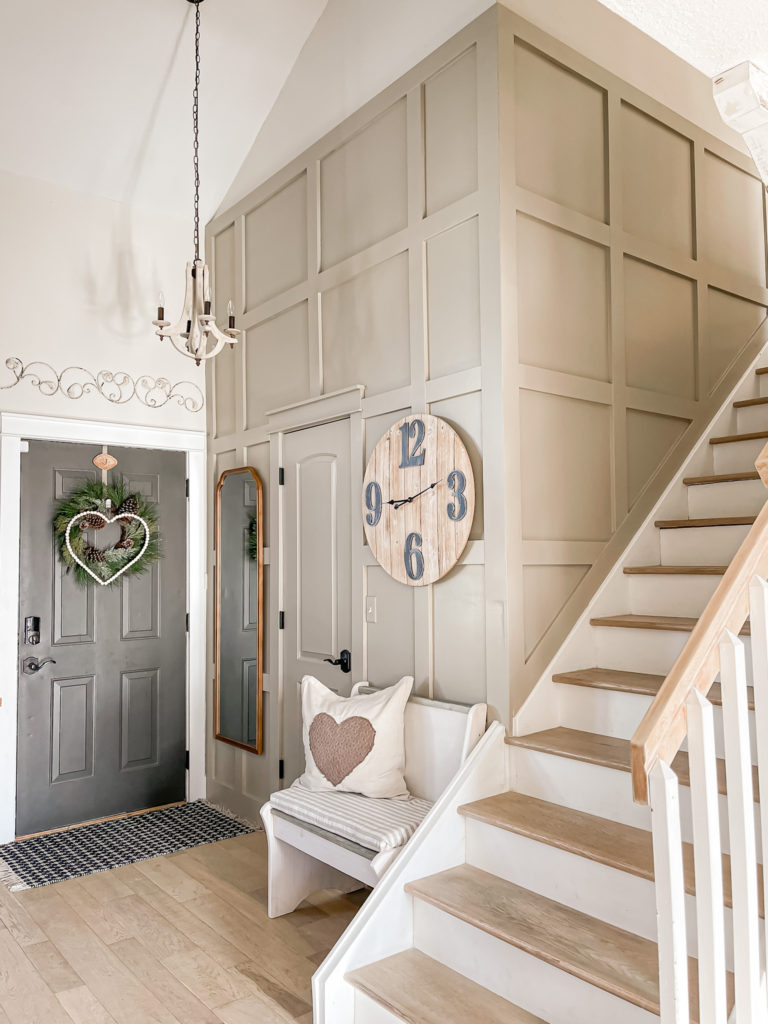
I hope you guys have a fantastic rest of the week!
SHOP THE POST
Linking up to these awesome parties
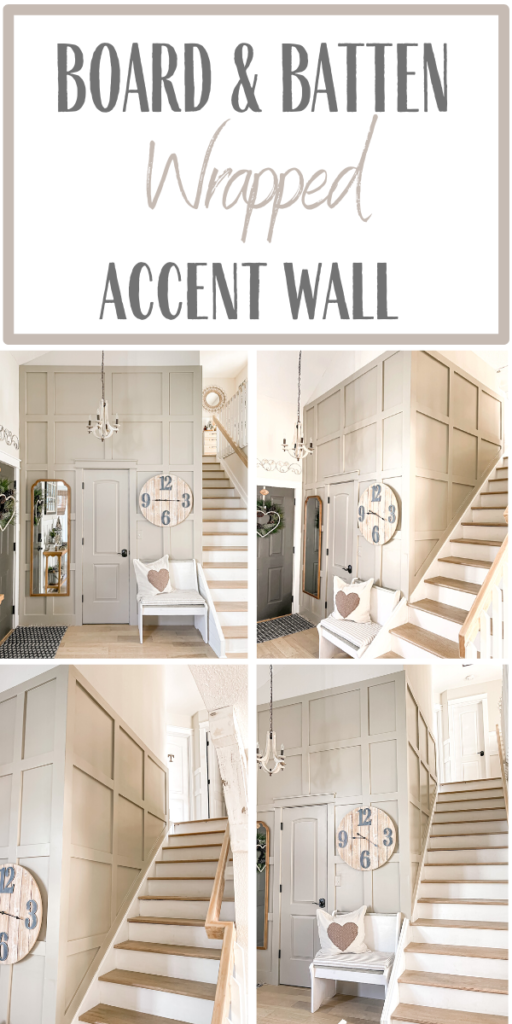
PIN FOR LATER

Hi Angela, your board and batten accent wall is totally gorgeous. You all did a fabulous job. Lots of work and math!!! I’m sharing this post Monday evening at All About Home. Thanks so much for coming by and sharing all the fun!
Your house looks awesome. Great job you two………
What a lovely change for your home.
Blessings,
Nellie
Thank you very much!! 🙂
Wow Angela you have been super busy! This came out so good. This is a big project, but it was so worth it! I really like the color you painted the batten. Now you got me wanting to do the same up my stairs. Pinned my friend! Thanks for sharing on the home imagined link party.
Thank you so much, that means so much! 🙂
Thank you for sharing with us I’ll be featuring you next week when the next To Grandma’s house we go Wednesday link party starts!
Oh thank you so much, I really appreciate that! 🙂
Angela, I am so obsessed with how this came out. Excited to be featuring you tomorrow at the Home Imagined Link party. Congrats! -Meagan