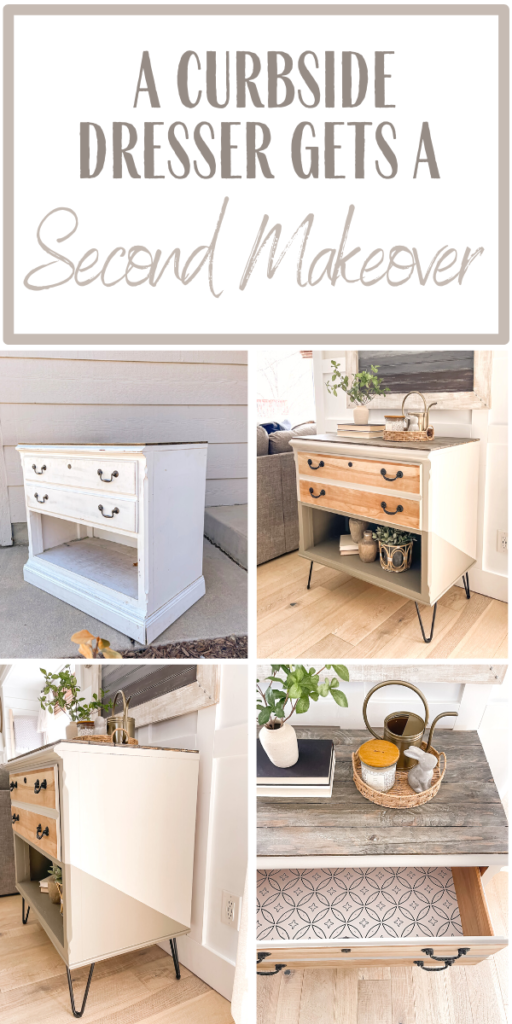
Many years ago I saw this dresser sitting on the curb but when I saw the damage that it had on the side, I kept driving. Later that day, I came home to find it sitting in our garage because Anthony hauled it home to surprise me–not knowing that I had already passed it up haha!
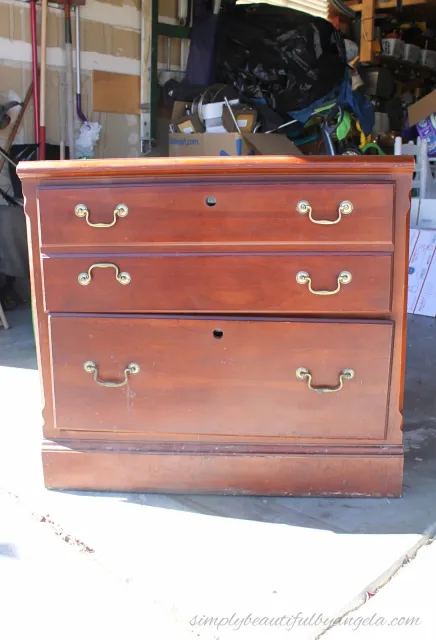
It was in the beginning of my furniture flipping days and although I didn’t completely know what I was doing, I took on the challenge and gave it my all to create a brand new life for it (old post linked here).
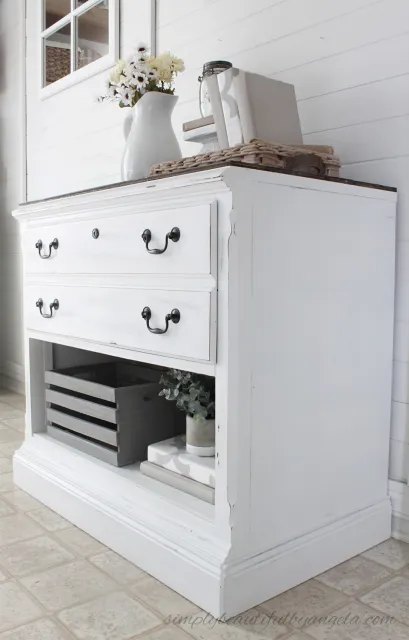
It held up well for awhile at our old house, but by the time we moved to our current house it was starting to fall apart and was eventually banished to the basement.
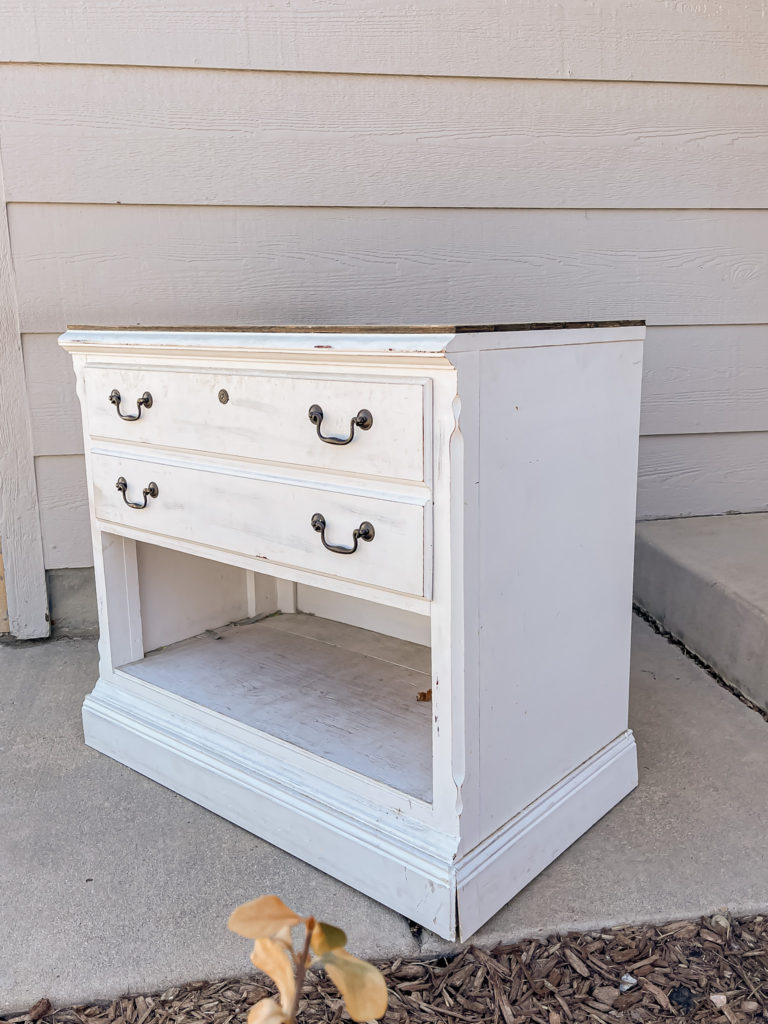
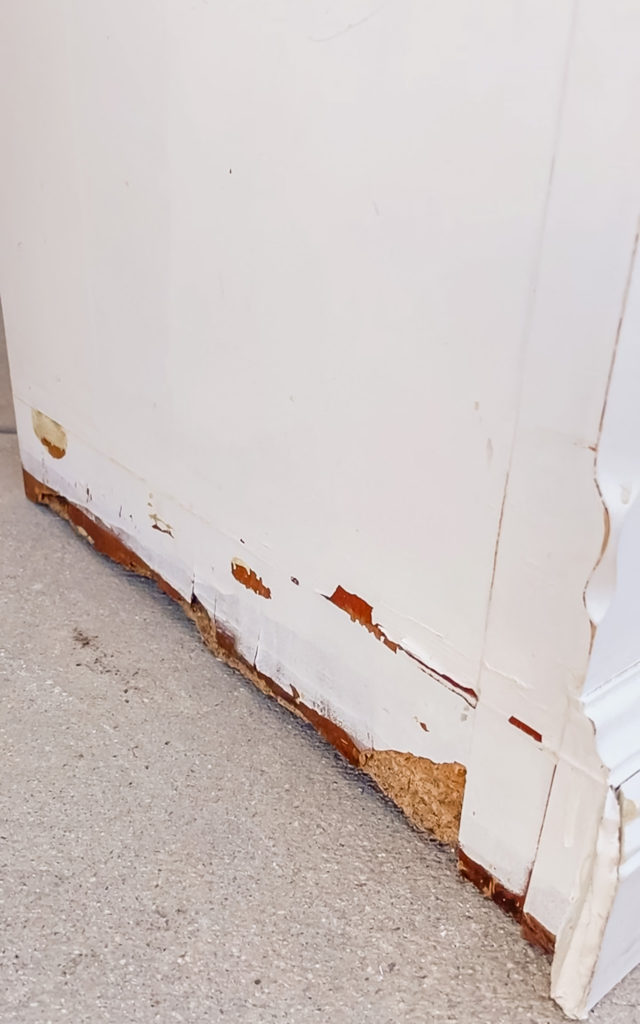
The damaged side that I had simply covered up with trim was completely exposed since the trim had fallen completely off.
It was time to give this guy a second (or third??) chance!
Supplies Used:(Affiliate links may be provided for convenience. For more info, see my full disclosure here.)
- Sander
- Jigsaw
- Paint Sprayer
- Frogtape
- Bleach
- Spackle
- Caulk
- Ultra Flat Polyacrylic
- Hairpin Legs
- Contact Paper
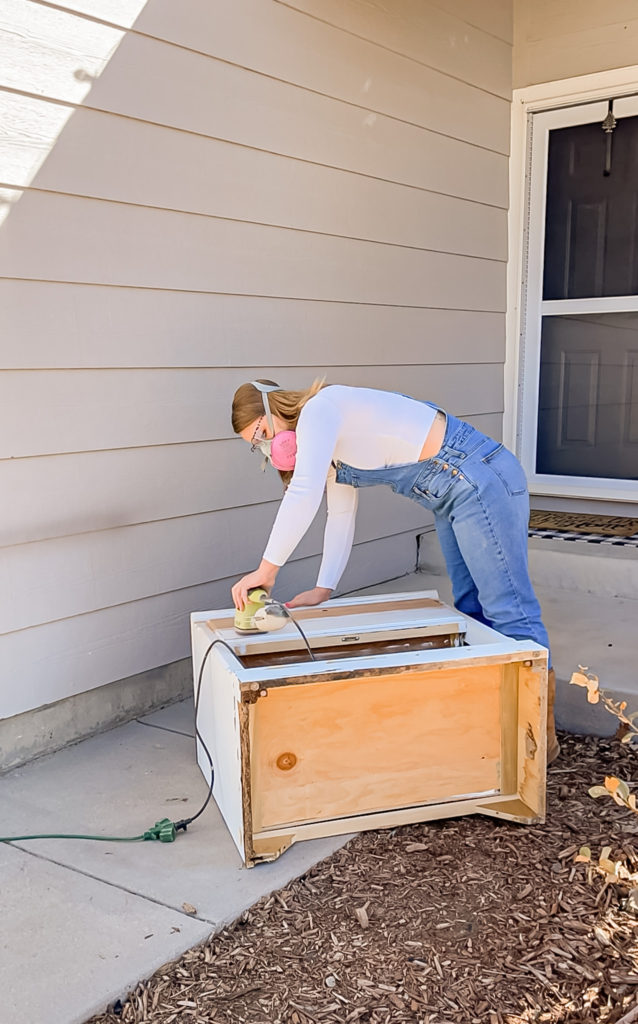
I started by sanding the drawer front down to the raw wood and scuff sanding the rest of the dresser.
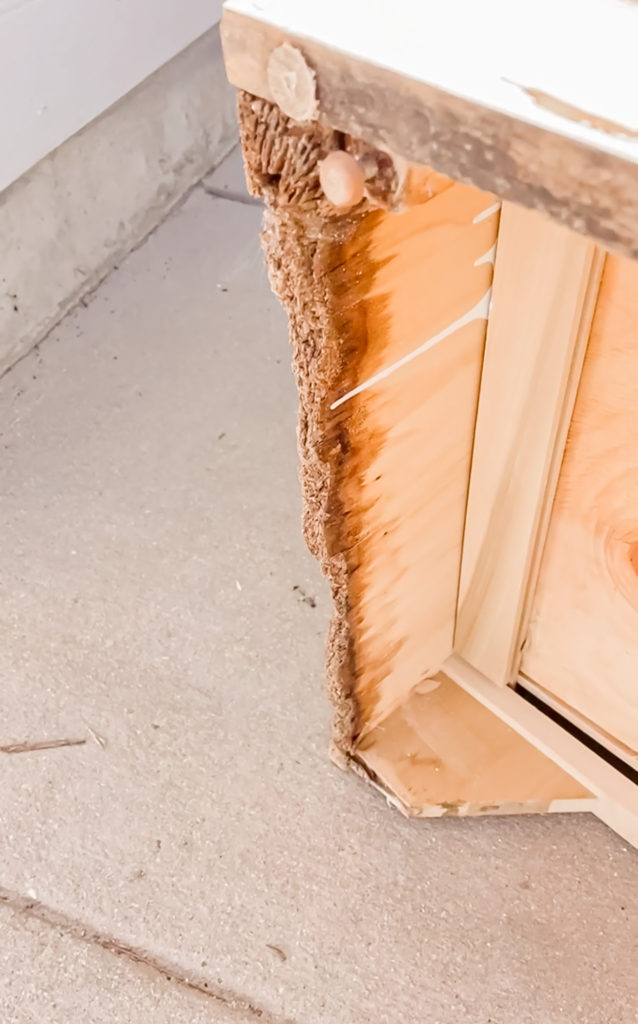
Originally I thought that the damaged side was just torn up MDF, however when I flipped it on it’s side, I realized that it was actually water damage–yuck!
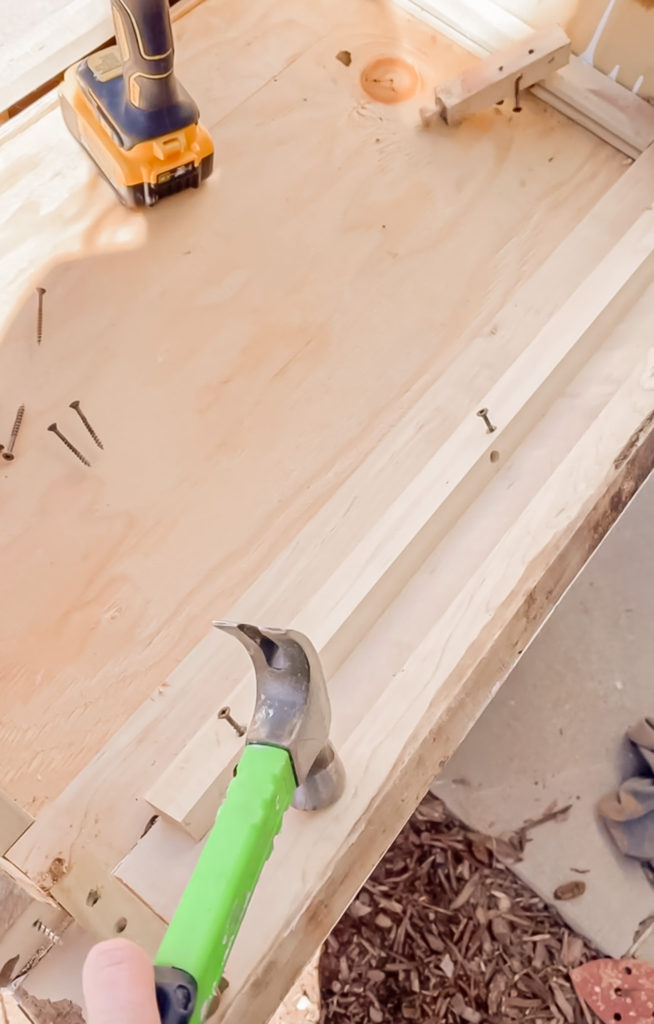
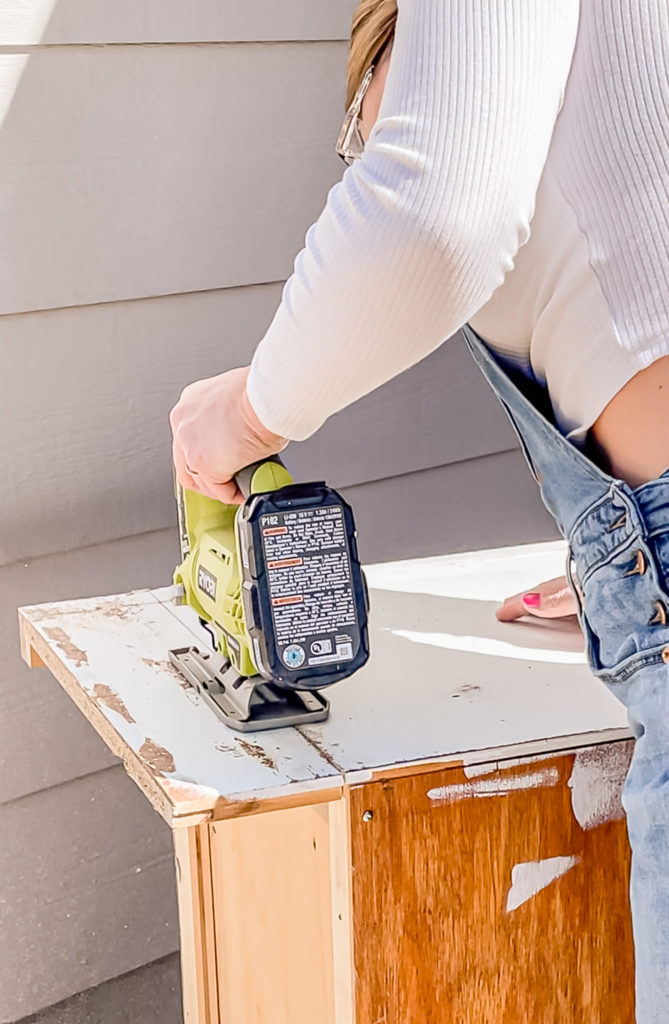
Rather than just using bondo to reshape it like I had planned, I decided to chop it off. I first unscrewed the pieces that I could and knocked them out with a hammer.
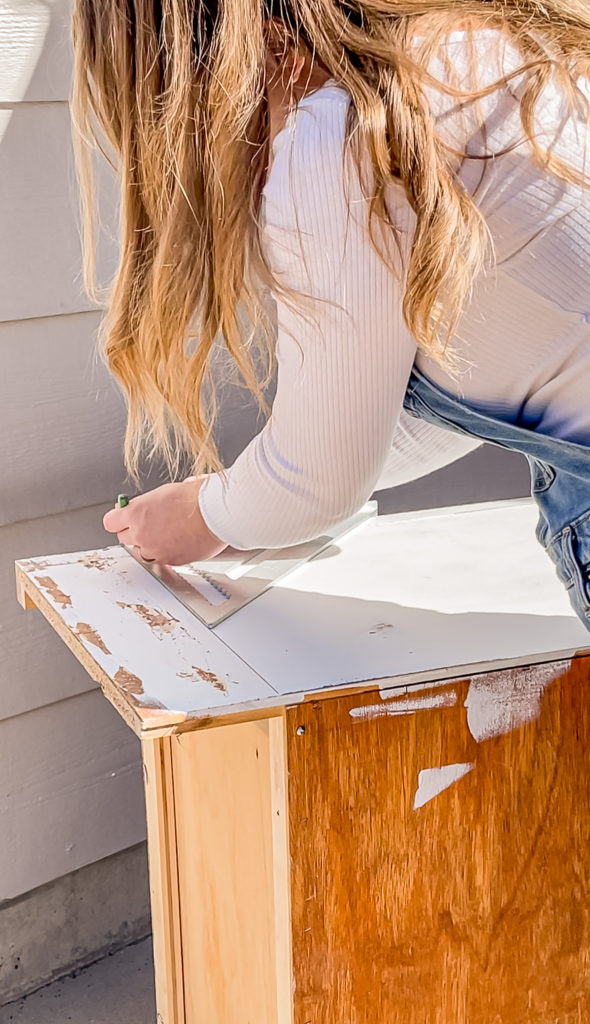
I then used a speed square to draw a nice level line to cut, and carefully went over it with the jigsaw.
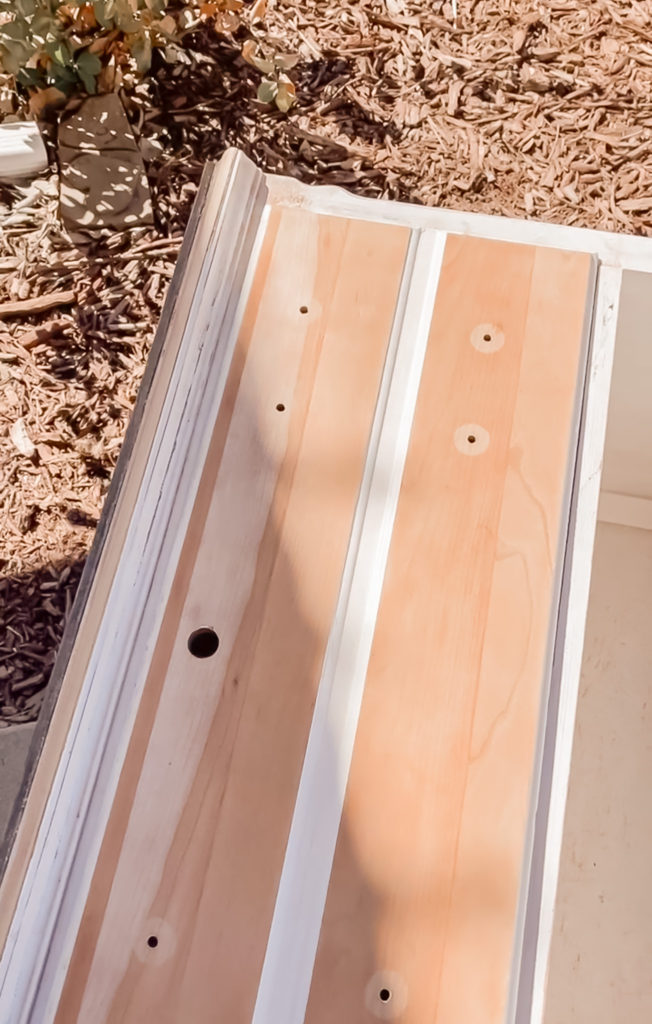
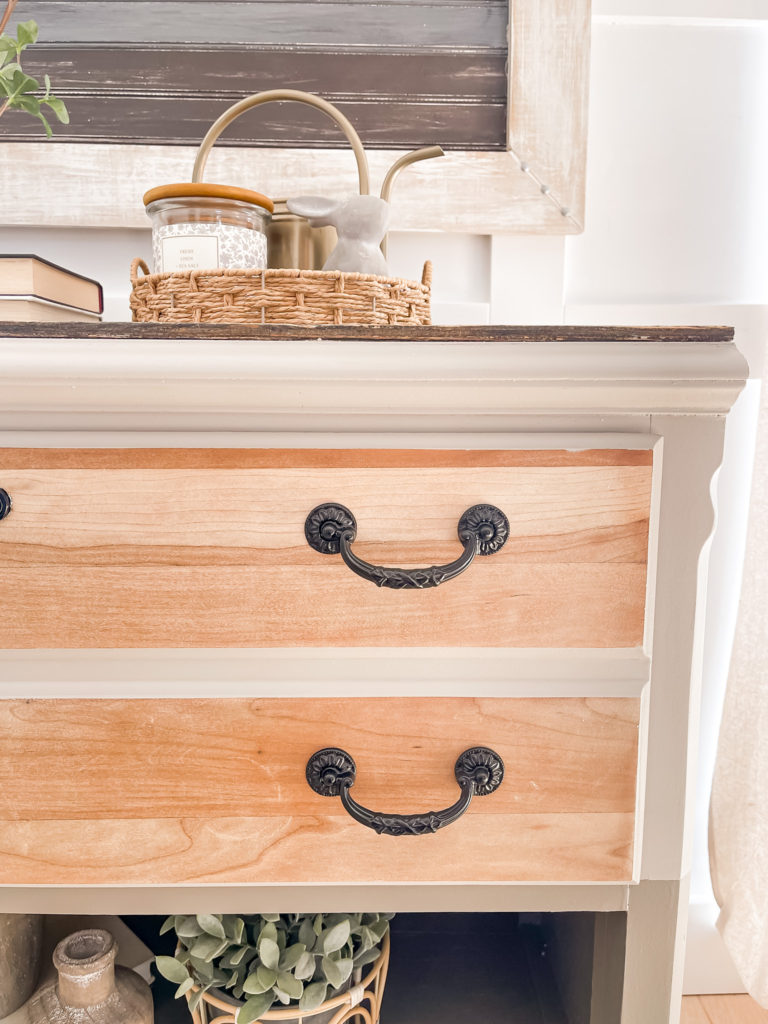
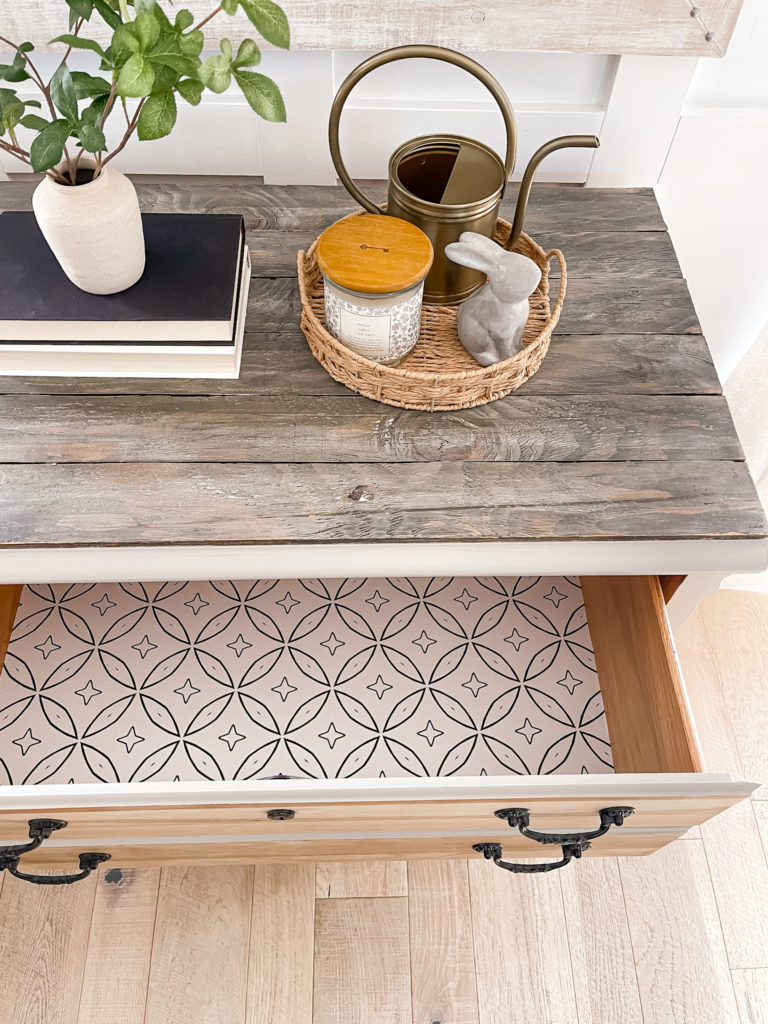
The drawer had a very pretty wood grain on it, however it was quite red toned. To fix this, I simply applied a couple coats of household bleach to lighten it and then finished with a coat of vinegar to neutralize it once the color that I wanted was achieved.
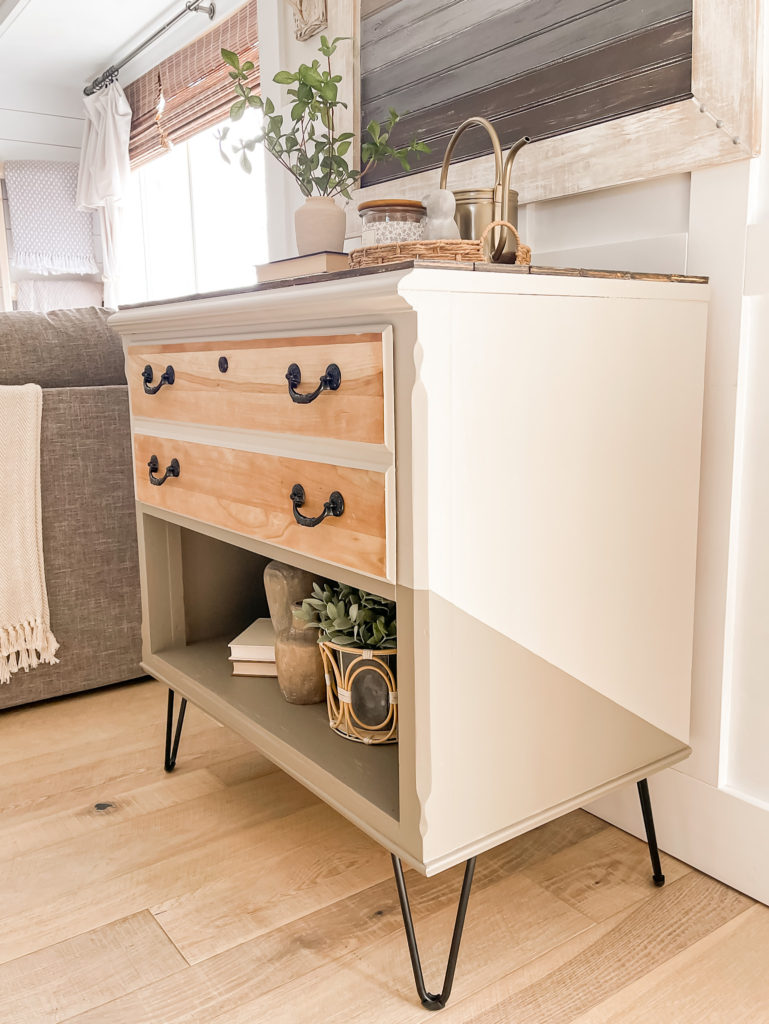
I decided to do something a little different to make it more fun, so I taped off the top at an angle coming straight back off of the drawer.
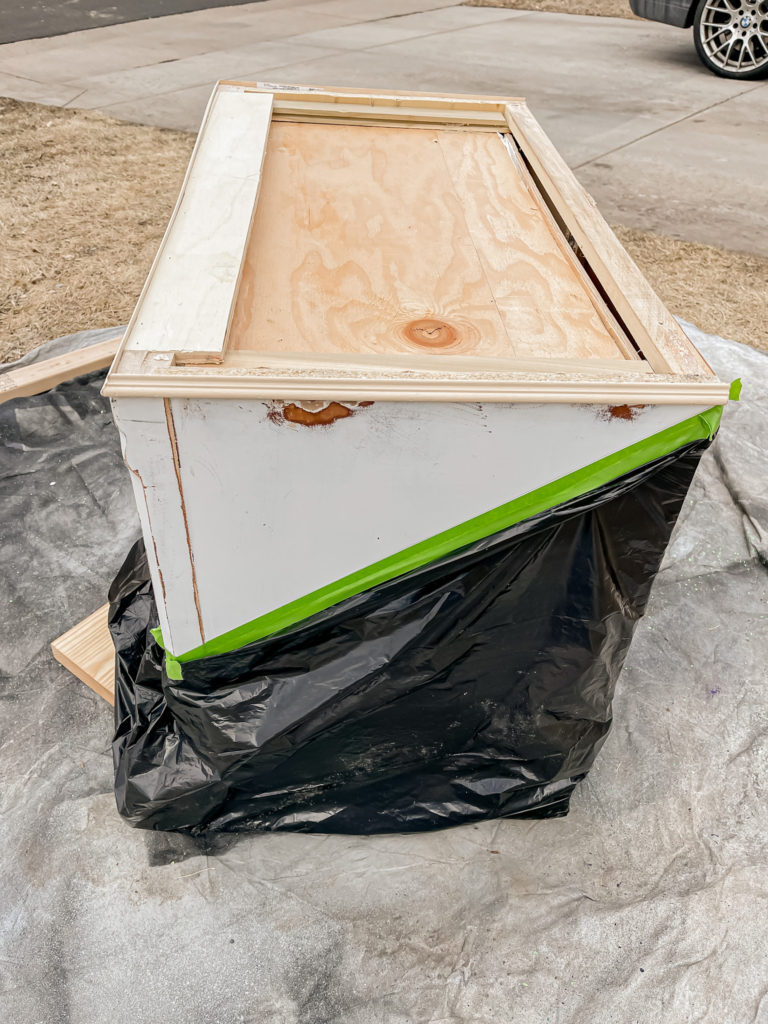
I painted the bottom a deep brown, then lightened it with some white paint to do the top portion.
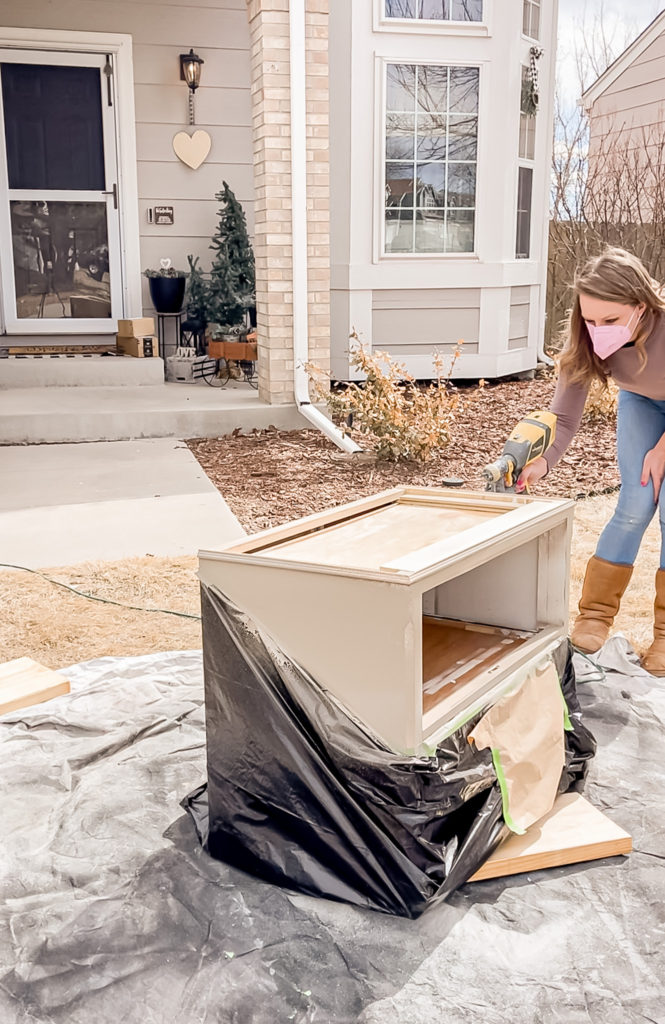
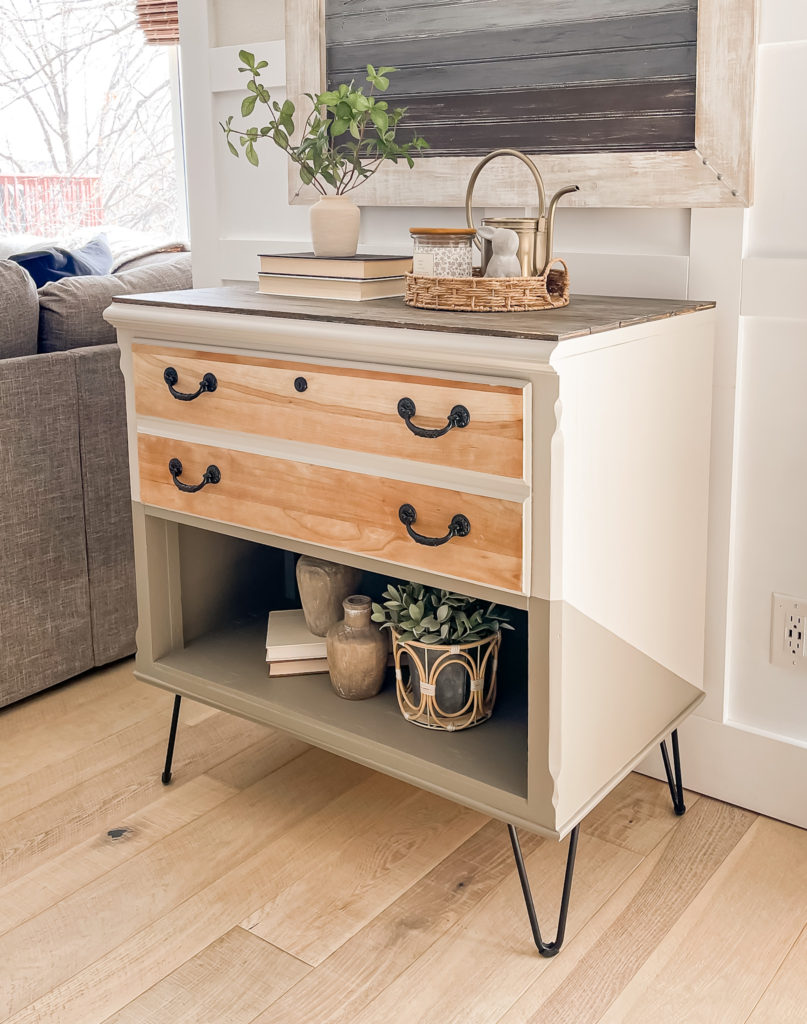
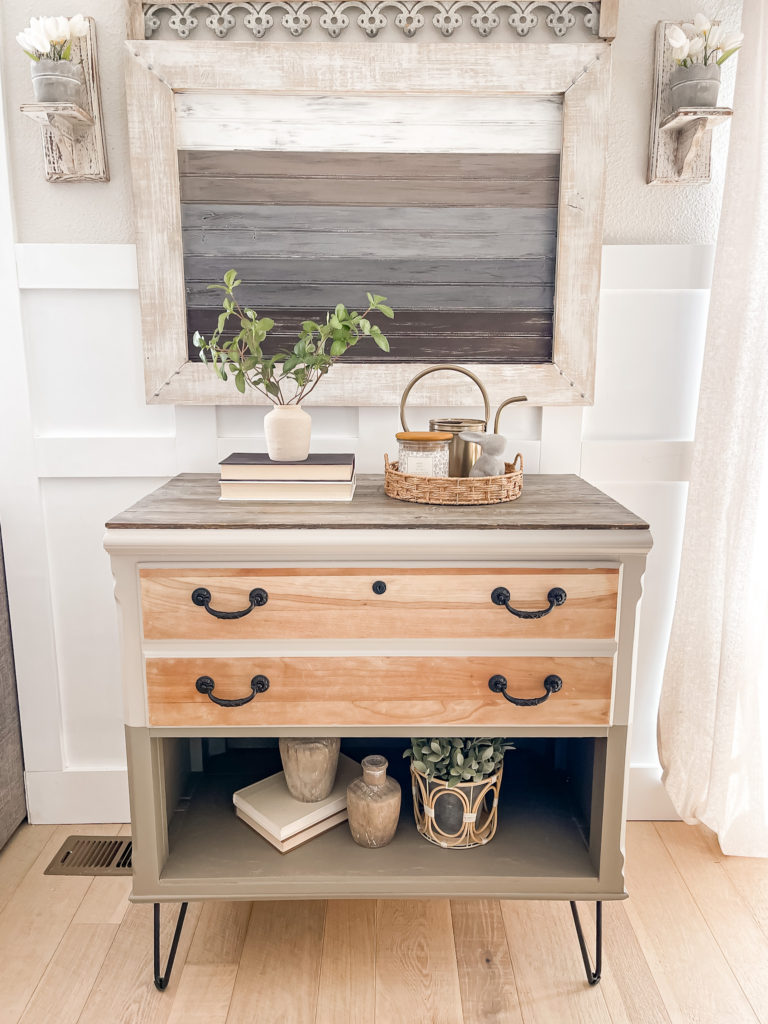
Rather than applying Frogtape to the freshly painted paint and risking peeling, I taped right next to it and then went back and filled in the space with a small brush by hand. I applied two coats of polyacrylic, painted the old hardware, popped on some pretty hairpin legs and this is how it turned out!
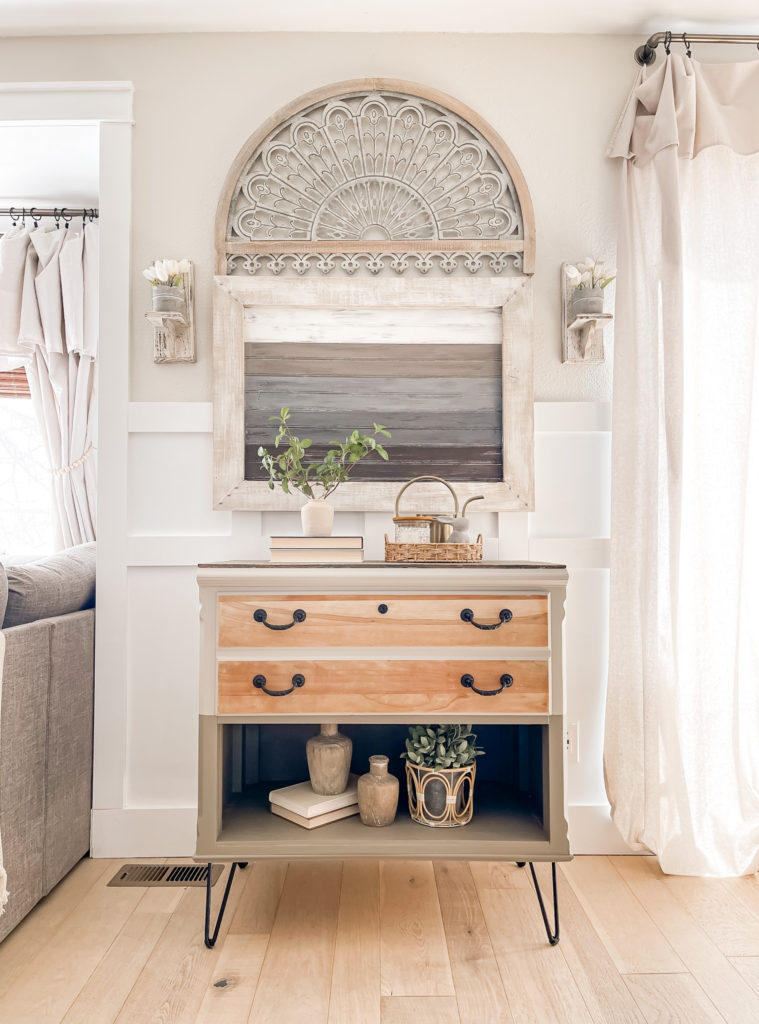
I think that it has such a fun and unusual look!
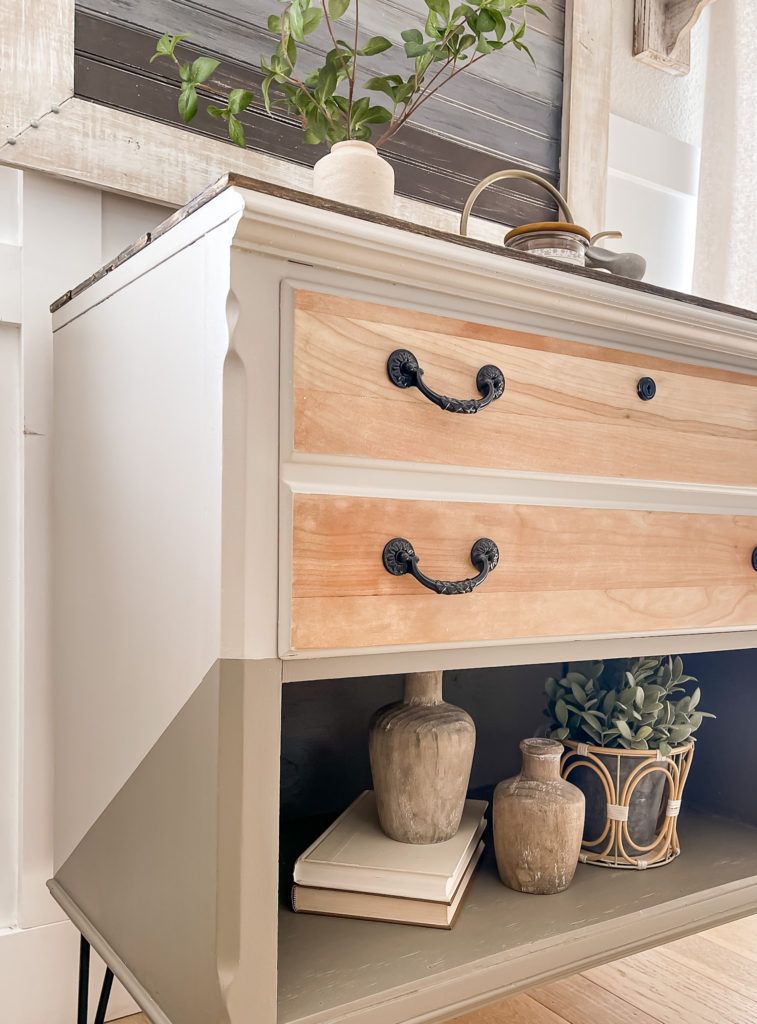
I was worried that the stain on the top wouldn’t go well with the bleached wood on the drawer, but having the two different toned paints makes it all blend together beautifully.

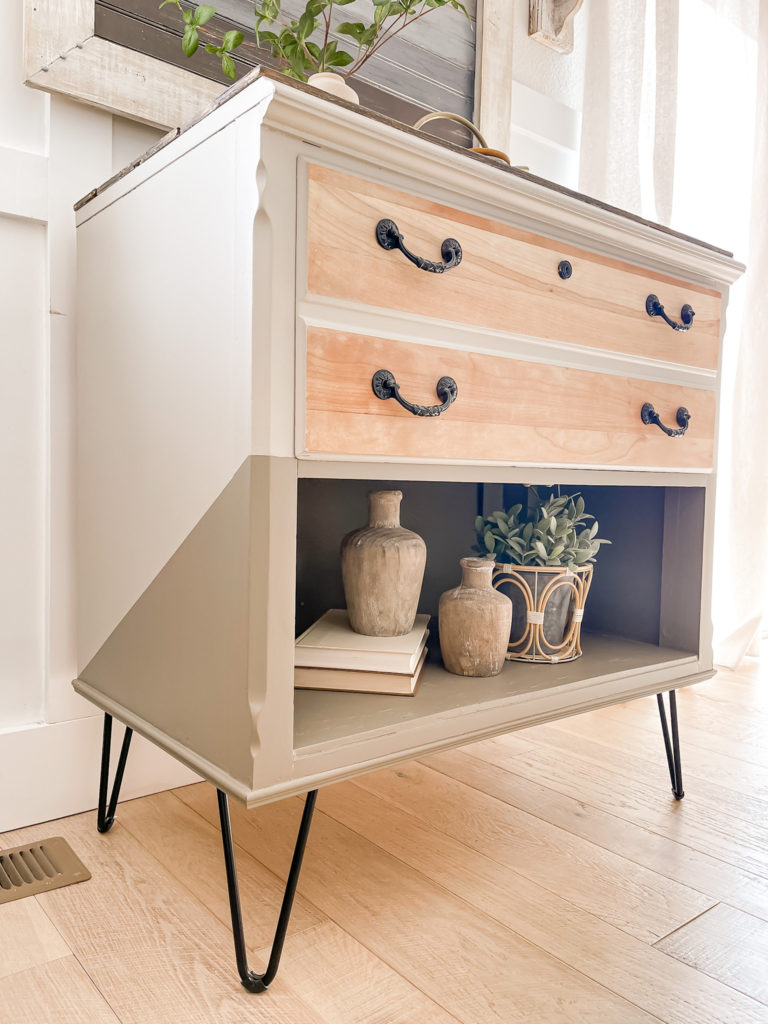
I added some small trim around the base to hide the strip of plywood that I had to add for the legs, but it also adds a nice little flair.

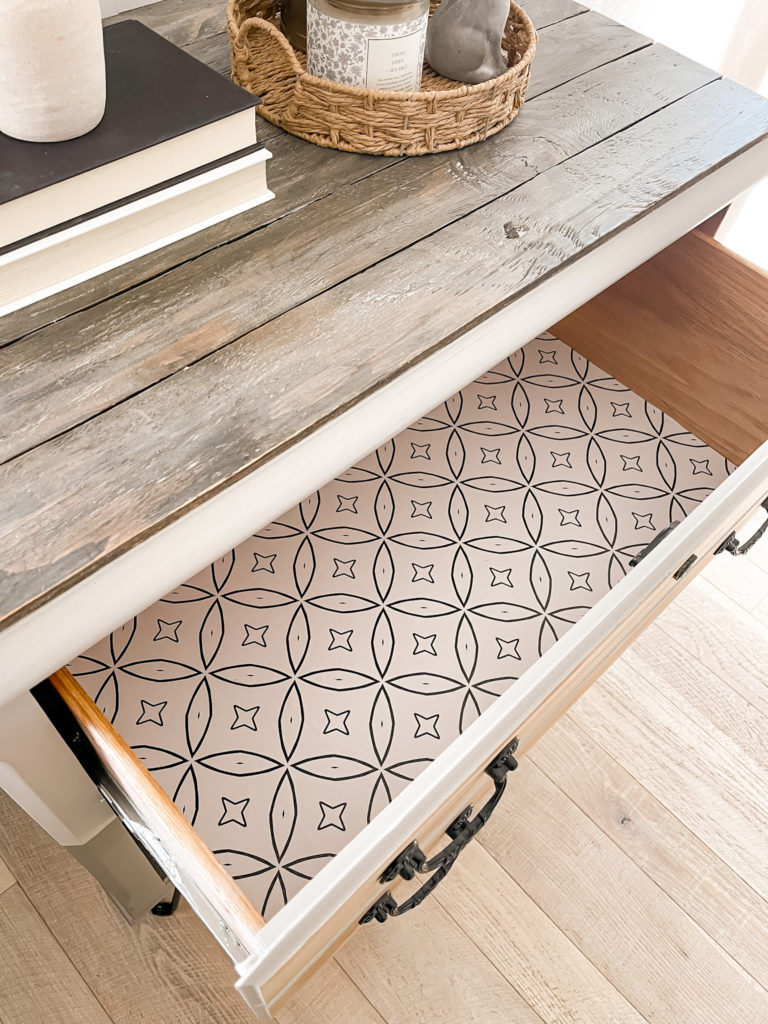
The bottom of the drawer also got some pretty contact paper.
It sold the same day that I listed it and the sweet woman that it went to even sent me pictures of it styled in her home which I absolutely loved!
I have one more dresser flip to share with you guys this week so stay tuned!
PIN FOR LATER!
Affiliate links may be provided for convenience. For more info, see my full disclosure here.)
Linking up to these awesome parties
I love how the dresser came out. I miss having a van so that I could pick up potential finds like this one. You did a wonderful job.