Hello friends! It’s been a while that I’ve been this thankful that it’s Friday–this week was sort of a doozy for us. I wanted to get this post up earlier in the week, but life didn’t allow it so I’m popping in real quick today to share a fun dresser makeover!
Supplies Used:(Affiliate links may be provided for convenience. For more info, see my full disclosure here.)
- Sander
- Nail Gun
- Jigsaw
- Spackle
- Wood Glue
- Miter Saw
- Paint Sprayer
- Enamel Paint
- Ultra Flat Polyacrylic
- Pine Screen Molding
- Frog Tape
- Champagne Gold Knobs
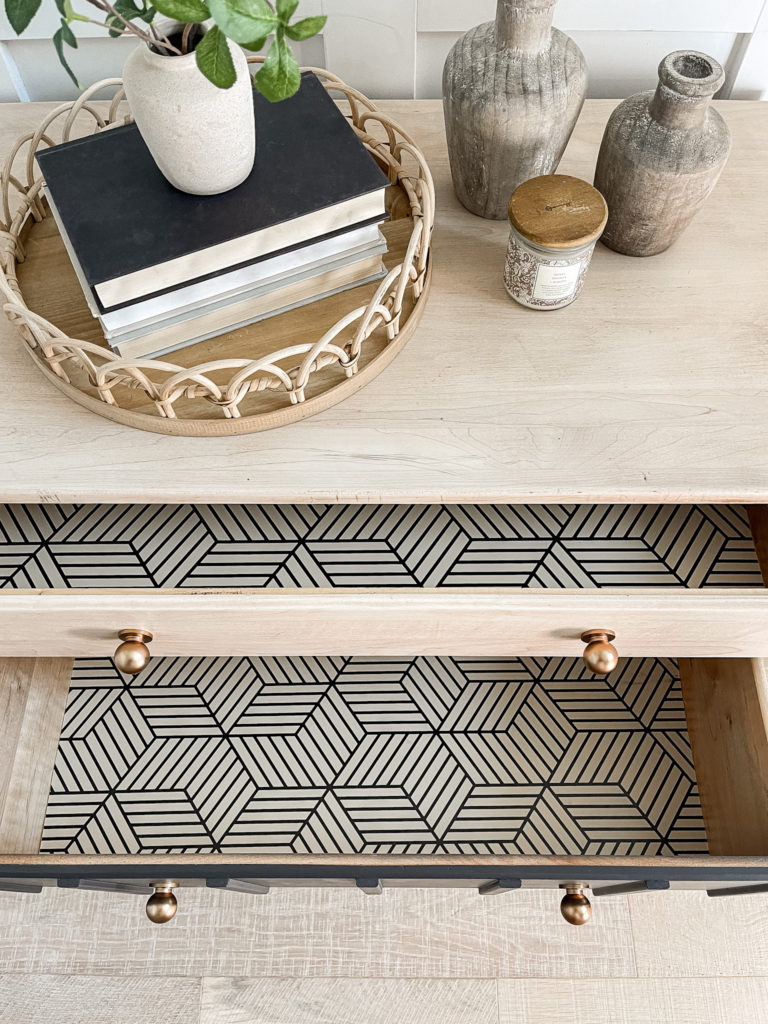
- Contact Paper
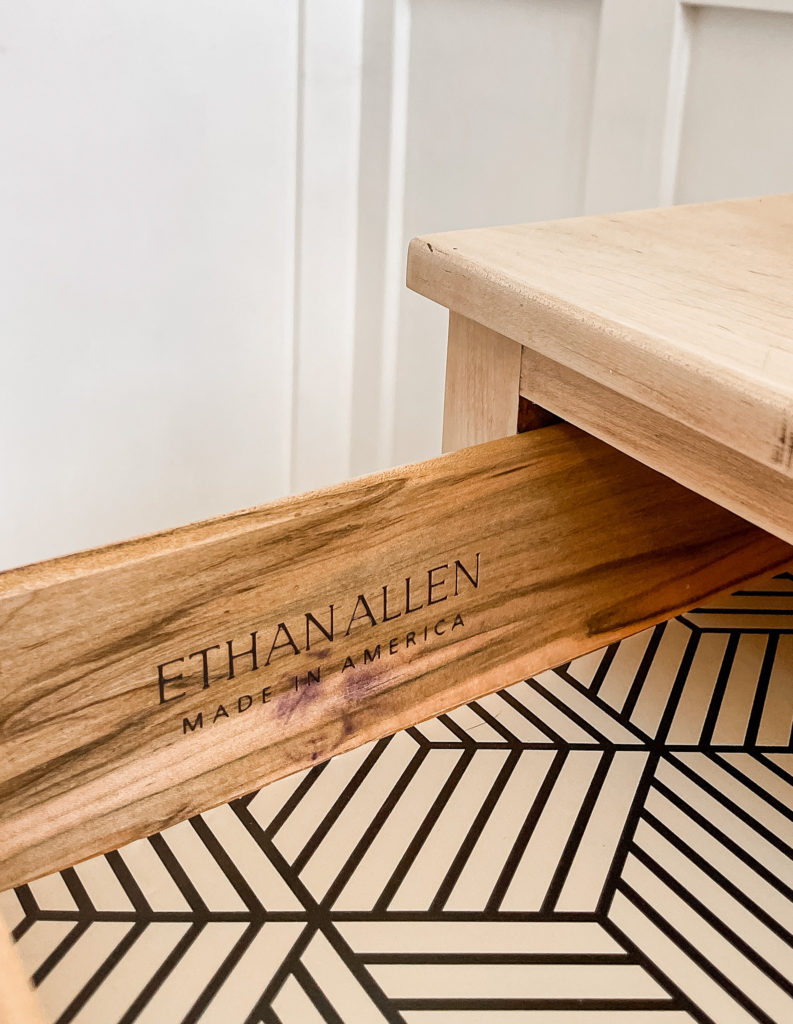
When I first saw this dresser listed on Marketplace, I honestly wasn’t sure if it was real wood or not. I was half expecting to find out that it was laminate based off of the picture online.
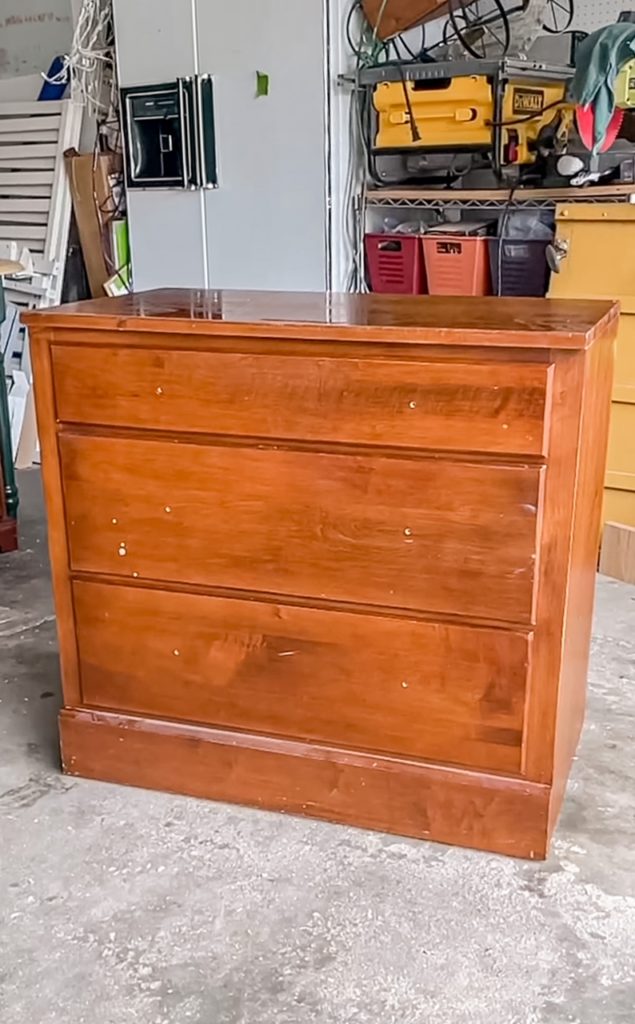
I was pleasantly surprised when the hubby unloaded it at home because I found out that not only was it solid wood–it was Ethan Allen!
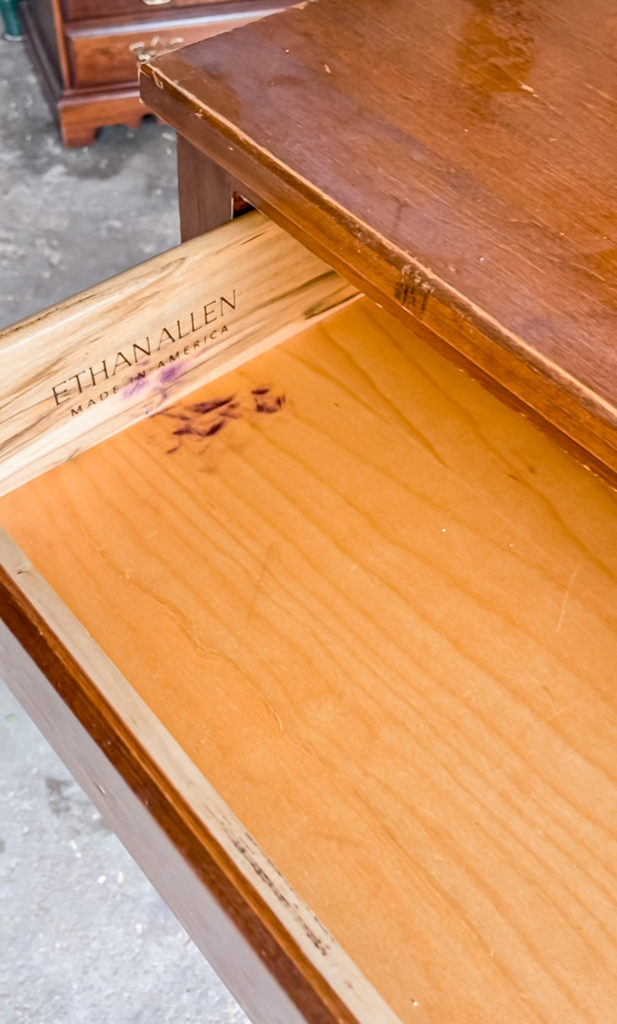
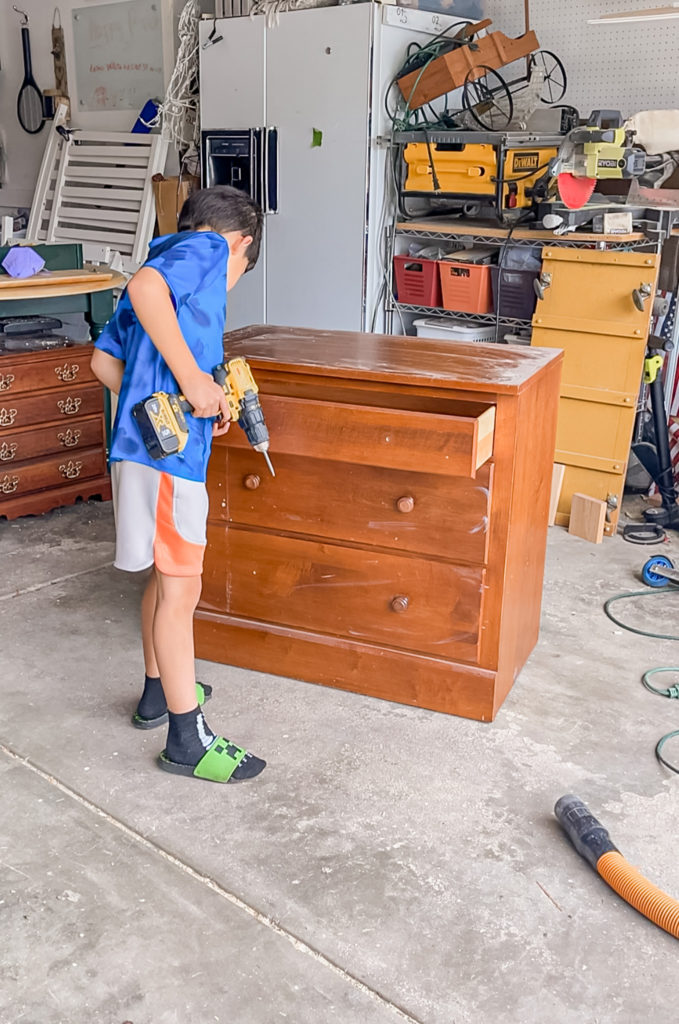
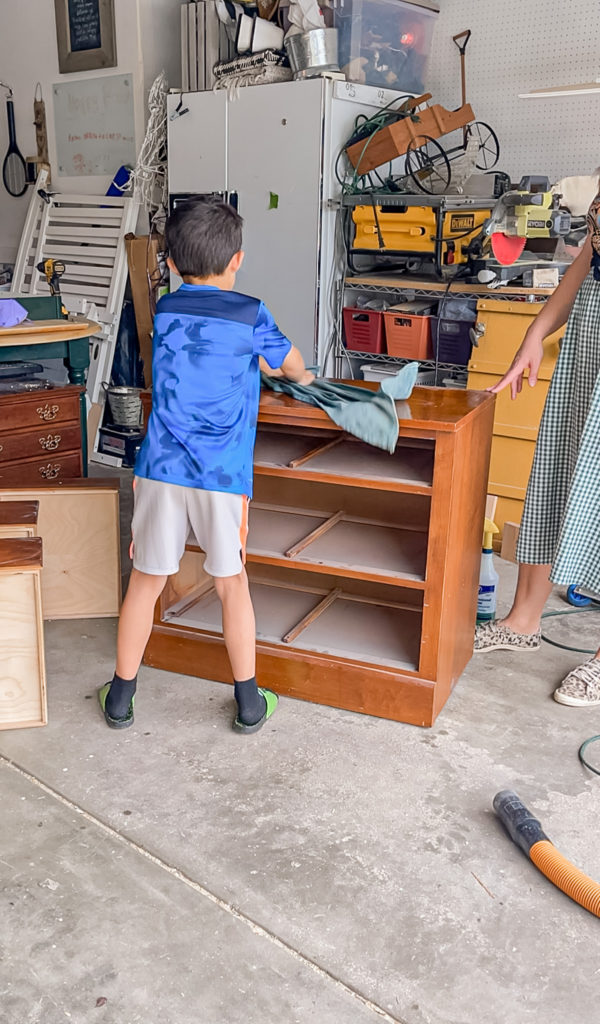
Faaaaancy. It had a lot of wear, but I knew that I could restore it and make it beautiful again. Lucas helped me start prepping it by removing the hardware and wiping it down with Simple Green.
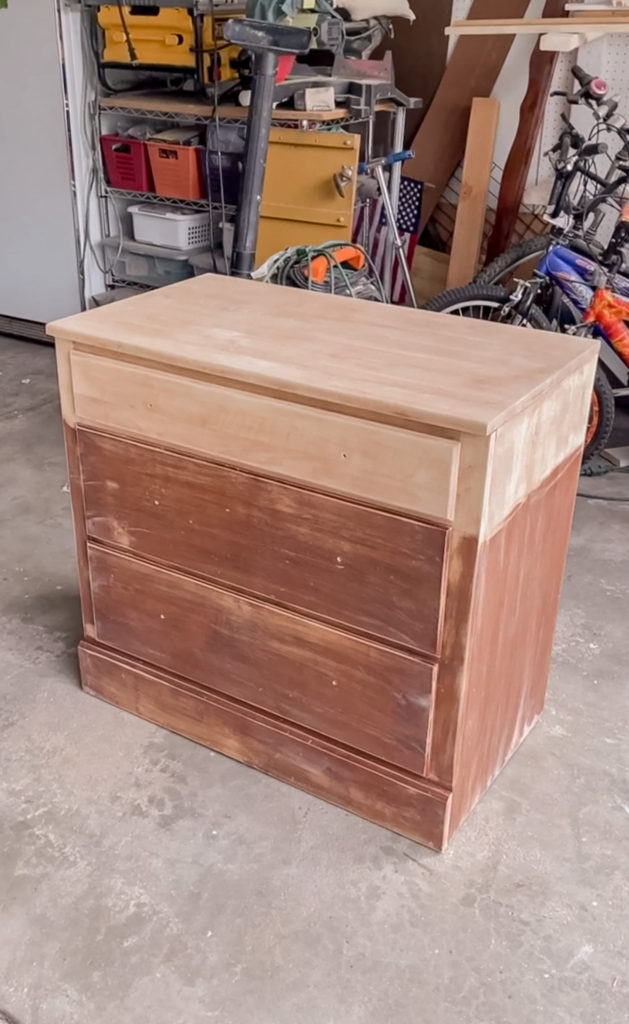
Next I took my electric sander and began sanding the top down to raw wood.
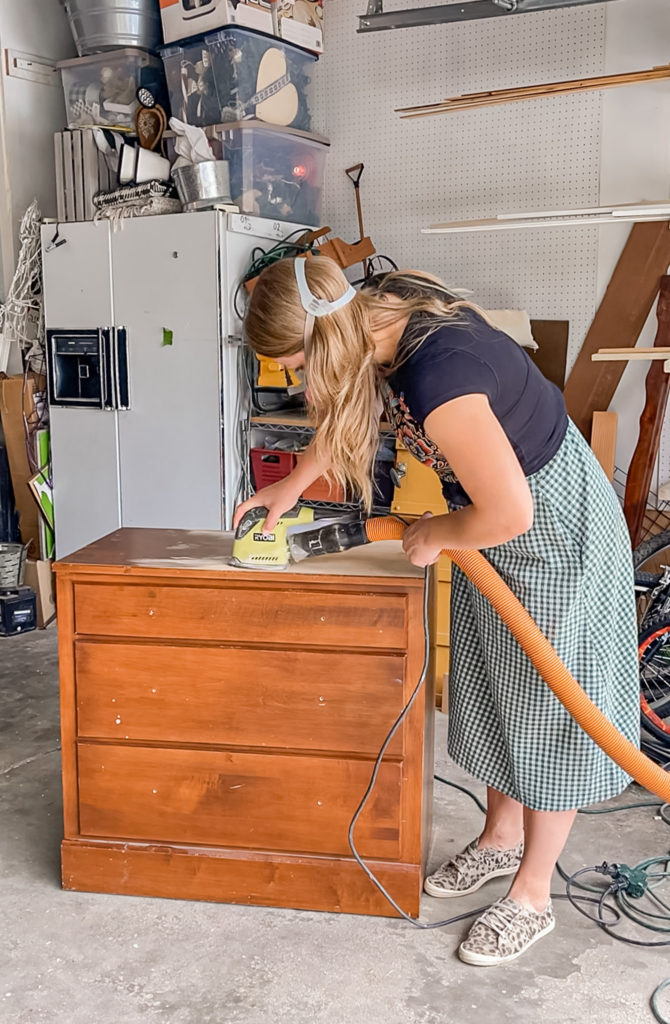
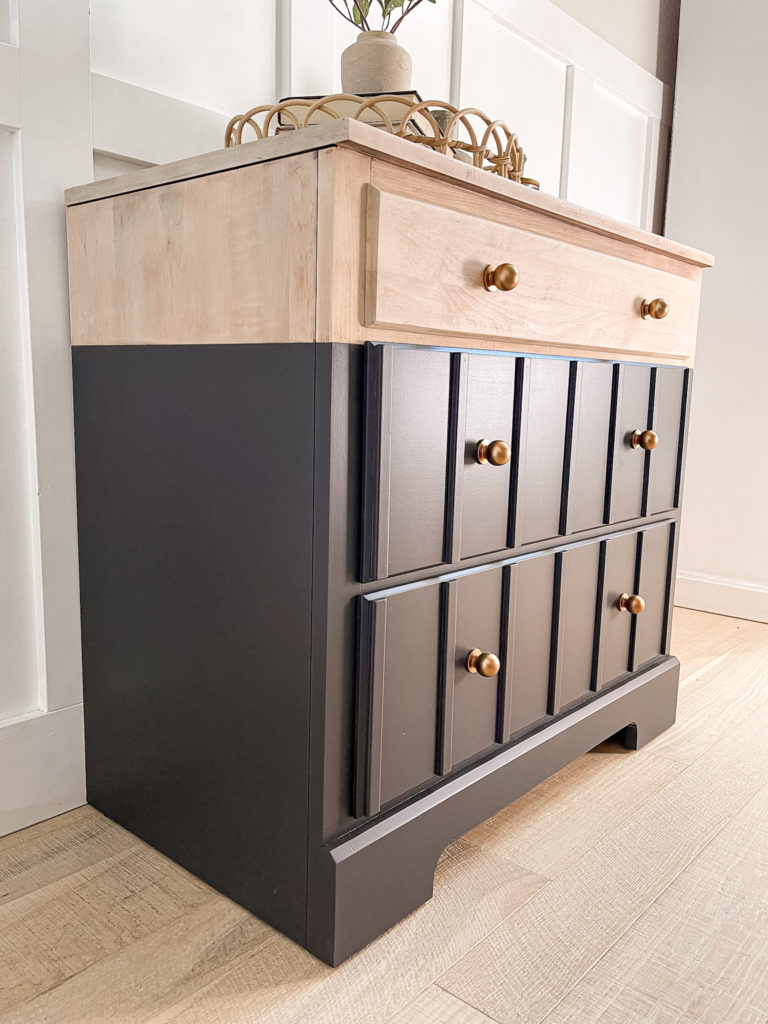
I also decided to sand down the top drawer and sides to create a dipped look. I simply scuff sanded the portion that would be painted to remove the existing shine.
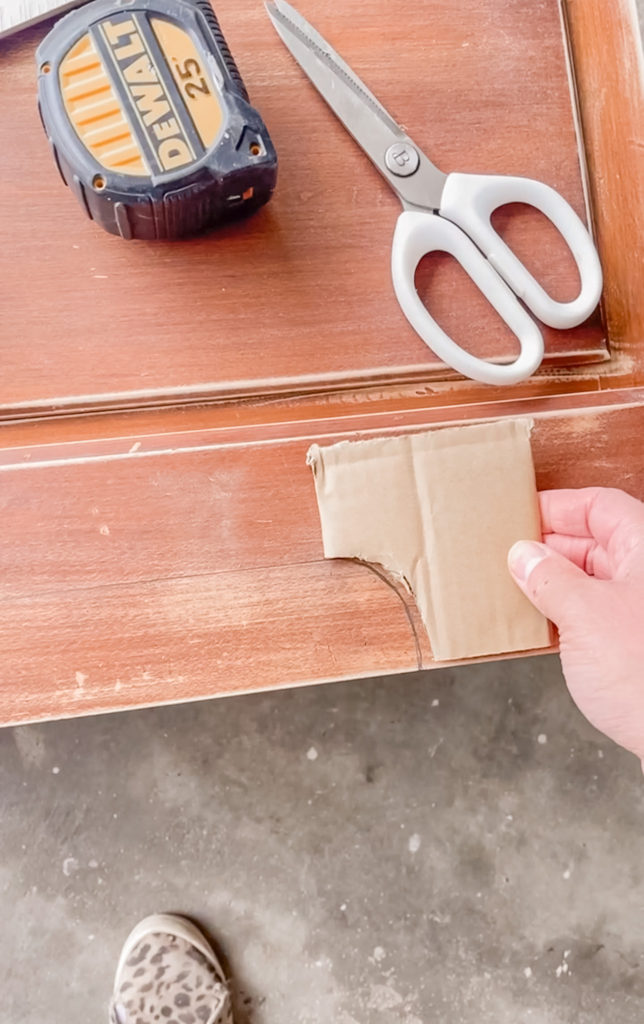
Although I originally contemplated cutting the bottom and adding hairpin legs, I decided that since this was an Ethan Allen piece, I was way too terrified to saw into it too much! I still wanted it to feel a little more elegant, so I used cardboard to draw a template to create a cutout in the bottom trim piece.
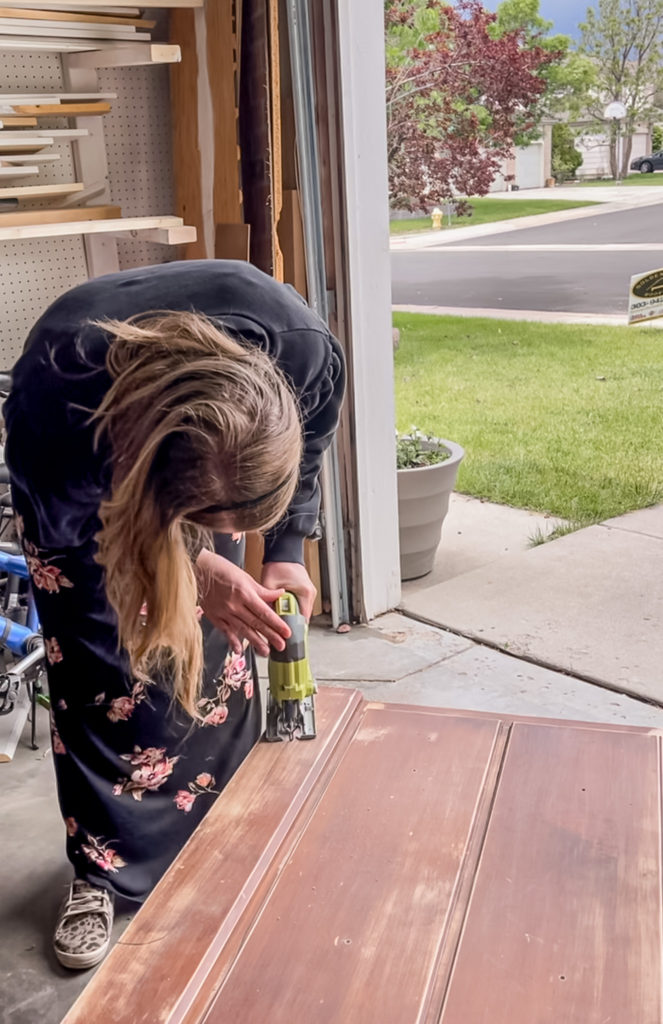
I carefully went over the line that I drew with the jigsaw.
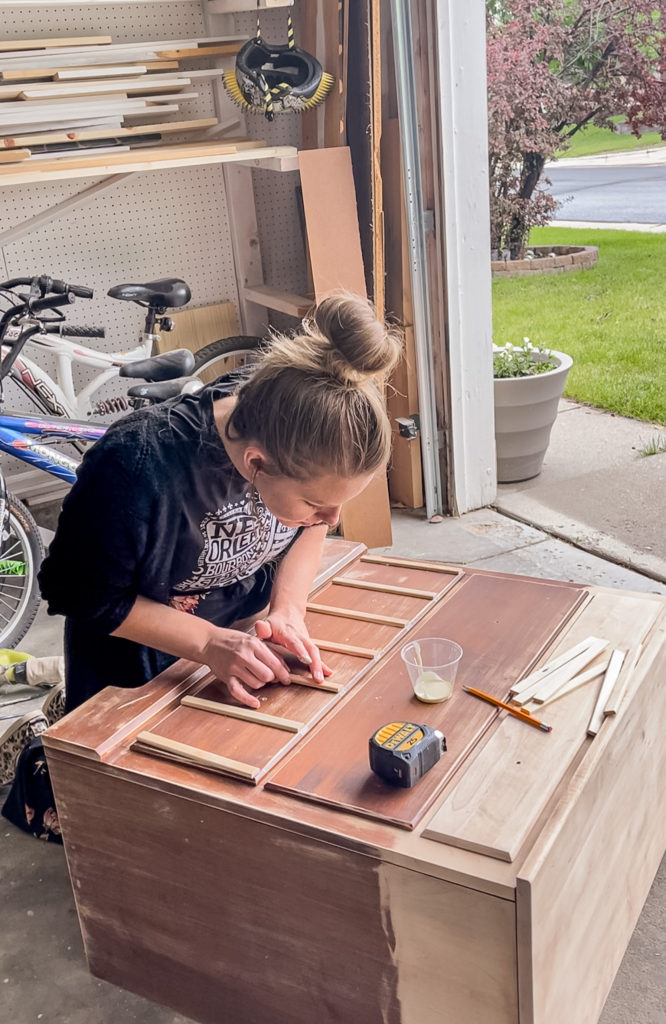
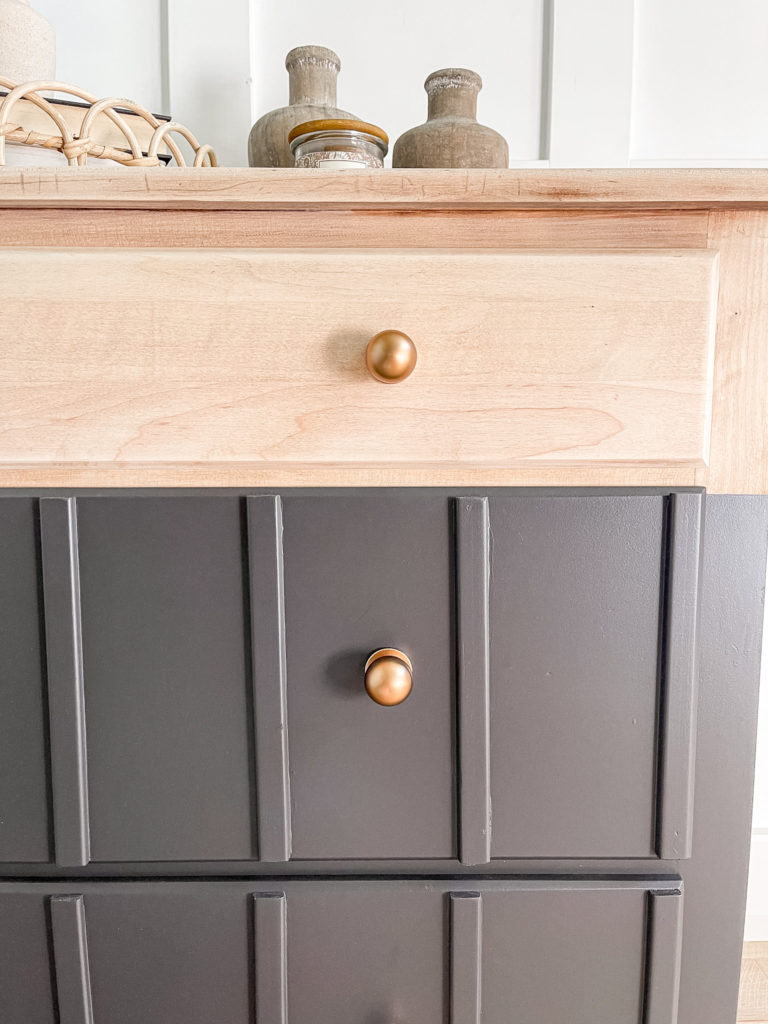
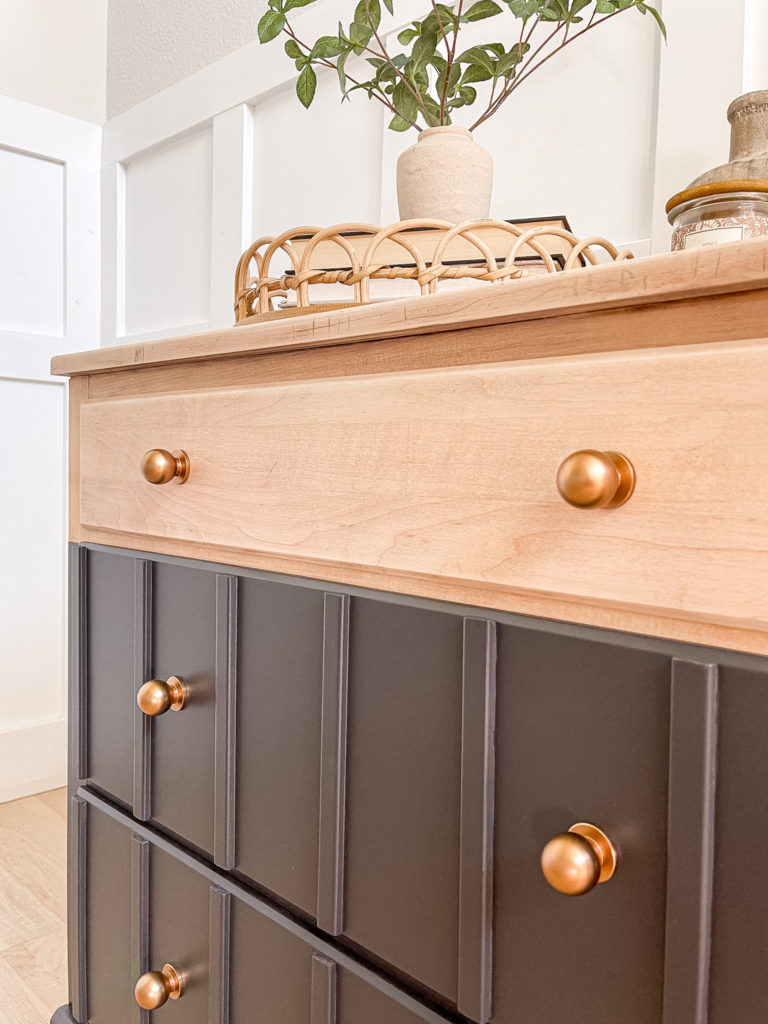
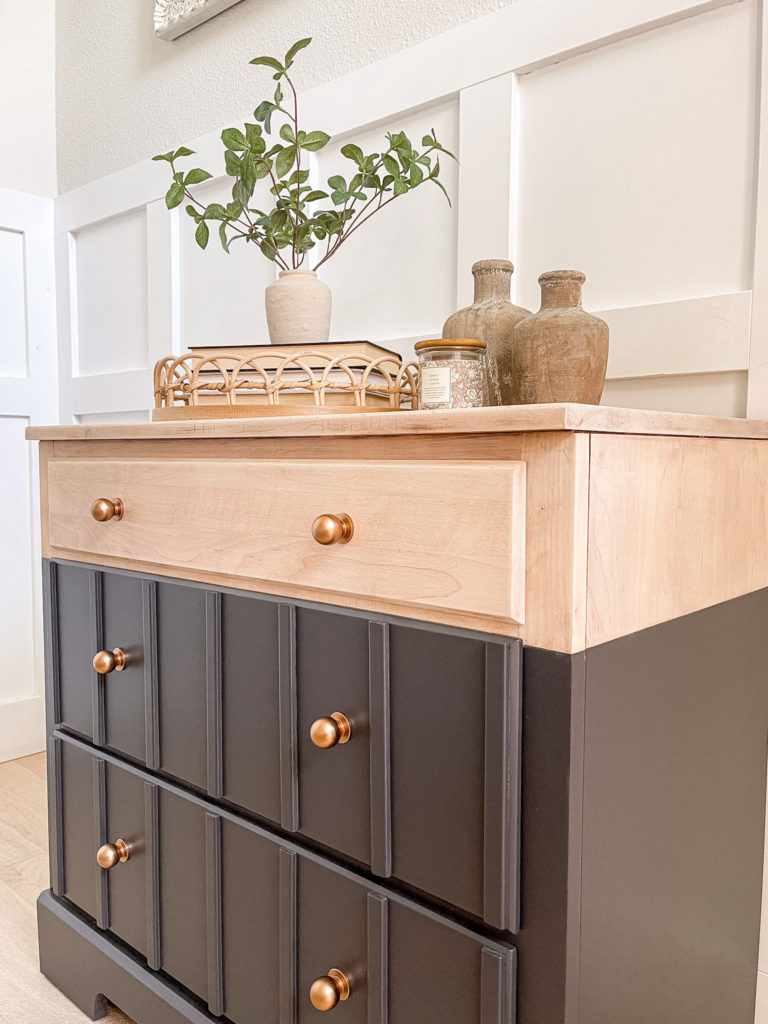
I also wanted to add some flair to the bottom drawers, so I purchased pine trim and used wood glue and nails to attach them to the fronts.
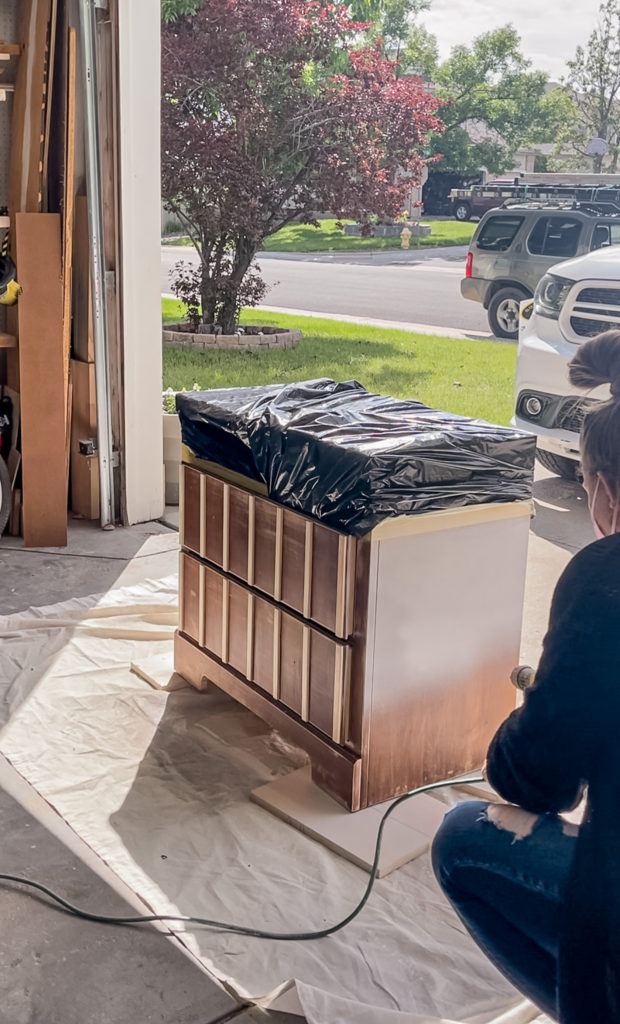
After caulking, spackling and sanding the trim I was finally ready for primer.
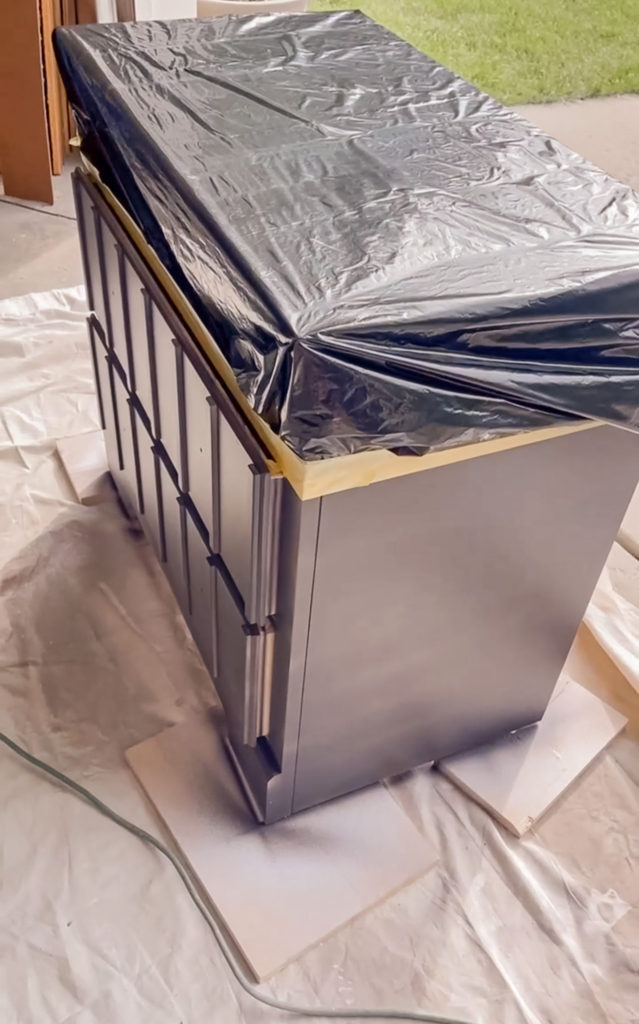
Once it was dry, I sanded it smooth with 400 grit sandpaper and then applied two coats of enamel paint.
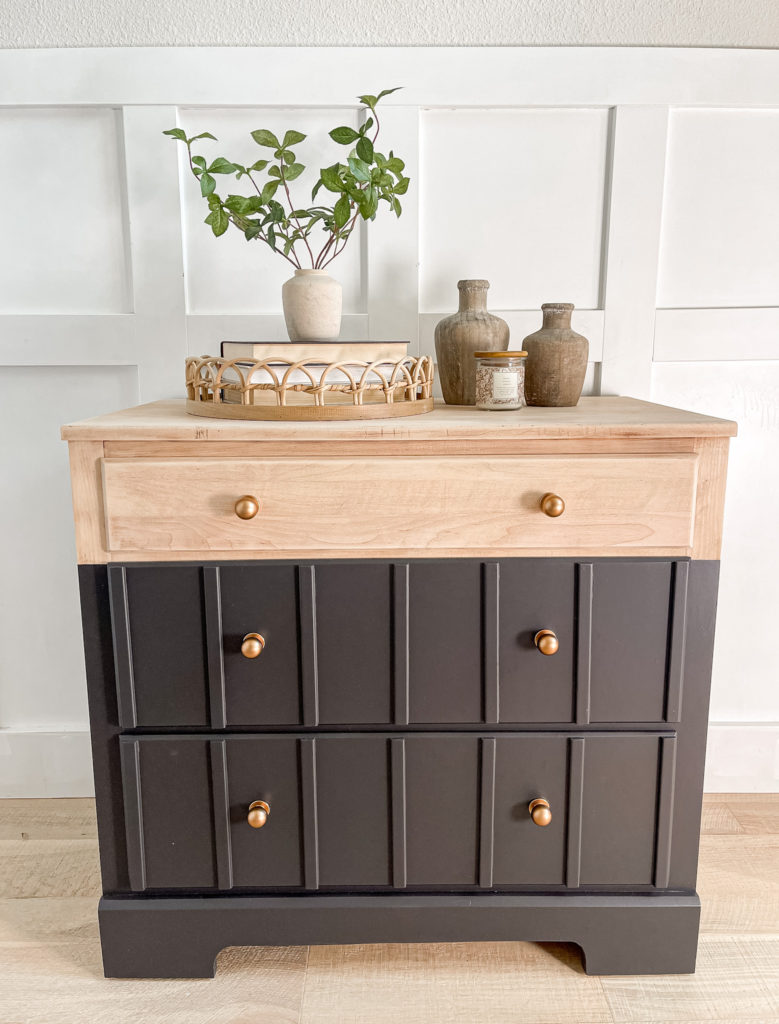
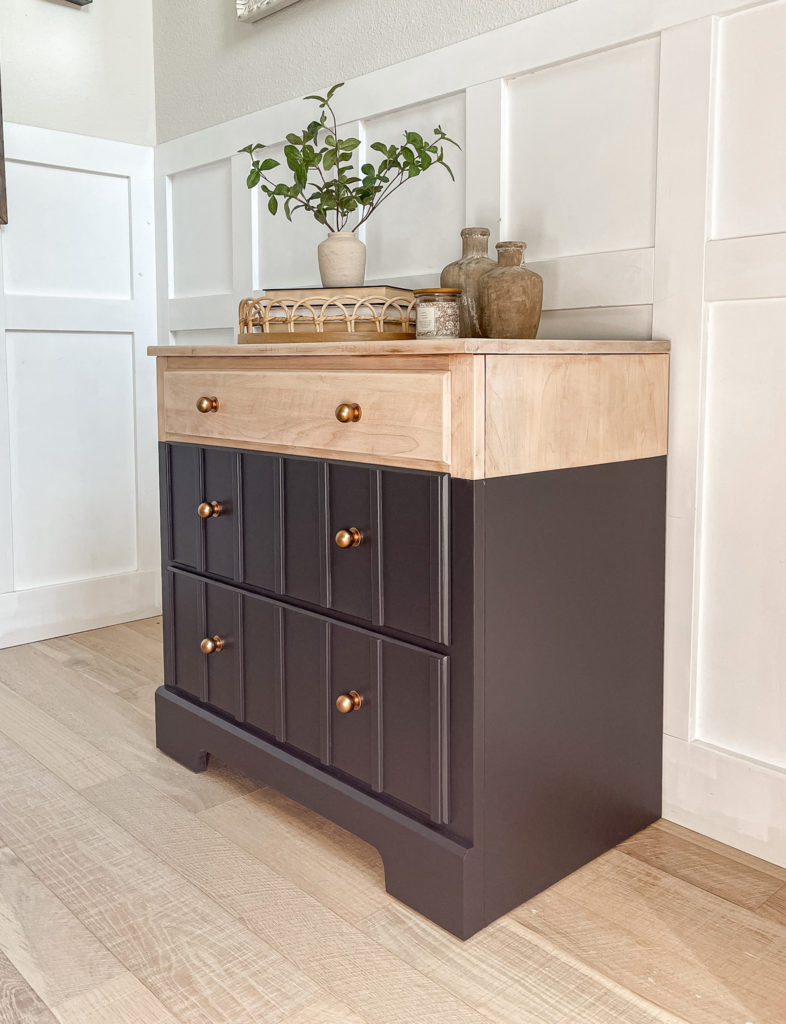
I removed the plastic from the top and whitewashed it before sealing everything up with polyacrylic. I popped on some beautiful champagne gold knobs and this is how it turned out!
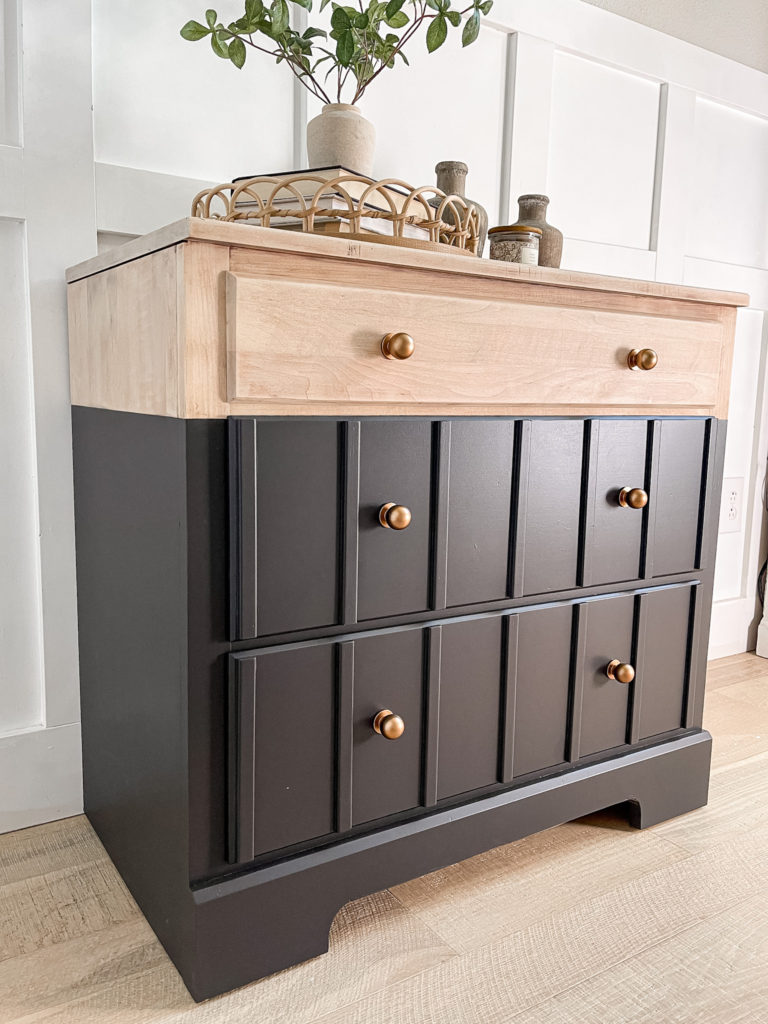
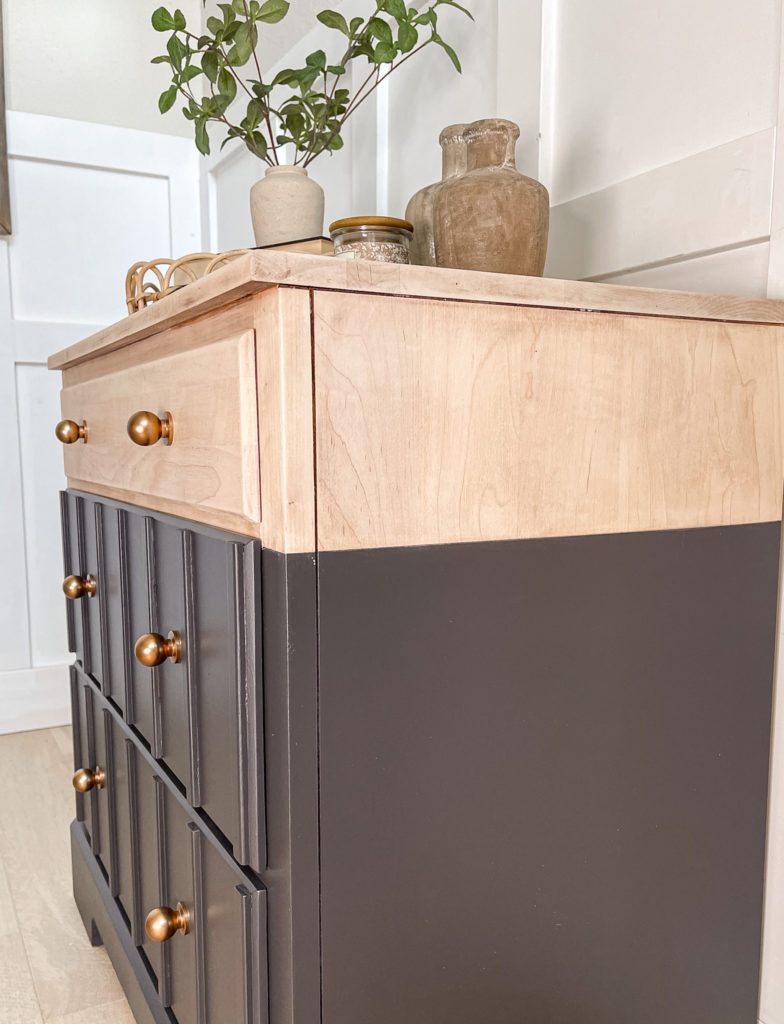
I don’t often paint furniture darker colors, but I felt like this piece needed to look moody and elegant and I think it was such a good call!
I didn’t notice the little black scuff marks that you see on the front of the wood until after I had listed the item, but fortunately I was able to go back and sand them out before the buyer came to pick it up!
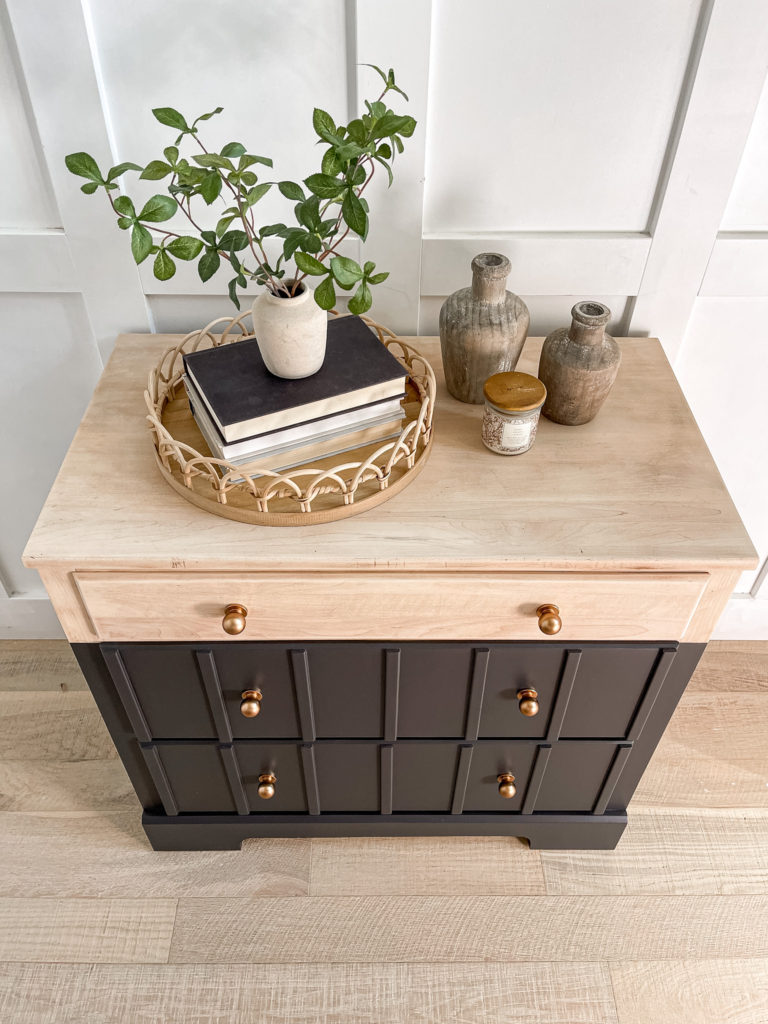
I am so happy with how this gem turned out–a true diamond in the rough!
Linking up to these awesome parties!
PIN FOR LATER!

Oooh, this turned out fabulous! I LOVE the dipped look and the addition of the wood to the drawer fronts. Pinning this as inspo for my next furniture upcycle! I found you over on Creatively Beth’s link party. I’d love to have you come over & share on Crafty Creators Link Party, open Thursdays at 6am through Monday nights. I think my readers would love to find you too! My other party, Happiness is Homemade opens tomorrow (Sun-Thurs), & you’re welcome to share on both parties as they have different audiences. Hope to see you there!