Hello and happy June! I cannot believe how fast the month of May flew by. I hope you are all enjoying the beginning of your summer so far. Now that our master bathroom refresh is complete, I plan to kick off the summer by diving back in to furniture makeovers. I have found that I enjoy breaking up DIY with furniture flipping so plan to see some fun furniture in the next few weeks!
I realized last week that there are actually a few flips that I did back in March that never made it to the blog so I need to catch you all up!
Supplies Used:(Affiliate links may be provided for convenience. For more info, see my full disclosure here.)
- Sander
- Nail Gun
- Jigsaw
- Spackle
- Bondo
- Miter Saw
- Paint Sprayer
- Ultra Flat Polyacrylic
- Modge Podge
- White Burlap
- Pull Bars
- Knobs
- Contact Paper
These nightstands were listed with a dresser on Facebook Marketplace. I only saw the picture of the dresser on the listing, but when I reached out and the seller told me that the whole set was still available I immediately said I could take these as well. I’ve never tackled a set of nightstands before so I was a good mixture of excited and nervous!
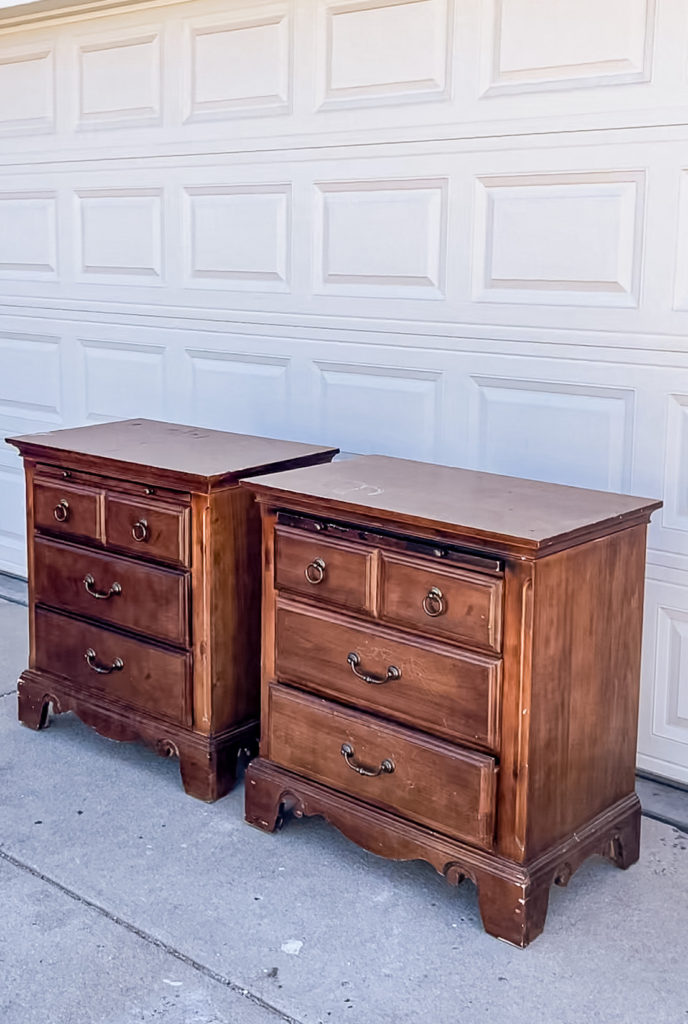
When I first saw them in person I was stunned at how BIG they were! Anthony joked that they were made for a giant. If they didn’t come in a set of two I would have seen one as a small dresser. They were extremely beat up on the top and they looked pretty dated, but I was excited to fix them up and modernize them!
I started by using the jigsaw to cut the trim along the bottom to make them look more streamlined.
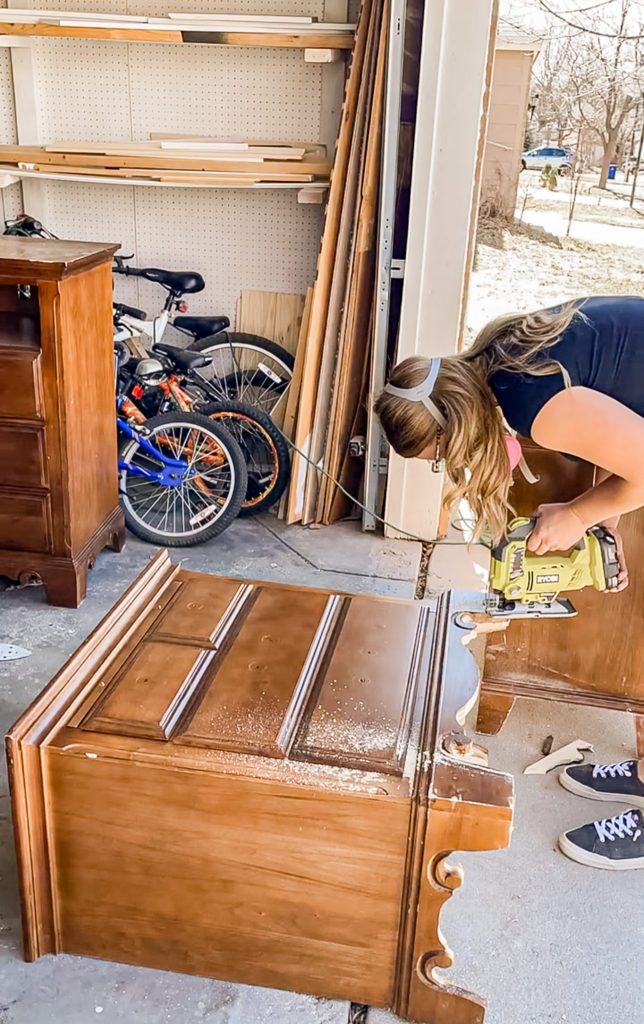
Since I couldn’t save the tops due to the peeling veneer, I was going to try to leave the bottoms as natural wood. However I ultimately decided that the wood pieces behind the new “feet” would be disguised better if they were painted.
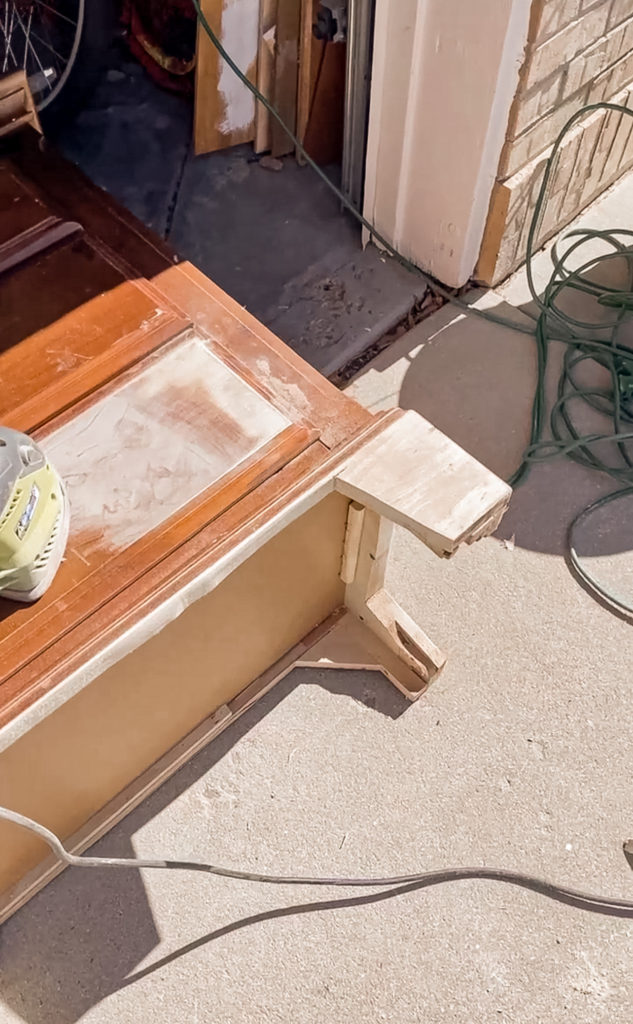
After I realized that wood on the bottom couldn’t be saved, I tried to sand down the top drawer fronts to see if those could be salvaged.
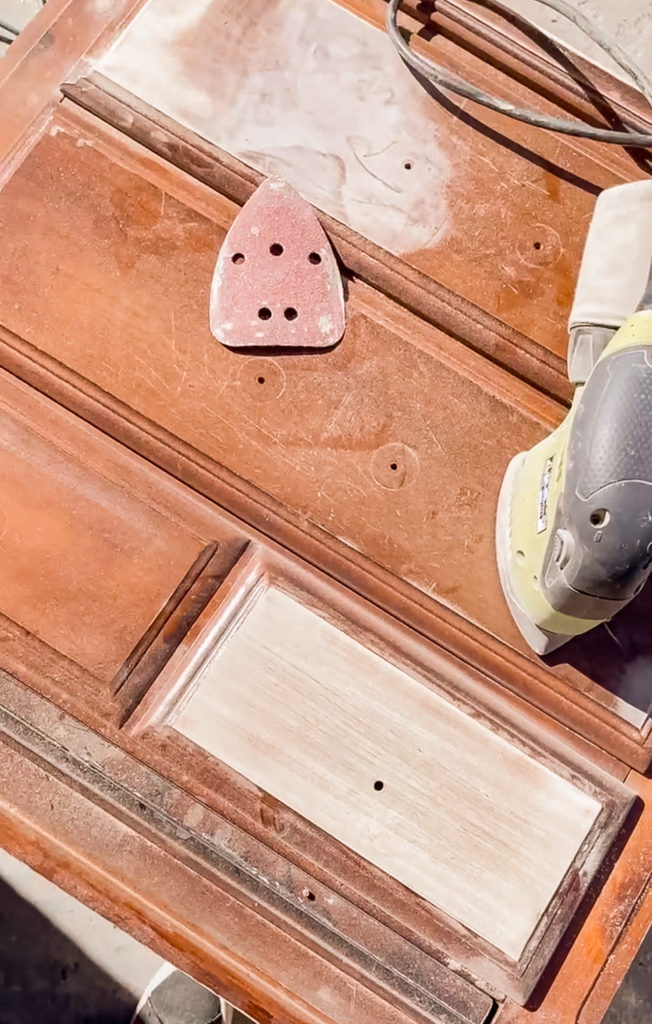
Since it was veneer I went slowly and carefully, however when I got to the last one I burned right through–so frustrating! So the plan changed once again and it looked like these were going to be painted all the way through.
I gave everything a good scuff sand, then vacuumed them off and wiped them down with some Simple Green.
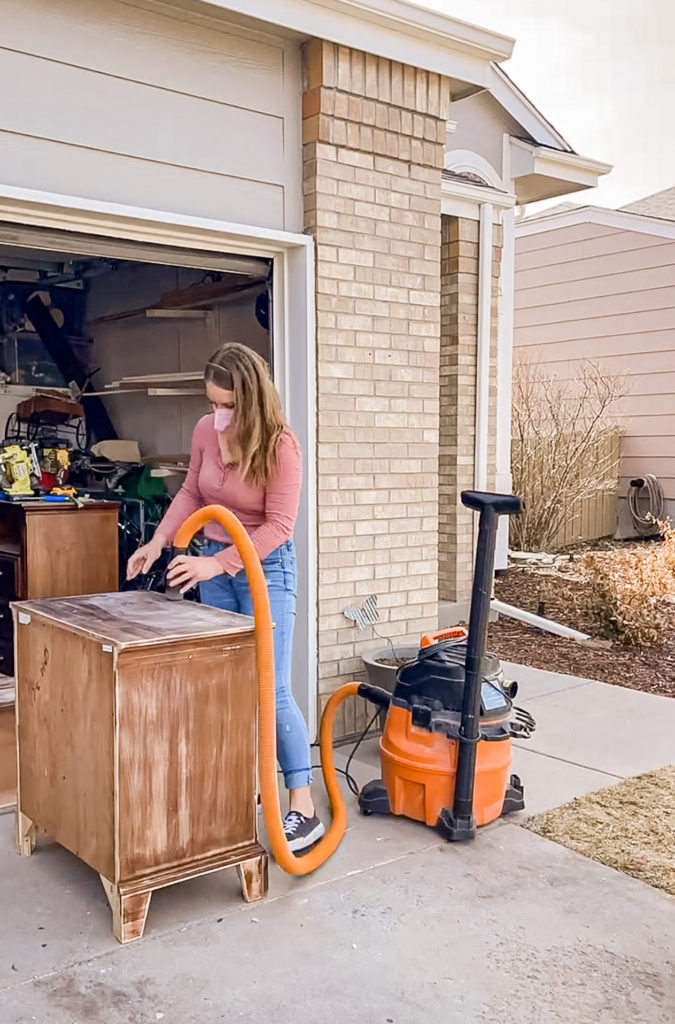
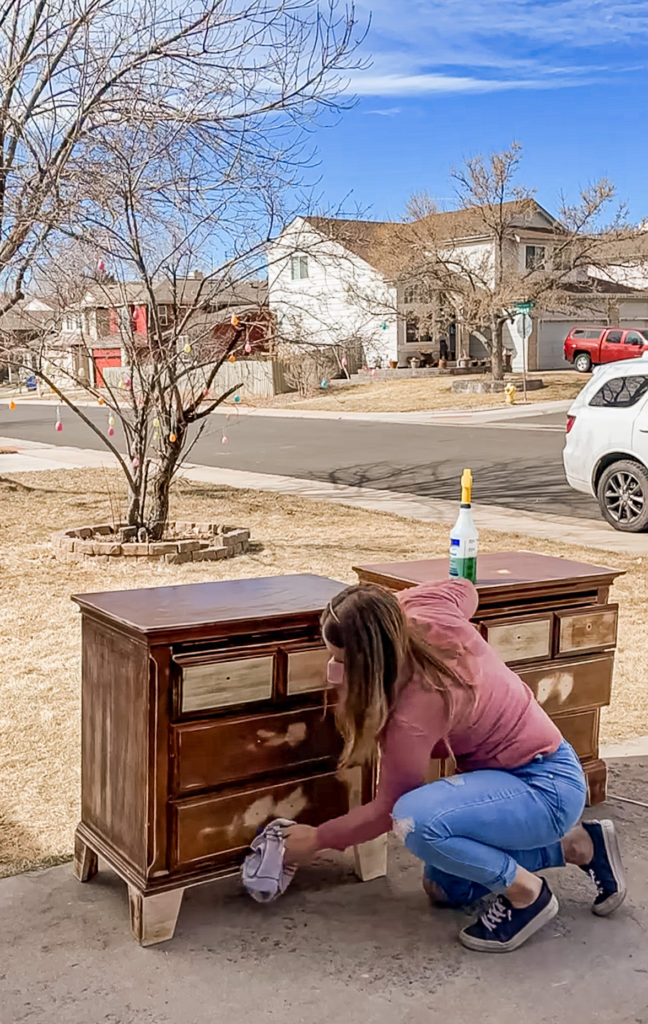
I ripped the peeling veneer off of the top and used some Bondo to smooth it out. This was my first time using Bondo, and I was really impressed with the durability and dry time. I thought that it looked great after I sanded it down…but I’ll get back to that in a minute!
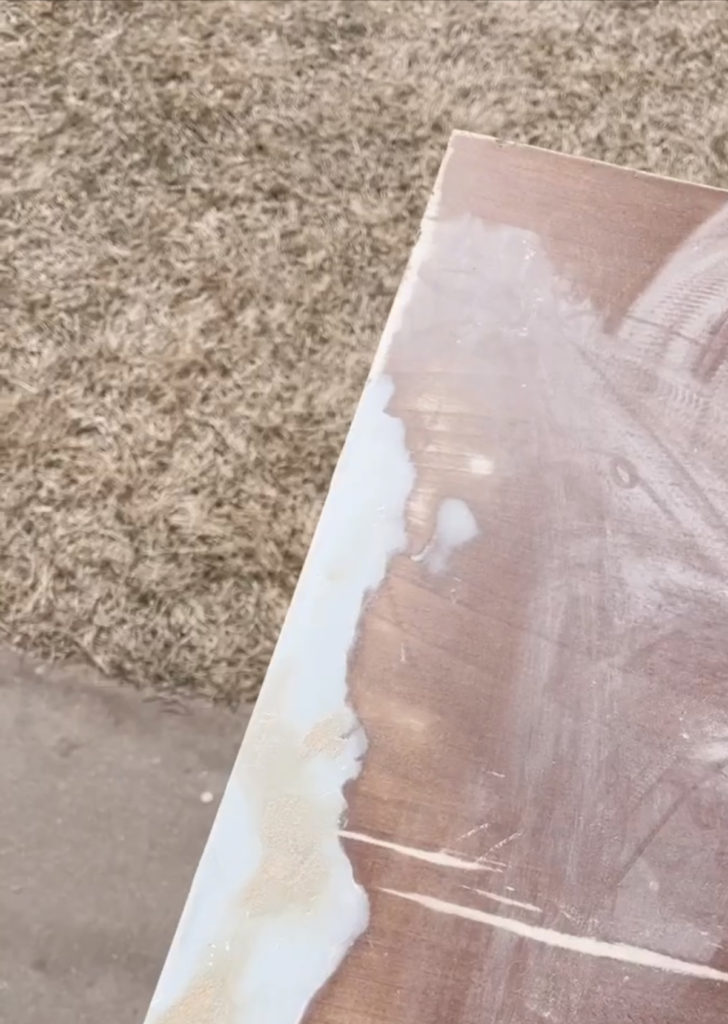
I decided to try using some Zinsser spray primer. It came in a tall can and I hoped that it would be more cost efficient than using a quart like I normally would.
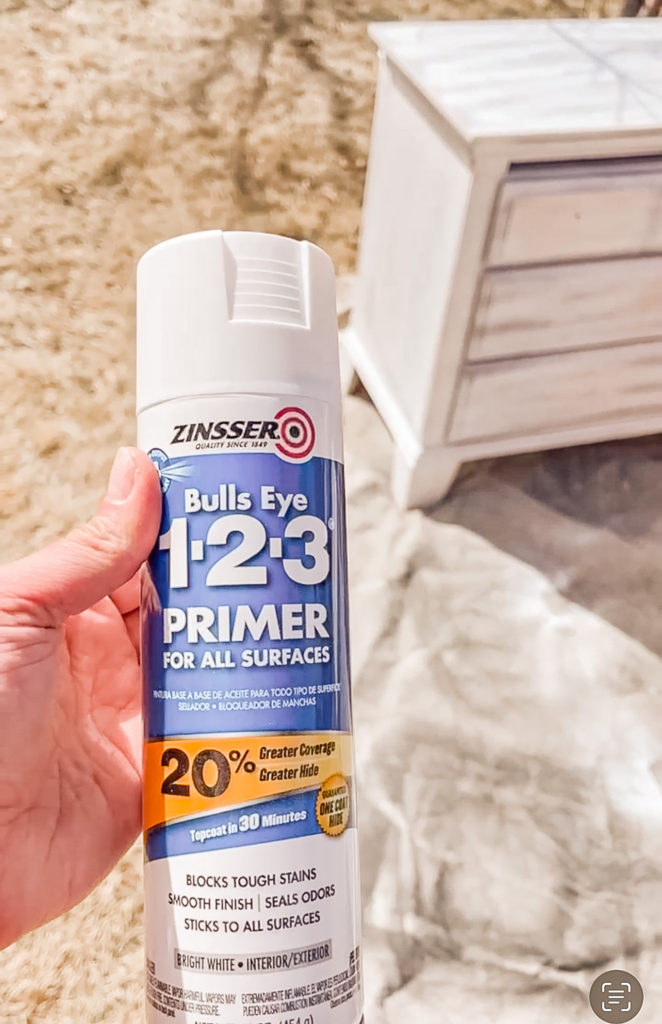
I was so disappointed to find out that the can barely got me through both nightstands!
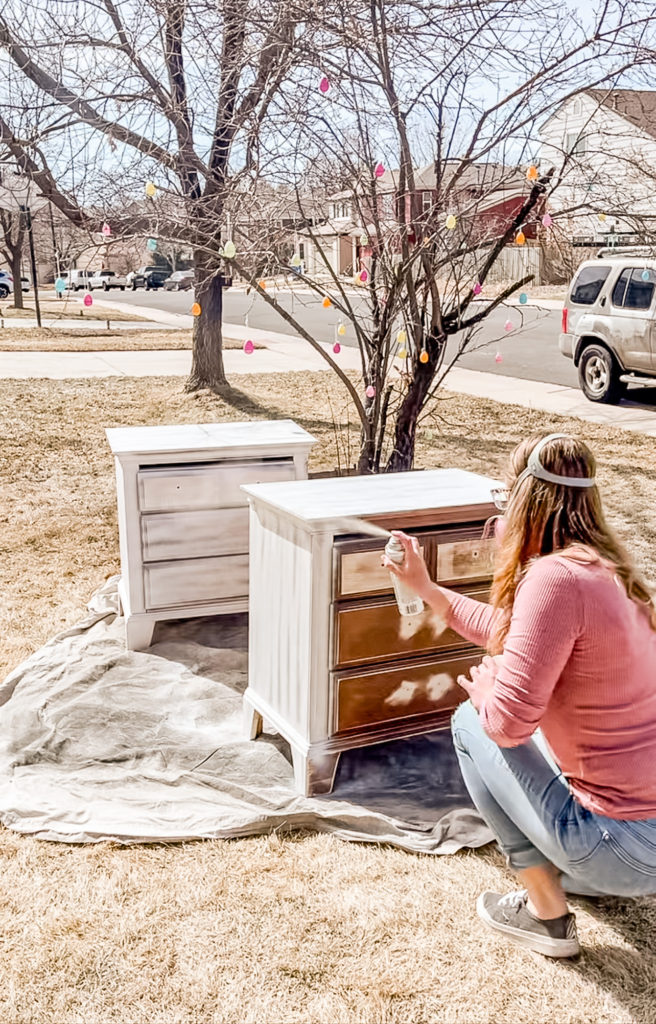
Once the primer was dry, I used a fine grit sandpaper to smooth it and then applied the first coat of paint with my sprayer.
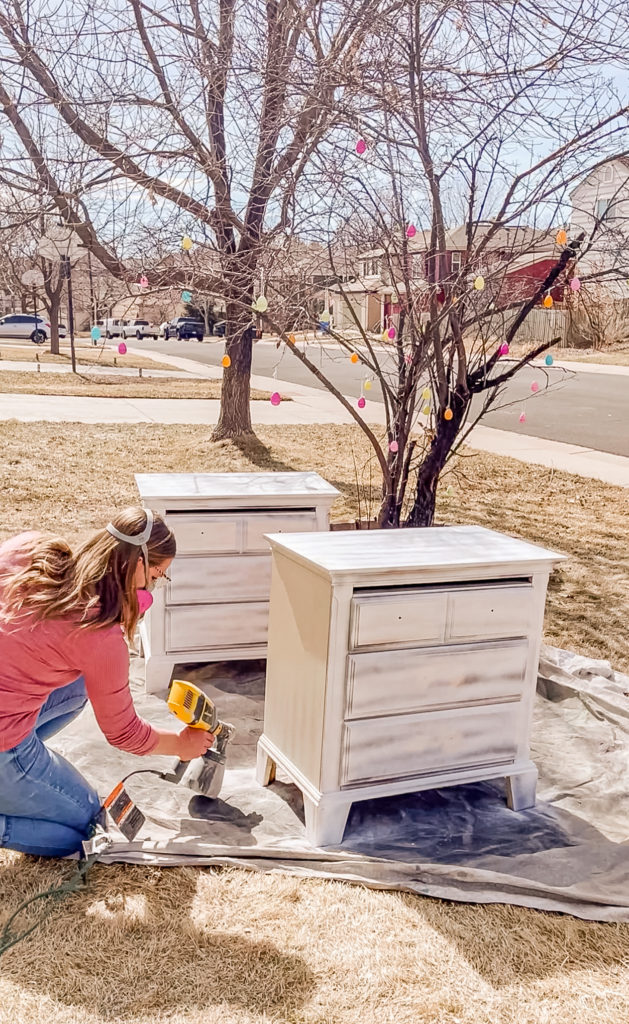
Remember how I said that I thought I did a good job sanding the Bondo? After the paint had dried I took another look–and it was absolutely terrible!
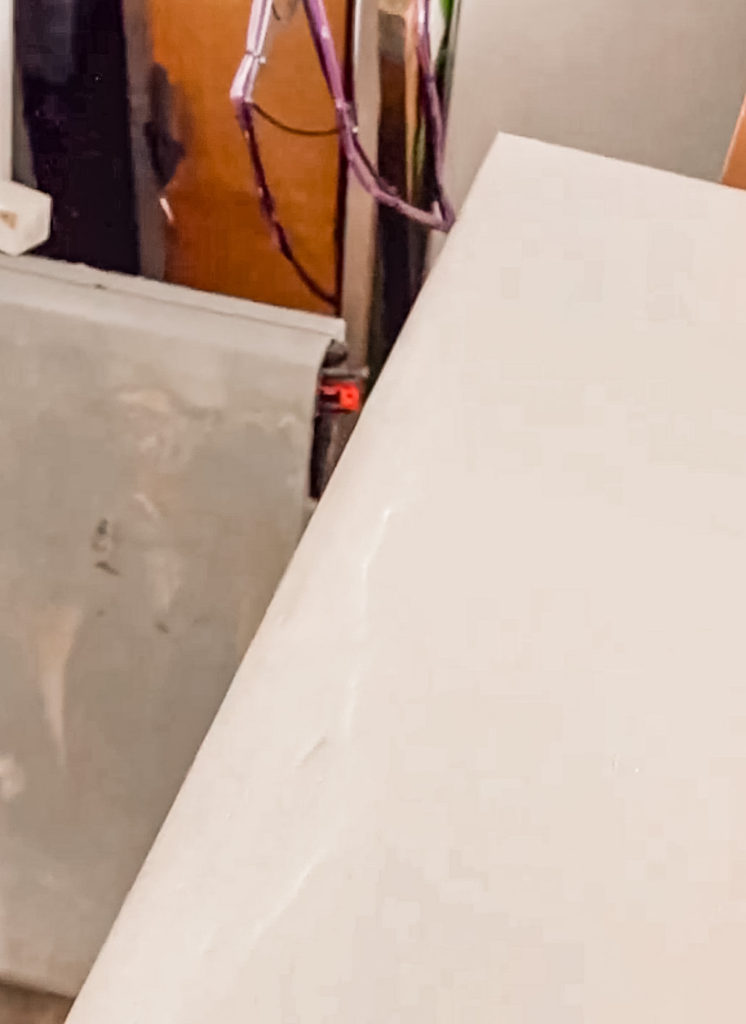
There was no way that was going to fly, so I had to apply Citristrip to remove the paint from the top so that I could sand it down and repaint..
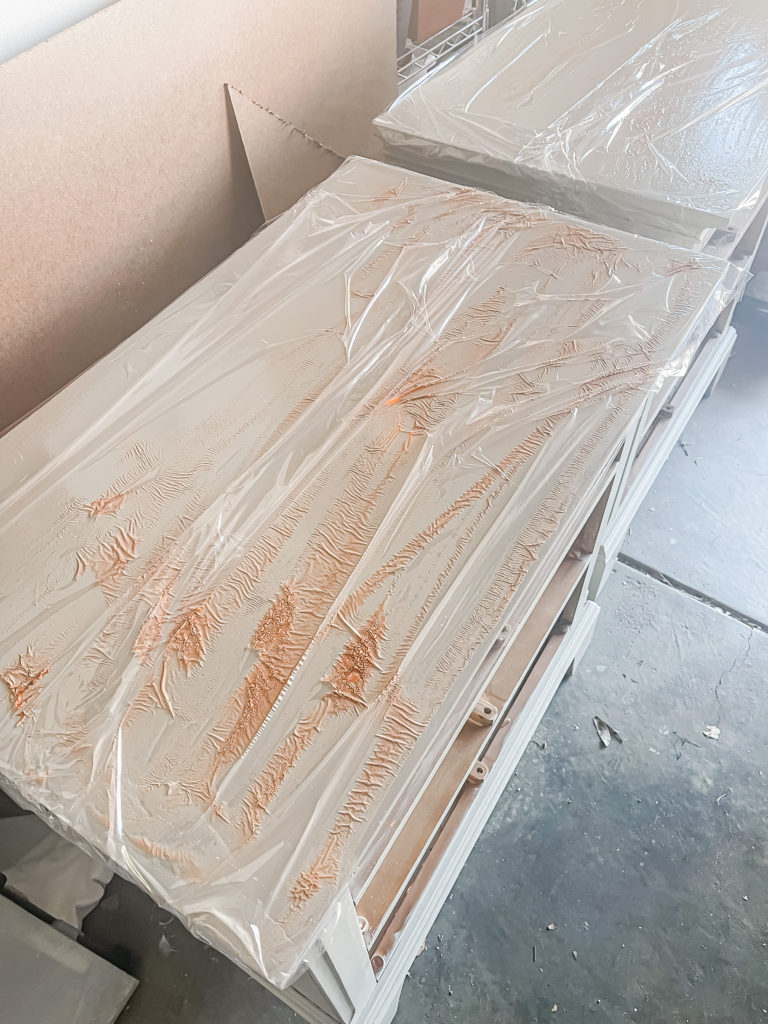
After hours of sanding and scraping, I reapplied primer and two more coats of paint. When I stood back to look at them I felt like something was missing since I wasn’t able to save any of the wood. After a bit of pondering I decided to staple on some white burlap to the drawers for texture and interest.
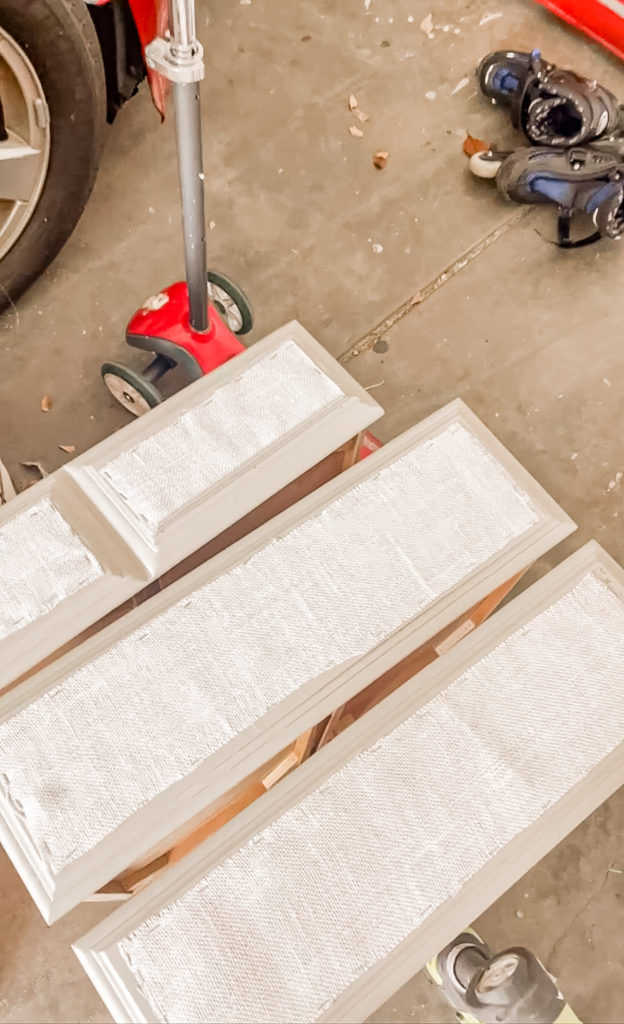
I cut down some small trim that I had painted the same color as the nightstand and used the nail gun to secure it around the edges to hide the staples.
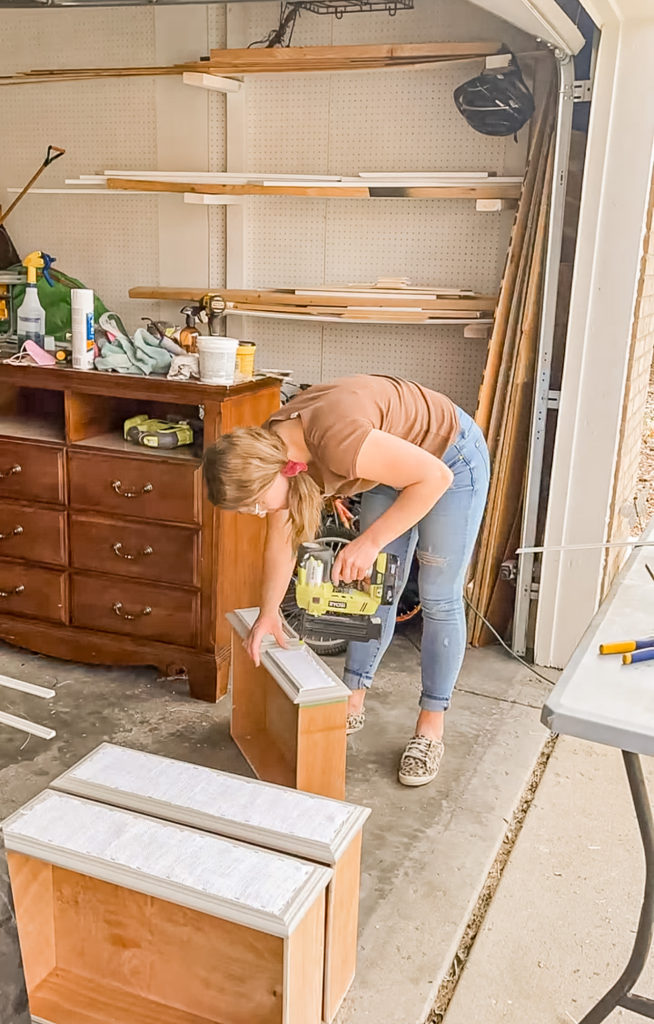
I quickly realized that I should have used Modge Podge on the burlap before stapling it because after I nailed the trim on, it bubbled up!
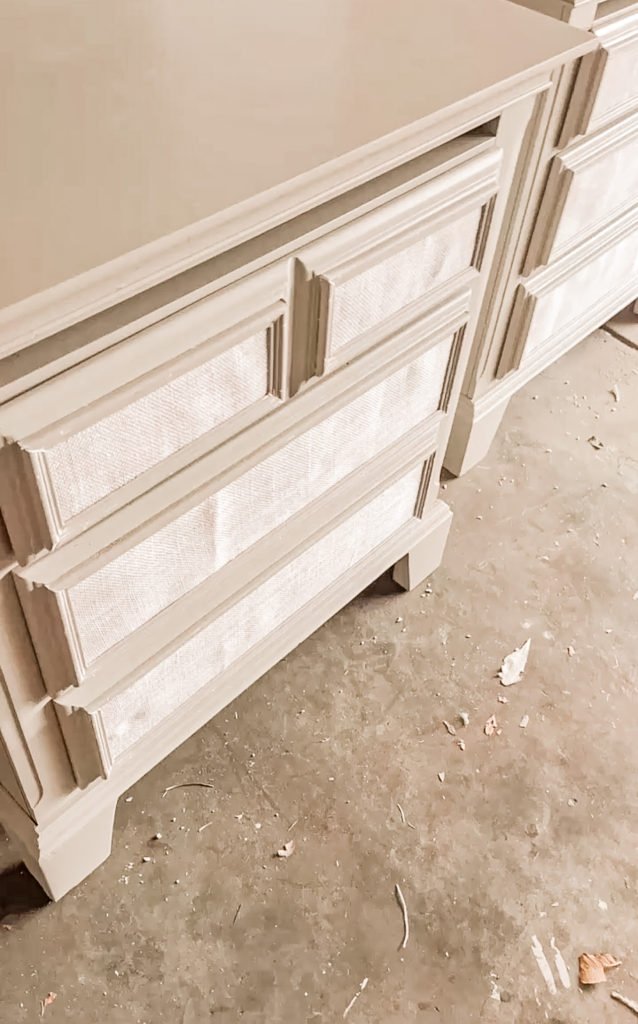
To fix the issue, I applied polyacrylic with a bristle brush which pressed it down in to place.
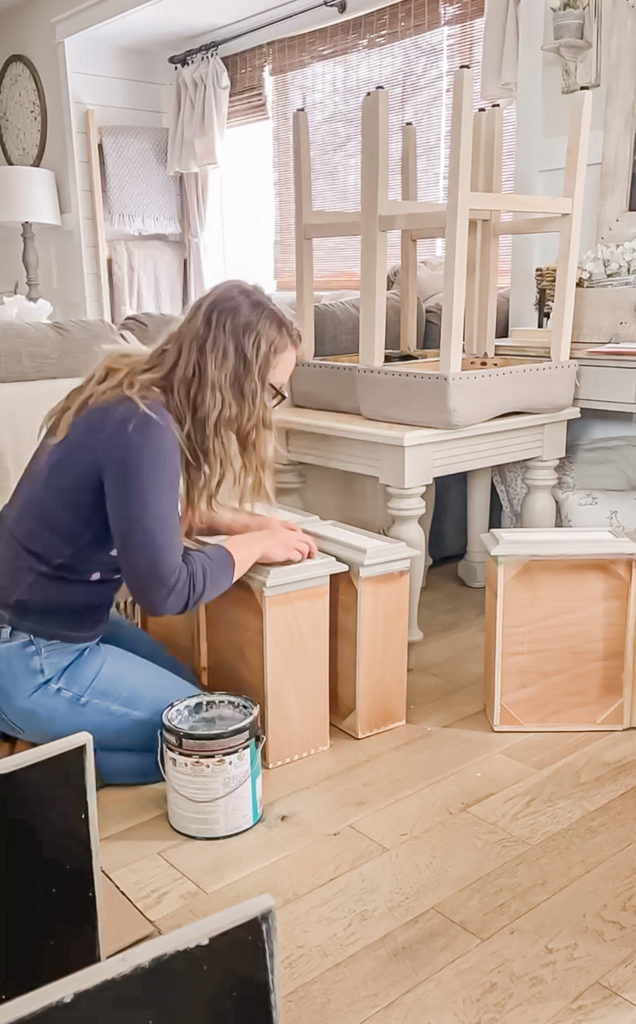
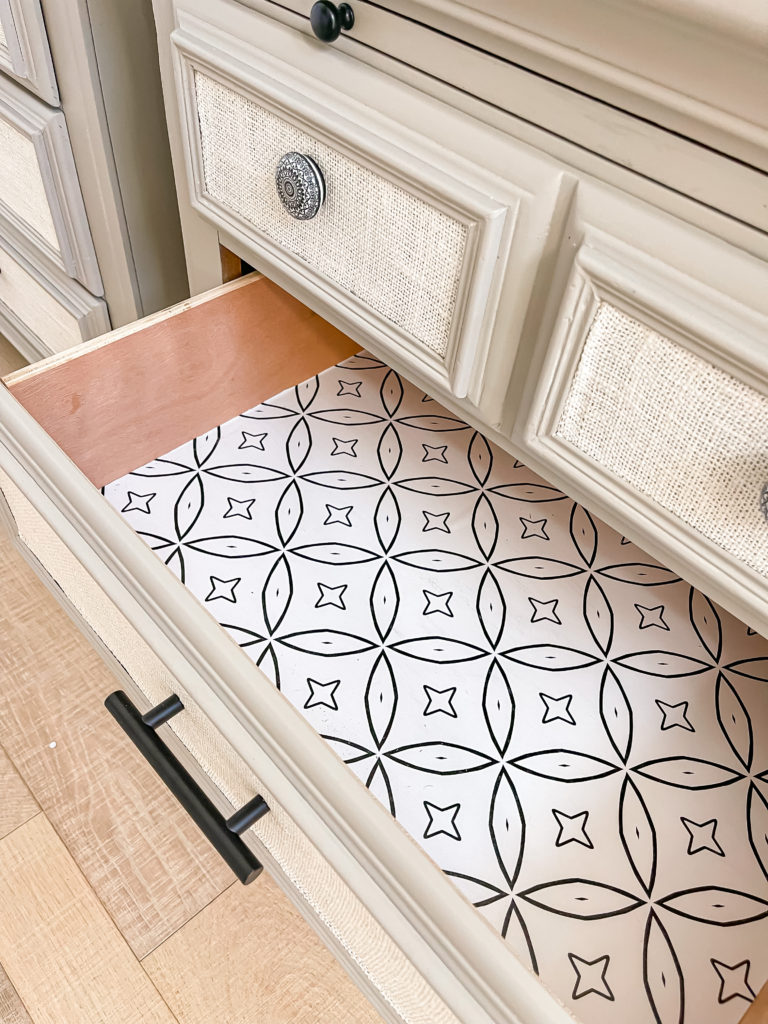
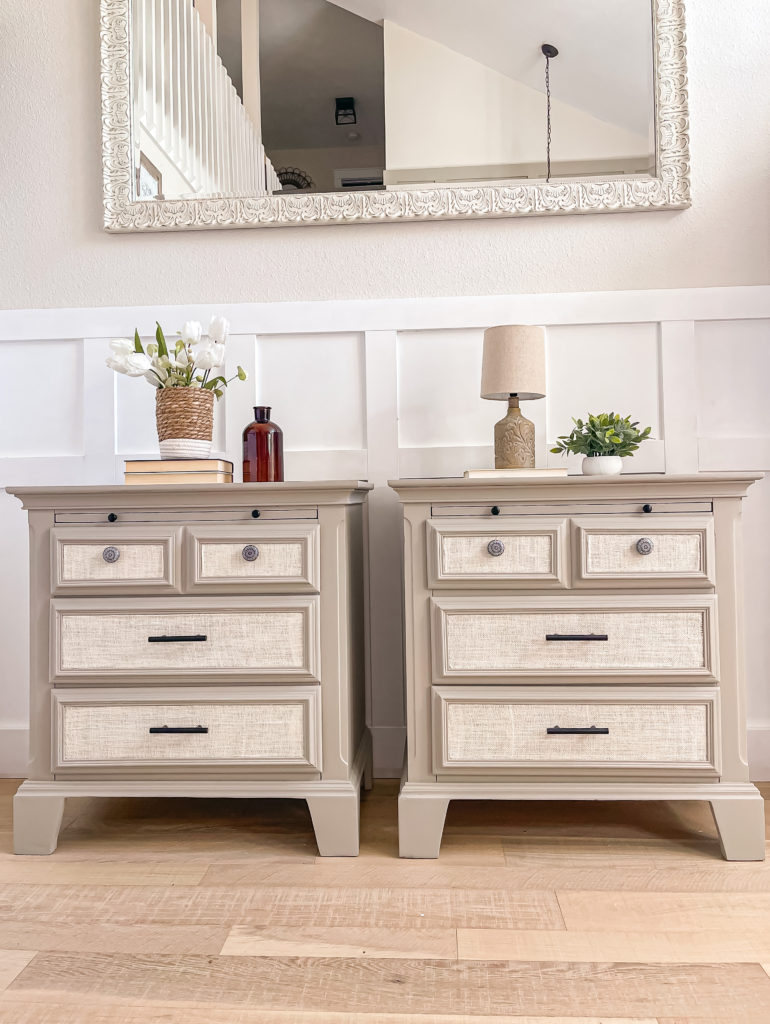
I installed some new hardware and drawer paper and this is how they turned out!
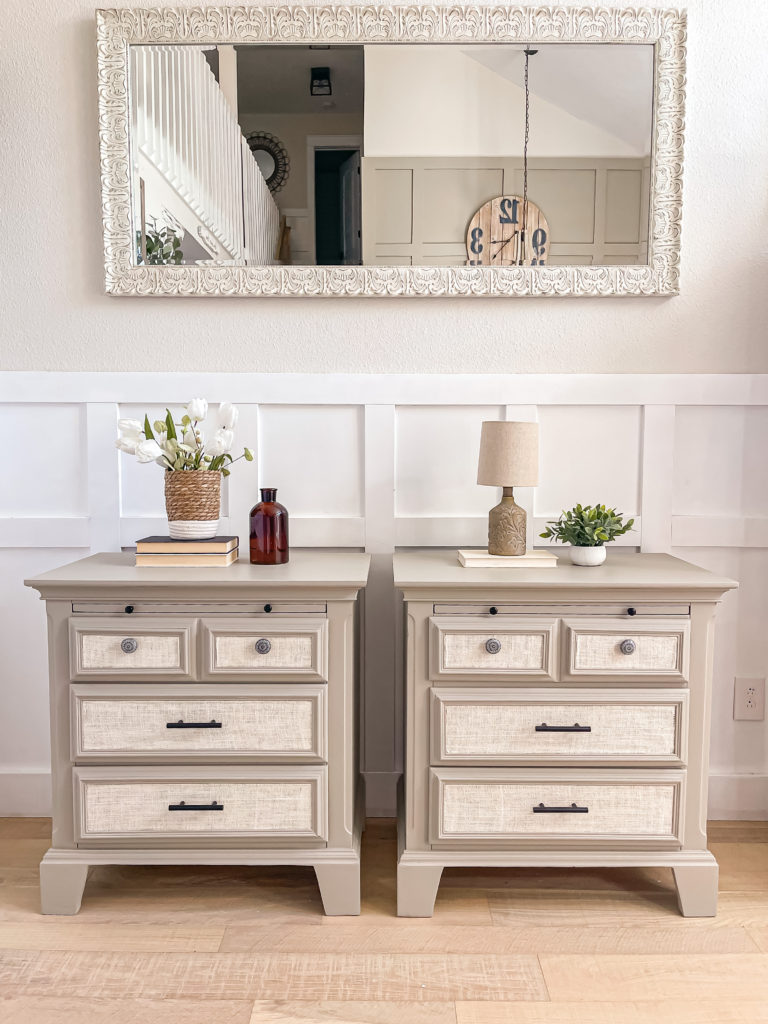
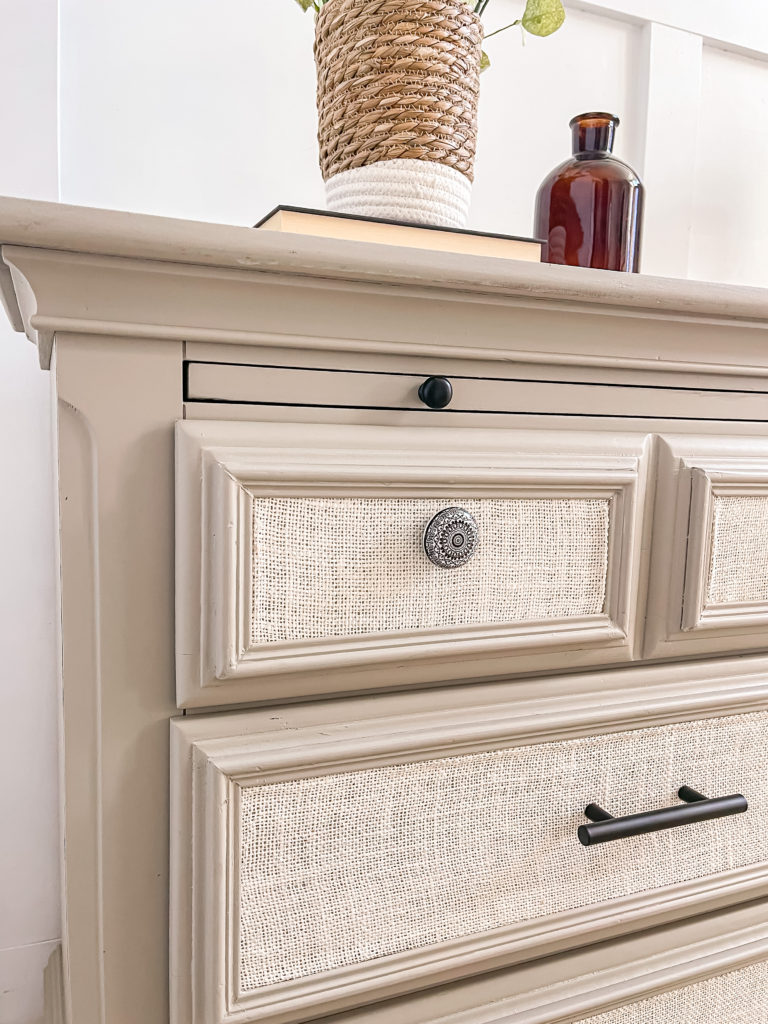
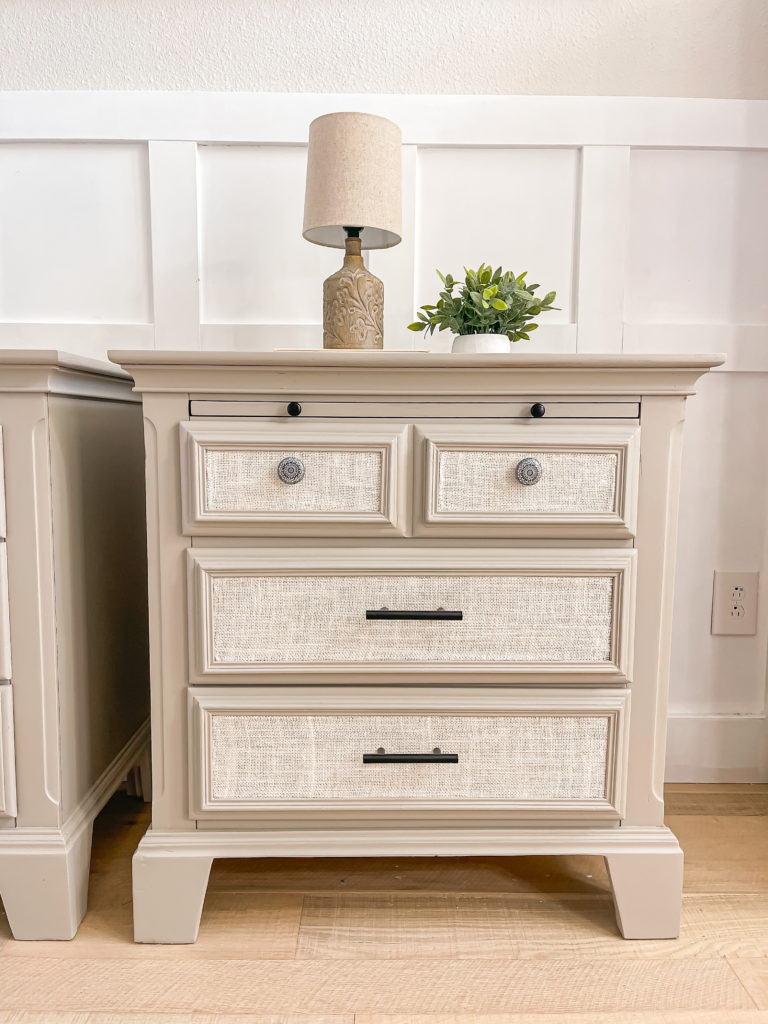
The color of the paint and the burlap blend together nicely and my only regret was that I didn’t move the top knobs down a bit. I used the existing hole, but if you look at the old hardware you can see that the rings fell lower so they appeared more centered.
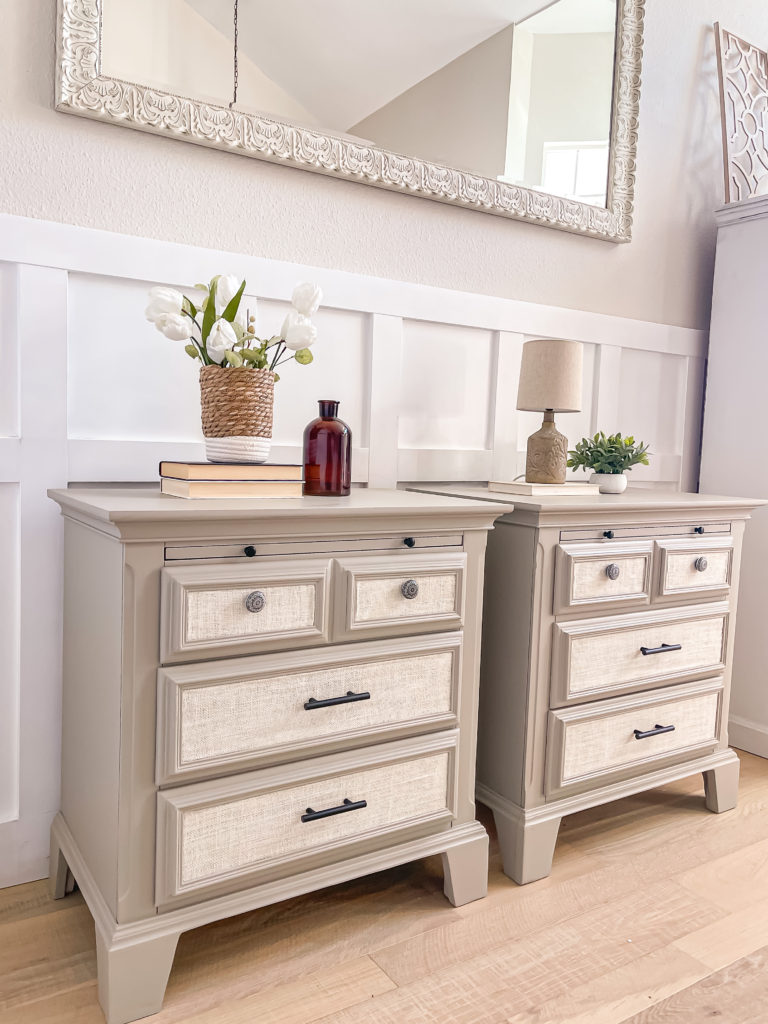
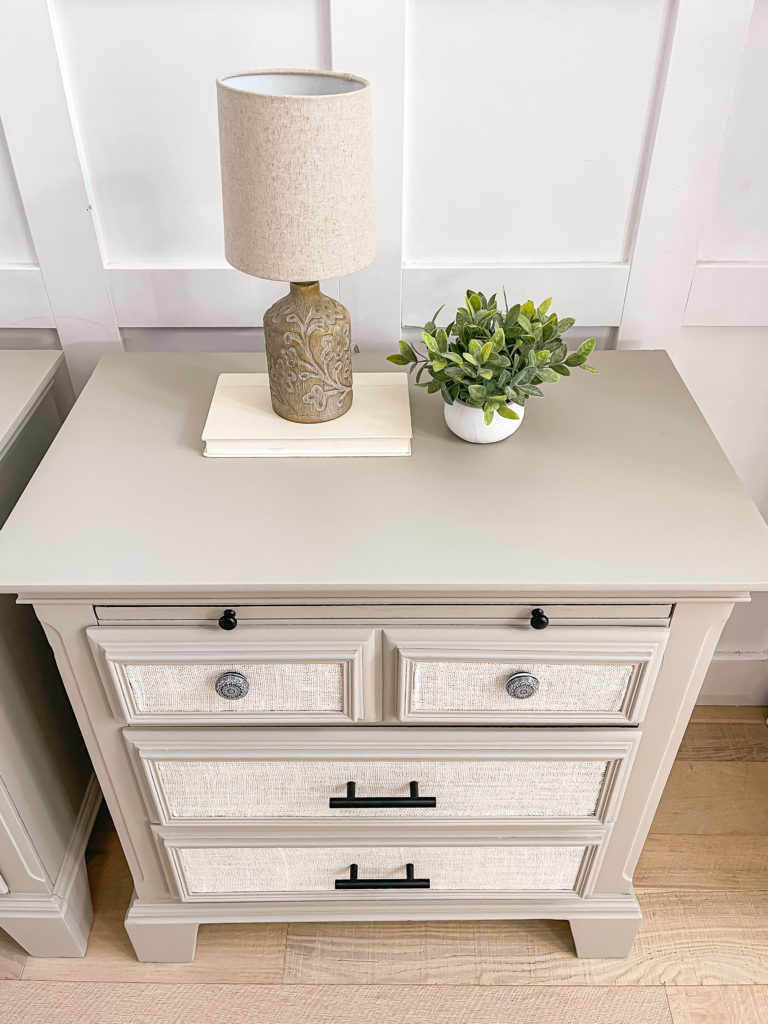
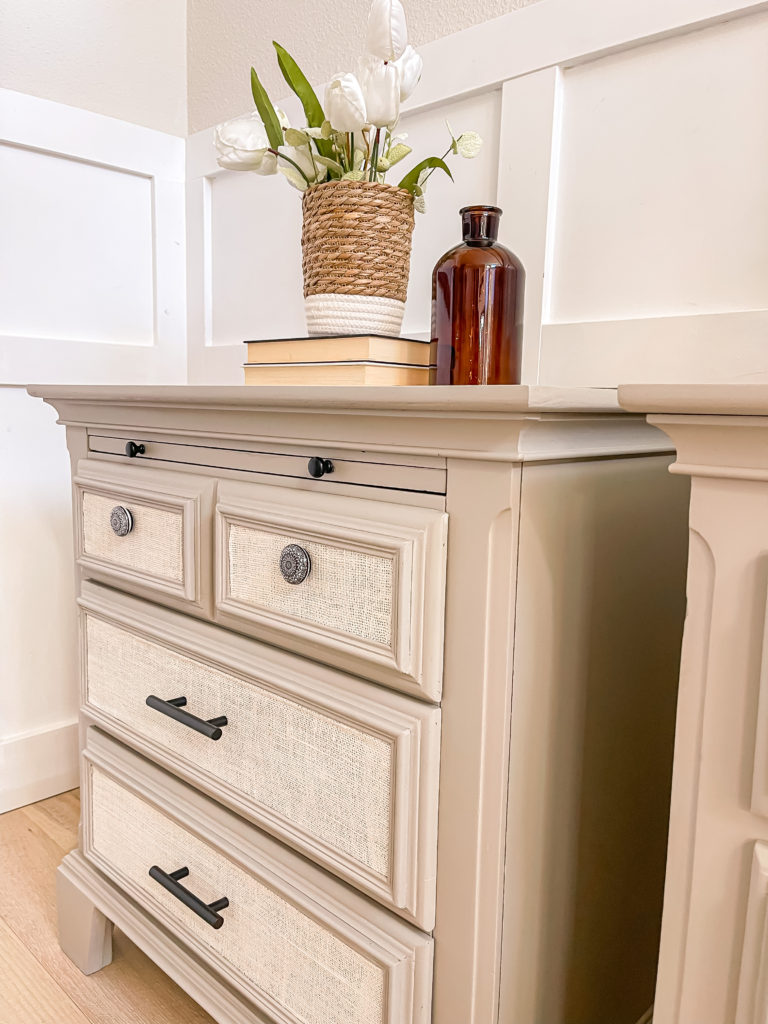
Rather than painting the slide out tray, I used the same contact paper that I used for the drawers. I cut it back a little so that it looked clean when pushed back. I also spray painted the little knobs.
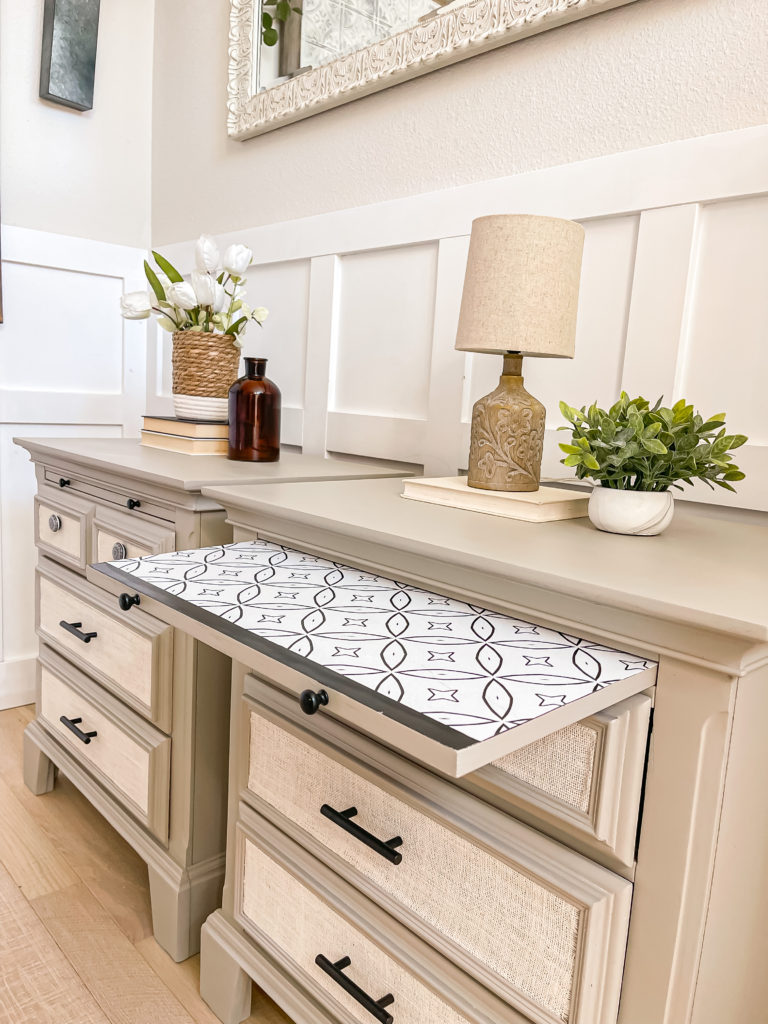
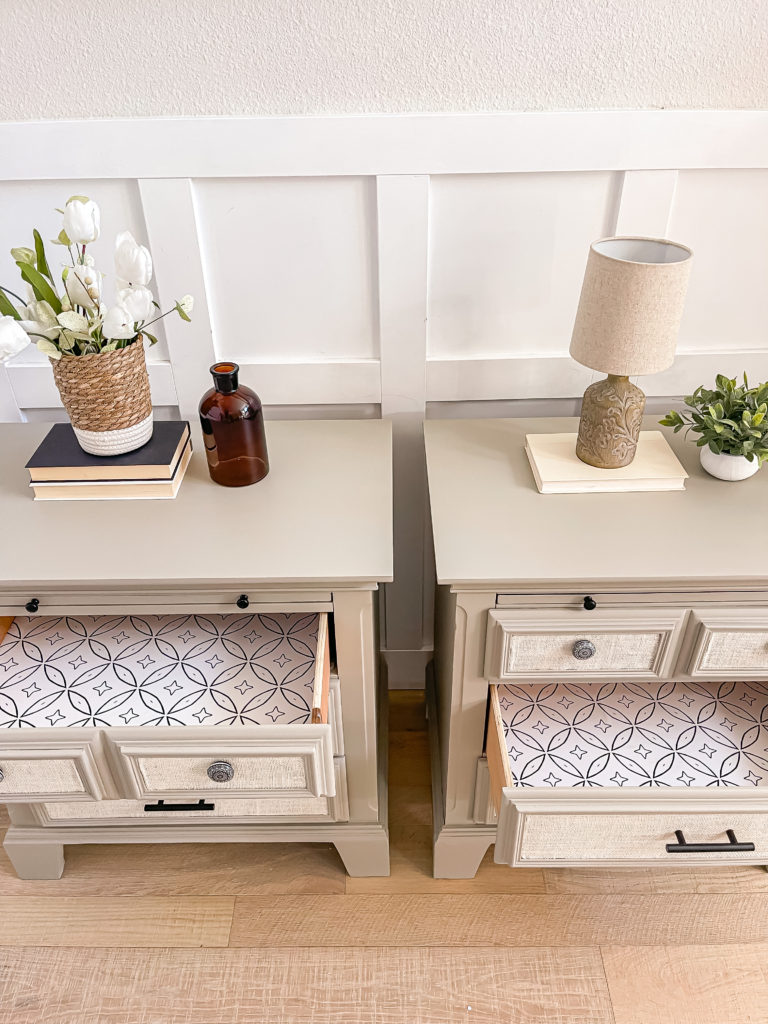
These beauties found a home very quickly!
Thanks for stopping by today! Next week I plan to share the matching dresser as well as a console table 🙂
Linking up to these awesome parties!
(Affiliate links may be provided for convenience. For more info, see my full disclosure here.)
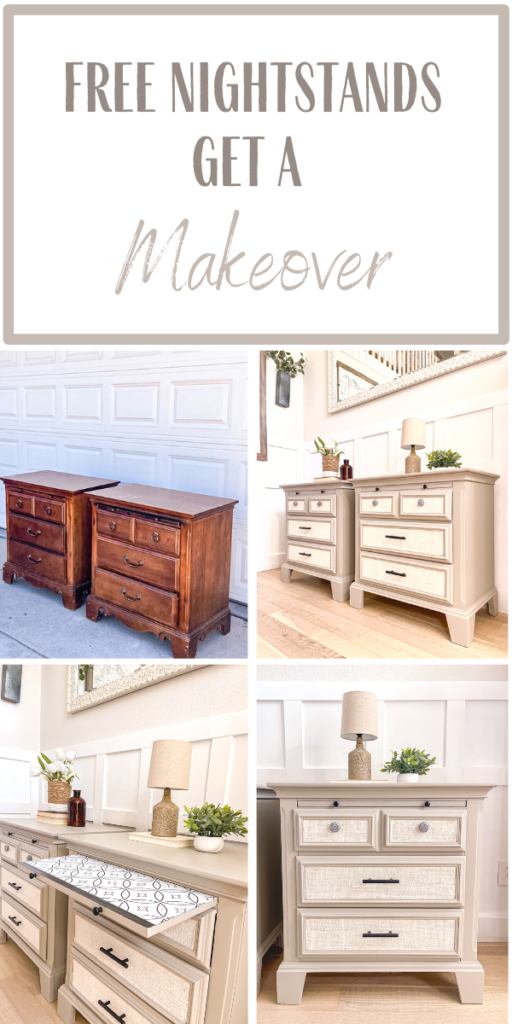
PIN FOR LATER!
These came out so nice! The burlap is such a great touch! Kudos to you for hanging in there through all of it too. You have so much patience.
What paint brand and color did you use?