Hey friends! I hope you’re all having a nice week so far. We pack up and head out to go camping on Friday and I’m a big ball of nervous since I have yet to be camping with my new elevated anxiety disorder. Camping is something that I’ve always enjoyed so I keep telling myself that I will be fine, but I’d be lying if I said I wasn’t nervous of having an episode or panic attack!
I’ve been sharing a lot of furniture flips over the past few weeks, but I wanted to shift gears for a little bit so that I can start to share more detailed tutorials from the recent master bathroom refresh.
Today we will start with how I updated the vanity base cabinet!
Supplies Used:(Affiliate links may be provided for convenience. For more info, see my full disclosure here.)
- Sander
- Nail Gun
- Wood Glue
- Spackle
- Miter Saw
- Jigsaw
- Reeded Molding
- Paint Sprayer
- Scrap Wood
- Knobs
- Behr Cabinet Enamel Paint
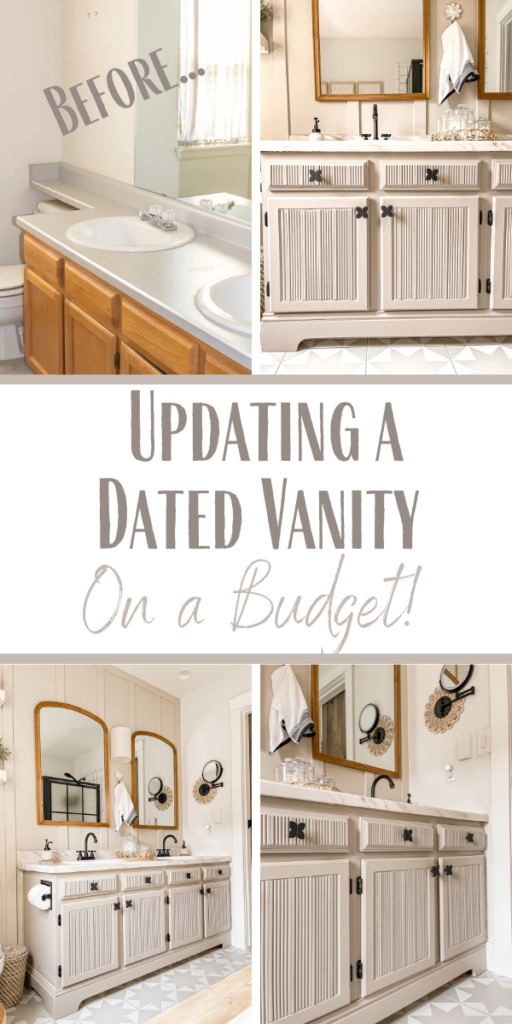
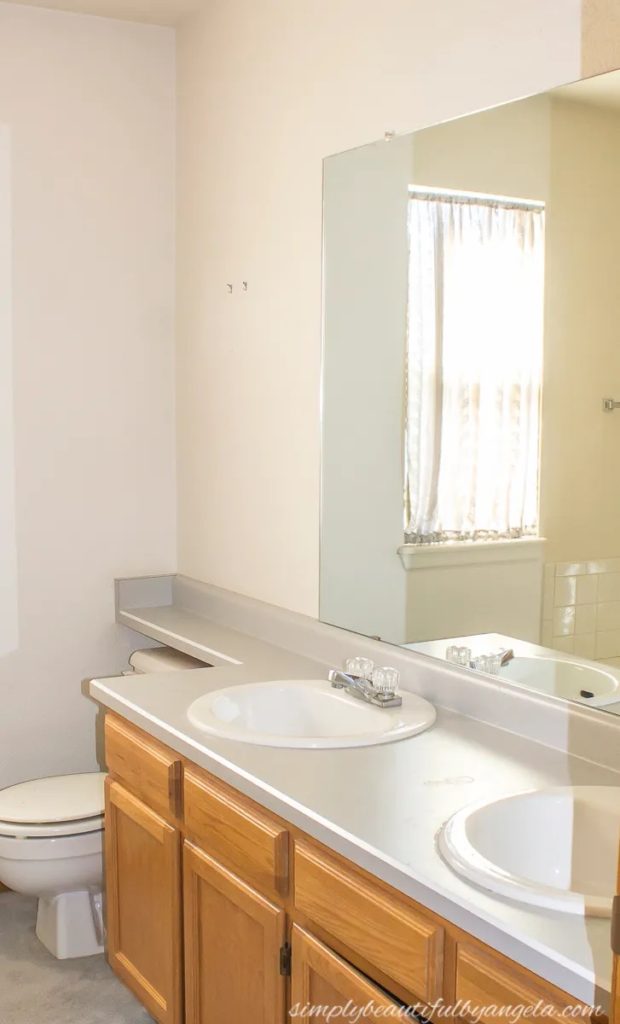
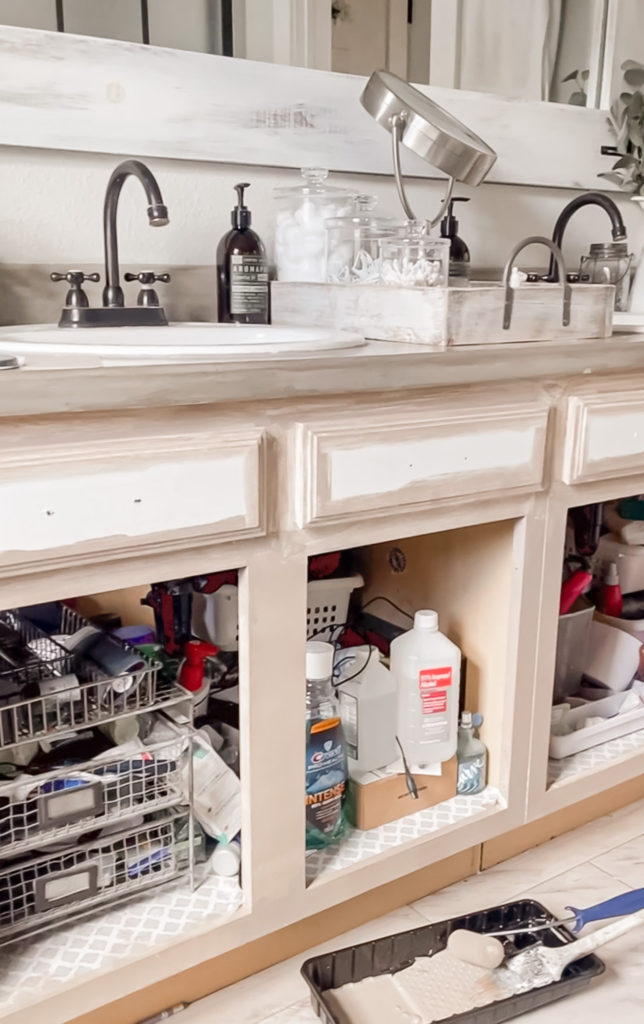
The vanity in our master bathroom is the standard 90s grade special. This is how it looked when we first moved in.
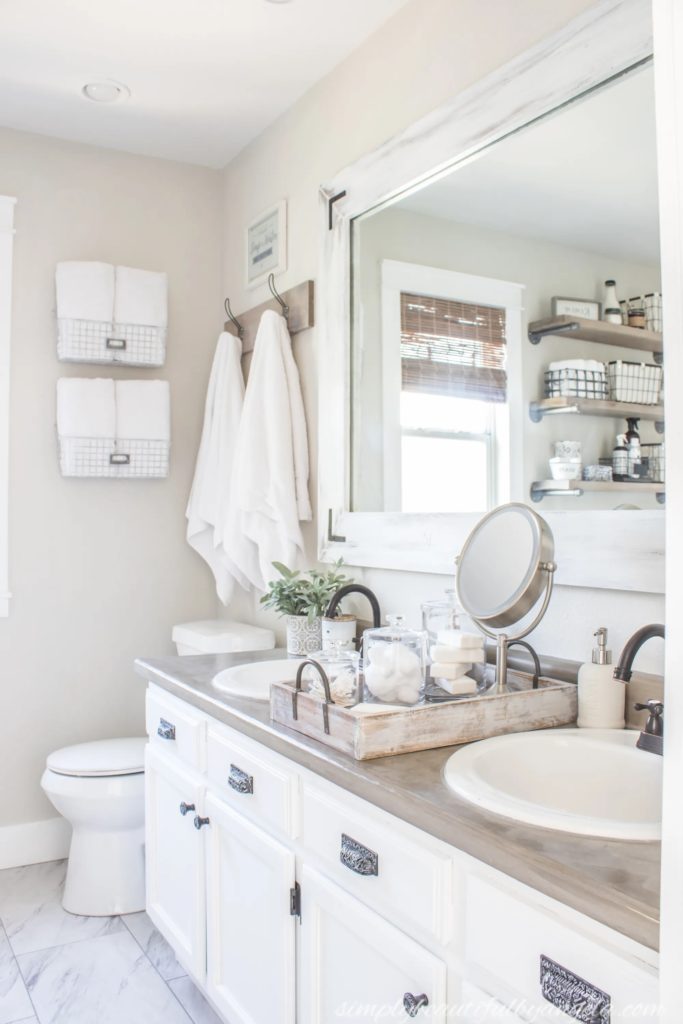
Some of you may recall how I painted it and added hardware a few years ago which helped update it quite a bit.
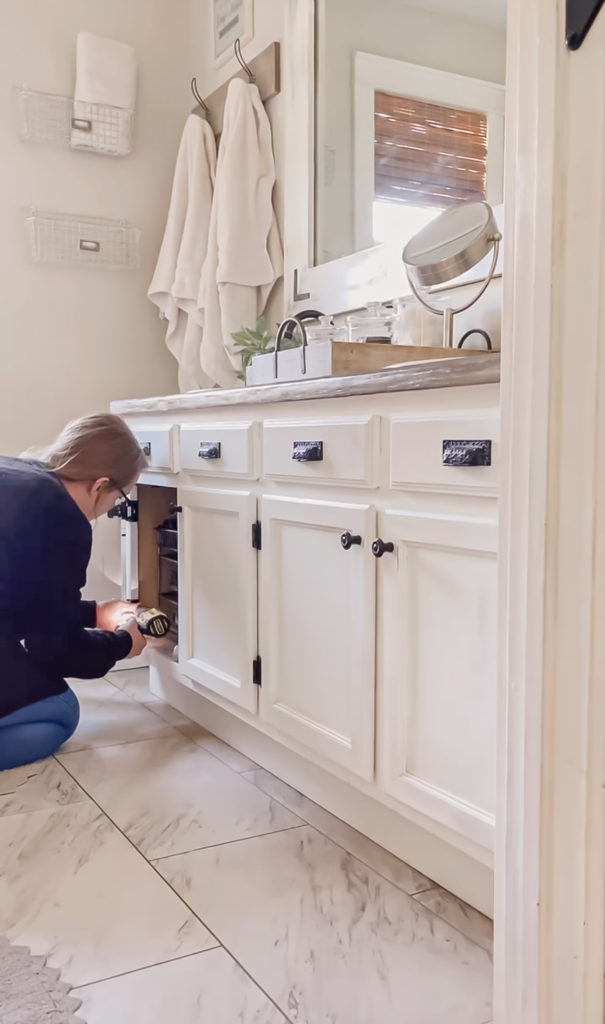
I would love to tear it out and replace it one day, but until we can fit that in the budget I wanted to give it a little glam up. I started by taking the doors off and wiping everything down with Simple Green.
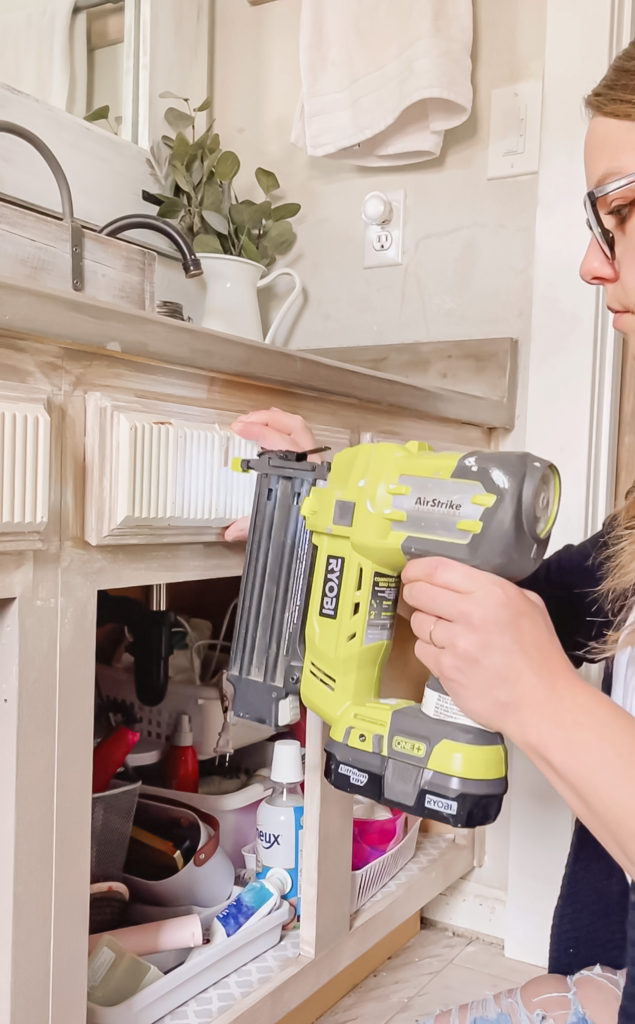
I wanted to give it more character so I got some Reeded Molding and cut it down on the miter saw to fit inside the doors. I used wood glue and the nail gun to secure them in place.
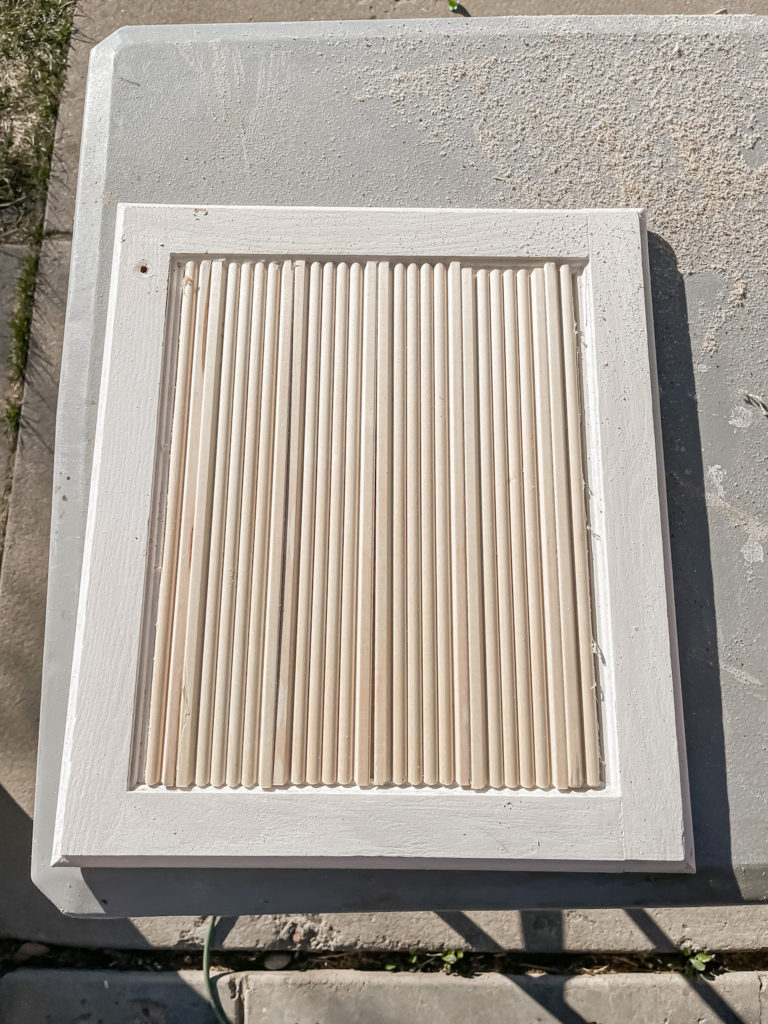
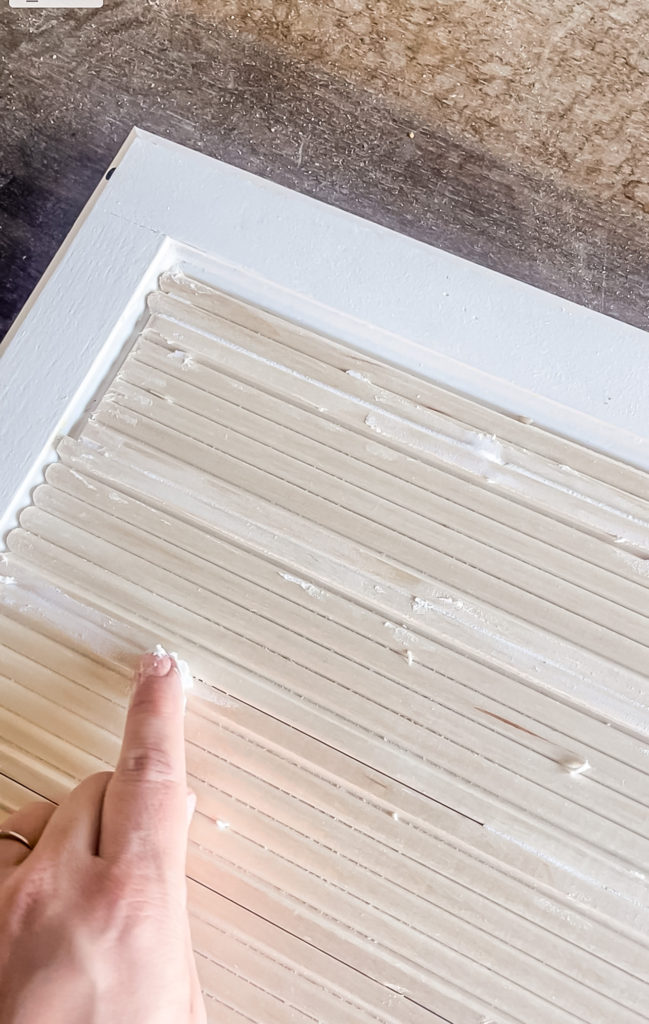
Once they were all attached, I went back and filled all of the gaps and nail holes with spackle.
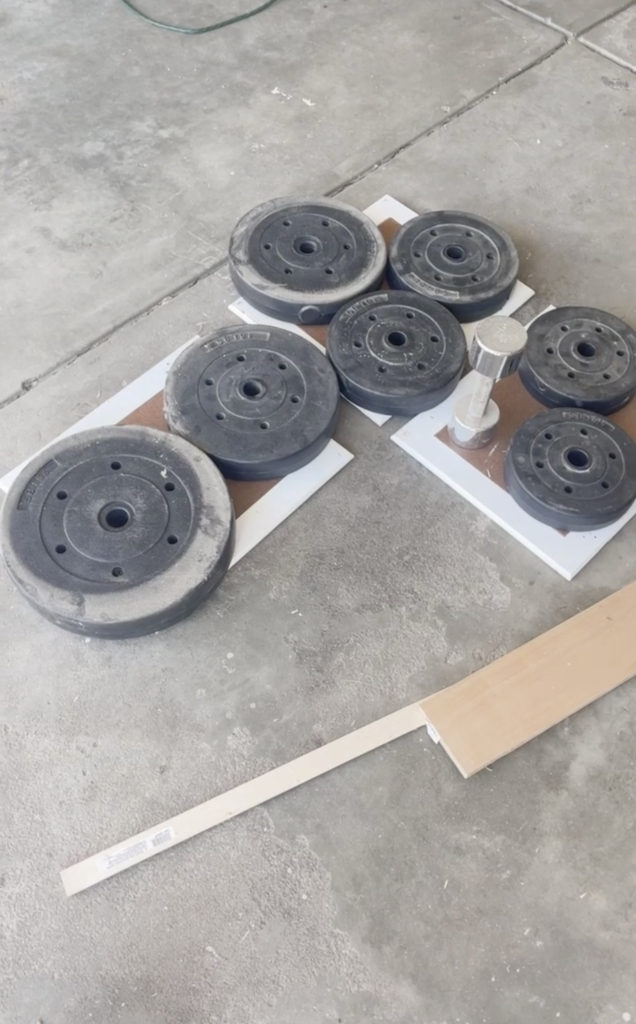
Since the door panel is so thin the ends of the nails came through the back, so to fix this I snipped them flat, then cut down some scrap hardboard and glued it to the backs. In hindsight, I would have been fine just gluing them down and avoiding the extra work!
While those were drying I began painting the cabinet frames. I went with my favorite Paint that I use for furniture.
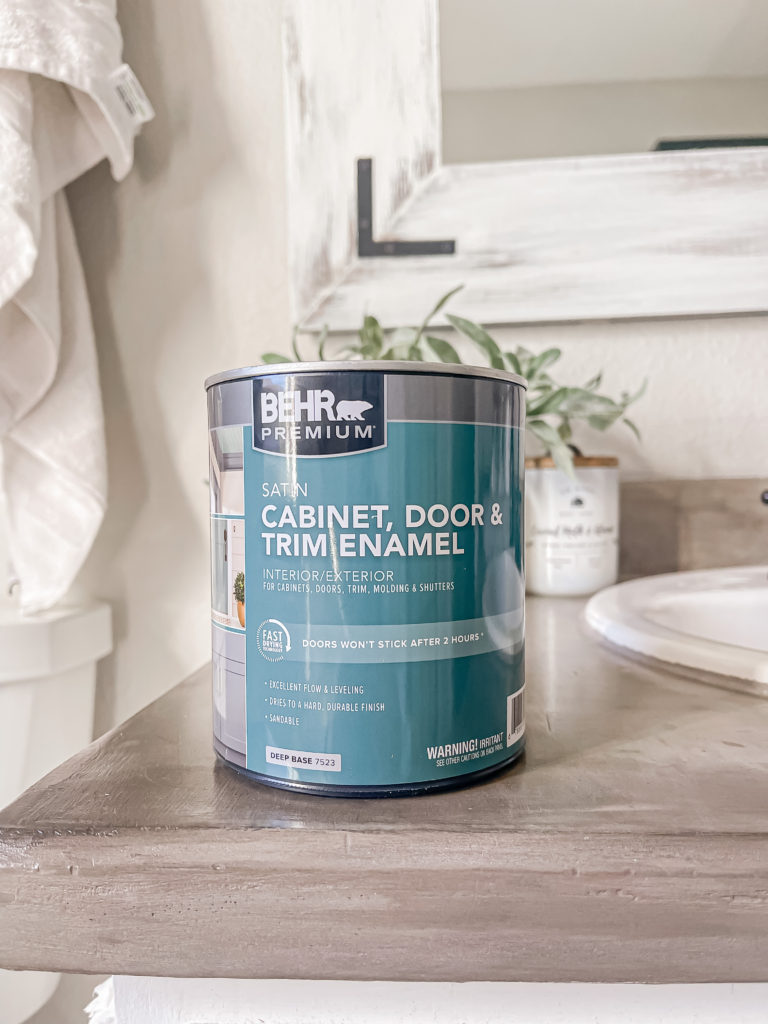
I chose the color Studio Taupe, but ended up adding white paint to lighten it a little.
I used the paint sprayer on the doors and I although I had originally intended to leave the faux drawers as is, I decided that it would look more cohesive if I added the trim to the fronts of those as well. So I cut down more trim, angling the edges at 45 degreees.
Next it was time to add some character to the vanity bottom. I wanted it to feel more like a custom vanity so I needed to cover the builder toe kick space.
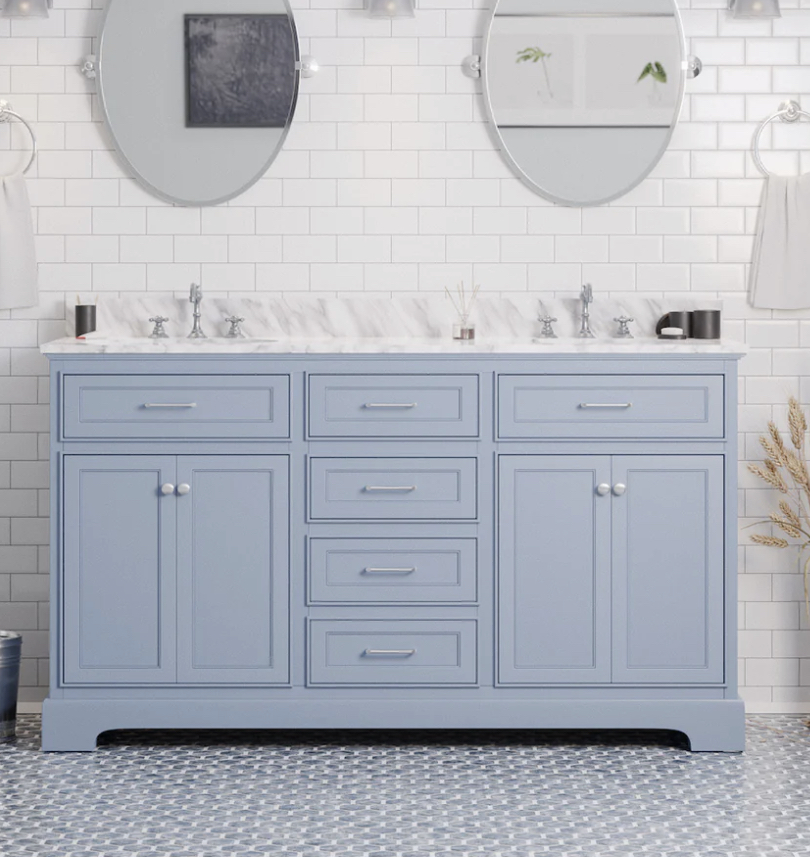
This was my inspiration picture.
I started by first drilling multiple holes into the side so that I could carve out a hole by hammering them in. This way, when the trim went on it would look freestanding. Don’t worry about the mess—remember it’s being covered and will make more sense in a bit!
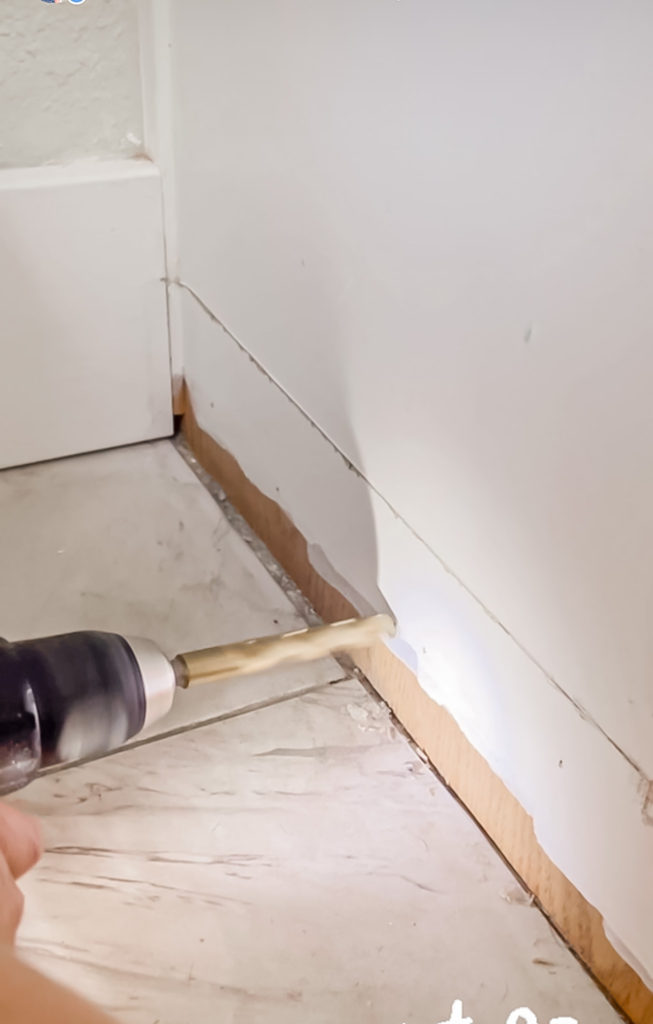
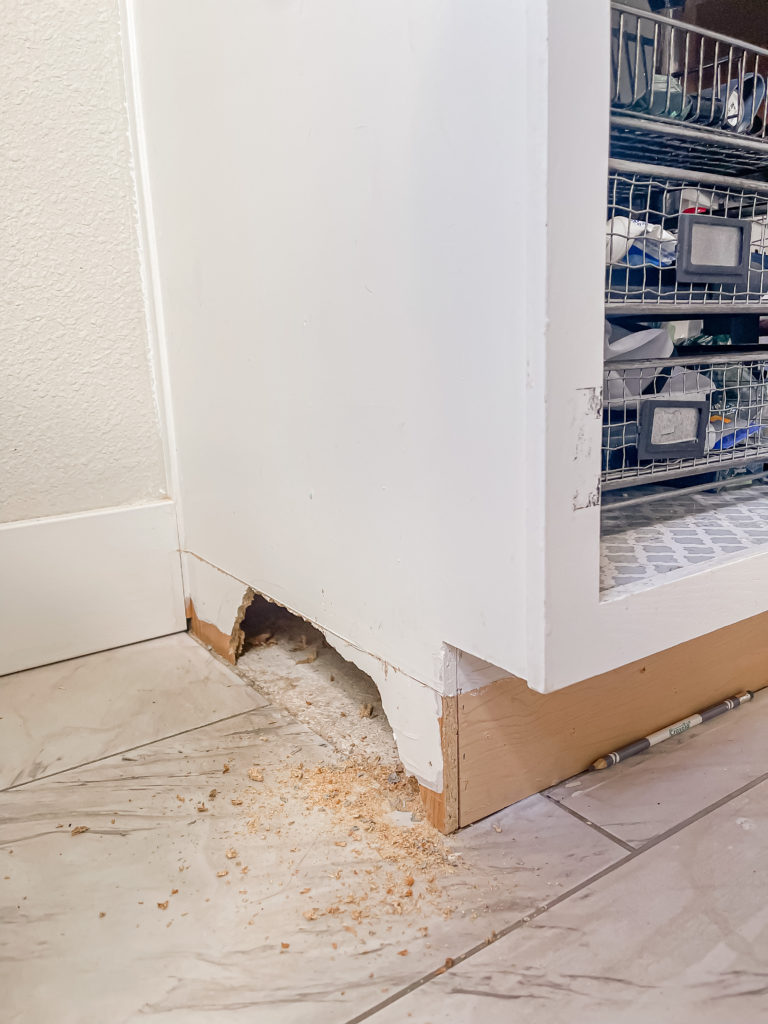
After this step I realized that I needed to first replace the floors with new peel and stick tiles since they would be going under the trim.
I had created a paper template to show me how I wanted the trim to sit, so I transferred that over to my wood boards once I had them cut to size.
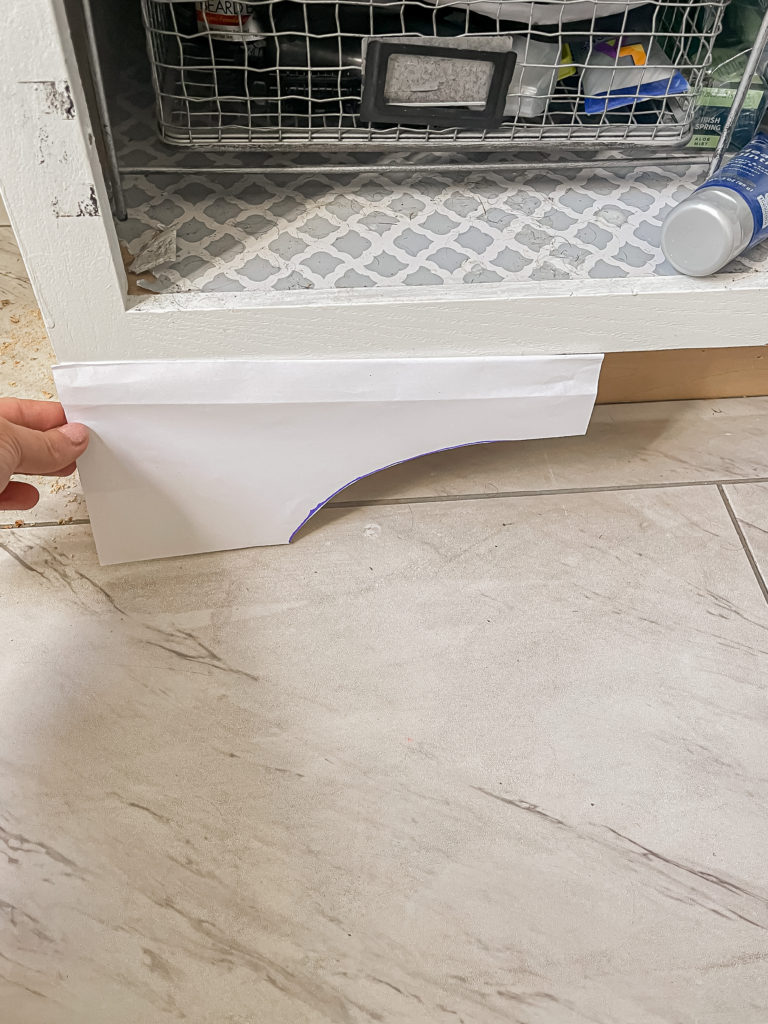
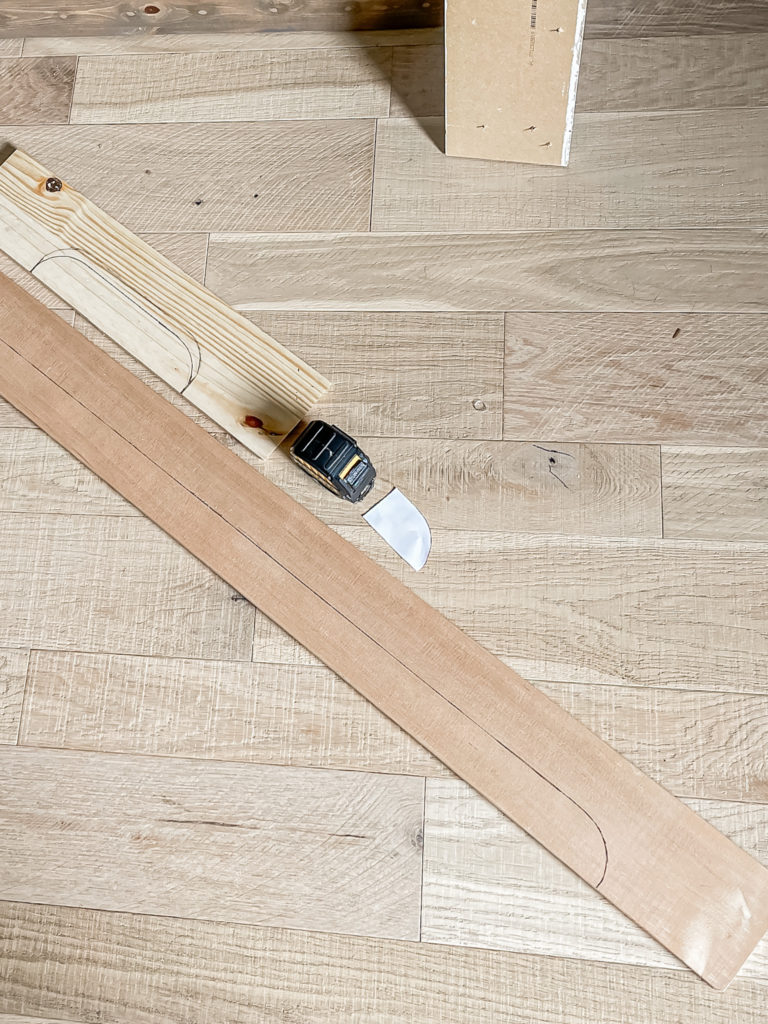
Anthony offered to cut it out for me with the jigsaw, and since he is a lot more patient and precise than I am I gladly accepted the offer!
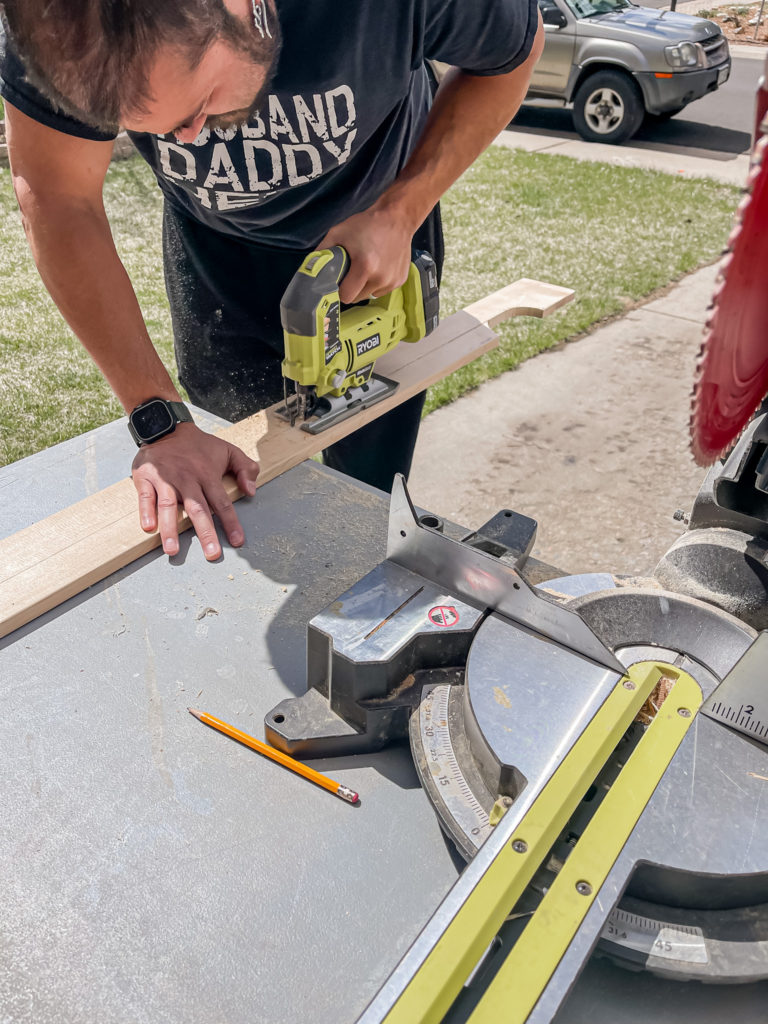
I attached the front piece to scrap 2x4s that I had previously cut down and glued to the toe kick.
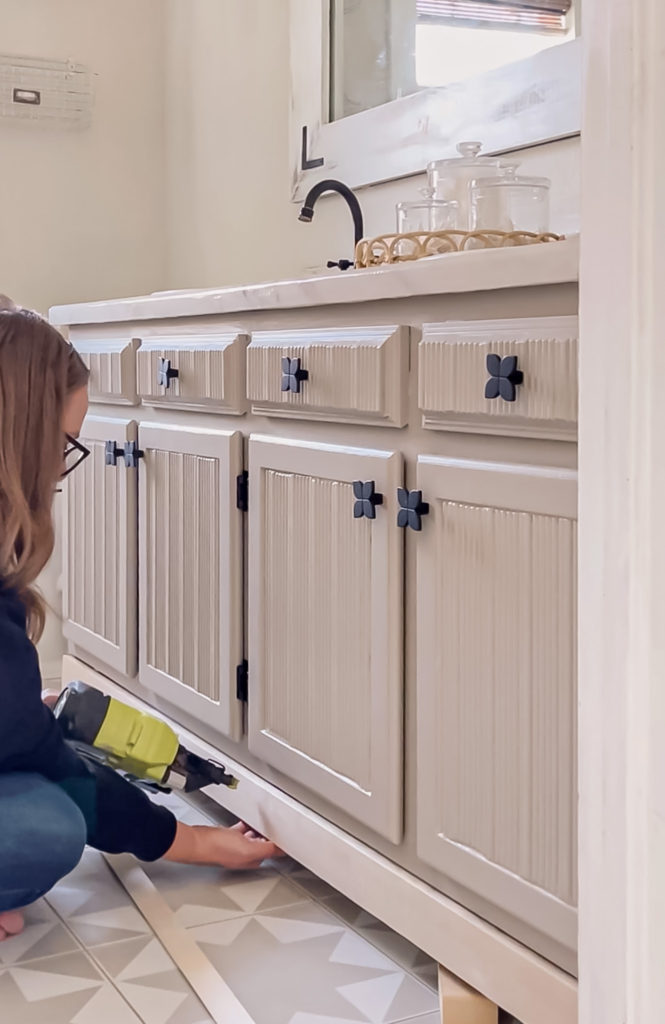
The side board got secured directly to the vanity. See why the hole was necessary?
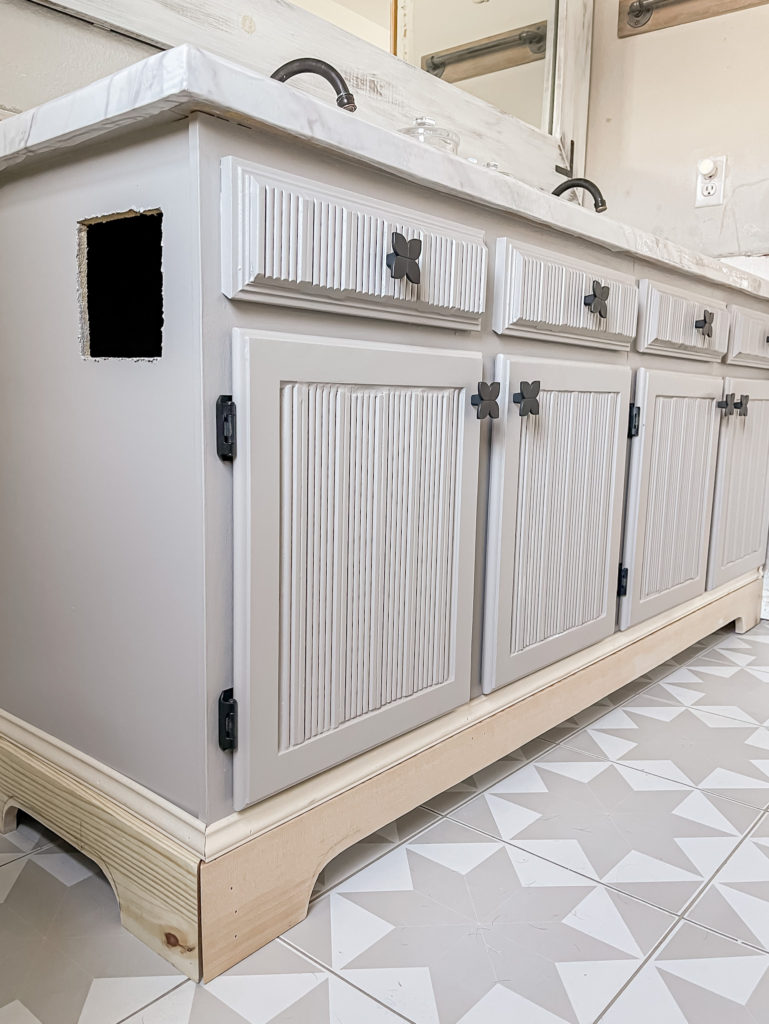
I went back and added some decorative molding above the boards to hide the seam where the boards met the vanity. All that was left to do now was to paint it!
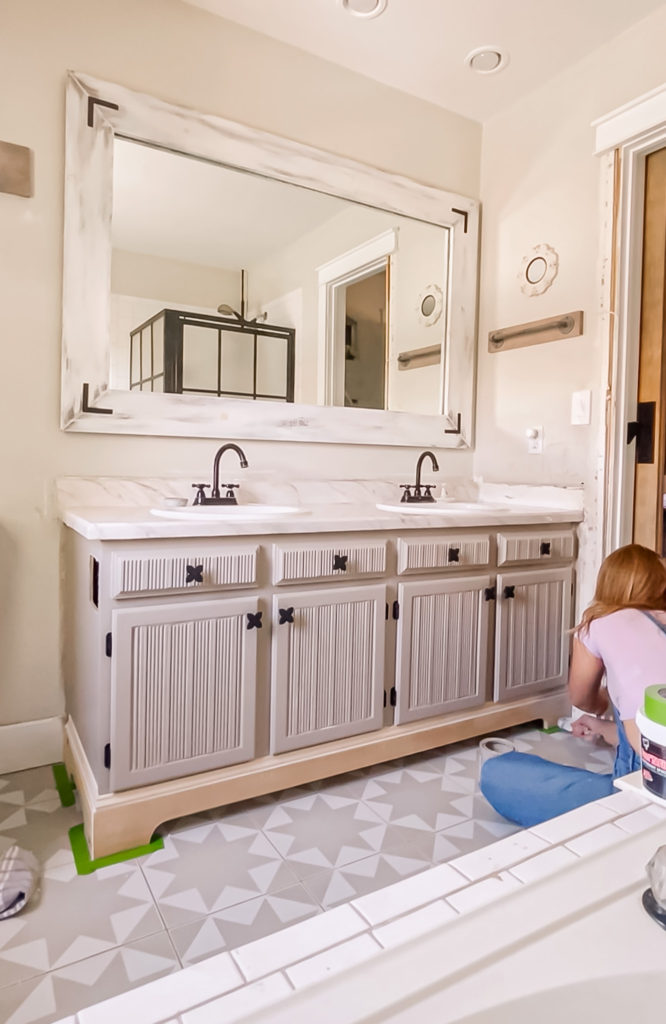
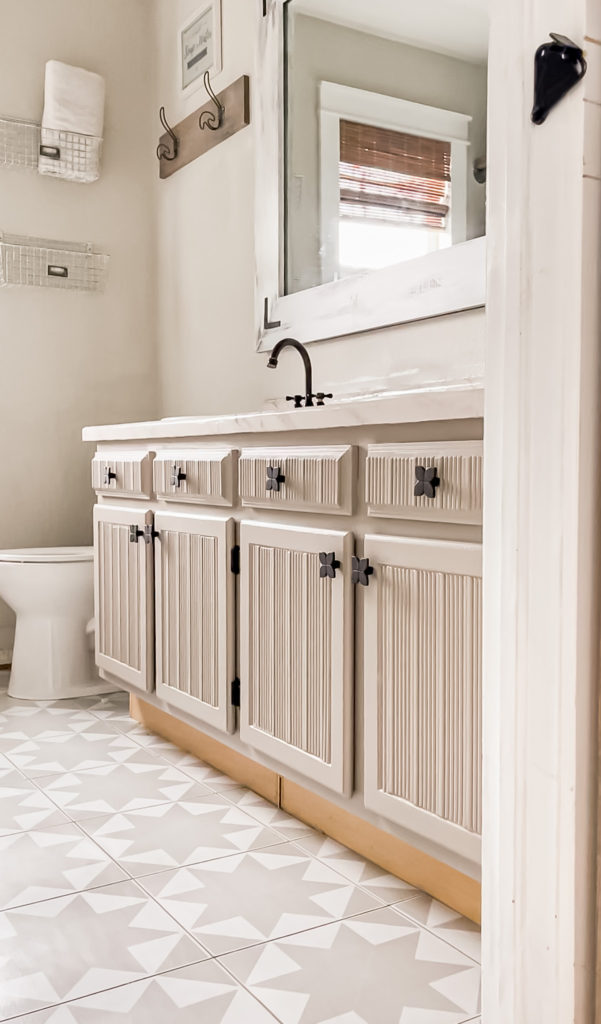
I am so happy with how it turned out and it’s hard to believe that this is the same builder grade vanity that we started with!
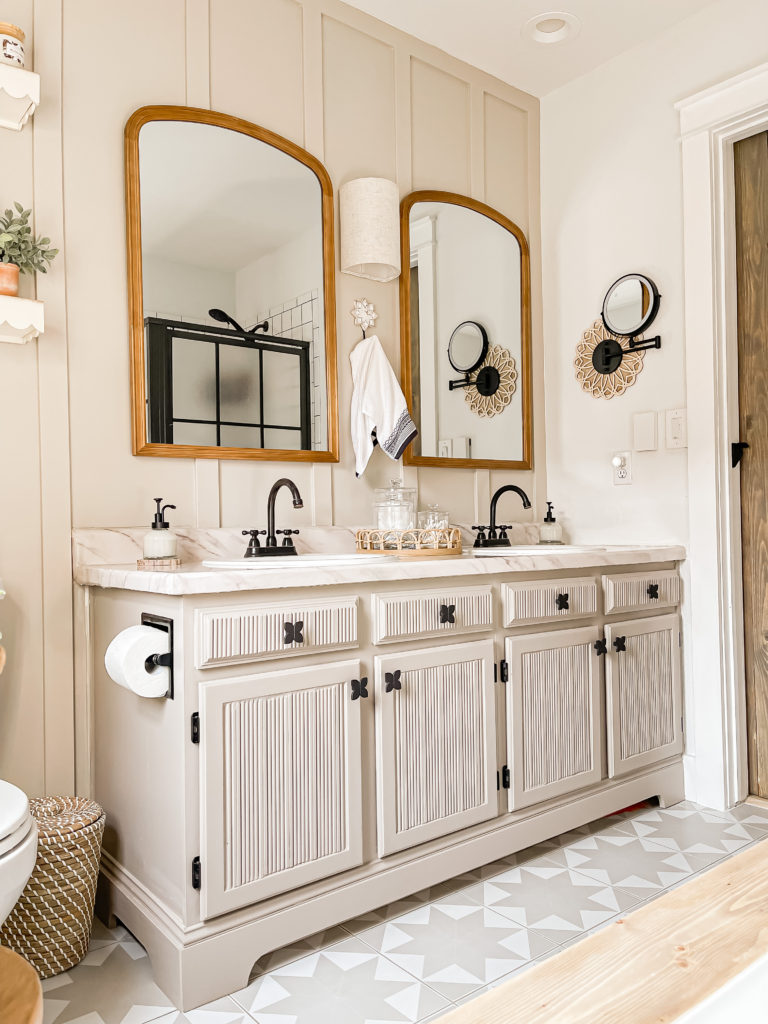
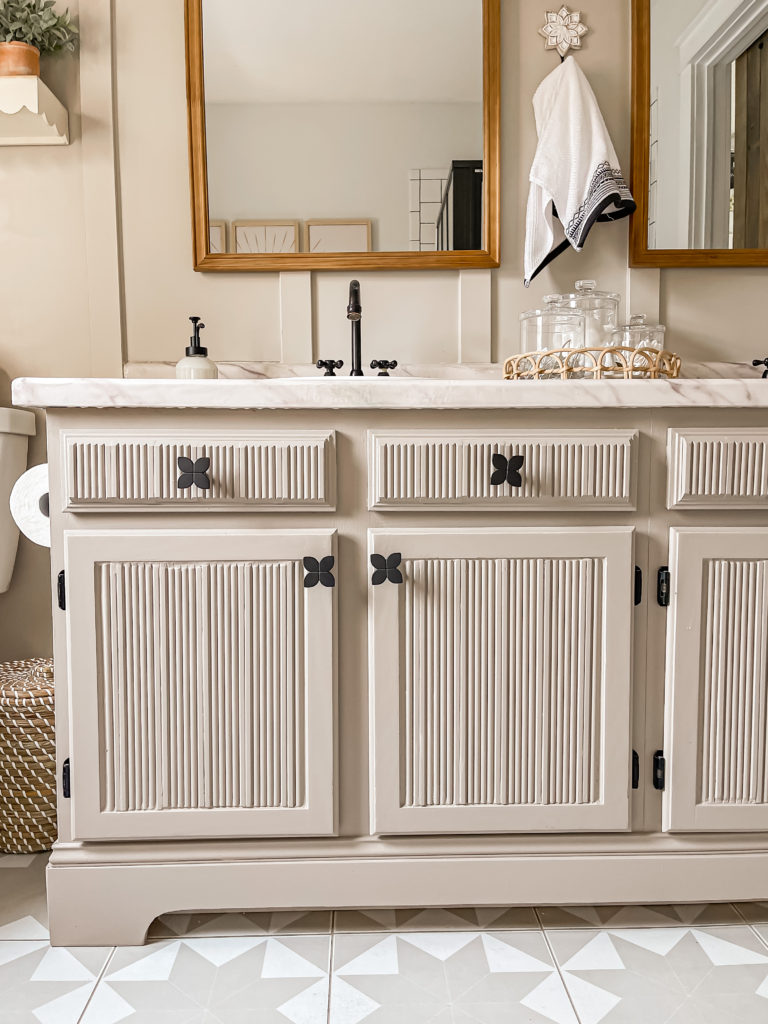
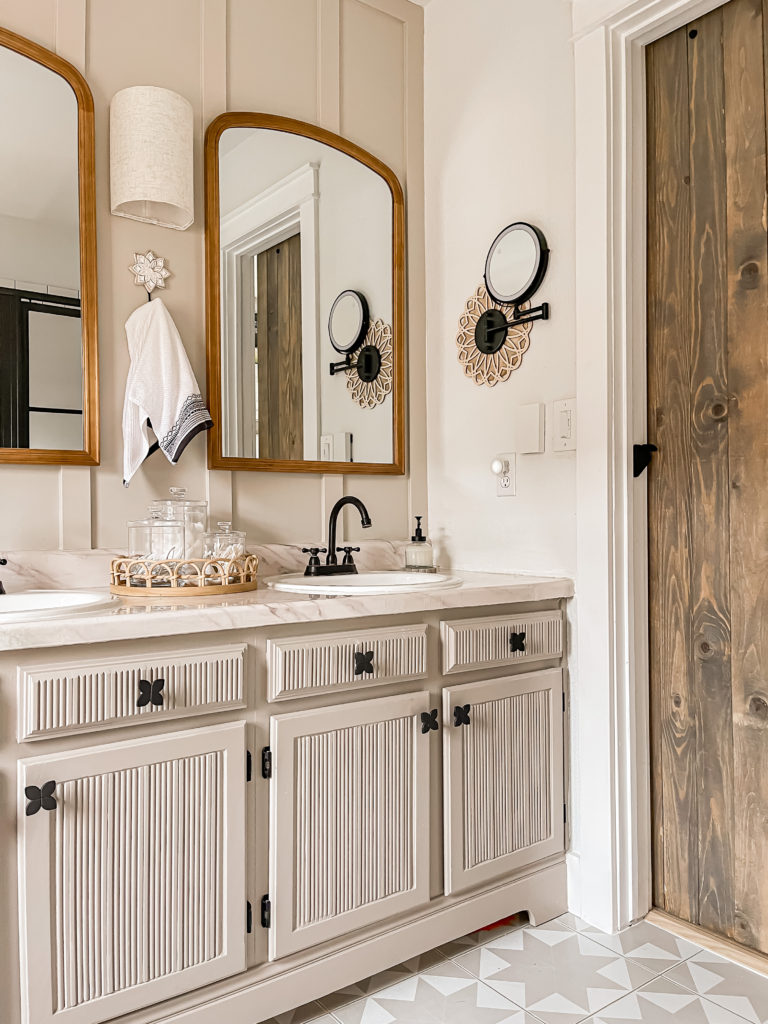
I am so happy that I made the decision to add the trim to the drawer fronts because the overall look is amazing.
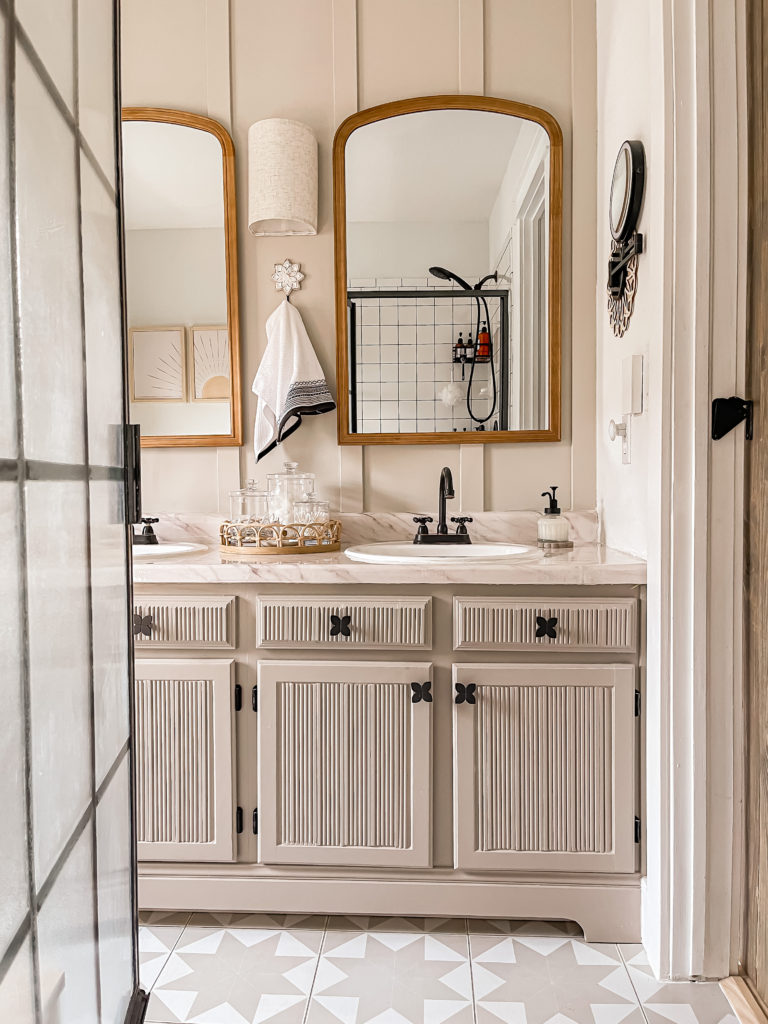
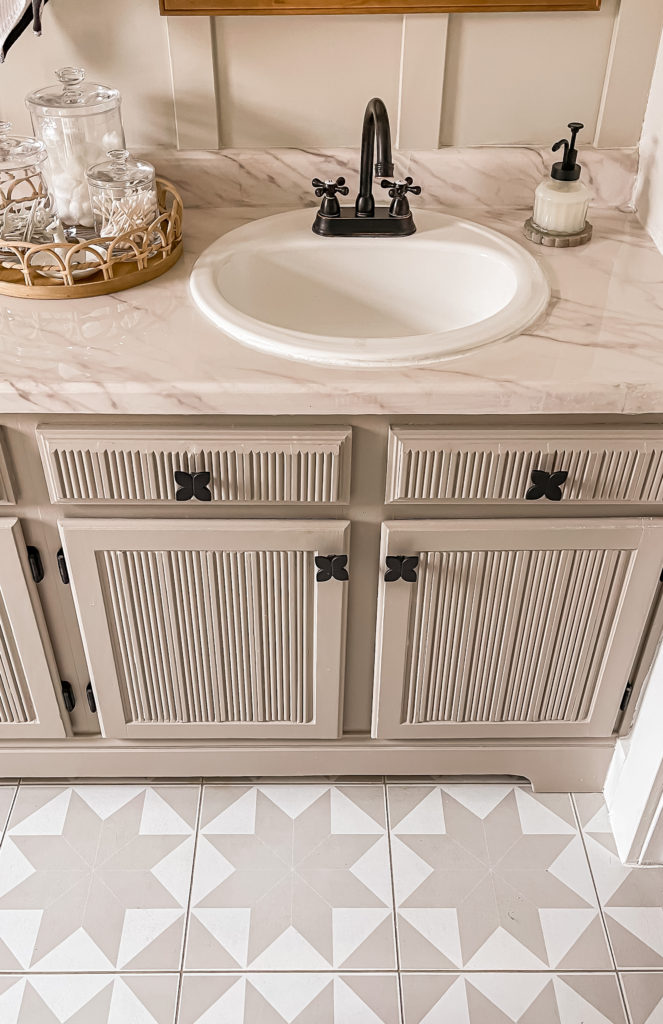
The new Knobs are super fun and I love how they coordinate with the other black accents that I have in here.
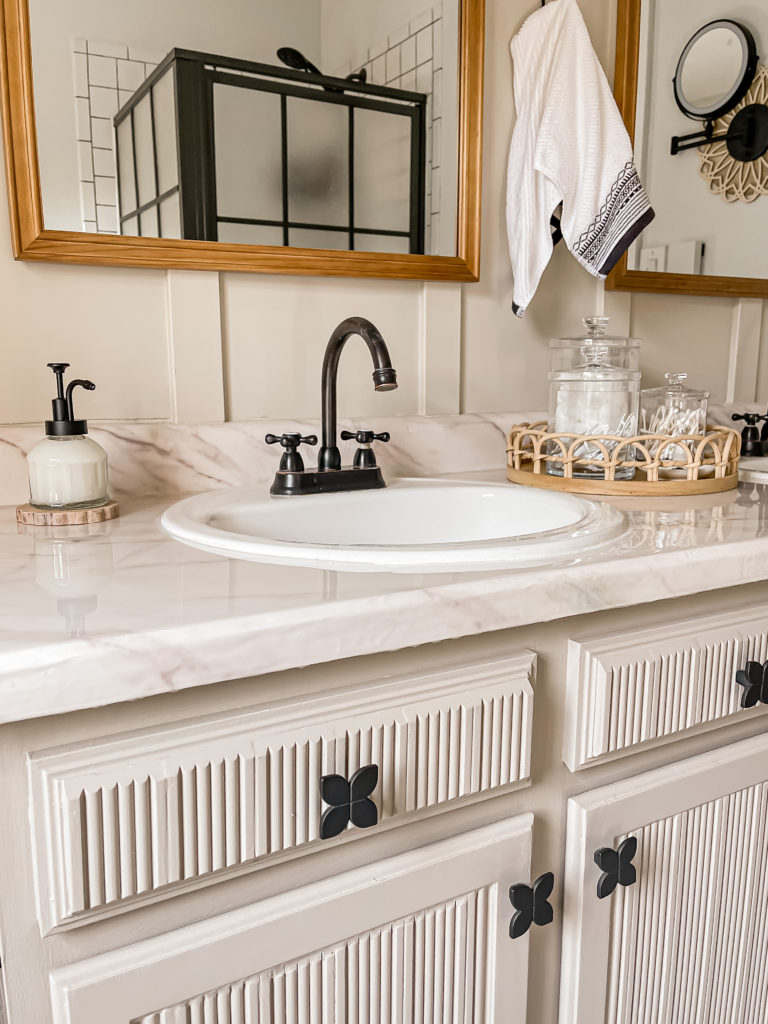
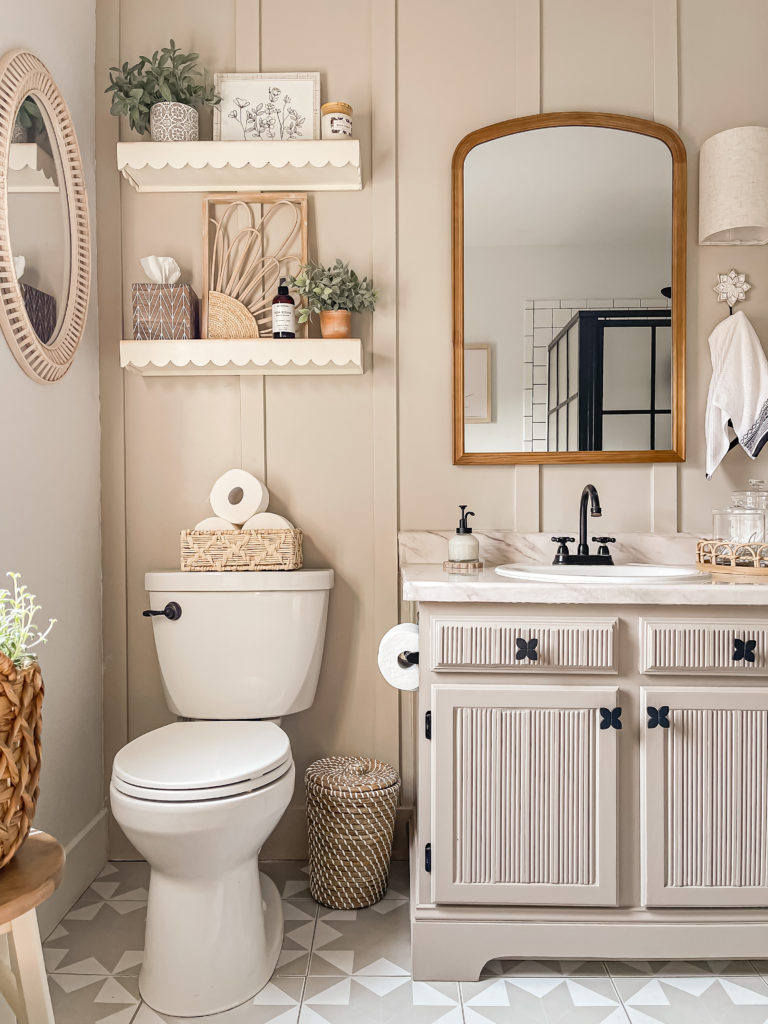
Obviously another thing that helped elevate this vanity from its builder grade state was the new faux marble countertop, which I promise to be back next week to share!
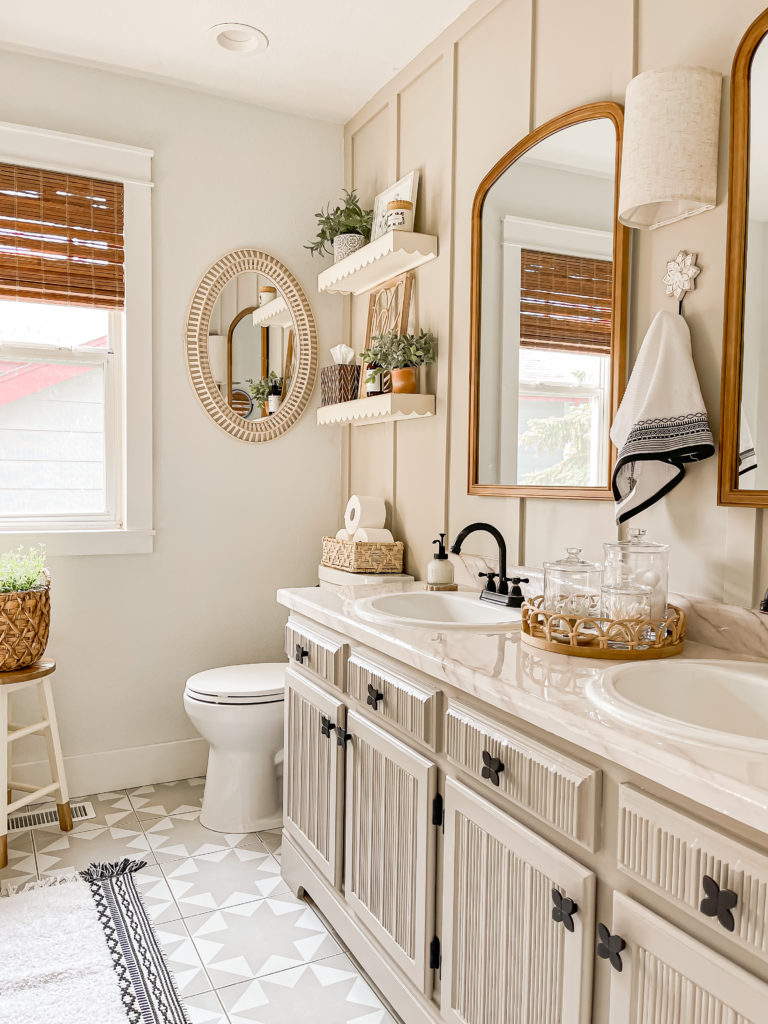

Thanks for stopping by today, have a fantastic rest of the week!
Linking up to these awesome parties!
PIN FOR LATER!
