
Hello and welcome to the final week of the One Room Challenge! It’s finally reveal day and I am so excited to share how our budget master bathroom refresh came together.
If you have missed any of the previous posts in the challenge you can catch them here:
- One Room Challenge (Week 1): Master Bathroom Plans
- One Room Challenge (Week 2): Starting the Vanity Makeover
- One Room Challenge (Week 3): More Vanity Progress
- One Room Challenge (Week 4): New Floors (and a new counter!)
- One Room Challenge (Week 5): Vanity Trim and Accent Wall
- One Room Challenge (Week 6): Wall Accessories and Wall Paint
- One Room Challenge (Week 7): Painting the Shower, Rebuilding the Tub Surround and Final Details
Let’s kick off by taking a quick peek back at where this room started when we first purchased this house.
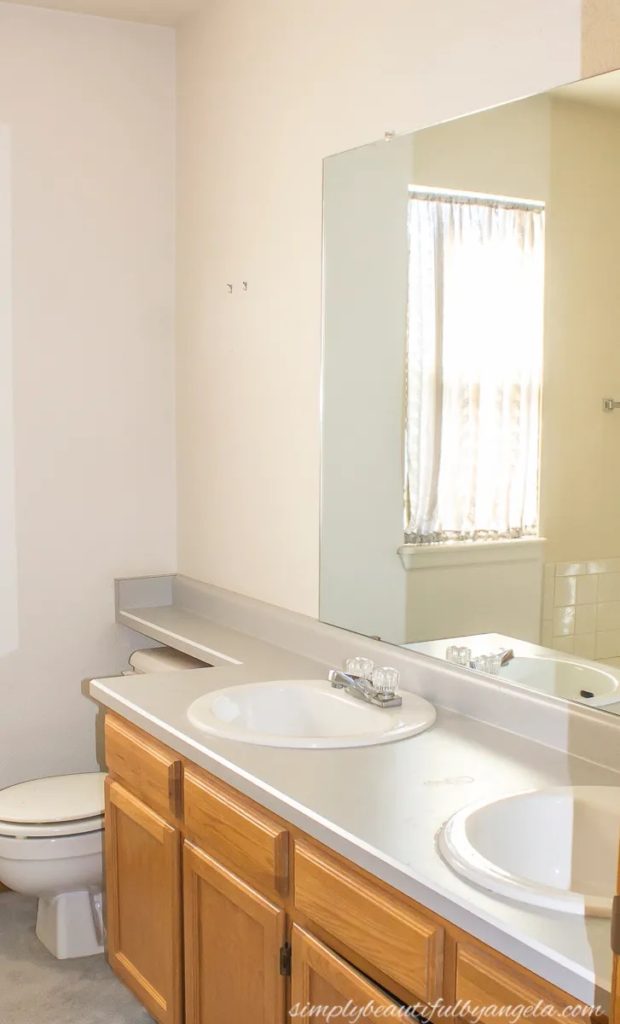
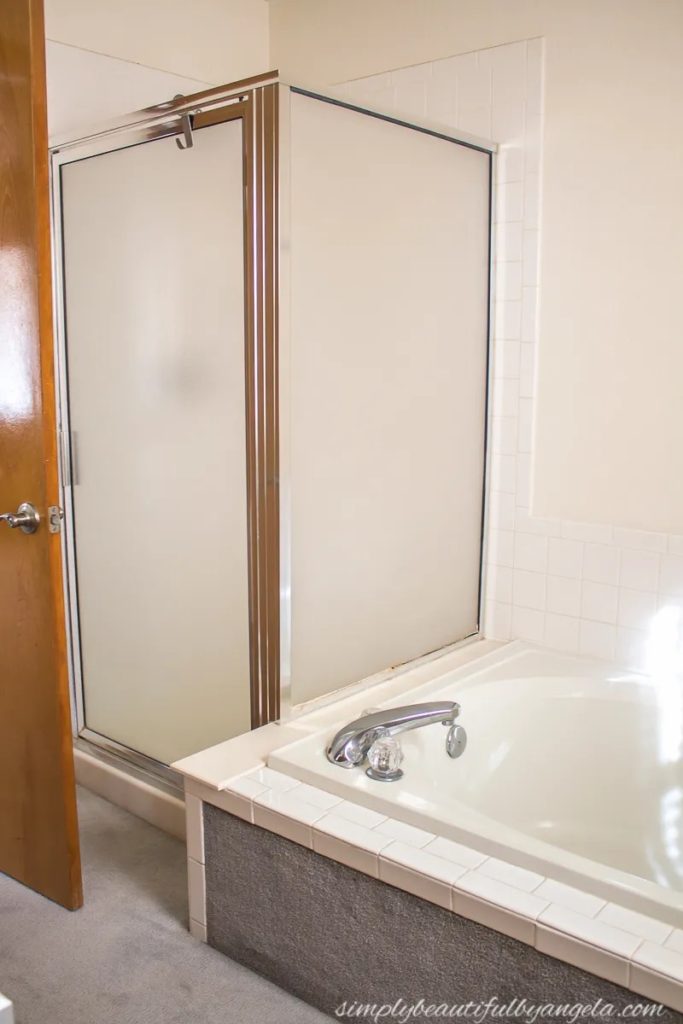
Everything was from the 1990s, and I mean everything! From the orange toned oak vanity, the blue wrap around laminate countertop and blue carpet! It was certainly overdue for some updates.
I participated in the ORC Spring 2019 challenge to give it a budget makeover while we saved for a bigger renovation which brought us to here.
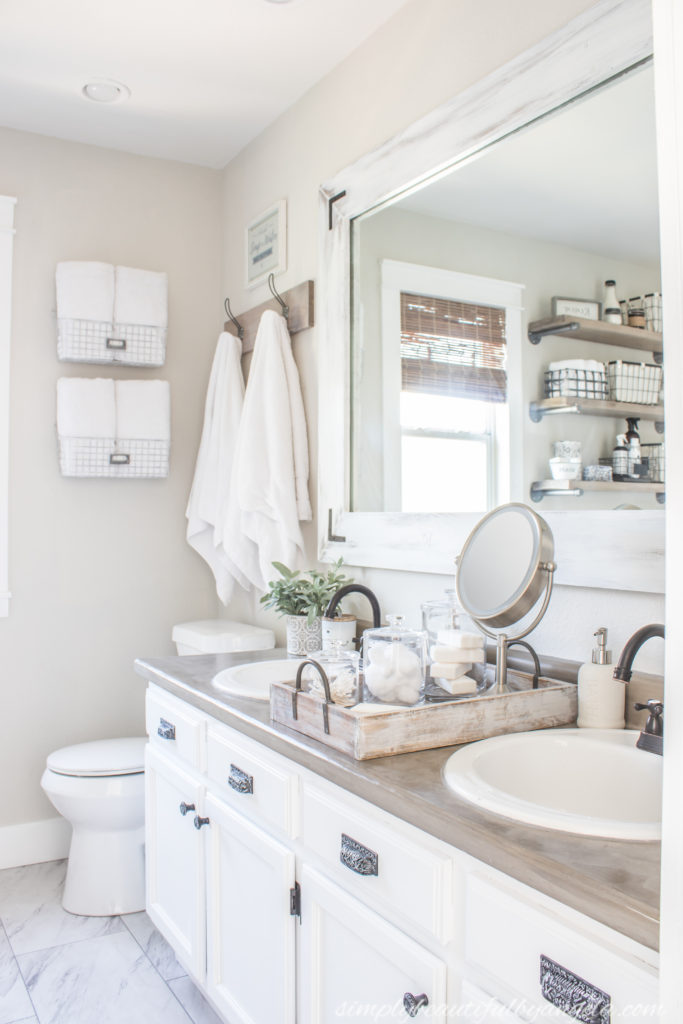
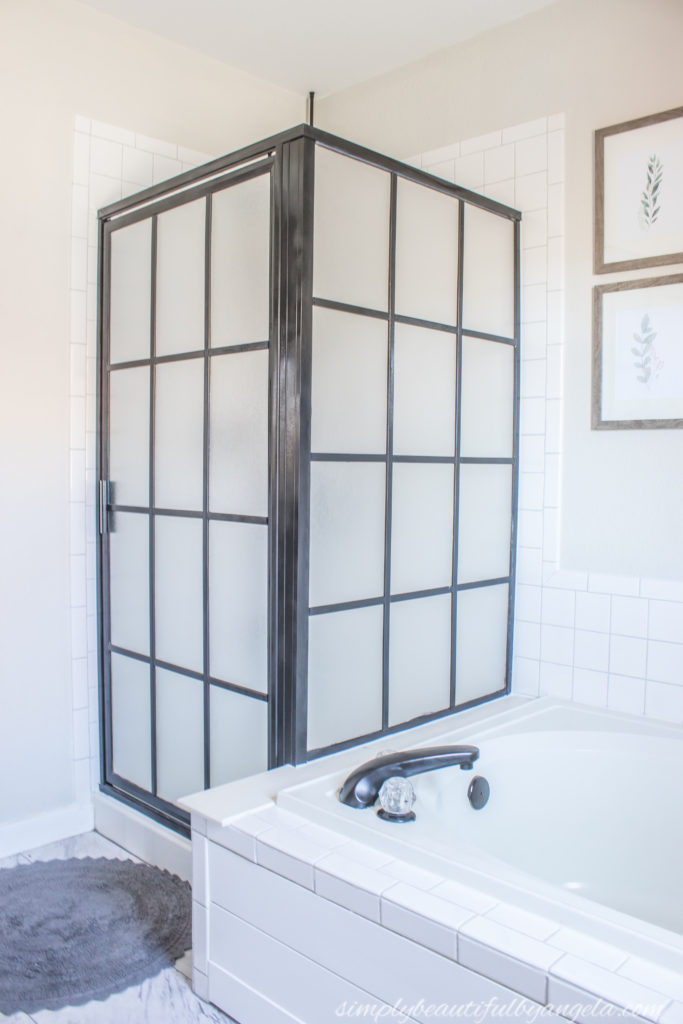
It felt a million times better and the updates held up great until just recently. The sealer on the concrete counters started to break down in some areas and the paint on bottom of the shower frame was starting to wear off because I got lazy about cleaning off the mildew buildup.
Thanks to to our family experiencing thousands of dollars of medical debt this year, a full gut renovation is still not something we can swing. So I decided it was time for another budget refresh. Are you ready to come in to see the new space?
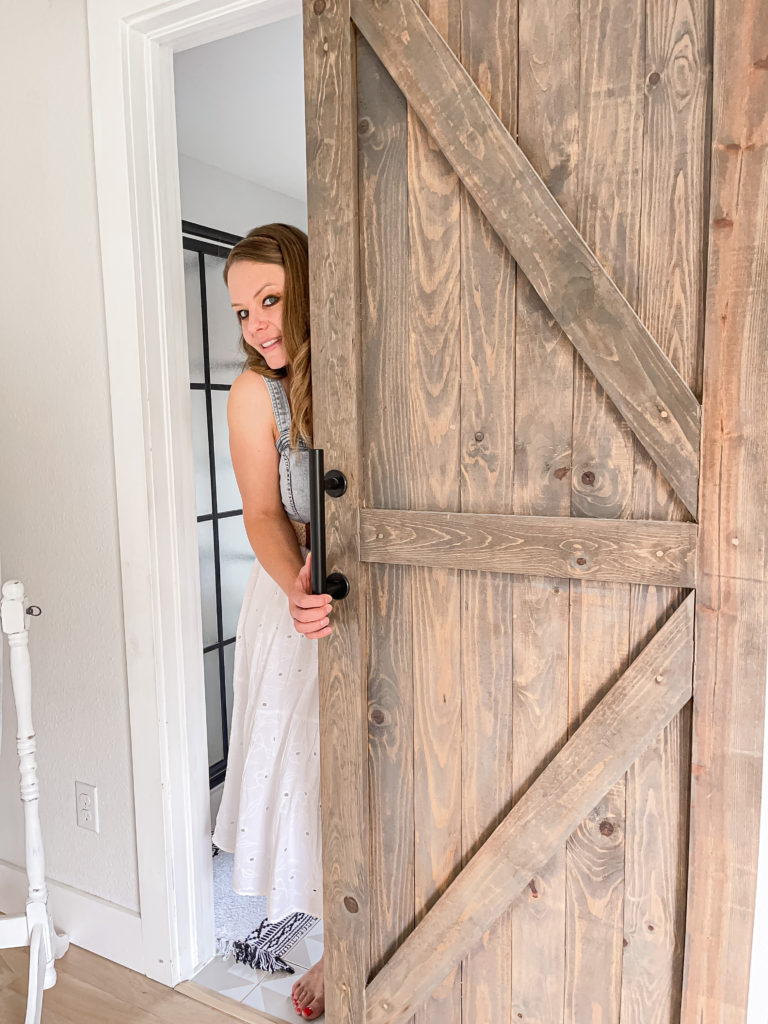
Come on in!
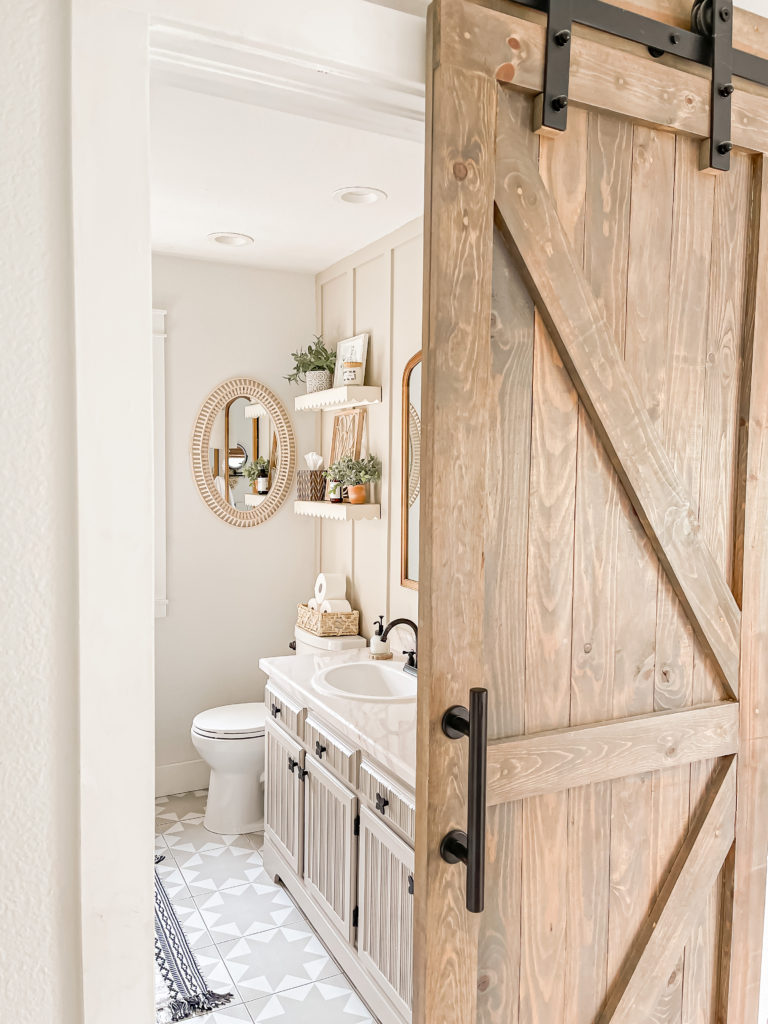
1. Vanity
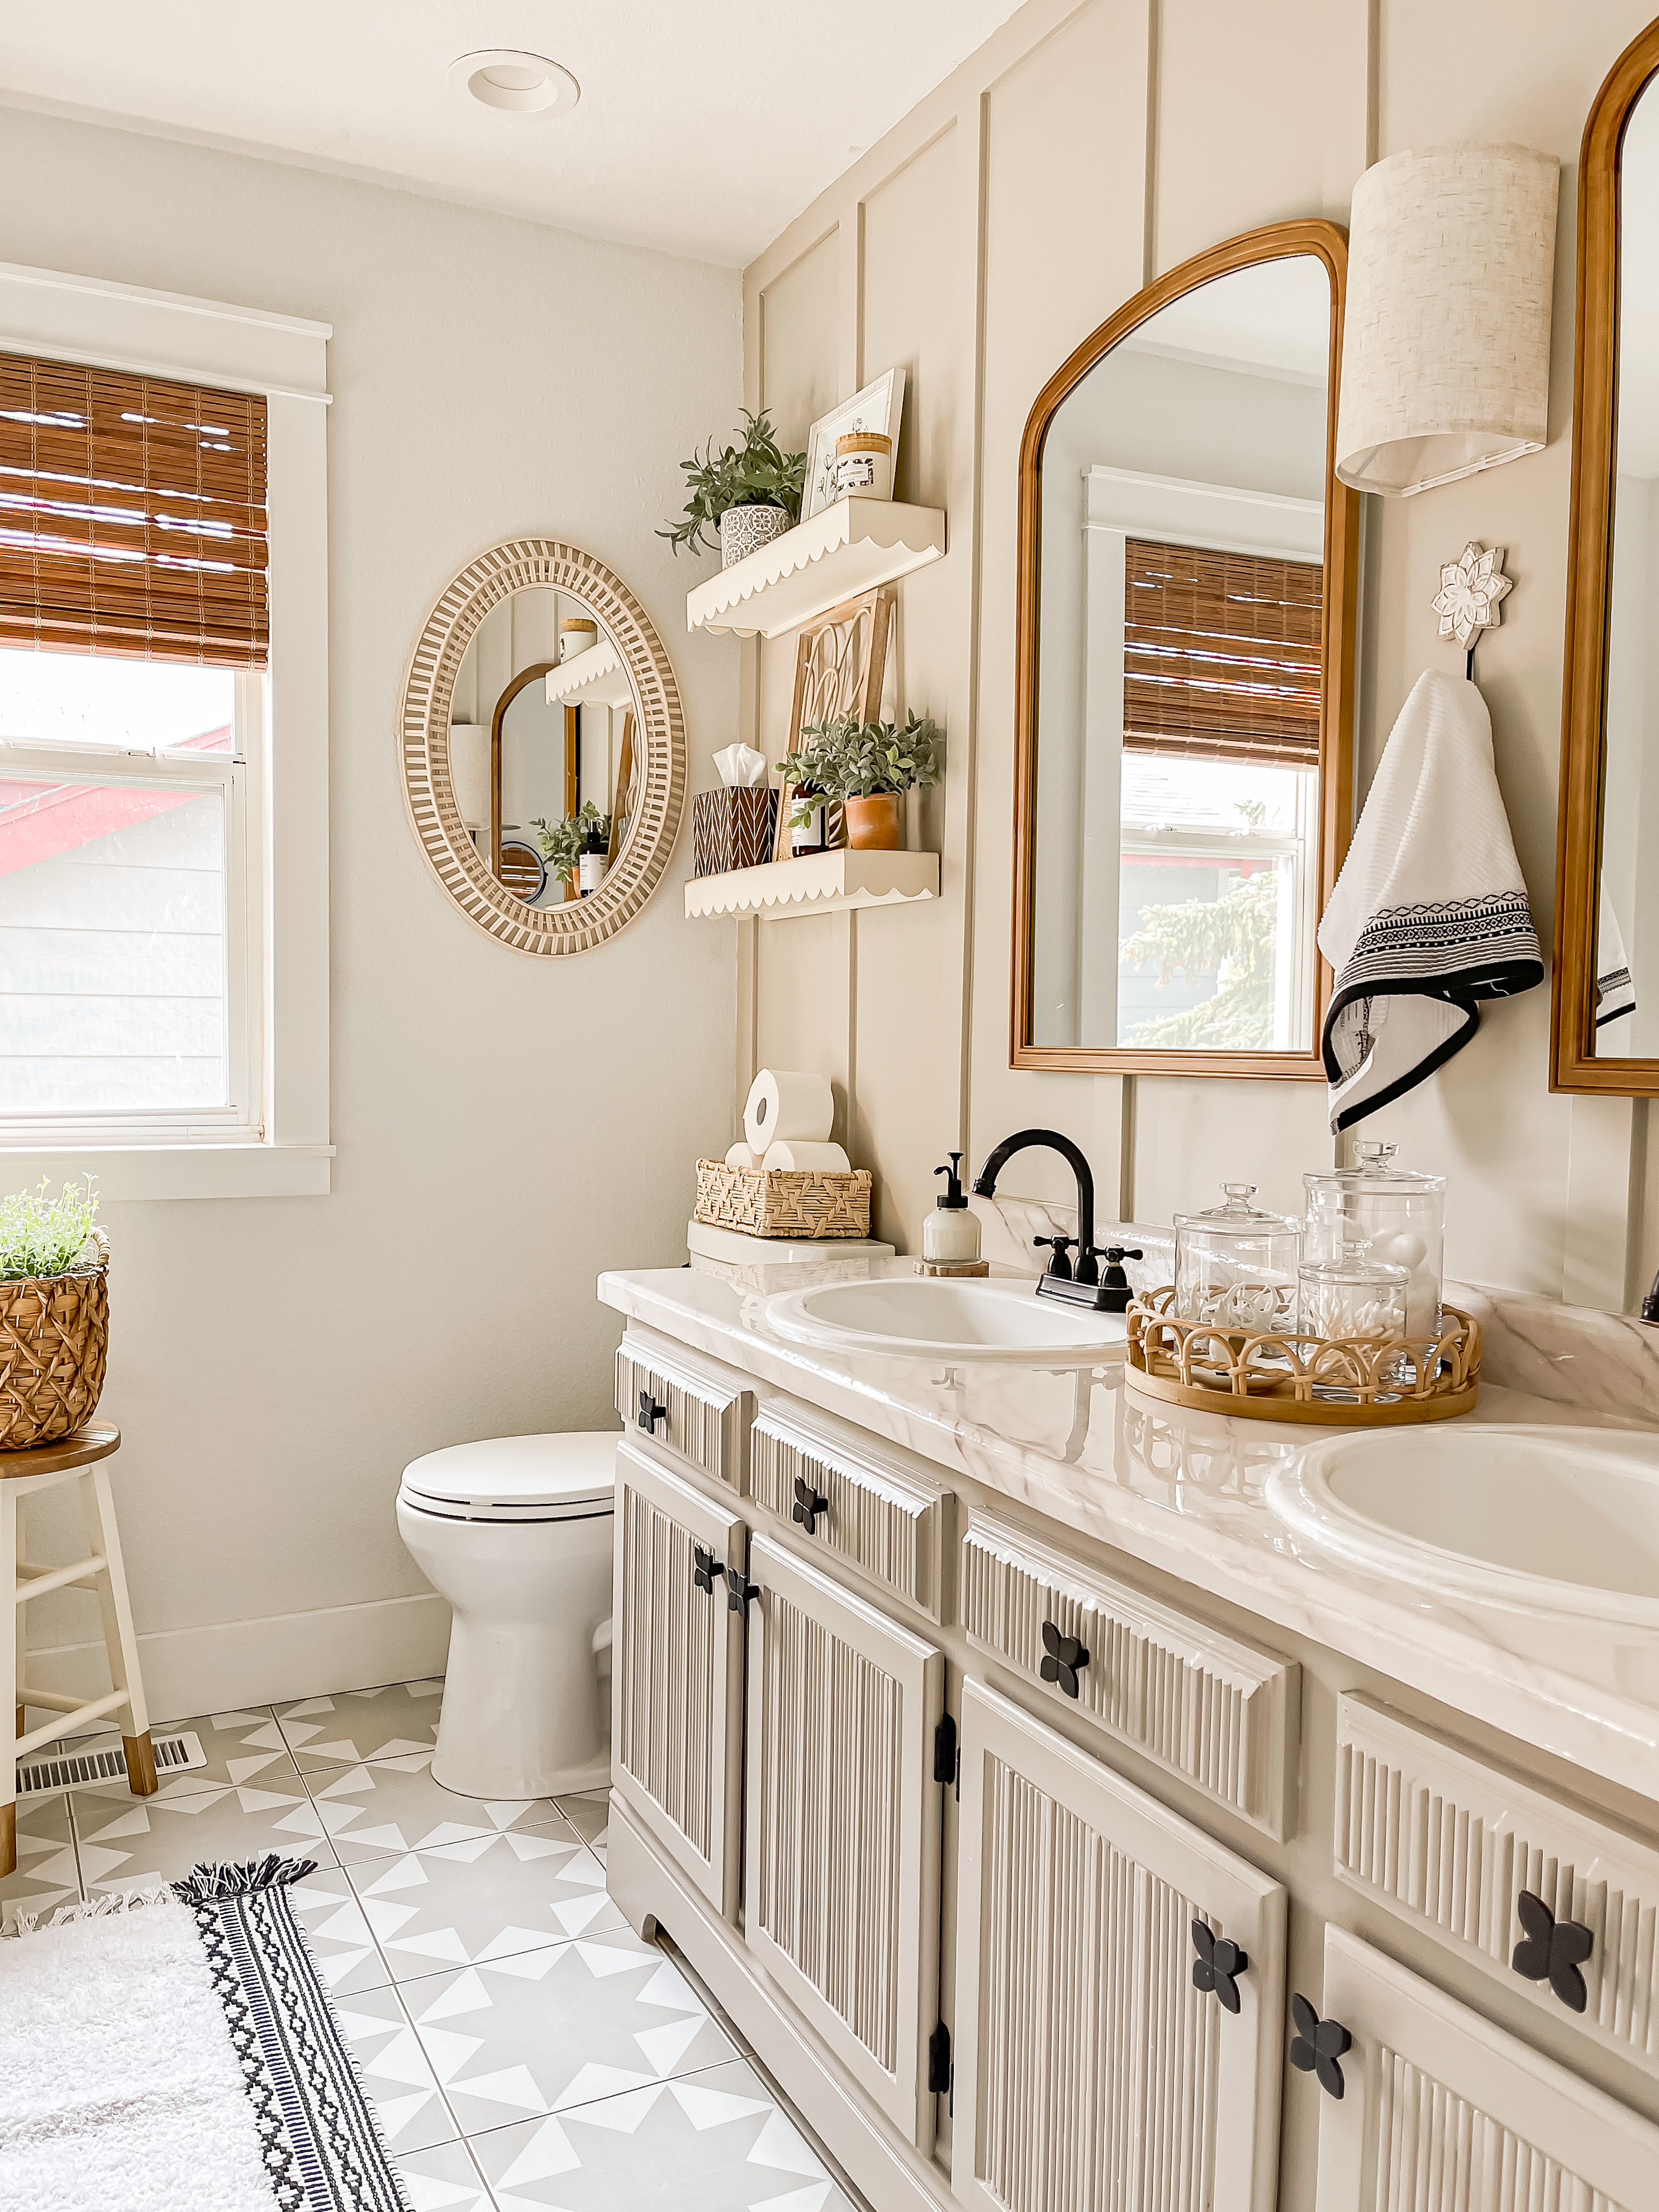
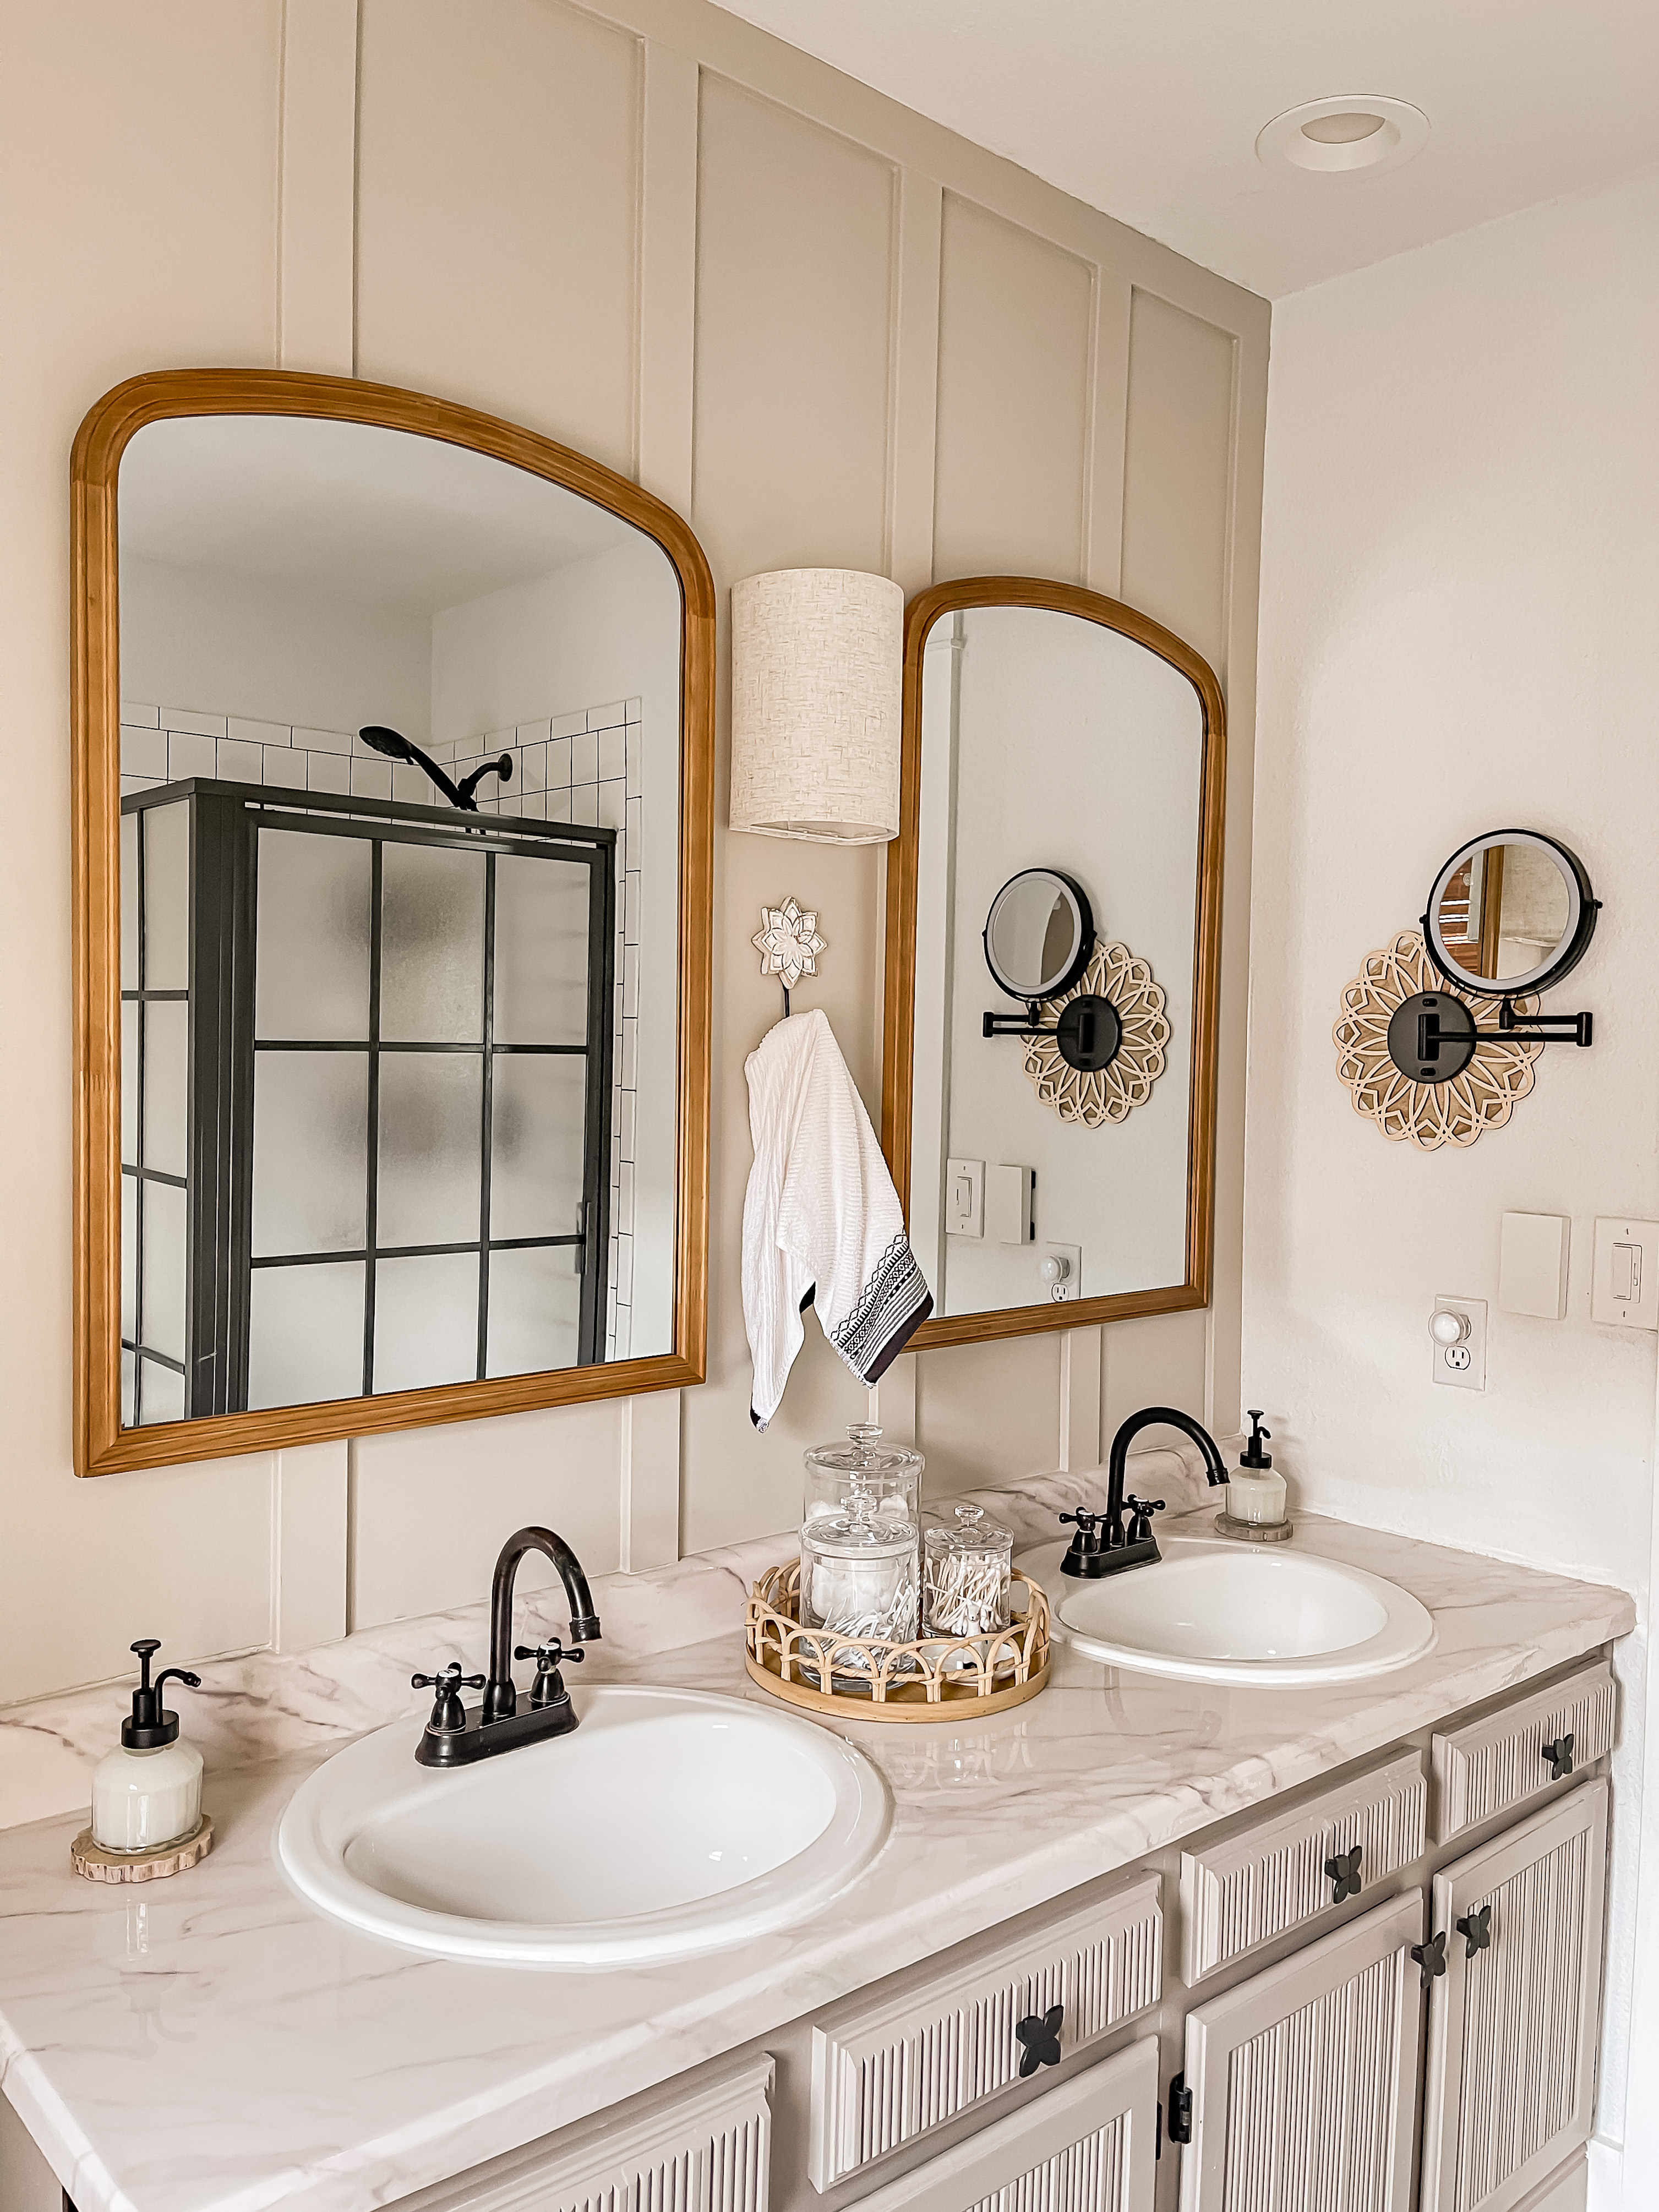
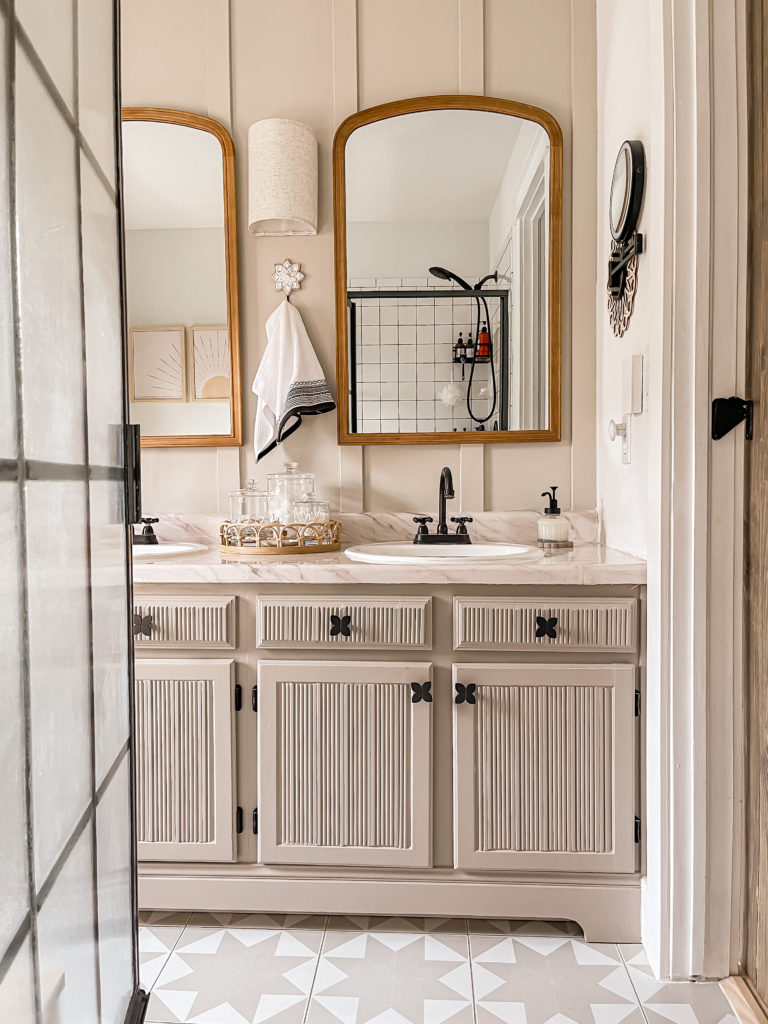
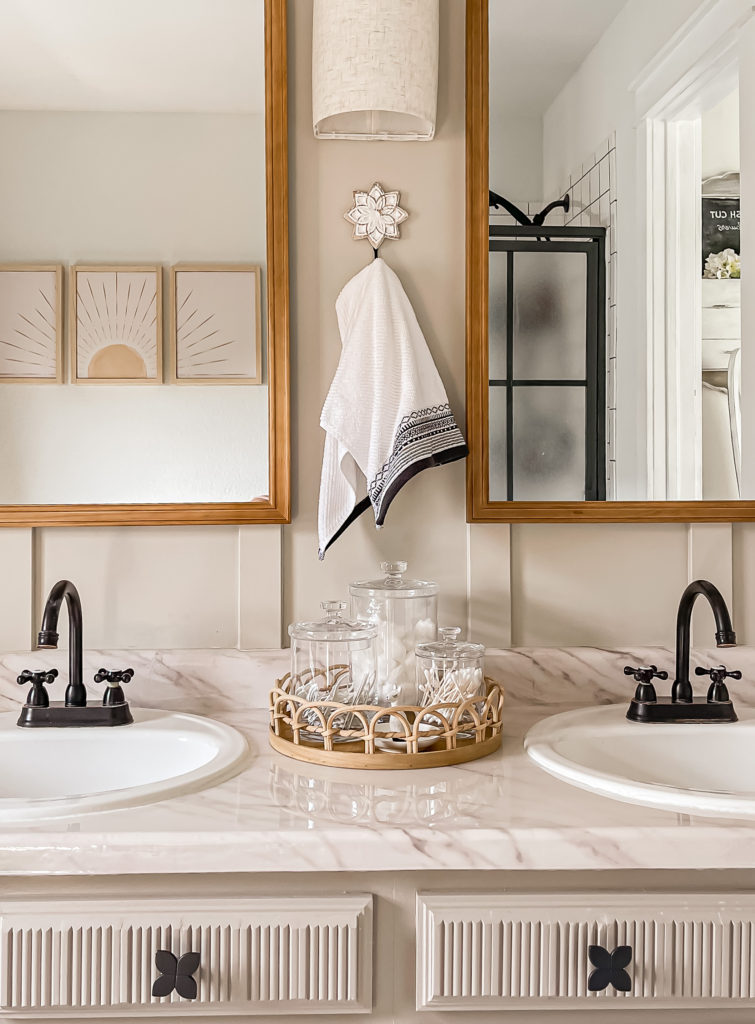
Of course I would have loved to tear the entire vanity out to replace it with a brand new one, but double sink vanities are crazy expensive! So I decided to revamp our existing one. I feel like it looks completely different and it’s hard to believe that it’s the same one in the picture above.
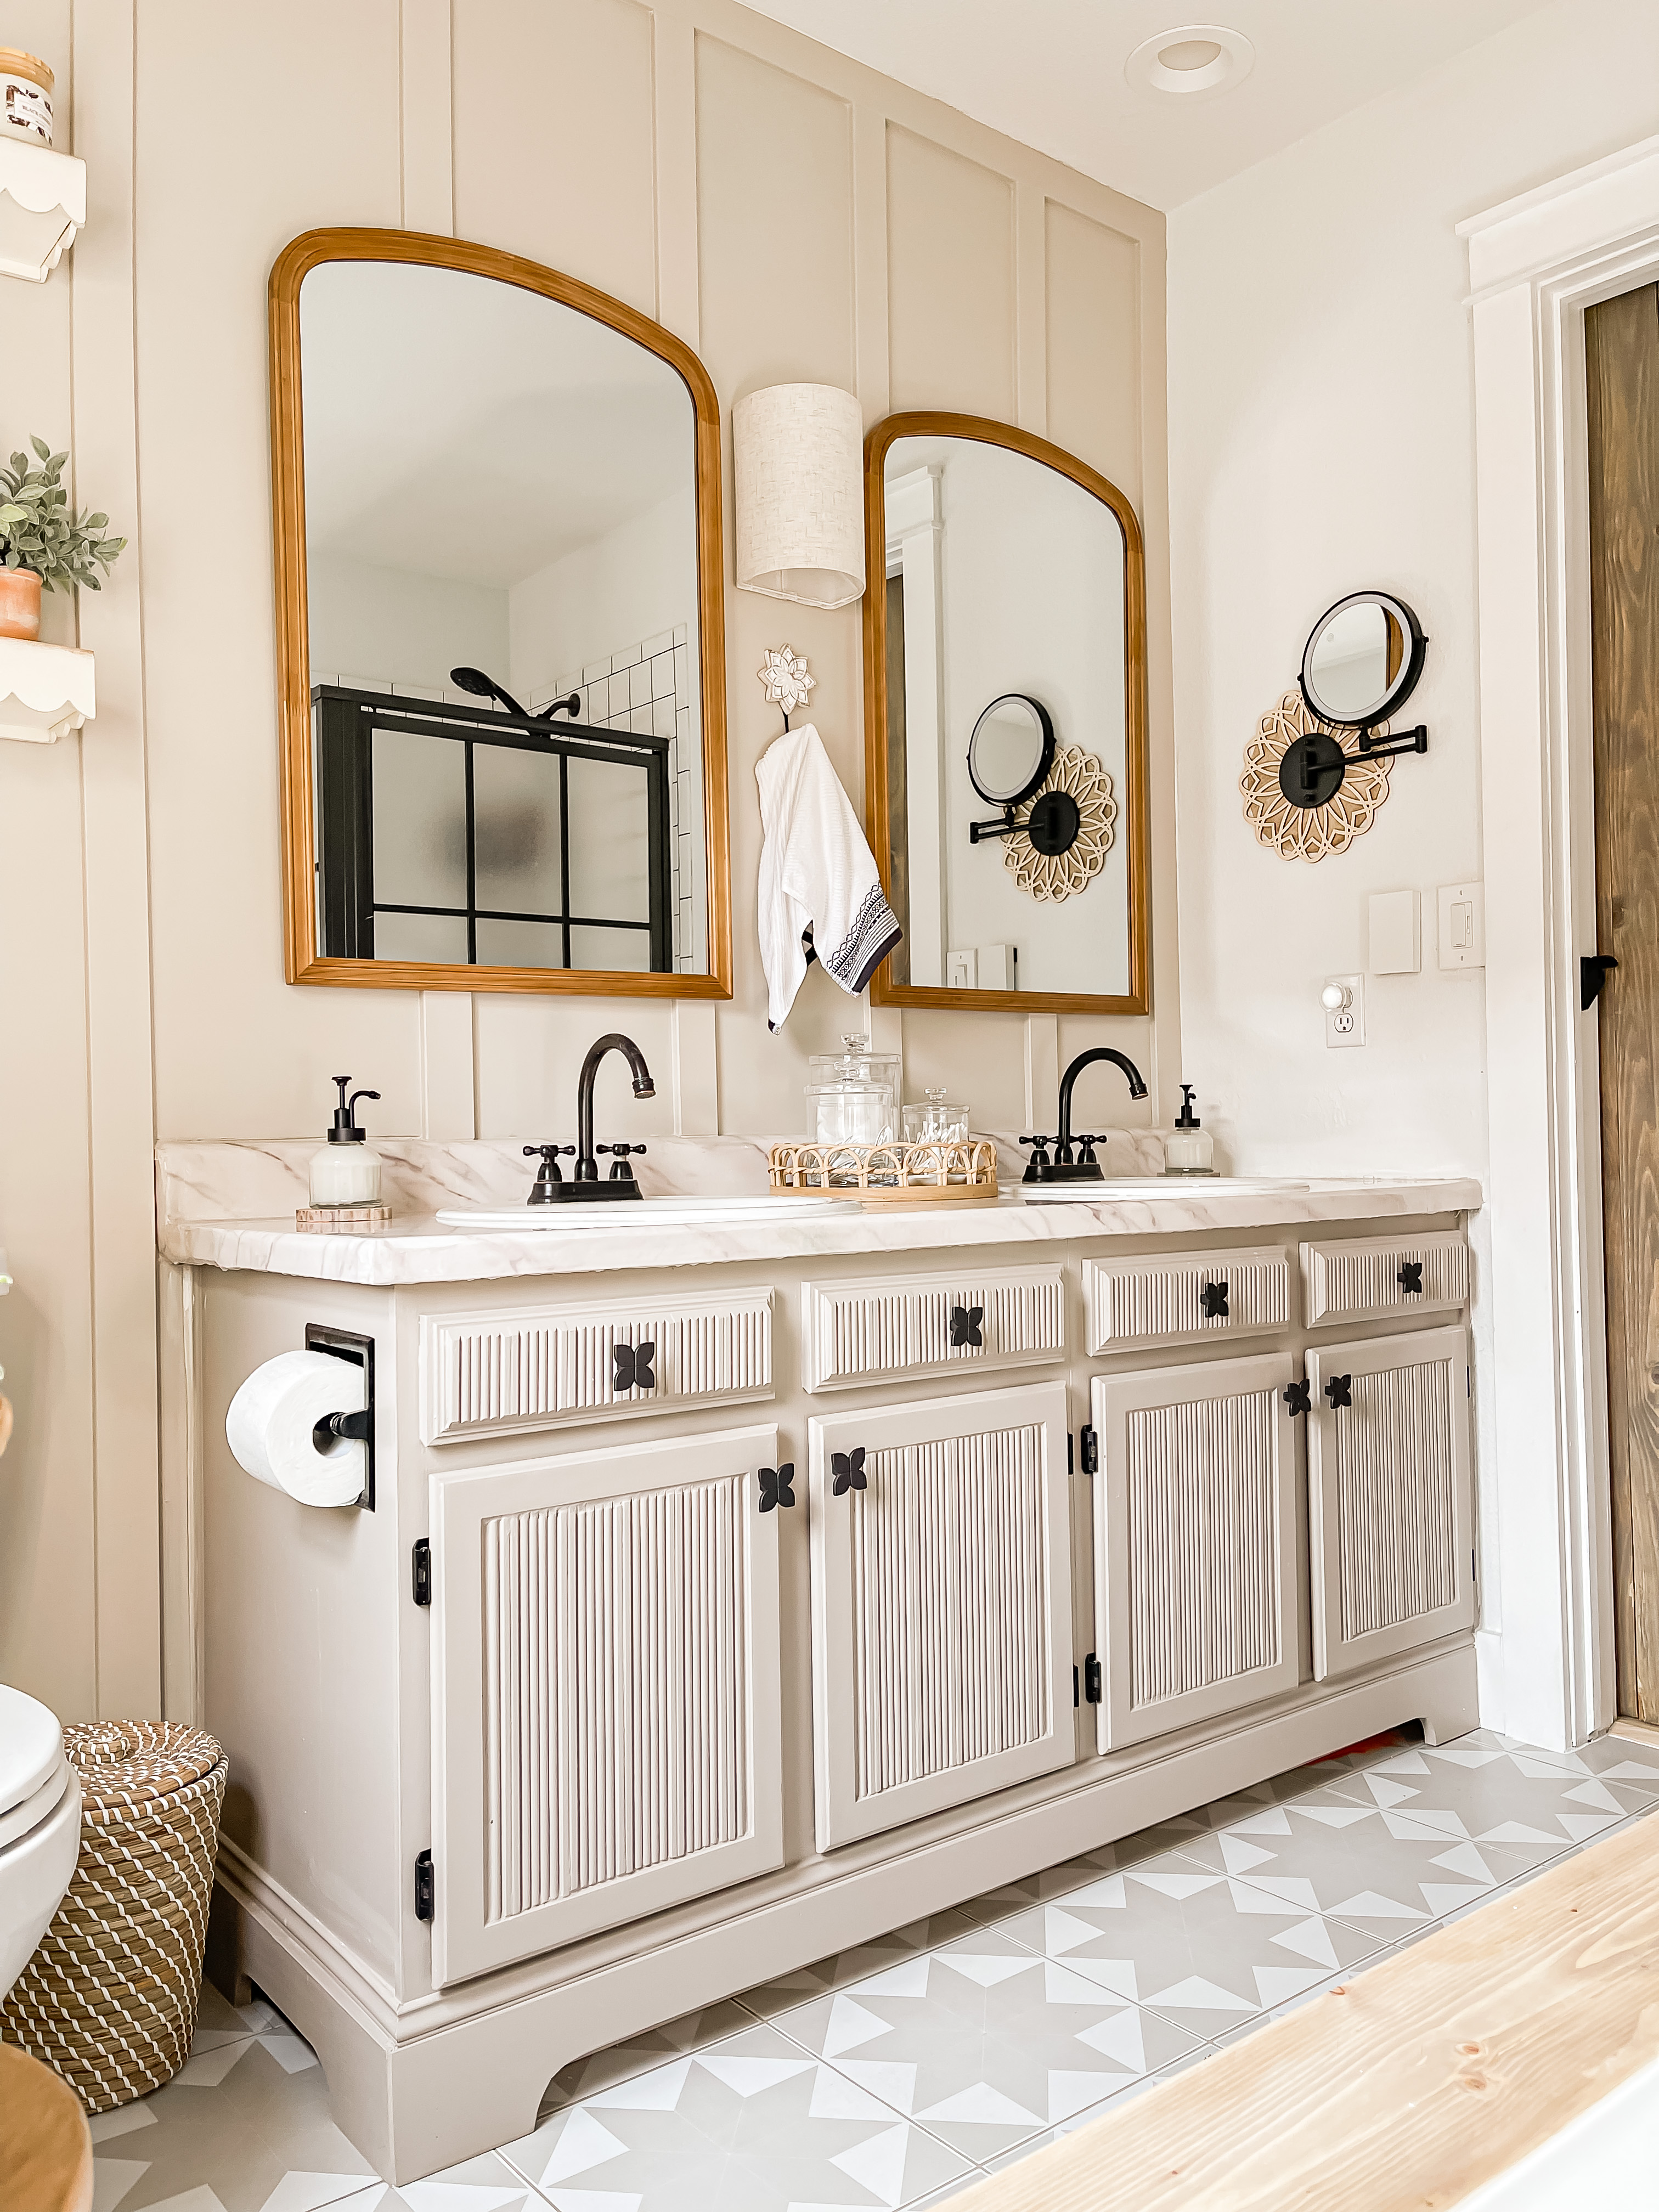
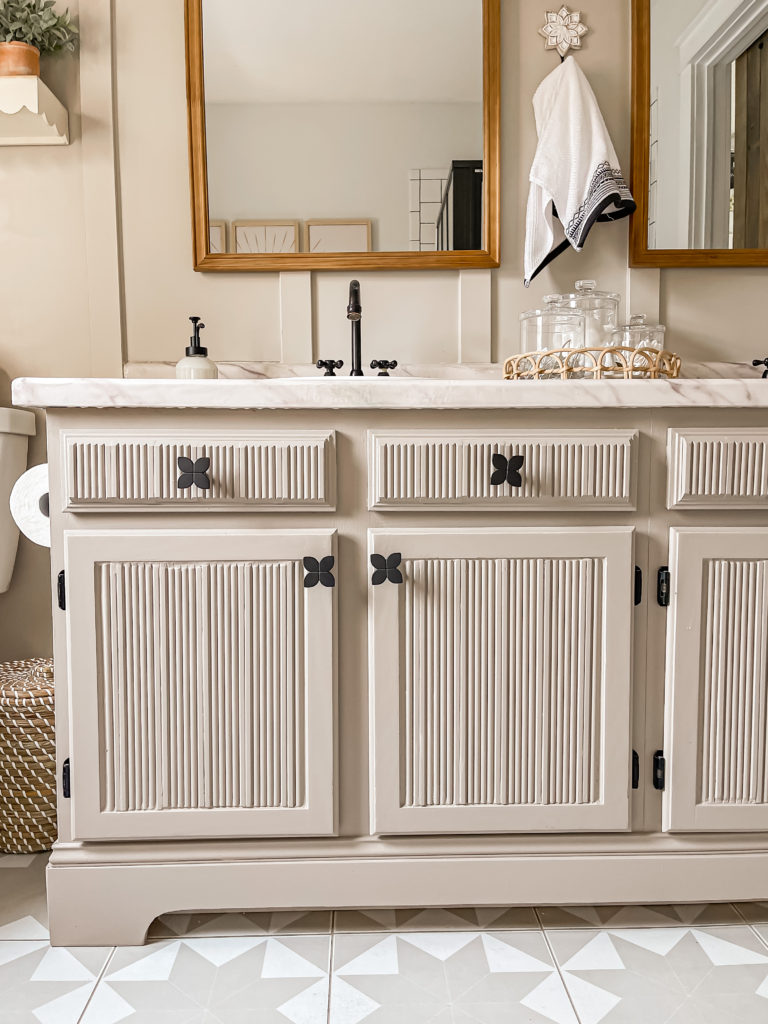
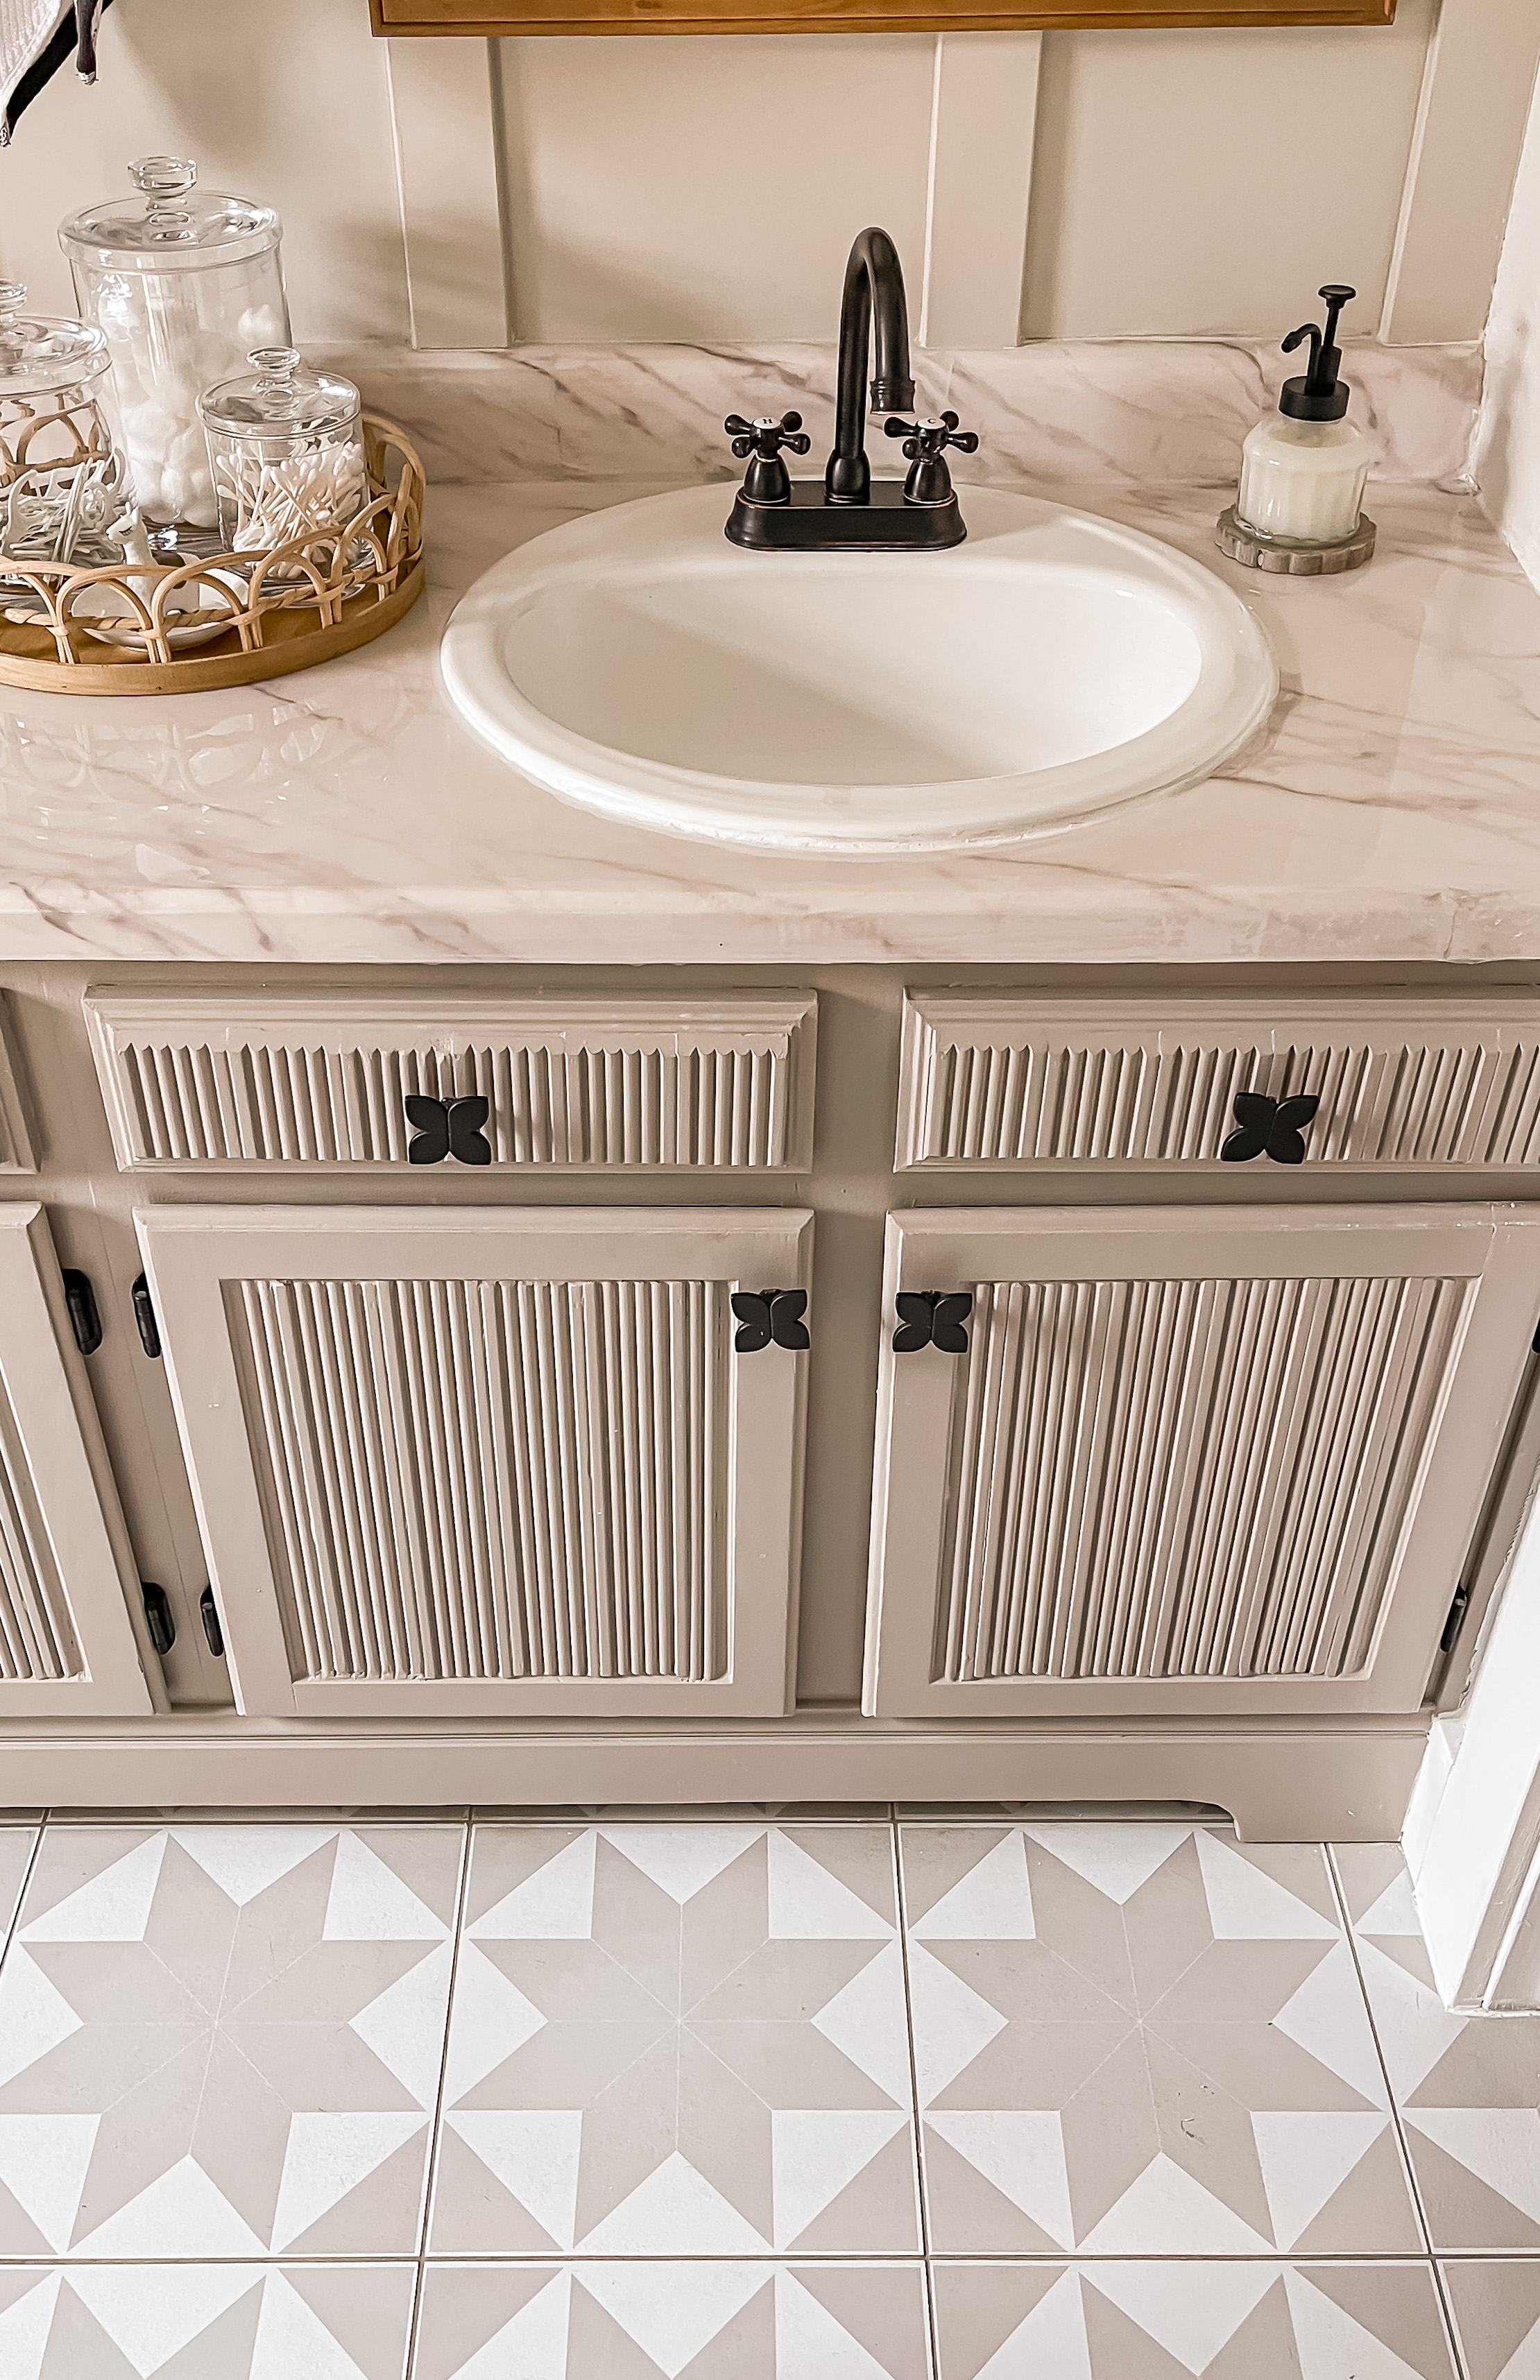
I started by adding reeded molding to the cabinets and drawer fronts and it’s shocking how much that one simple addition changed the look.
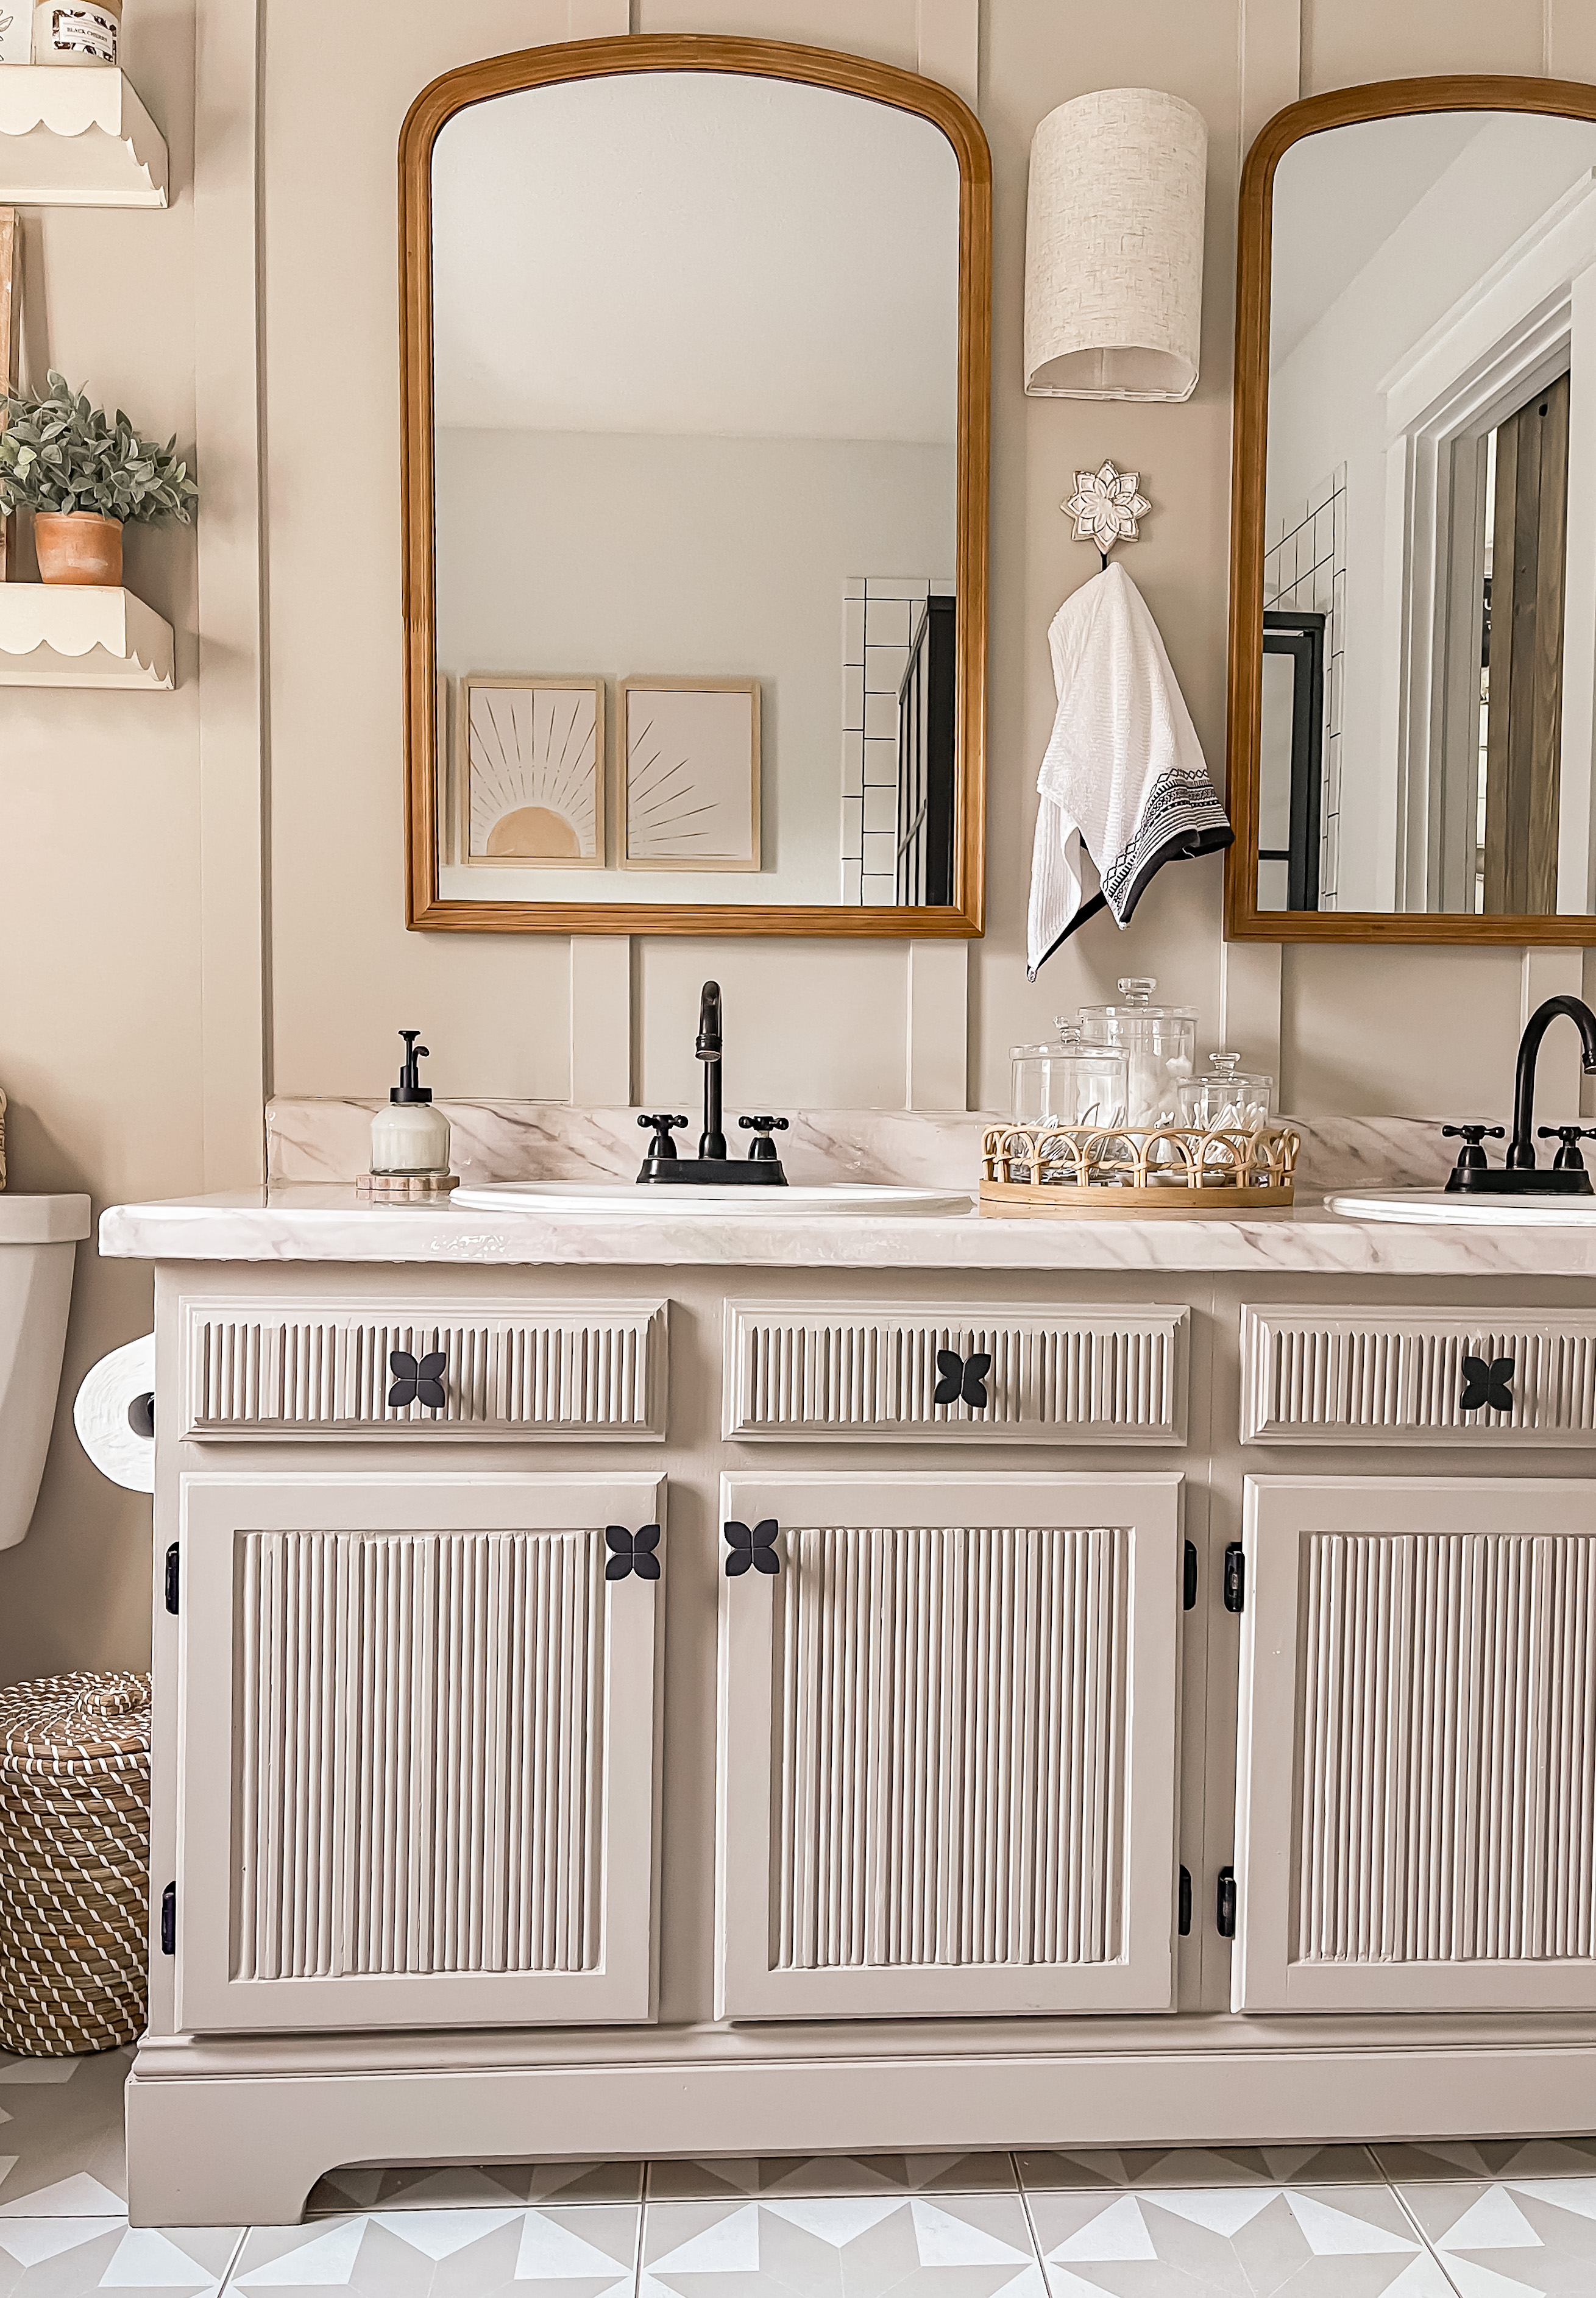
I painted it Studio Taupe by Behr (slightly lightened with a little white paint) and popped on pretty new knobs.
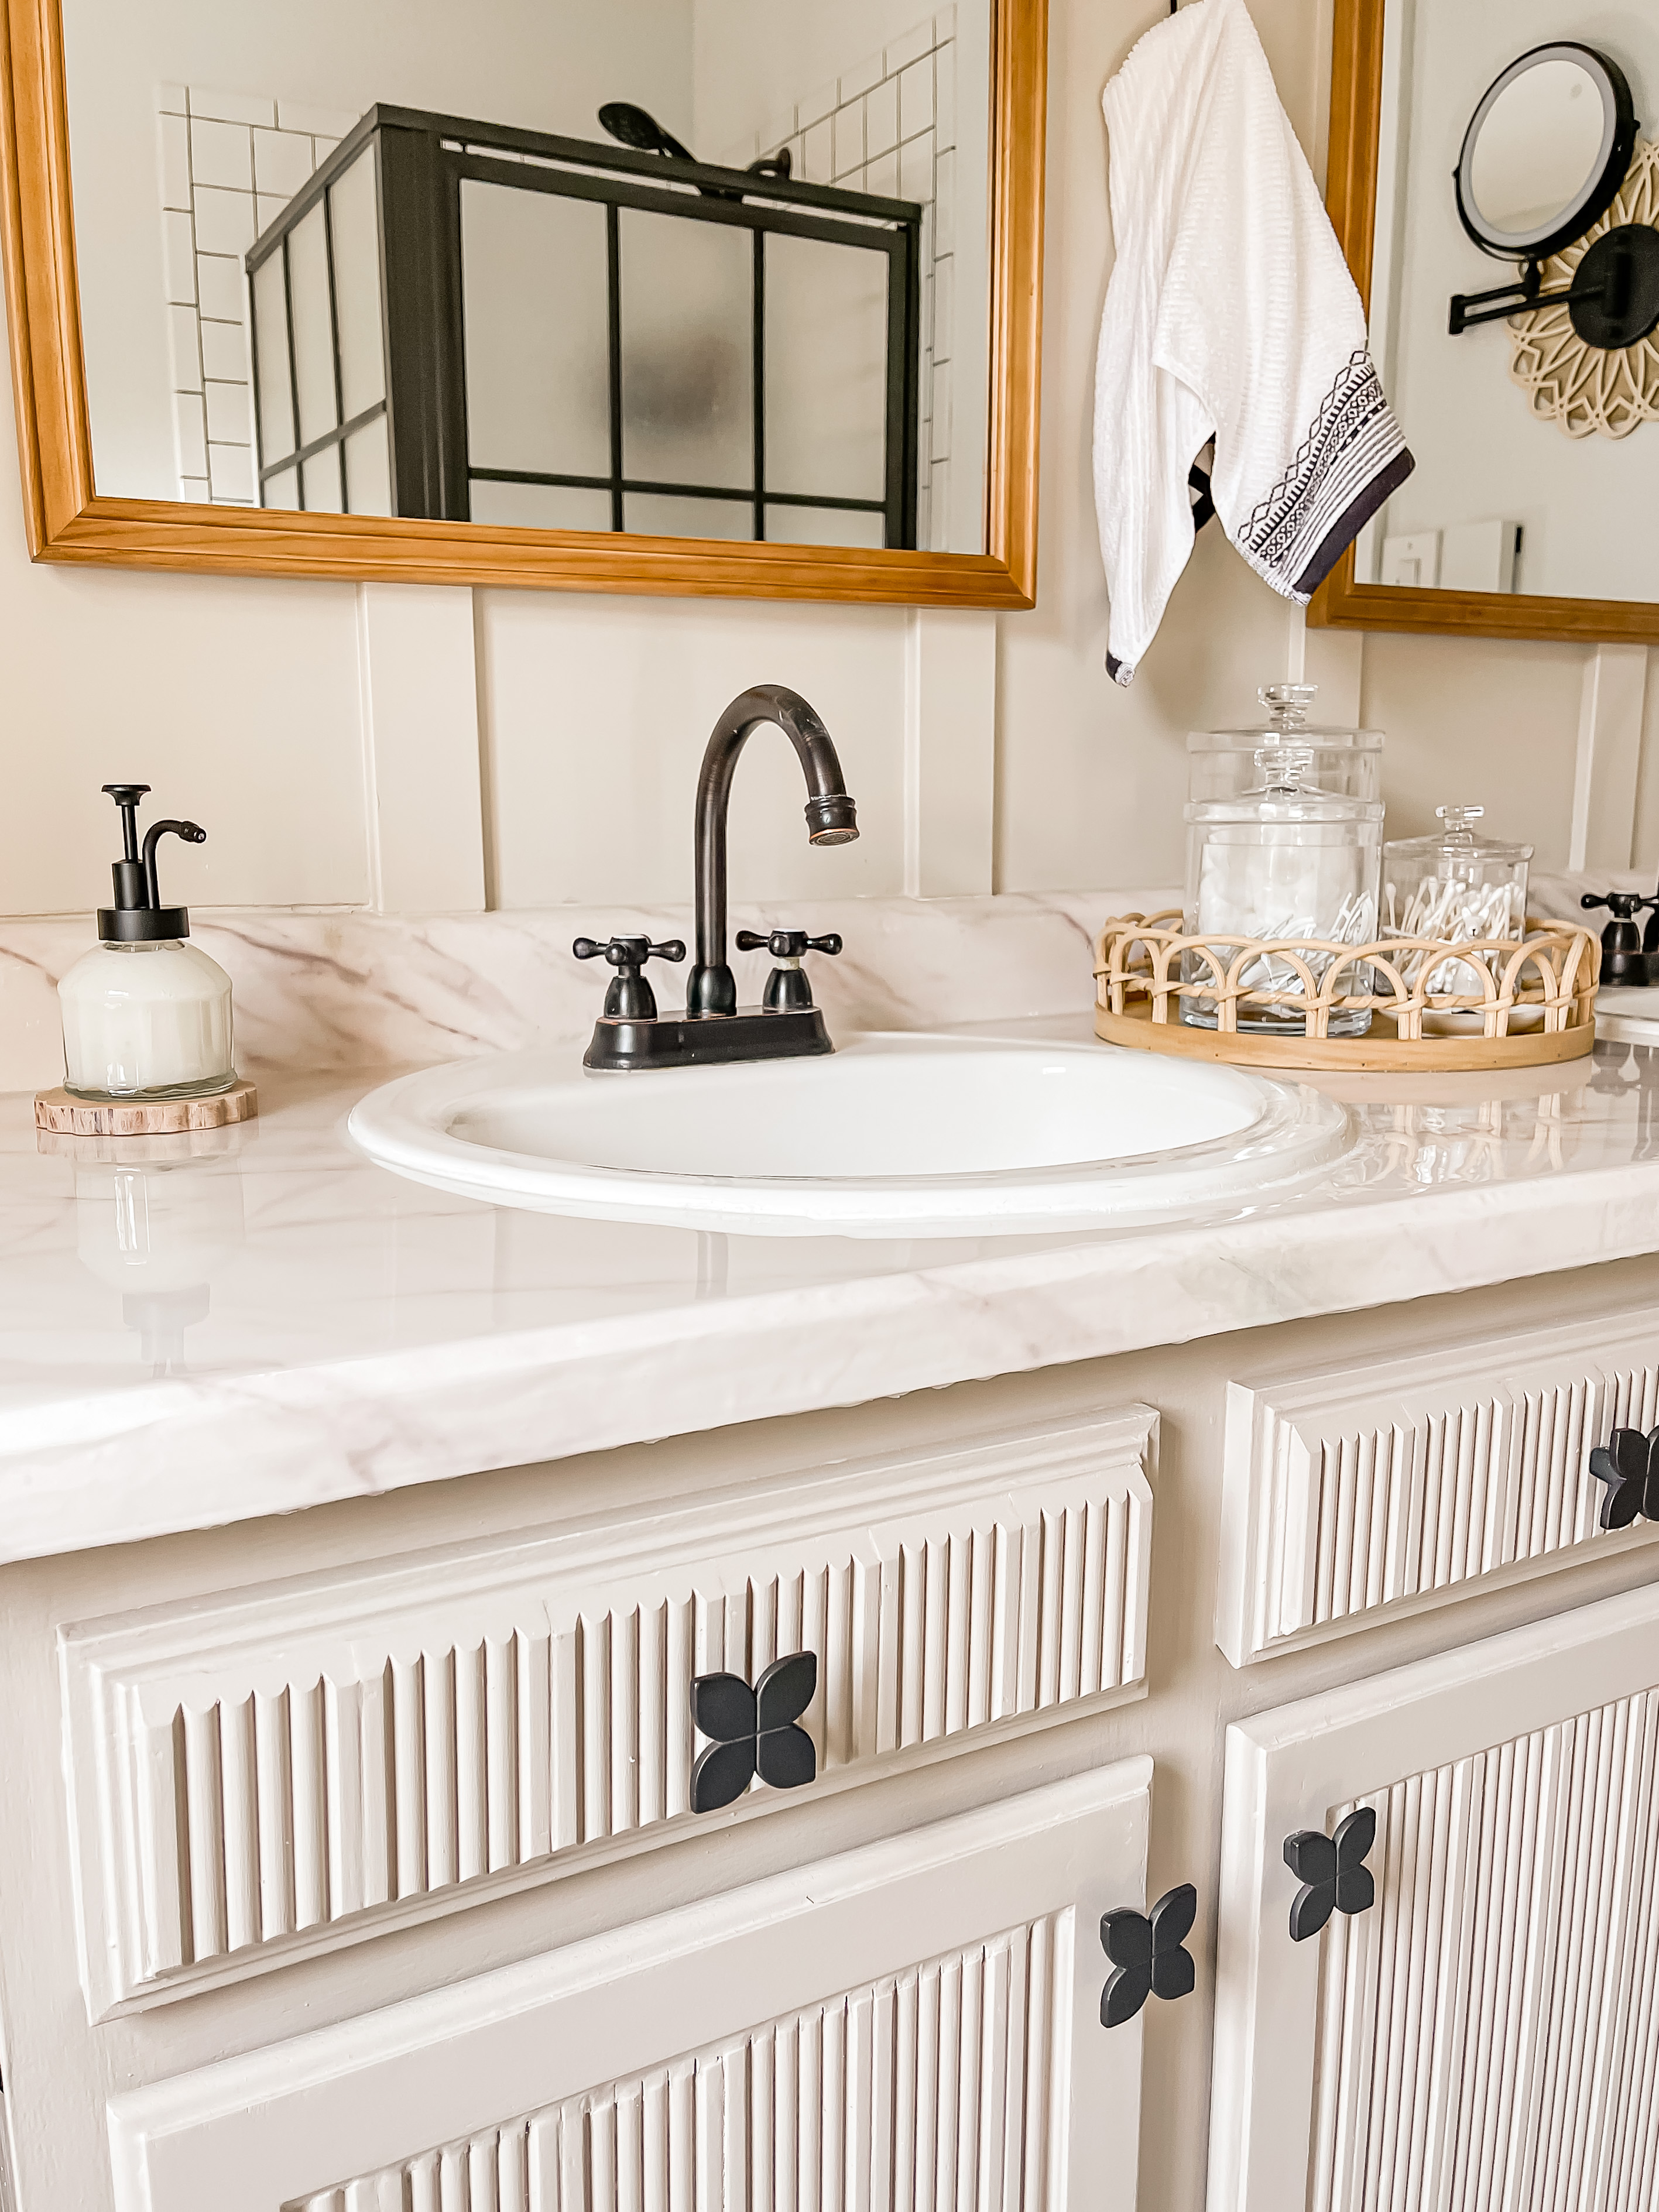
To update the counter I applied faux marble contact paper followed by epoxy resin. The result was truly amazing and it looks and feels like real marble. It’s crazy to think that I got that look for less than $100!
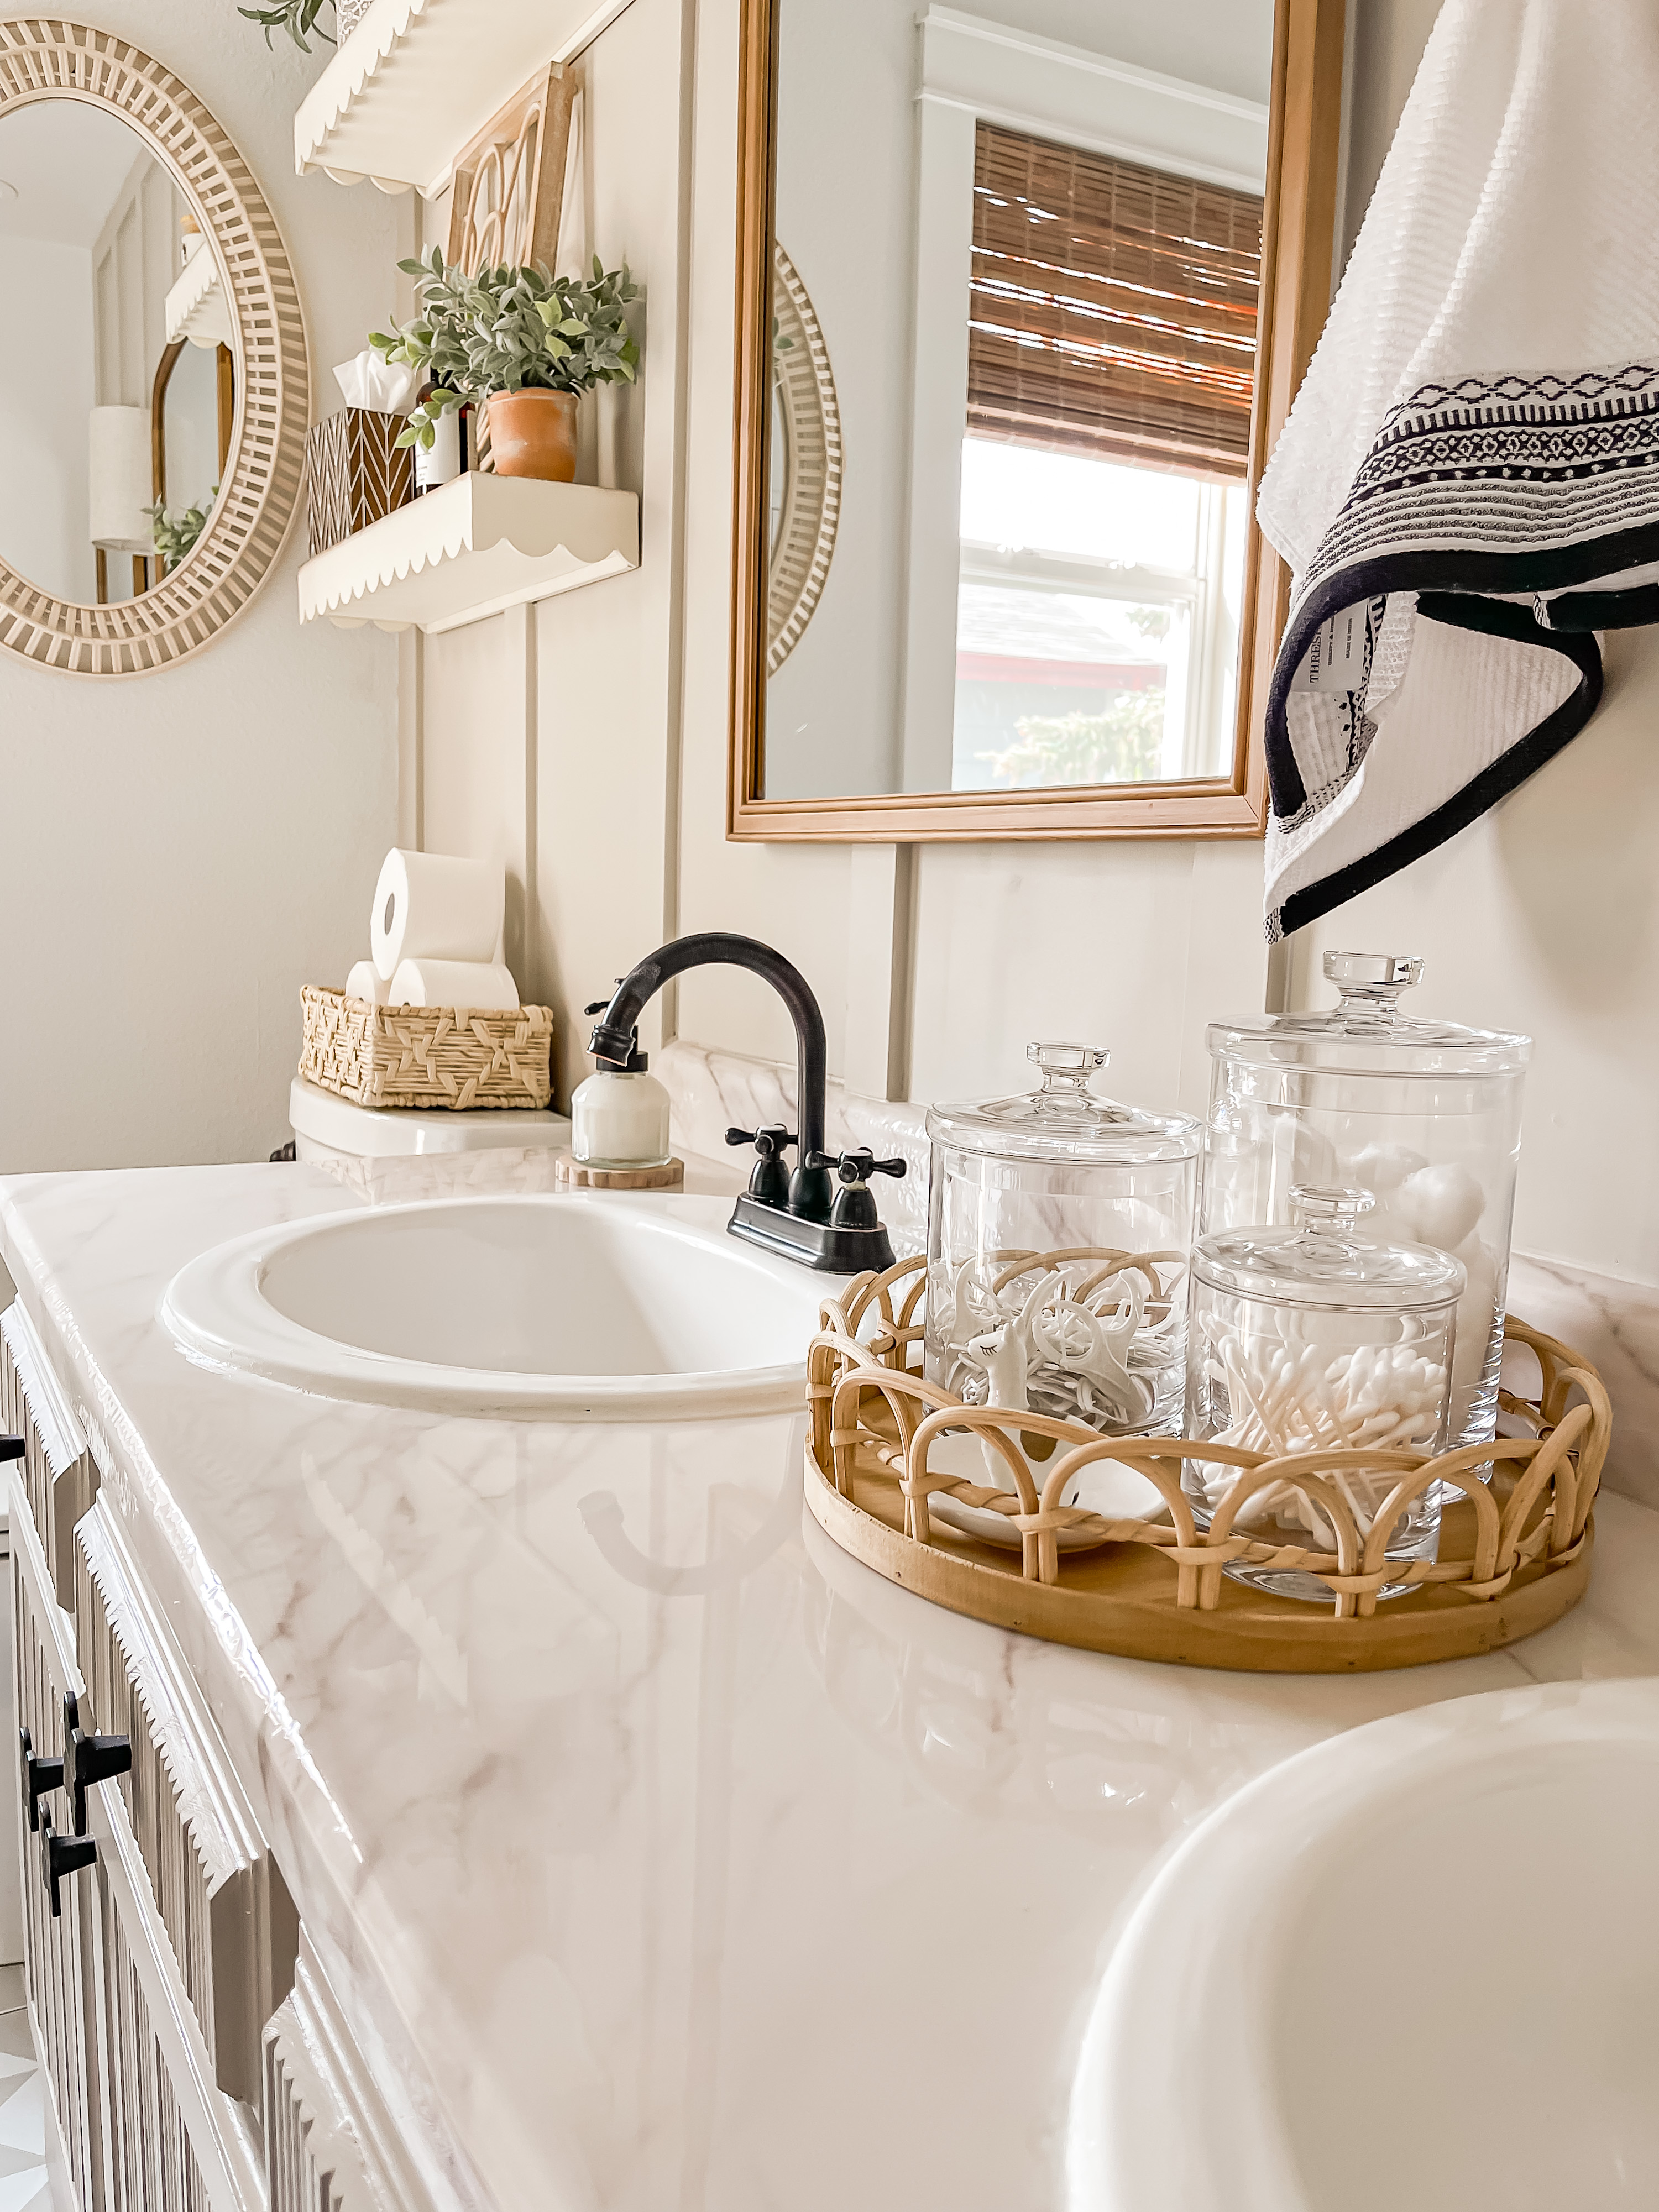
I noticed whiled photographing that I failed to grab the drips off the bottom before it dried so I still need to go back and chisel that off.
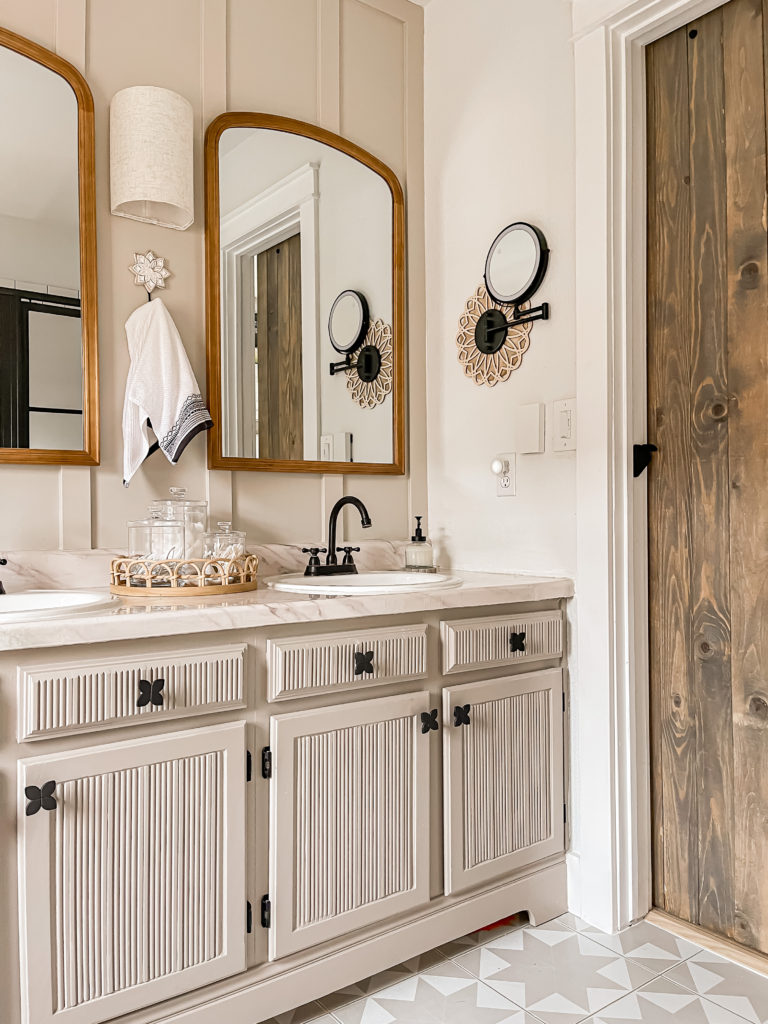
And finally, I added trim along the base to make it look like a free standing vanity. I plan to do a detailed tutorial on the counter and the trim soon!
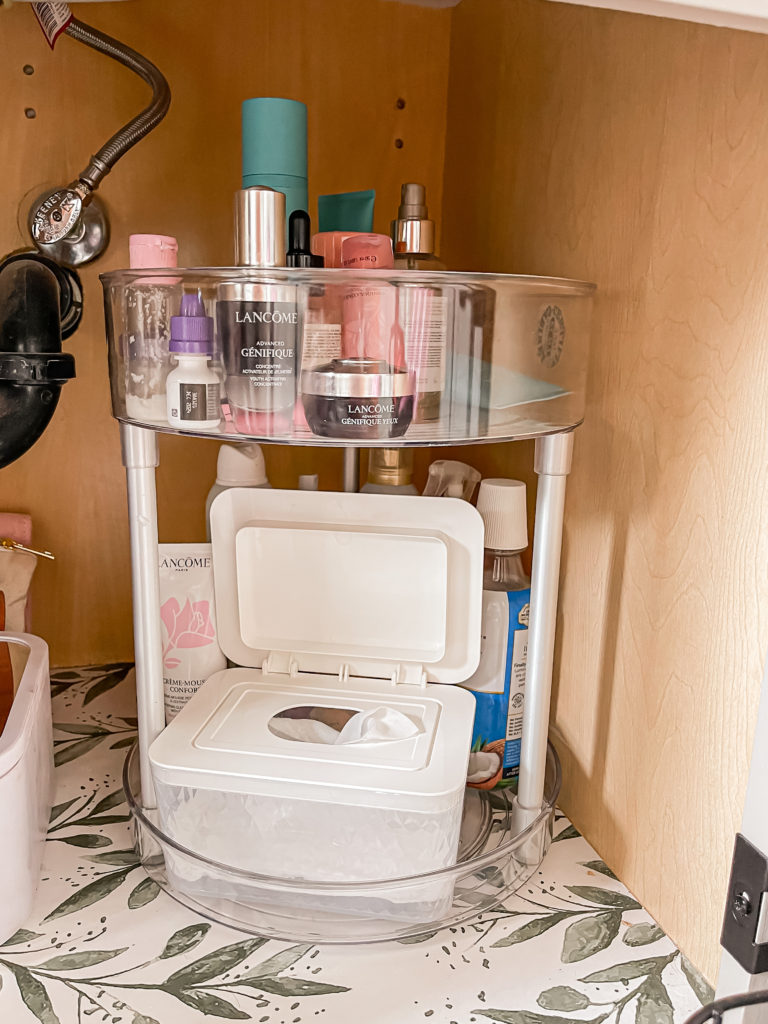
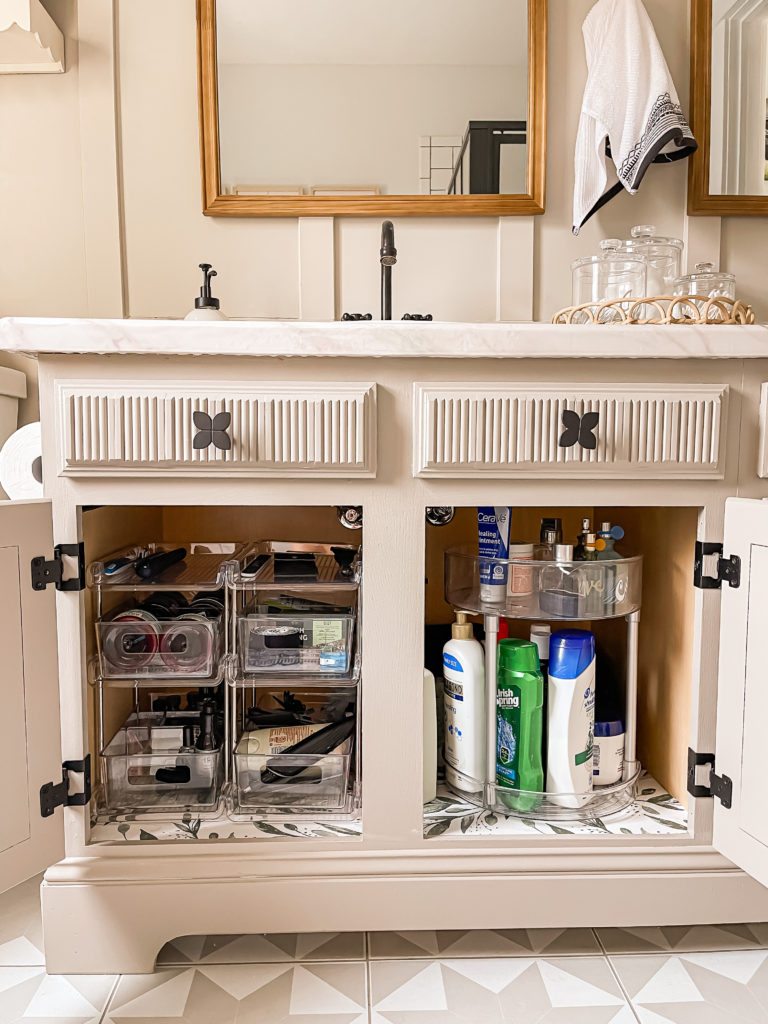
Since my dream vanity involves a lot of drawers and storage, I decided to make the most of what we have by putting in a new storage system.
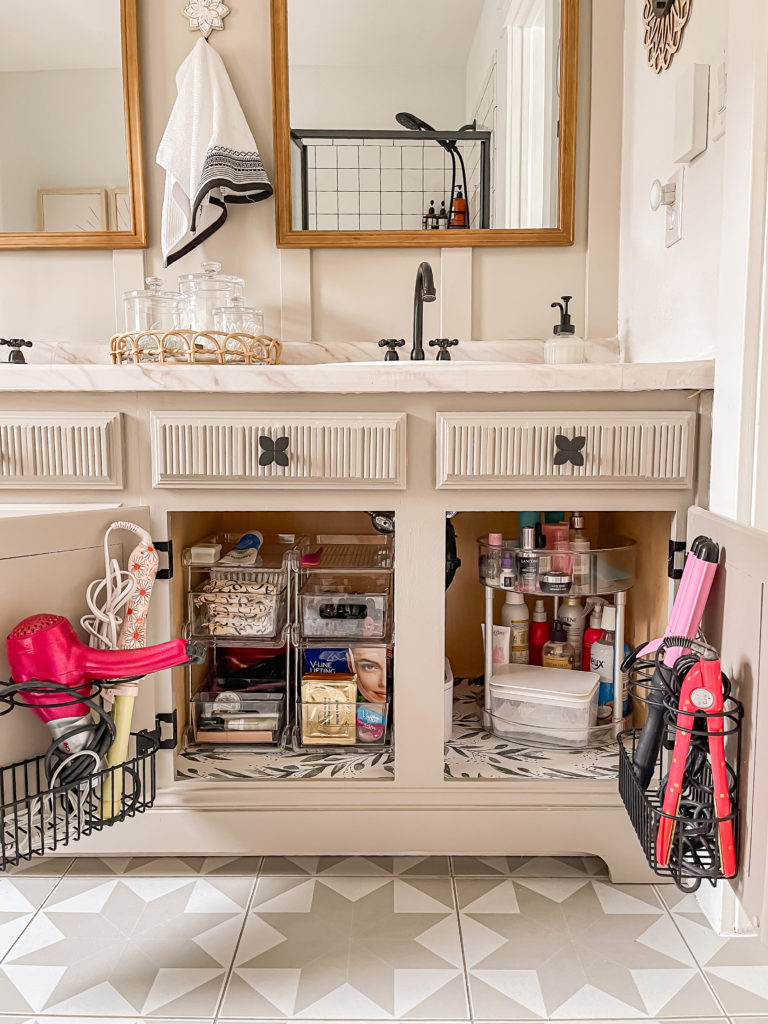
The clear drawers on the left are perfect for keeping makeup, hair items and other essentials neatly organized.
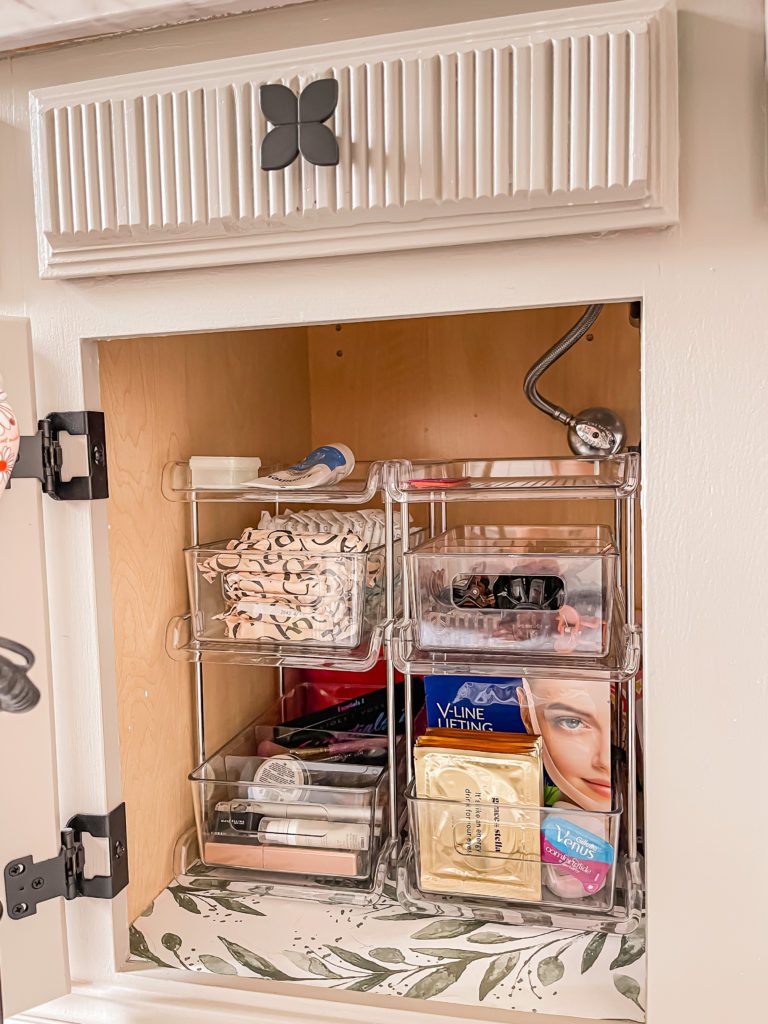
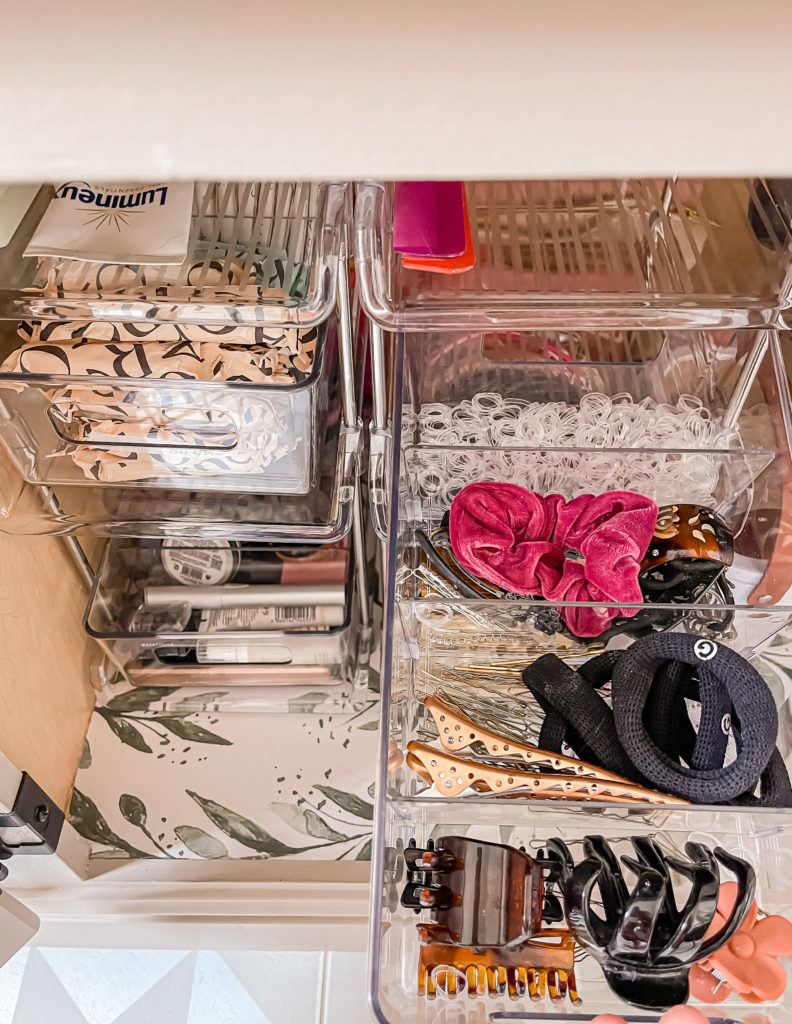
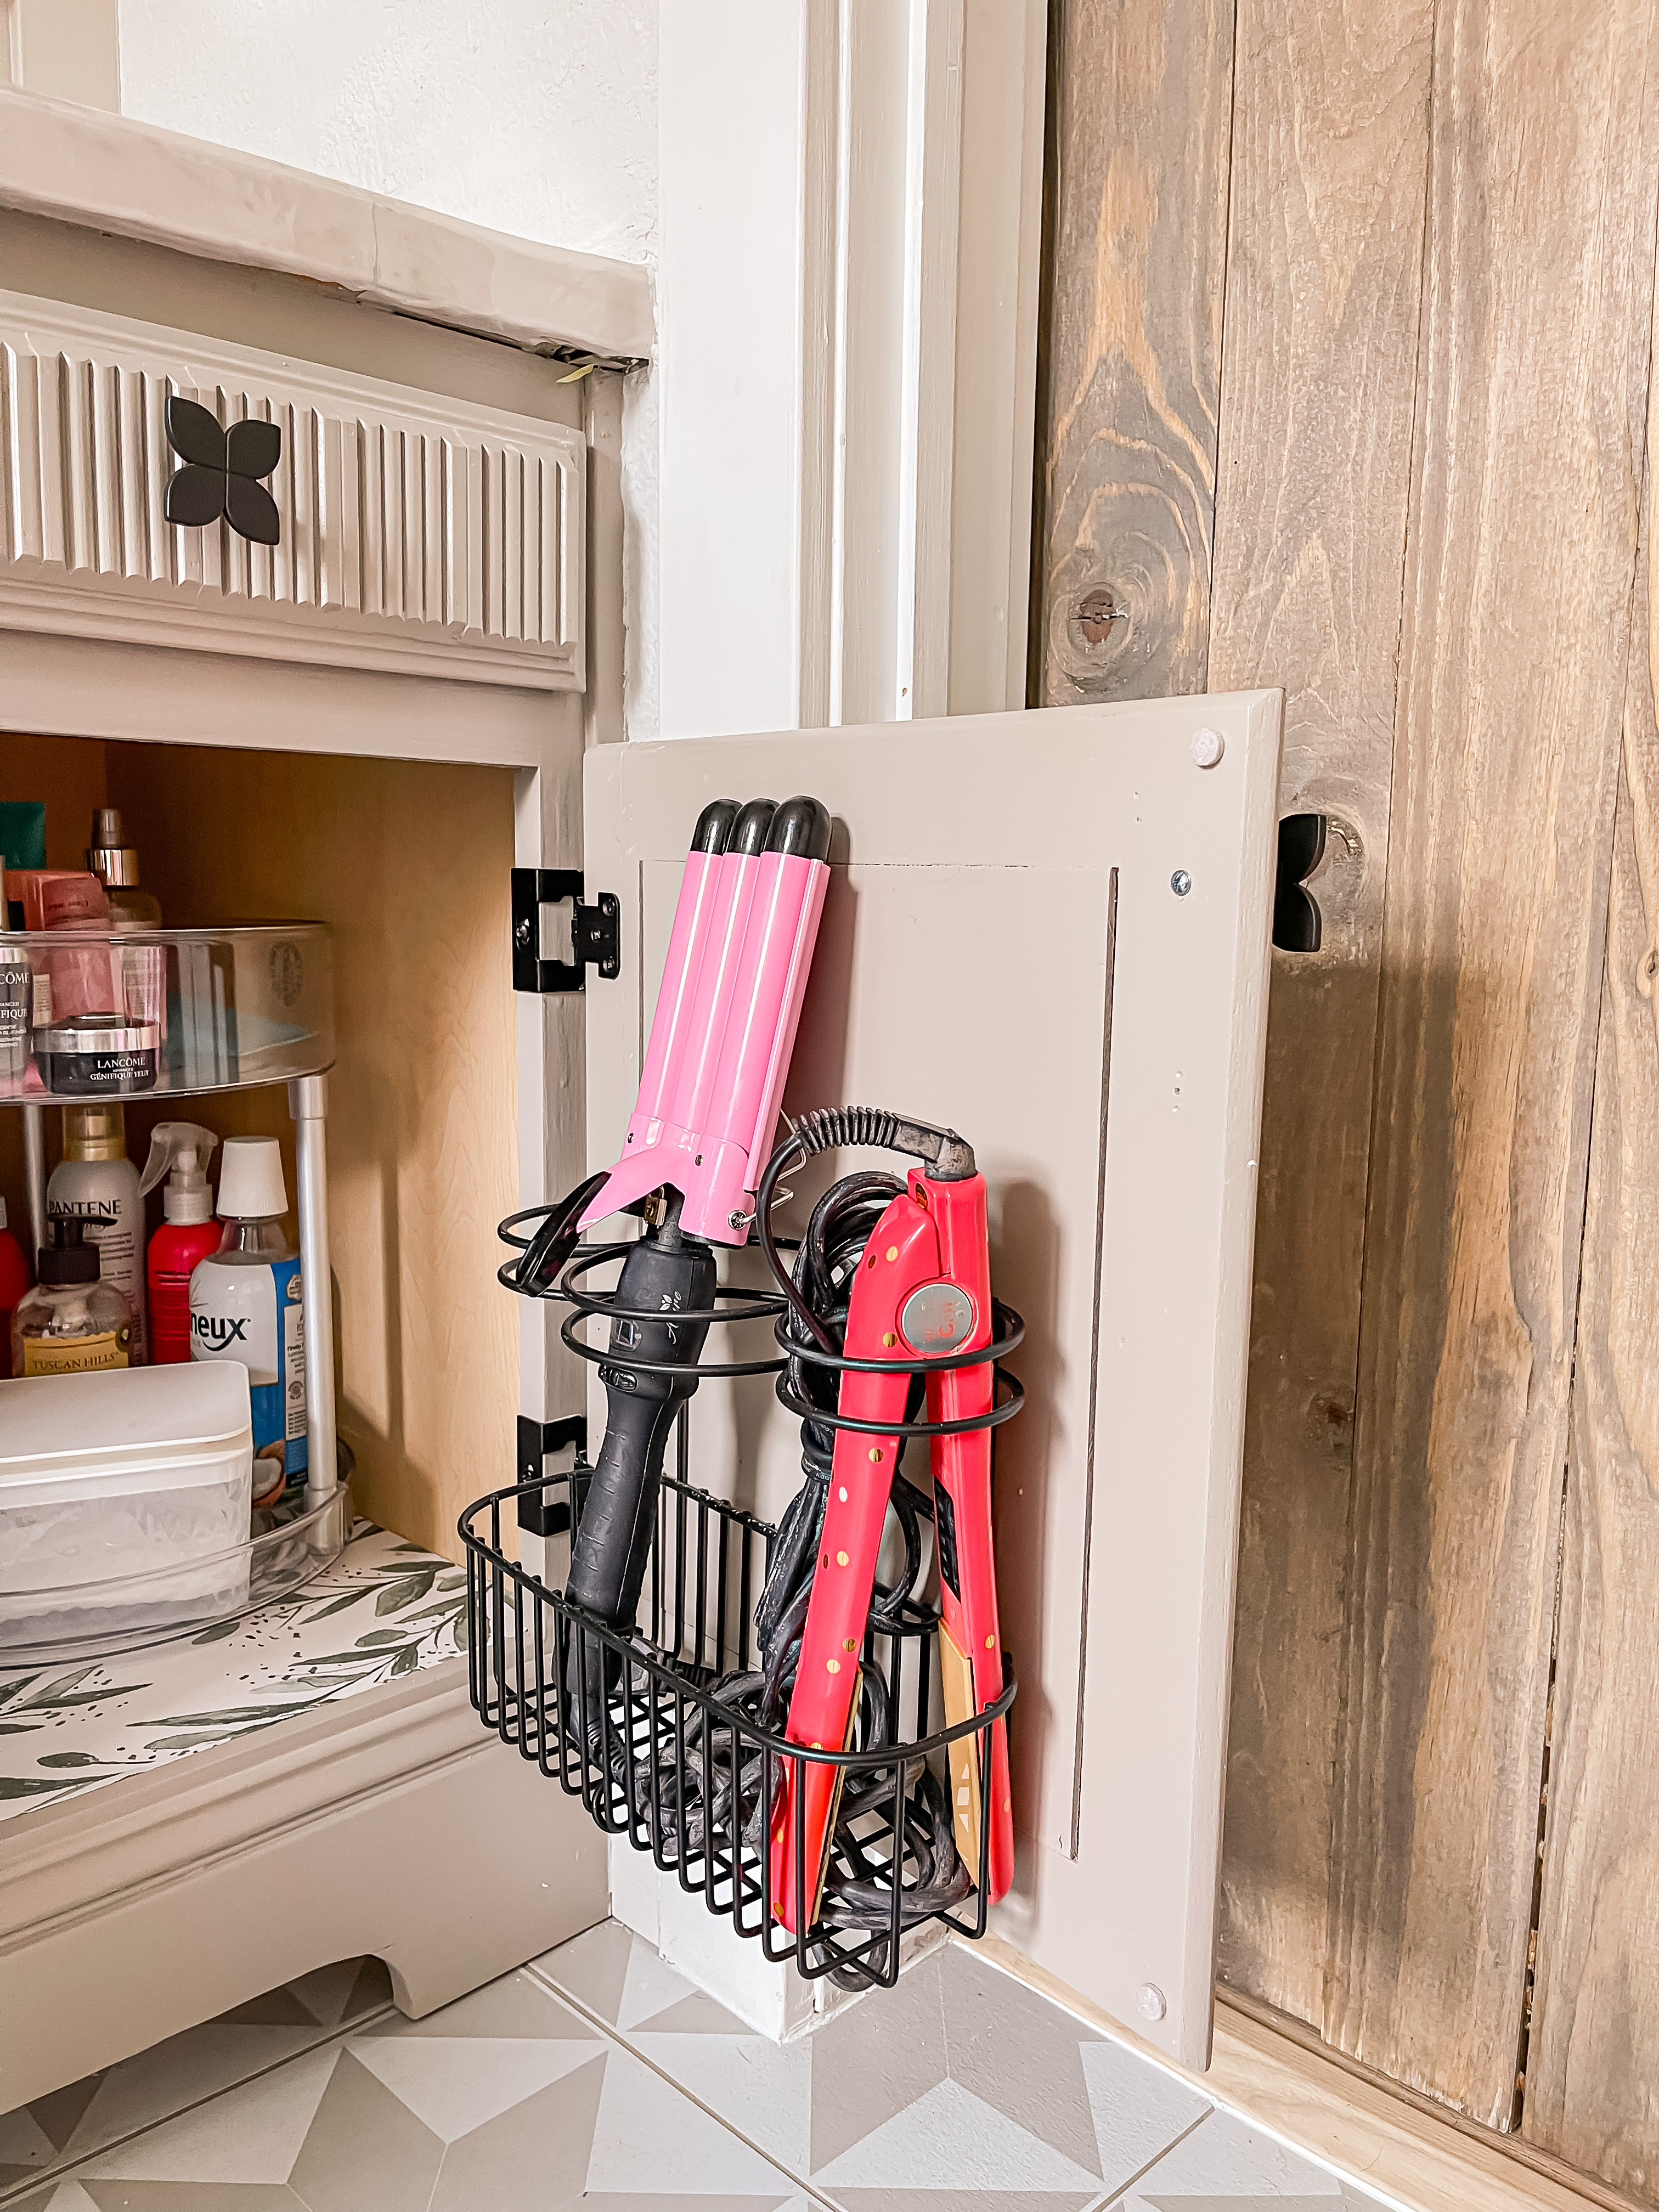
The 2-tiered turntable on the right gives me easy access to all of my hair and skin products (the pretty wipes dispenser that I use for removing my makeup fits in the bottom perfectly) I also found that these heat tool organizers fit nicely on the back of the cabinet doors.
The hubby’s side got organized as well!
2. Floors
I grew tired of the faux marble floors and I also found the texture on them difficult to keep clean so I knew that it was time for a change. After a lot of trial and error I finally landed on these beauties!
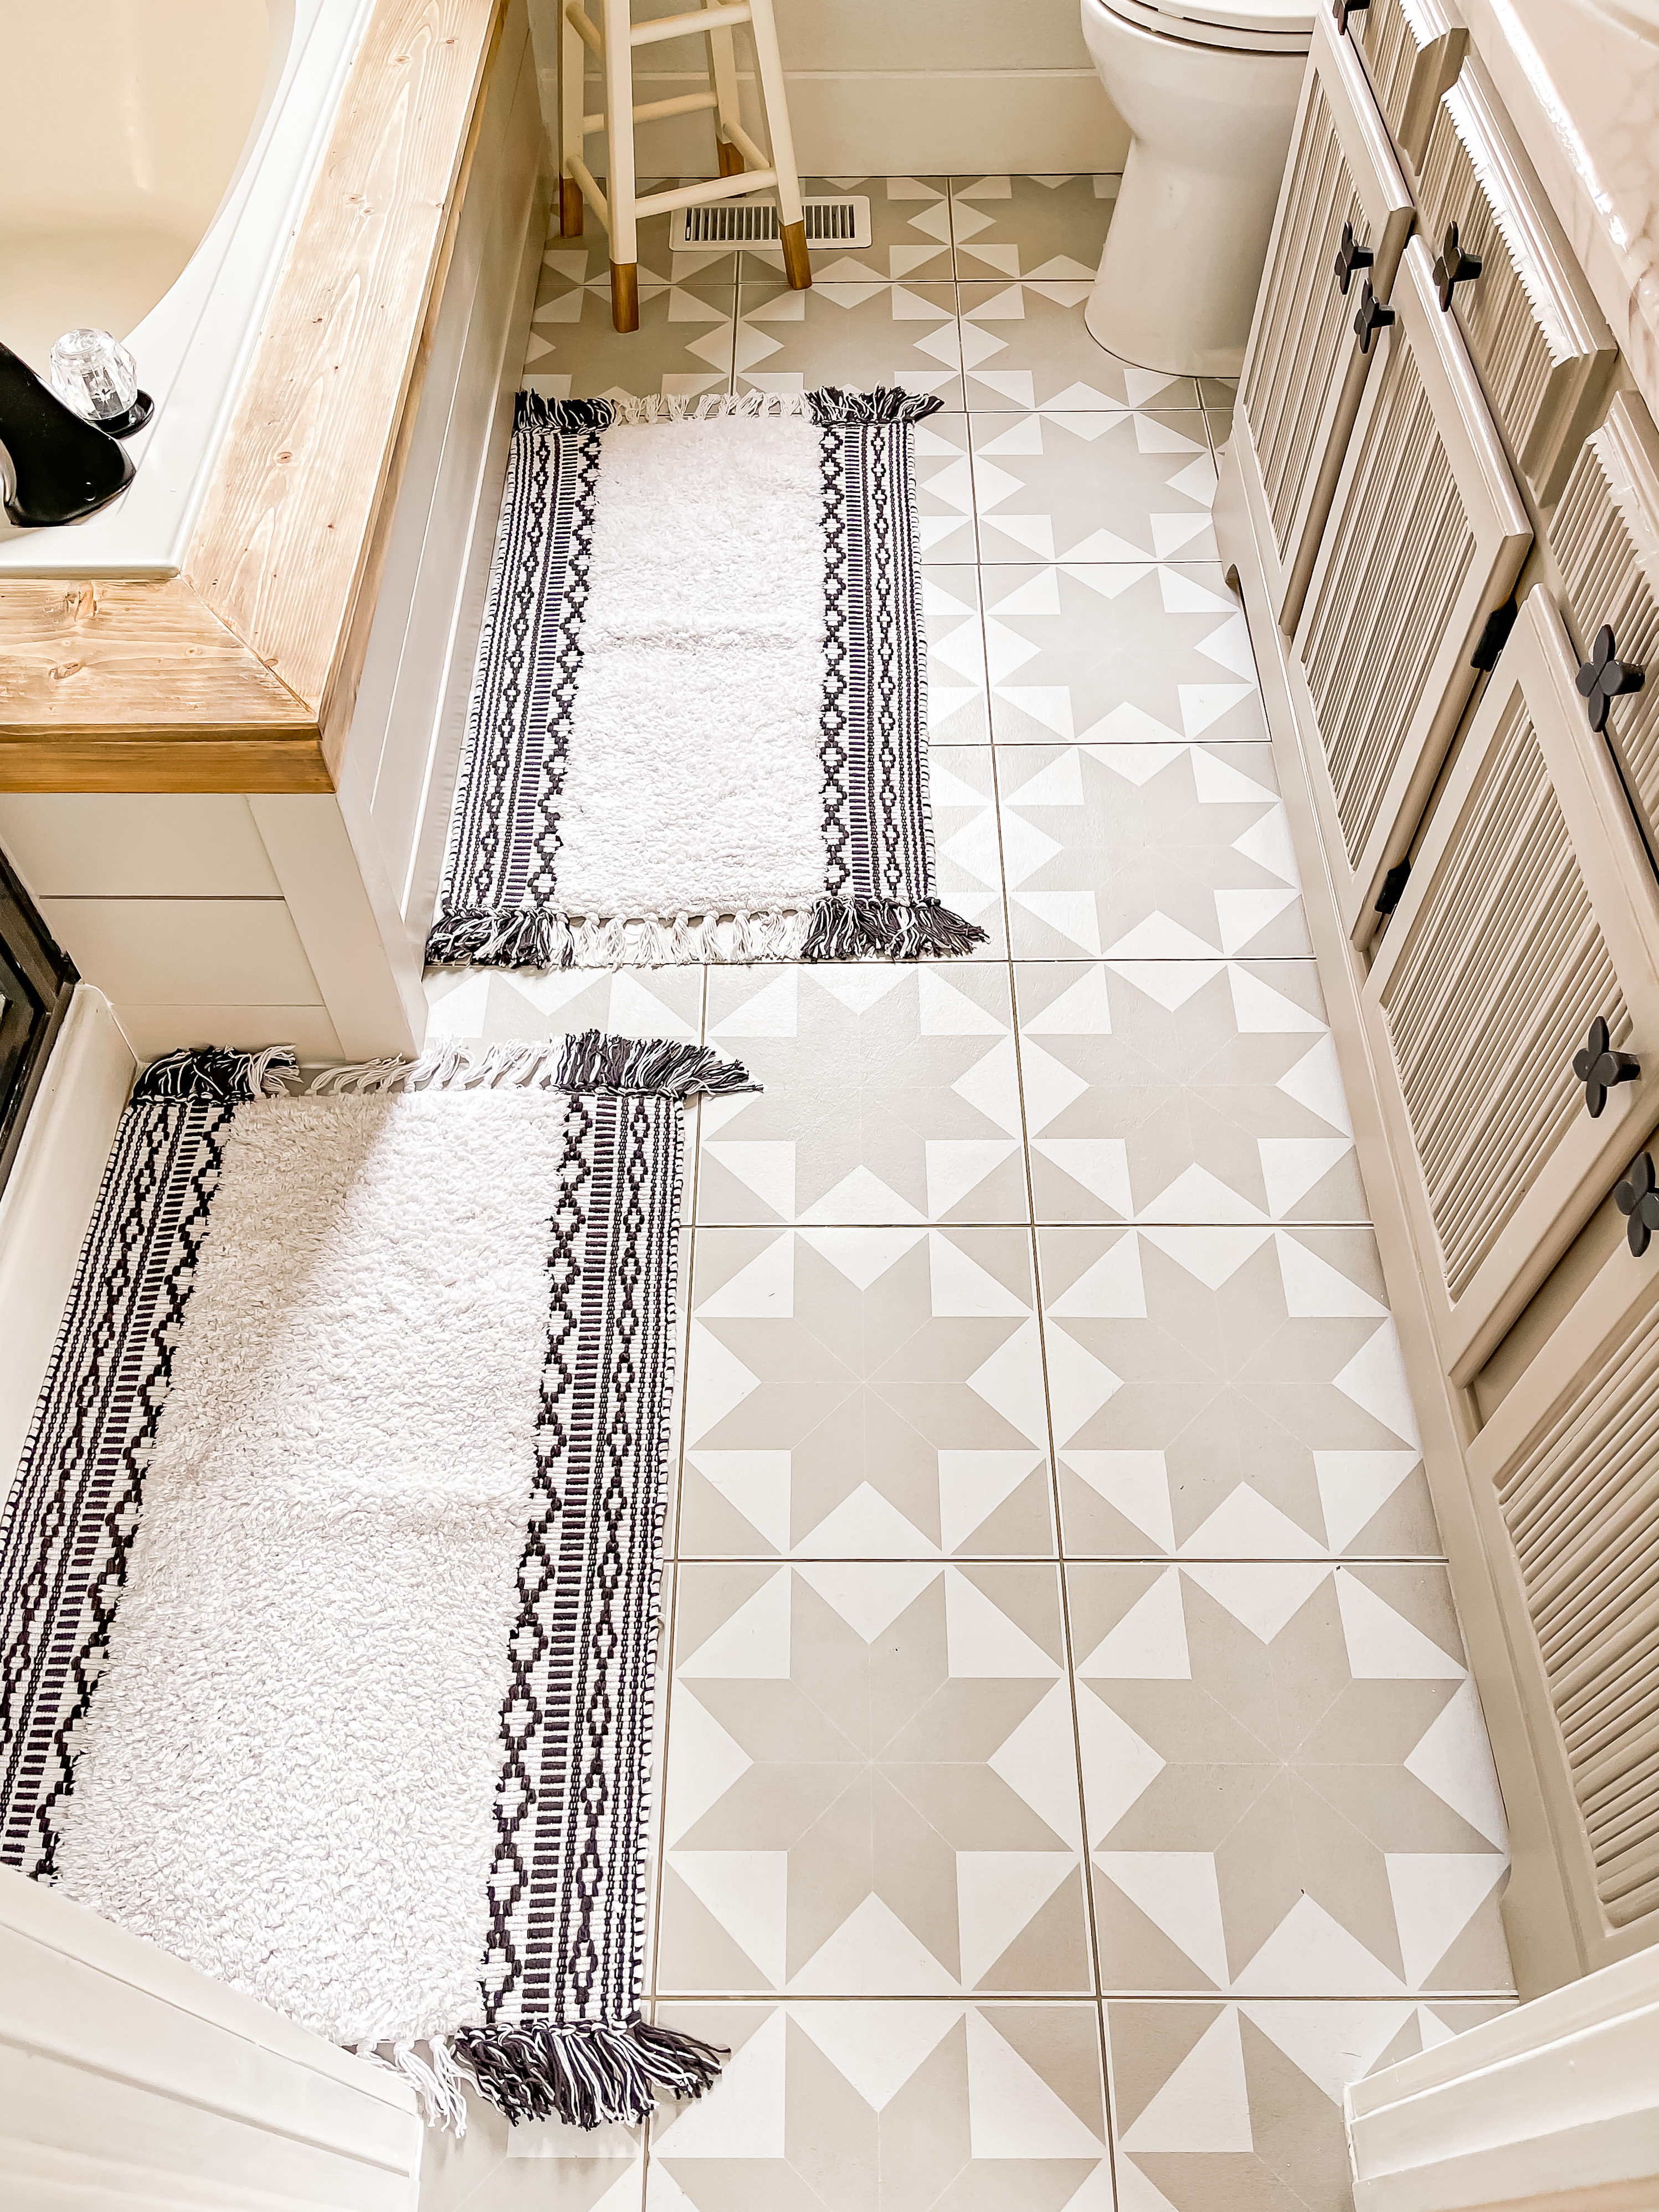
Since they are peel and stick tiles, they were easily installed right over the the old tiles.
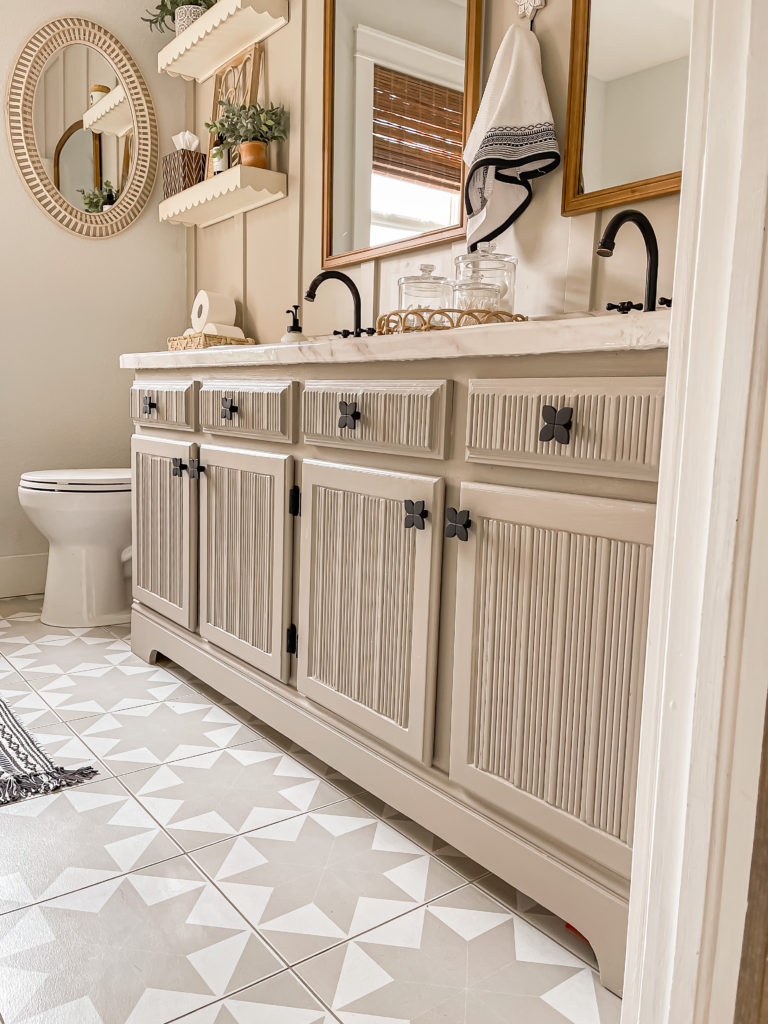
Just as before, I grouted them to make them look and feel more like real tile.
3. Accent Wall
I wanted something fun on the wall behind the vanity. I originally considered doing wall paper, but I ultimately decided that would be too busy with the patterned floors. Shiplap was also considered, but it’s pricey! I finally decided to do a simple board and batten.
The hardboard panels and battens only cost $80, but it adds so much character to this wall!
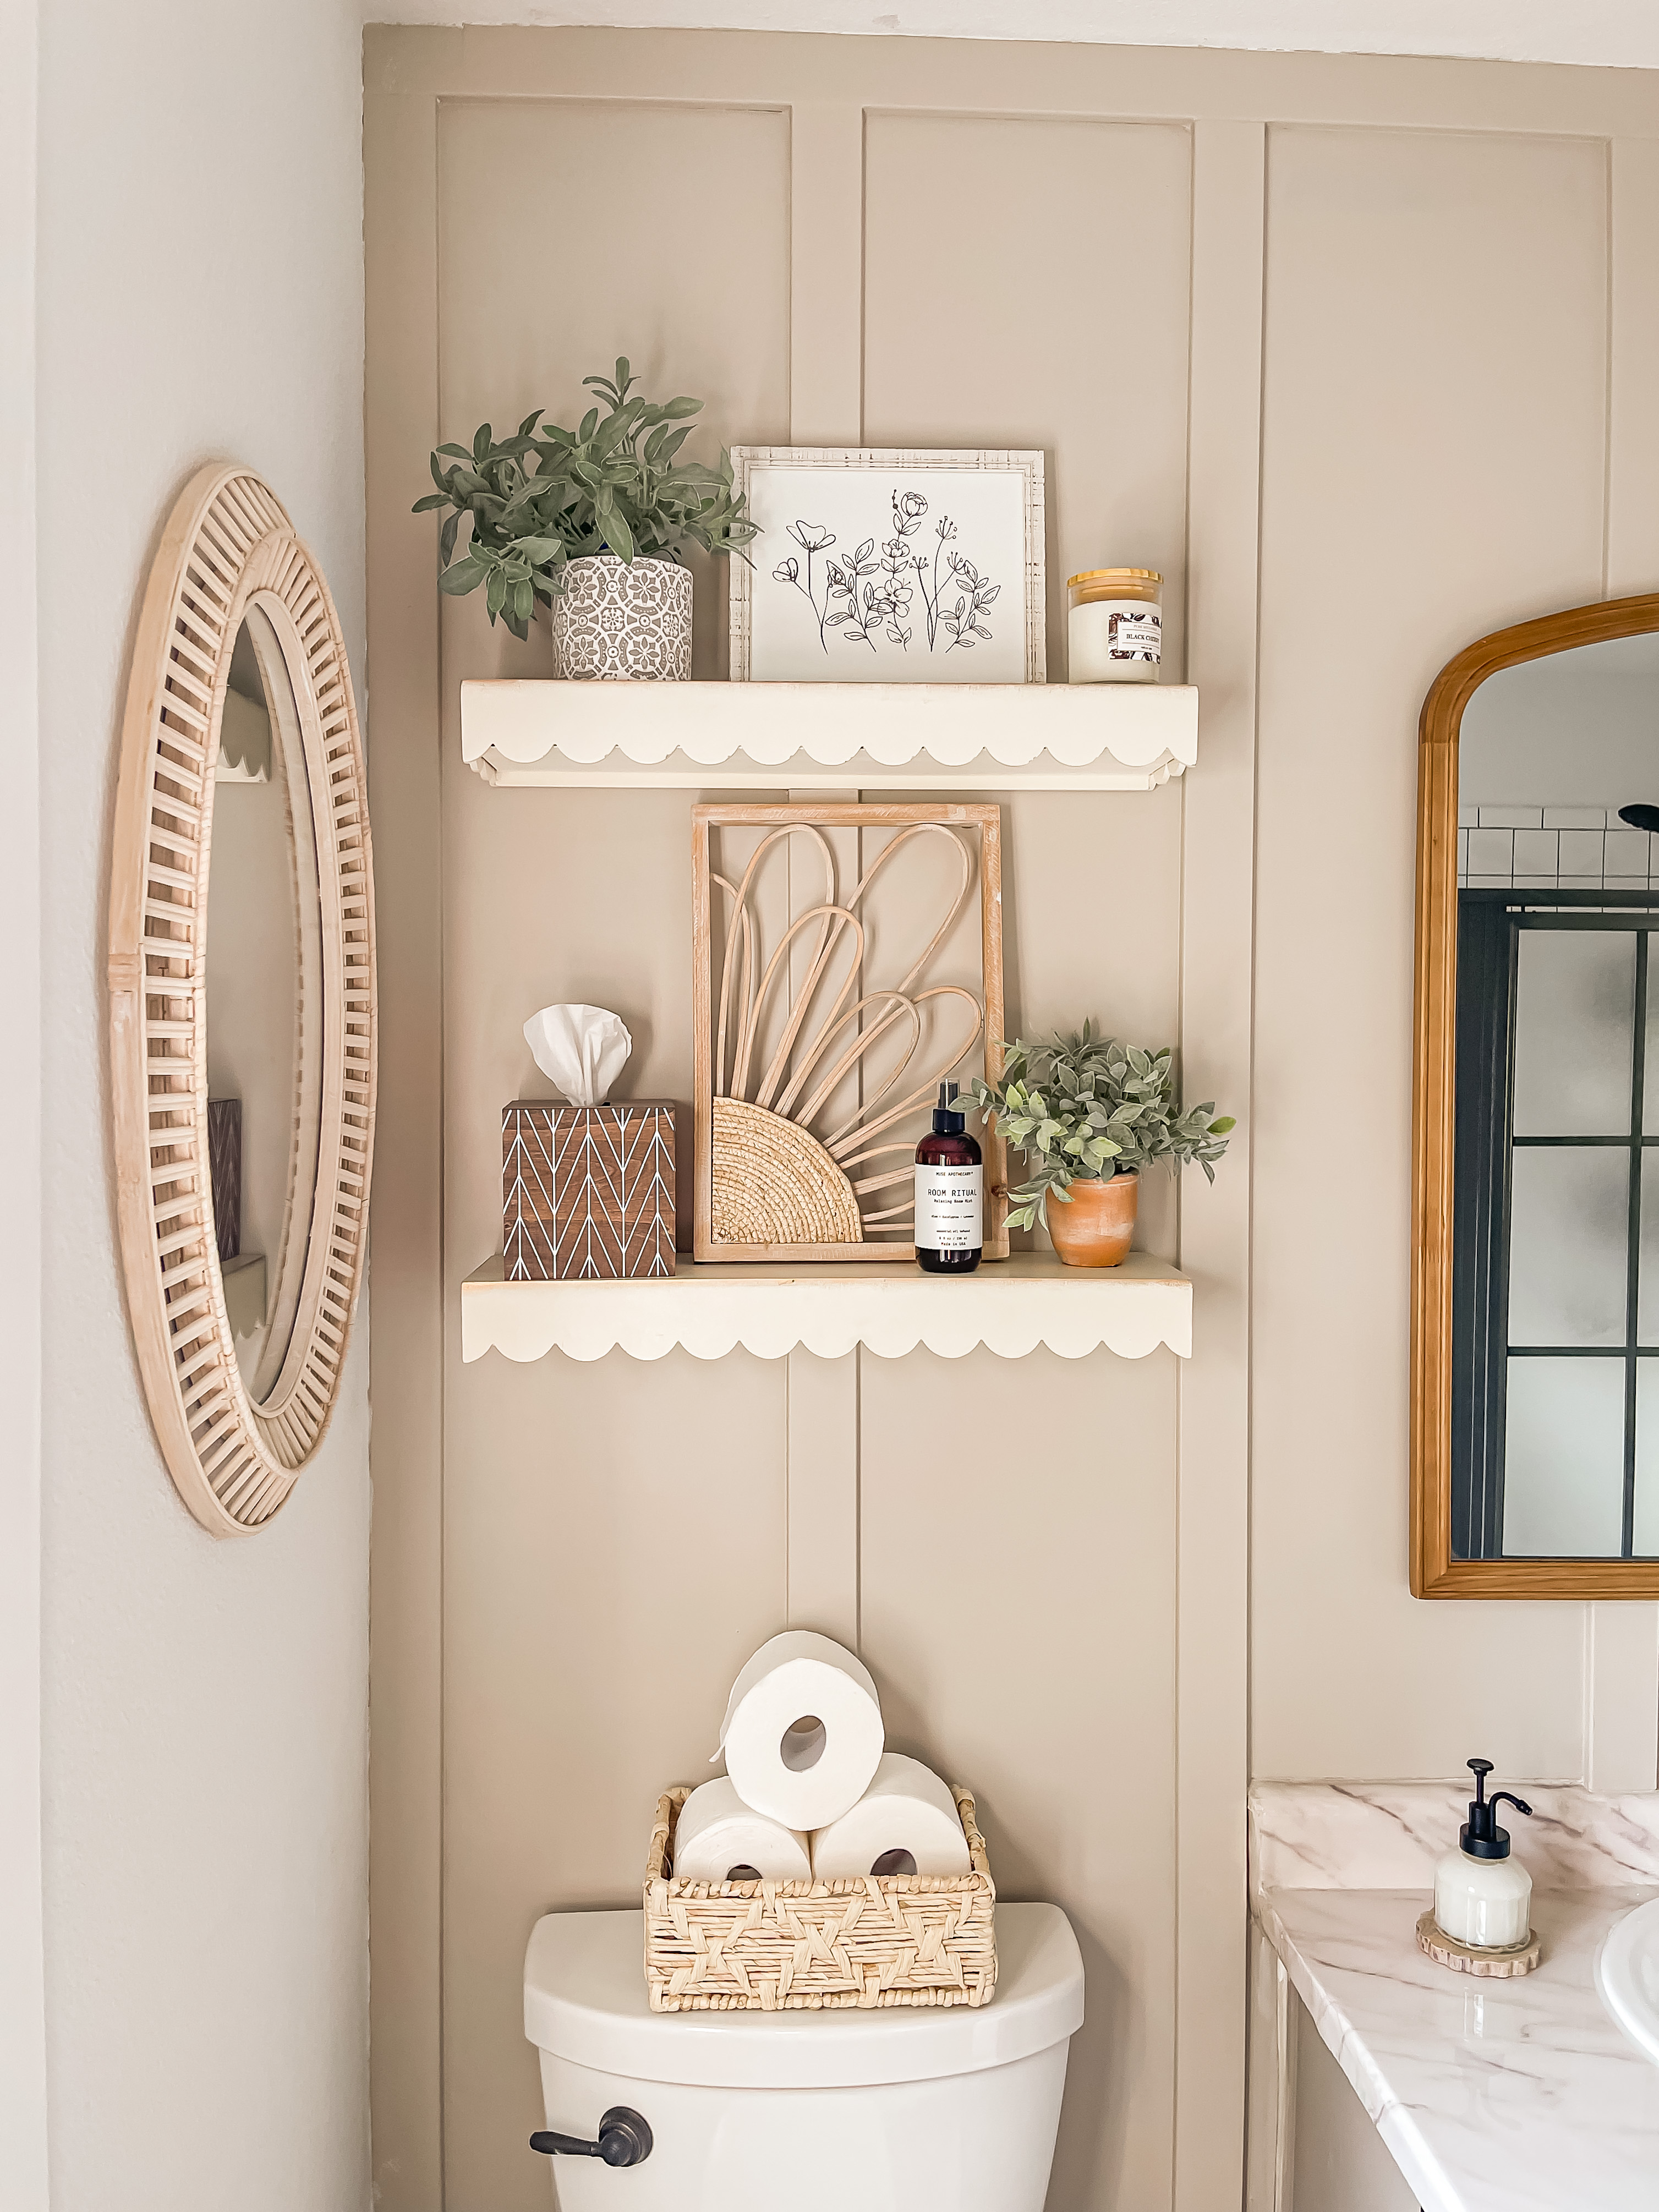
I painted it Wheat Bread by Behr which is a very soft grayish brown and coordinates well with the vanity color.
4. Bathtub
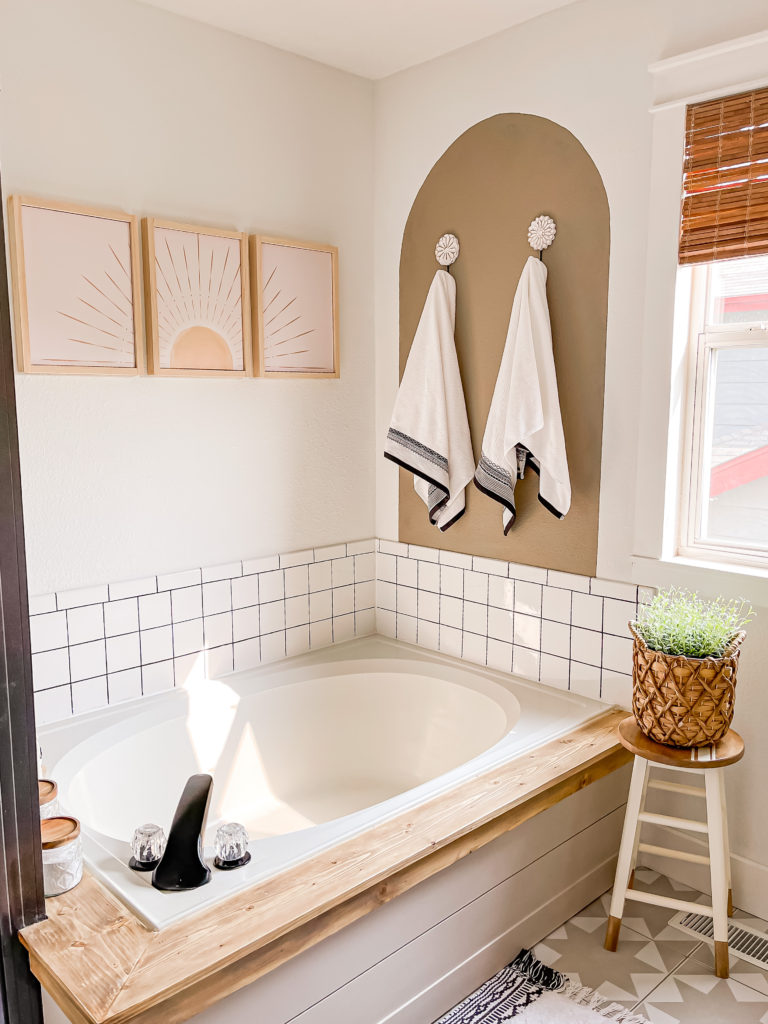
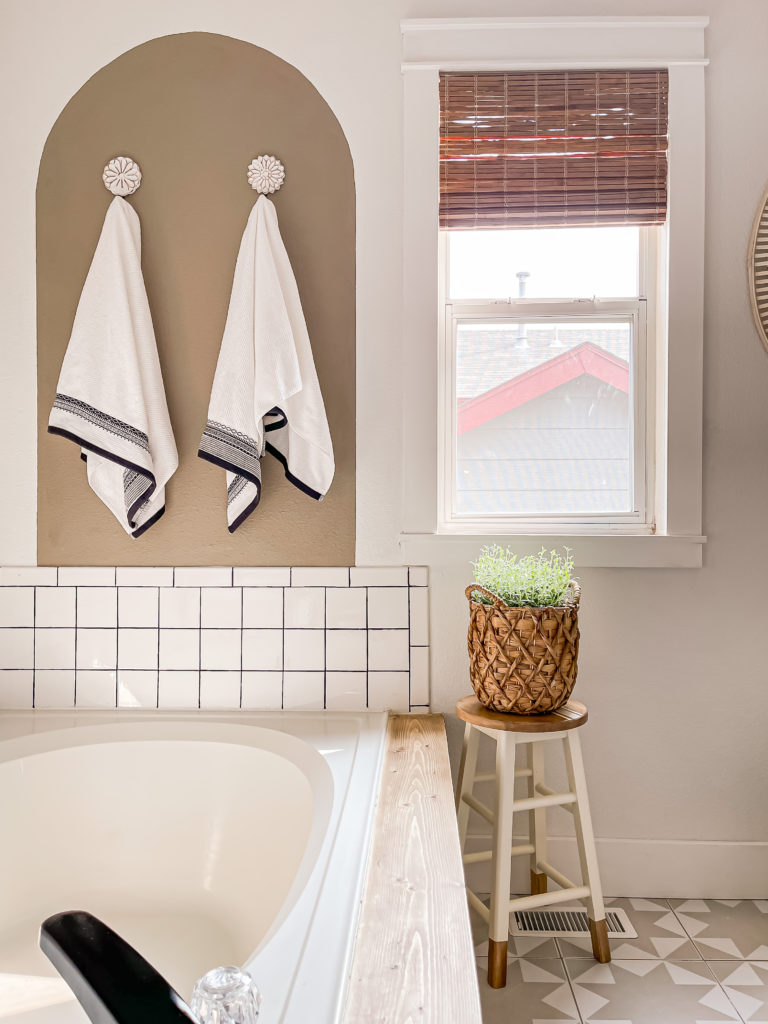
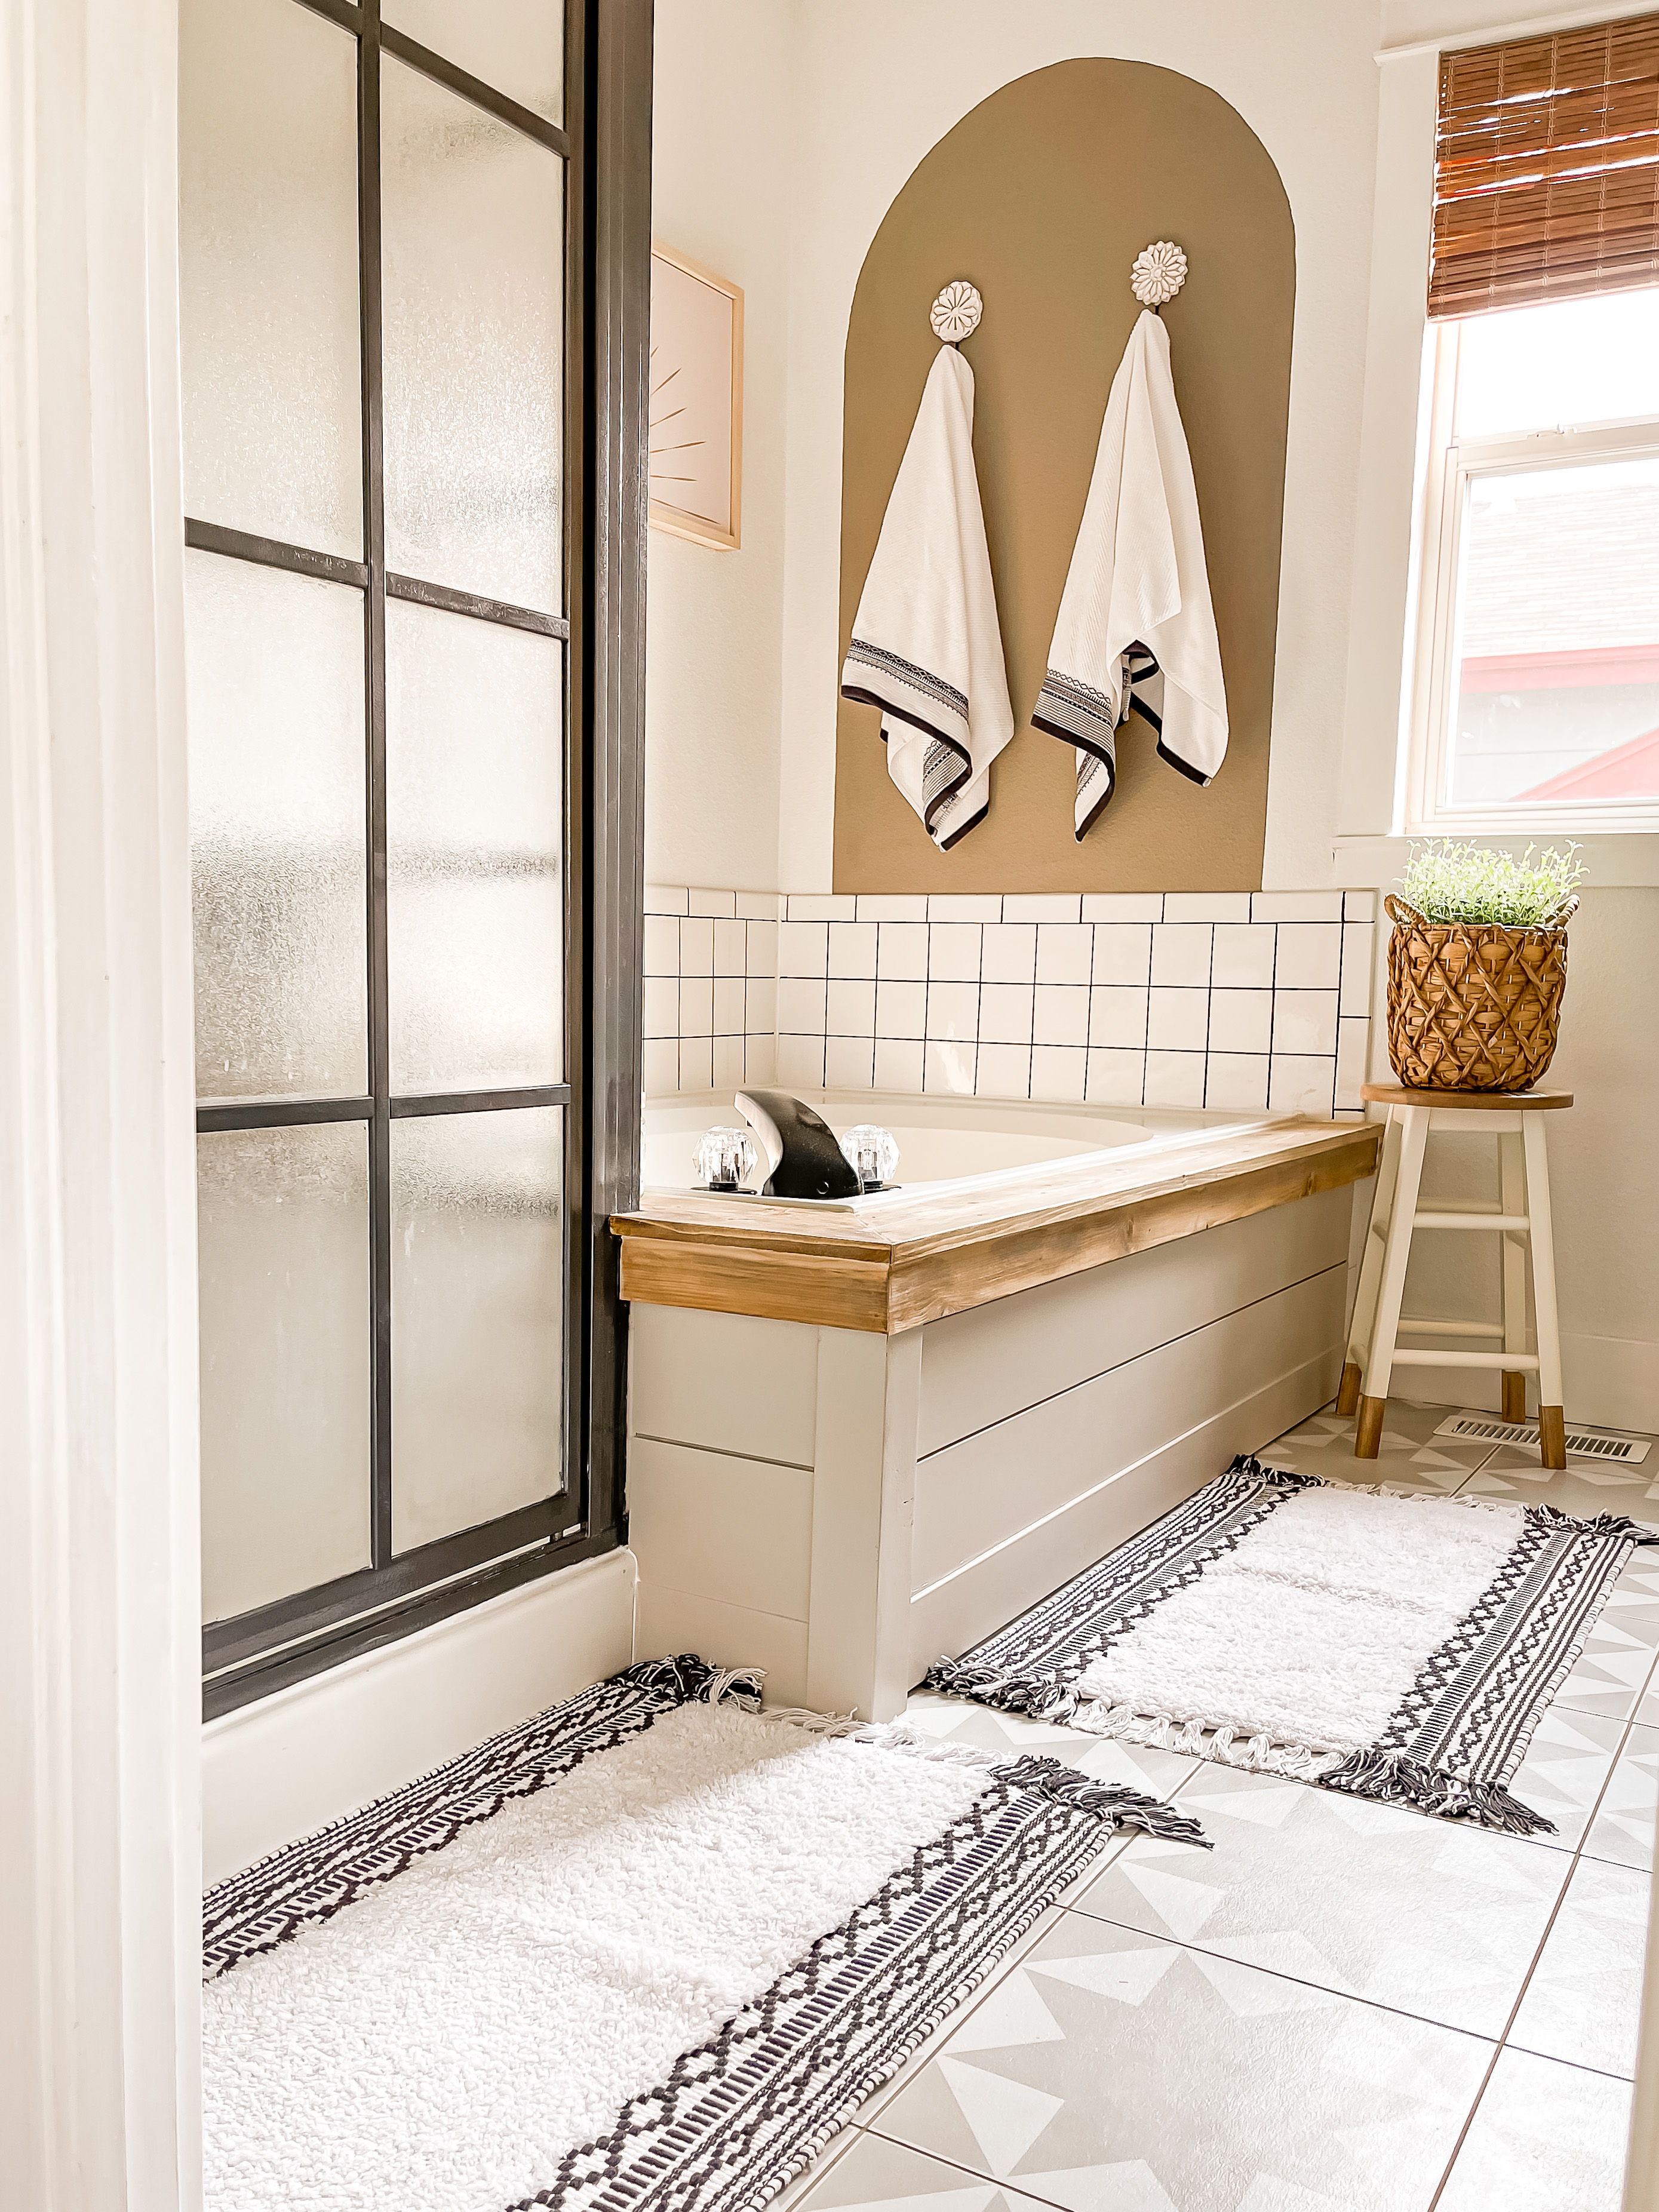
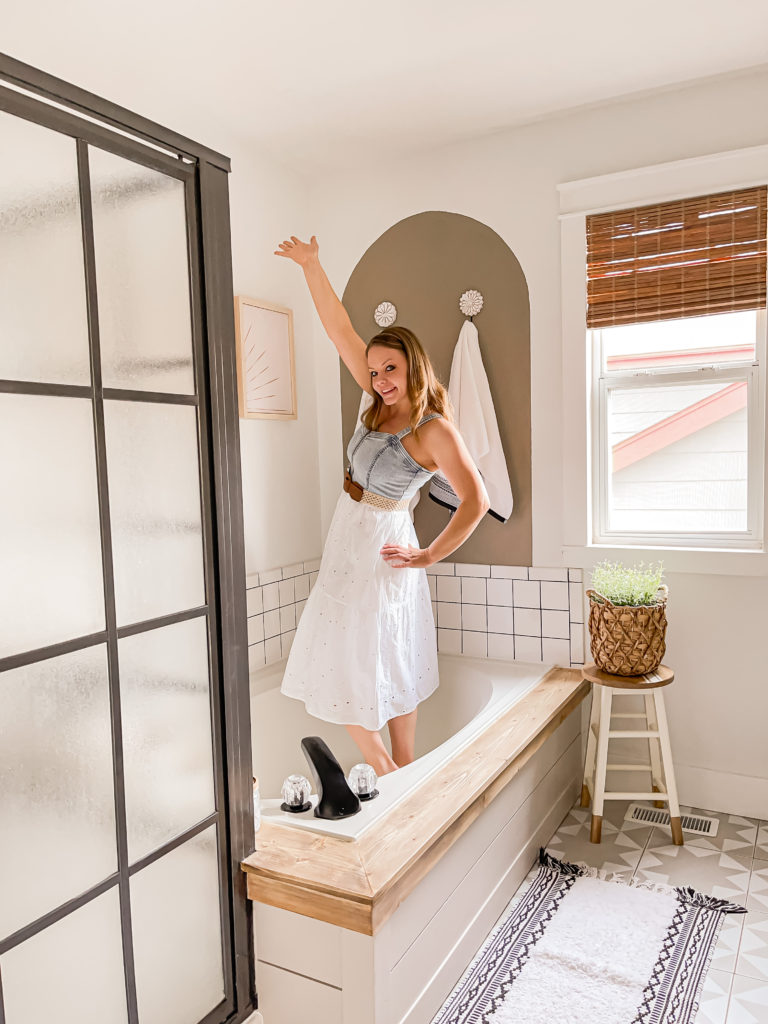
One day I would love to have a beautiful free standing tub, but for now we have to work with what we have! To make it look more modern we tore out the tile that was falling off of the tub surround and replaced it with wood sealed with tung oil.
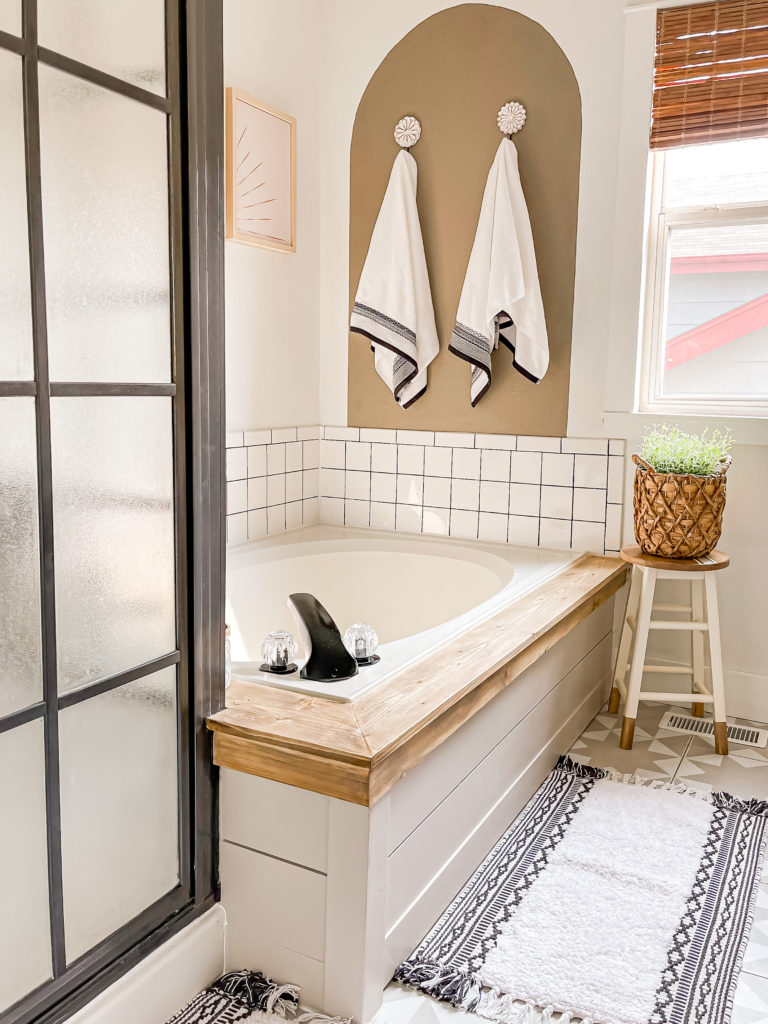
We also removed the tile that was on the side next to the shower and installed more shiplap to match the other side that we had done previously. It looks so much cleaner like this!
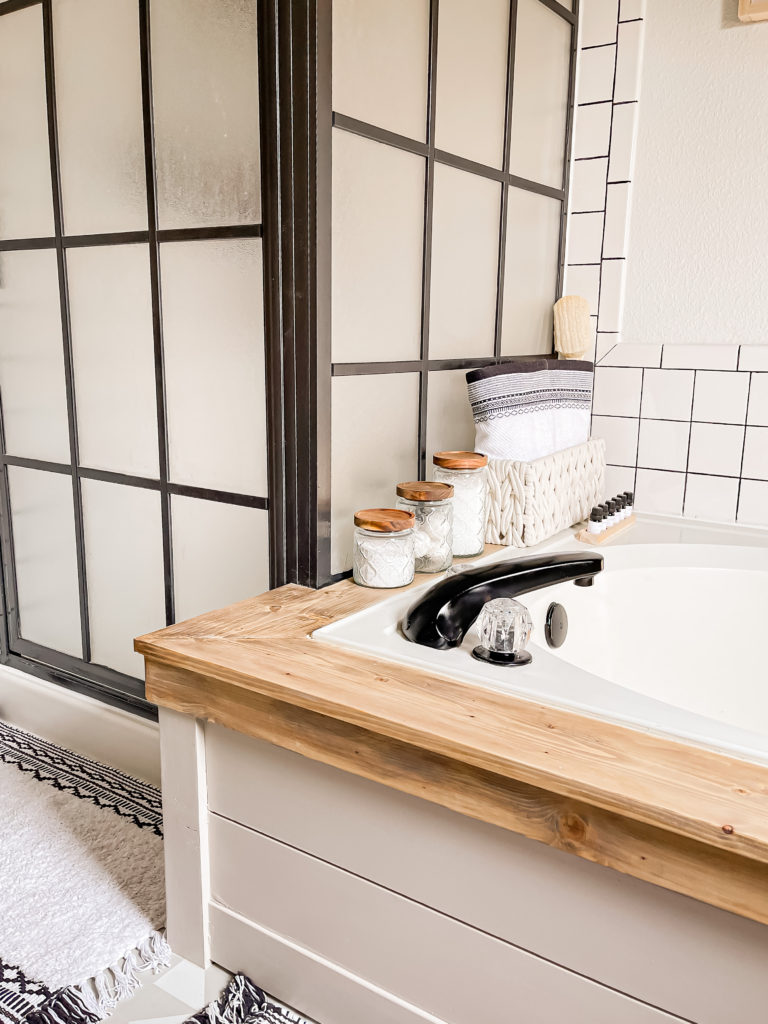
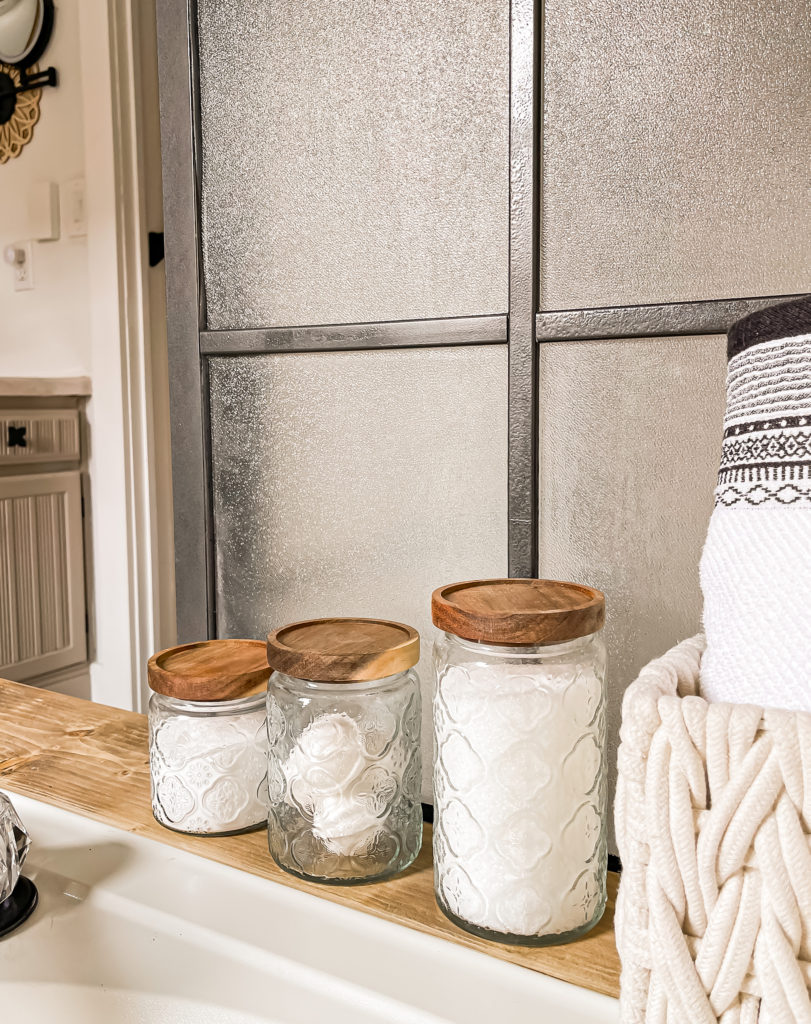
I used the side to store some bath essentials like epsom salt, bath bombs and baking soda in to these pretty vintage style glass canisters.
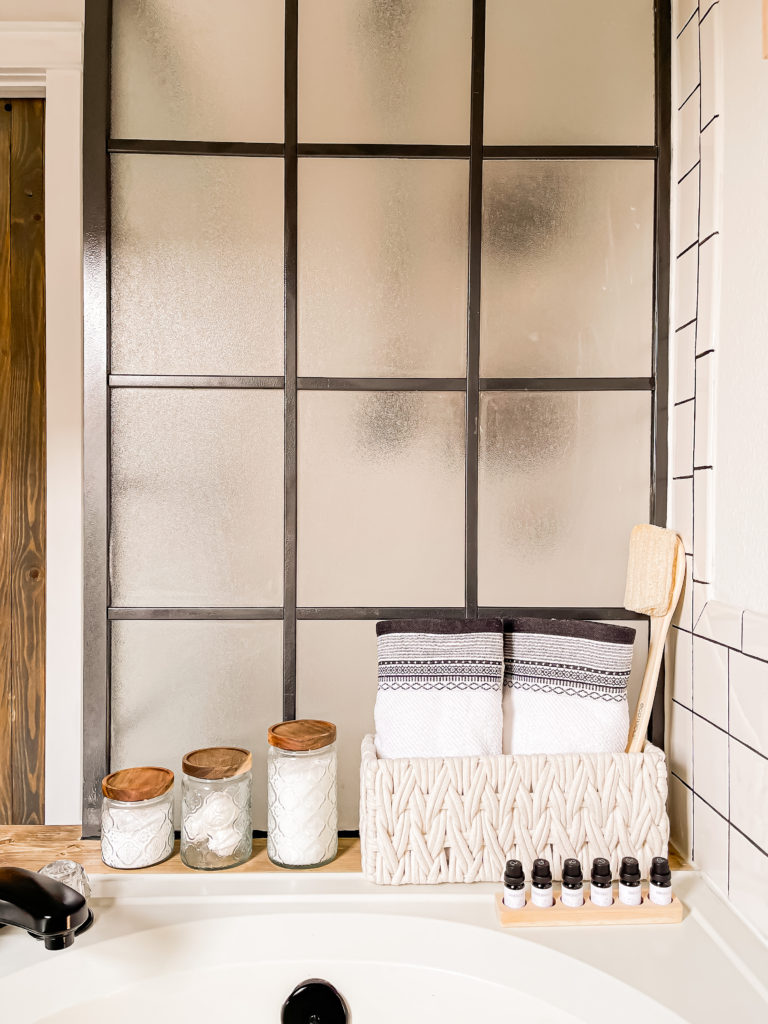
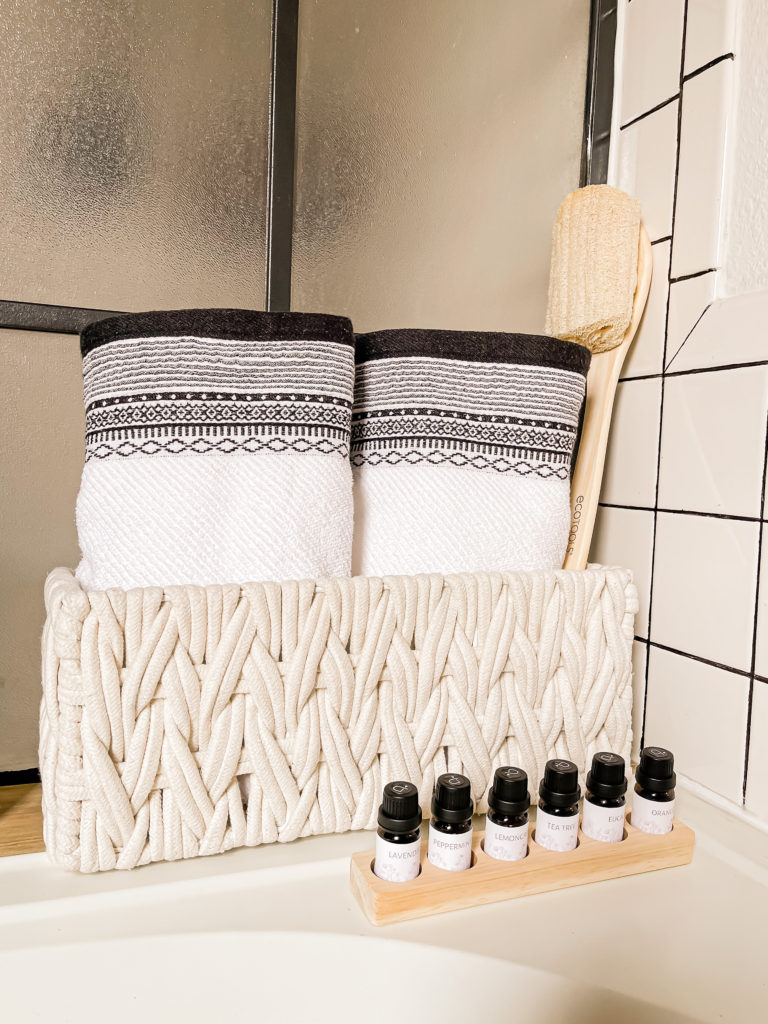
I also got a set of essential oils to keep by the bath so that I’m not having to go up and down the stairs to my stash that I keep in the kitchen. I’m not sure why I didn’t think of doing this sooner! I popped them in this cute wooden holder.
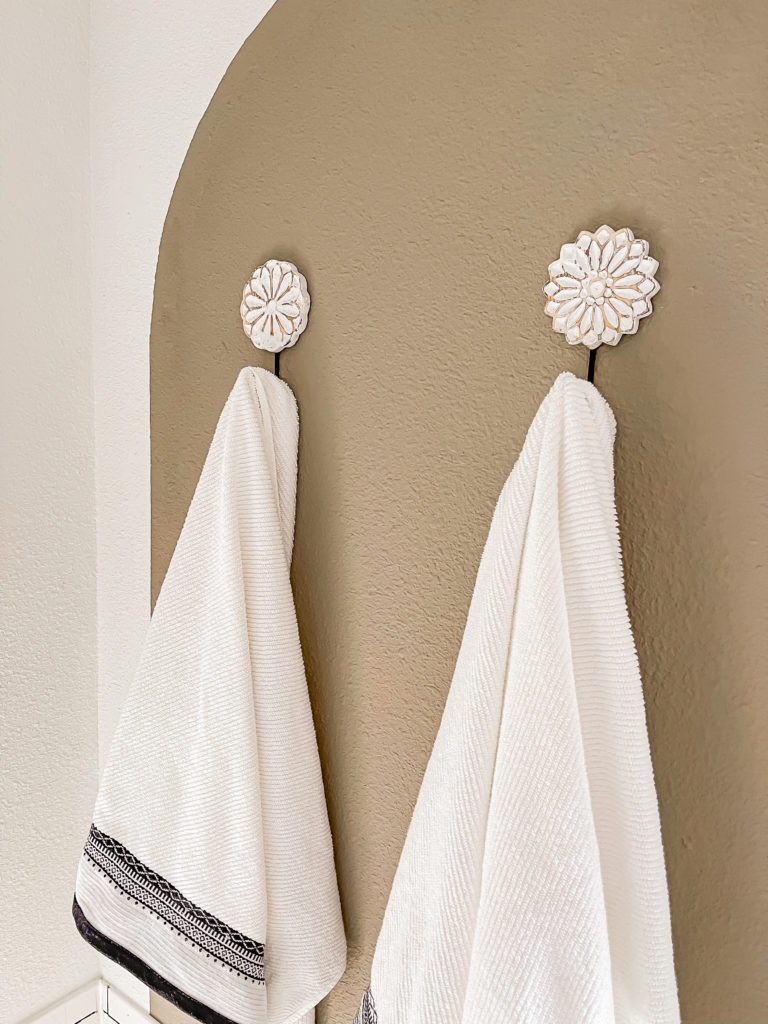
I painted an arch above the tub before installing our new towel hooks and I love how eye catching it is when you walk in the room.
5. Shower
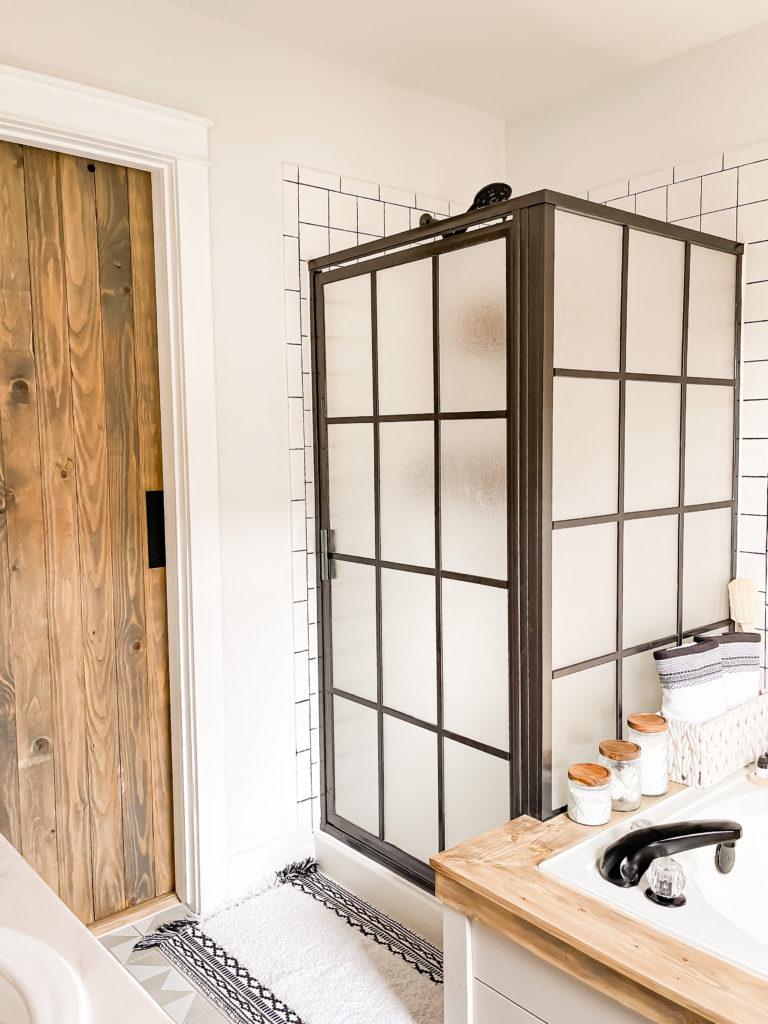
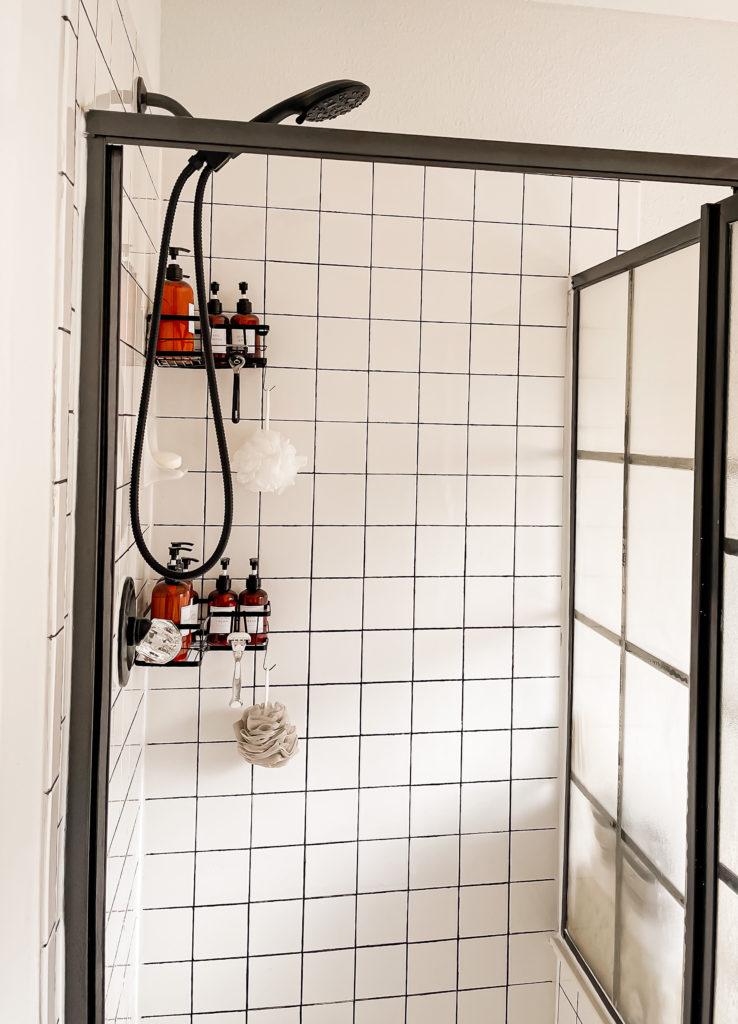
The shower is also something that I would love to replace one day but we needed to make it work for the time being. I mentioned that the paint from the first makeover had started to peel because of my lack of keeping up on cleaning it which caused mildew to build up. I spent nearly an entire day scrubbing it all down! I also removed all of the old caulk so that we could start fresh. I repainted and added epoxy to the problem areas in hopes that it holds up a little better.
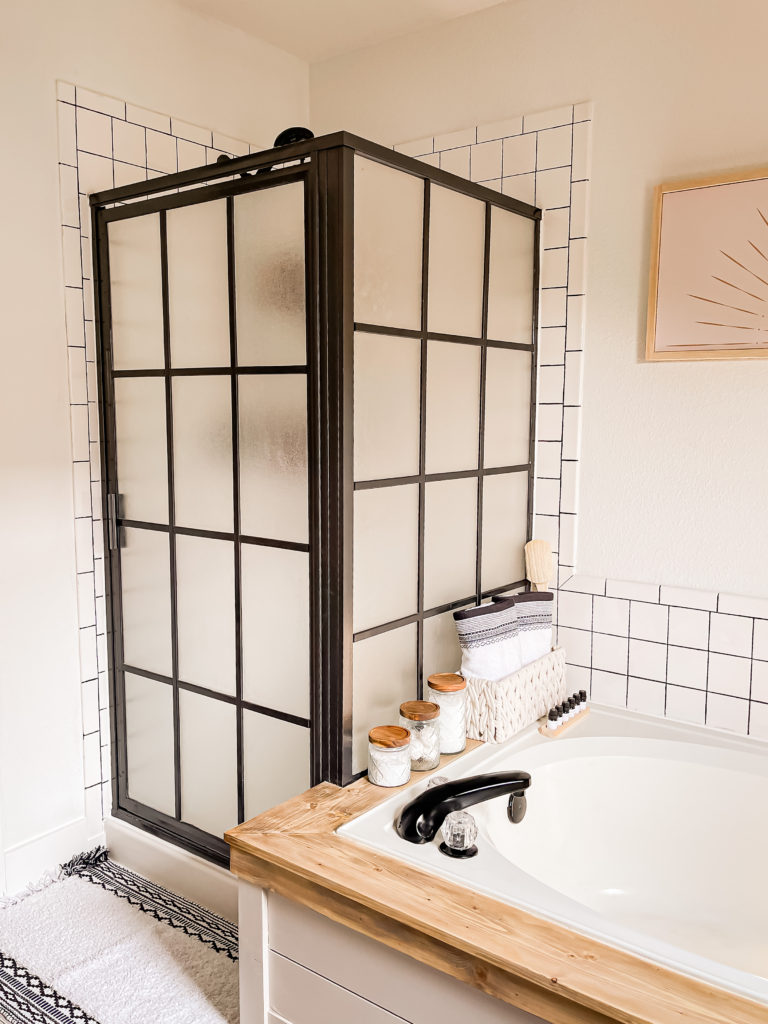
It looks brand new and I’m so happy with how it turned out! I used black grout paint to freshen up the look of the grout.
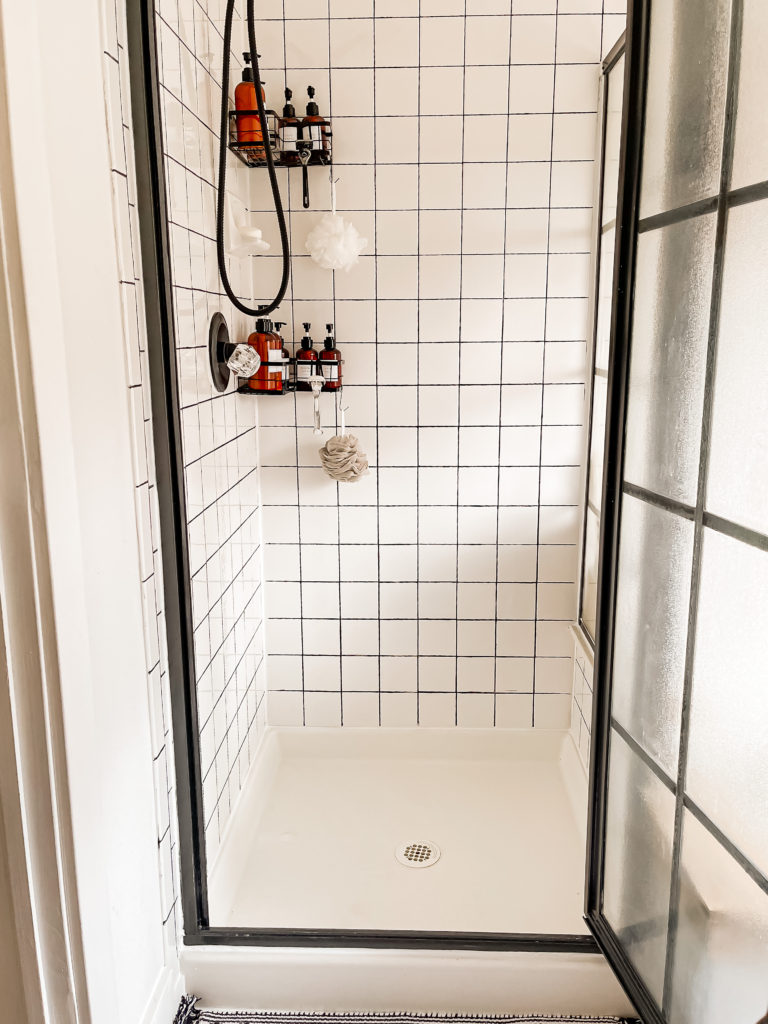
For our “new” shower I installed these corner shower shelves with amber bottles.
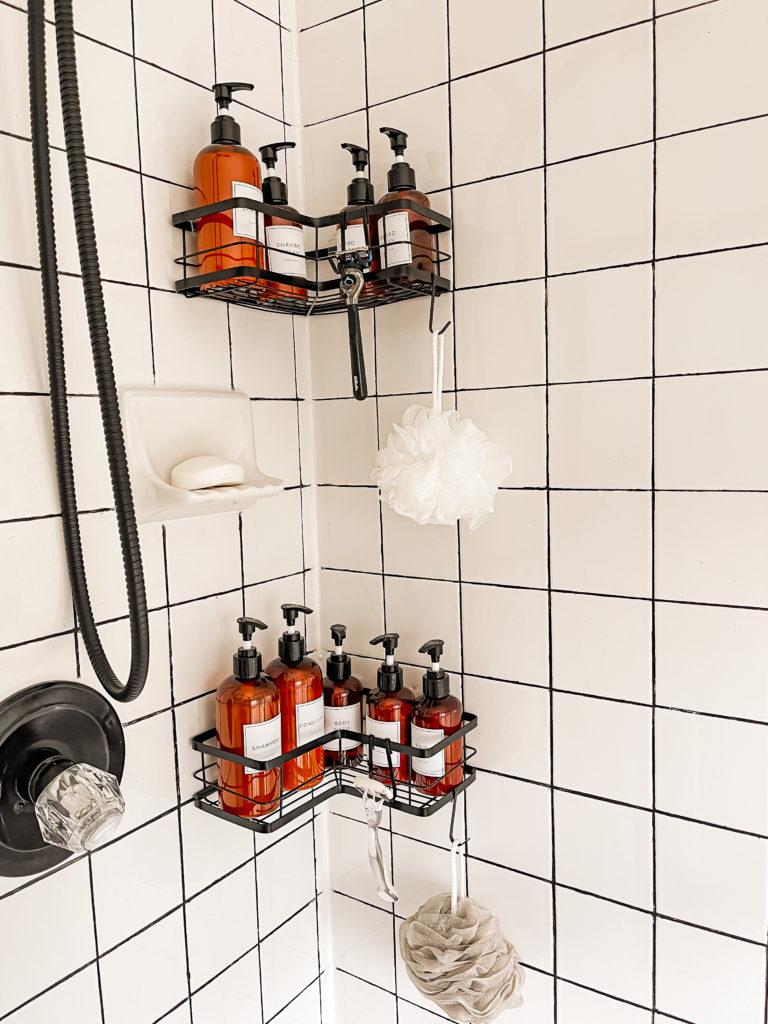
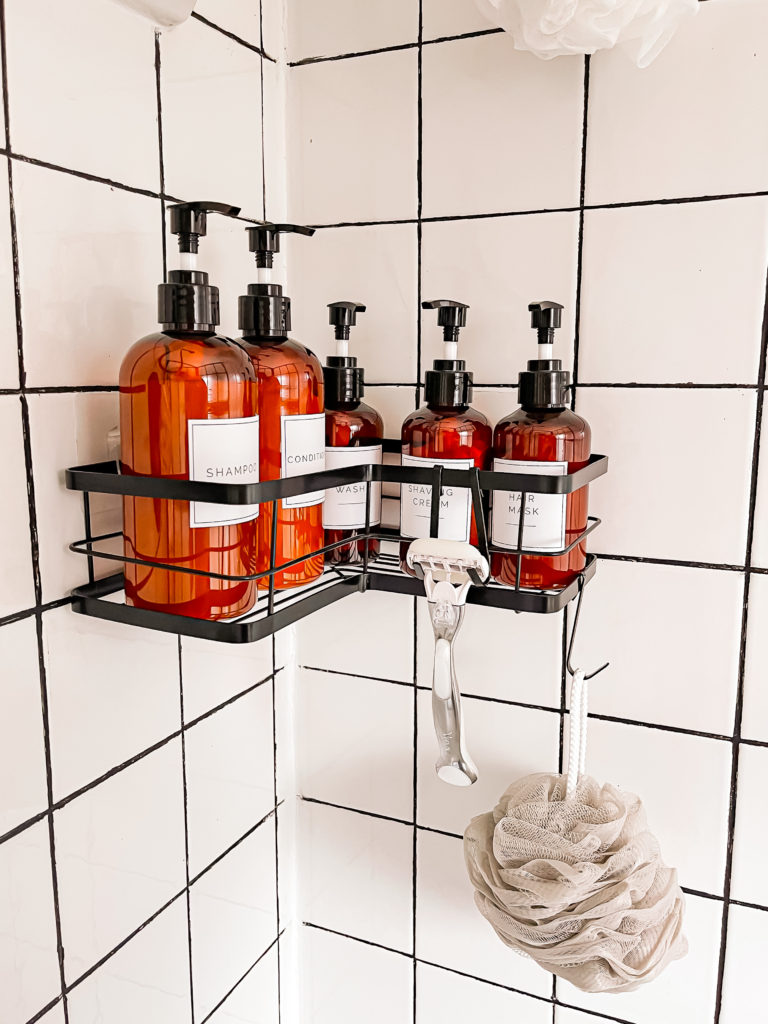
I was honestly not sure if I was going to be able to salvage this shower since it was in such rough shape, but I am so impressed with how beautifully it polished up!
6. Decor
One of the most enjoyable parts about a room makeover is playing around with new decor. I wanted to shift away from farmhouse and more towards a bohemian vibe.
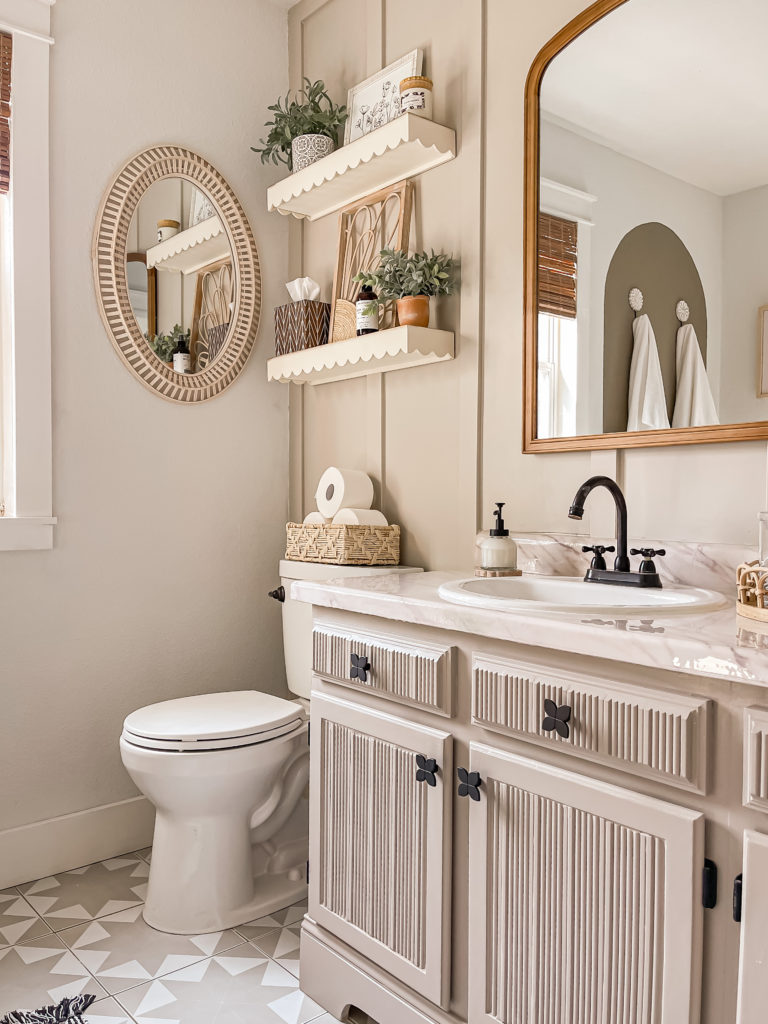
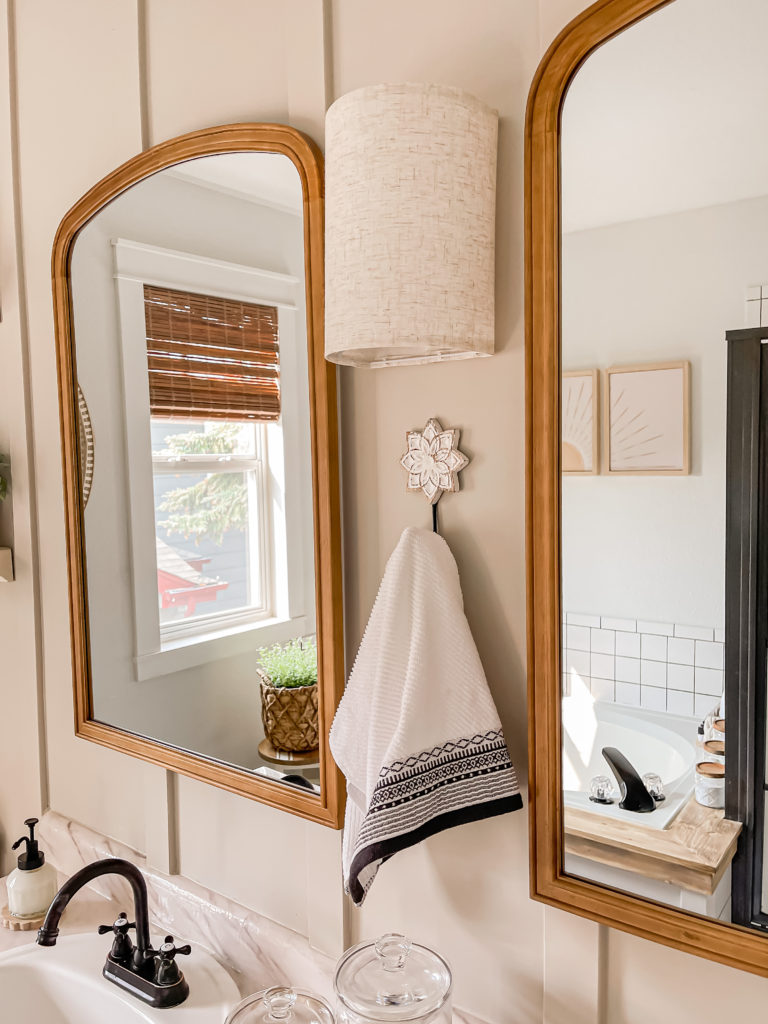
I replaced our large builder grade mirror with these two wood framed ones to modernize and warm the space.
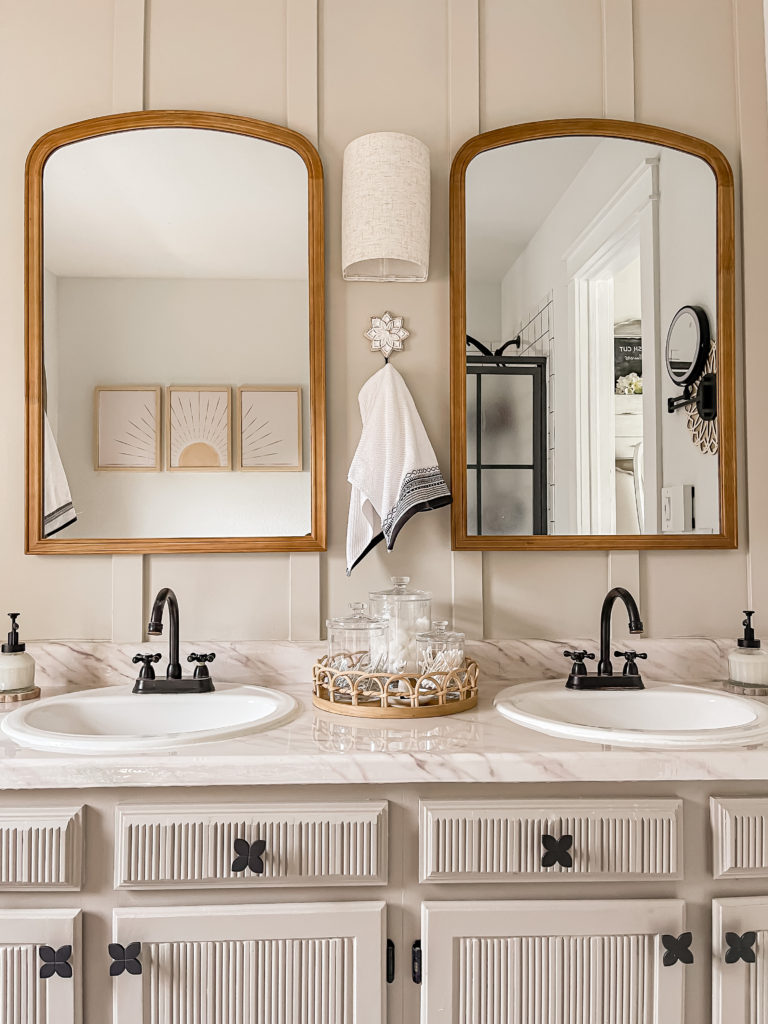
I wanted a light in between them but we couldn’t hire an electrician to install one. I ended up finding this battery operated one and it works like a charm!
I liked the idea of mounting the remote to the wall next to the light switch, but I didn’t care for how it looked. I came up with the idea to create a box out of scrap wood and mount it on top with hinges. I painted it to match the wall and it looks so much better!
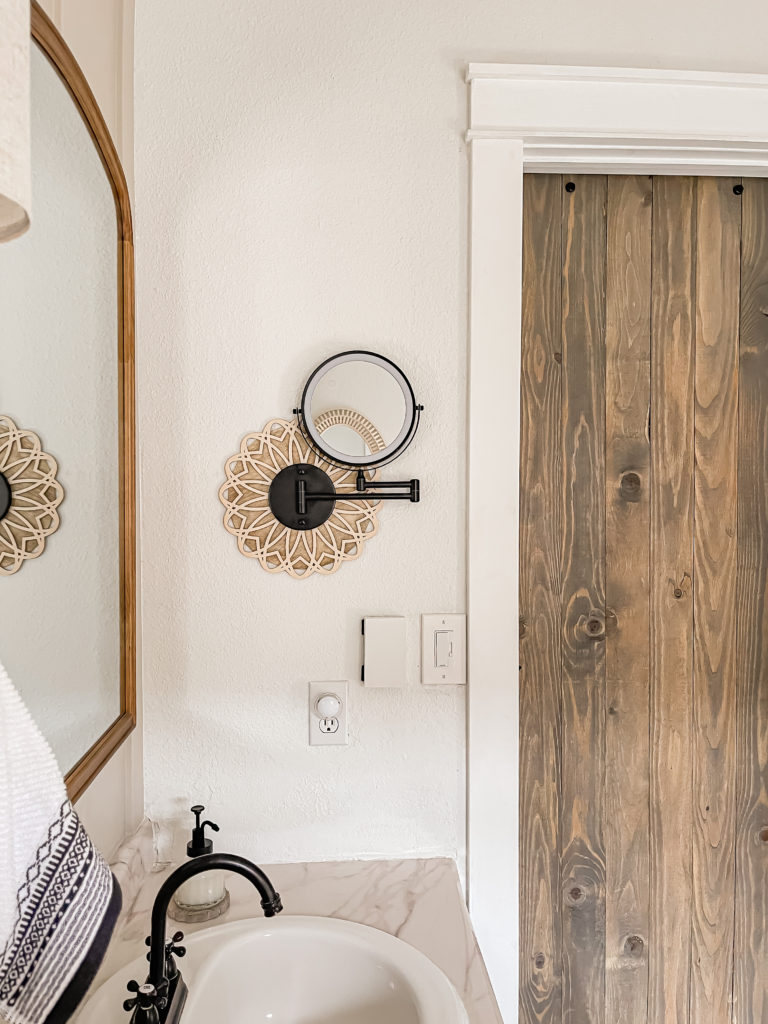
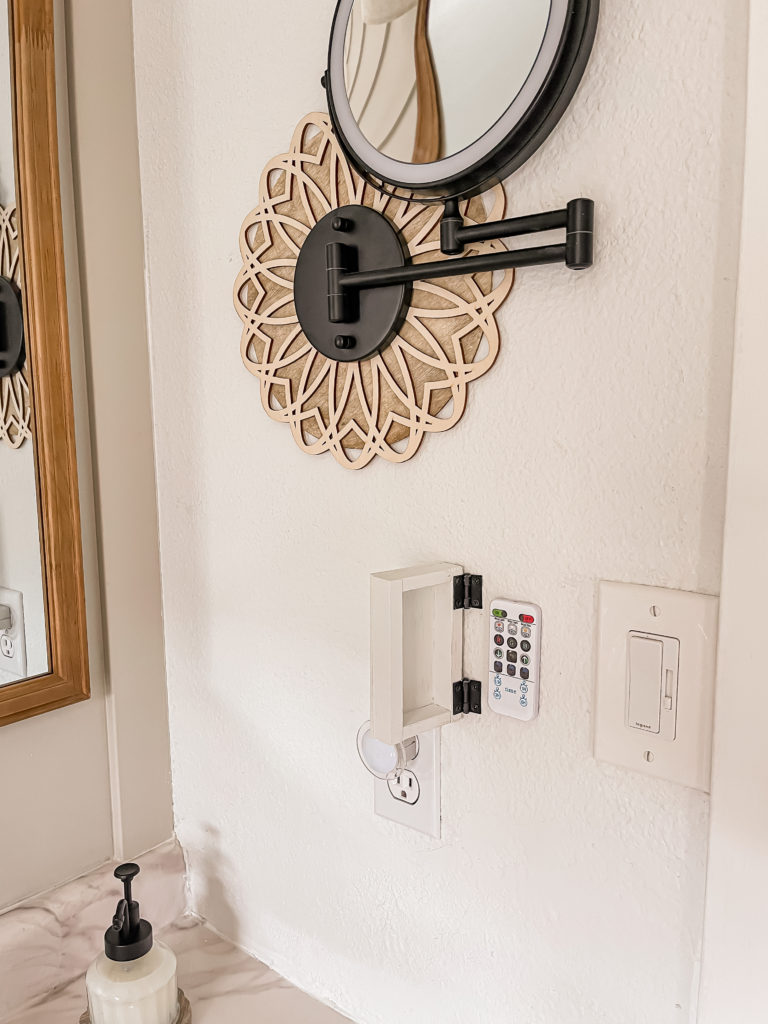
Above it, I installed something that I’ve wanted for a very long time—a wall mounted lighted makeup mirror!
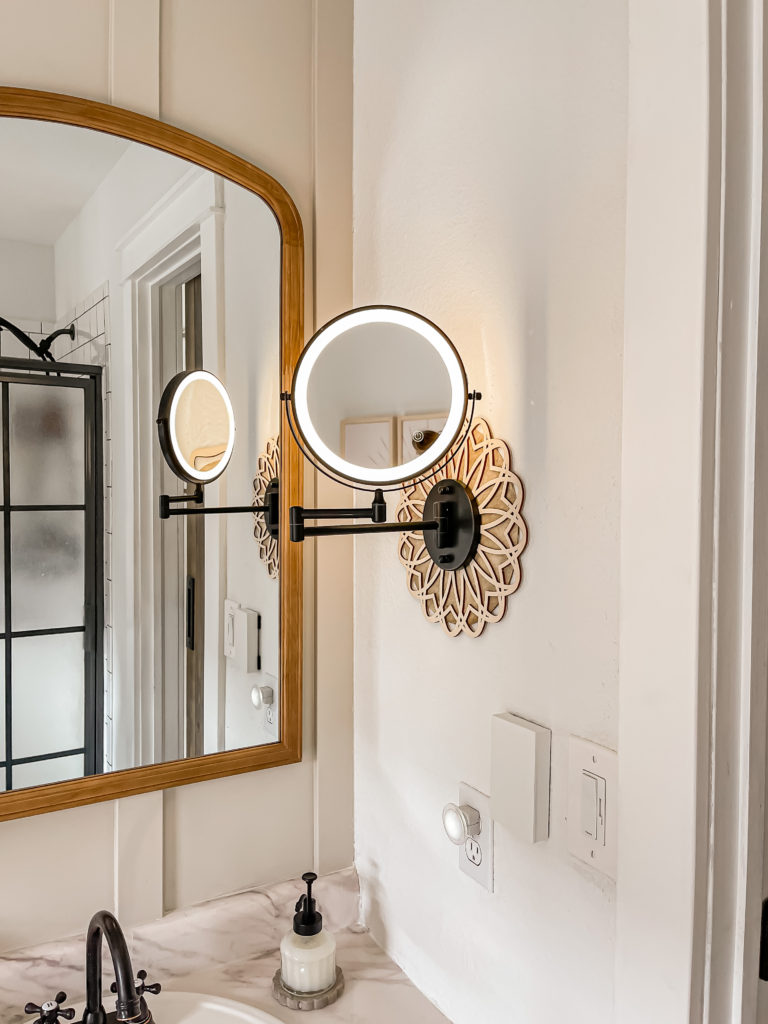
The touchscreen light is rechargeable and I can’t even begin to tell you how much easier it is for me to do my makeup with this thing! I added a wood circle and flower cutout behind it for visual interest and it folds up on the wall when not in use.

I swapped where the shelves and the towel hooks are so it’s taking some getting used to, but I love it and feel that it should have always been this way!
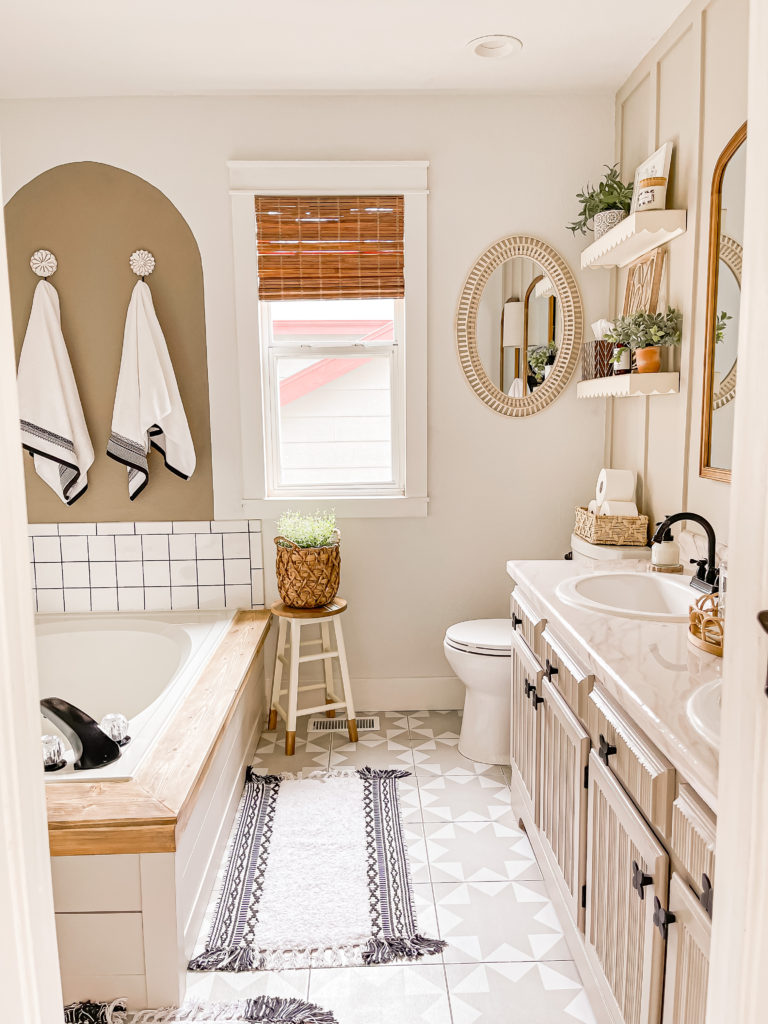
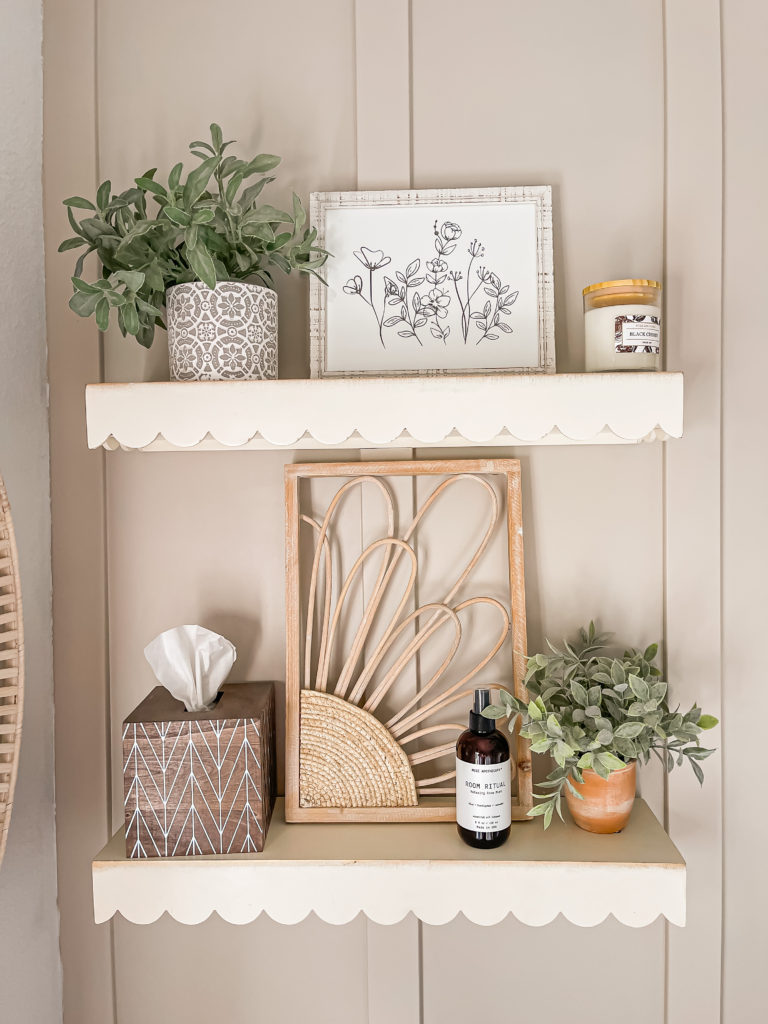
The cute scallop shelves add such fun character. I did have to rig them a bit by attaching scrap wood and a panel with command strips to the bottom since I didn’t like the open look underneath.
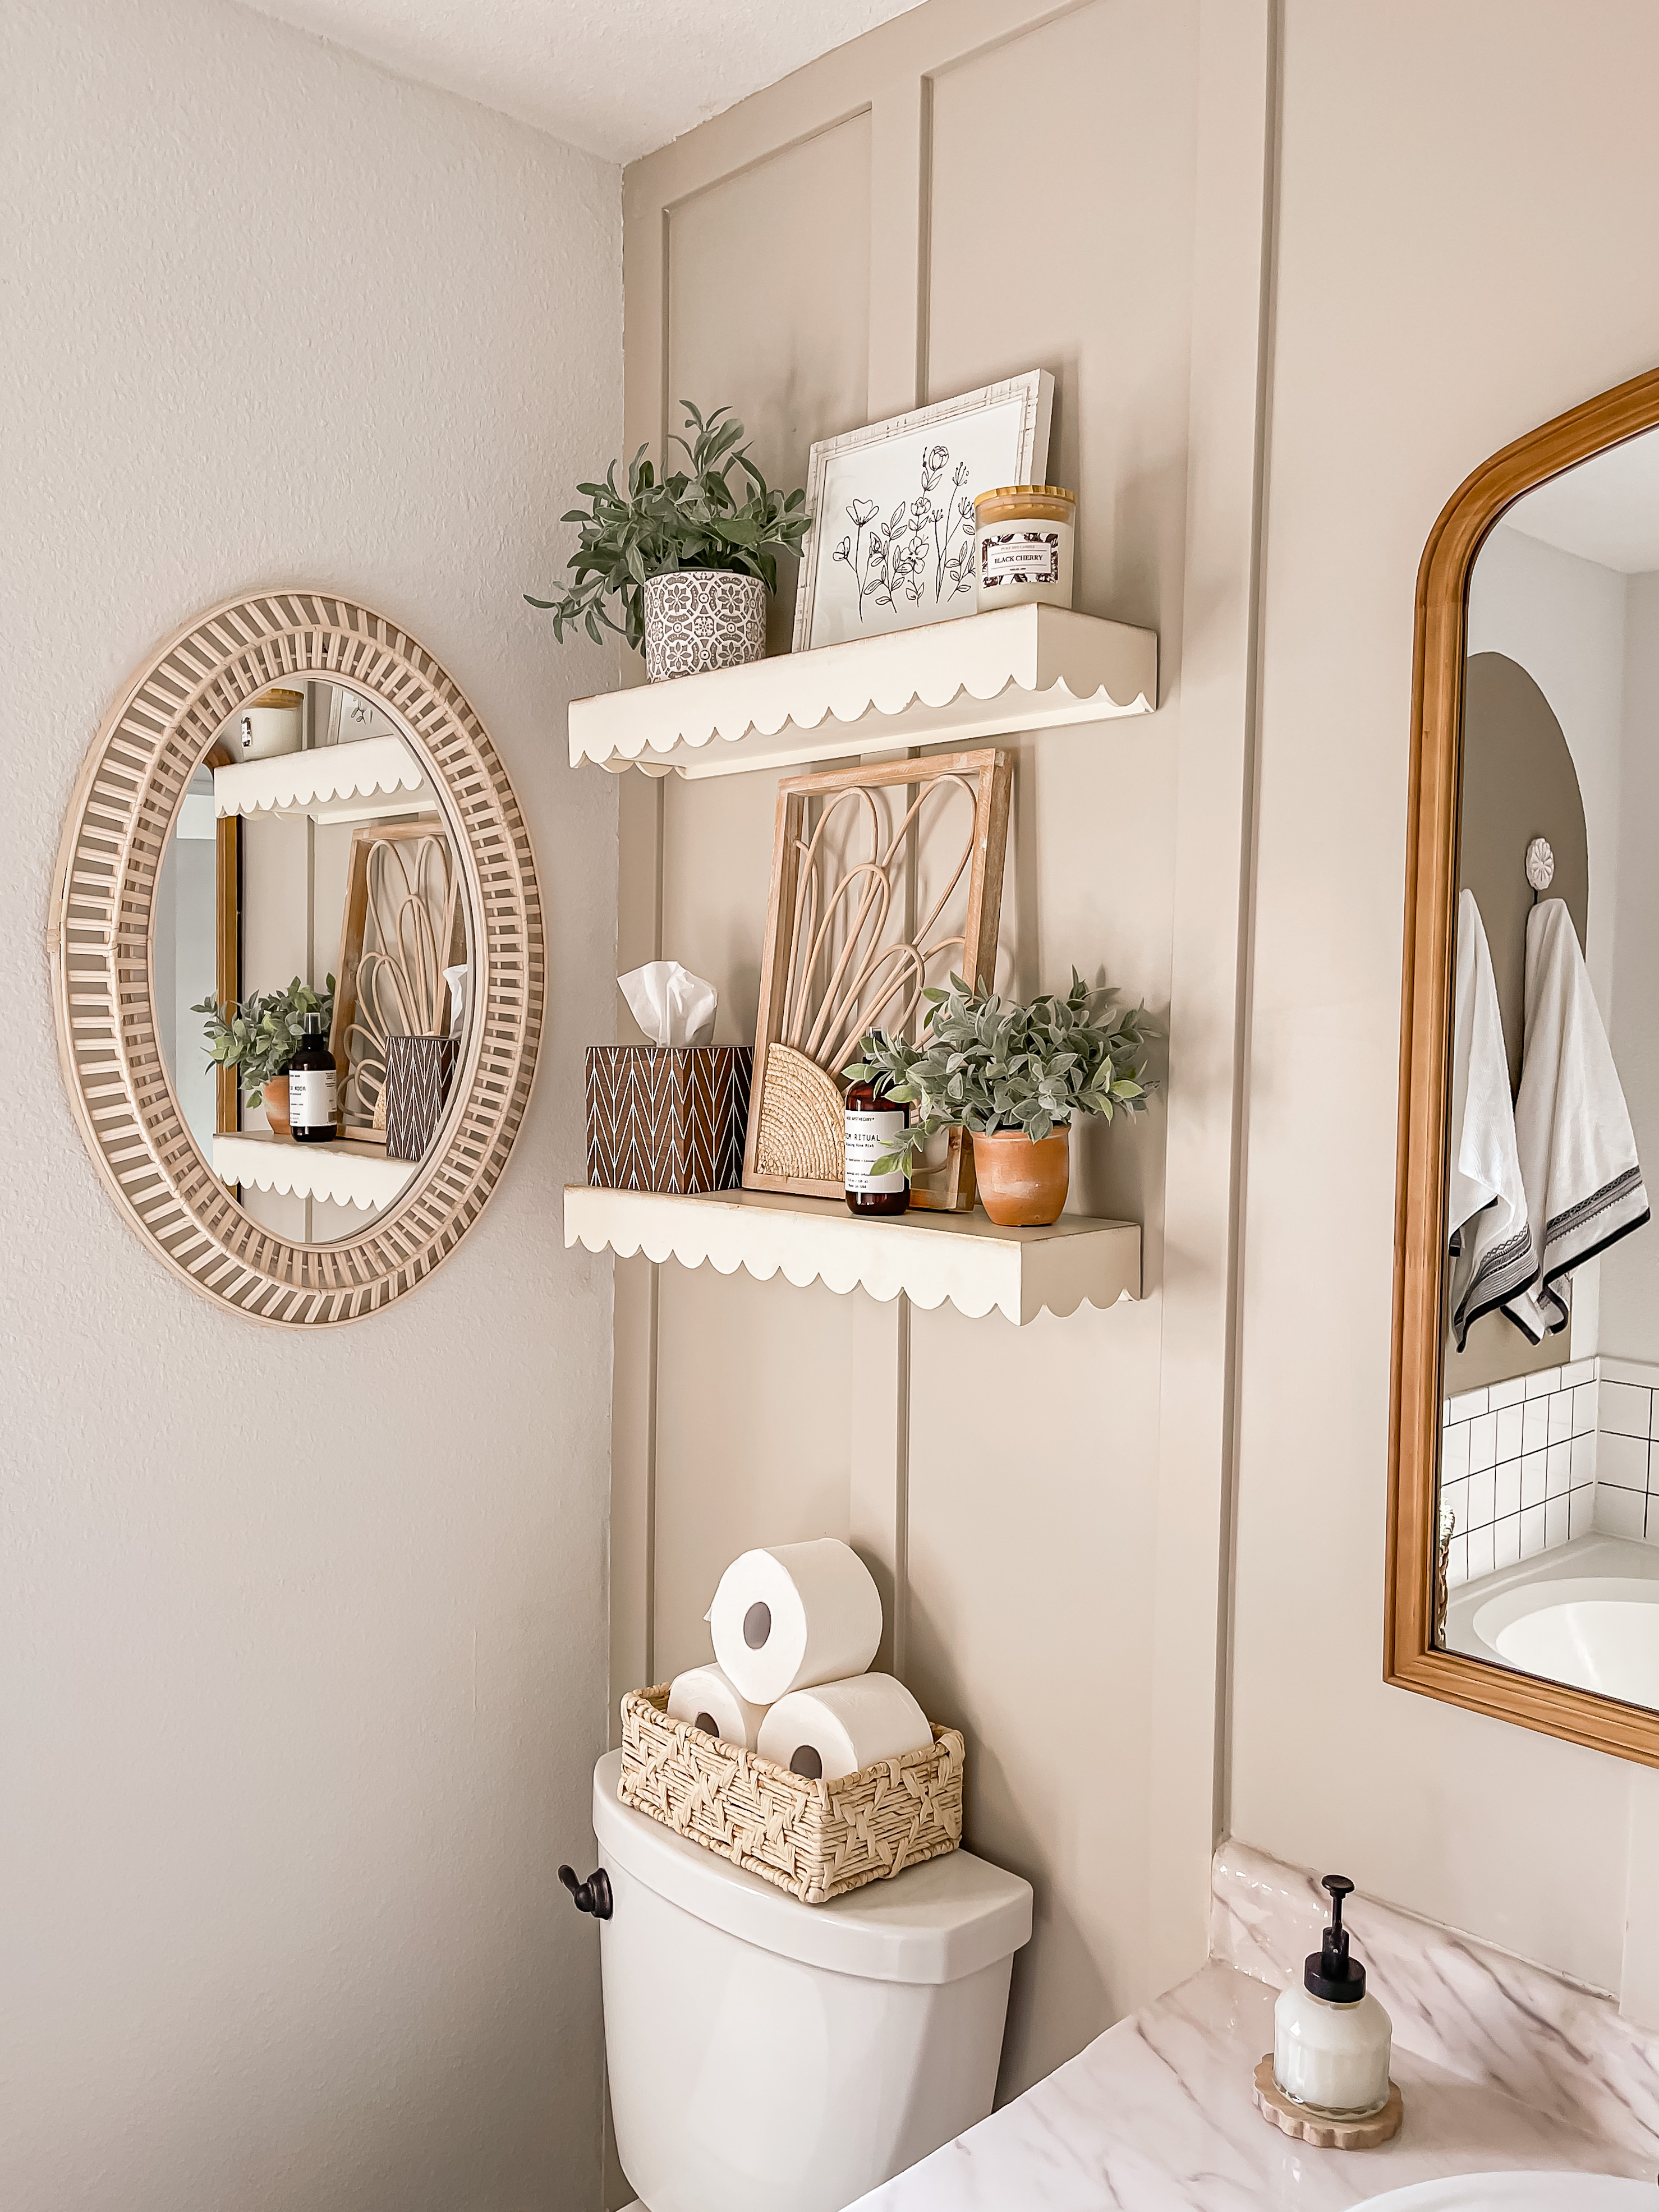
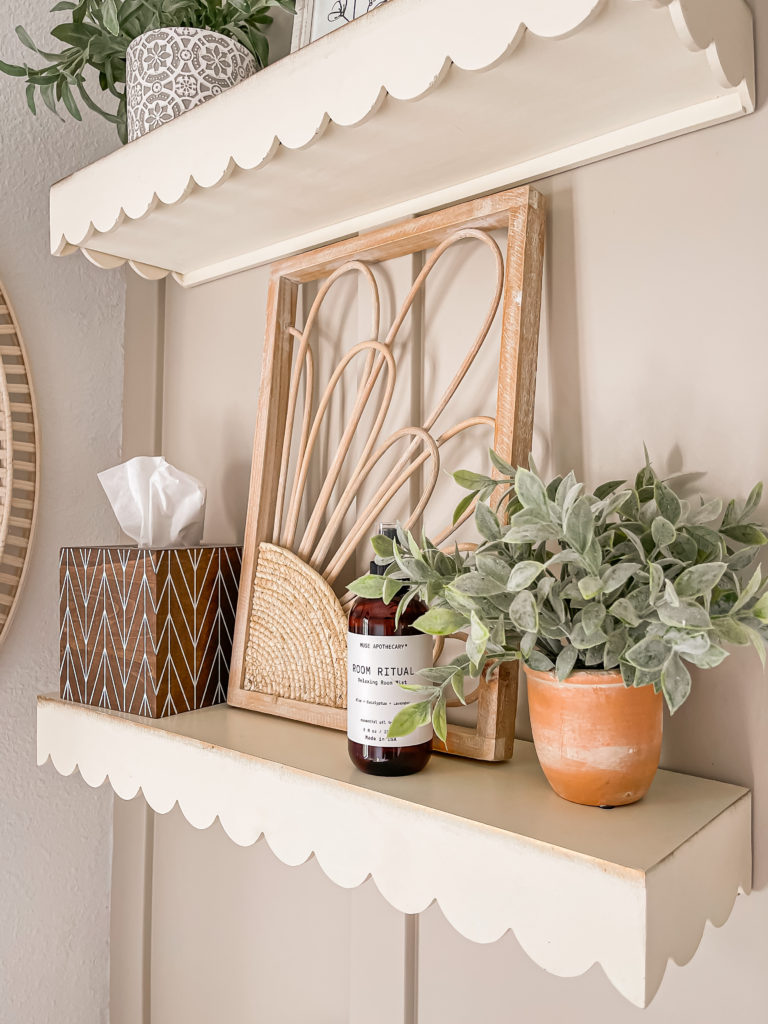
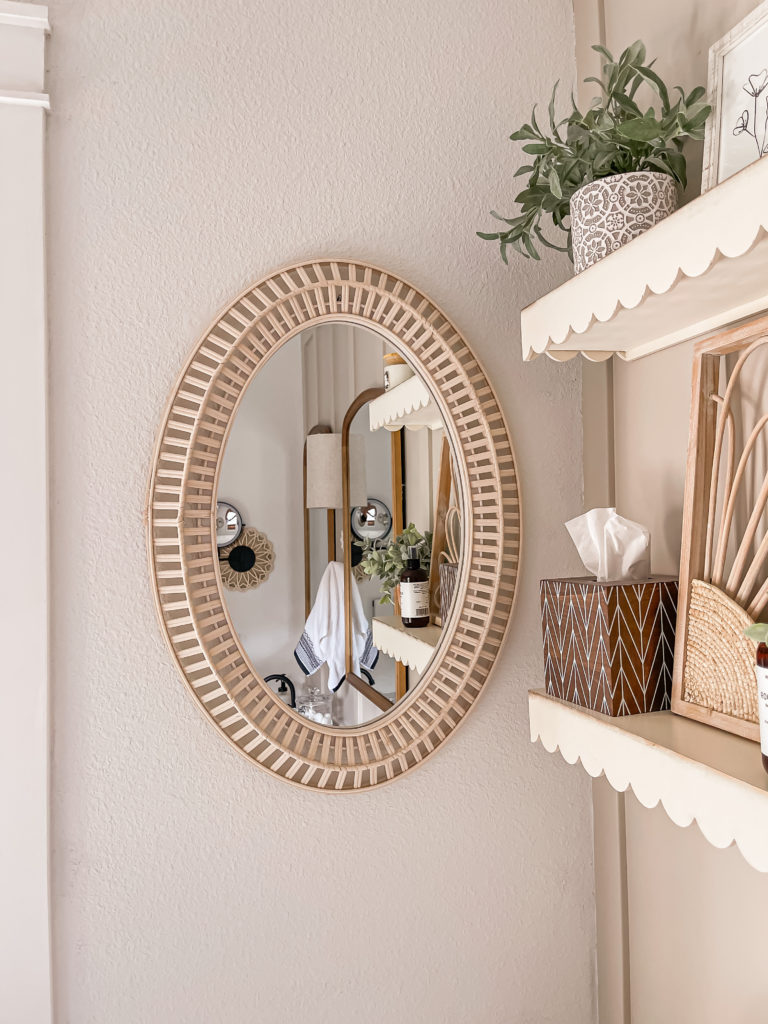
For awhile I wasn’t sure what to add on the side wall, but when I spotted this gorgeous rattan mirror I knew it would be perfect.
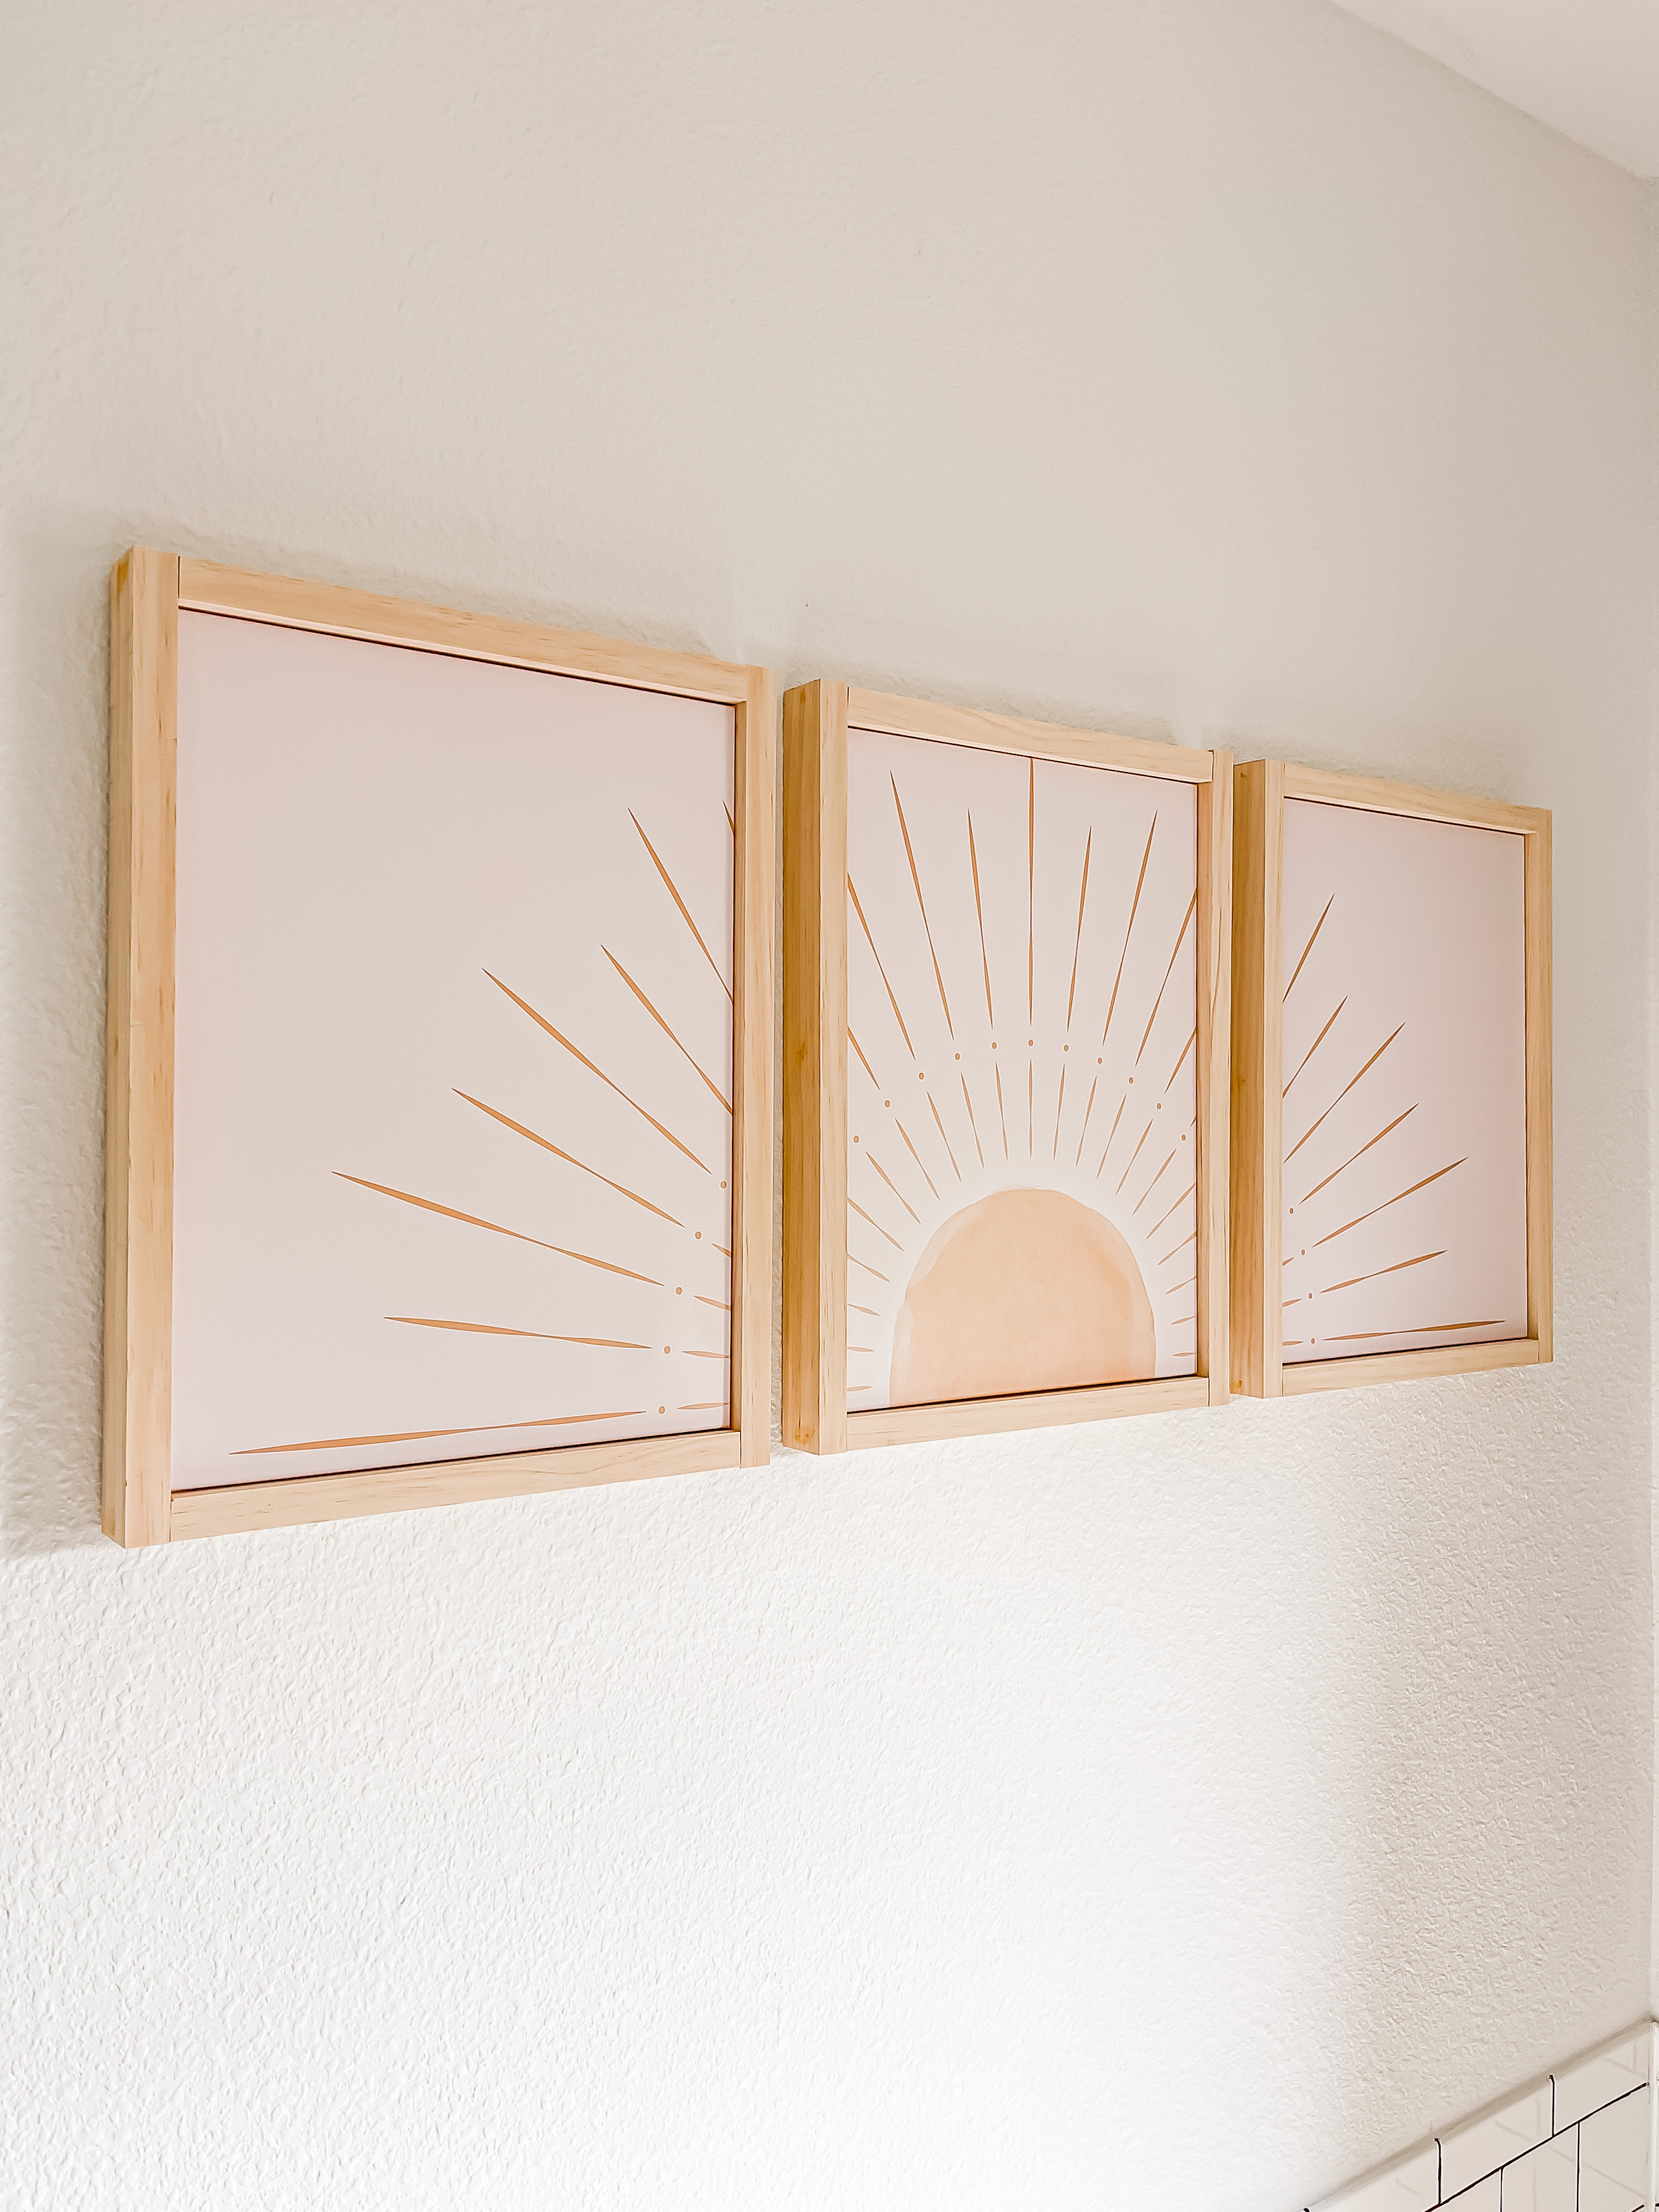
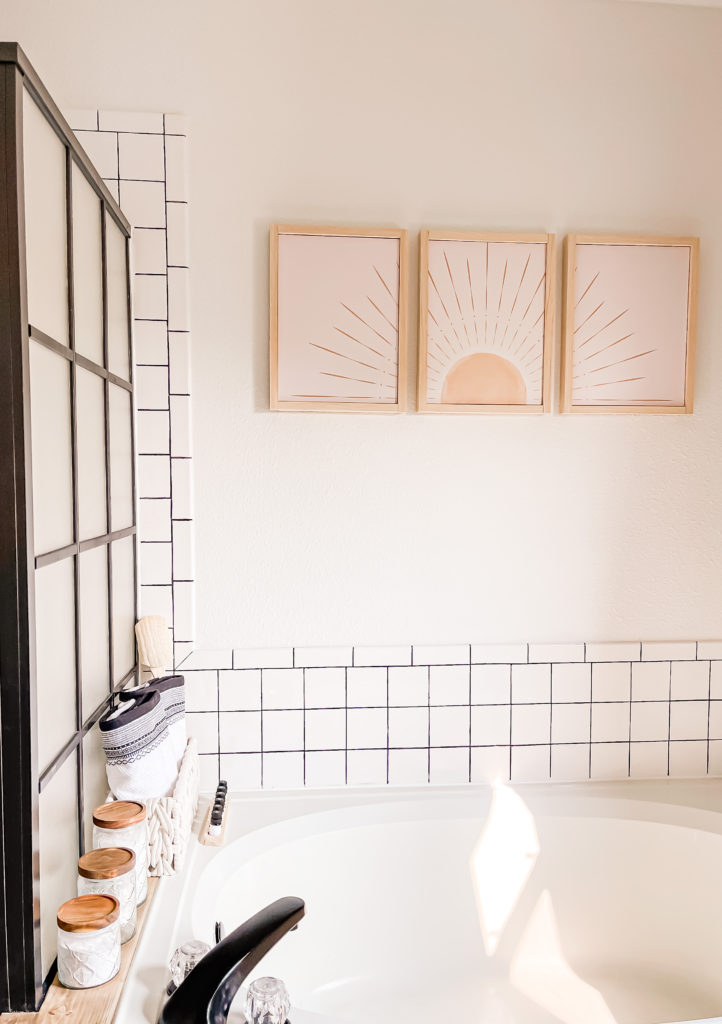
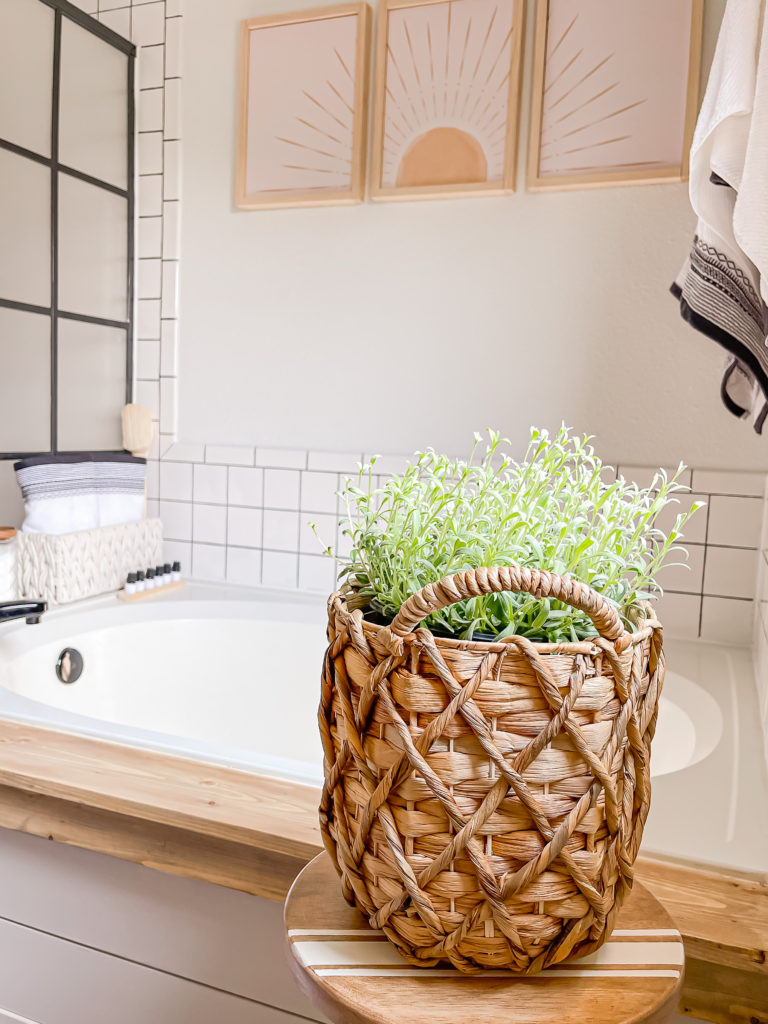
I also struggled a little bit with what to put over the bathtub. This sun canvas set won out and I built some frames out of 1x2s to beef them them up a little.
7. Other Details
I enjoy clean bright white bath towels, but sometimes they can be boring. I thought that these ones were so pretty with the black detailing along the bottom.
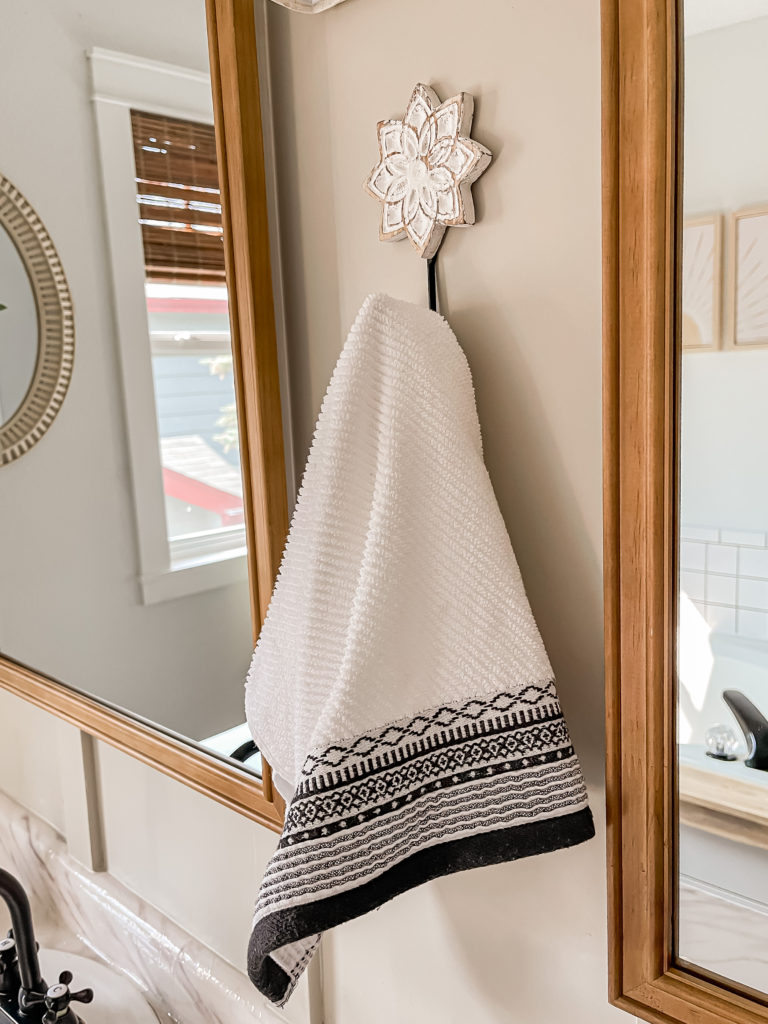
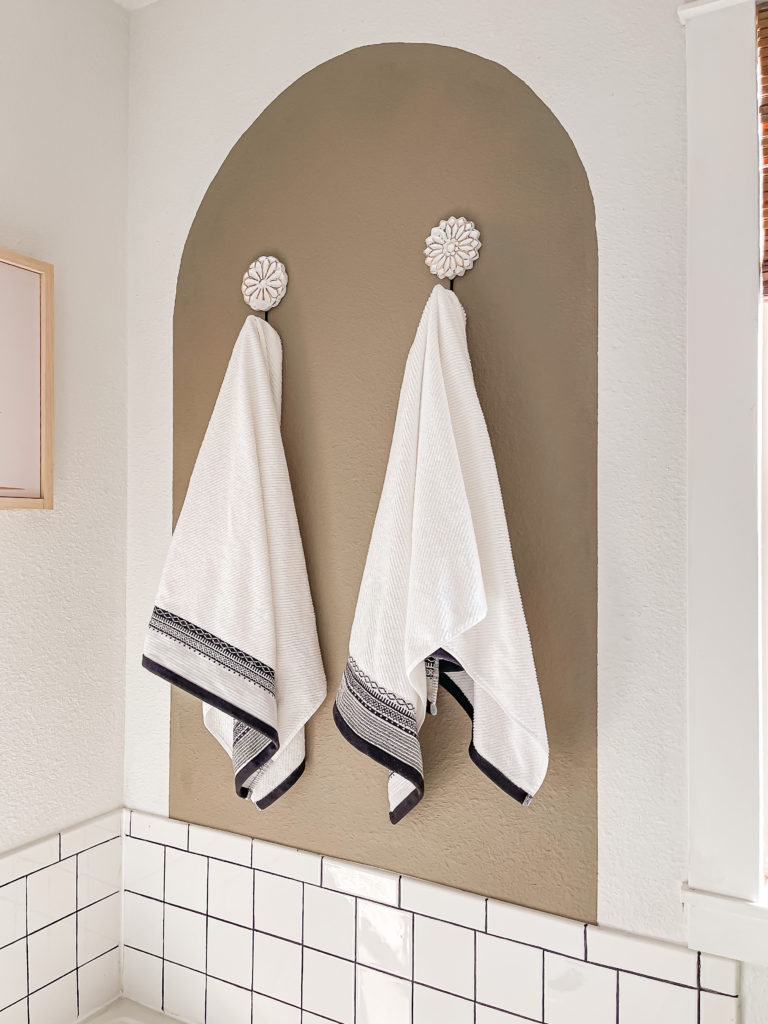
I also went with the matching rugs. Not only do they look nice, the the size and texture of them are wonderful.
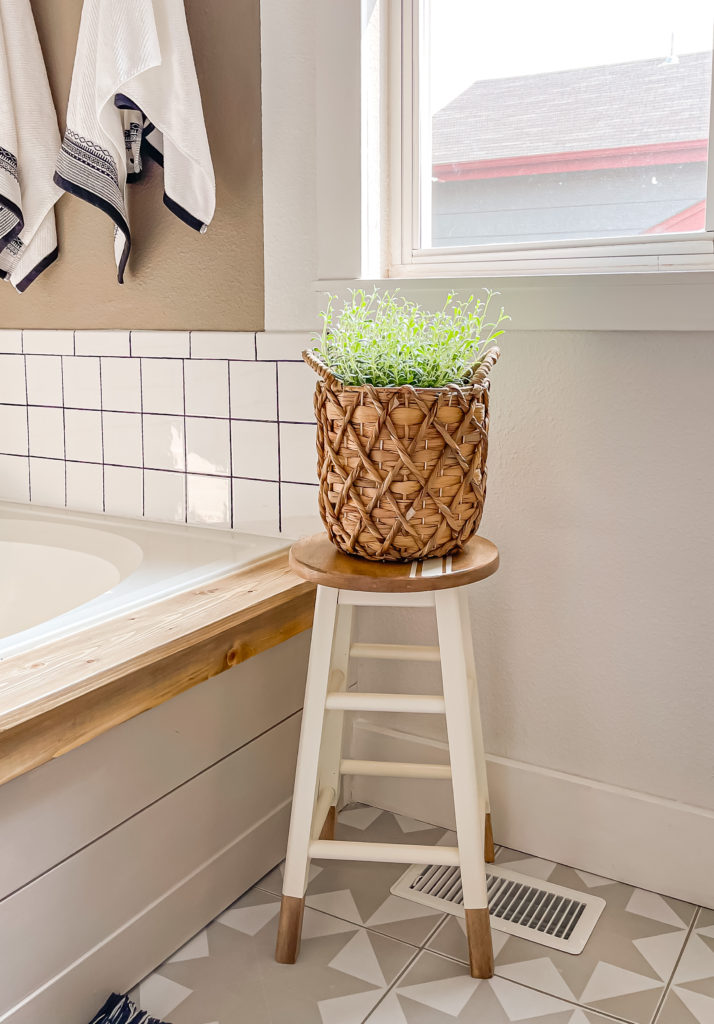
The thrifted stool that I keep in here got a new coat of paint to match the room, and I added this cute planter basket on top.
We will see if I can succeed at keeping the plant alive!
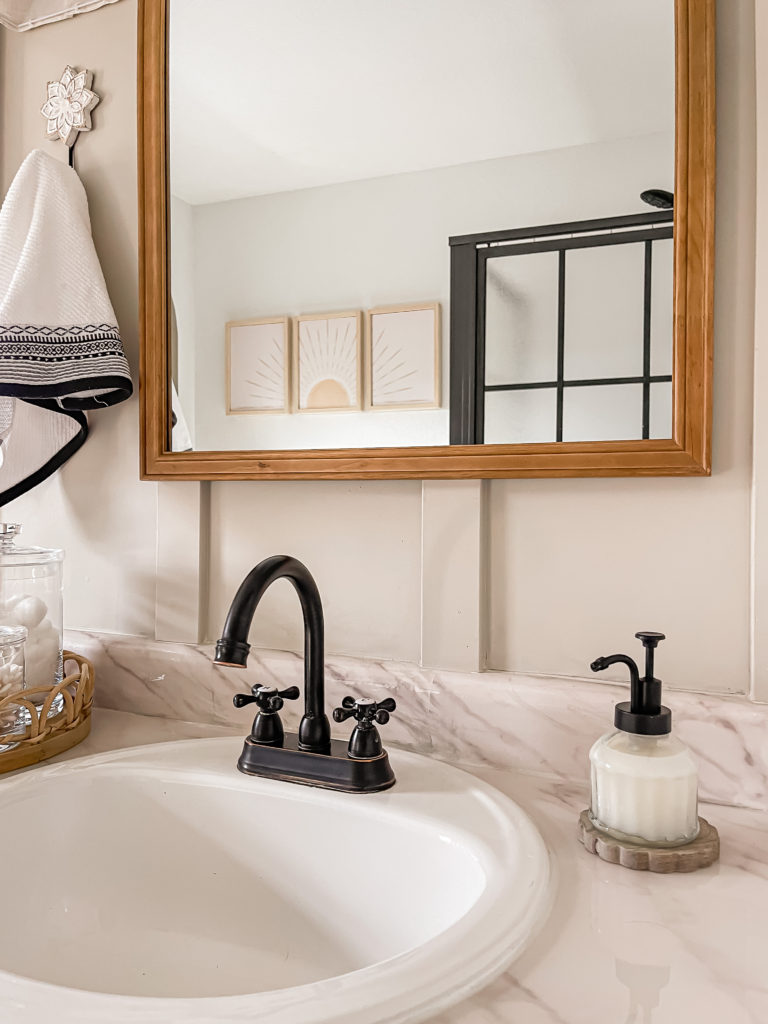
These soap pumps are such a fun size and the design is beautiful.
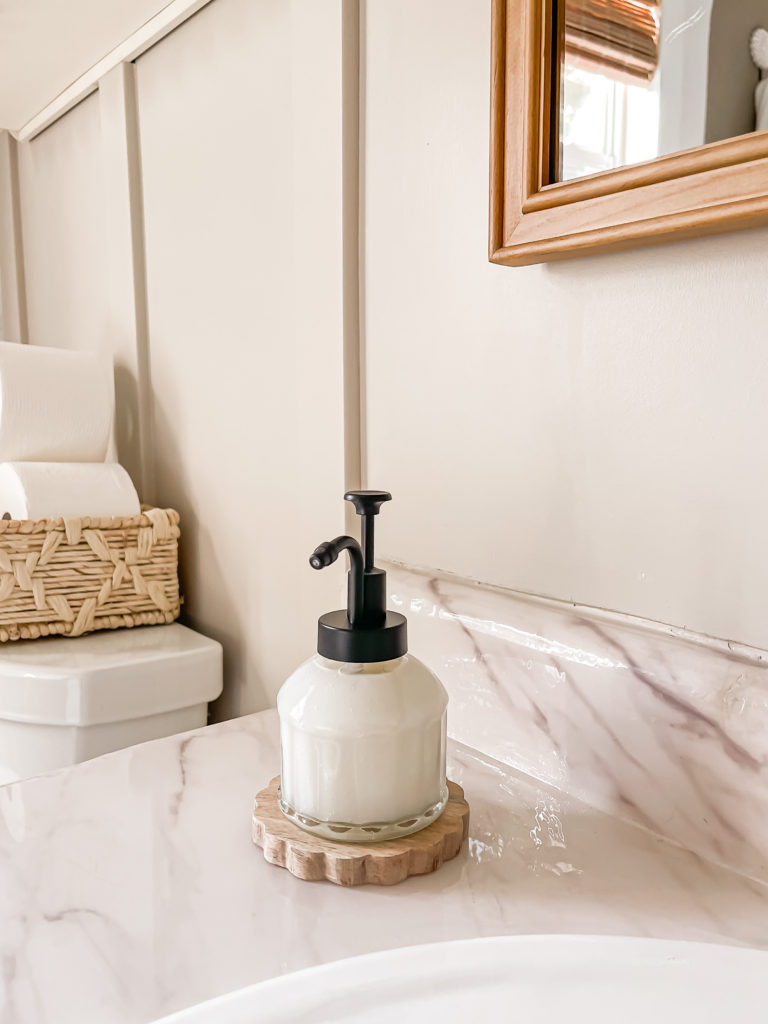
I set each one one a scalloped wooden coaster.
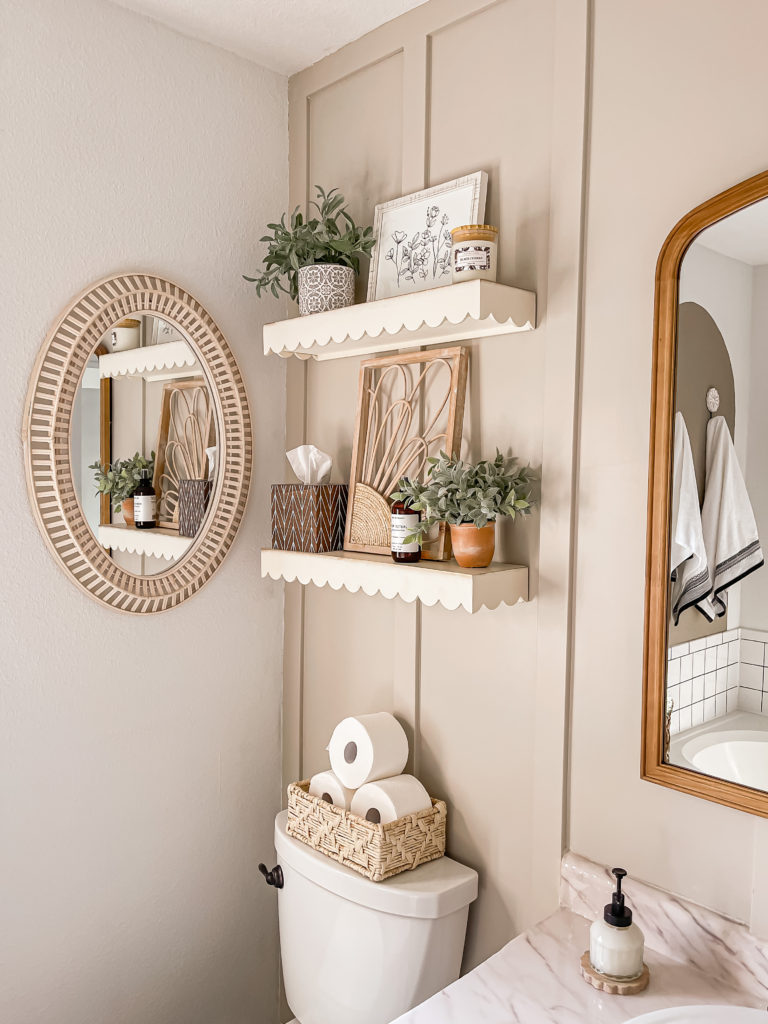
I searched high and low for the perfect small basket to keep extra toilet paper in and was so excited when I finally found this one.
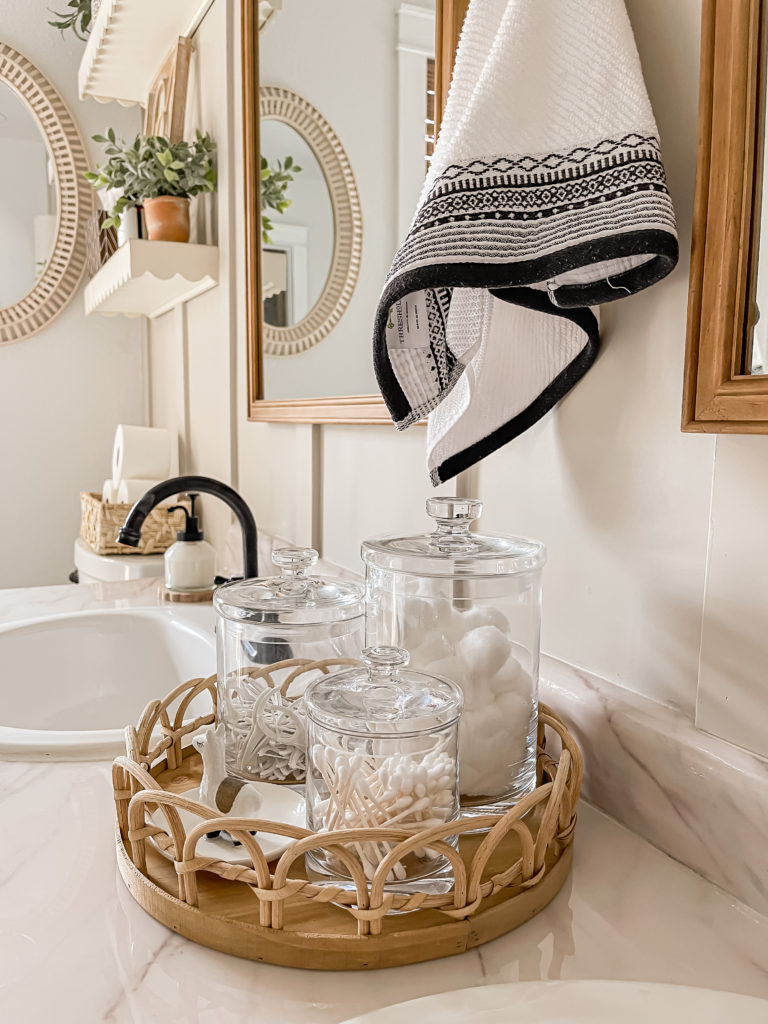
I replaced our vanity tray with this round rattan one and it fits our glass canisters nicely.
I am thrilled with how it all came together and I hope this post helps inspire anyone else that may want a “new” bathroom on a very small budget!
I am linking everything that I can below, if there is something that I may have missed please reach out! Thank you for stopping by today!
Sources:
- vanity knobs
- marble contact paper
- epoxy resin
- clear vanity drawers
- 2-tiered turntable
- wipes dispenser
- heat tool organizers
- floor tiles
- waste basket
- bath tub canisters
- wooden oil holder
- essential oil set
- towel hooks
- corner shower shelves
- amber bottles
- wood framed vanity mirrors
- wall mounted lighted makeup mirror
- flower cutout
- scallop shelves
- rattan mirror
- tissue box cover
- room spray
- sun canvas set
- rugs
- planter basket
- soap pumps
- scalloped wooden coaster
- toilet paper basket
- round rattan tray
- glass vanity canisters
- battery operated light
- towels
PIN FOR LATER!
Linking up to these awesome parties
(Affiliate links may be provided for convenience. For more info, see my full disclosure here.)
What a difference, well done you!
Thank you so much!
You just have a gift! What a wonderful bathroom you created!
Thank you so much Carrie!
Looks great!!! Your floor tile link sends you to the hair tool rack on Amazon.
Oh no, thank you so much for letting me know! I will update it right now 🙂
Wow, it looks amazing, you did so much work to refresh everything and had so many good ideas, it looks like an entirely new bathroom. The style is fantastic, all the decor touches work so well together. I love the cabinets and knobs, and the flooring. Well done!
Thanks Nam 🙂
Love the shower! Beautiful changes.
Thank you so much Melynda!
WOW! Gorgeous makeover. I went back and looked at your previously bathroom makeover, and can see how the styles have changed. Both are beautiful, but I like how this one reflects you more now. So many beautiful little details.