
Hello friends! It’s officially the second to last week of the One Room Challenge! That means that this is the last update post before the final reveal next week. I am surprisingly feeling only a little stressed about finishing all of the final details up. I am mostly excited to see all the pieces starting to slide in to place! In case you have missed any of the previous posts in this challenge you can catch them here:
- One Room Challenge (Week 1): Master Bathroom Plans
- One Room Challenge (Week 2): Starting the Vanity Makeover
- One Room Challenge (Week 3): More Vanity Progress
- One Room Challenge (Week 4): New Floors (and a new counter!)
- One Room Challenge (Week 5): Vanity Trim and Accent Wall
- One Room Challenge (Week 6): Wall Accessories and Wall Paint
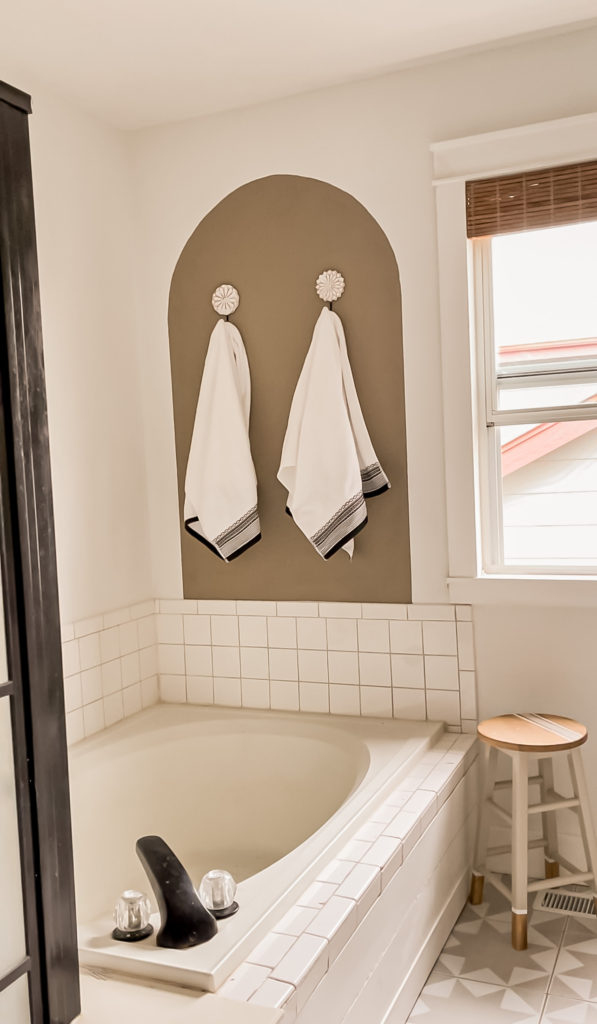
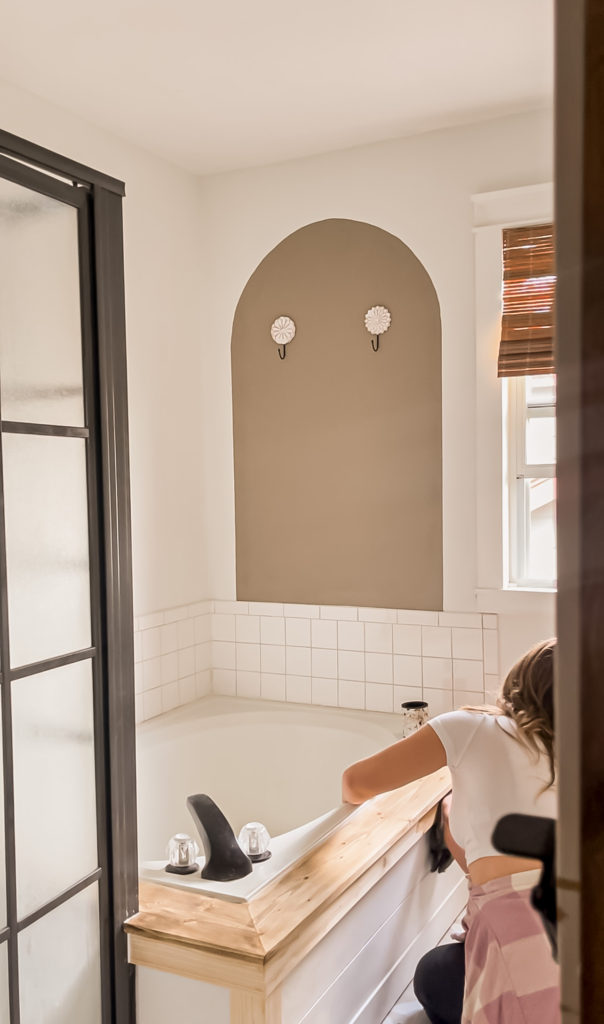
If you were worried that the wall behind the tub was going to feel too bare without the pipe shelving there—I am happy to let you know that I had a fun plan in place!
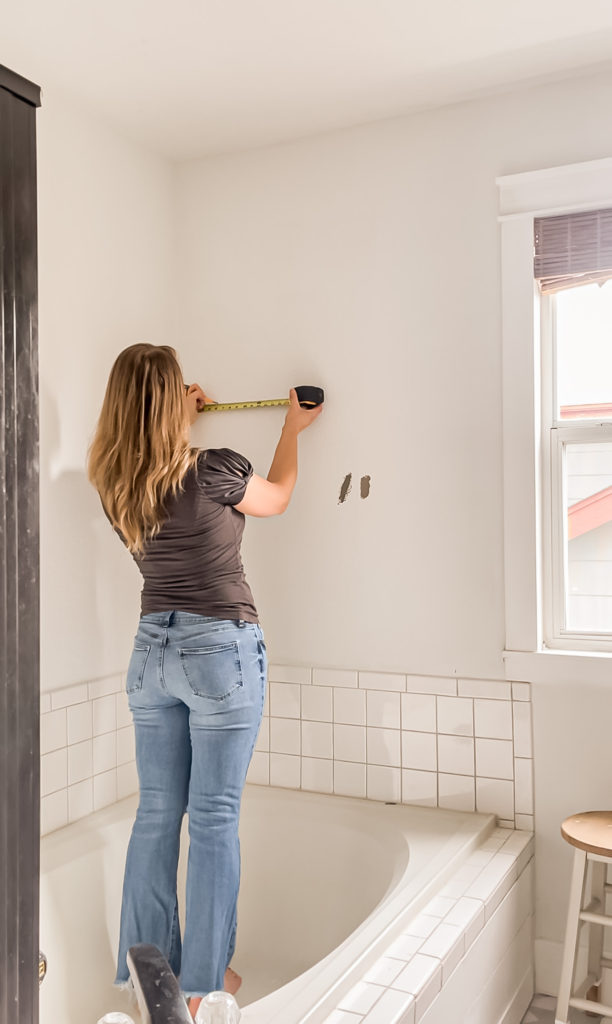
I began by measuring out where I wanted the sides of my creation to sit. I then taped a pencil tied to a piece of string to the center point.
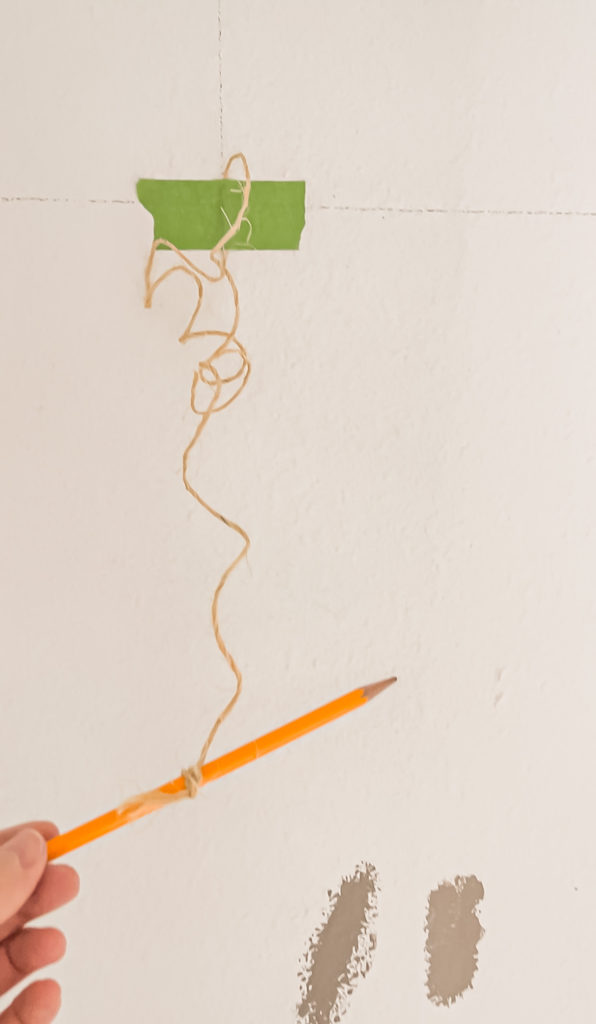
I used that to draw a nice round arch. Next, I used a level to bring the sides straight down.
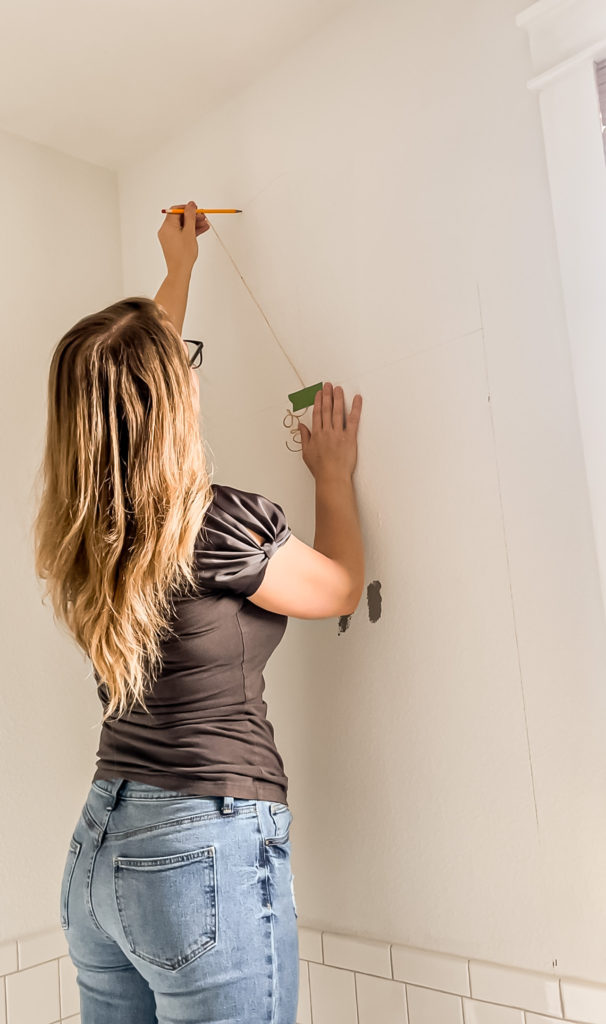
Once I had the template in place, I carefully cut in on the top with a small brush and used painters tape on the sides before rolling on the paint.
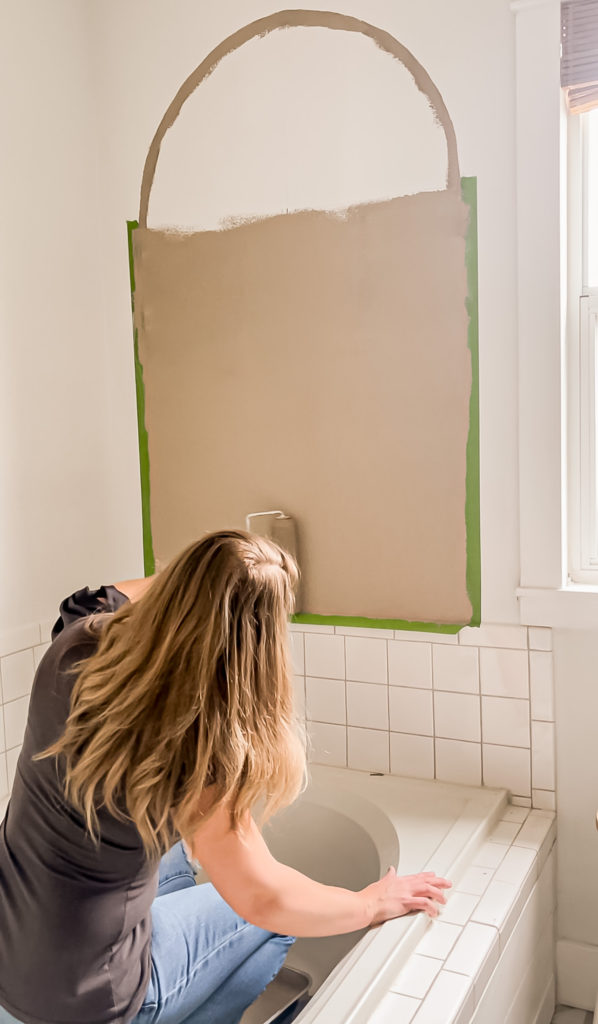
I absolutely love how it turned out! I installed these wall hooks to hang up our cute new towels in the center.
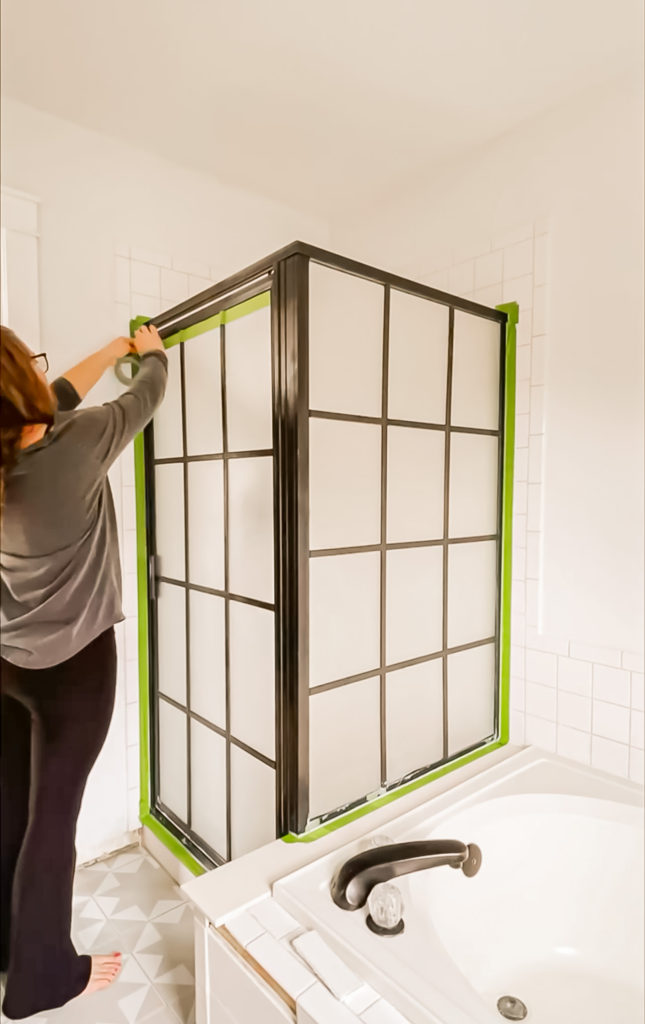
Next it was time to start on the dreaded shower. I had painted it 4 years ago during the first makeover and it held up pretty good. However it started to break down over the last year or so. Since a new shower is still not in the budget, it was time for a refresh.
I first removed all of the caulk and scrubbed everything clean. I then started to tape off along the edges. Most of the shower frame was still in great shape and it was mainly the bottom that caught the water that was the problem. I ultimately decided that I may as well go around and give the entire thing a new coat while I was at it.
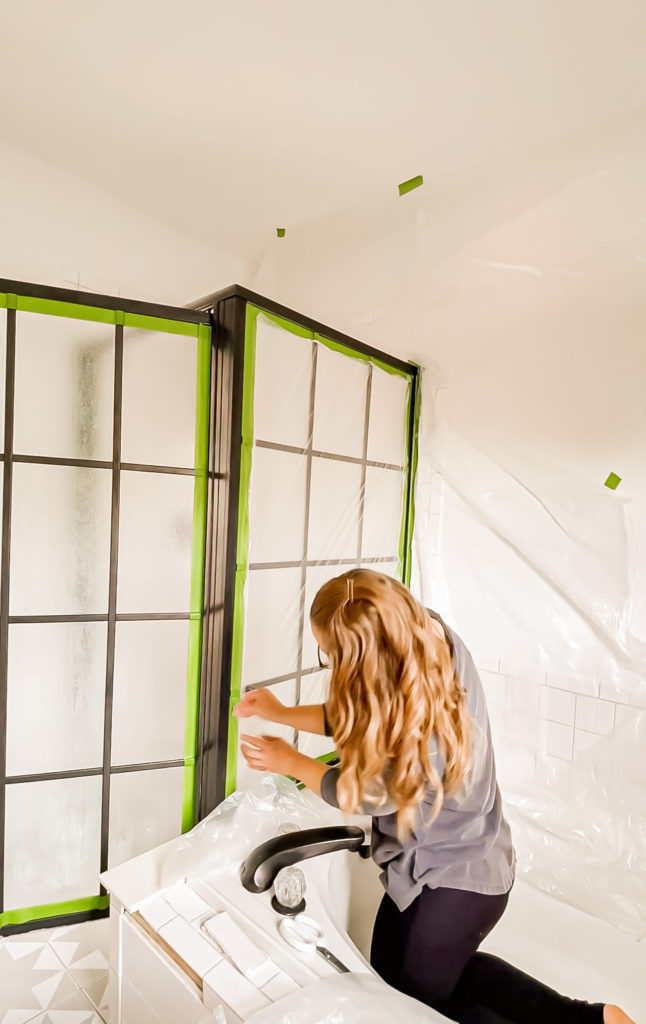
Once the tape was up I went around and added the plastic to the other side of the tape.
Then it was time to get all glamoured up! I wore a KN-95 mask underneath my respirator, rolled up my pants and was ready to go.
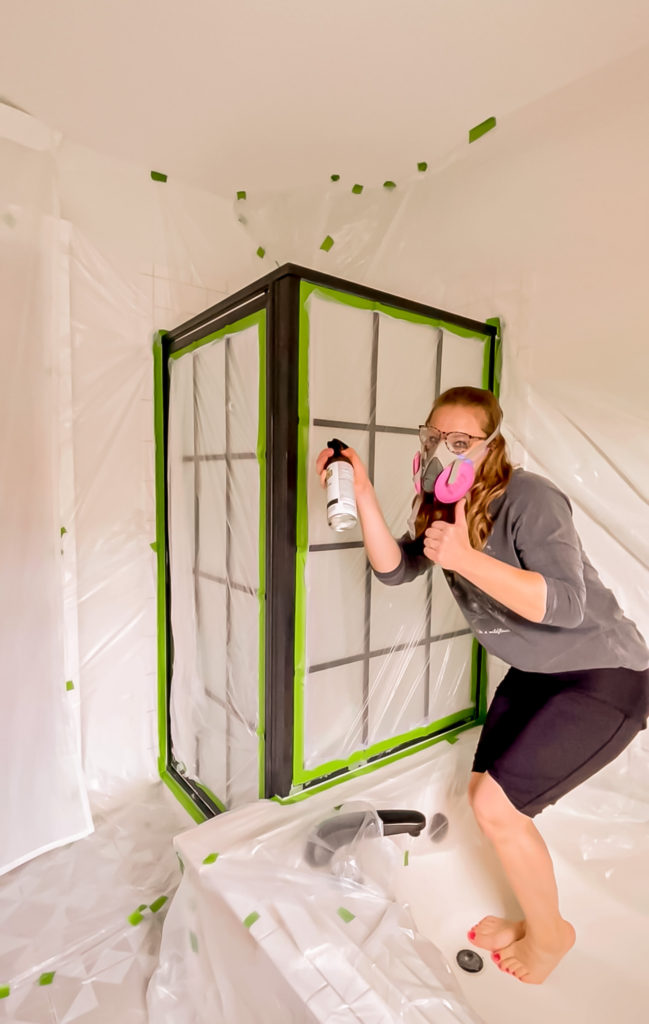
I did three light coats, followed by three coats of clear topcoat. I also went back over some of the problems areas with epoxy in hopes that it helps it hold up better.
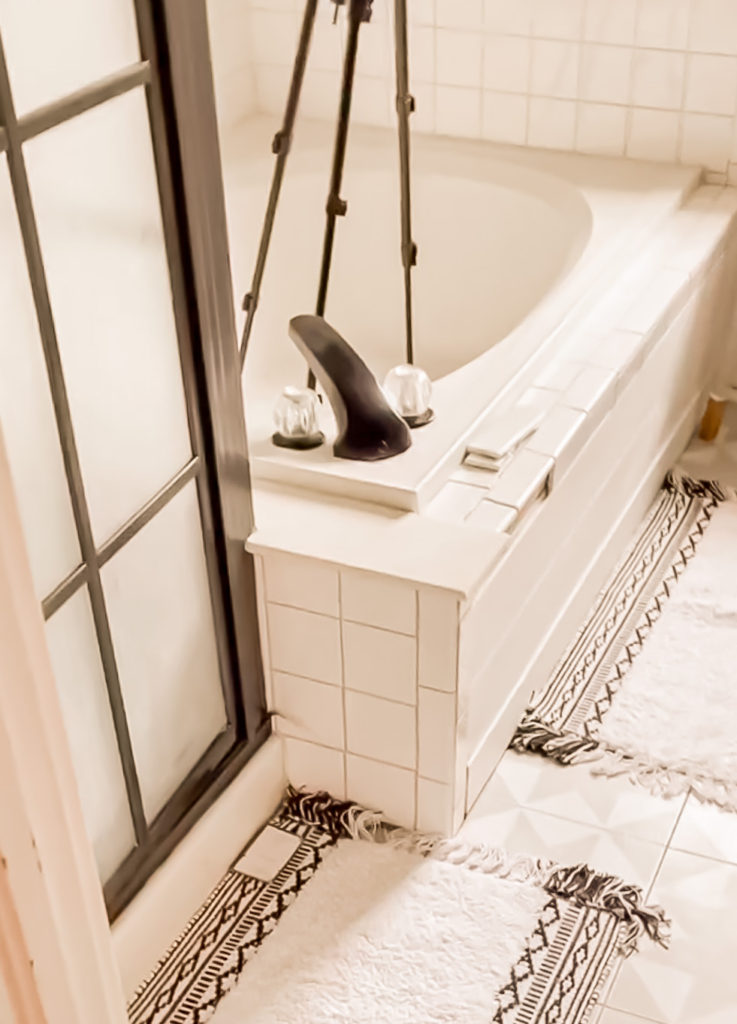
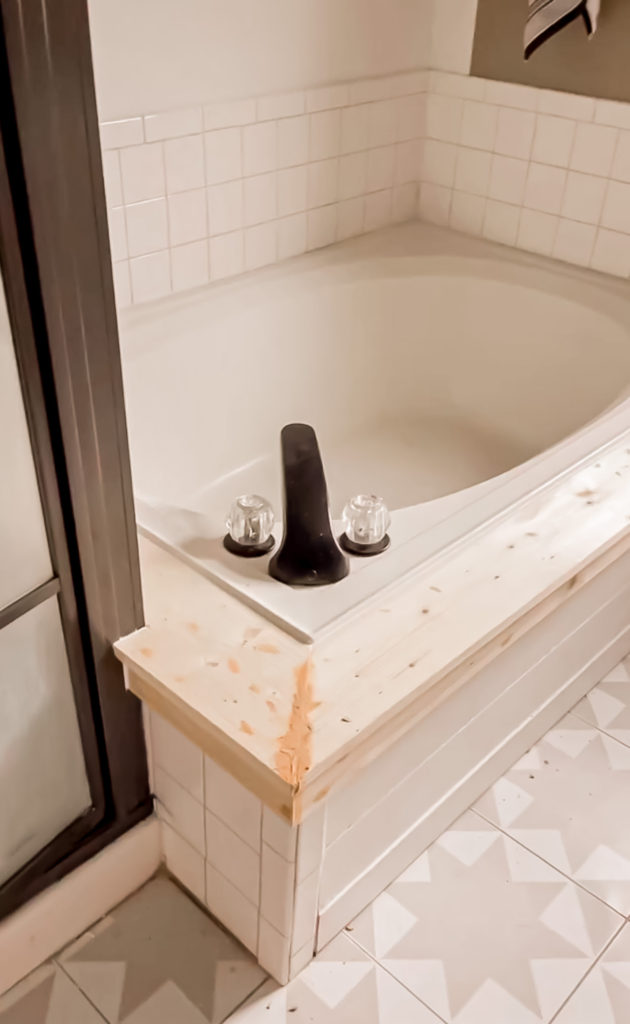
By Saturday I was ready to start on the tub surround. The existing tile was starting to fall off and the stone piece next to the shower had cracked. My original plan was to cover the stone piece with a piece of wood and just re-glue the tiles, however I started thinking that it would look so cool to have wood go all the way around.
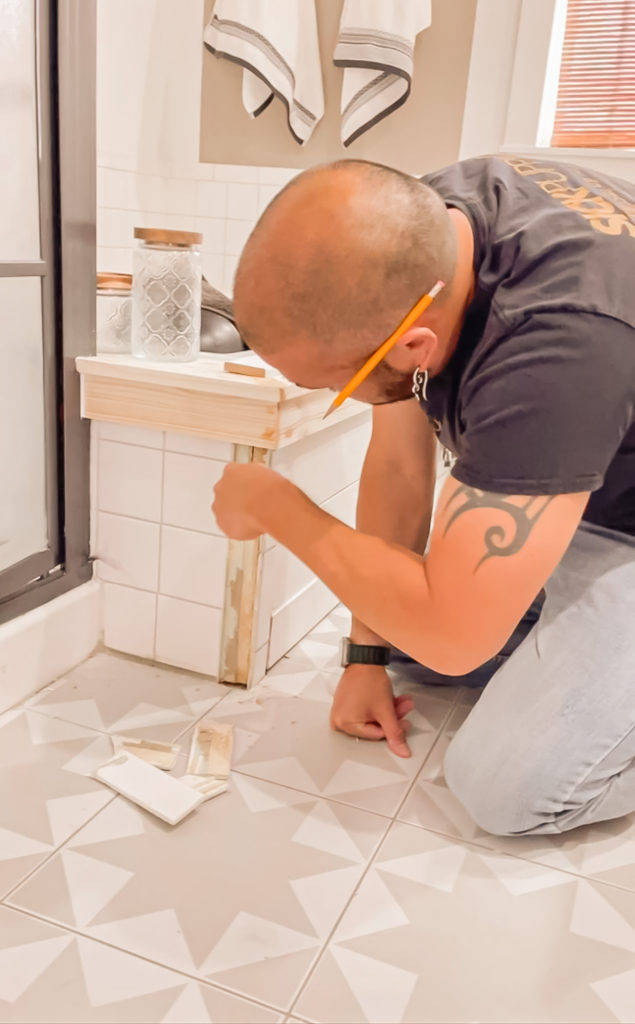
It took some trial and error to figure out the best way to do this, and ultimately Anthony came up with this idea which was one hundred times better than my first vision which had involved a lot of mitered edges along the corners.
When we stood back to admire the finished product, Anthony mentioned that the tile on that side next to the shower looked very out of place. I agreed and the following day he pulled all out and replaced it with shiplap to match the other side.
I stained the wood and used a few coats of tung oil to protect it from water.
I also decided to repaint the shower grout. Not because the gray hadn’t held up (it actually held up amazingly), but because I felt like it felt out of place with the new color scheme. So I got some more grout paint in the color charcoal.
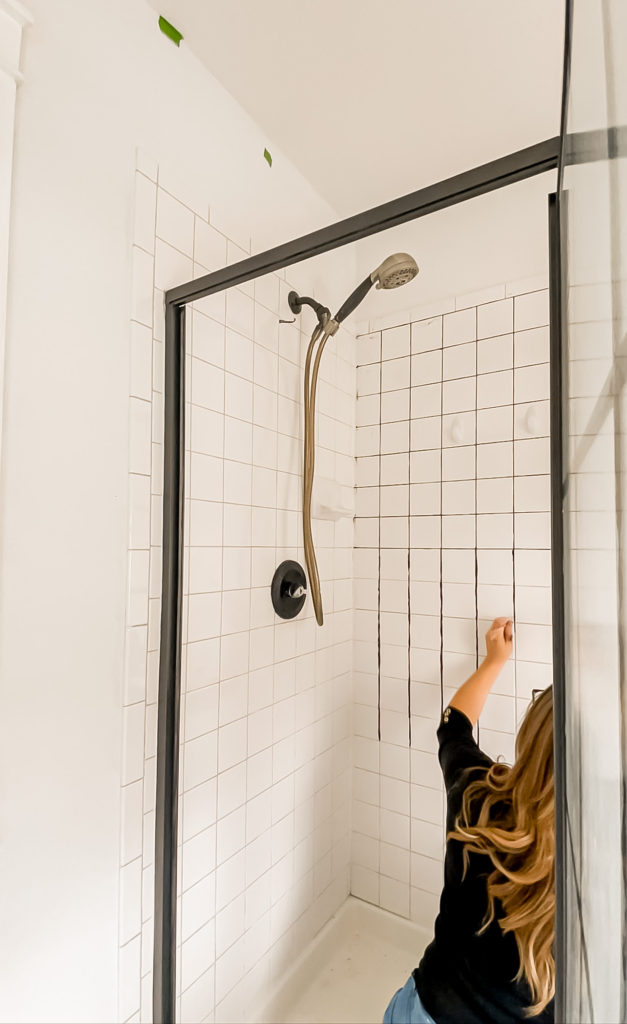
It turned out so pretty and I’m excited to start getting the new shelves that I ordered installed in here.
I still have a lot of details that need to be added before next week but we are SO CLOSE to the finish line!
I will meet you back here next Wednesday for the reveal 🙂
Linking up to these awesome parties
(Affiliate links may be provided for convenience. For more info, see my full disclosure here.)