
Welcome to week 4 of the One Room Challenge! We have officially hit the halfway mark which is always a little nerve wracking–especially since I usually don’t feel like I’m half done. I’ve hit a few snags on paint colors and now countertop and flooring choices, but I finally feel like we are starting to make some progress. In case you’ve missed any of the previous posts in this season you can catch them here:
- One Room Challenge (Week 1): Master Bathroom Plans
- One Room Challenge (Week 2): Starting the Vanity Makeover
- One Room Challenge (Week 3): More Vanity Progress
I started off the week ready to lay new flooring. When I first tore out the carpet in here 4 years ago I laid down these faux marble vinyl tiles. Although I was really happy with them for awhile, I was ready for something new.
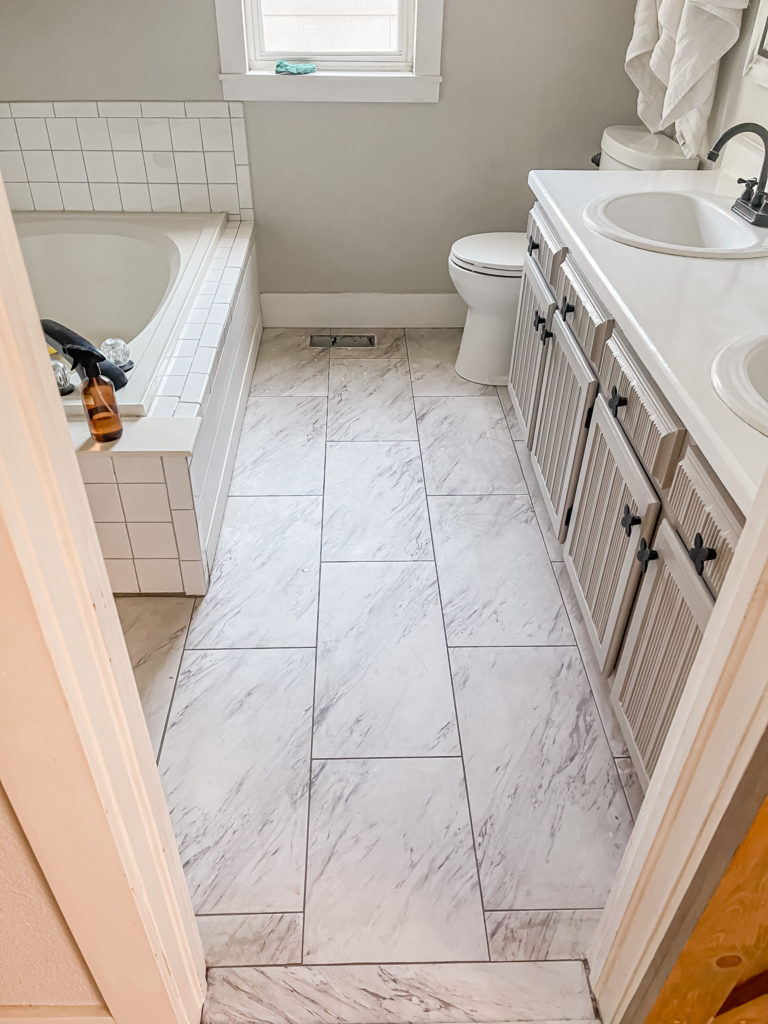
So I scrubbed them super clean, grabbed the box of new tiles and was ready to go!
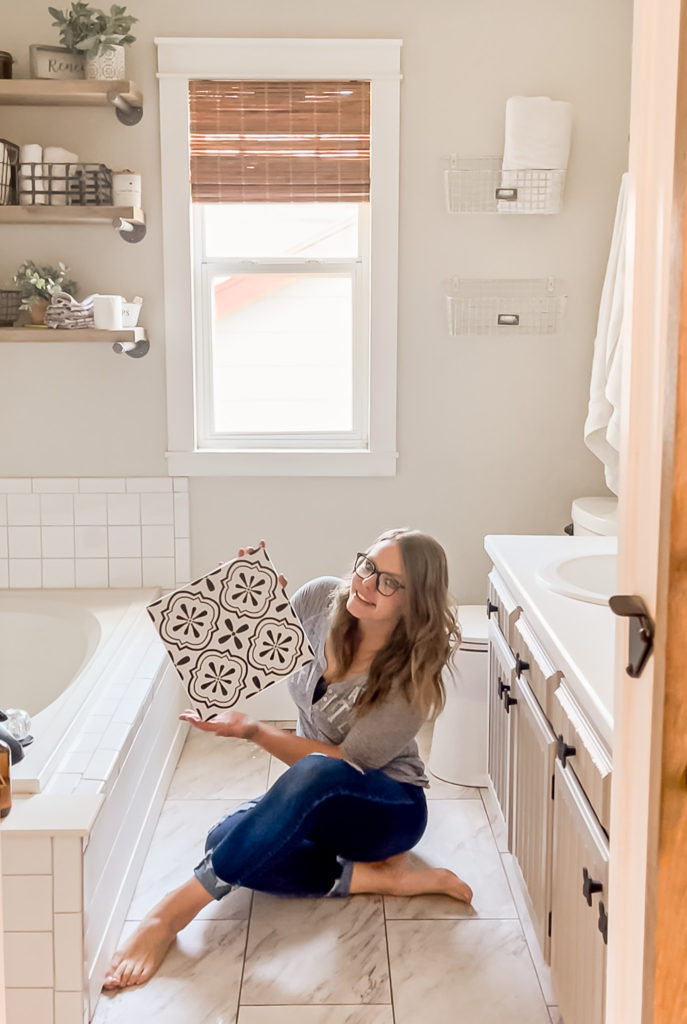
I was so excited about the fun black and white pattern that I chose–little did I know what a hassle they would be! I got several tiles cut and laid before stopping for the day to go to an art show that Lucas had some work featured in. I noticed that a few spots had trouble staying stuck down, so I put weights down on those spots before we left.
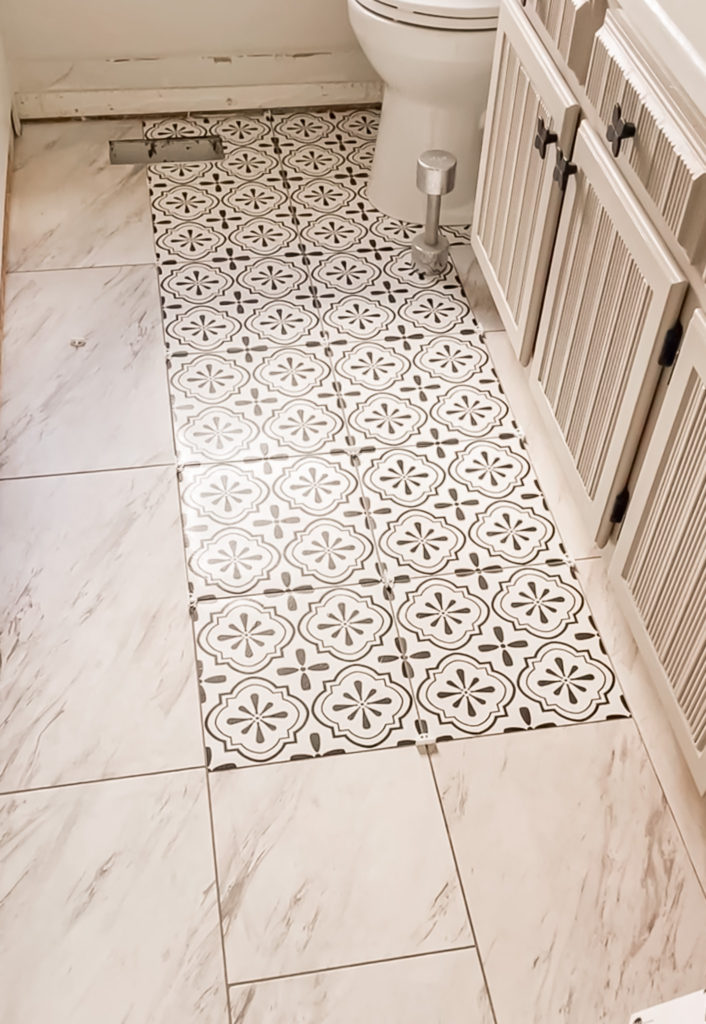
When we got home that evening I was horrified to see that all of the tiles were starting to bubble up! I realized that they came out of the box sort of warped and it turns out that the adhesive was no match for the warping, so I could either try to glue them down or move on to something different.
I decided to order a new option and put the flooring on hold. I like to believe that everything happens for a reason and that was definitely the case here. With extra time on my hands while I waited for the new floors to arrive, I started wondering if the marble contact paper that I had not yet returned would look good on the countertop after all…
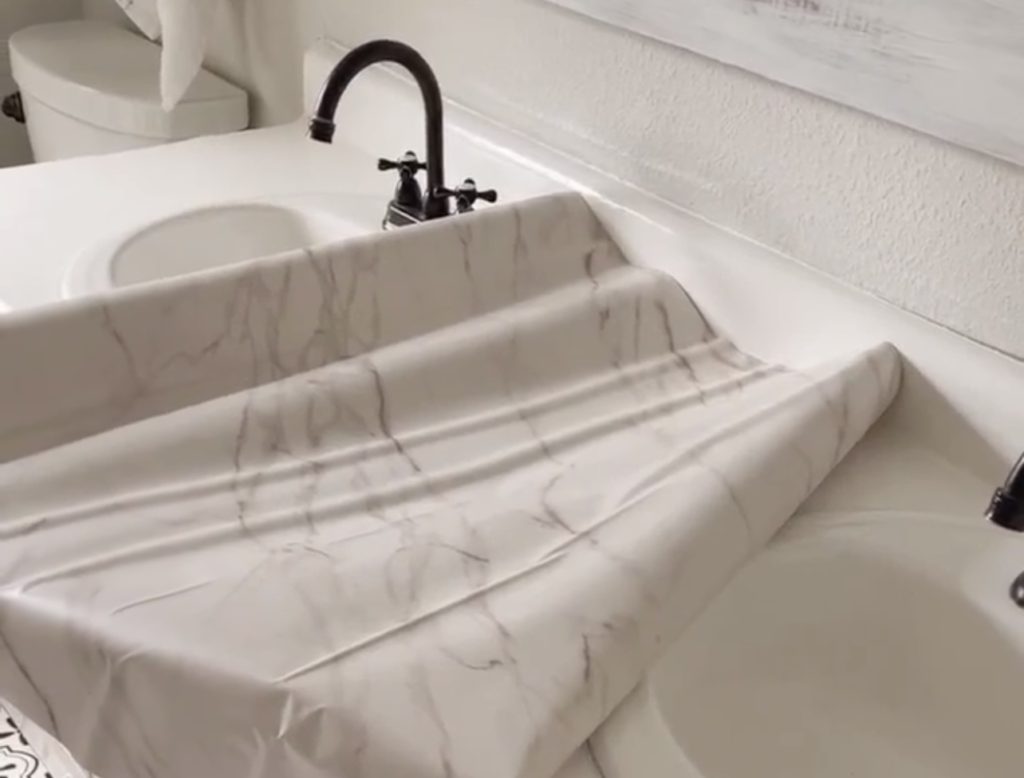
Last week I shared how I painted the vanity counter with a tile refinishing kit to make it pure white, but I wasn’t totally sold. Since I painted over the concrete finish, there were a lot of imperfections and I started to feel like it looked like I simply painted my counter (which of course I did, haha) which is not the look that I wanted. I also couldn’t really look past the texture that the roller left behind.
So without too much hesitation I decided to go for it on Friday night!
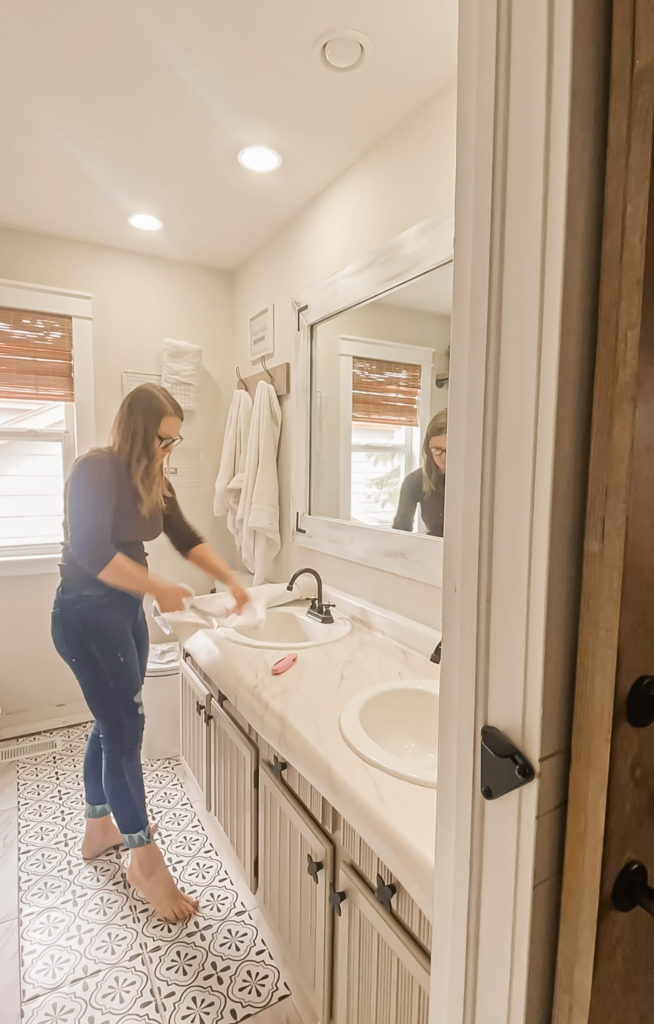
I’m not going to lie, getting the paper put on was a little trickier than I thought it would be! But I kept at it and finally got it all put on.
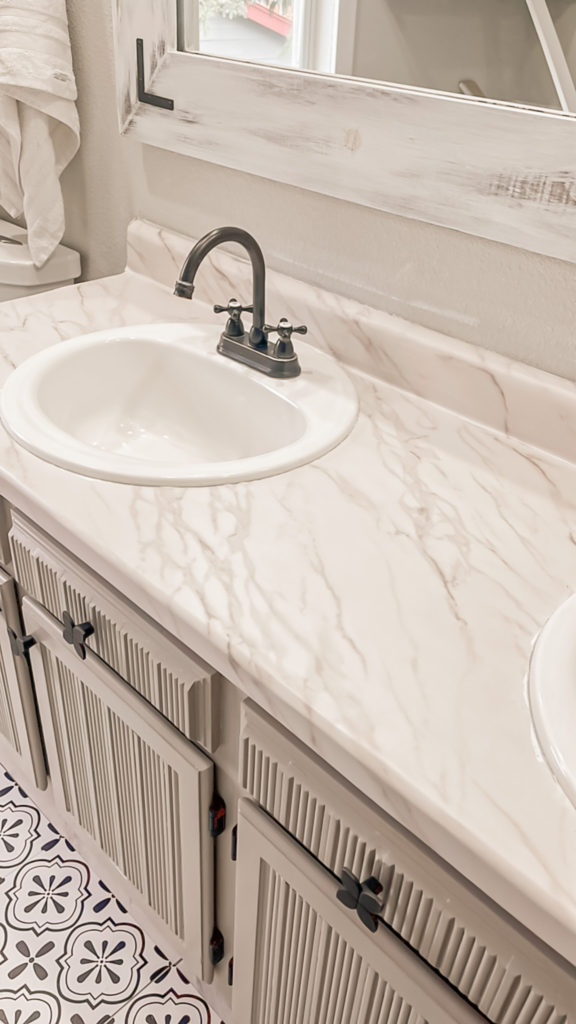
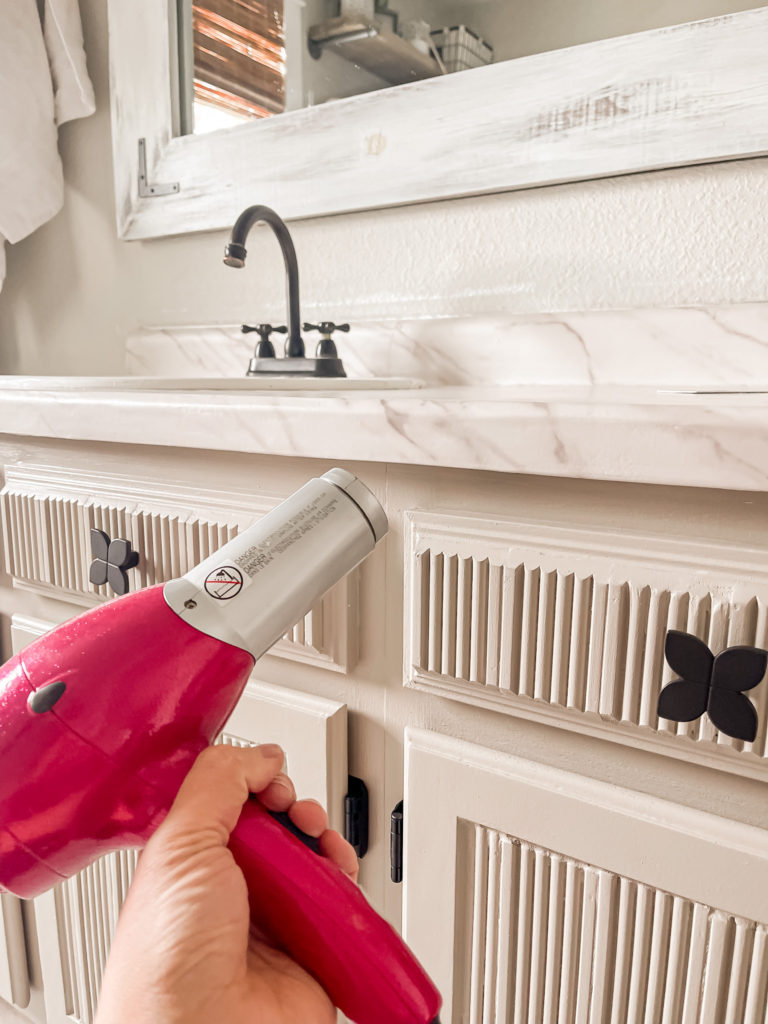
I had difficulty getting the front to stay adhered and there were also a few spots that needed some touching up. So the next day I went back with a hair dryer which worked great at getting those tricky parts to melt down and stick–it almost worked like shrink wrap.
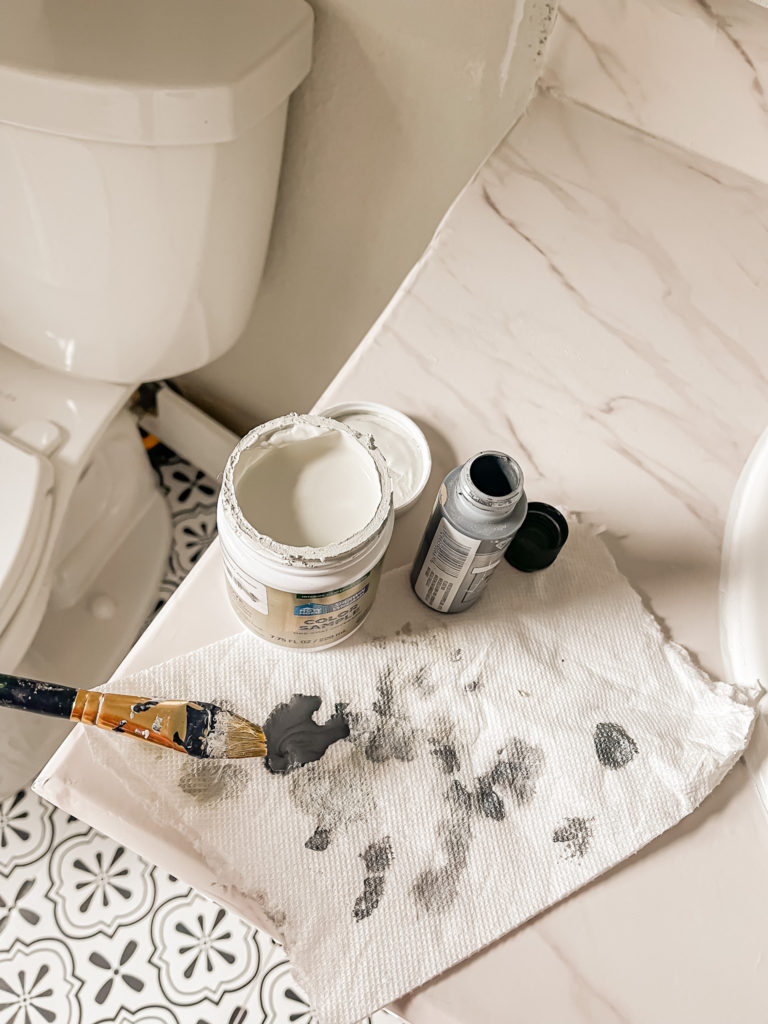
I also went over the spots that needed touch up with some paint and a small paintbrush to sort of blend the pattern together in those areas.
The paper was so nice that it actually looked pretty enough to leave it like that, which is what it was designed for. However I wanted to take it a step further to make it look like really stone by adding a coat of epoxy on top!
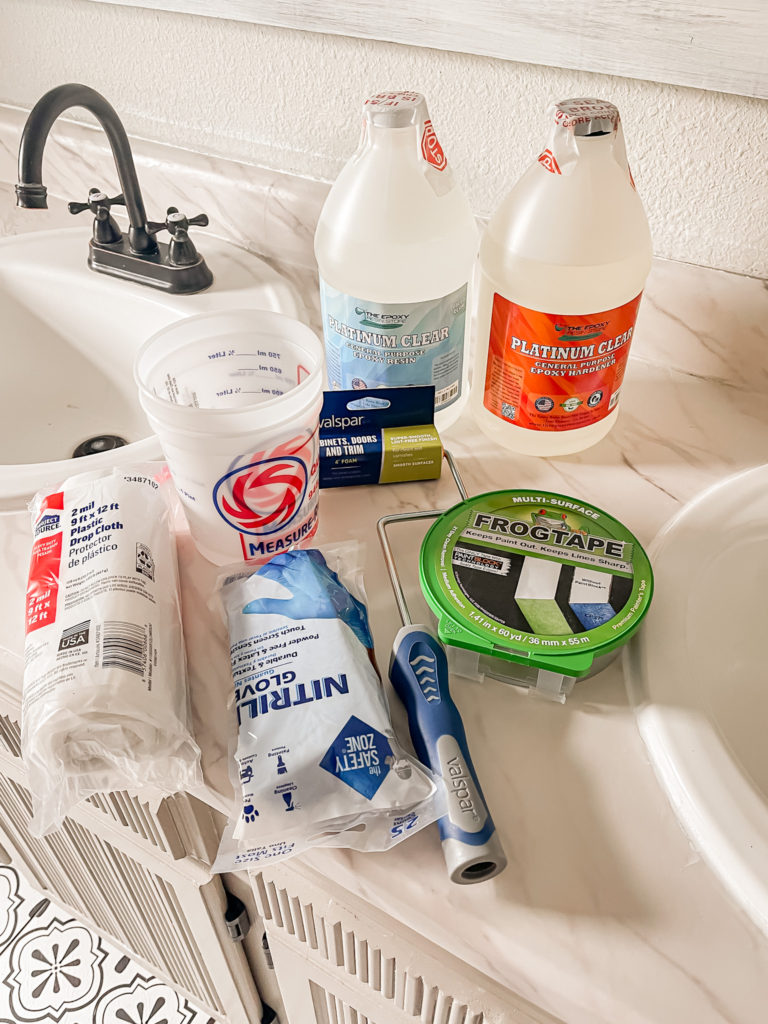
I purchased this low VOC epoxy kit from Amazon. Although I have never used epoxy and was a bit nervous, I was excited to see these counters start to shine. I got the area prepped then started to mix it up.
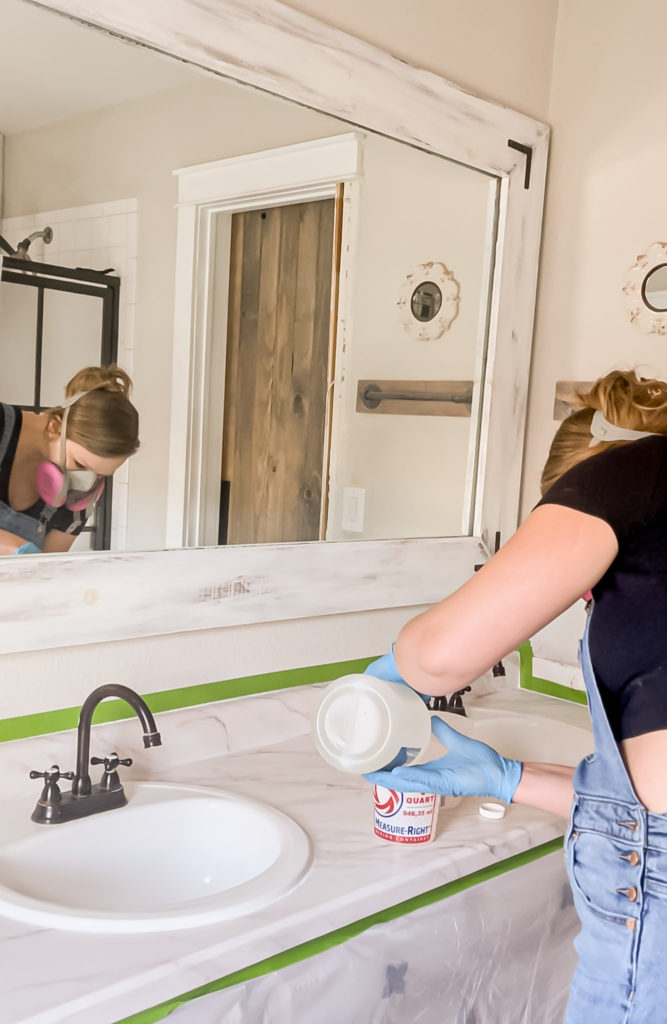
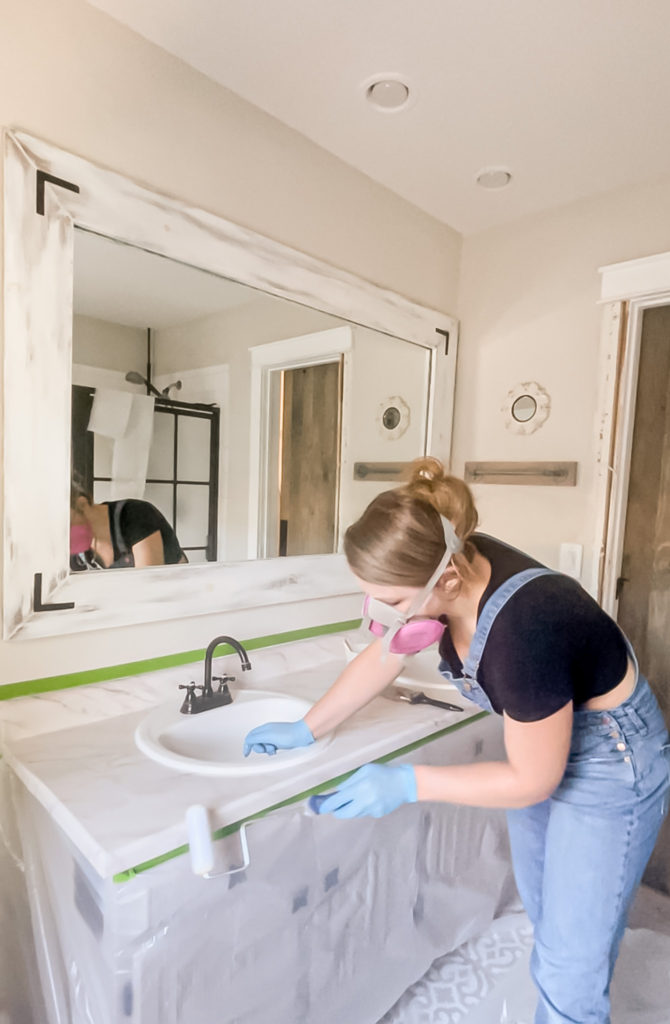
I found that it was actually extremely easy to work with since it is so self leveling and has a long curing time which meant that I could play around with it for awhile to get it just right.
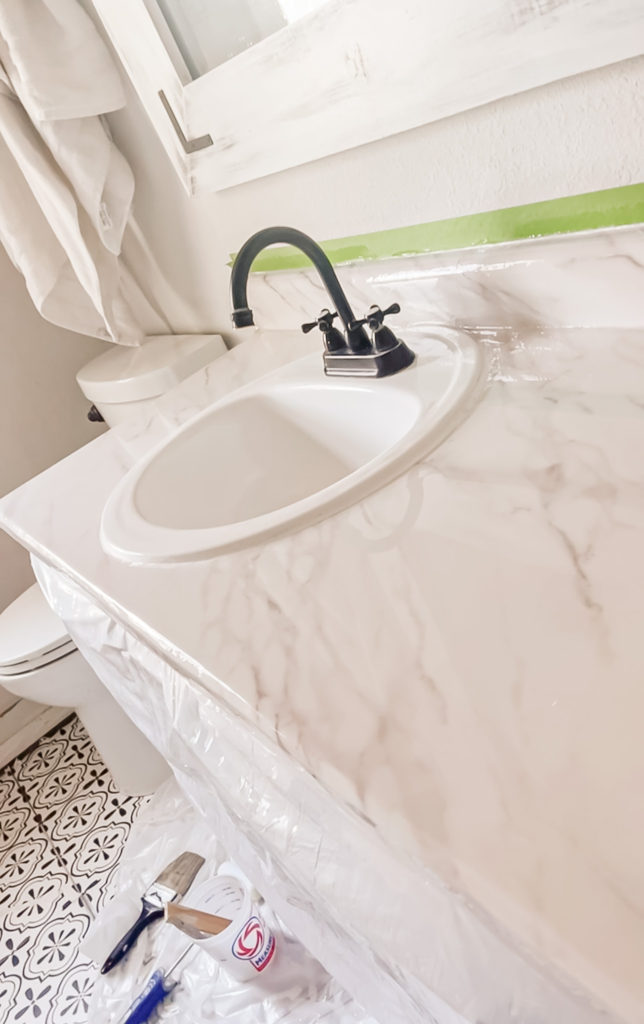
It took a full 24 hours to cure, but right away I could tell that it was going to be beautiful!
Okay, back to the floors. The new floors that I had ordered came and I wasn’t happy with the coloring or the texture on them. I found these floors that looked promising, but the closest store that had them in stock was over 30 miles away. So we loaded up and took what felt like a mini road trip to get them!
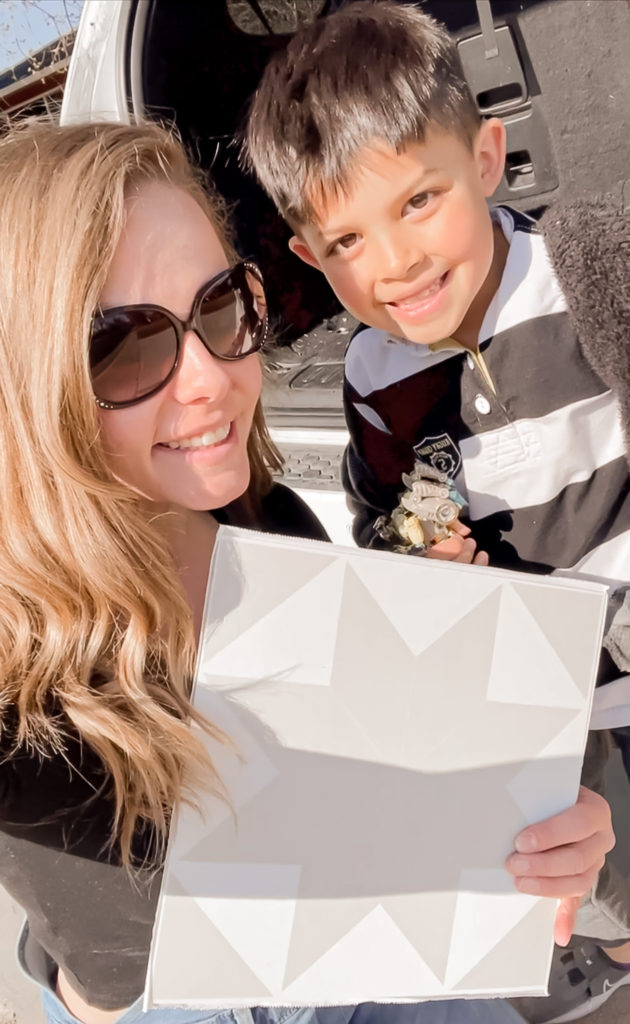
As soon as I saw them I knew that they were perfect.
The following day I pulled up the old floors, making sure to remove all of the adhesive first. Fortunately I was able to use the old ones as templates for the tricky cuts around the toilet.
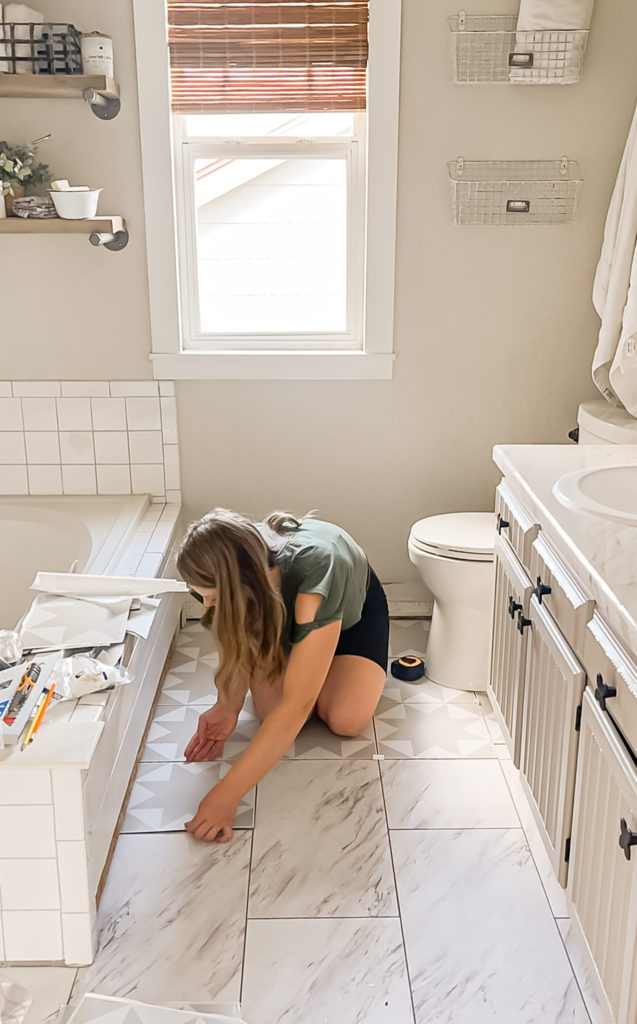
I got them all stuck down and used tile spacers as I went so that I could grout them. These are actually designed to just stick down all joined up together, but I like how grout makes them look more realistic.
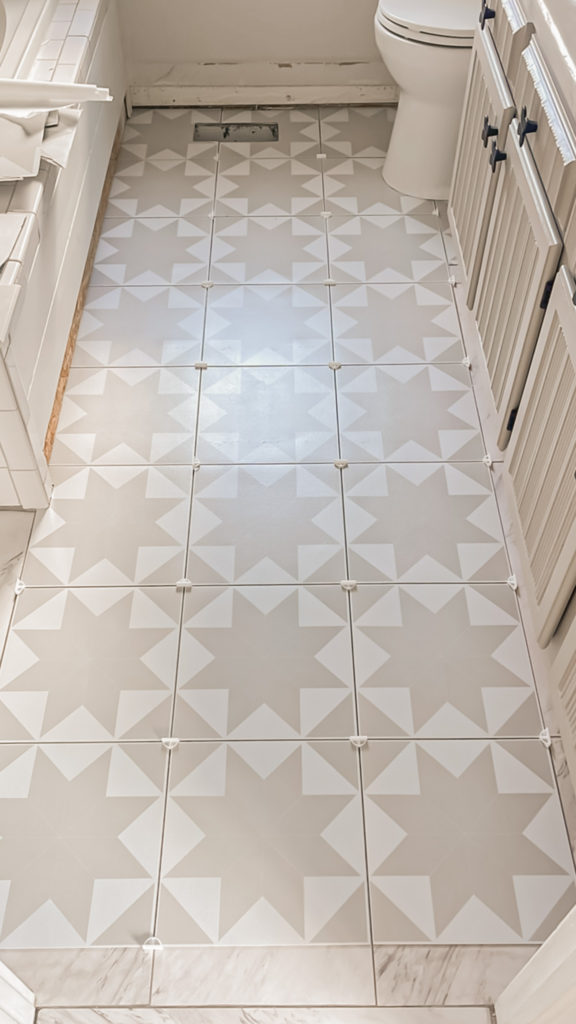
Yesterday I got the grout put in and they look absolutely stunning!
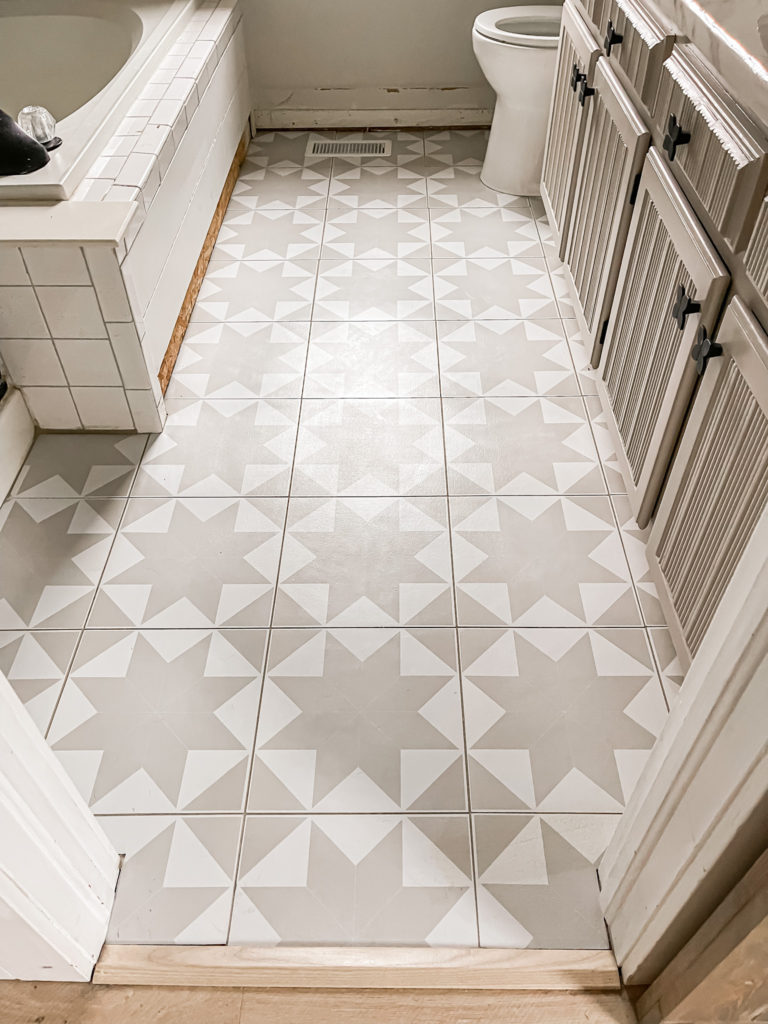
Now that the floors are finally done I can go back and trim out the bottom of the vanity. I will also be starting the accent wall behind the vanity. See you next week!
Linking up to these awesome parties
(Affiliate links may be provided for convenience. For more info, see my full disclosure here.)
I just found your blog, and I love it! You have a gorgeous (and cozy) home! You’re very talented! While I was not blessed with your decorating and diy skills, I love to change my home to create a better and more beautiful space all the time. I have one pressing question that I was unable to answer after searching your blog. What paint colors are used in the interior of your home? Thank you so much. Blessings to you and your beautiful family!
Thank you so much! I used SW Basalt Powder on the walls, BM Pashmina on the lower cabinets and front room accent wall, and then just plain white out of the can on the rest of the trim!
Everything looks amazing! I love the tile