
Hello and welcome to week 2 of the One Room Challenge! In case you missed last week’s post on my plans to update our master bathroom on a super budget, you can catch that post here:
I am off to a slow start since last week’s focus was getting Anthony home from the hospital and then the weekend was spent prepping for and enjoying Easter with the family. On Monday I was finally ready to get started and I decided that we are going to tackle the vanity first.
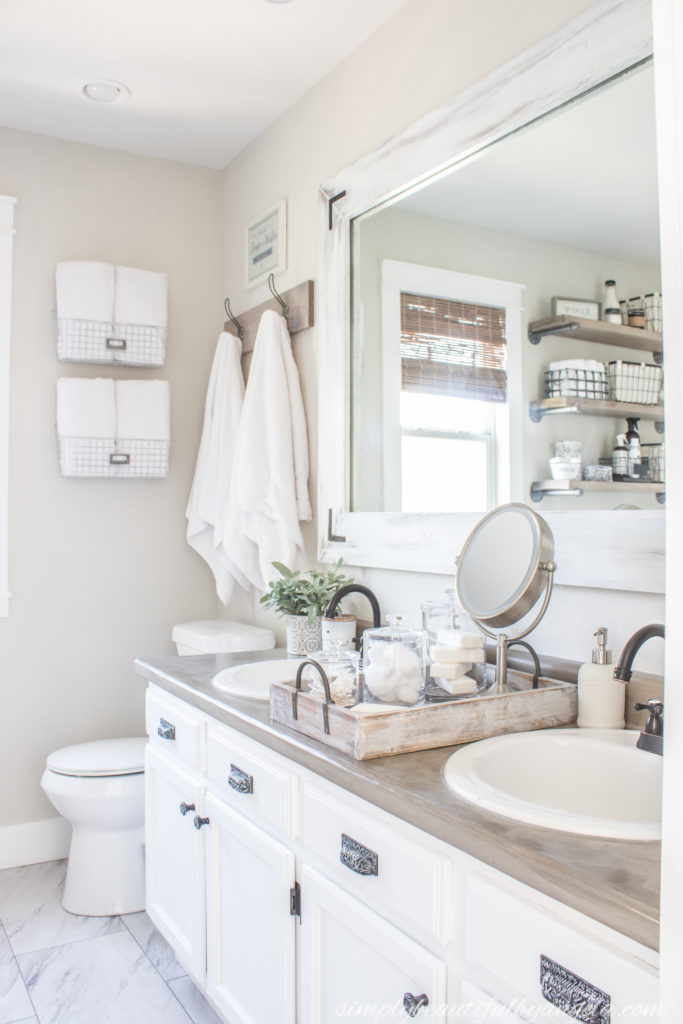
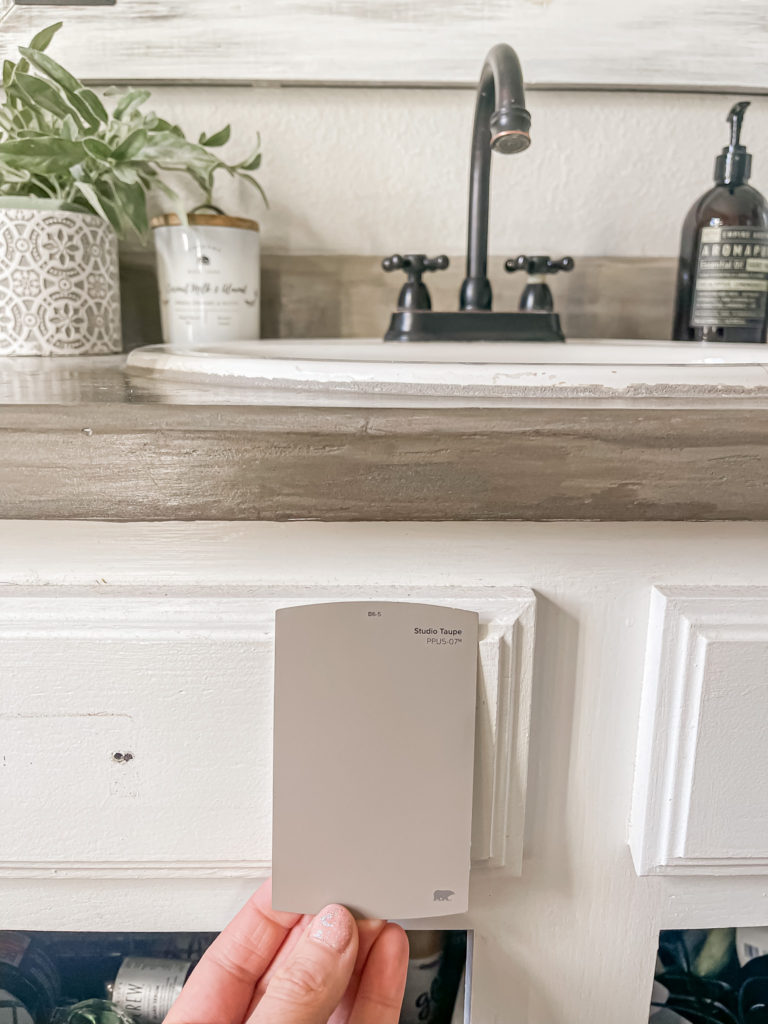
When I first worked on updating this space four years ago, I decided to paint the builder grade oak vanity a crisp white. Although it made the space feel light and airy, I have grown sort of bored with it and would like to freshen it up with a new color. I have decided that the warm earthy tones in Behr’s Studio Taupe would be perfect for the new vibe that I am trying to create.
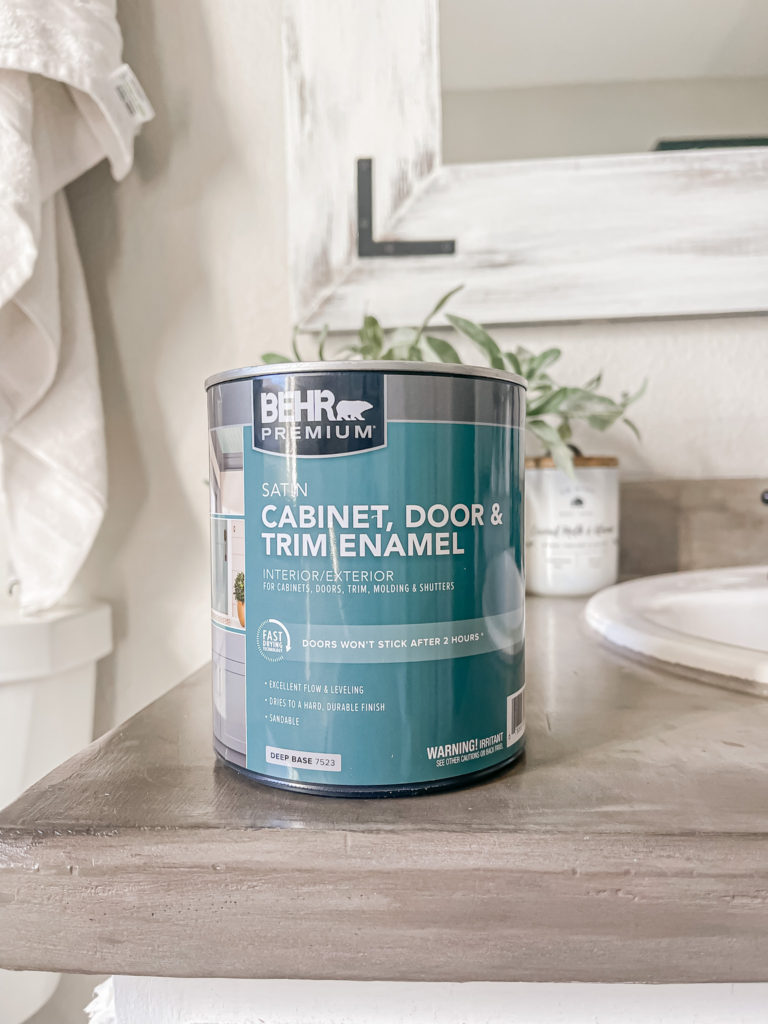
I already had a quart mixed up in my favorite paint to use on cabinets and furniture–Behr Cabinet, Door and Trim Enamel. It levels beautifully and is extremely durable.
Before I could start the painting process though, I had a few small updates that I wanted to make to give the vanity more character. The first thing that I did was add reeded molding to the fronts of the cabinet doors.
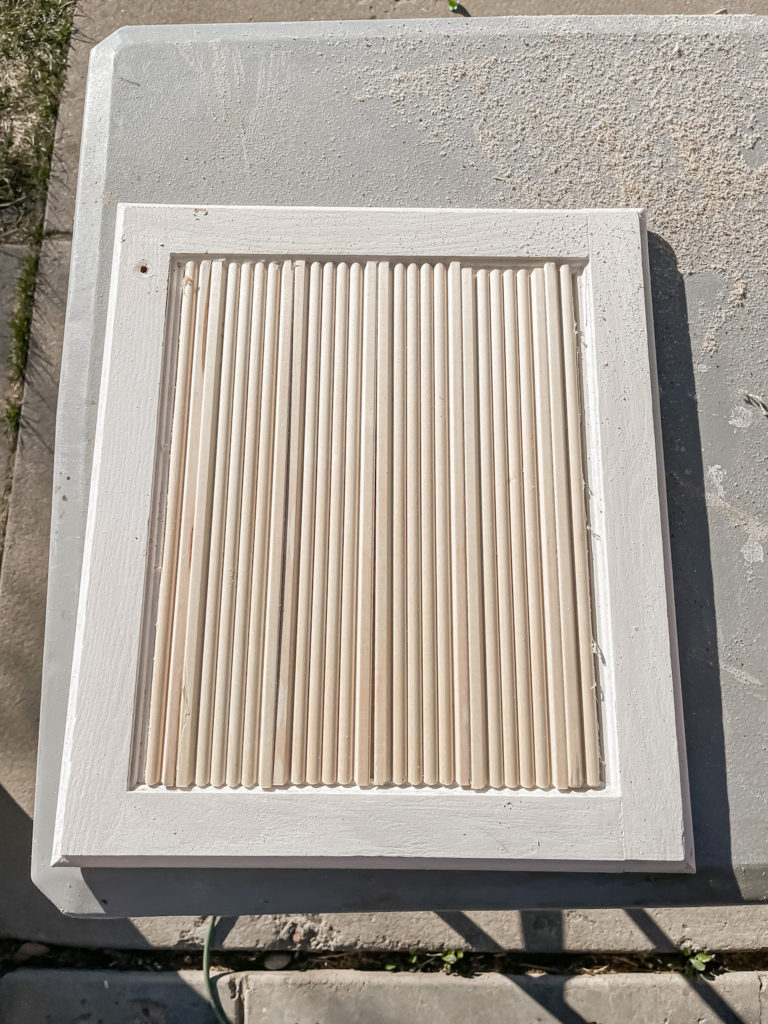
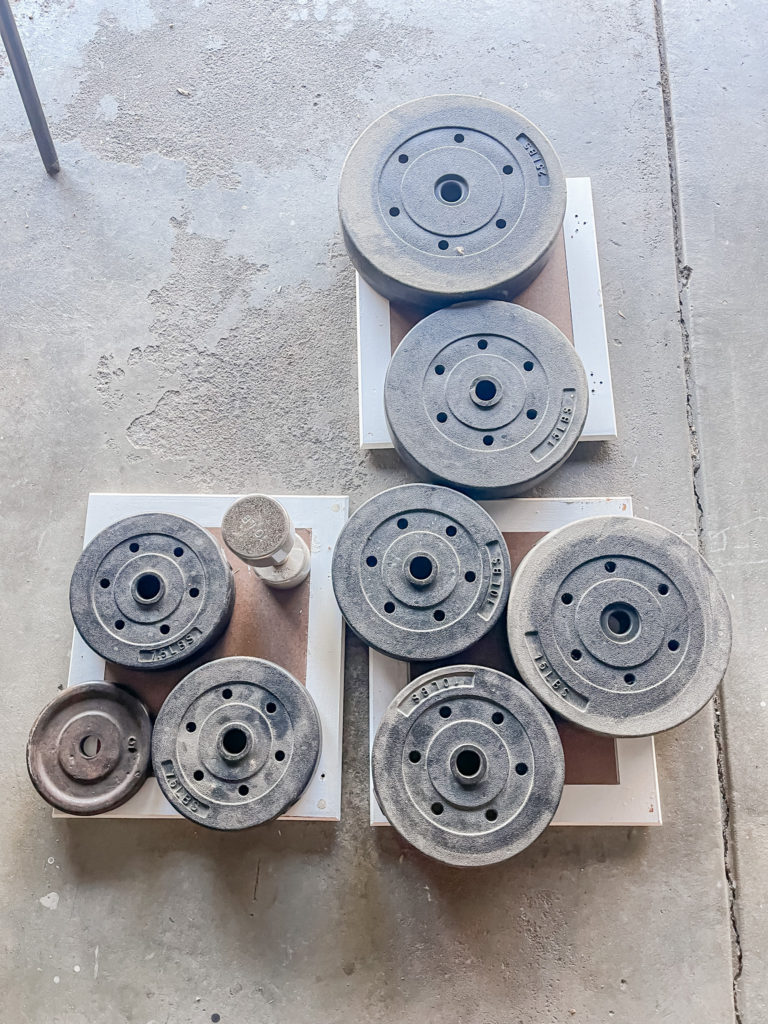
I attached the pieces with Liquid Nails, then secured them with the nail gun. Since the nails were too long, they shot out the back. To fix this I clipped them down and then covered the mess up by gluing some scrap hardboard that I had to the backs. I let them sit overnight with weights to dry.
While those were drying, I moved inside to work on the base of the vanity. To make it look less builder grade I plan to add some trim along the bottom.
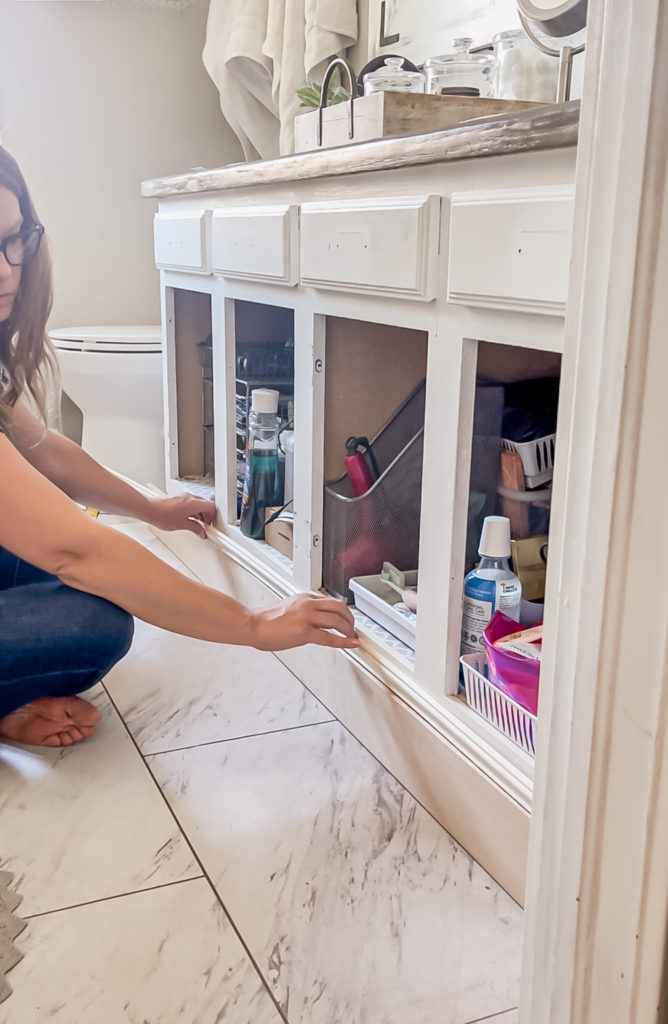
I found a board already cut to the right width, so once I cut it to the right length, I am going to carve out the middle section so that we end up with a look similar to this vanity.
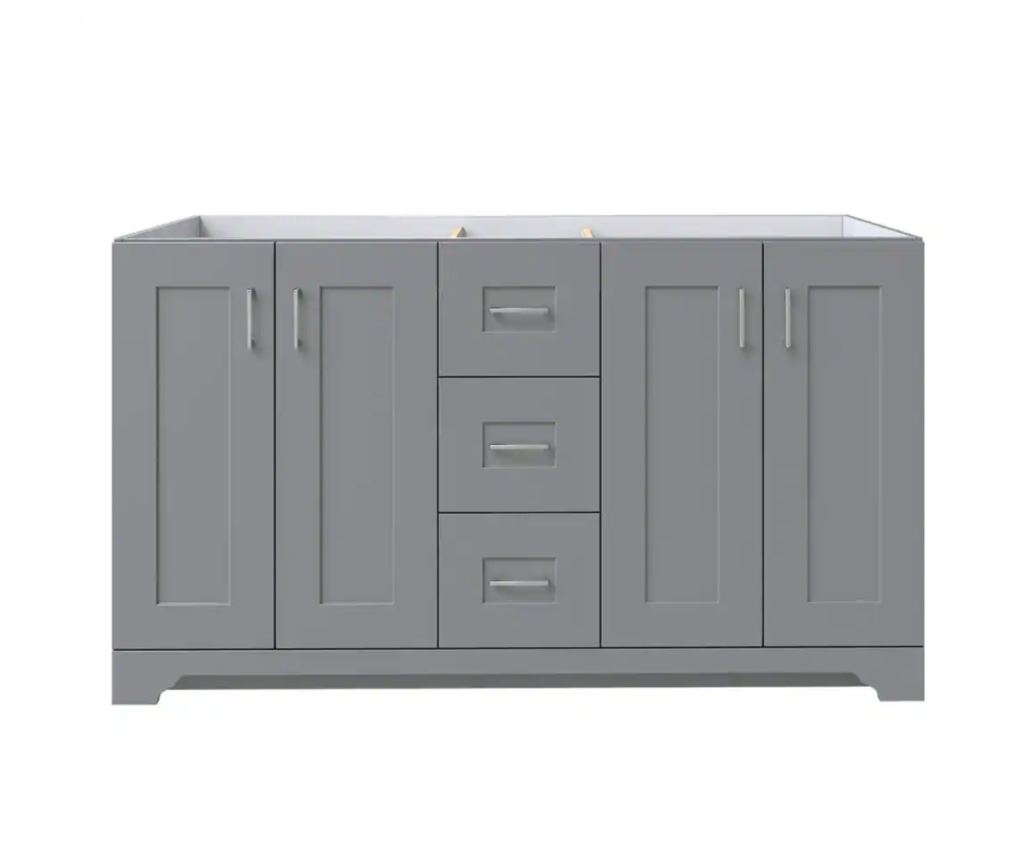
I am going to take it a step further by adding some more decorative trim on top of that board. It’s sort of hard to visualize, but I’m hoping it turns out as pretty as it is in my head!
I was originally going to leave the side as is. However, I decided to test out a theory to see if I could mimic the same look over there. I took a large drill bit and drilled straight in to see if the space at the bottom was hollow.
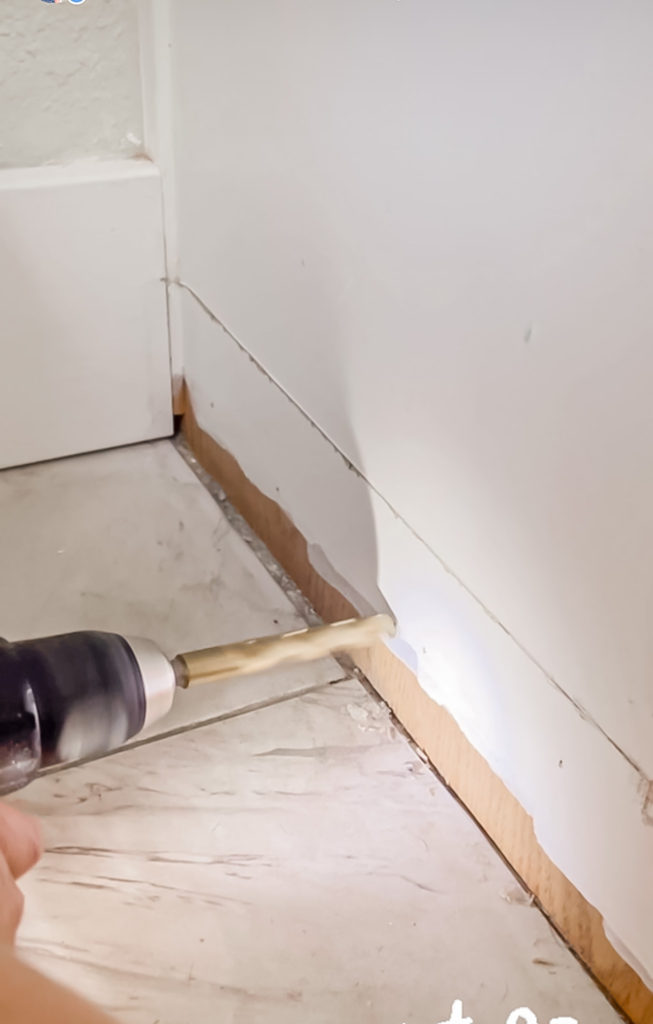
Luckily it was! So, I continued drilling holes and then used a hammer to knock the piece out.
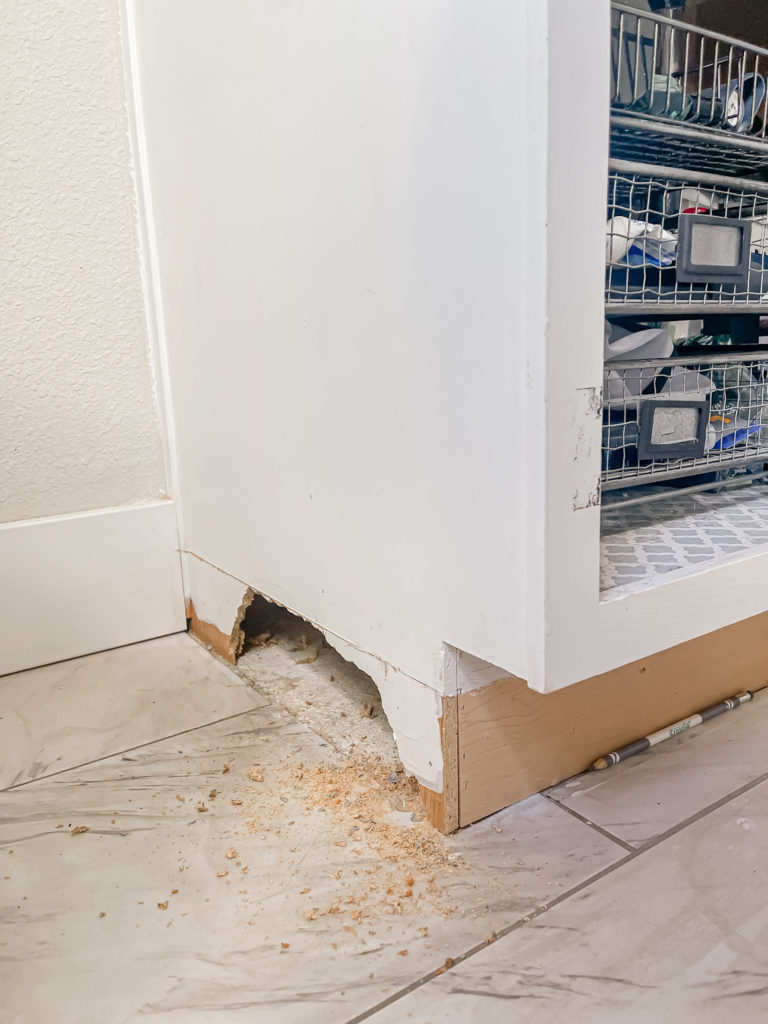
It doesn’t look pretty, but that won’t matter since the trim will cover it up. I drew a paper template to give me a better idea of where the trim will sit and how it will look.
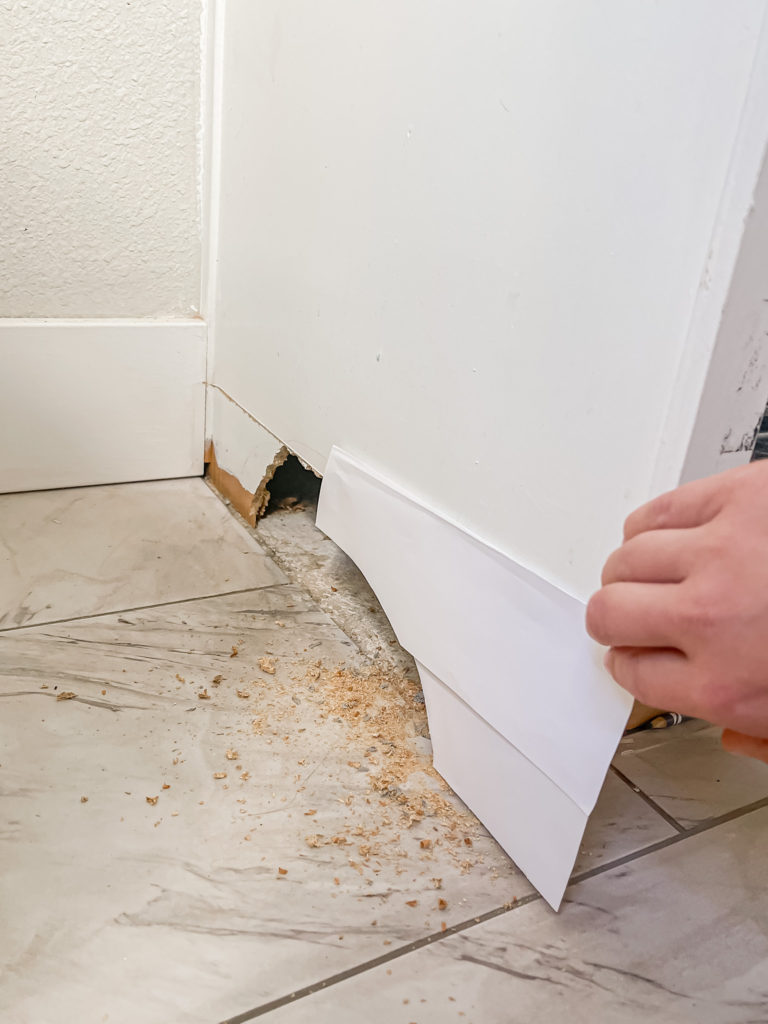
Can you see it?! I am looking forward to seeing this builder grade vanity start to look more high end.
I ran out of time yesterday so I wasn’t able to cut down or attach the trim, but that’s actually a good thing because I realized that I actually need to do the new floors first otherwise I will end up cutting them around the base which won’t look as clean.
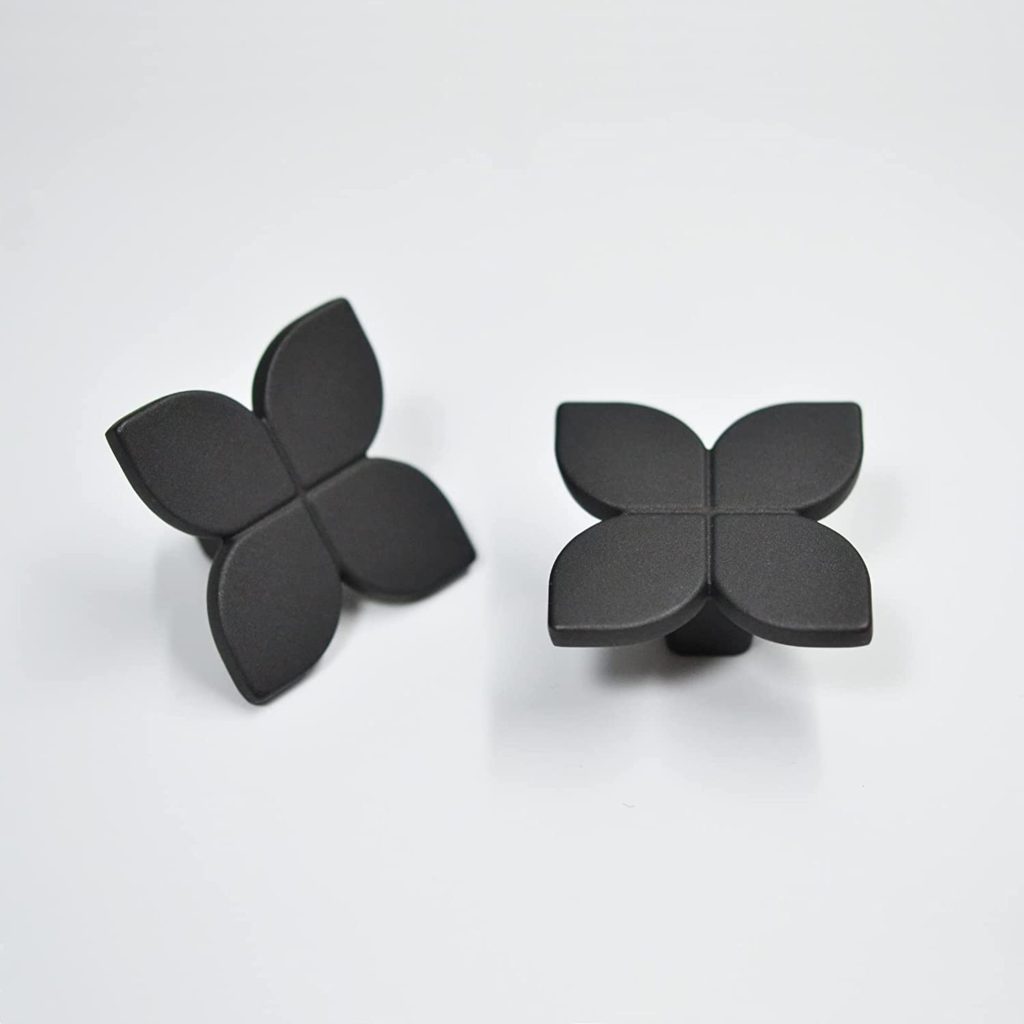
I also ordered these pretty knobs for both the doors and drawers and can’t wait to see them in person.
The plan for the rest of this week is prep and paint the vanity (minus the trim at the bottom since that will need to be installed later) and then I will start on the countertop this weekend.
I am going to be creating a faux marble look, although I have not yet decided on the best way to do that quite yet.
Stay tuned next week to catch up on more progress!
Linking up to these awesome parties
(Affiliate links may be provided for convenience. For more info, see my full disclosure here.)
Cheering you on! Updating my bathroom with ORC, too, so I’m feeling all of your hard work! You go, girl!
Thank you so much!!