
Welcome to week 3 of the One Room Challenge! In case you’ve missed any of the previous posts in this season you can catch them here:
- One Room Challenge (Week 1): Master Bathroom Plans
- One Room Challenge (Week 2): Starting the Vanity Makeover
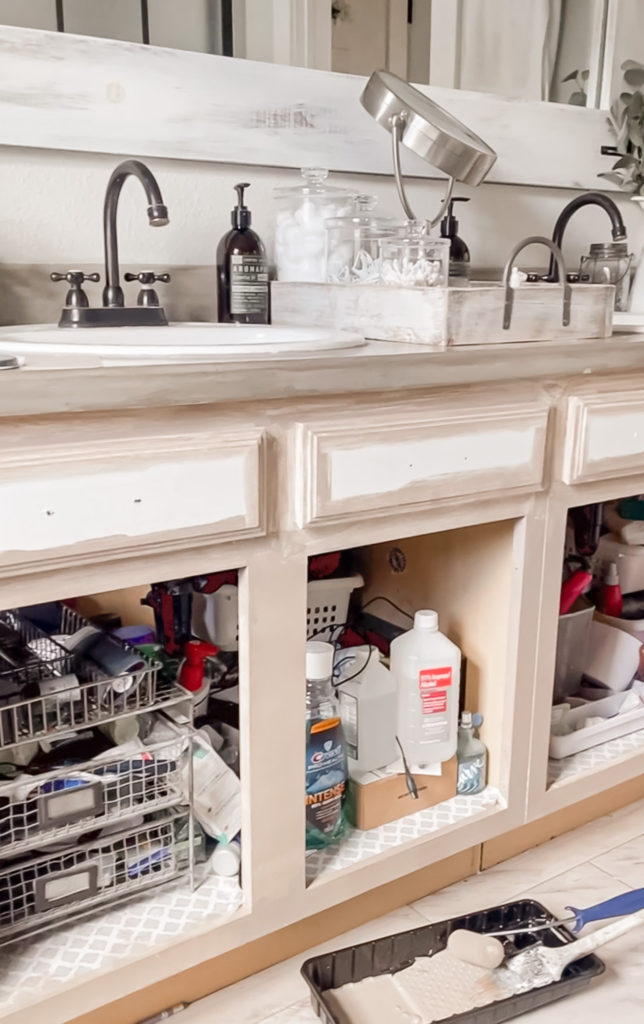
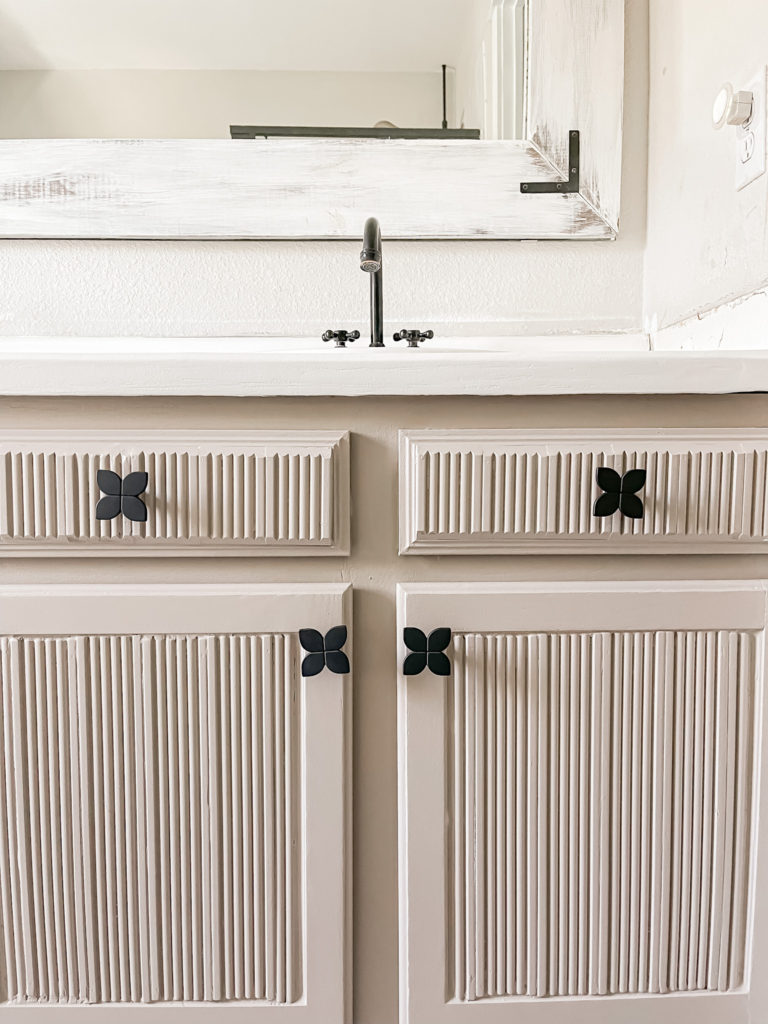
This past week I’ve still been focused on making our builder grade vanity feel more luxurious. I mentioned that I added reeded molding to the doors and was getting ready to paint using Behr’s Studio Taupe. I painted the first coat but stopped on the drawer fronts because I had another idea…
I decided to add some reeded molding to the drawers so that they would match the doors. It was such a good call and I’m a little shocked that I didn’t think of doing this sooner!
I ultimately decided that the paint color Studio Taupe was a little too dark, so I added some white paint to the can to lighten it up to where I wanted it.
Next it was time to move on to the countertop. I knew that I wanted to get rid of the side backsplash to make the vanity feel less builder grade, however I had no idea how difficult it was actually going to be to get it out!
I started by scoring the caulk, then used a pry bar and a hammer to start pulling it out.
At first it seemed like it was sliding right out, however I noticed that there were nails actually holding it in from the side (meaning that they attached it before putting the vanity in place) and it wasn’t budging. Luckily my super smart husband had the idea to sneak a saw down there to chop them and it finally came out. Once it was out, I then used the jigsaw to cut out the section that wasn’t needed.
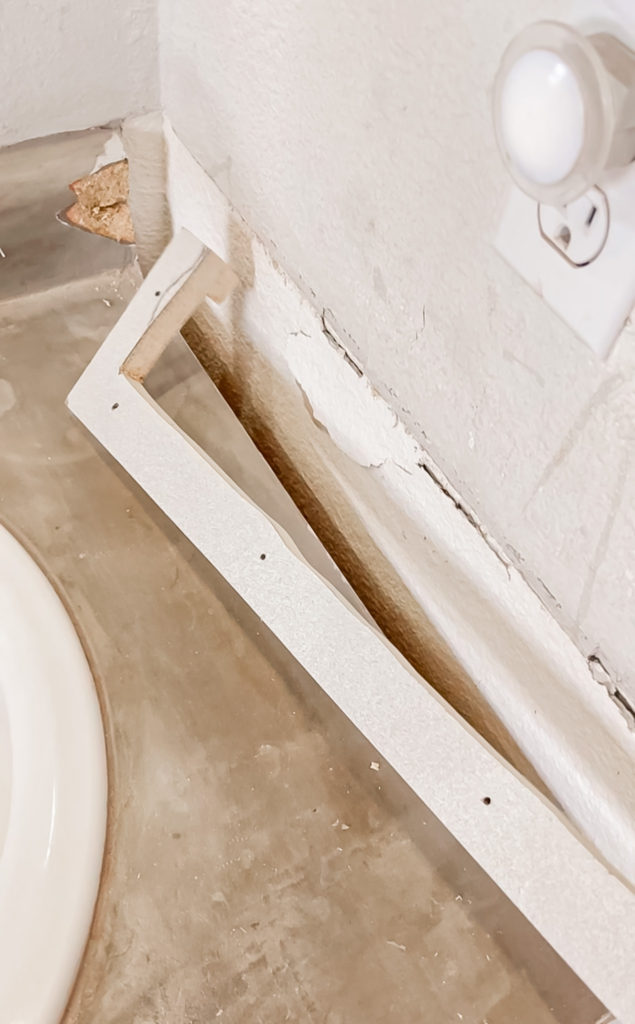
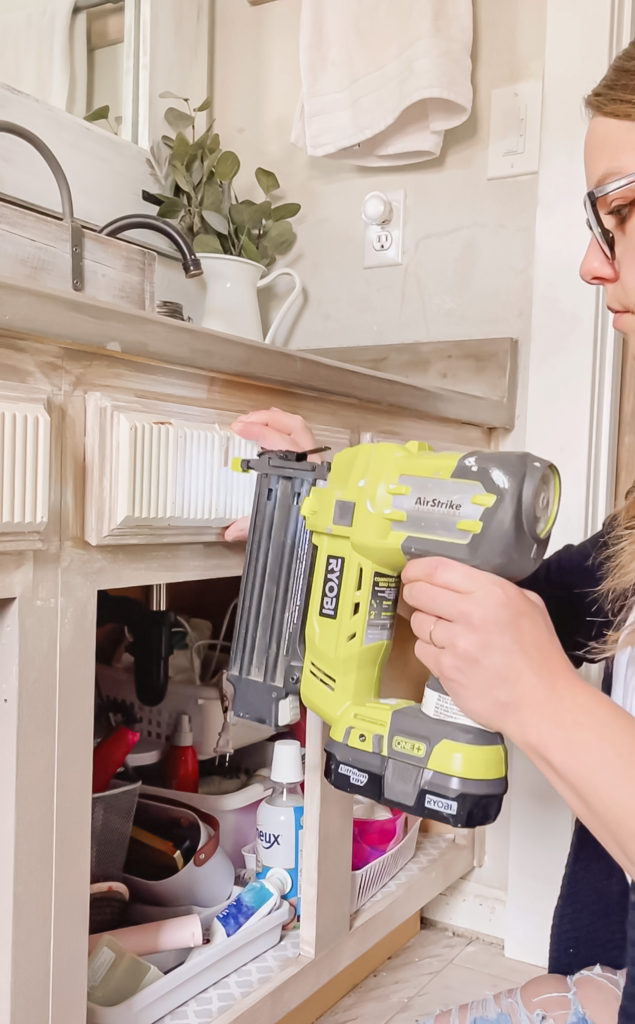
When I put it back down, I saw that there was a small gap on the side, so I used some scrap molding that I had on hand to fill it in.
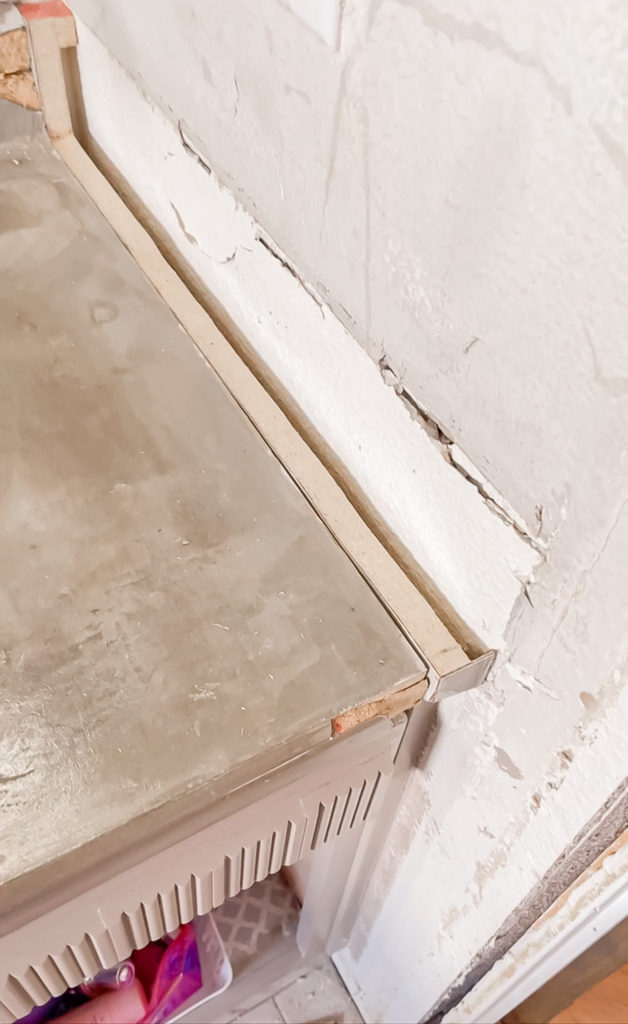
Once that was in, I nailed it down and then it was time for Bondo…A LOT of Bondo!
I put down a total of 3 coats and sanded between each one until I finally achieved a seamless look.
(There is quite a bit of drywall repair to do because of the removal fiasco, but we will worry about that later!)
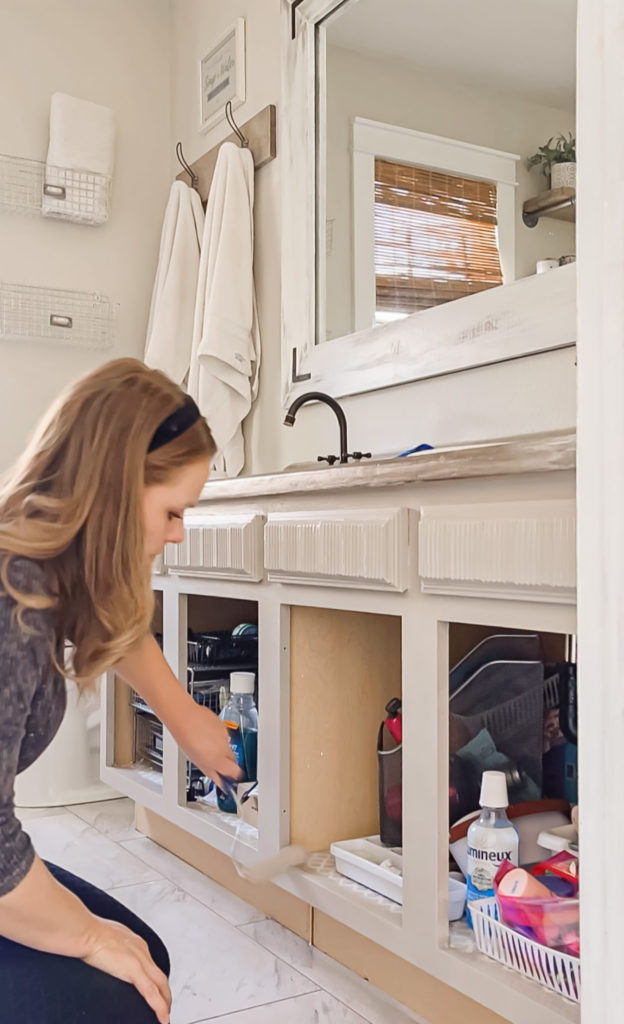
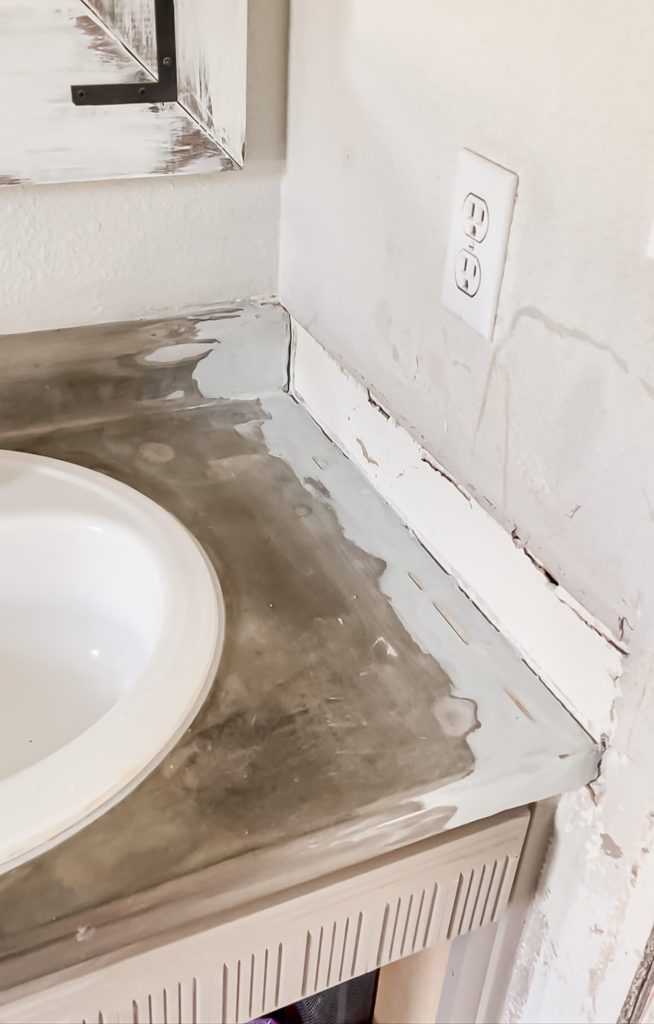
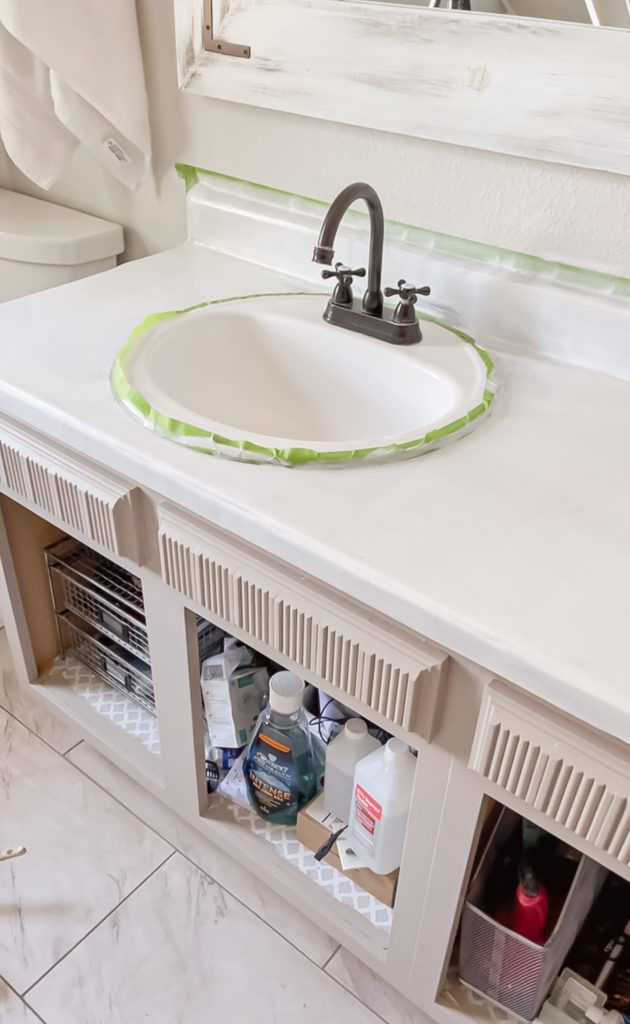
Although I originally thought about doing a faux marble, I ended up deciding to go a different direction. Since I want more of a bohemian vibe in here, I decided that a plain glossy white that mimics a solid stone would look better. I got started by scrubbing the countertop squeaky clean!
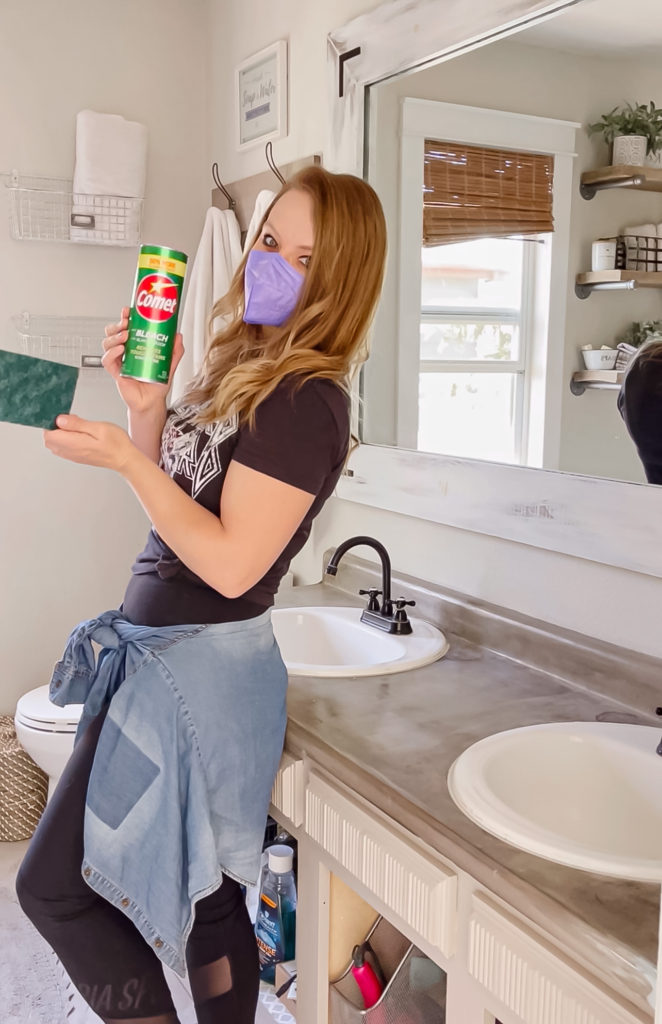
I used a scouring pad and some Comet, followed by 400 grit sandpaper to rough up the surface. I wiped it down one more time with the scouring pad and some shower cleaner. I let it dry for an hour and then came back ready to paint.
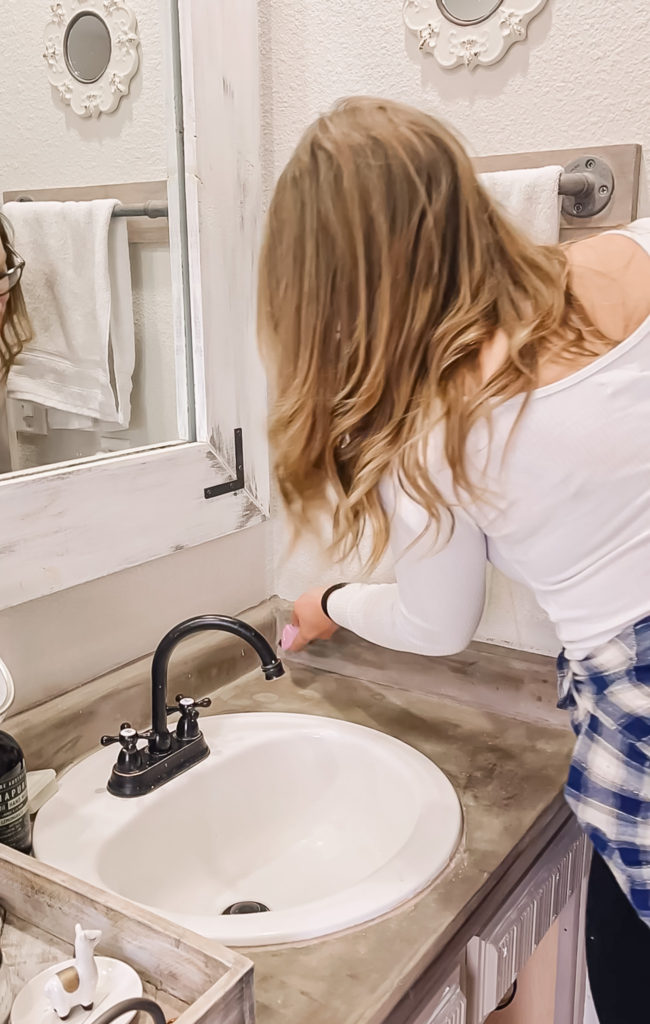
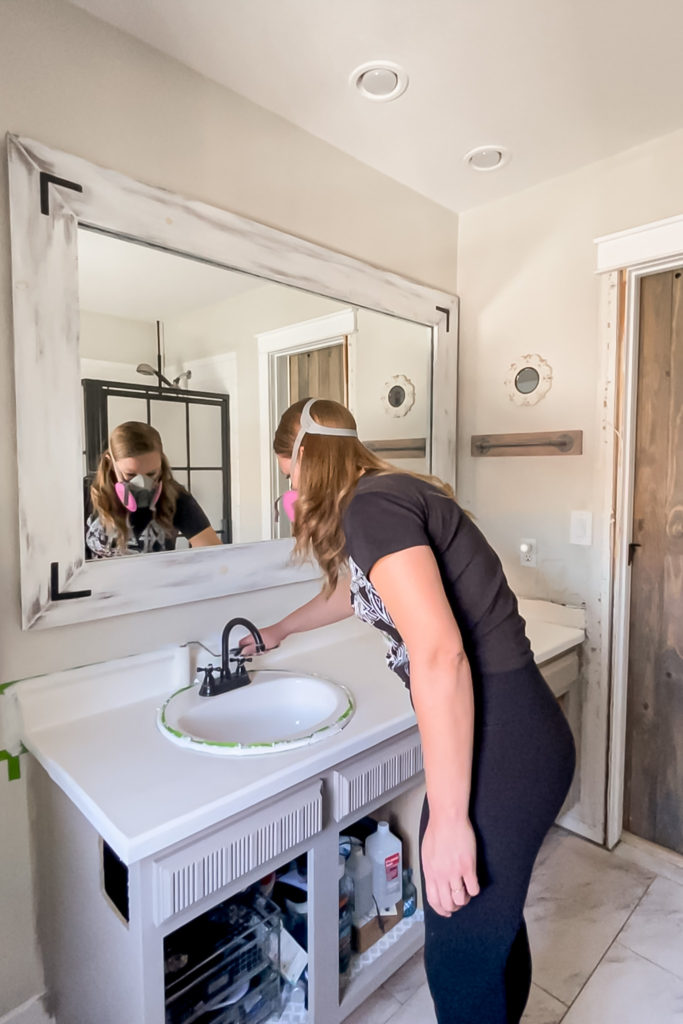
I purchased this tub and tile refinishing kit that I’ve seen other tutorials use. It was quite smelly so a respirator was an absolute must, and I opened the windows for ventilation.
I was so eager to get started that I actually forgot to tape off the sinks! I stopped, taped them off and then finished applying the first coat.
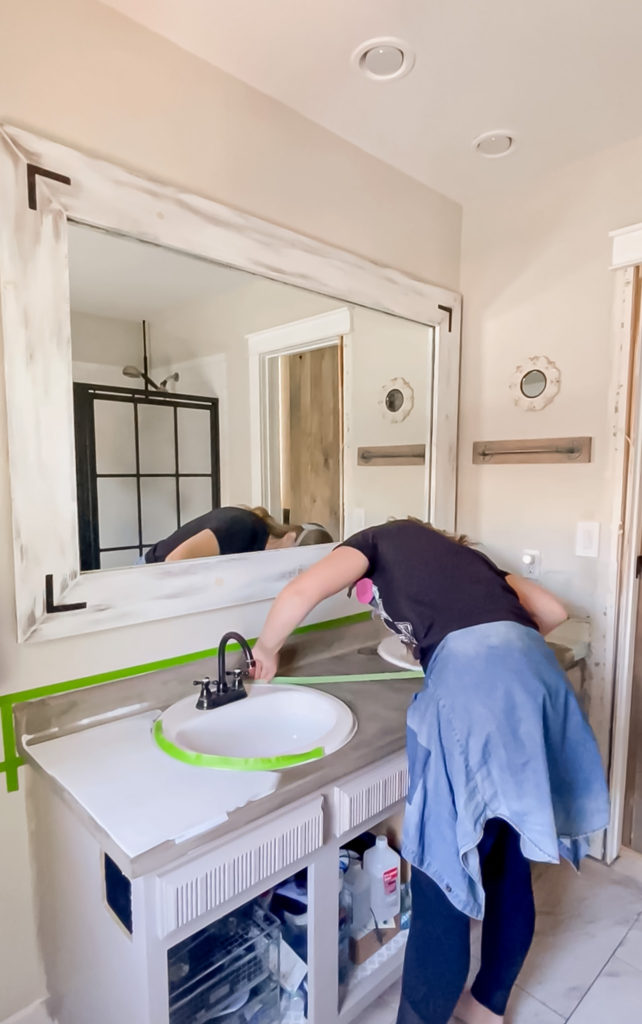
I was excited to see how quickly it was transforming just after one coat.
I am quite happy with how it turned out, but I did learn a few tips and tricks along the way that I wish I had known prior, and I will be sharing all of them in a tutorial soon!
Yesterday I got the doors put back on and it was very exciting to see my vision starting to come together!
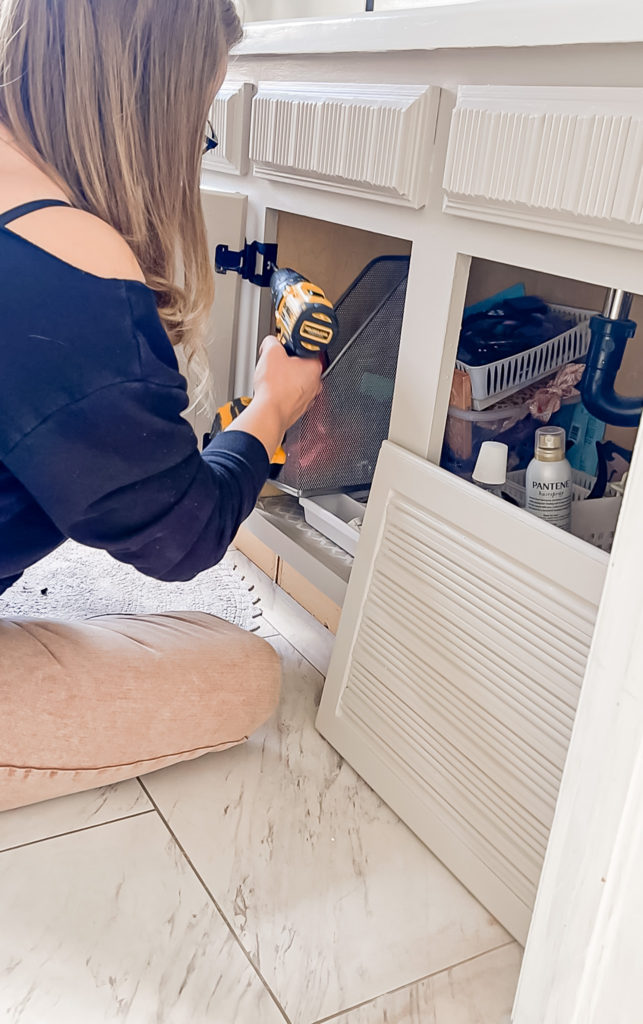
I also got the new knobs installed so it’s finally starting to feel like a vanity once again.
The next step is to lay the new flooring so that I can get the cool trim pieces added to the bottom of the vanity, so I will be back next week to share some pretty new floors!
Linking up to these awesome parties
(Affiliate links may be provided for convenience. For more info, see my full disclosure here.)
Great job! I love your hardware on your doors! Cheering your ORC journey from the sidelines!
Thank you so much, I really appreciate it!
That’s what I call a transformation #alittlebitofeverything