
Welcome to week 6 of the One Room Challenge! We are starting to wind down to the finish line and it’s been exciting to see everything starting to come together. In case you have missed any of the previous posts in this challenge you can catch them here:
- One Room Challenge (Week 1): Master Bathroom Plans
- One Room Challenge (Week 2): Starting the Vanity Makeover
- One Room Challenge (Week 3): More Vanity Progress
- One Room Challenge (Week 4): New Floors (and a new counter!)
- One Room Challenge (Week 5): Vanity Trim and Accent Wall
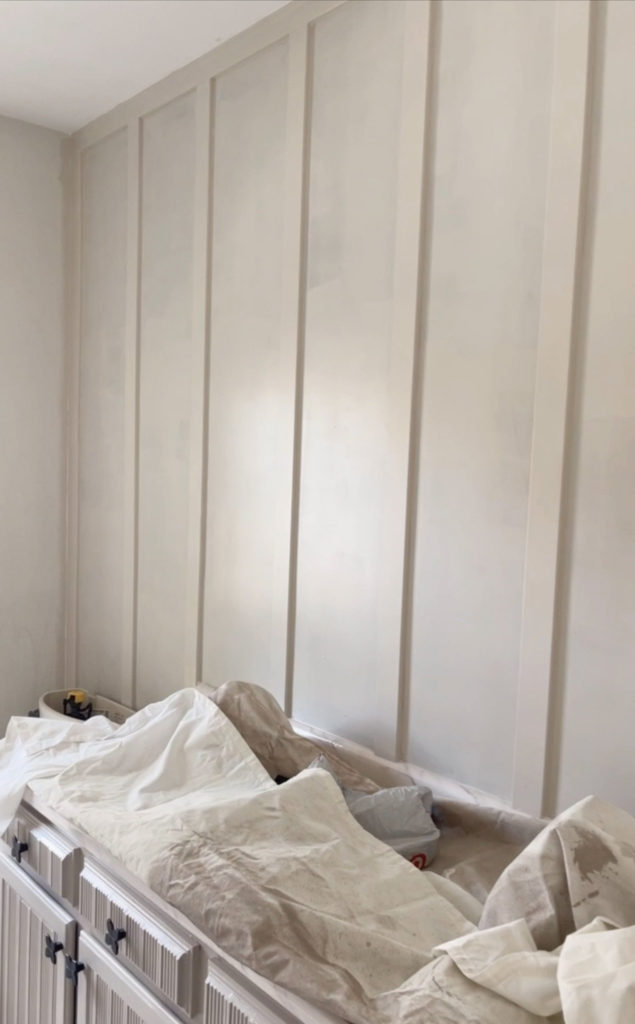
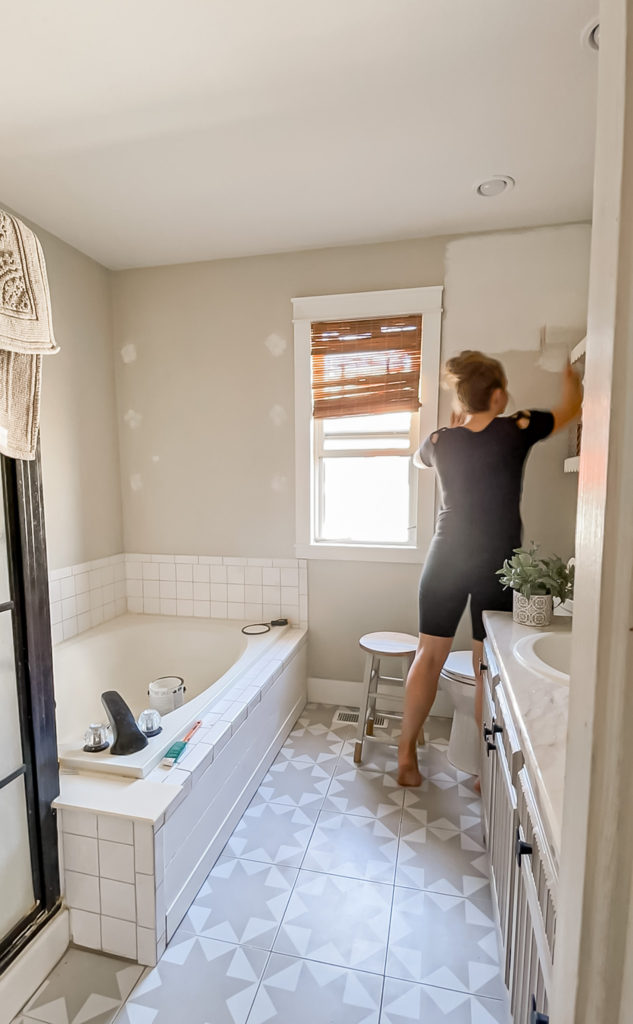
Last week we left off with a newly installed but unpainted accent wall. After spackling, sanding and caulking I was finally ready for that exciting moment of getting the paint rolled on!
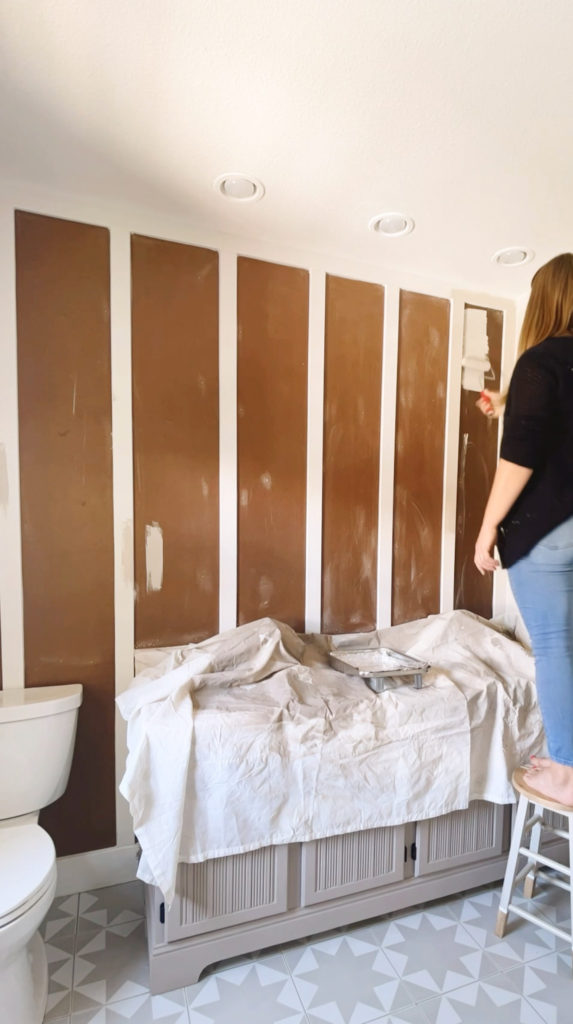
I went with Wheat Bread by Behr which is a very soft greige and gives the wall just a touch of interest without being too overwhelming.
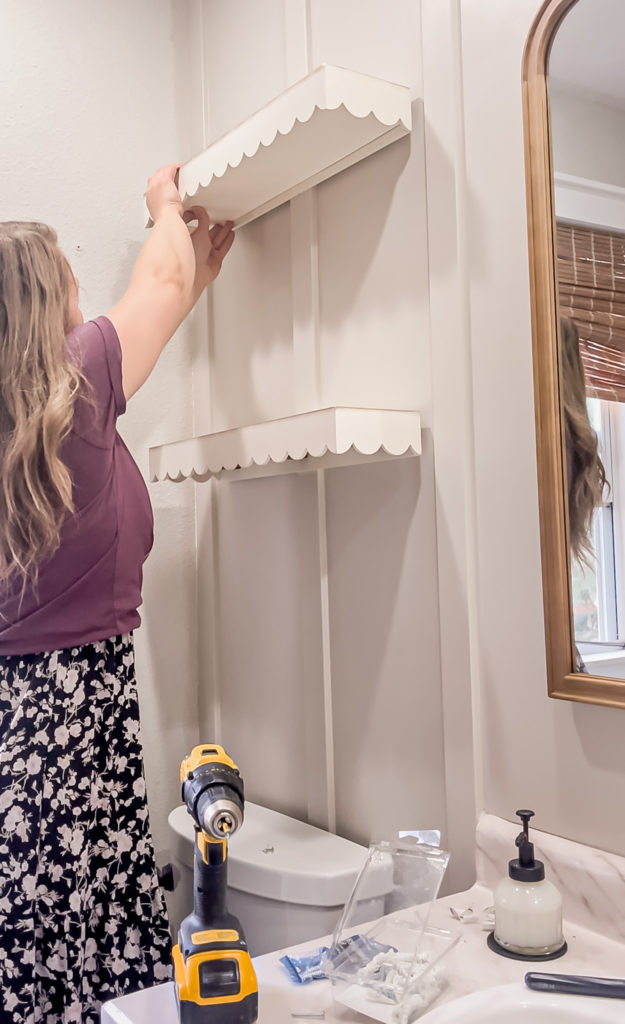
Once that was done, we were able to start hanging things up. First came the mirrors, then the battery operated light and hand towel hook. Those turned out great and I can’t wait to share them all in the reveal, but what I was most excited for was the shelving above the toilet.
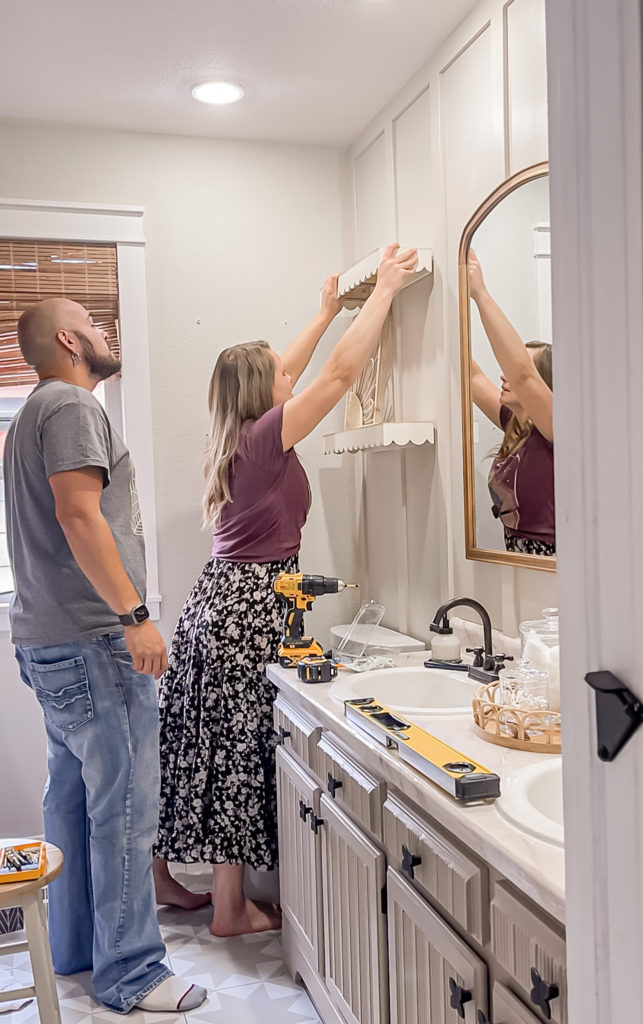
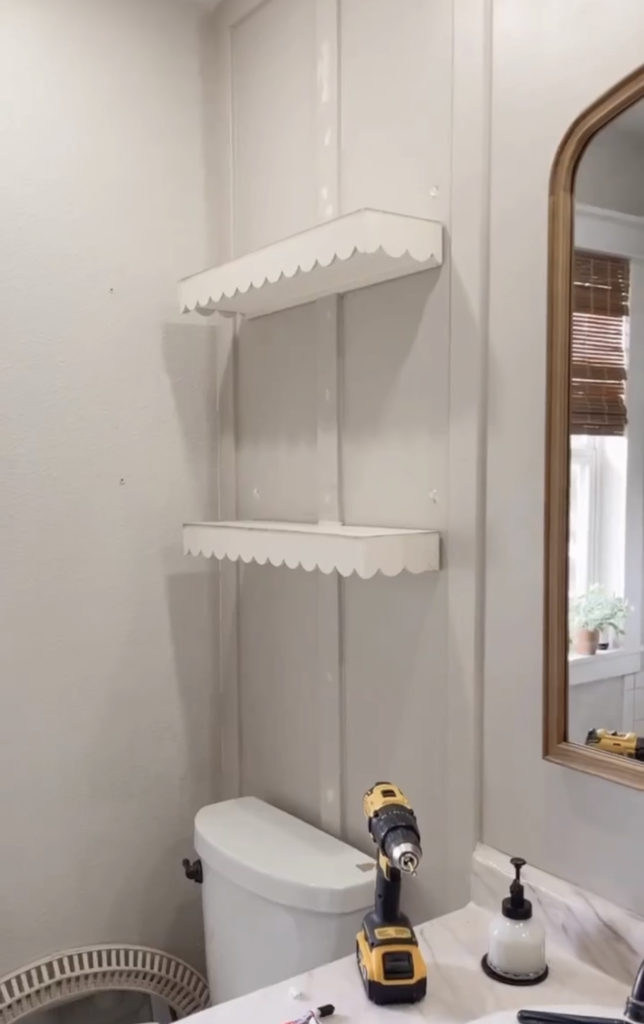
I enlisted Anthony’s help to get them as straight and centered as possible. I didn’t like how the undersides were so open and that the screws they hung from were visible. To fix this, I secured some scrap 2x2s and hardboard to the bottoms, then used command strips to attach a piece of scrap board that I painted to match.
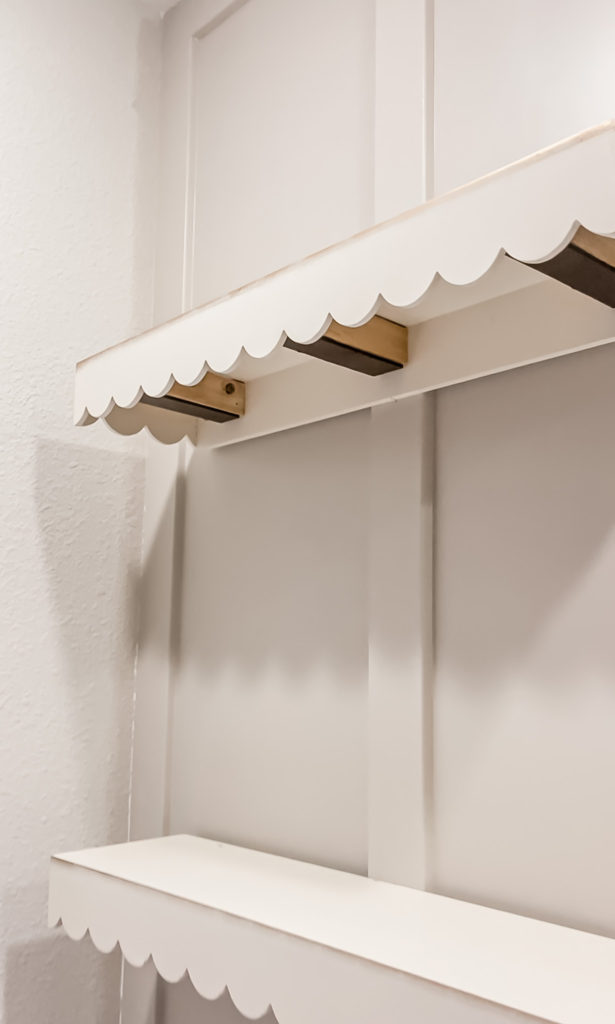
I contemplated just nailing the panels on rather than using command strips, however it’s a good thing that I didn’t because the next day I realized that I didn’t like the big gap along the back that was created by the center batten on the accent wall. So down they came, and I popped that batten off so that I could cut it down to piece around the shelves. It was a little (okay, A LOT) of extra work, but totally worth it!
Next it was time to start prepping the other walls for paint. I first had to go around and do a lot of repairs because of the large holes the drywall anchors that I used to hang things had left behind.
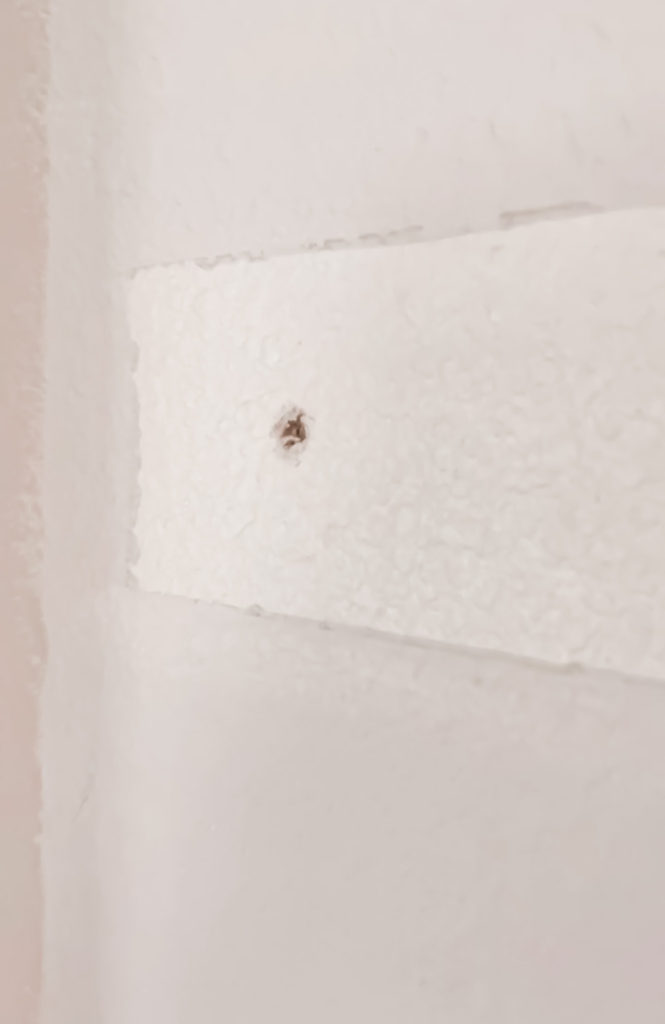
I find the best way to repair these is by using a little bit of drywall compound.
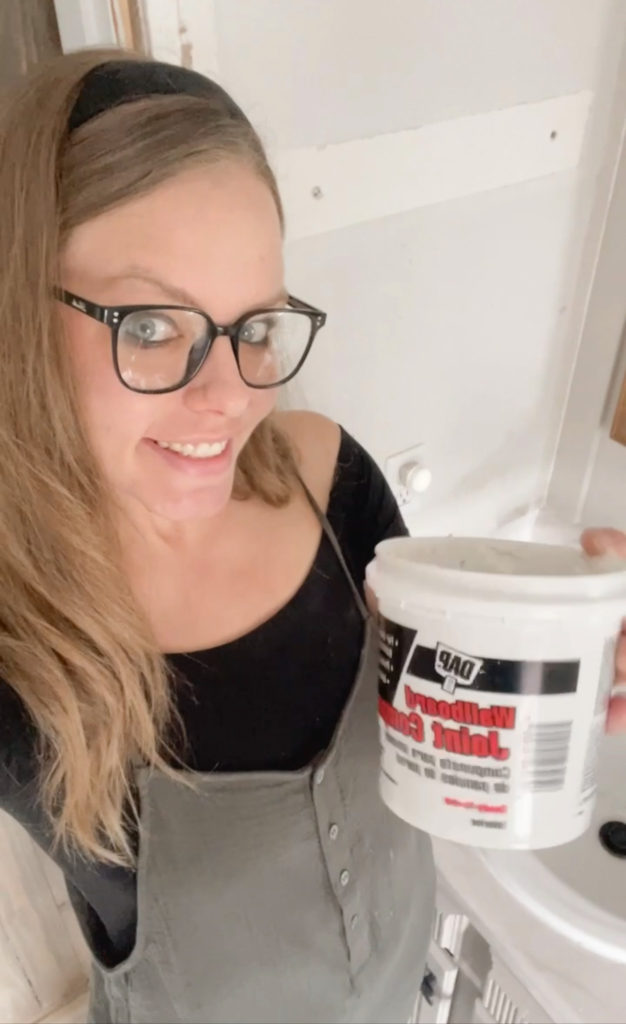
I will go over it with one coat to fill, then sand it down before adding a second coat. I let the second coat sit for about 10 minutes before using a thick napped roller on top to create a texture to mimic the rest of our wall. The most repair was on the wall behind the tub where the pipe shelving was.
The next day I was finally ready to get the paint up! I chose White Cotton by Sherwin Williams because it is a nice clean white that makes the space feel more open and fresh, and it coordinates well with our exiting trim.
Today I am going to be adding a fun little surprise to that wall behind the tub and I’m really excited to see how it turns out! Once that is done I can start working on the shower which is not a task that I’ve been looking forward to but is one thousand percent necessary.
I’ll catch up with you guys next week for one more update before the big reveal!