Hello friends, hope you all have had a nice week! With the holiday on Monday ours seemed to fly by amazingly fast. We don’t have too much happening this weekend so I’m looking forward to getting some downtime with a little bit of furniture flipping time squeezed in.
Today’s flip is one of those ones that I wasn’t overly excited about at first, but it turned out more beautifully than expected!
Supplies Used:(Affiliate links may be provided for convenience. For more info, see my full disclosure here.)
- Sander
- Bondo
- Shellac
- Wood Glue
- Nail Gun
- Enamel Paint
- Paint Sprayer
- Trim
- Ultra Flat Polyacrylic
- Pulls
- Knobs
- Rub n Buff
- Contact Paper
- Drawer Glides
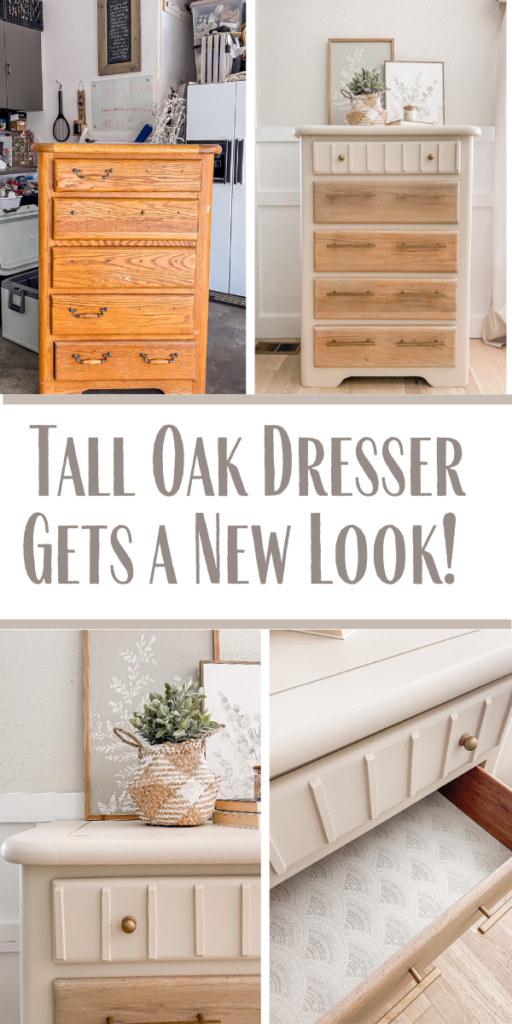
I found this dresser listed for free on Marketplace. It looked like it was solid oak which I was excited about—the fact that half of the handles were missing didn’t bother me since I knew that I would replace them anyways.
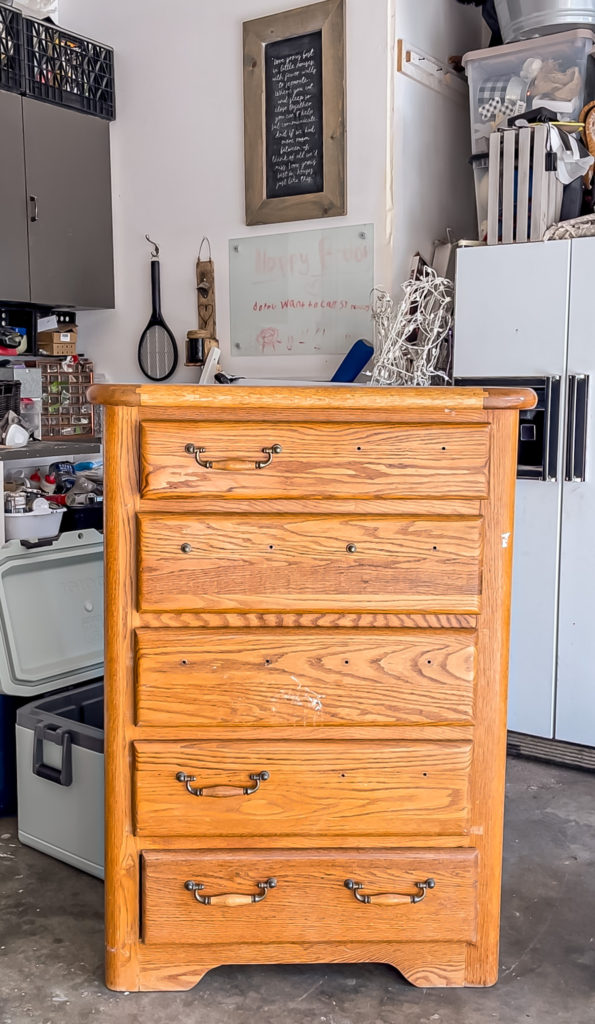
After cleaning it with Simple Green I began scuff sanding the base with 120 grit to remove the shine and prep it for paint.
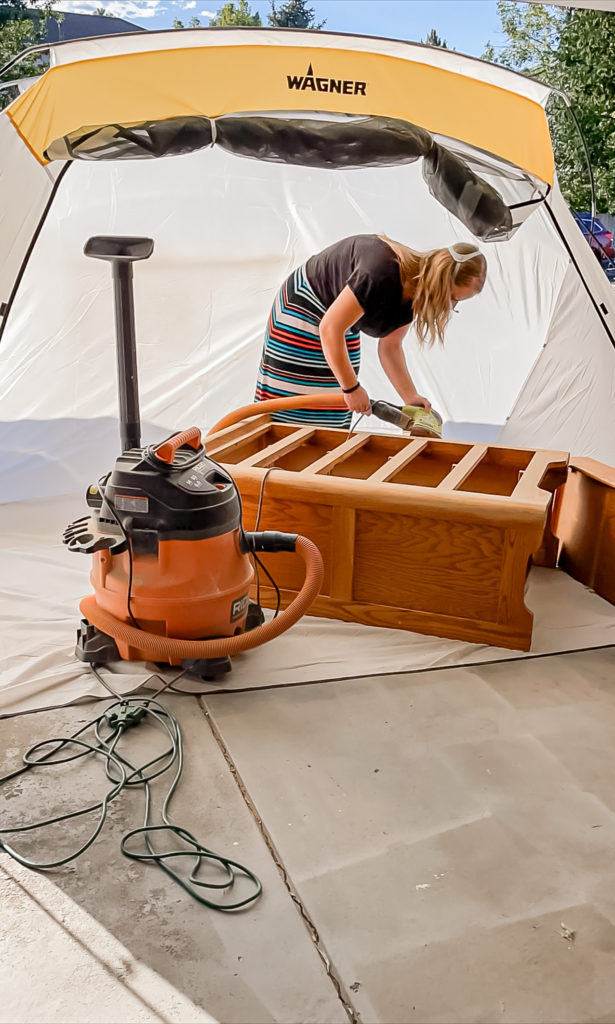
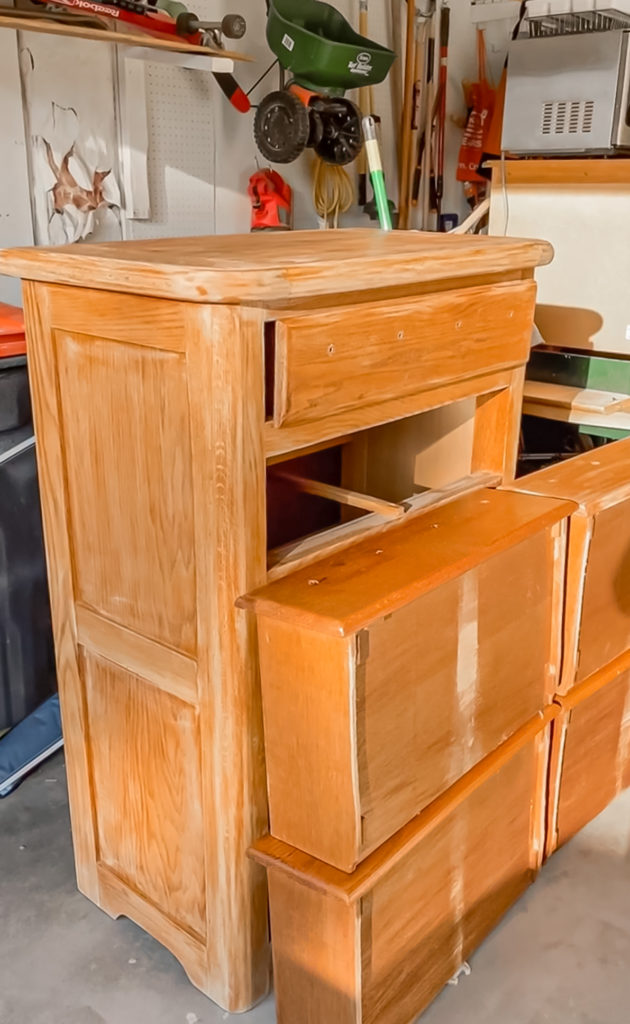
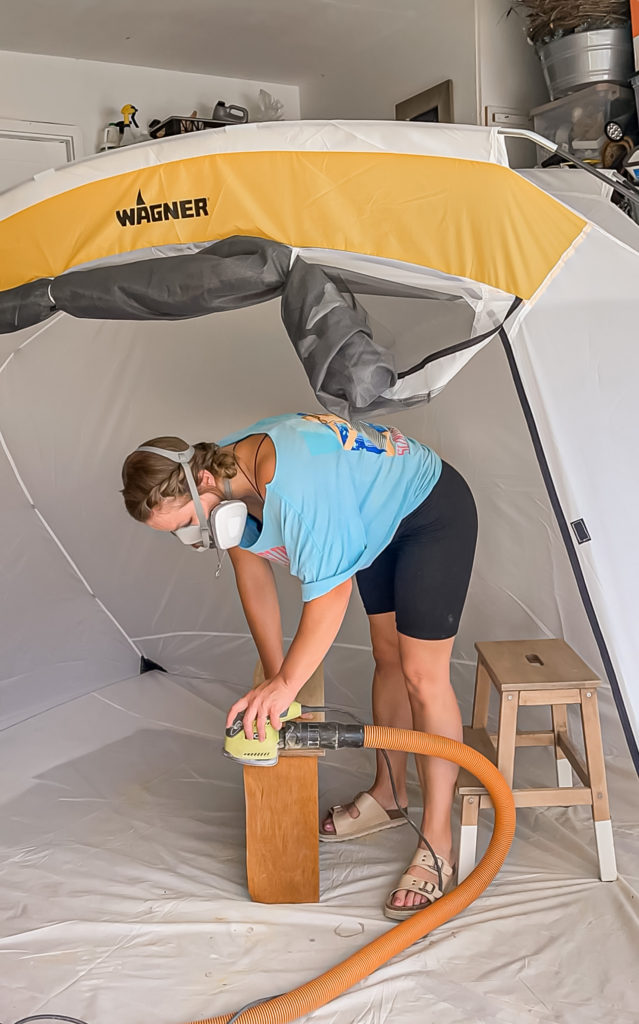
I knew that I wanted the larger four drawers to stay wood, so I used 80 grit to strip them down to the raw wood.
I decided to do something fun on the the smaller top drawer so I filled the hardware holes with Bondo, then cut down some trim and attached it with wood glue and nails.
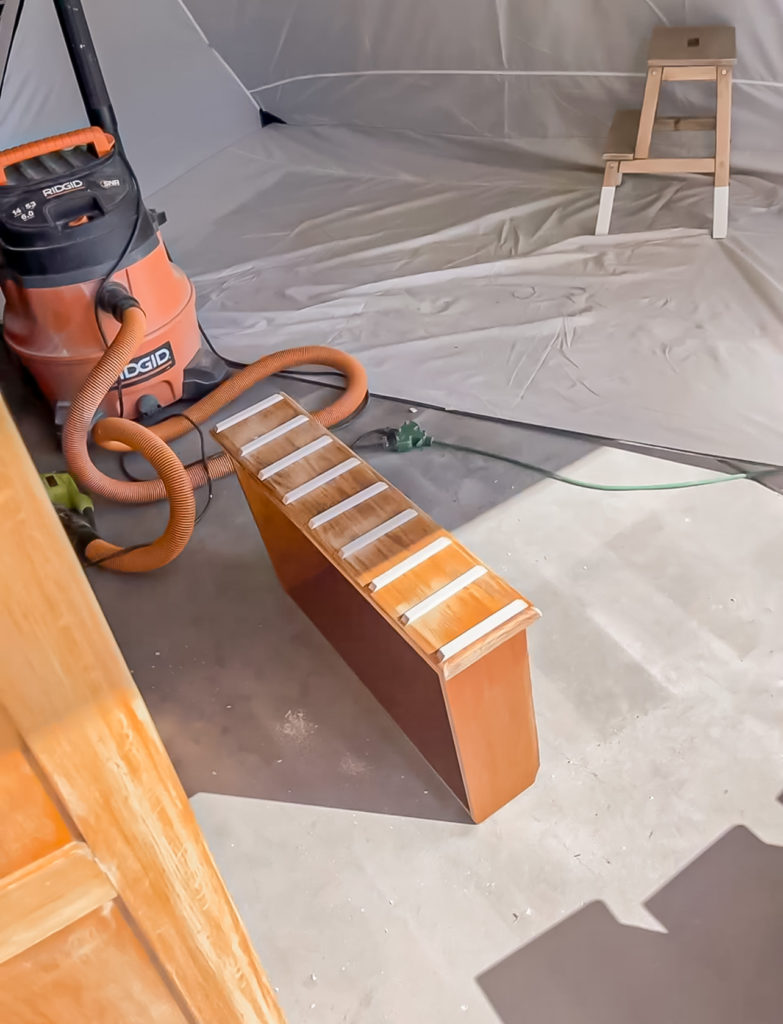
I filled all of the nail holes with spackle, sanded them smooth and caulked the sides of each trim piece. Once that was all dry I applied a coat of spray Shellac to prime and block any wood tannins.
The following day I came back with the paint sprayer to start getting the paint on.
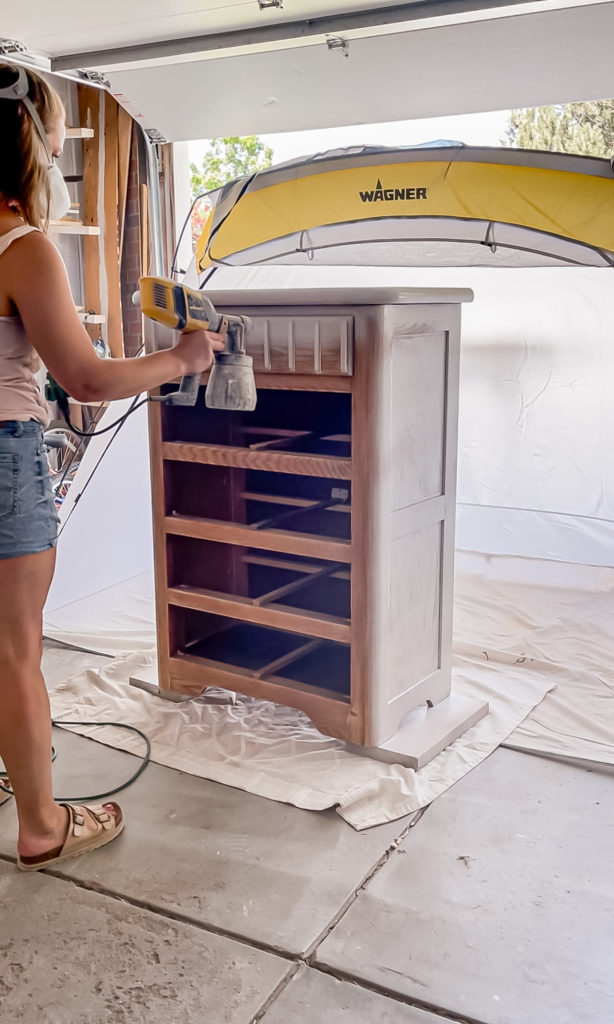
It took three coats to get the right amount of coverage and I sanded in between coats with a brown paper bag which I found makes for a great fine grit!
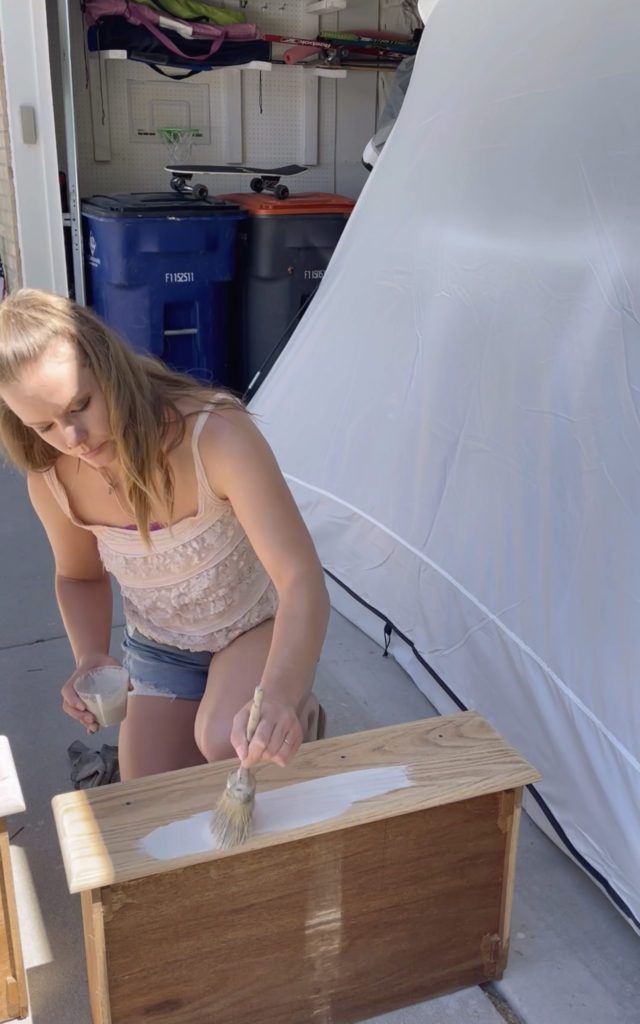
I then applied a coat of whitewash to the four large drawers to lighten them up a little before sealing everything with two coats of polyacrylic.
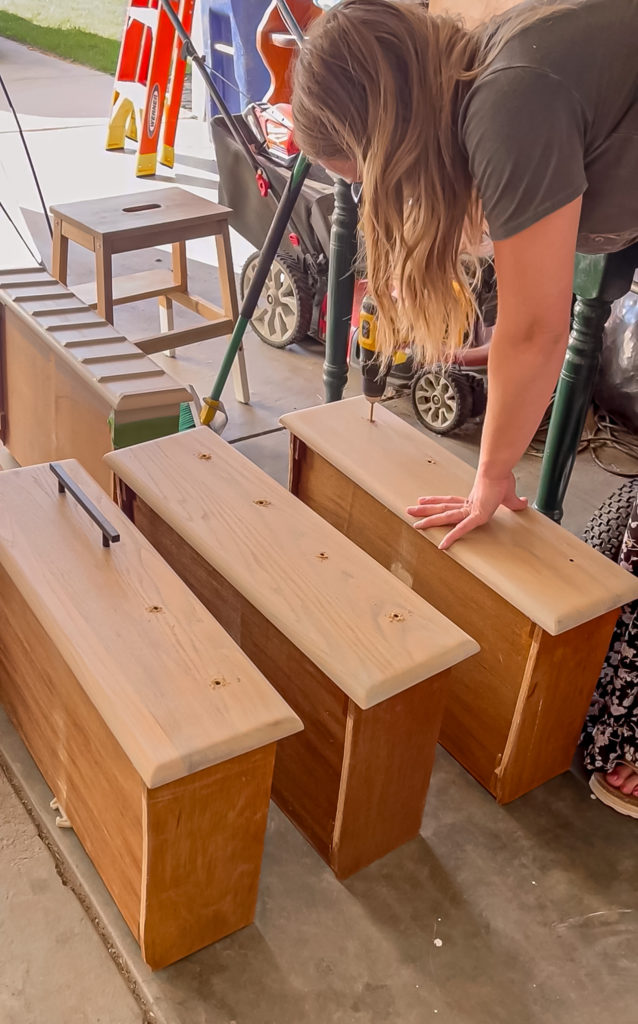
Since I decided to keep these drawers wood, I didn’t want to try covering up the existing hardware holes since it would be hard to disguise them. That left my options pretty limited since there aren’t many 6 1/2 inch choices out there. I finally found some, but when they arrived I found that they measured just slightly under. To fix this issue, I drilled the holes slightly bigger to make them fit.
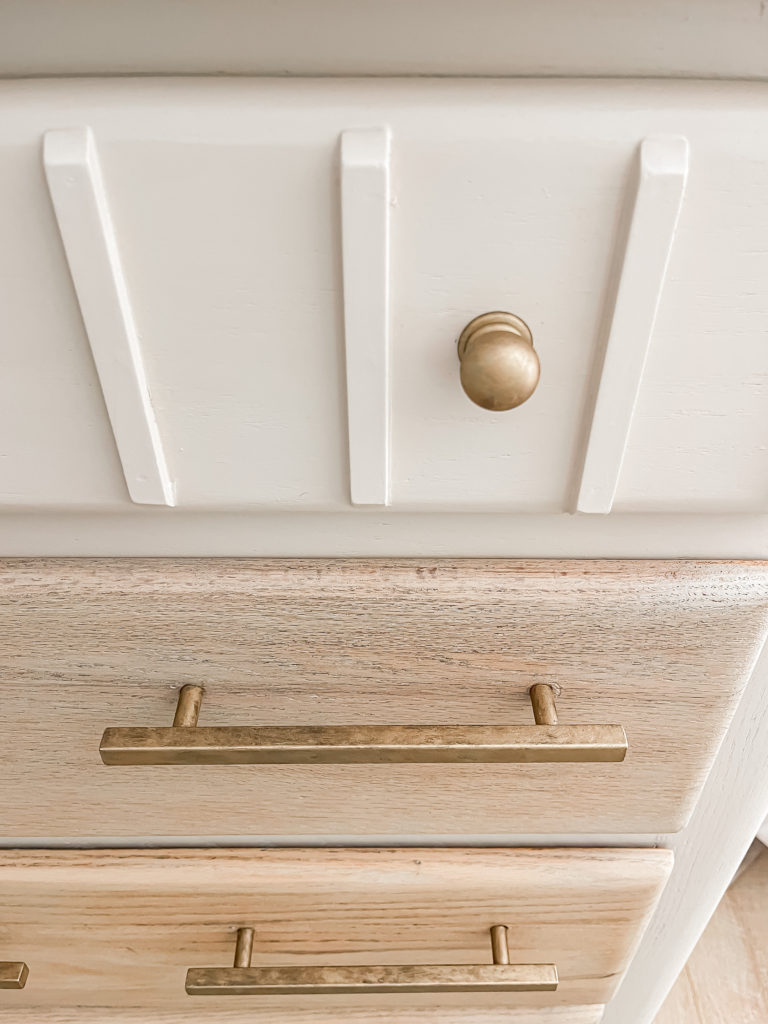
Once all of the hardware was on I wasn’t really happy with the black, so I decided to use Rub n Buff to make them gold.
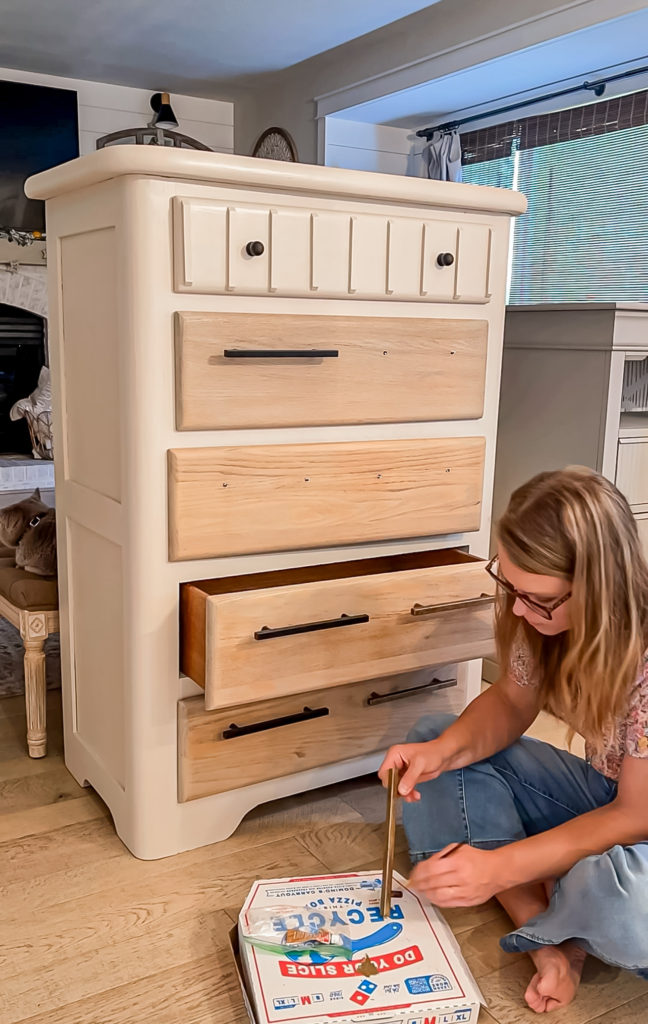
All but one of the drawer glides was missing from the drawers, so I had to purchase and install some new ones. Once those were in this is how it turned out!
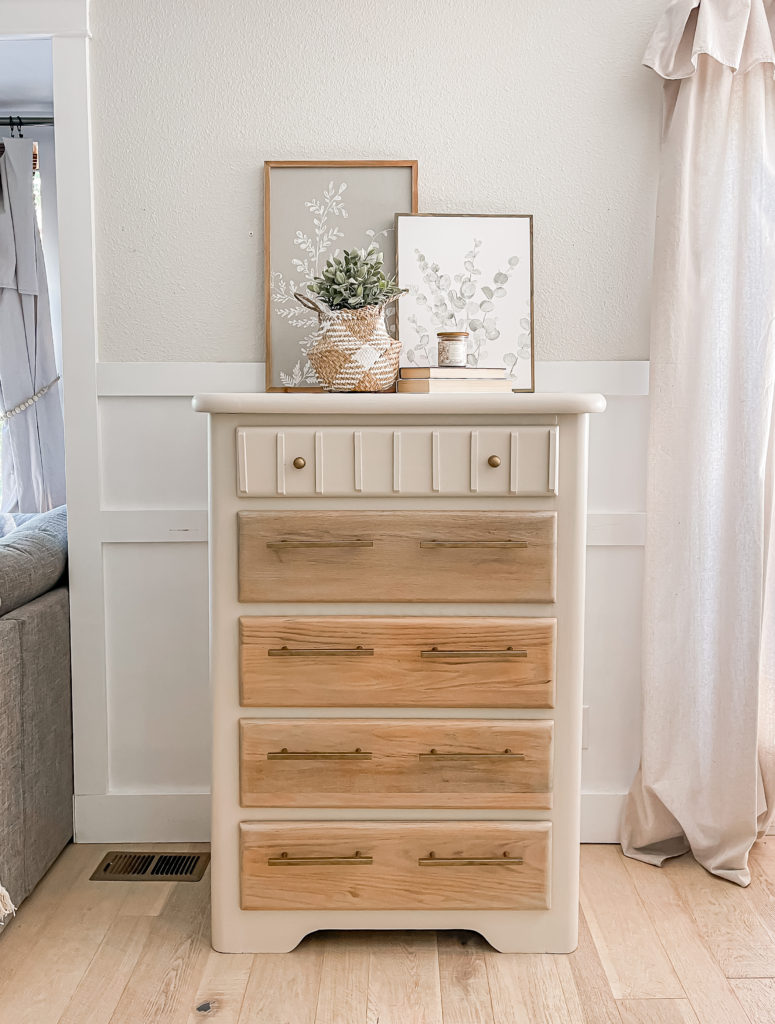
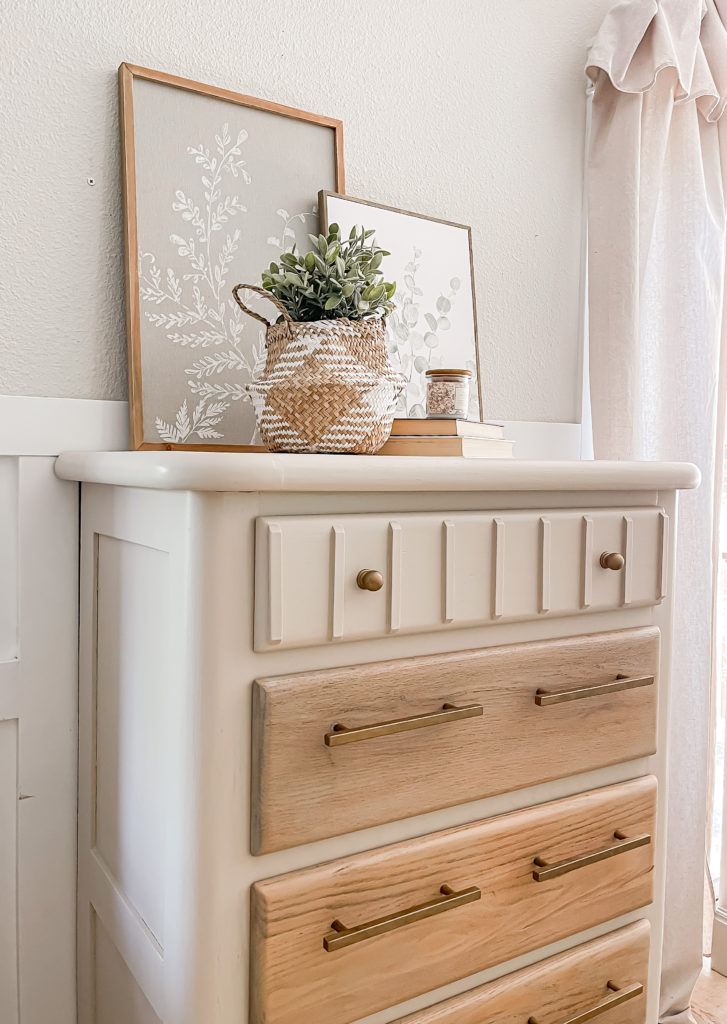
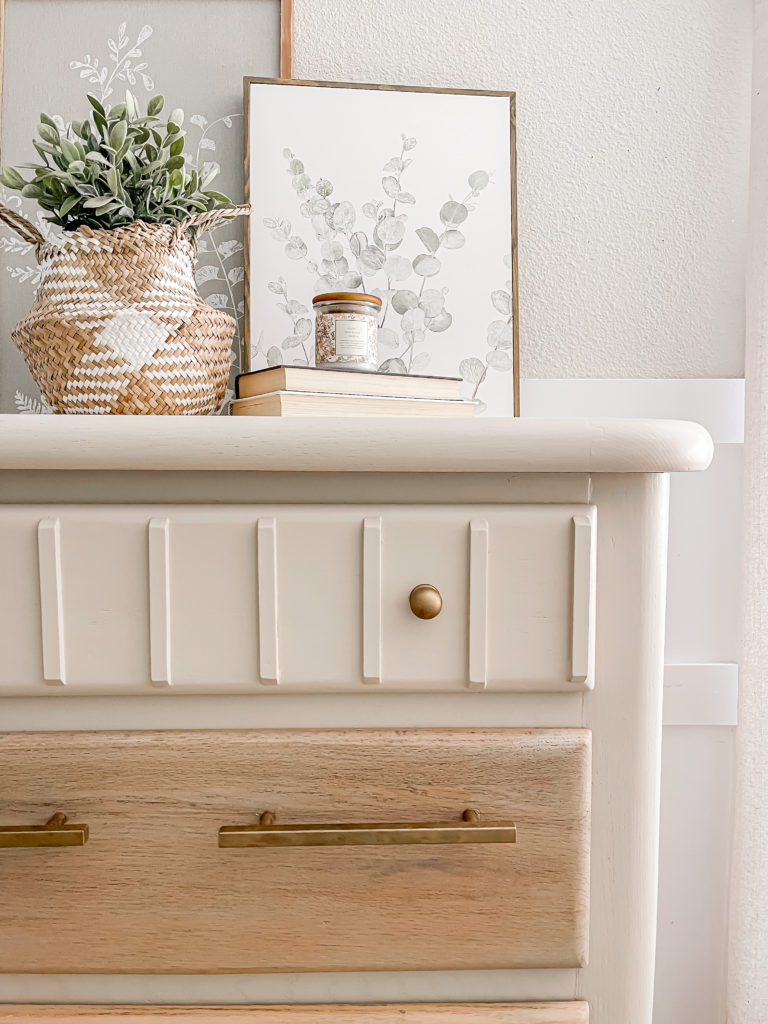
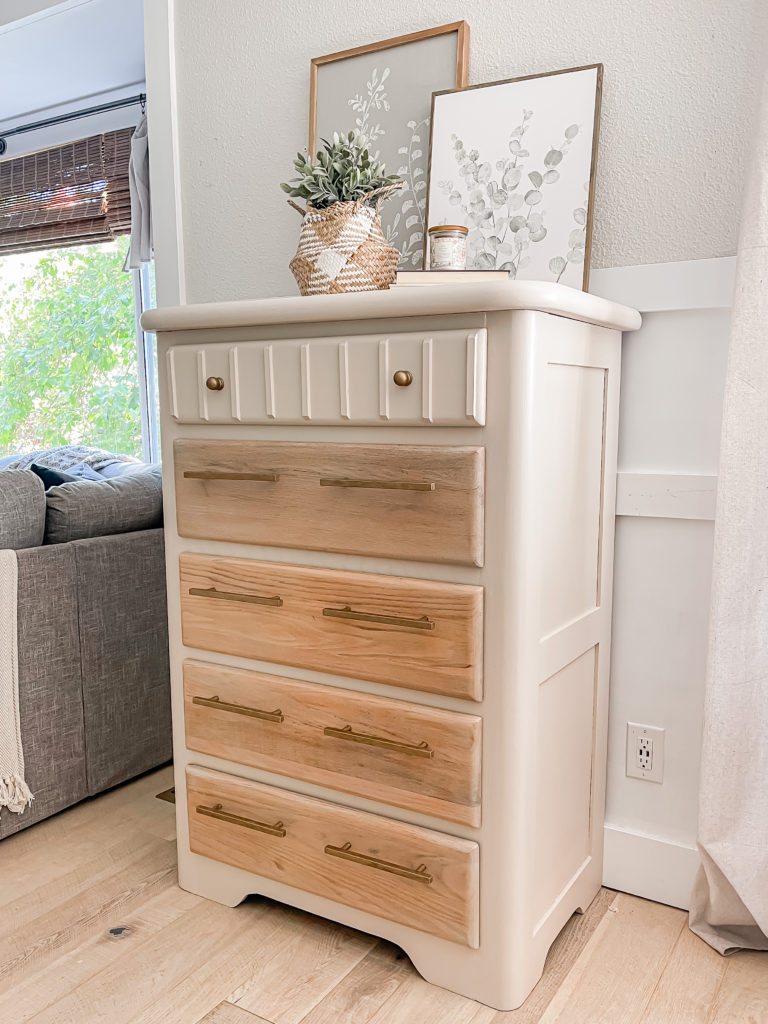
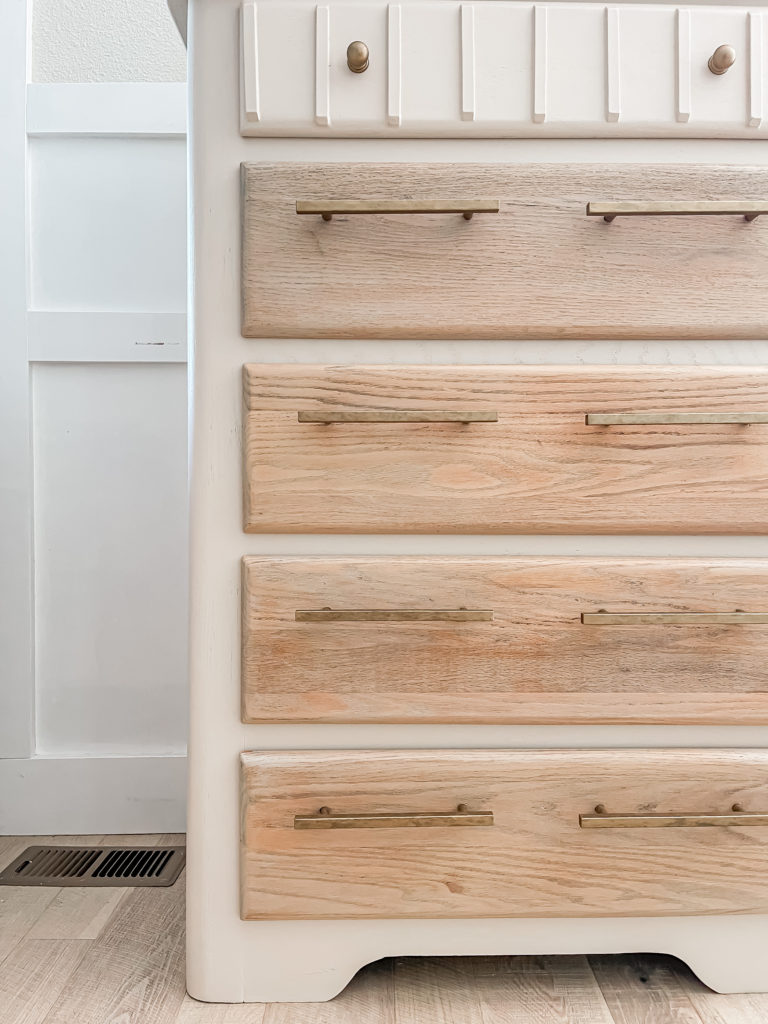
I feel like the color of the whitewashed oak paired so nicely with the paint color which was a custom mix that I made up.
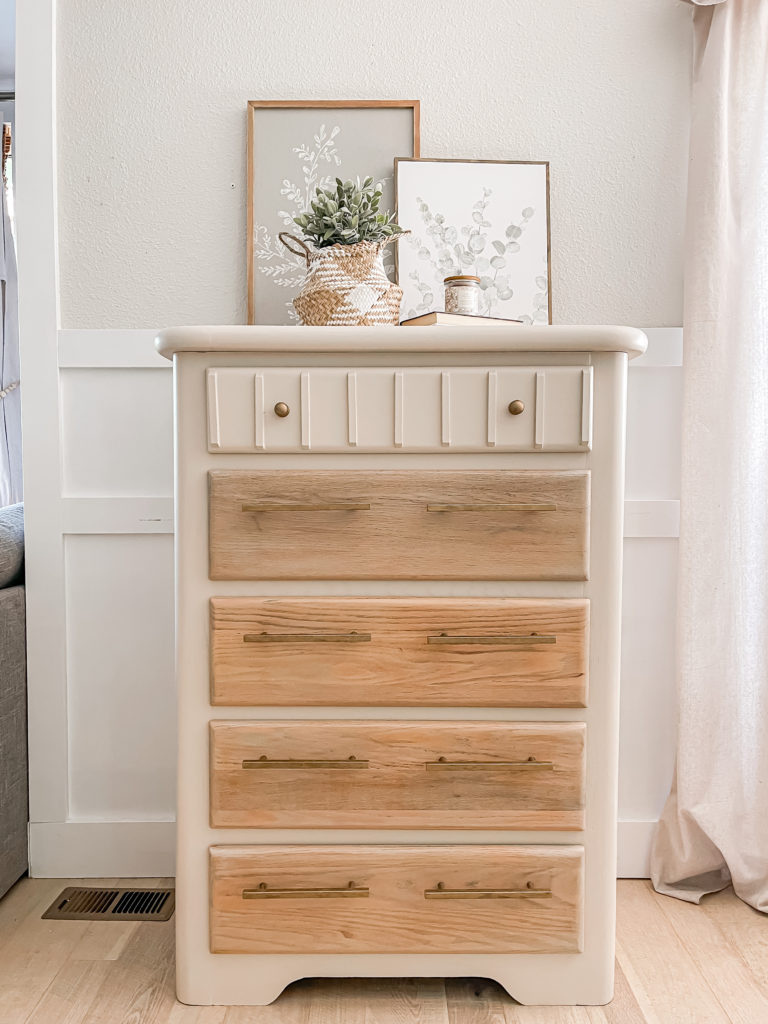
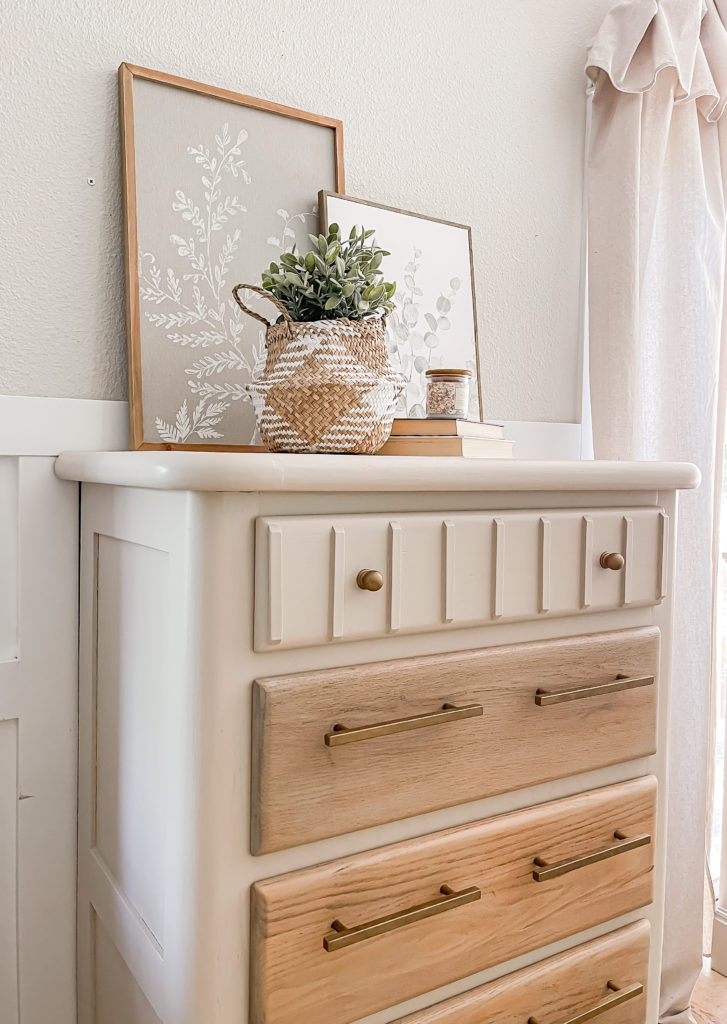
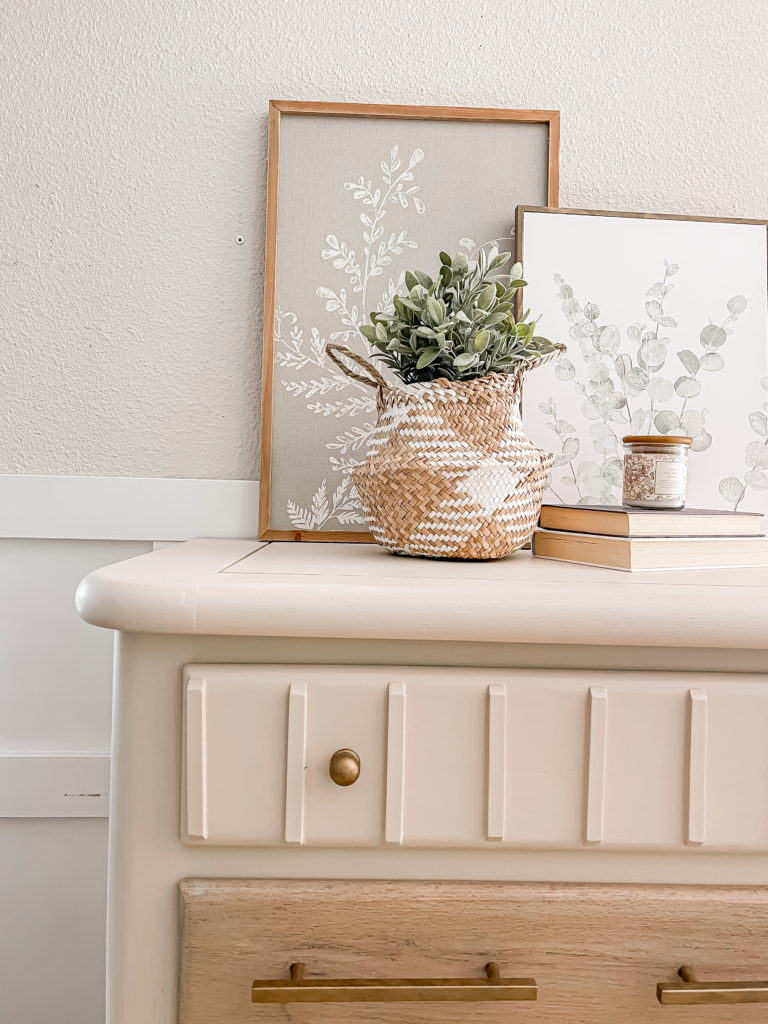
Going gold on the hardware was such a game changer!
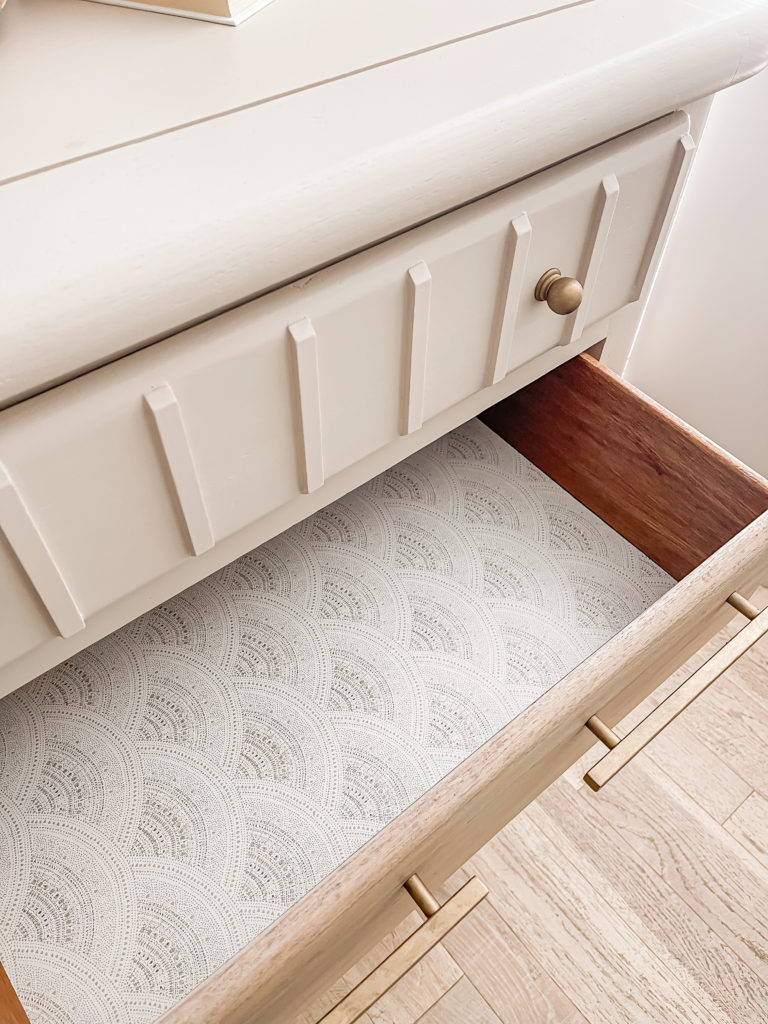
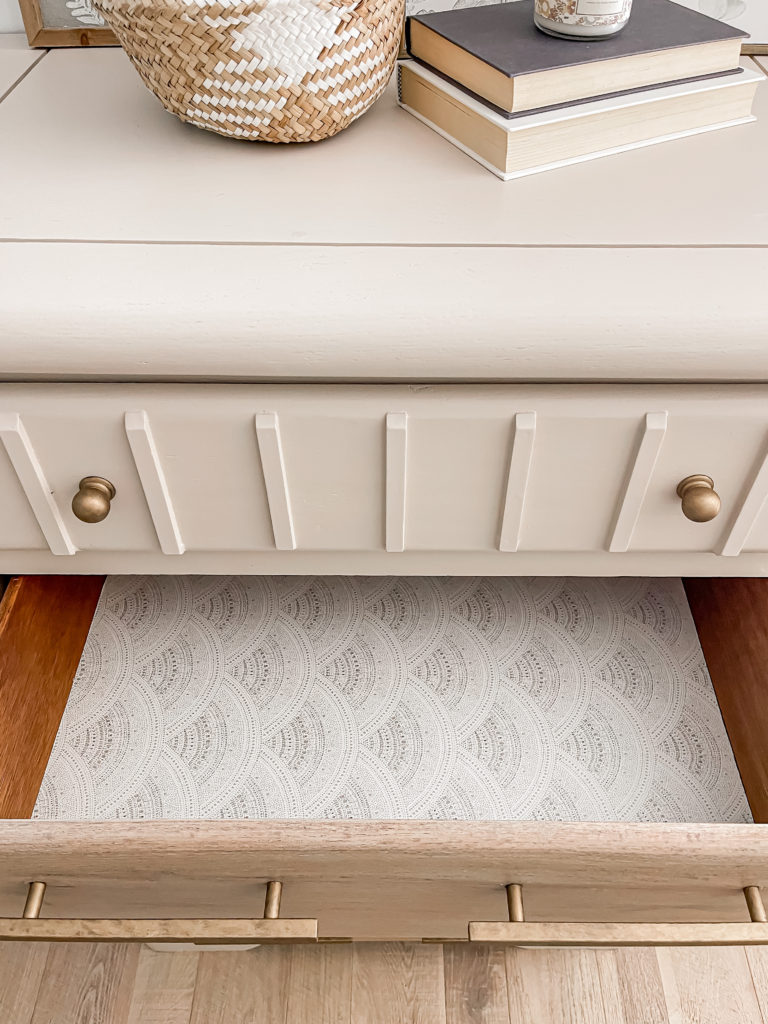
I used a soft boho drawer paper that blended nicely with the paint color.
Thanks for swinging by today, I hope you all have a fantastic weekend!
PIN FOR LATER!
Another beautiful project Angela Lovely project Terri – congrats for being featured at Inspire Me Monday #573 at Create With Joy!
aww thank you so much!!
I have to admit, I was skeptical about how it would turn out with only one of the drawers painted, but the finished product looks great! So nice to have all the tools around to be able to take on these projects quickly and with such creativity! Curious why you use the tent if you have the garage?
Thank you! I use the tent to prevent overspray on things in the garage and our cars in the driveway–it’s been super nice to have! 🙂
What a lovely makeover for this tall oak dresser! Love the colors and the design, Angela… Thanks for sharing at Tuesday Turn About! I’m delighted to be featuring your post at this week’s party. Pinned!
I would have never thought an old chest of drawers could look so fantastic! It’s amazing!