Happy Friday! This week seemed short and long at the same time and I’m not sure how that is even possible!
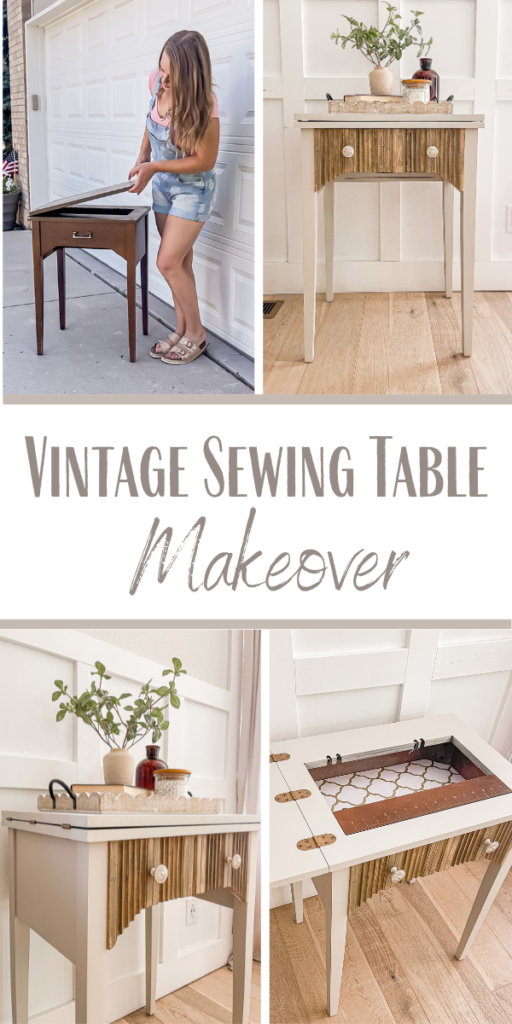
Today I am sharing a cute little flip that I worked on this summer that didn’t end up making it longer than an hour on Marketplace because I decided to keep it.
Supplies Used:(Affiliate links may be provided for convenience. For more info, see my full disclosure here.)
- Sander
- Bondo
- Shellac Primer
- Fluted Molding
- Jigsaw
- Miter Saw
- Wood Glue
- Enamel Paint
- Paint Sprayer
- Stain
- 2×2 scrapwood
- Hardboard scrapwood
- Ultra Flat Polyacrylic
- Knobs
- Contact Paper
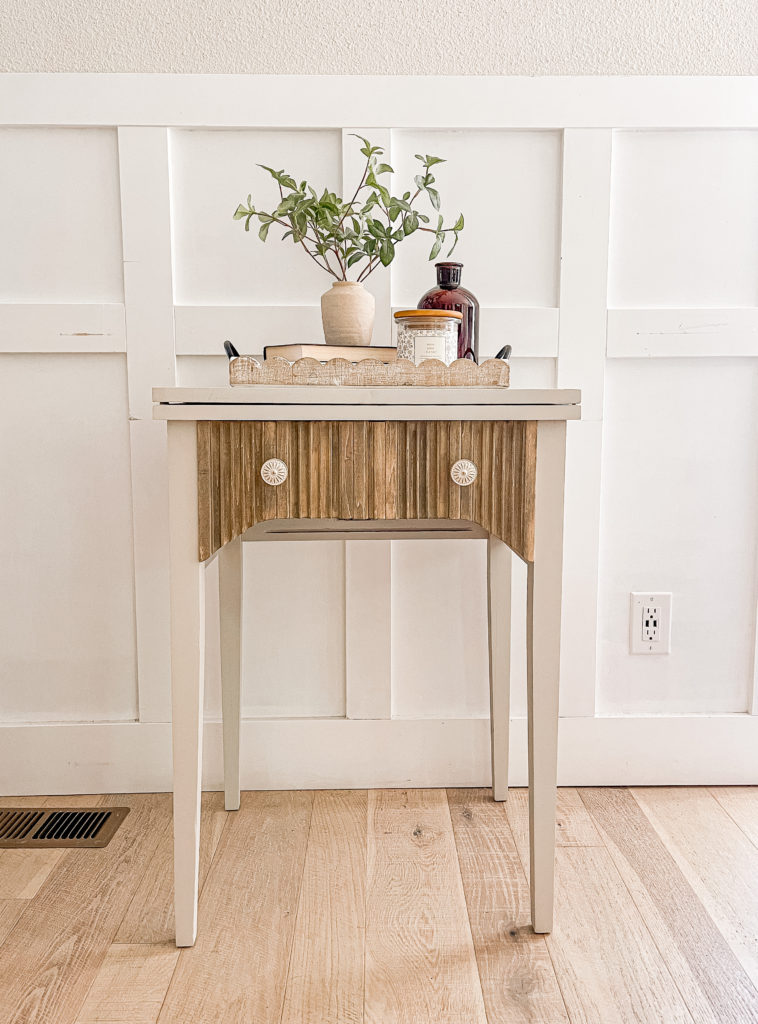
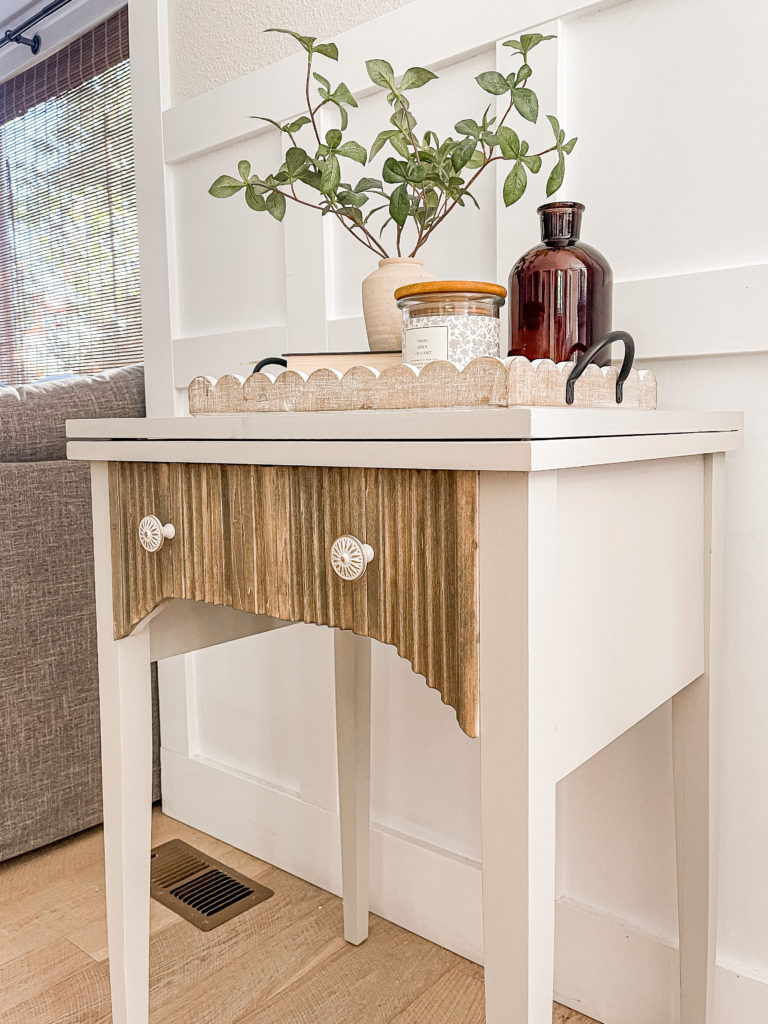
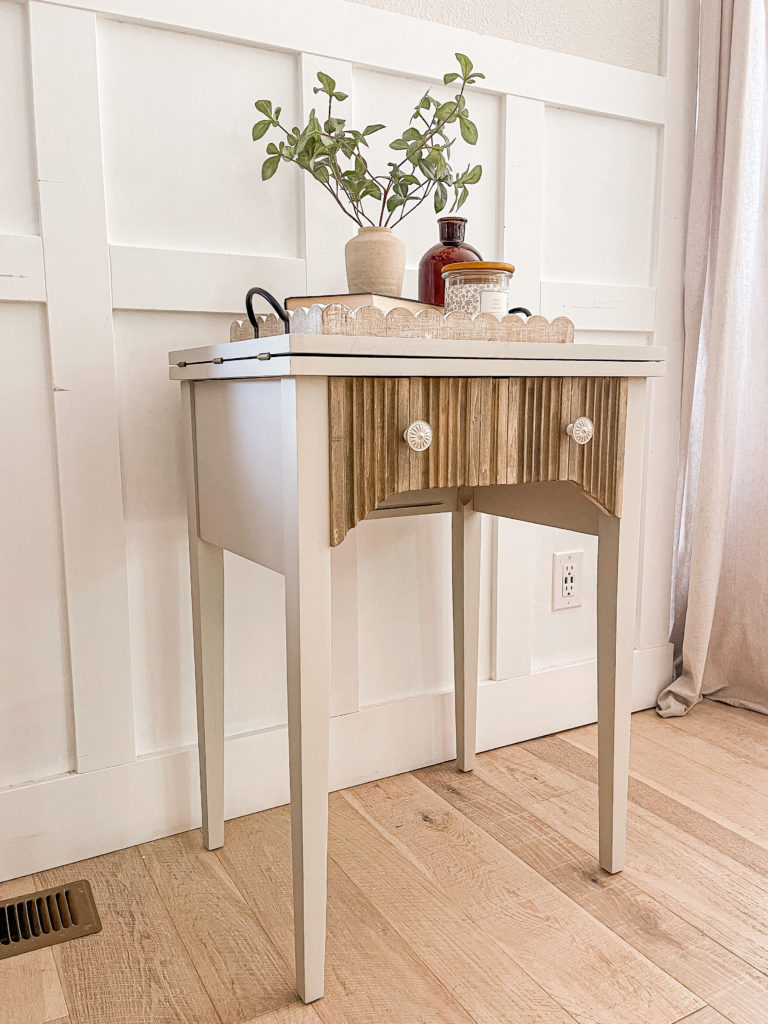
Next to the small chest of drawers that I shared last week, there was also this vintage sewing table. Double the curbside treasure!
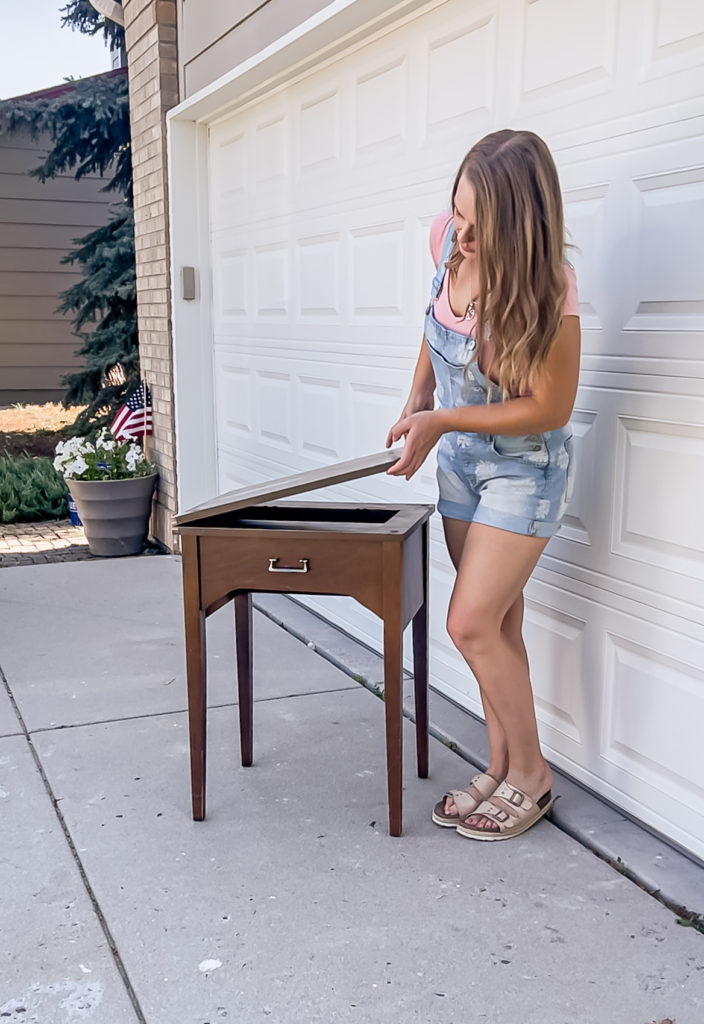
I had admittedly never even seen one of these before and just thought that it was a small table until I opened it up and saw the old spot for the sewing machine. It was not one hundred percent wood and some of the veneer was in rough shape, so I decided to paint the entire thing. I did find a way to bring in some wood though—more on that in a second!
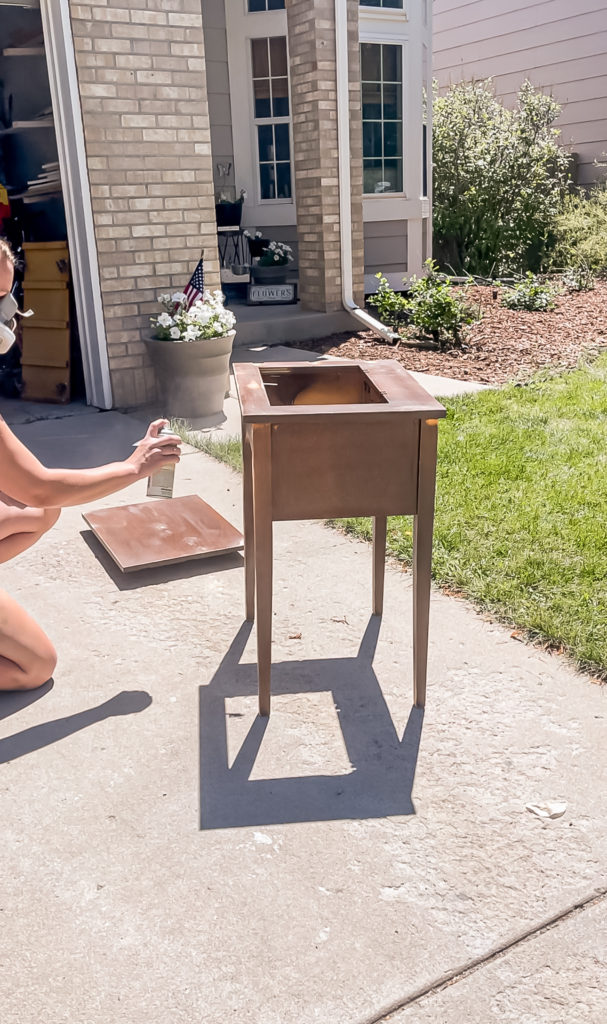
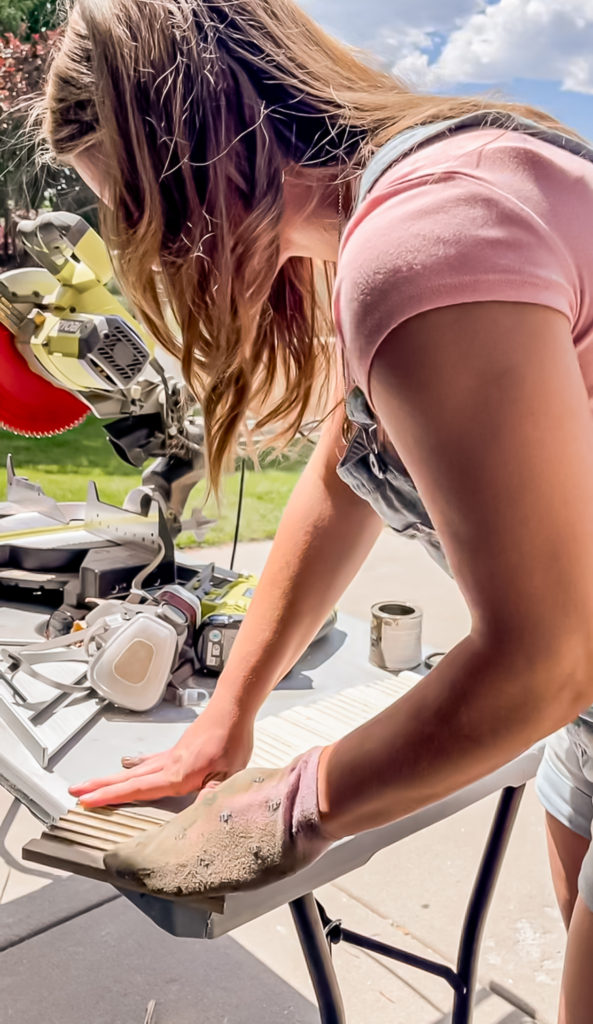
I started by cleaning it well with Simple Green before going in and scuff sanding the entire thing with 120 grit. I also used Bondo to make veneer repairs.
I cleaned all of the sanding dust off then gave it a coat of clear shellac to prime and stain block.
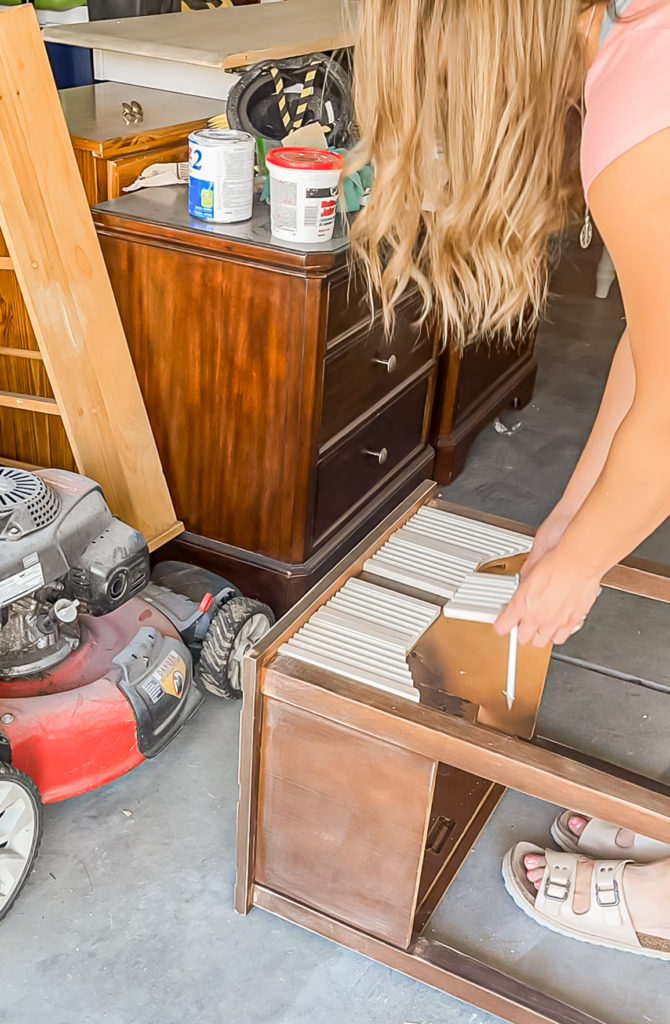
You know how much I love the combo of wood and paint. so I decided to add some reeded molding to the front. For the straight cuts I used the miter saw, but for the rounded edges I held up the molding, traced where it needed to be cut and then used my jigsaw.
I set those aside and worked on getting the paint on. I mixed up a custom color using what I had on hand.
In between coats worked on sanding and staining the molding pieces.
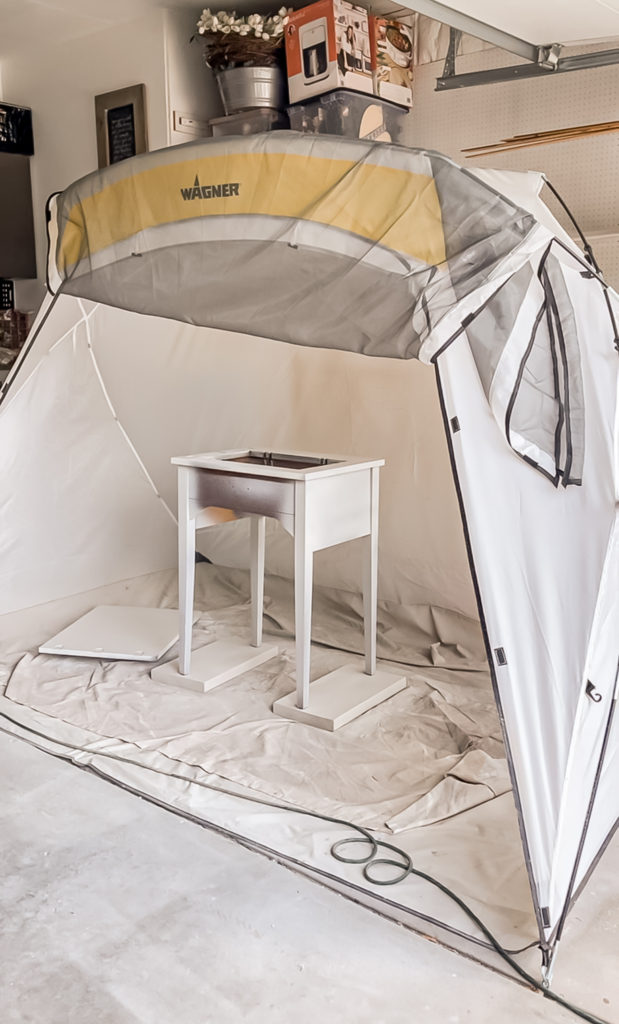
Once the paint was all on, I attached the molding using wood glue, a scrap board and some clamps. I then applied two coats of polyacylic to protect it all.
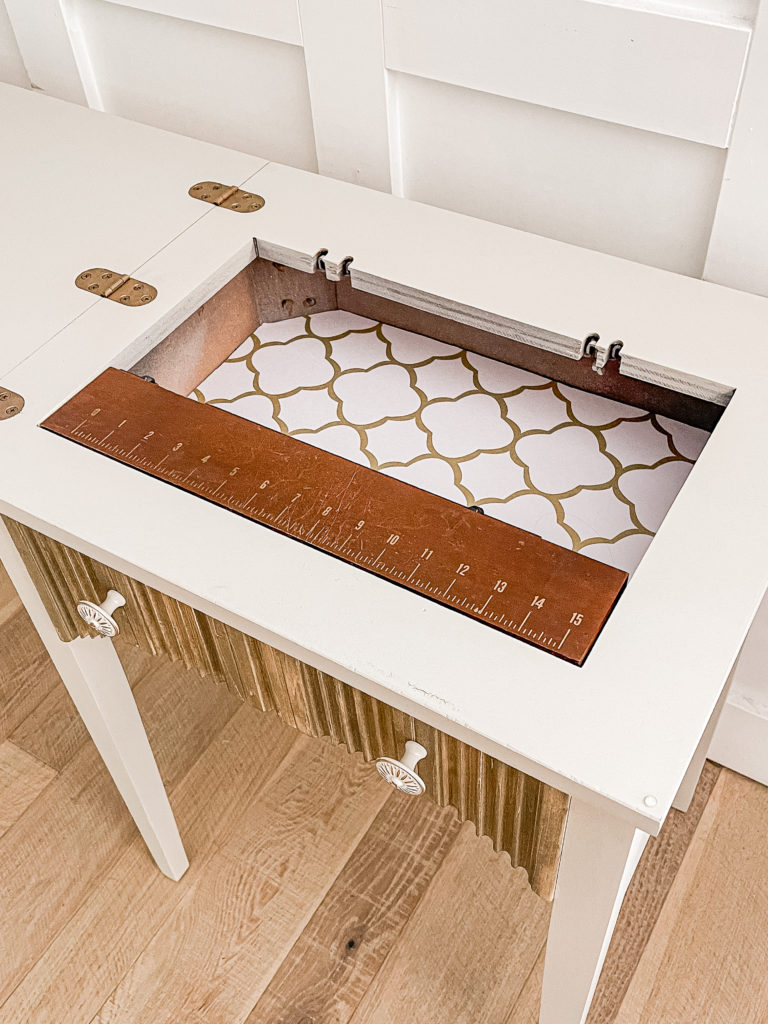
But I wasn’t quite done! I decided that it would be cool to make a little hidden storage area inside where the sewing machine once was.
I first drew a level line on all four sides where I wanted the bottom to sit, then attached some scrap 1×2 pieces along that line with wood glue a nail gun.
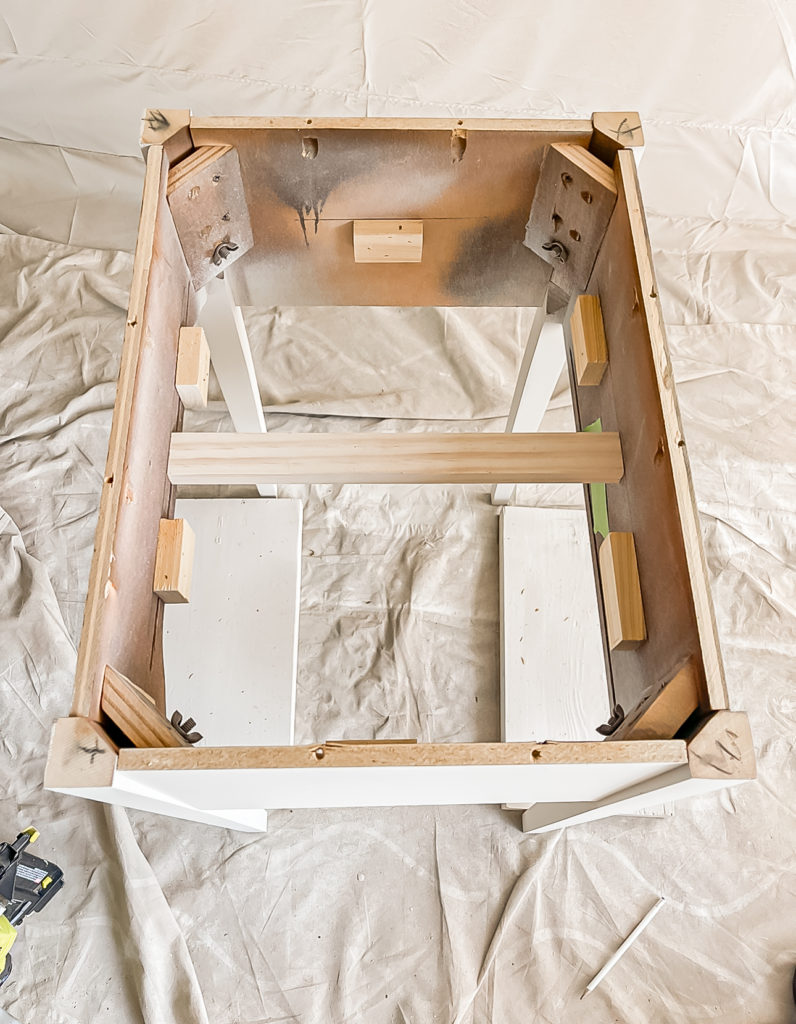
Next, I cut down some scrap hardboard to fit on top.
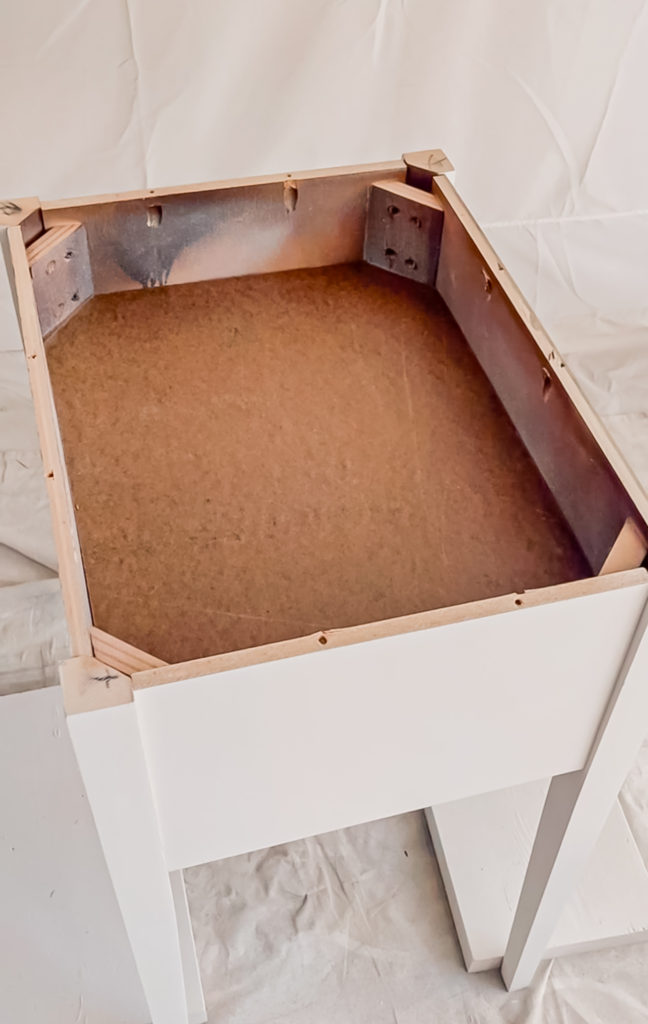
I papered the hardboard, put the top back on and popped on some decorative knobs to finish it up. Here is how it turned out!
I decided to preserve the old measuring guide and used some Rub n Buff on the hinges to brighten them up a little.
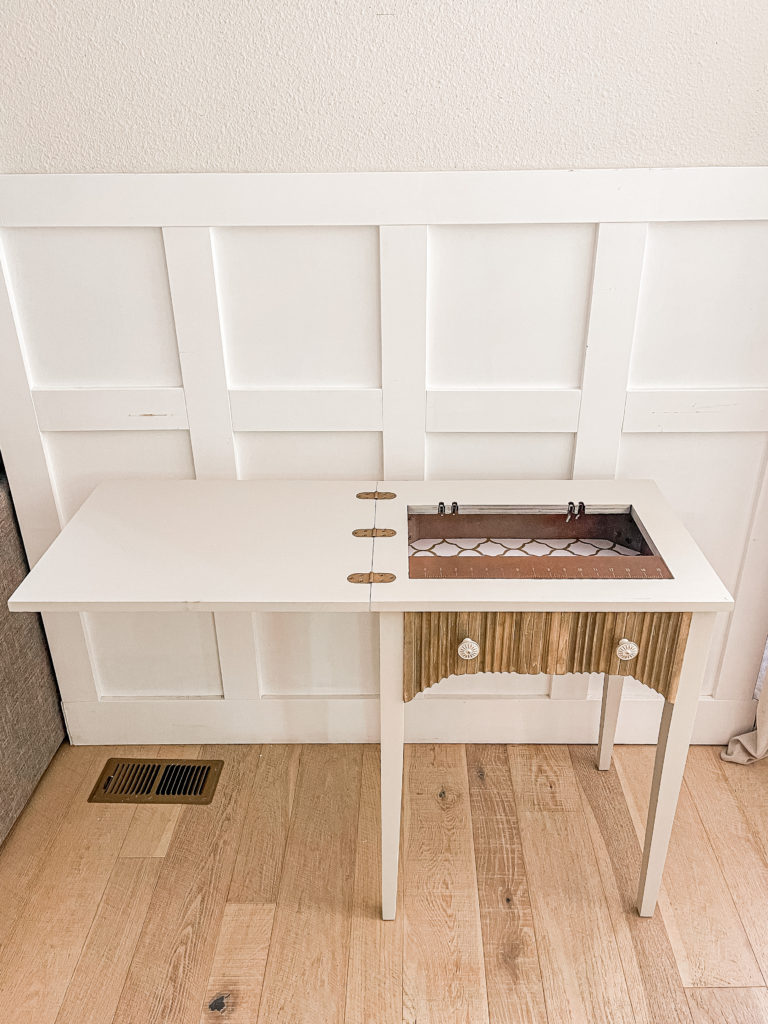
I realized that when I opened it up, it would make the perfect small desk. I even styled it as such for the Marketplace listing.
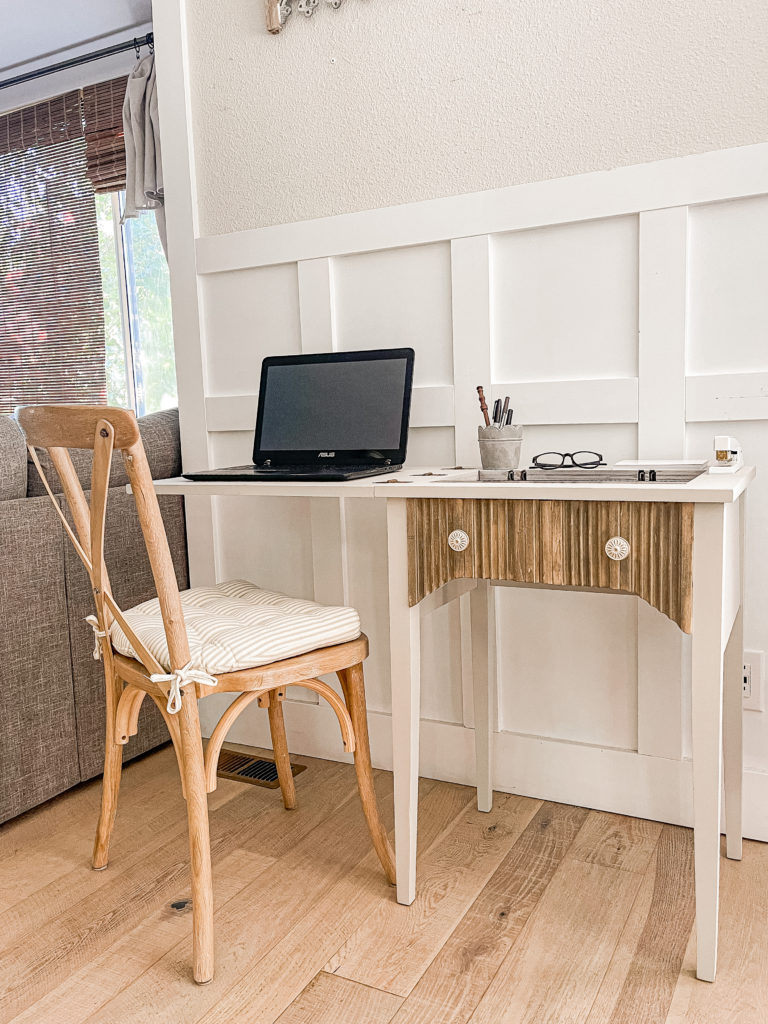

Almost immediately after listing it I decided to test it out in our living room and instantly fell in love with it there.
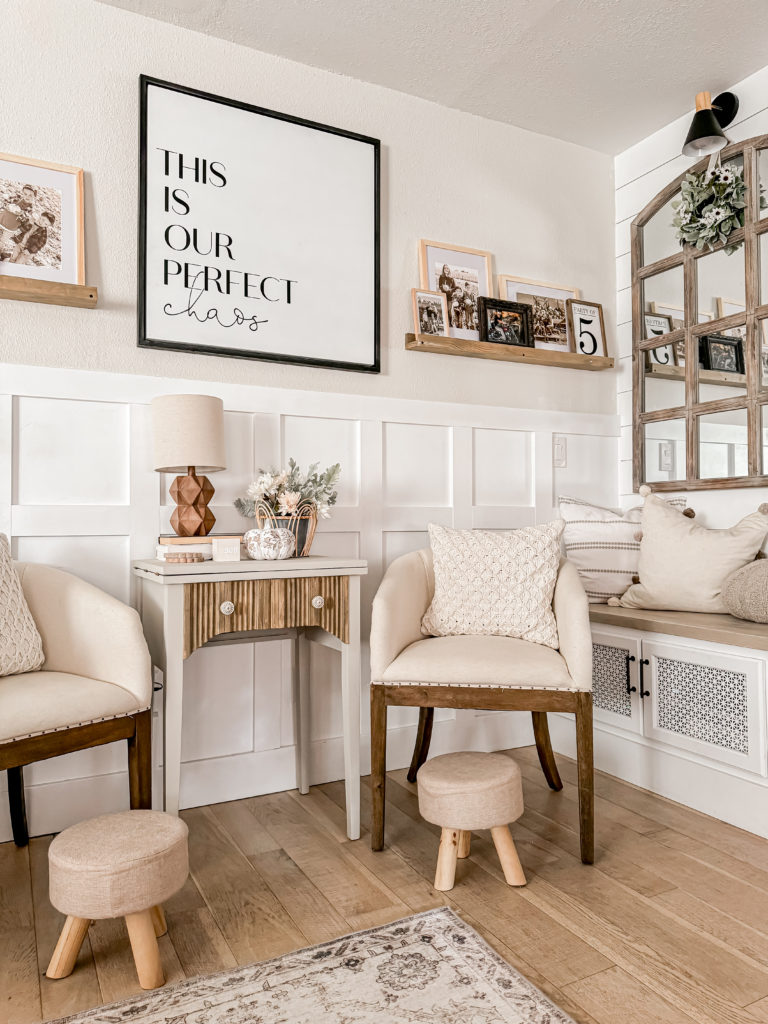
It’s been nice having a larger table in here and I love having the hidden storage!
I hope you all have a fantastic weekend and I’ll catch up with you all next week!
Linking up to these awesome parties!
PIN FOR LATER!
Love it! Did you do those tow cream chairs on each side of it?
I have a sewing table like this from my grandmother, and now I know what to do with it!
Will be featuring you starting Wednesday at the Creative Crafts Linky Party! Pinned and shared!
Creatively, Beth