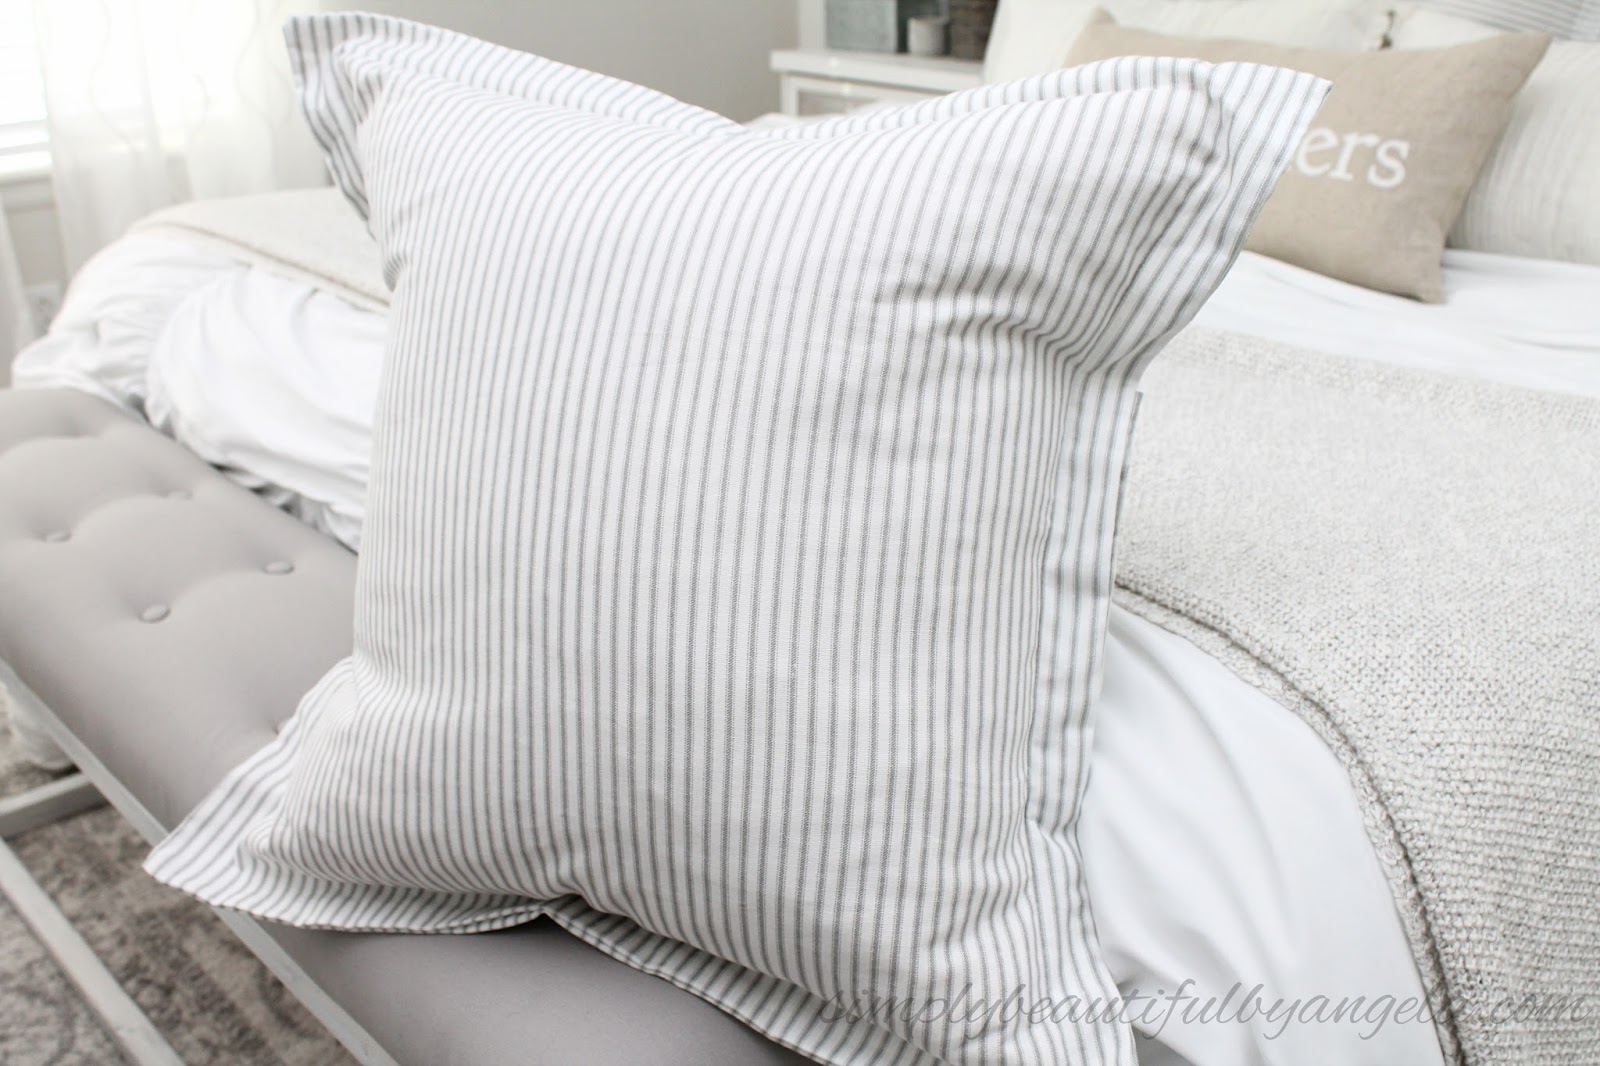
Hello–I hope you all had a fantastic weekend! Ours seemed to be filled with fun from sunup to sundown which are my favorite kind of weekends. And the fact that we had gorgeous 60 degree temps was just the cherry on top!
When designing our Master Bedroom Makeover I made sure to put euro pillows on the list since I love how dreamy and polished they make a bed look. But after looking at the prices online and even at my beloved Homegoods I was shocked at how expensive they can be!
Since I didn’t want to spend $90 on three pillows with ticking print I set out to make my own.
Supplies Used: (Affiliate links may be provided for convenience. For more info, see my full disclosure here.)
- Pillow Insert
- 1 yard of fabric (per pillow)
- Coordinating thread
- Sewing Machine
(this is mine and I love it!)
Step 1.
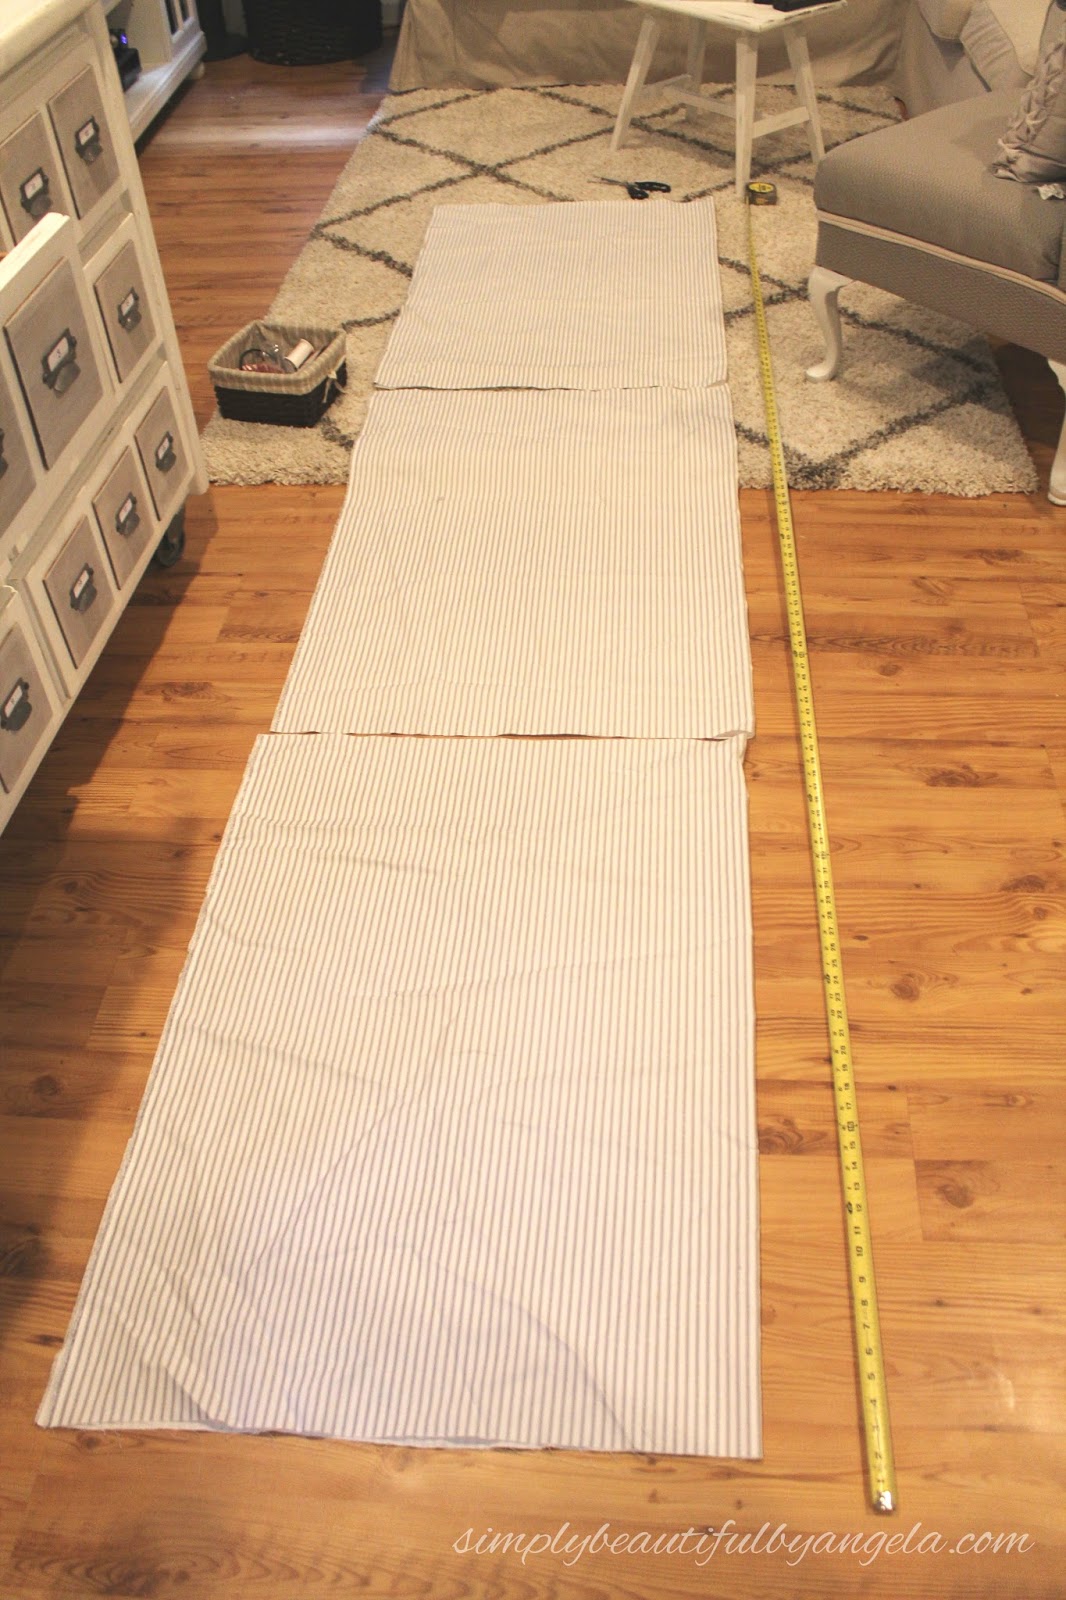
I ordered 3 yards of gray ticking online from a fabric store, but I recently noticed that it can also be found in a 44″ width (which is plenty for the size that I did) on Amazon

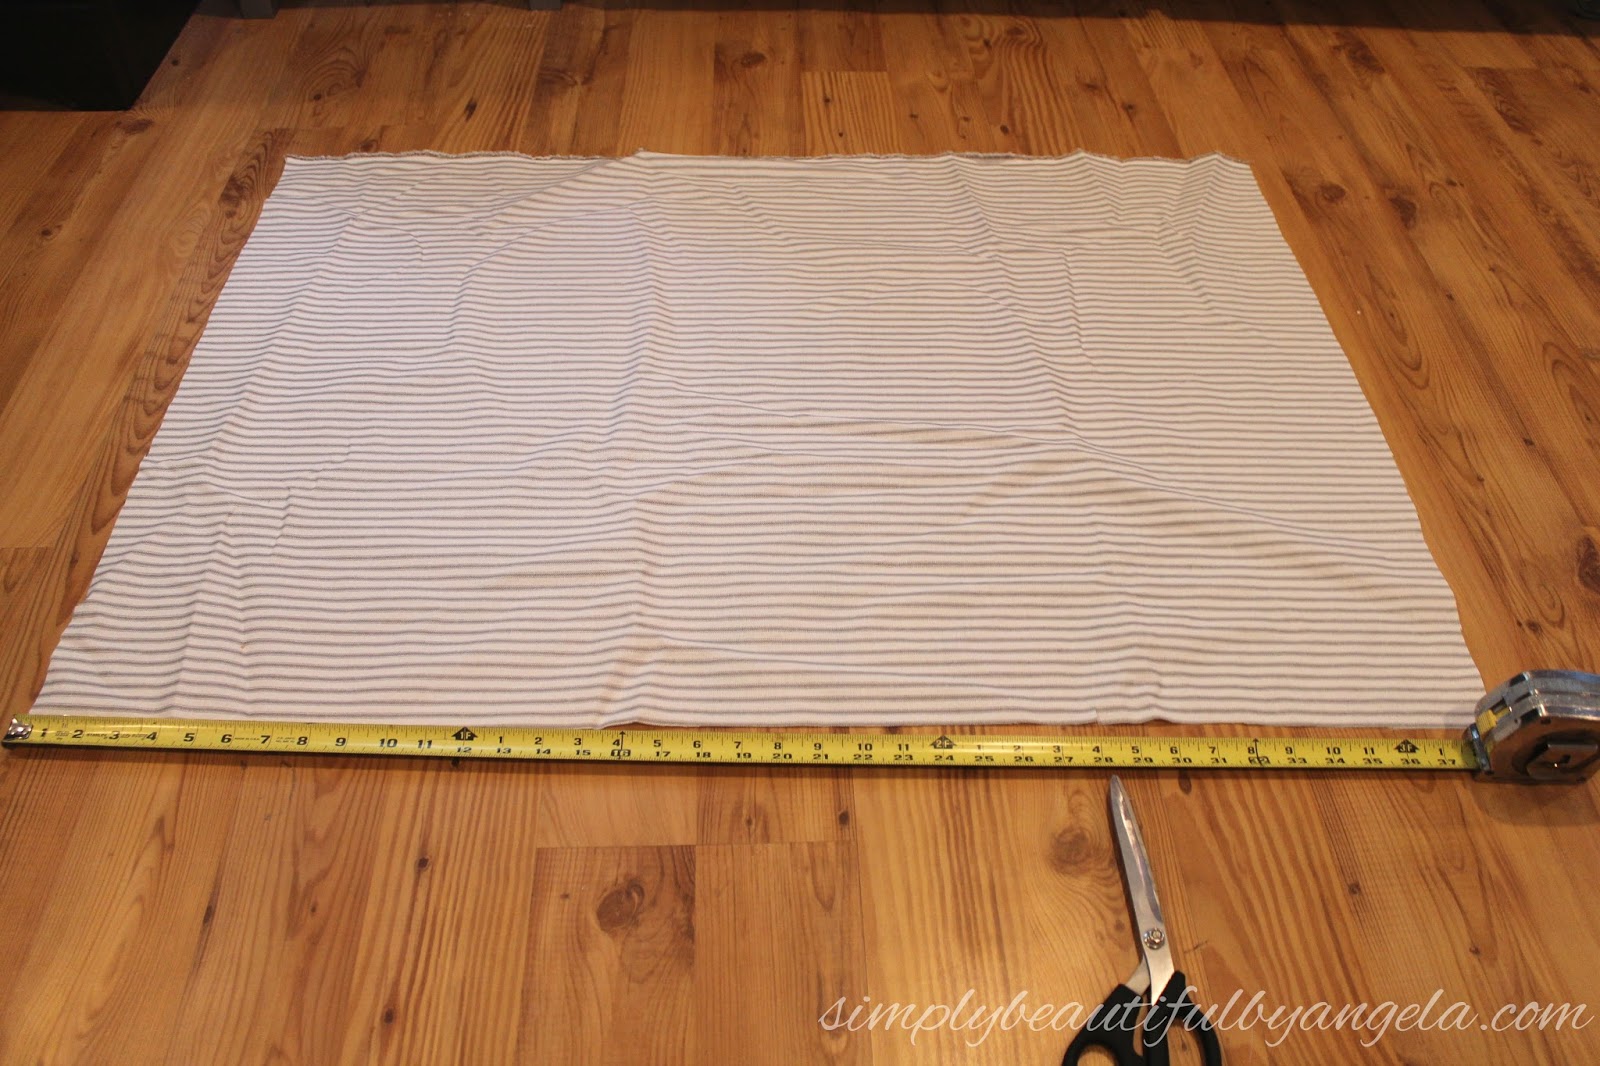
I began by laying my fabric out and cutting it into 1 yard increments. They actually gave me 6 inches extra so I ended up having 38″ increments but I would have been okay with 36″ as well since I ended up having more than enough overlap in the back.
Step 2.
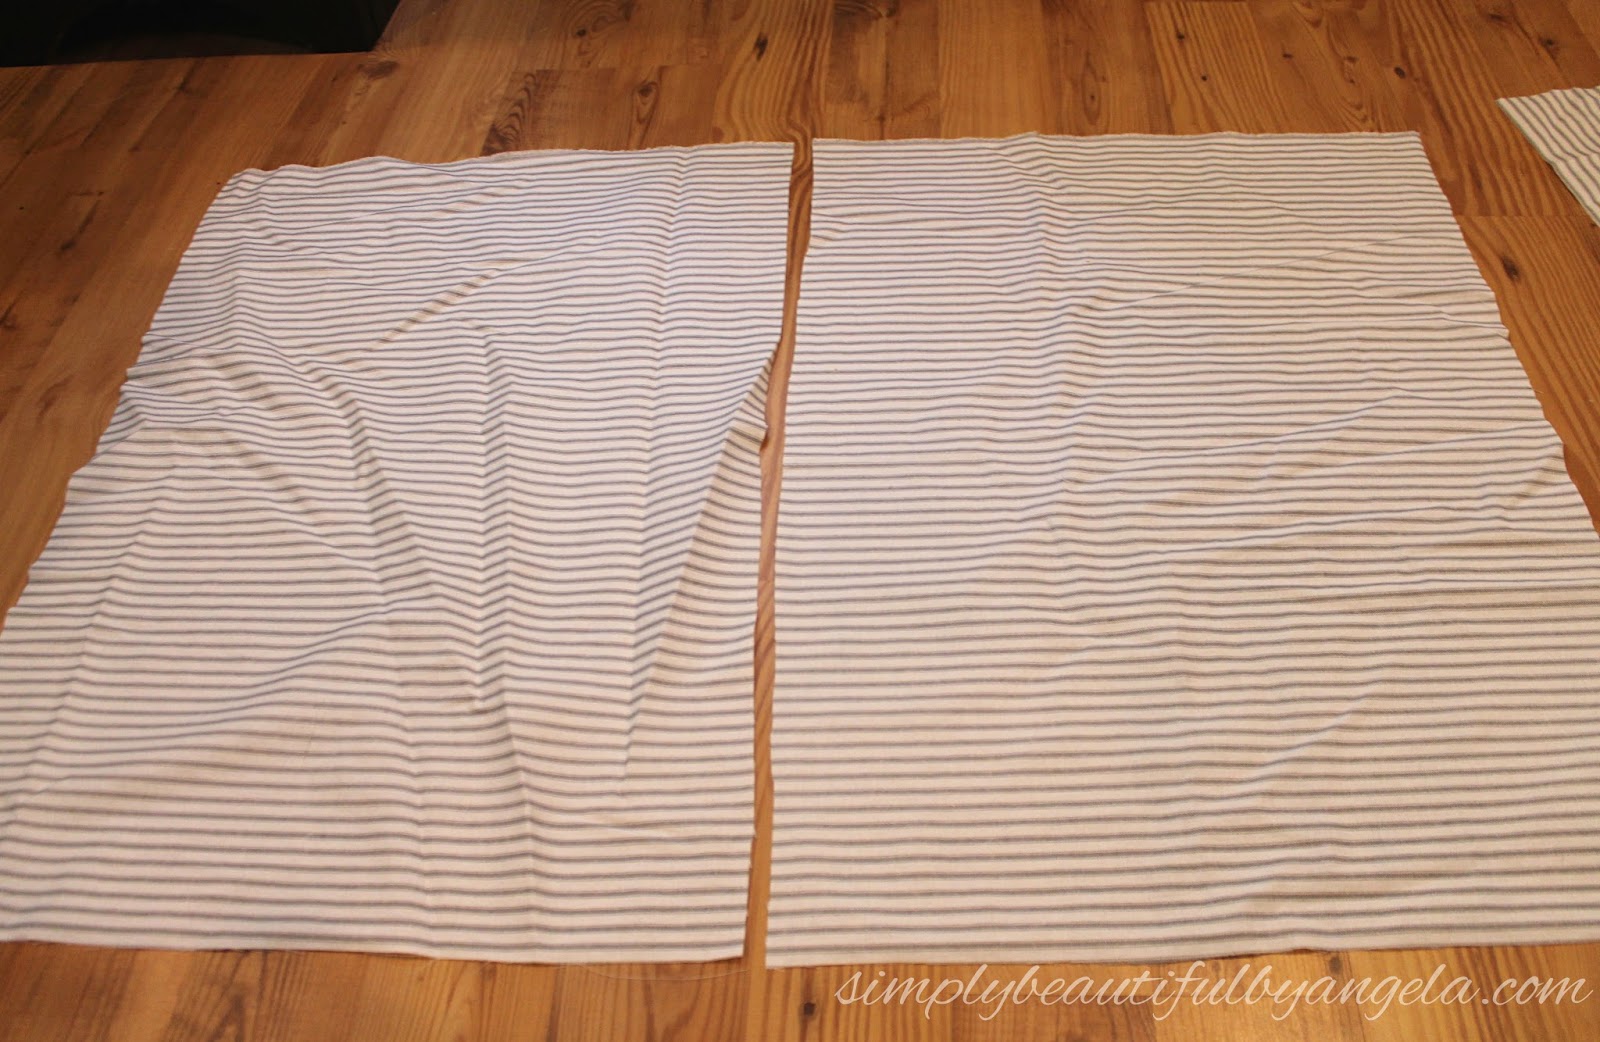
I cut along the fold to get myself a front and a back piece.

Step 3.
For the front piece I measured and cut 28″ by 28″ which would give me 1.5″ for the flange and 0.5″ for the seam allowance for my 26″ pillow inserts.
Step 4.
For the back piece I first cut it down so that it was 28″ wide, then folded it in half and cut it so that I was left with two pieces at 28″ x 19″ which will eventually overlap and form the envelope closing back. (If you only have a standard yard of fabric then you will have two pieces at 28″ x 18″).

Step 5.
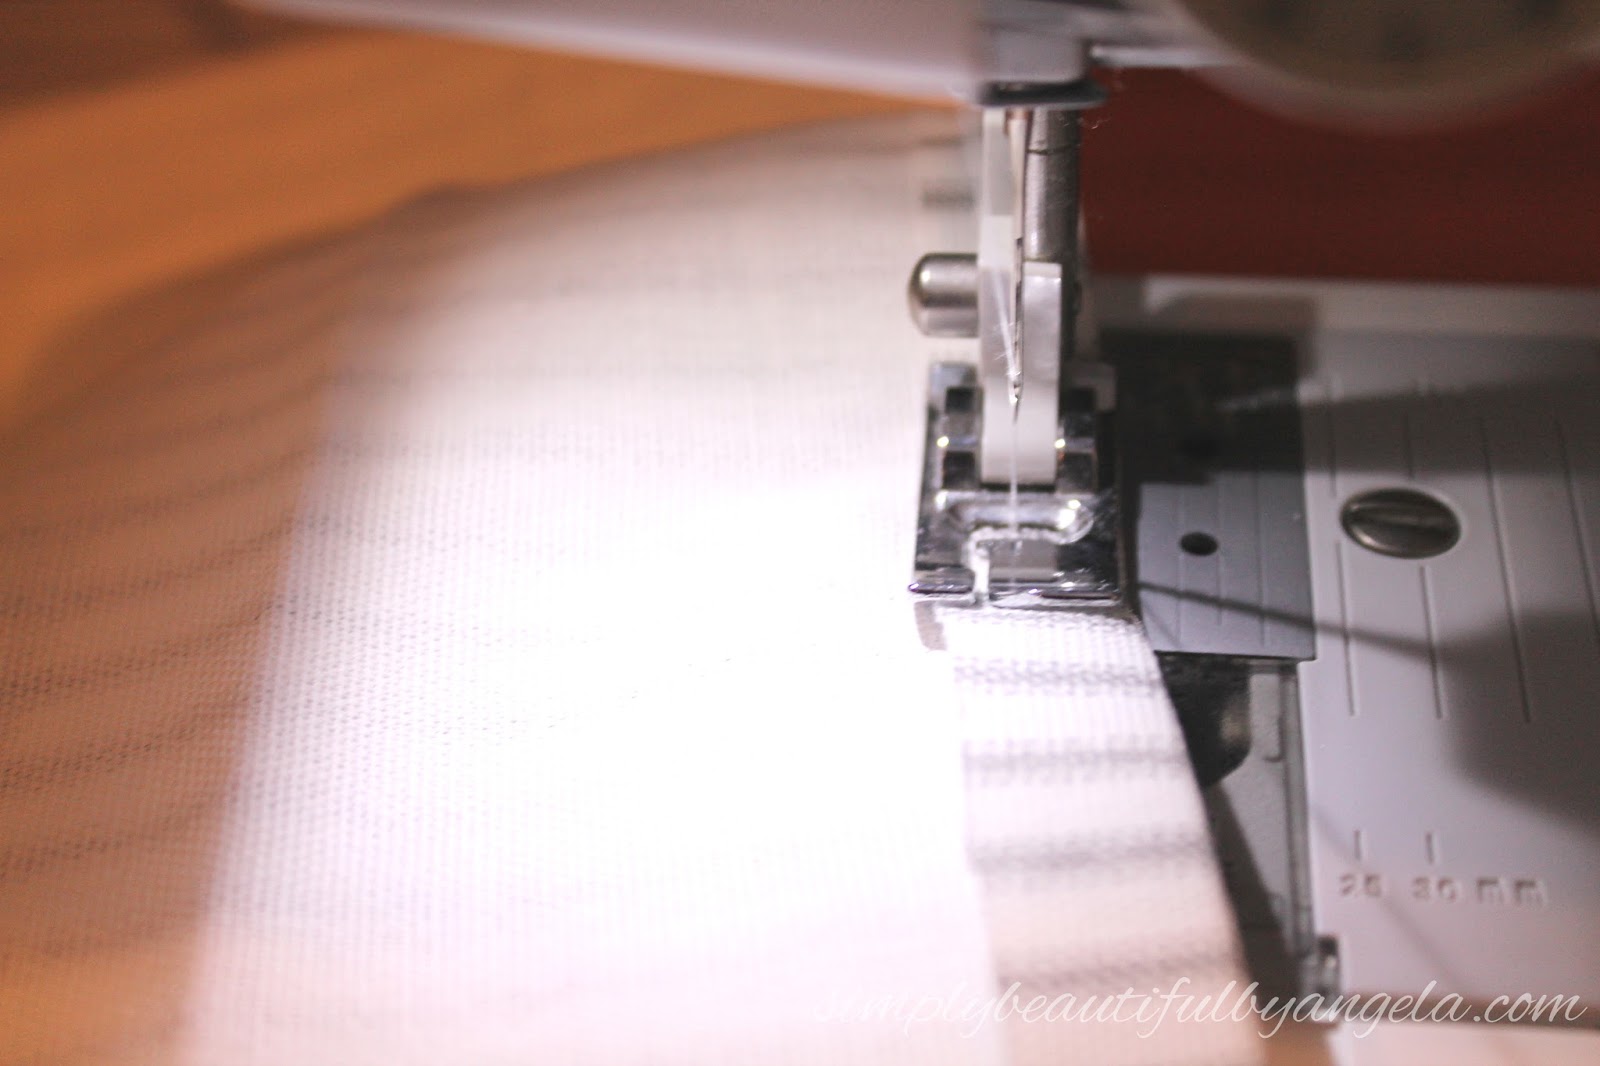
I pressed a hem on the long side of each back piece with the iron before sewing it down.

Step 6.
With the front piece laying print side up, I placed each of the back pieces print side down and pinned around the edges so that I could sew them together.
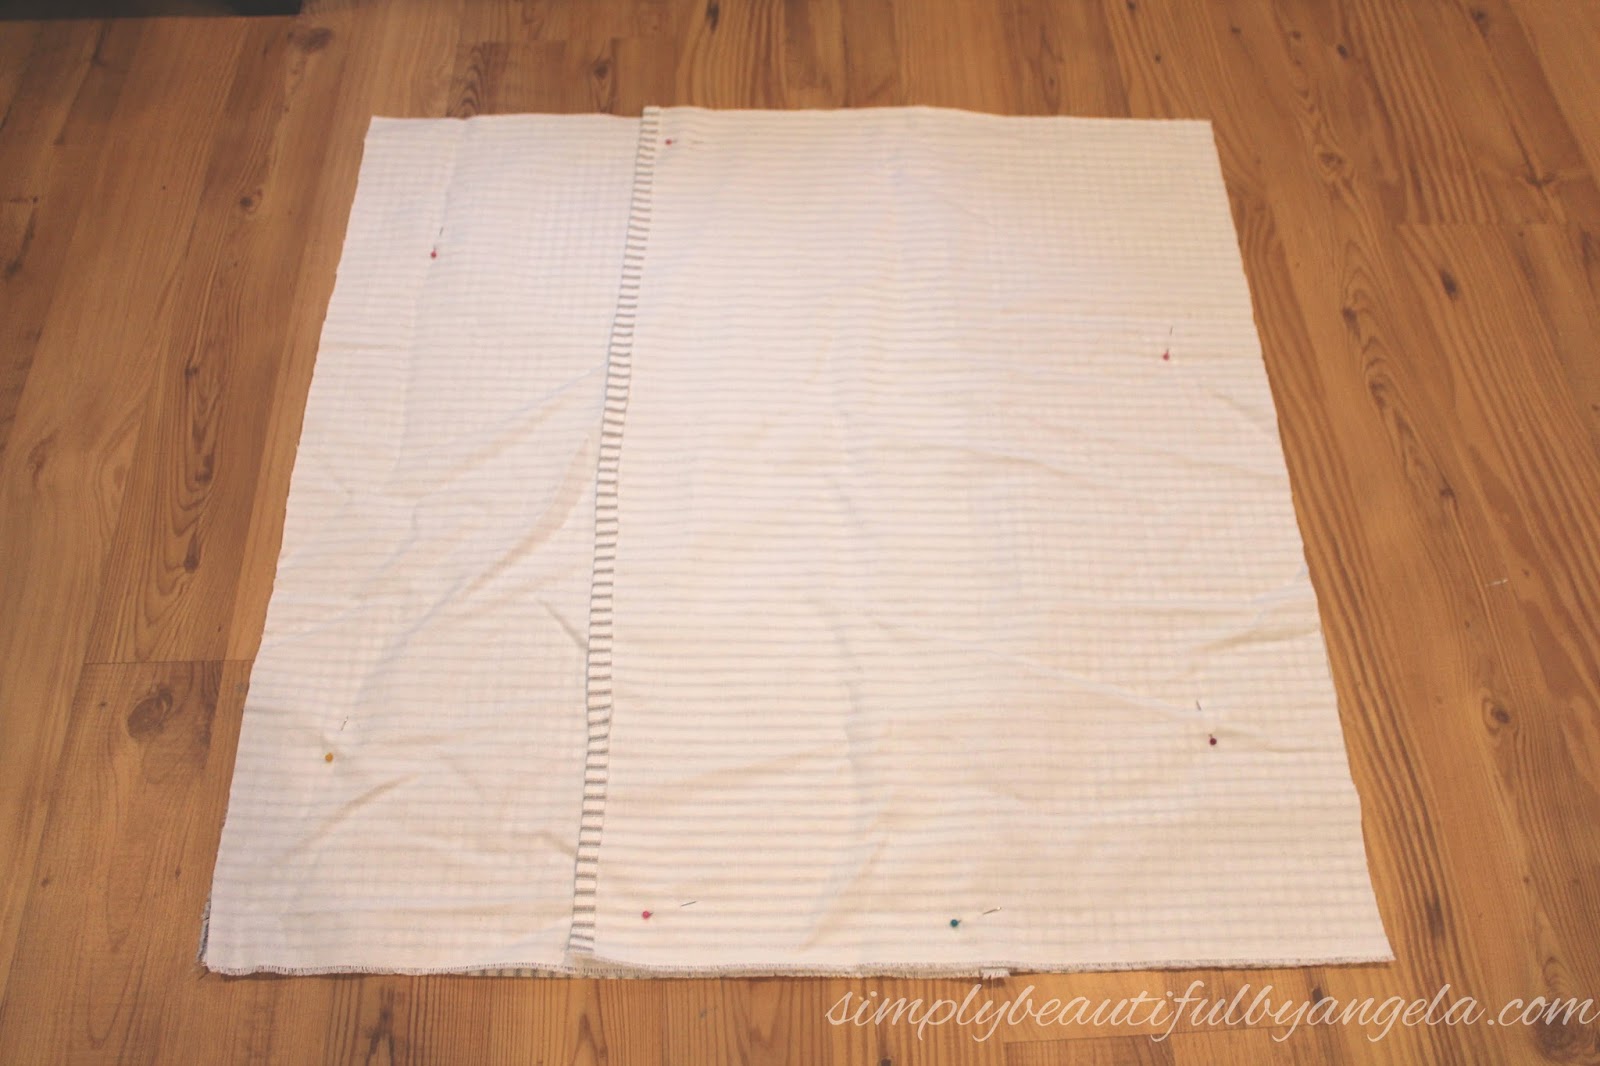
Just a quick note here–make sure that if you are working with a print like stripes that you are aligning the back pieces and the front in the right direction. For this pillow I wasn’t paying attention to that and the stripes ended up going one direction in the front and the other in the back!
Step 7.
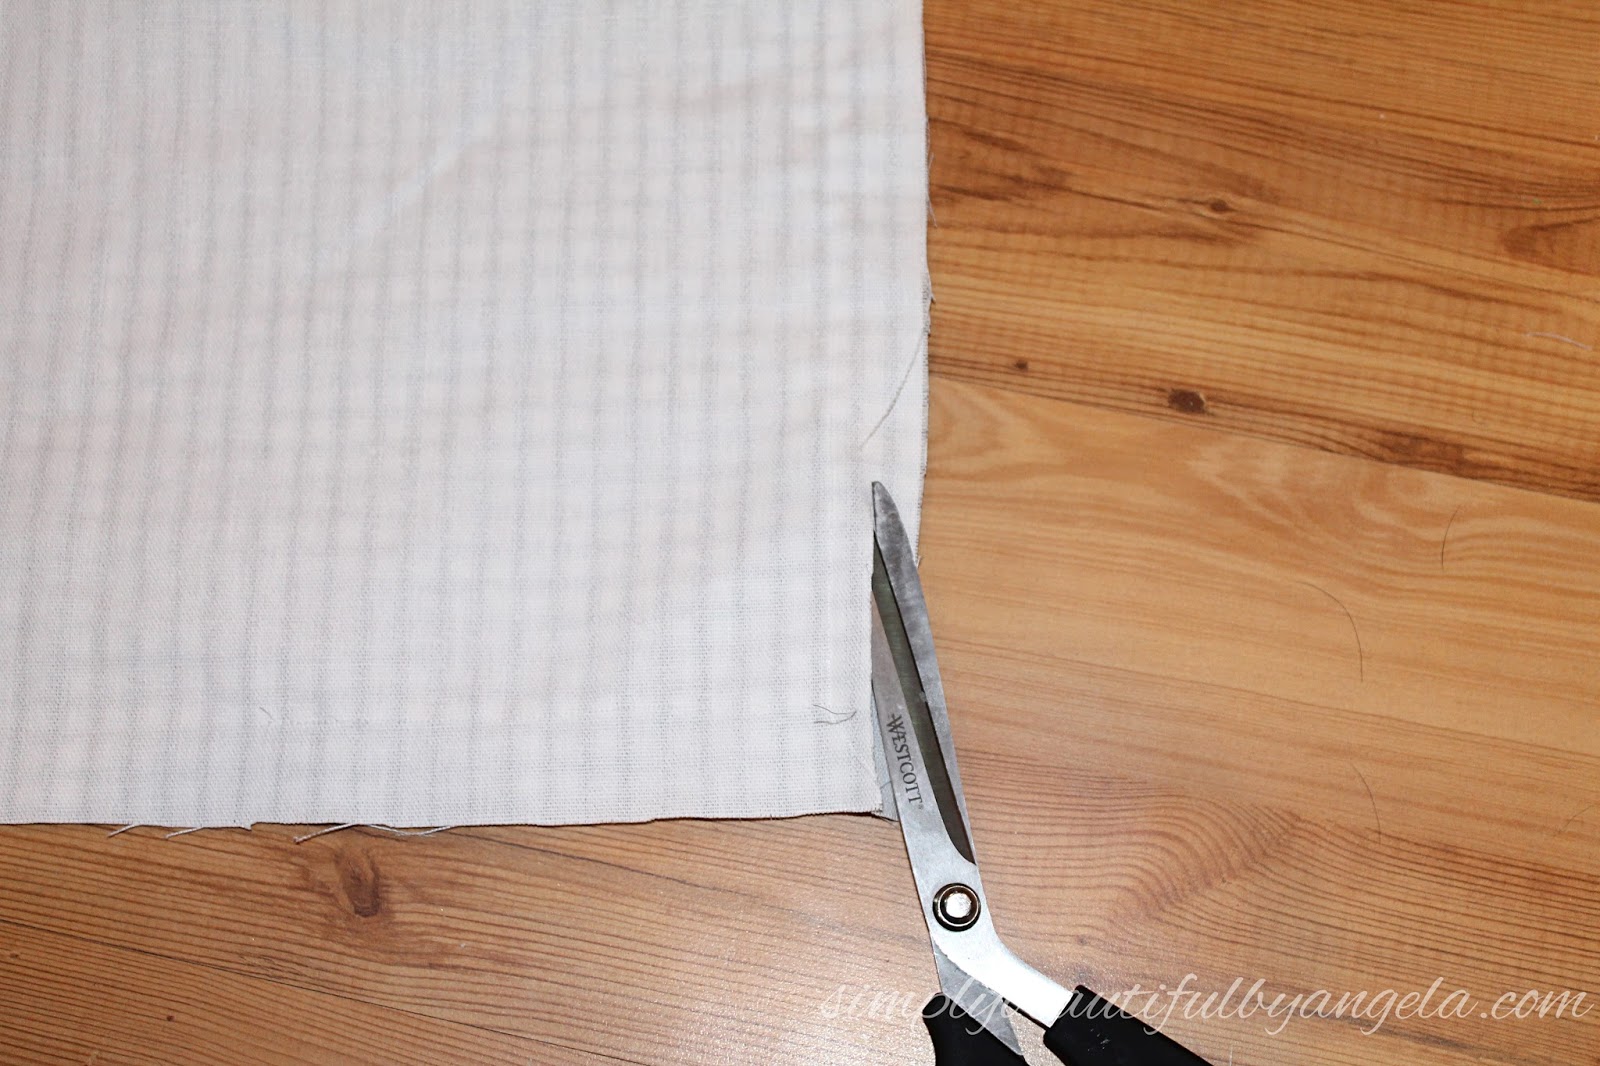
Once they were sewn together I trimmed off the excess next to the seam and then turned the cover right side out.
Step 8.
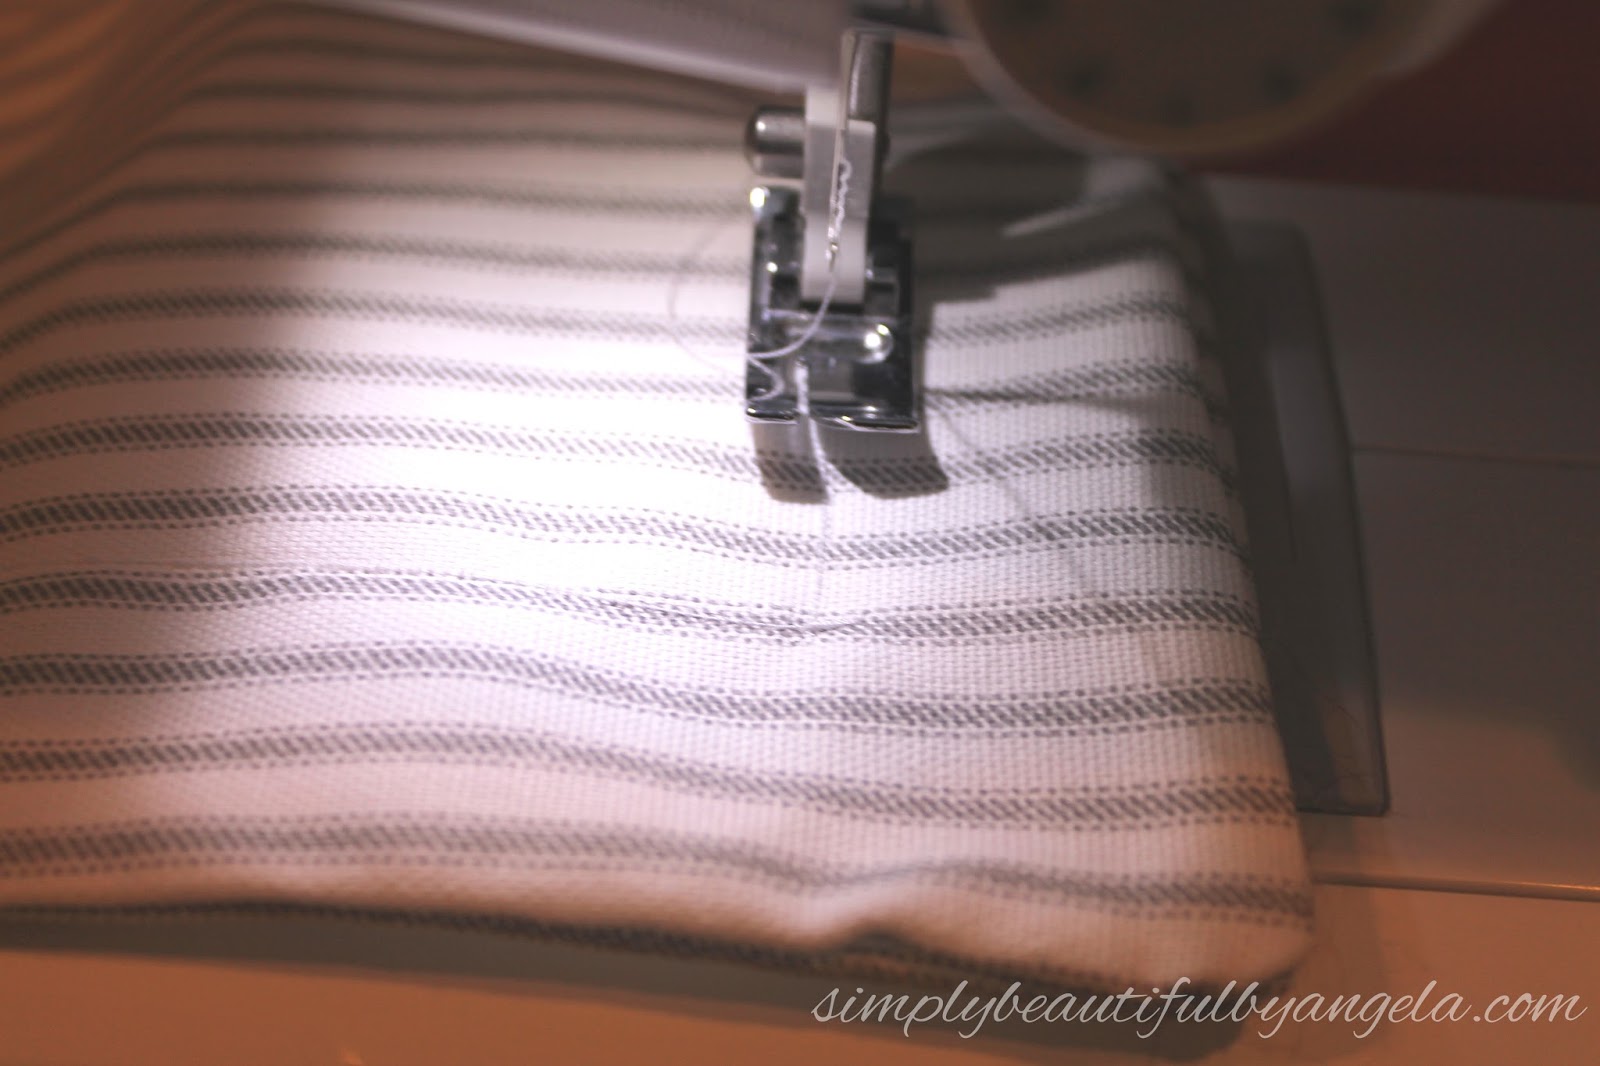
I was ready for my final step which was creating the flanges! To create these I just ran the cover through my sewing machine at the 1.5″ mark along the edges.
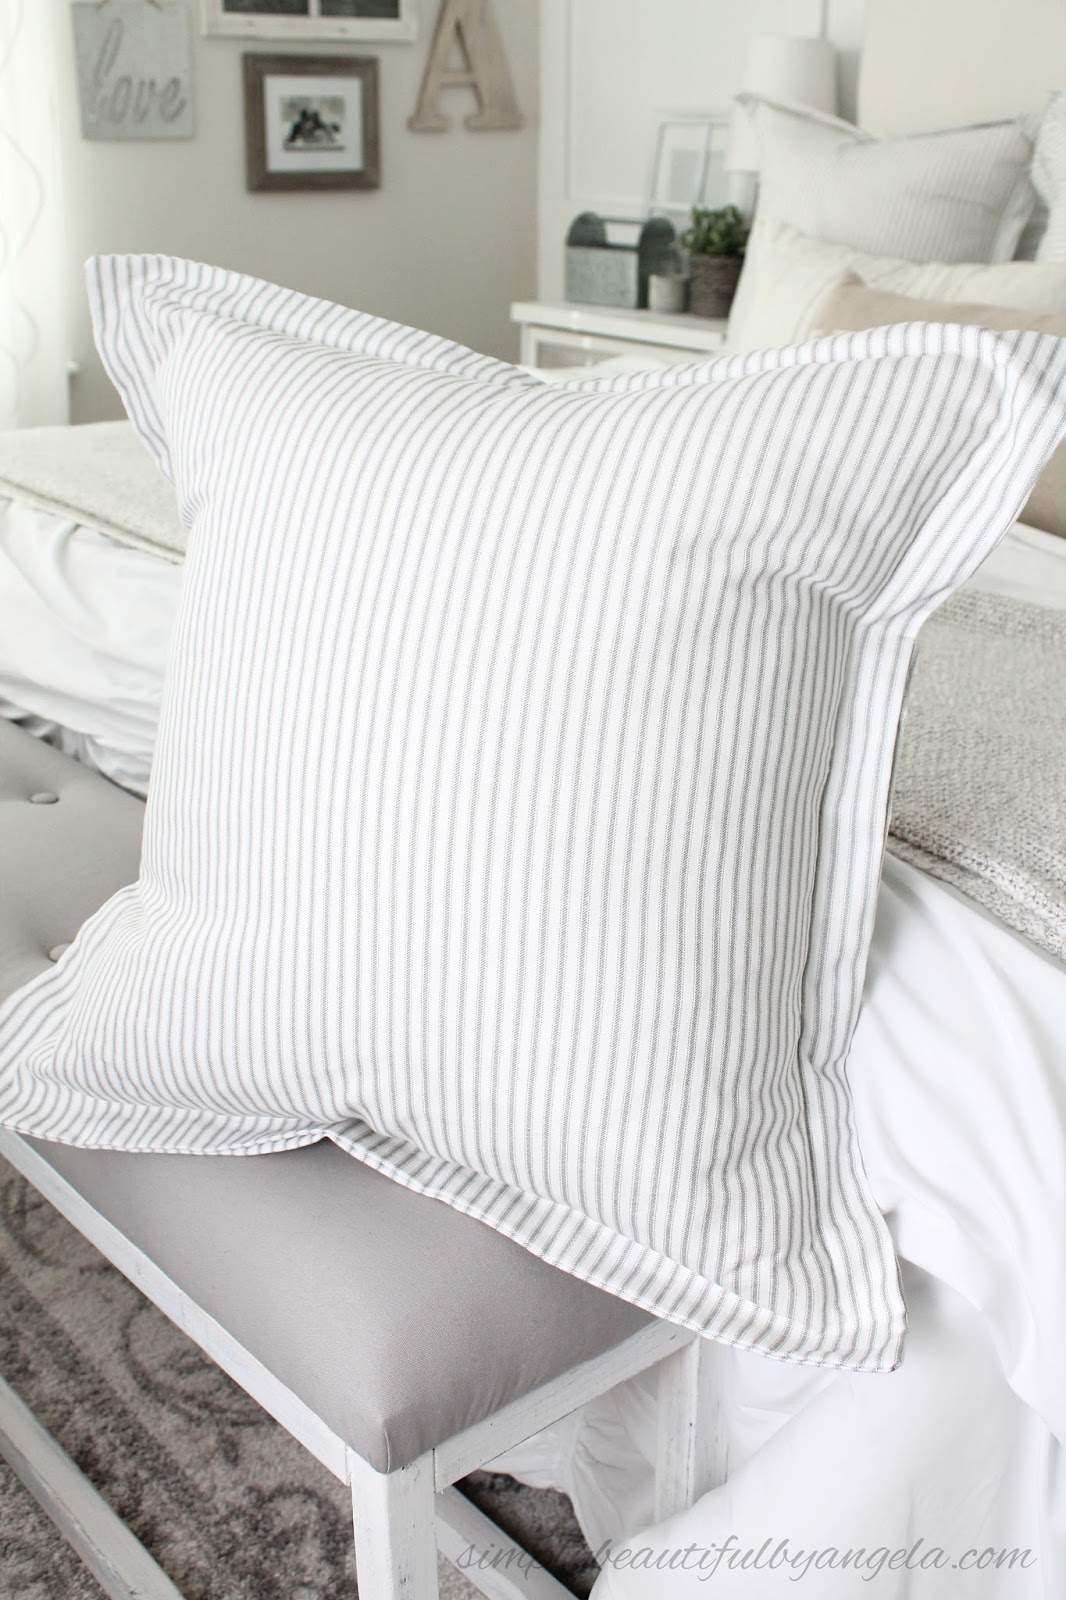
After a quick press with the iron to get the wrinkles out I popped my pillow inserts inside!
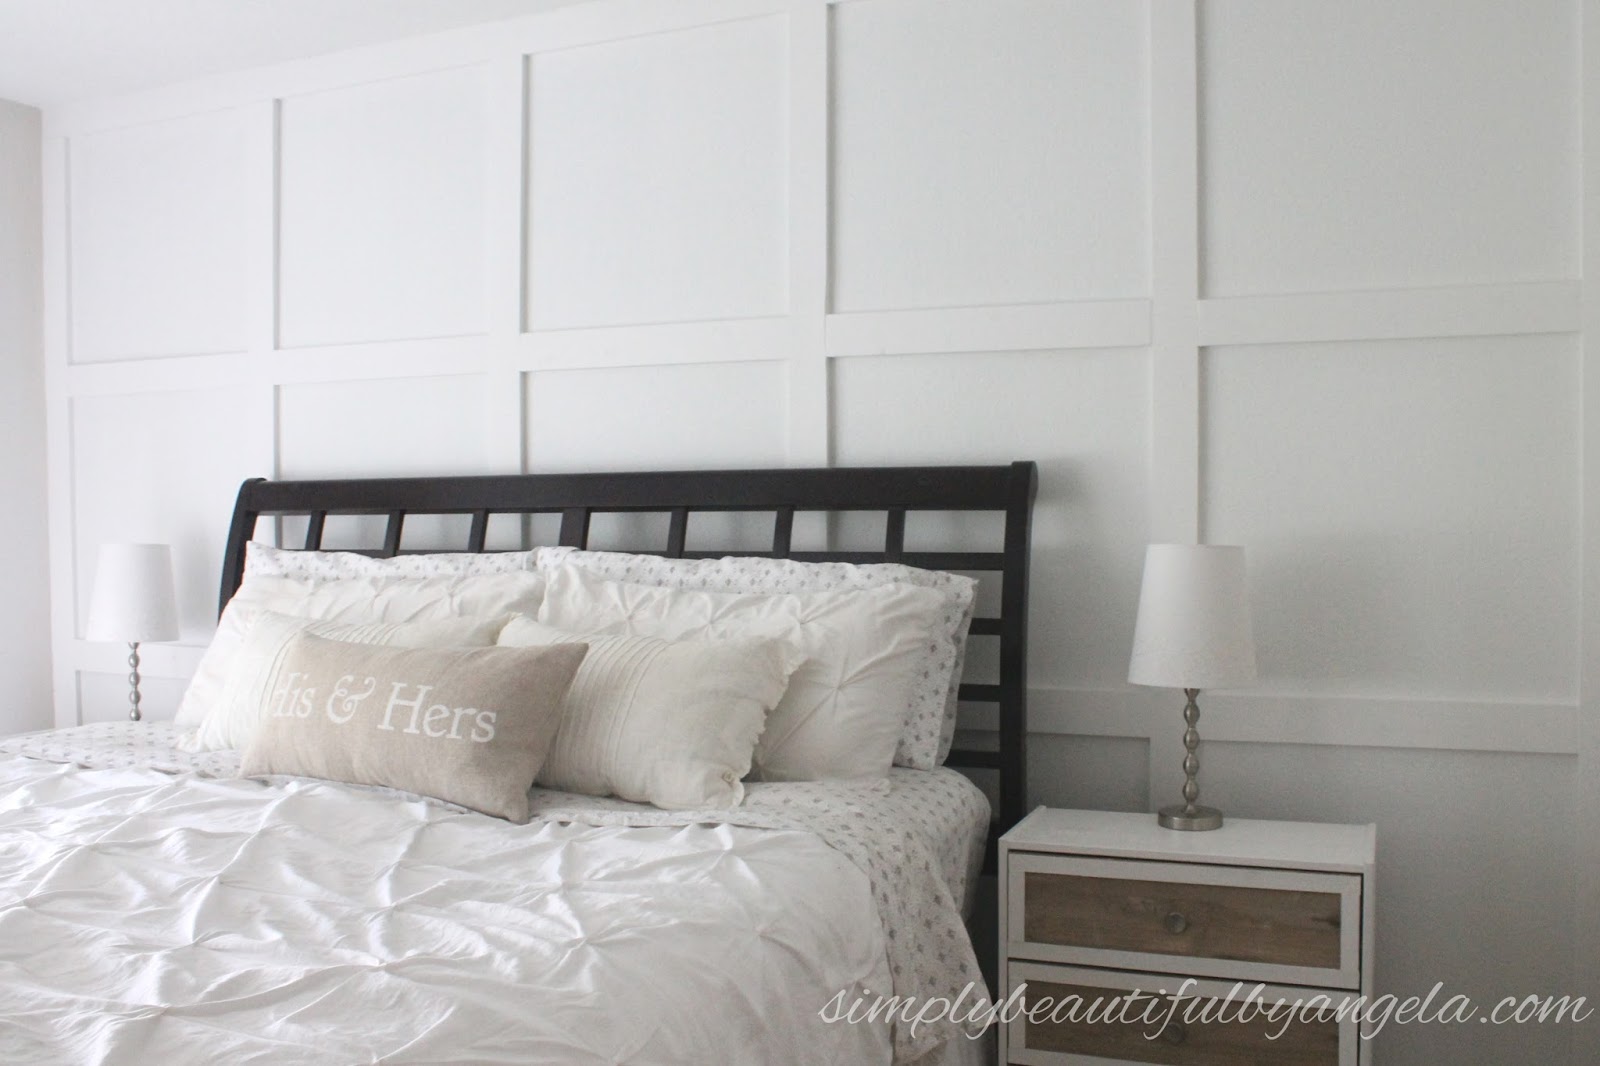
As a reminder, this is what our bed looked like euro pillow-less…
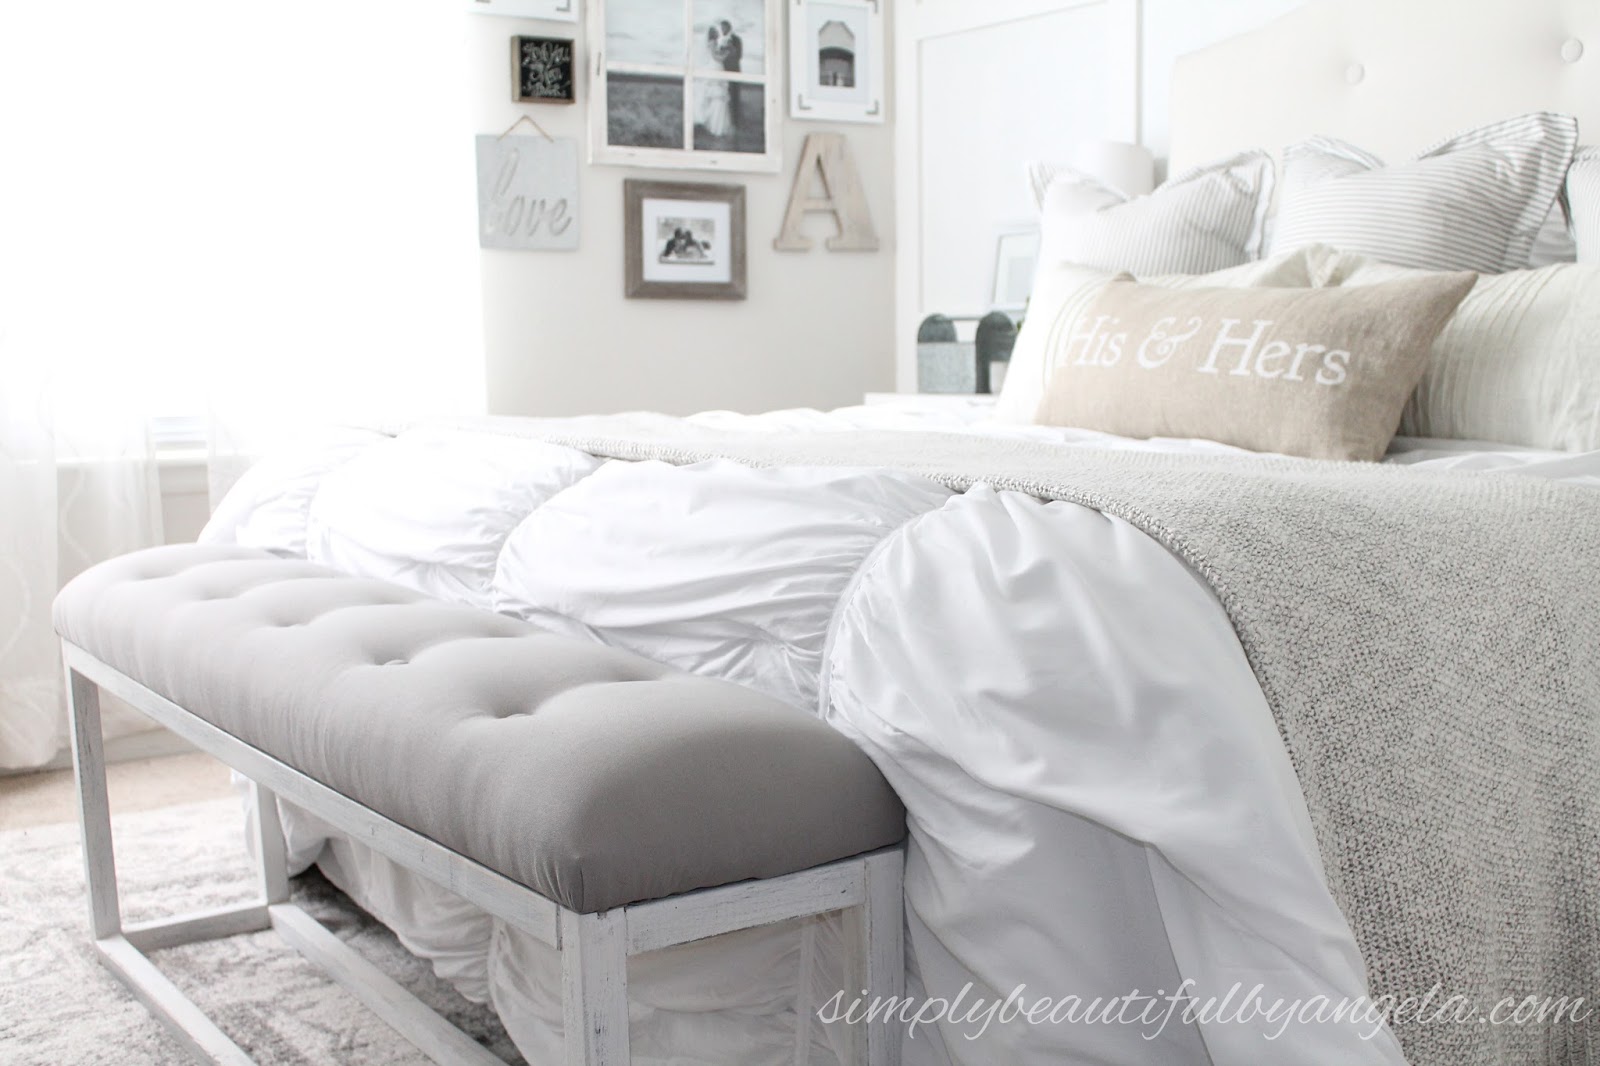
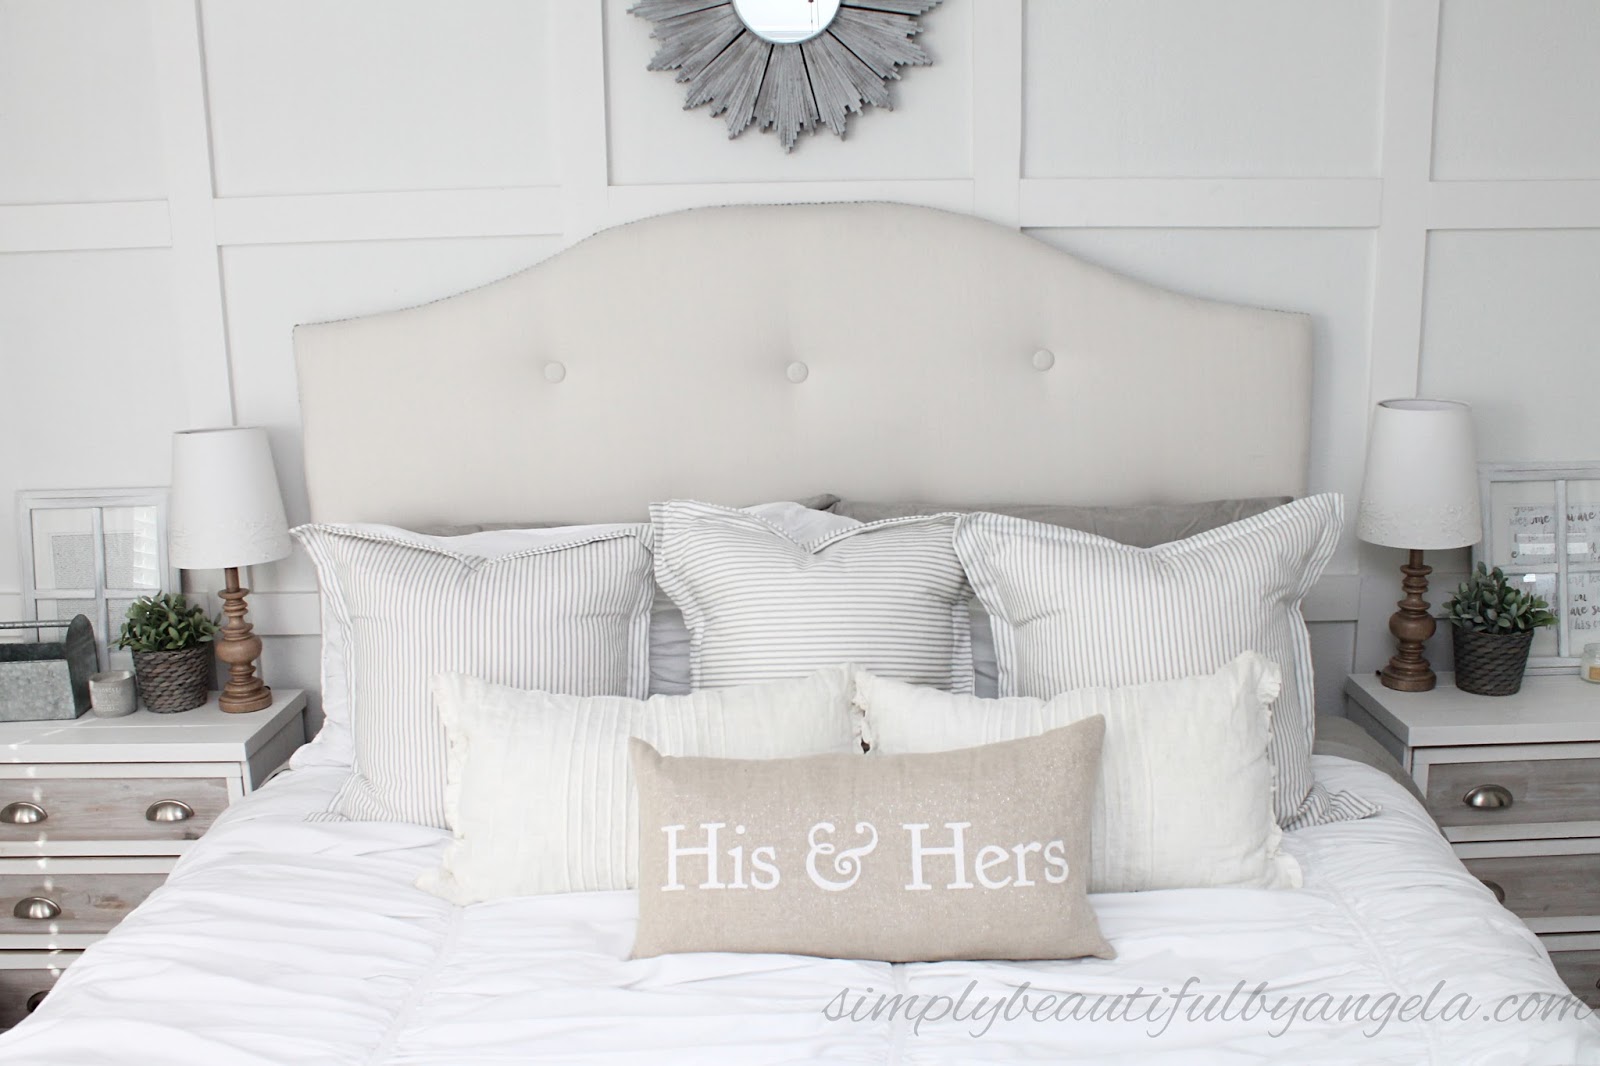
And this is what it looks like now!

The DIY Upholstered Headboard definitely helps the bed feel much more luxurious, but euro pillows really add that plush and cozy feel.
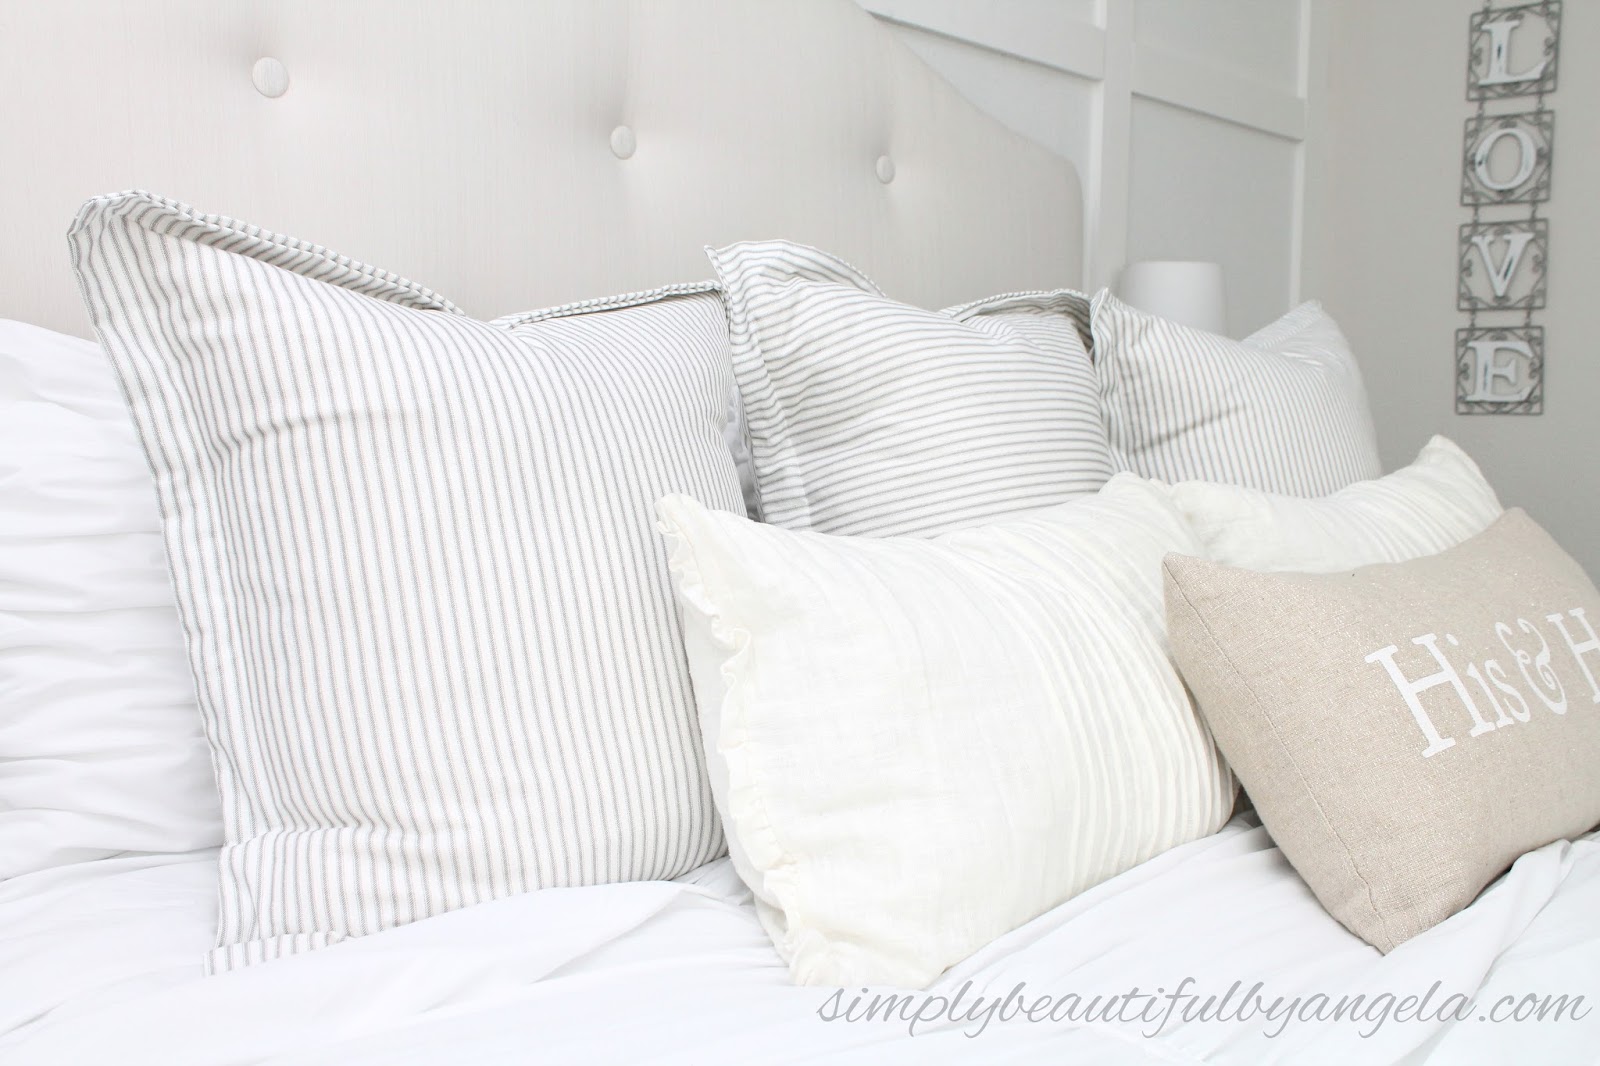

I really enjoy the subtle interest that the soft gray ticking adds. Since the rest of the bedding is solid colored I wanted to add a fun pattern with the euro pillows but I didn’t want it to overwhelm the room. This print was the perfect balance!



At bedtime I store them under our bench at the end of the bed where they fit perfectly.