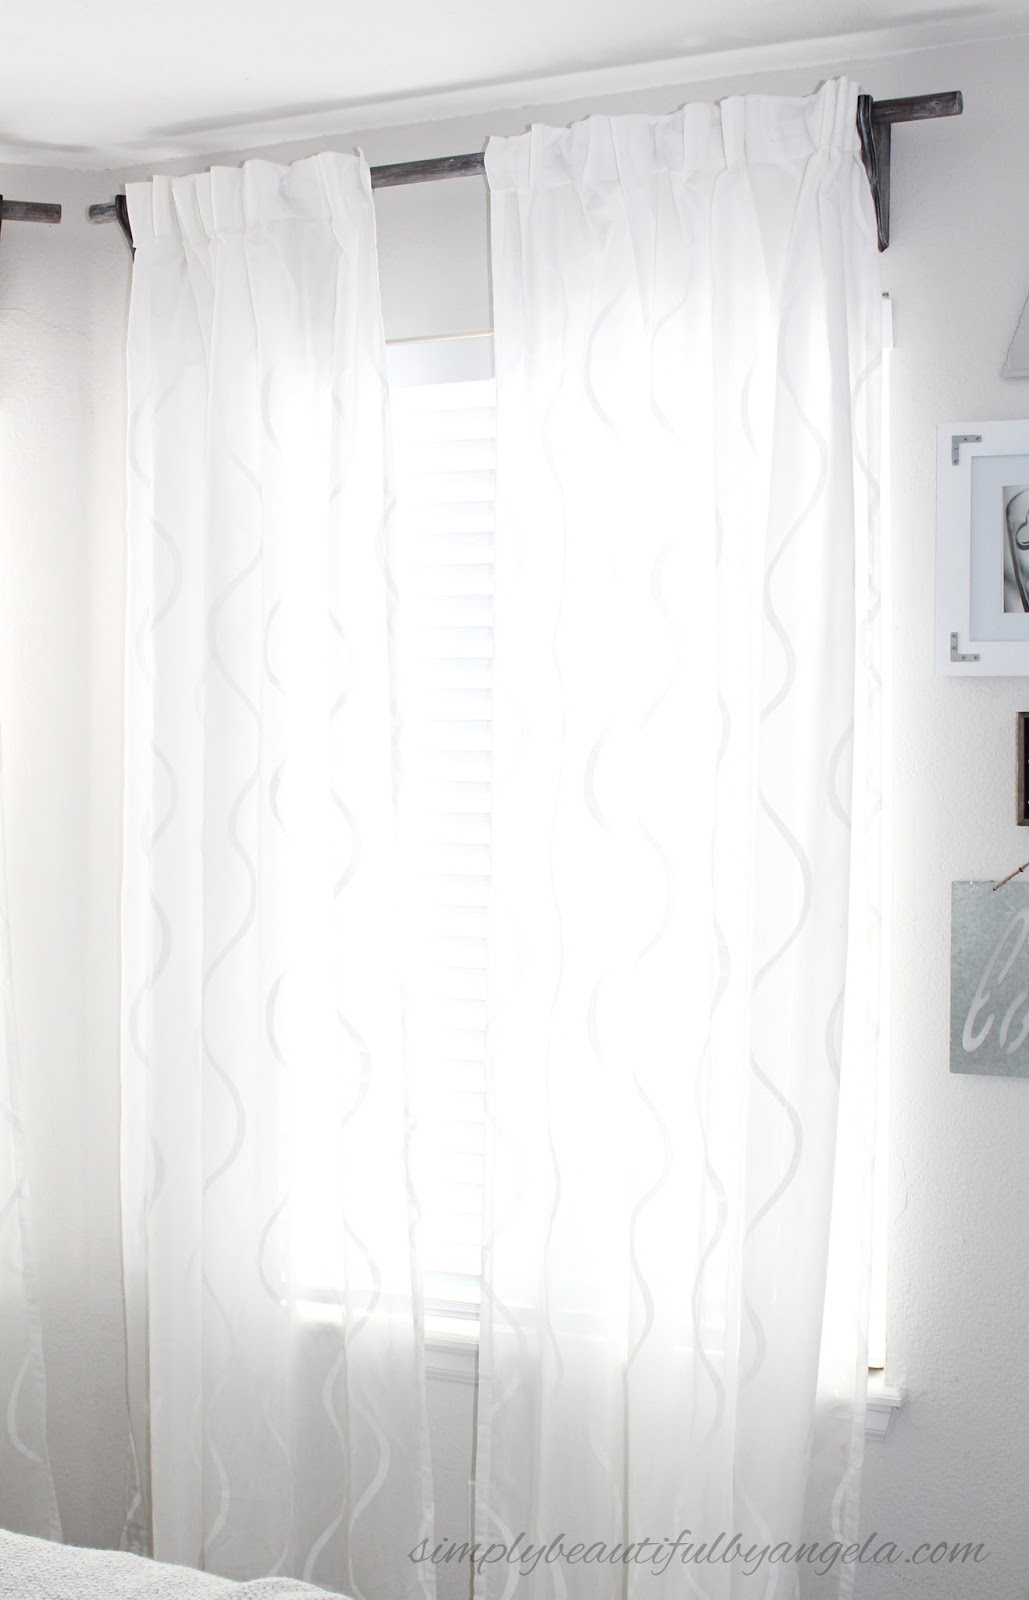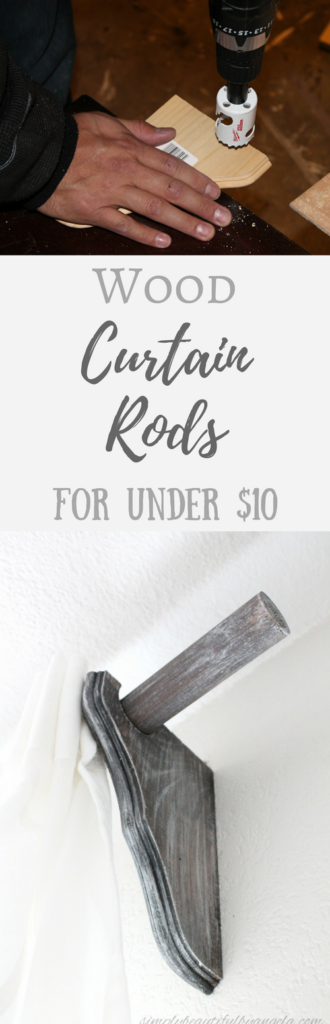
Hello everyone! I am back today to show you probably the easiest DIY that went into our Master Bedroom Makeover. It was so easy that it hardly needs a tutorial–so this is going to be short!
The curtain rods that we used to have in our bedroom were just a basic metal pole with some plastic finales so I wanted to replace them with something a little nicer. I had my heart set on some pretty wood ones to go along with the farmhouse style that I was using for this space.
Supplies Used: (Affiliate links may be provided for convenience. For more info, see my full disclosure here.)
- 6″ x 8″ Wood Corbels (actual: 5.125 in. x 7.125 in.)
- 1-1/4″ Wood Dowel
- 1-1/2″ Hole Saw
- Rust-Oleum Wood Stain in Kona
- Medium Grit Sandpaper
- Wire Brush
- Paint
- Chalky Clear Sealing Wax

We began by measuring out where we wanted the dowel to sit on each corbel.

Next, we used our 1-1/2″ Hole Saw
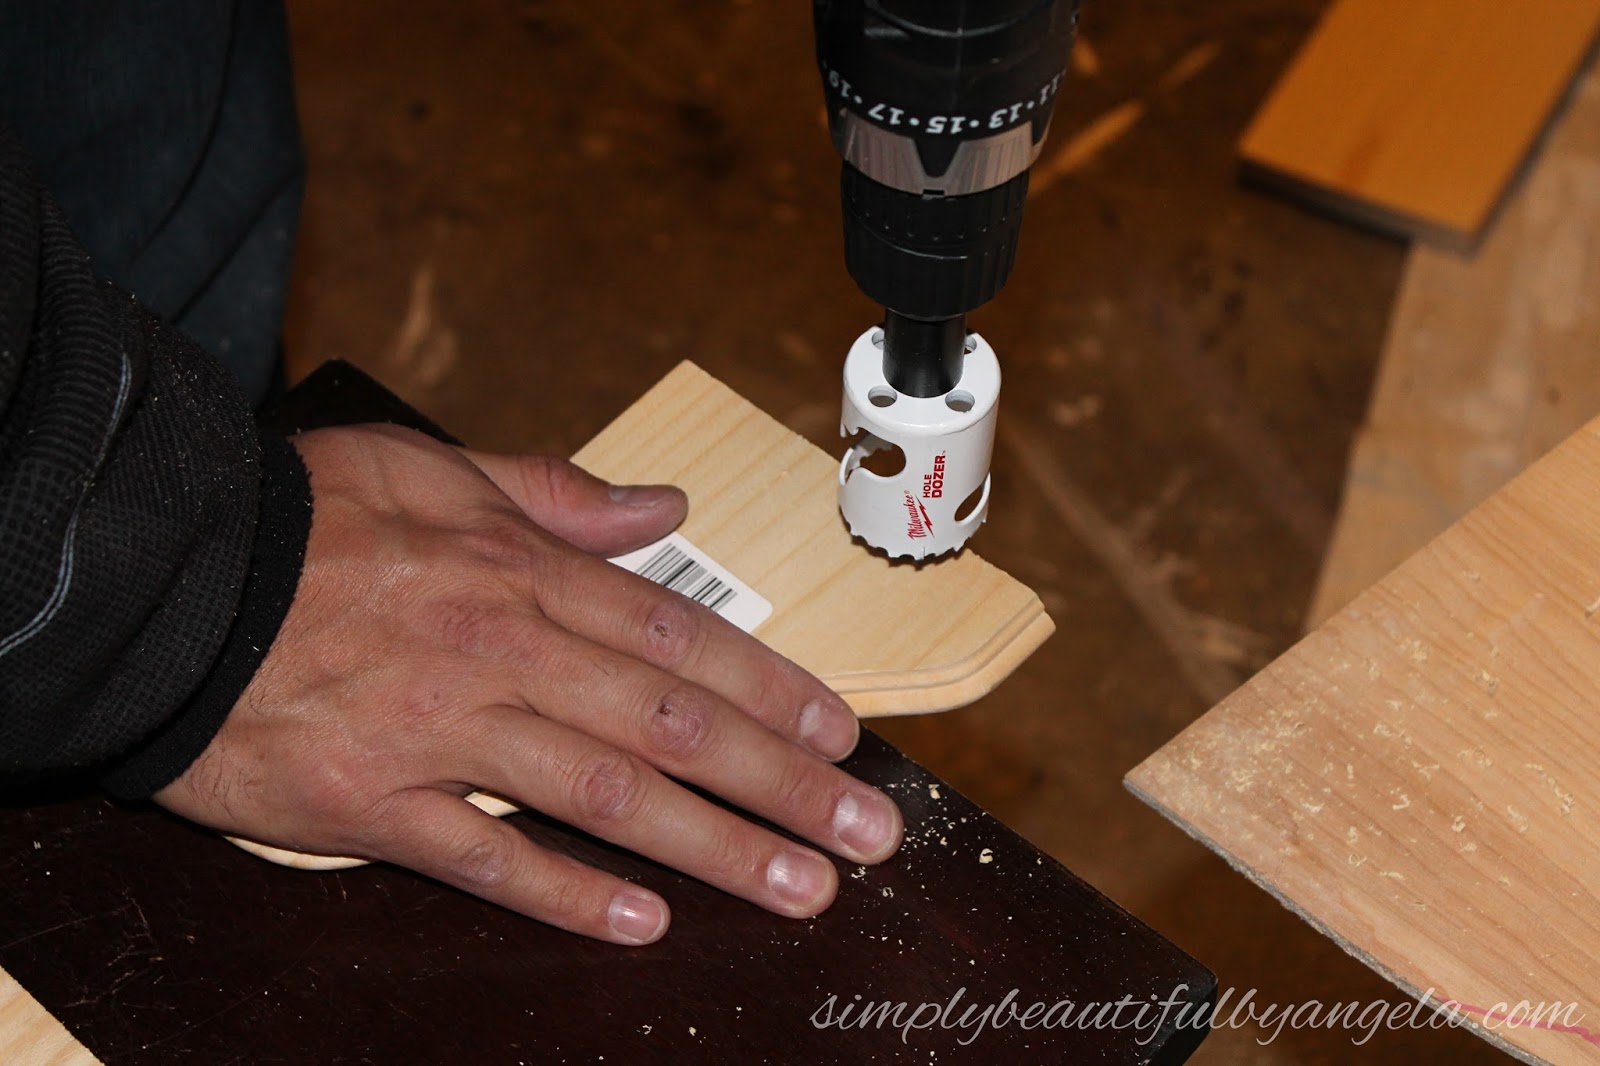
Since the drill bit needs to attach into the wood first we actually ended up with slightly more than a semi circle which is why we used a hole saw a little larger than our wood dowel.

I sanded the rough edges down and then applied a coat of Rust-Oleum Wood Stain in Kona
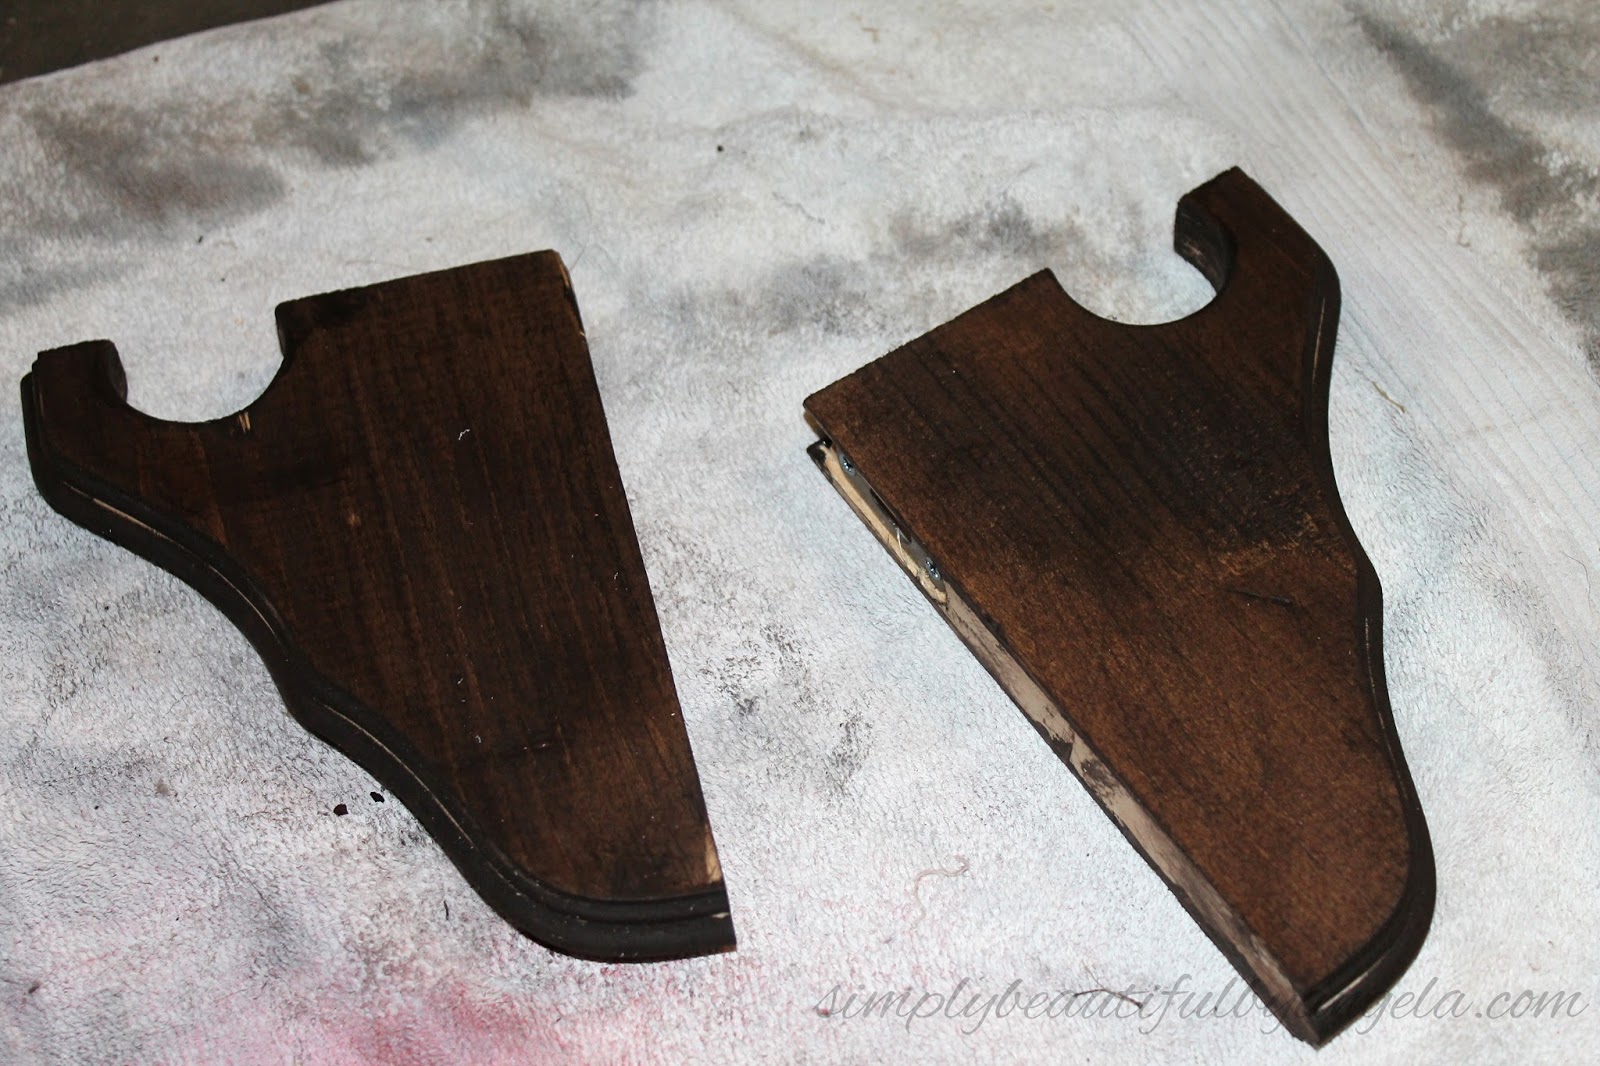
Next was the fun part! I used a wire brush to create a deep grain which helped give them more of a rustic industrial feel.

Basically once the stain was dry I went back over and dry brushed some white paint on and sealed it with my trusty Chalky Clear Sealing Wax which really helped bring out the cool details.
The corbels came with metal keyhole plates on the back which made them nice and easy to mount to the wall.
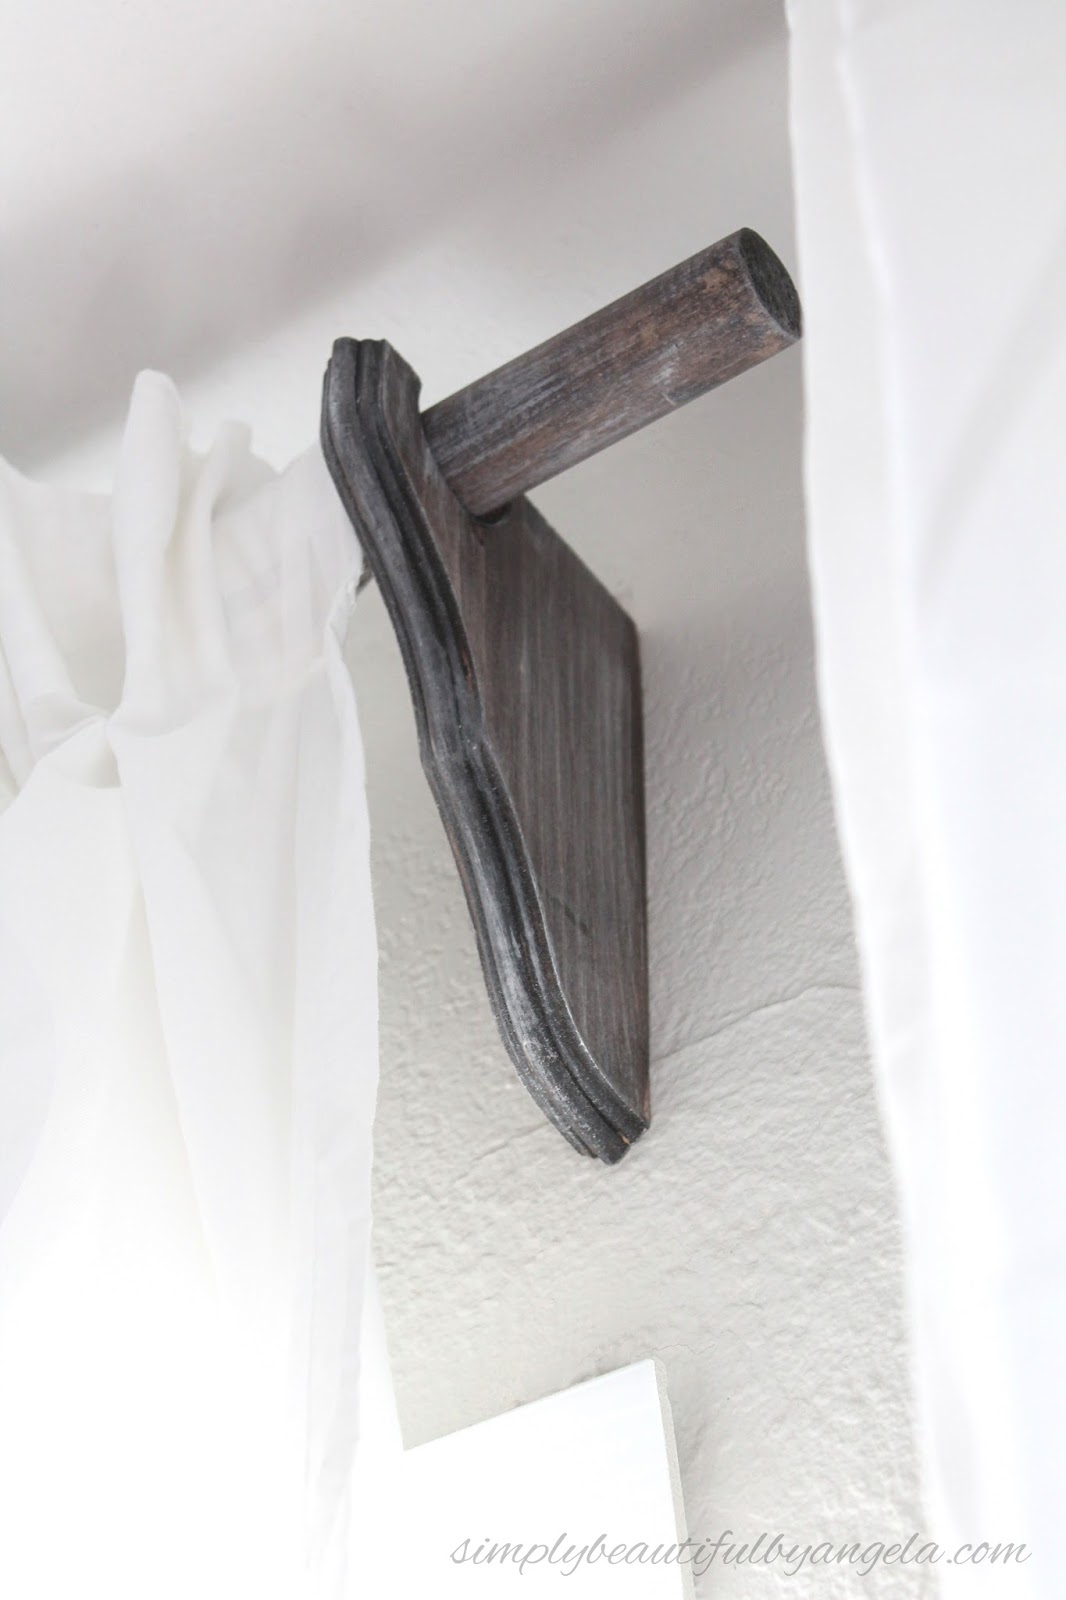

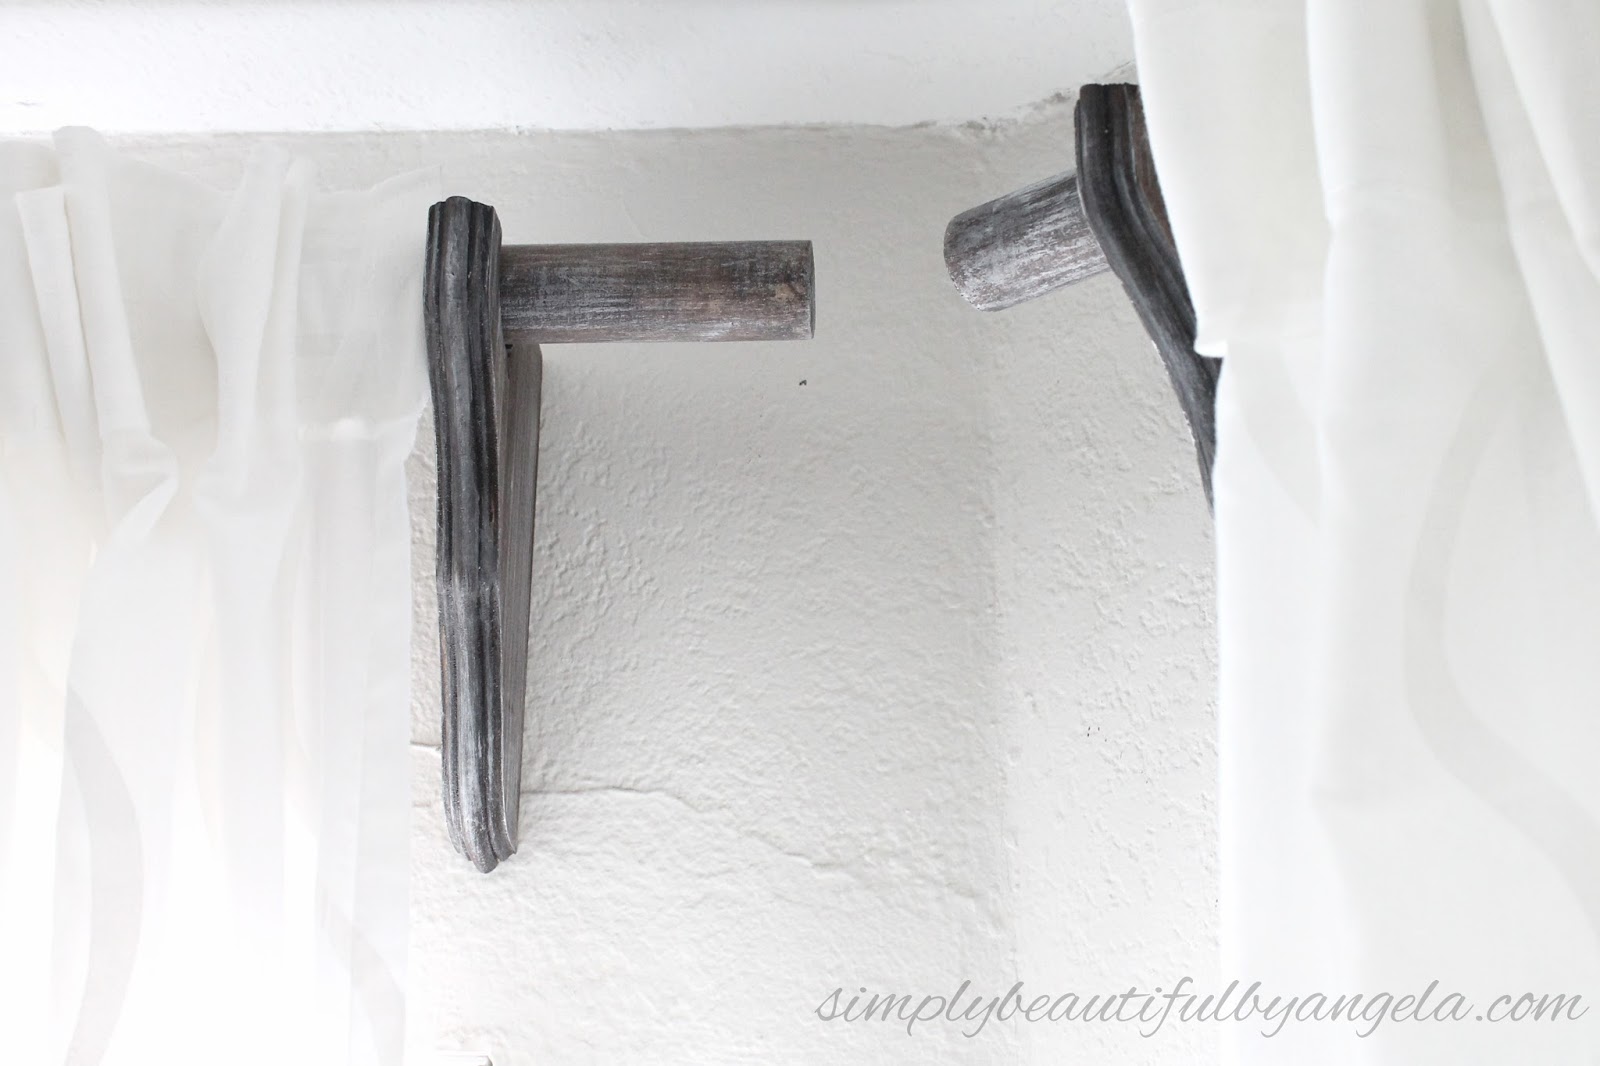
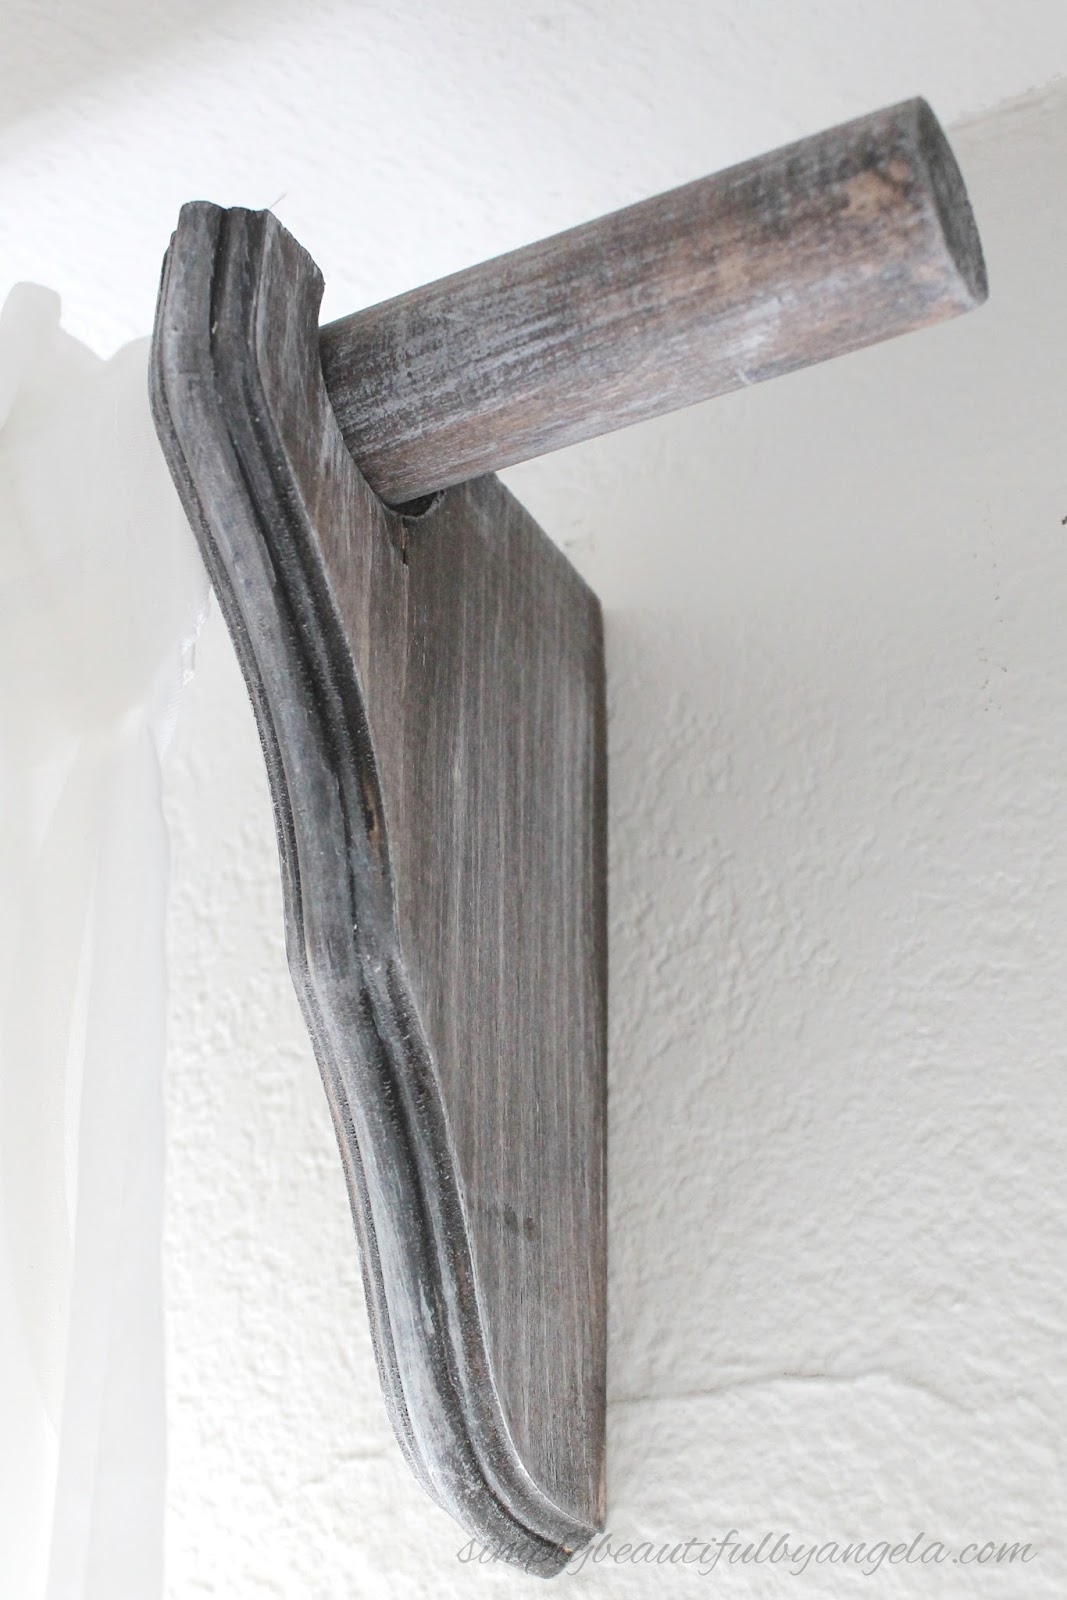
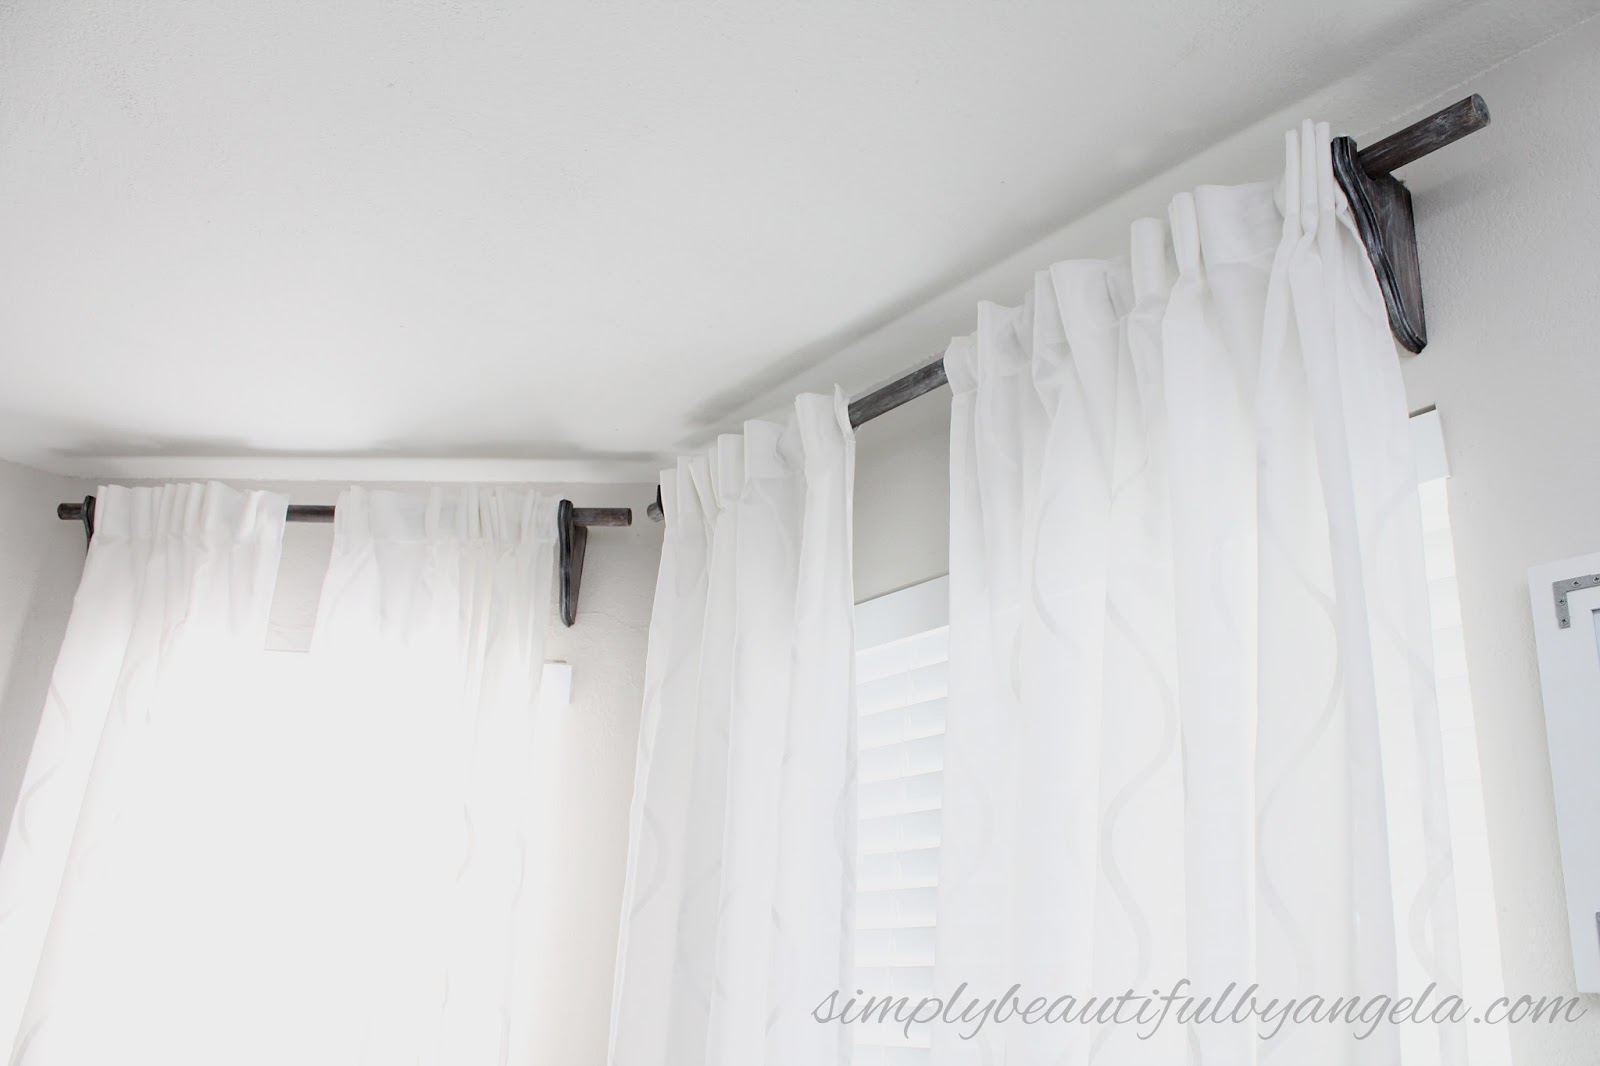
The supplies to make two pairs only cost a little over $20 so I am super happy that I decided to switch them out!