Hello everyone! As I mentioned before, when it comes to decorating kids’ walls I like to go simple and cheap since they grow so quickly, which is why I end up DIYing most of it. If you liked how easy Monday’s tutorial on DIY Fabric Art was, you are going to love this one because it’s even easier!
Here is what I used:
- Corrugated letters
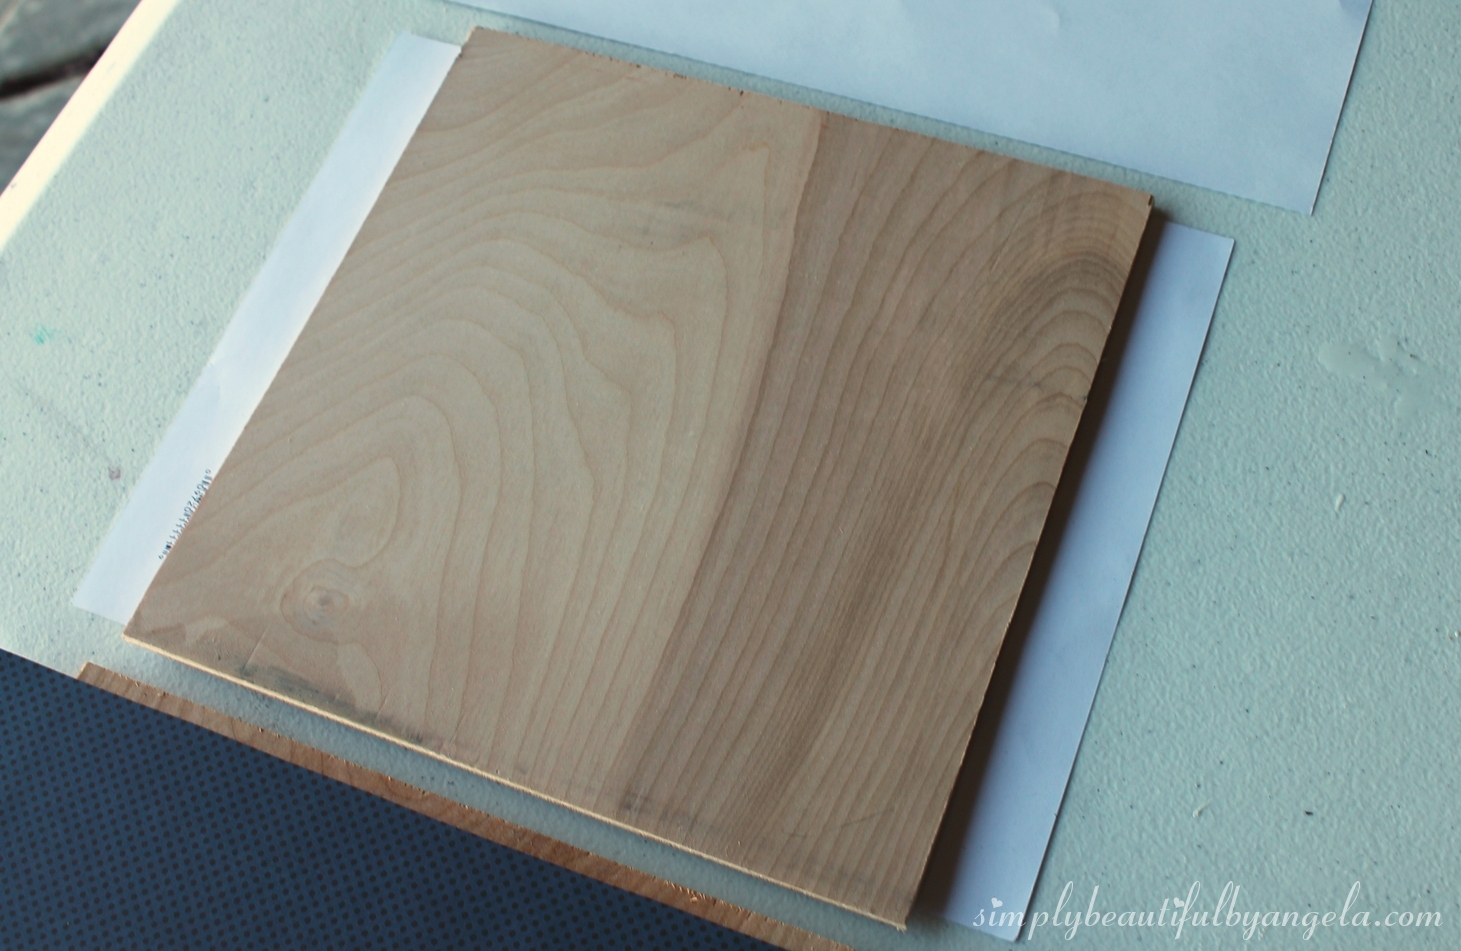
- 2′ x 4′ sheet of 1/4″ plywood cut into 9″ x 9″ squares
- Scrapbook paper
- Tacky Spray
- Paint
- Sandpaper
- Hot glue
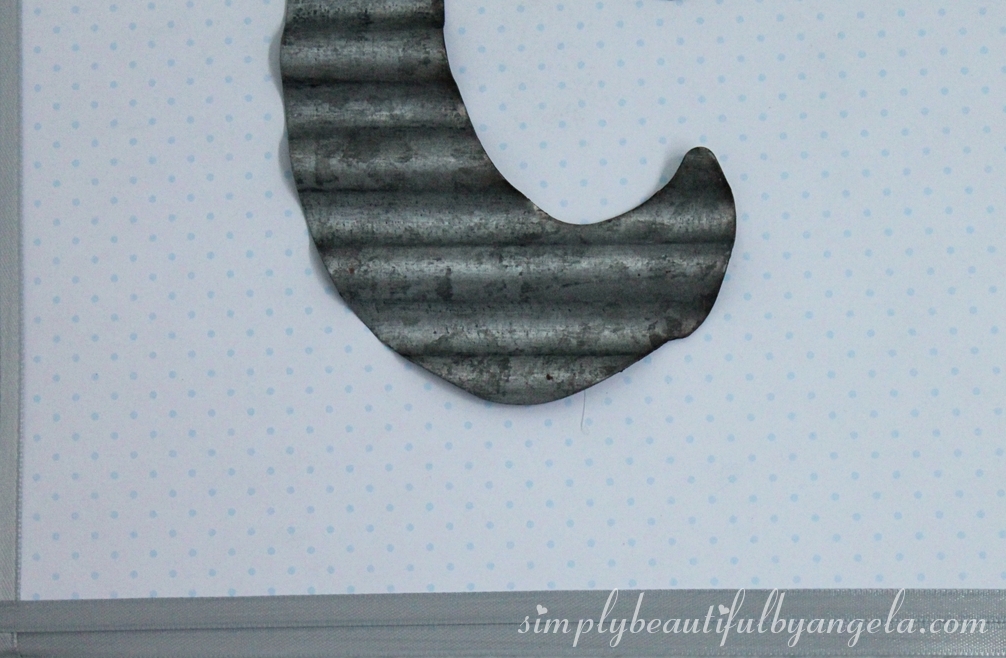
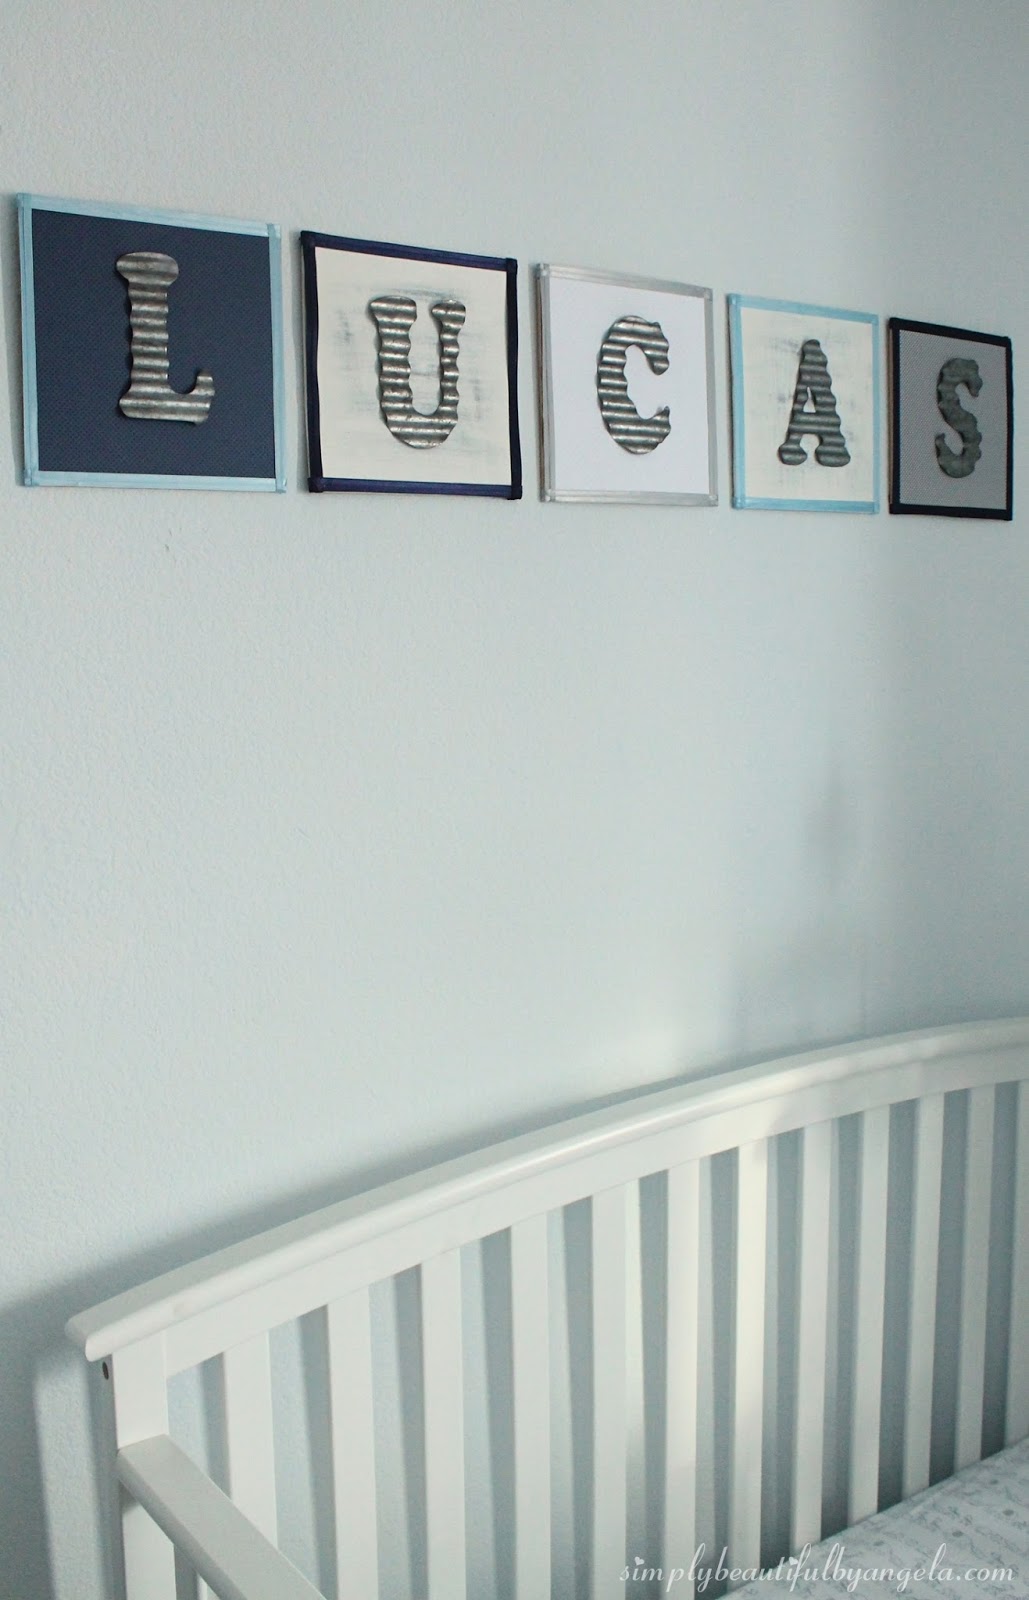
I knew that I wanted something kind of different for Lucas’ name above his crib so I spent hours on Pinterest trying to find a unique idea. And I came up with nothing! I was thinking about getting some big chunky galvanized letters, but even on sale they are pretty pricey. So you can imagine how excited I was to find these babies at Hobby Lobby!
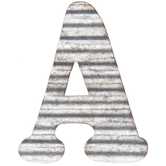
They still had the aged metal look that I wanted but were only $1.50 each (I purchased them during Hobby Lobby’s metal decor sale which they have every couple of weeks). If anything, I liked the texture of them even more than the smooth galvanized metal onces.
Of course I couldn’t just hang them on the wall because that would just be way too simple for me 😉
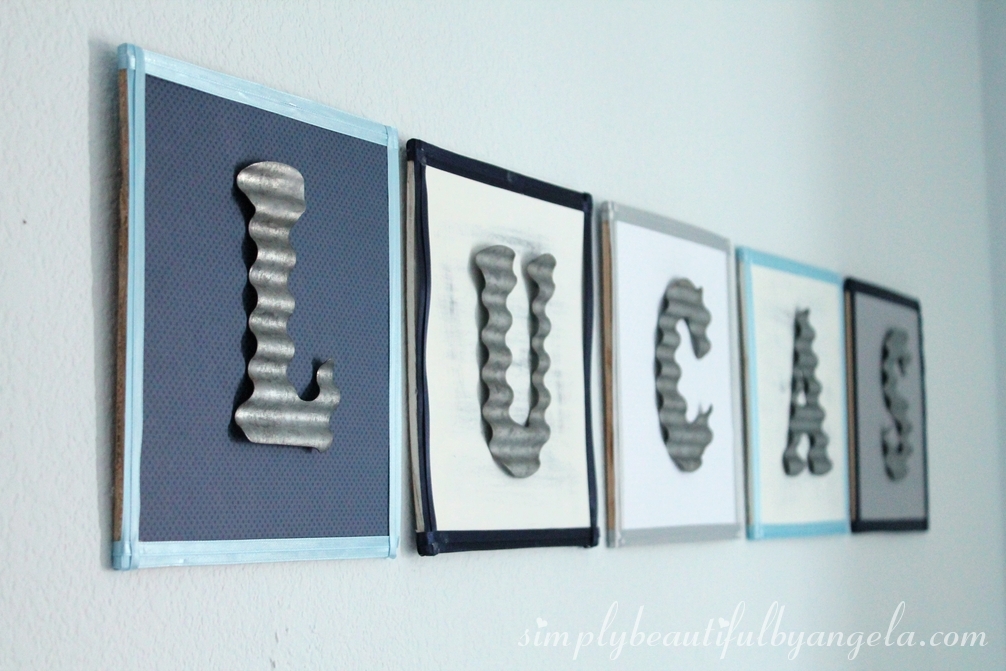
So I decided to put each of them on a piece of plywood. I covered three of them in scrapbook paper and painted the other two. For the scrapbook paper ones, I simply sprayed the plywood with tacky spray then flipped it onto the paper.

I pressed firmly, then flipped it over to smooth out any rough spots.
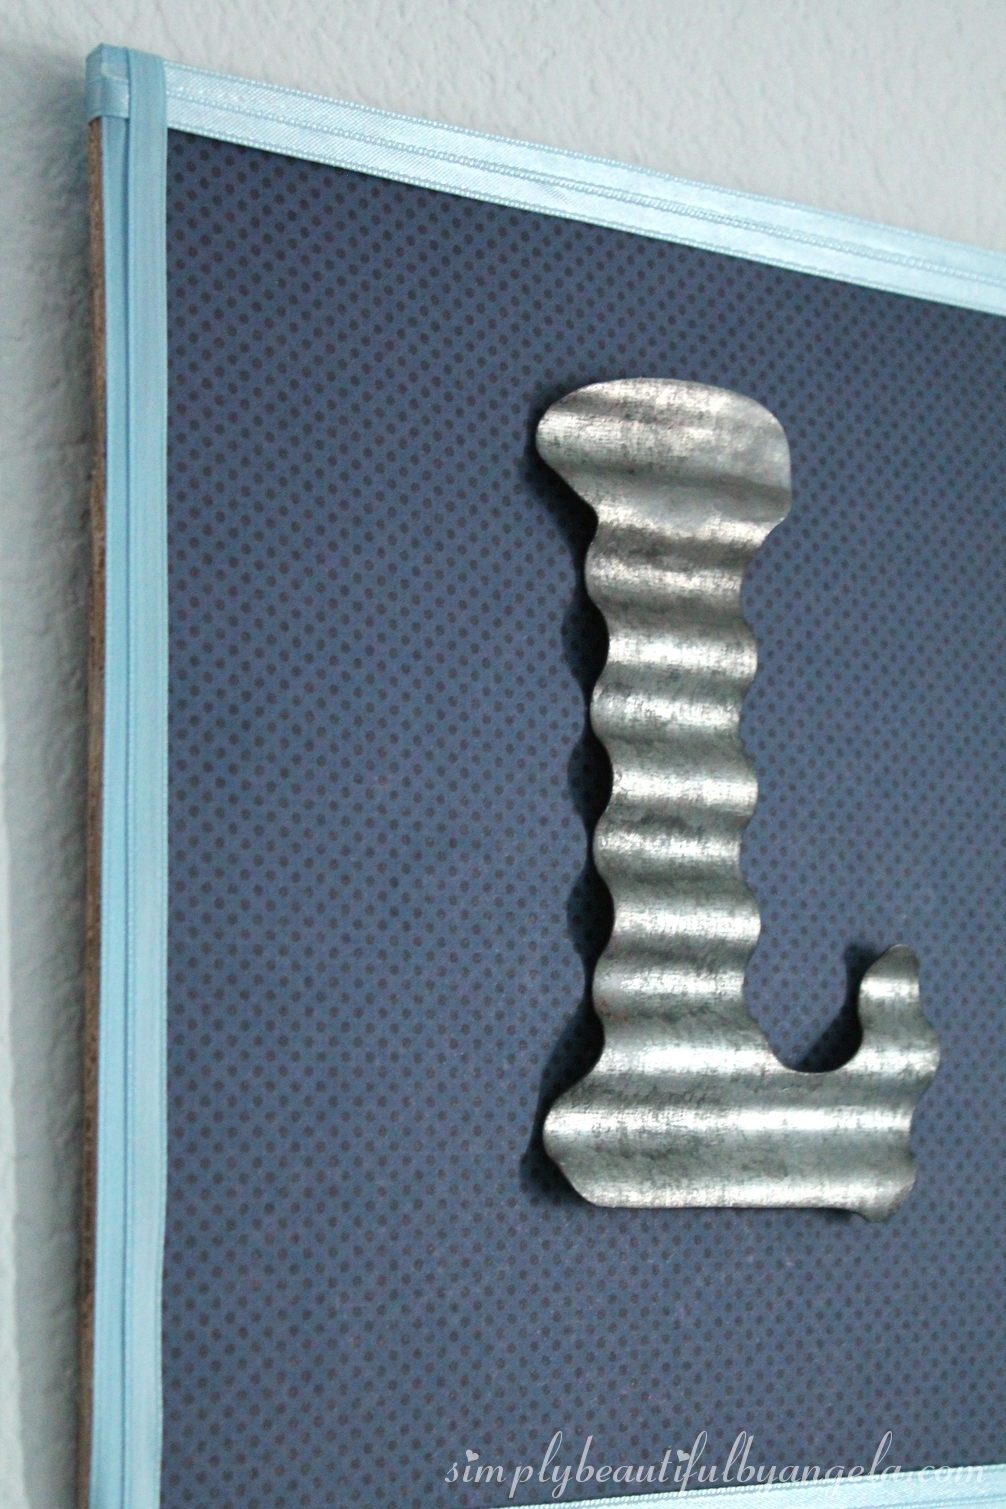
Once they were dry, I used hot glue to attach ribbon to the edges. I pulled each piece tightly, then secured it on the back.


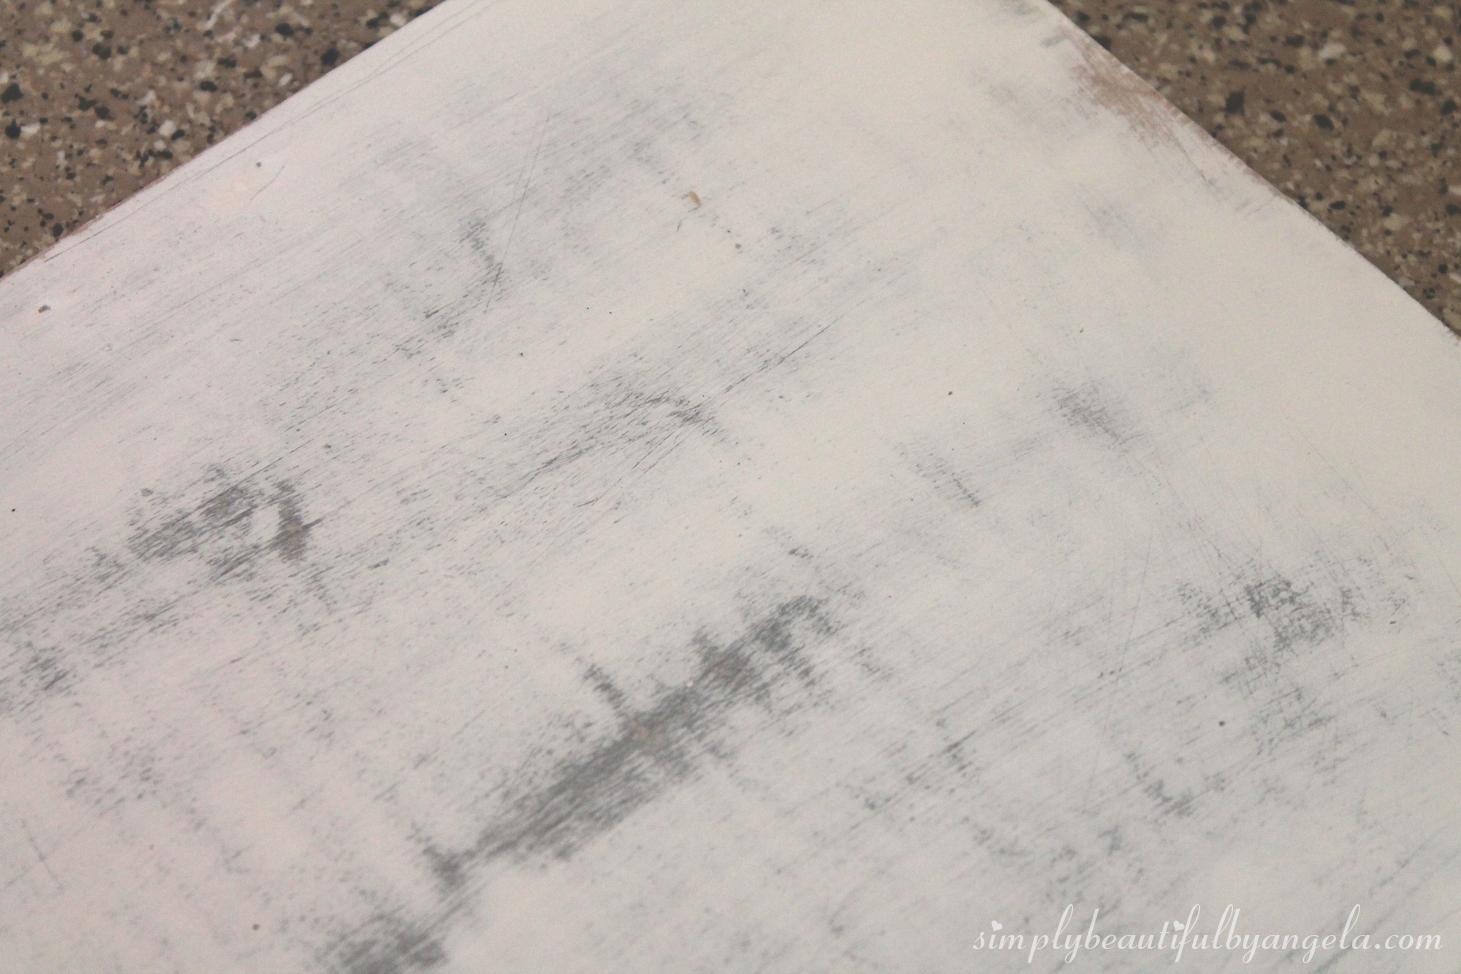
For the other two letters I first painted the plywood white. I then went back over and added a splotchy coat of gray paint, and another coat of white on top once it dried.

I used a rough sandpaper to bring out the gray.
I must say, I think they turned out fantastically!

I kept the designs of the scrapbook paper simple enough so that it doesn’t take too much away from the letters.

And I think that the distressed paint ones break it up nicely.

I added a sawtooth hanger to the back to hang them.
See, so easy right? 🙂 On Friday I’ll share the last piece of DIY art that I made for him which is my absolute favorite. I can’t wait to show you how it turned out! Have a nice day friends!
Linking up to these awesome parties!